
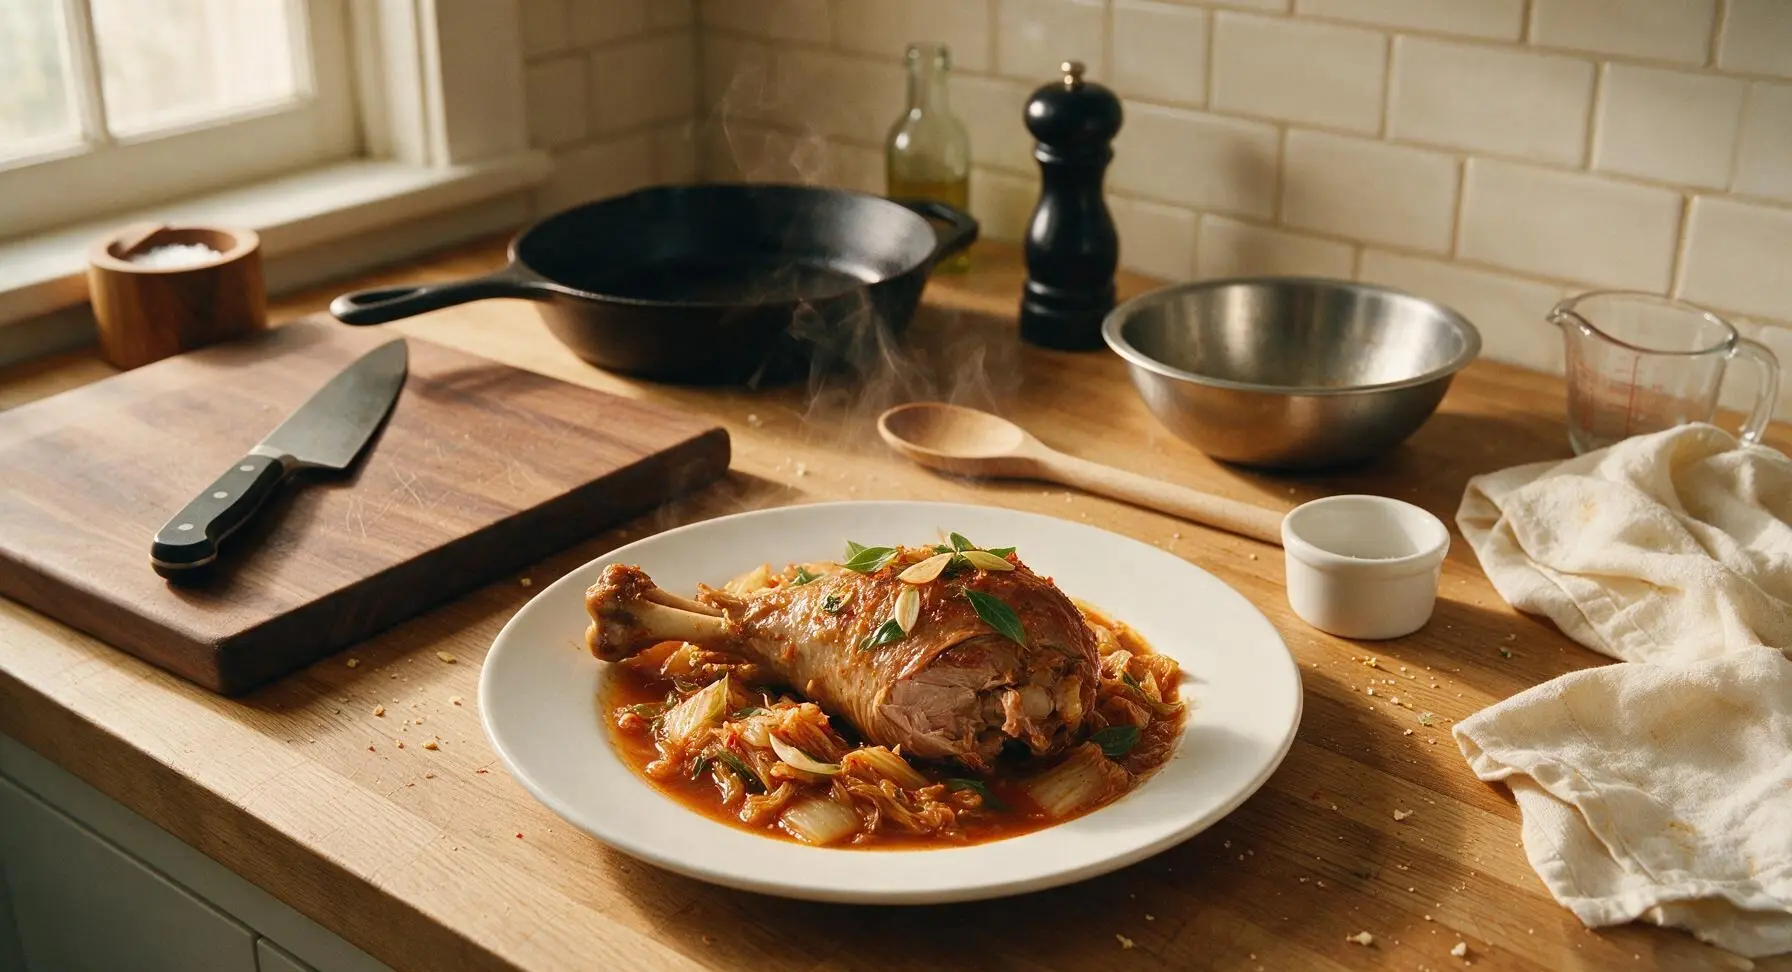
Kimchi Turkey Leg

title 1
Kimchi Turkey Leg
⏱️ cook time 1 hour 30 minutes
🍽️ servings 4
⚡ Difficulty medium

intro

Tender fall-off-the-bone turkey leg braised in tangy, umami-rich fermented kimchi, with a subtle spicy kick and deep savory depth, perfect for cozy shared autumn meals.

Ingredients
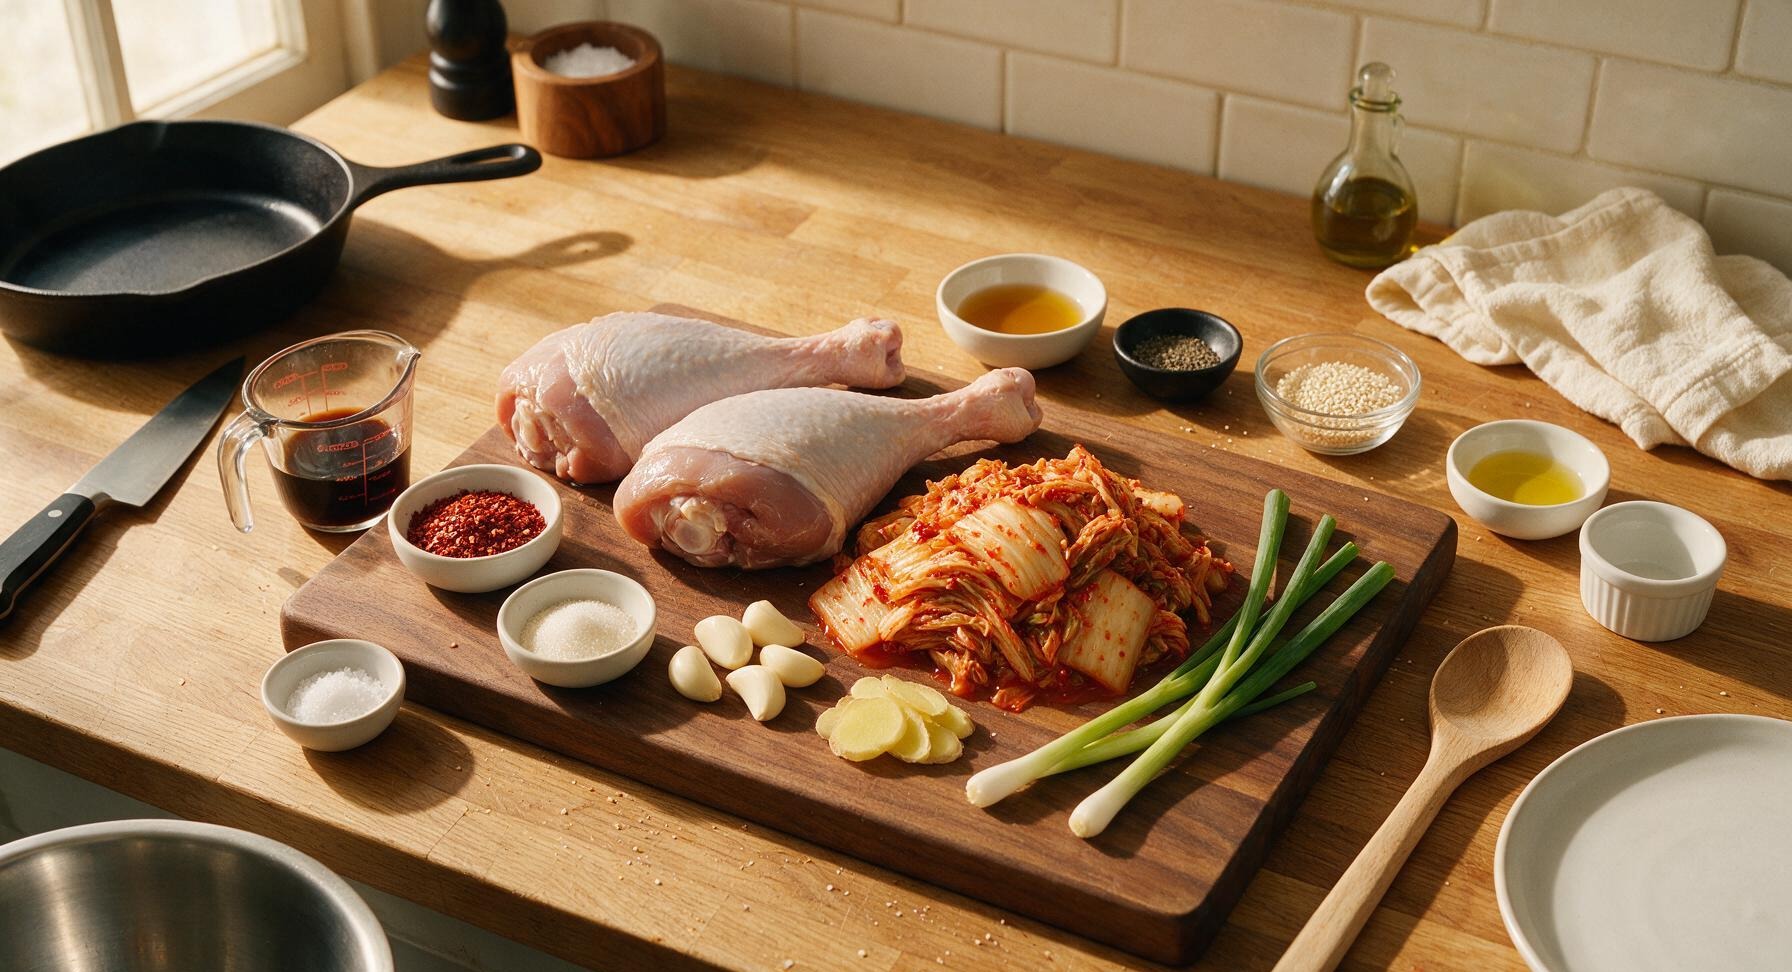
Bone-in skin-on turkey legs 1.6kg (2 large legs)
Ripe fermented napa kimchi (with brine) 450g (2 cups)
Low-sodium soy sauce 45ml (3 tbsp)
Gochugaru (Korean red chili flakes) 8g (1 tbsp)
Fresh garlic 6 cloves (crushed)
Fresh ginger 5cm knob (thinly sliced)
Scallions 4 whole (divided use)
Toasted sesame oil 15ml (1 tbsp)
Granulated sugar 4g (1 tsp)
Kosher salt 5g (1 tsp)
Freshly ground black pepper 1g (1/2 tsp)
Neutral canola oil 5ml (1 tsp)
Toasted white sesame seeds 3g (1 tsp, for garnish)

Steps

1

Prep and season turkey

Pat the two skin-on turkey legs completely dry with a paper towel, then set them on the acacia cutting board. Season all sides evenly with 1 tsp kosher salt and ½ tsp freshly ground black pepper, rubbing the seasoning gently into the skin and crevices around the bone. Let rest at room temperature for 15 minutes to allow the seasoning to penetrate, and the skin to dry further for optimal browning.
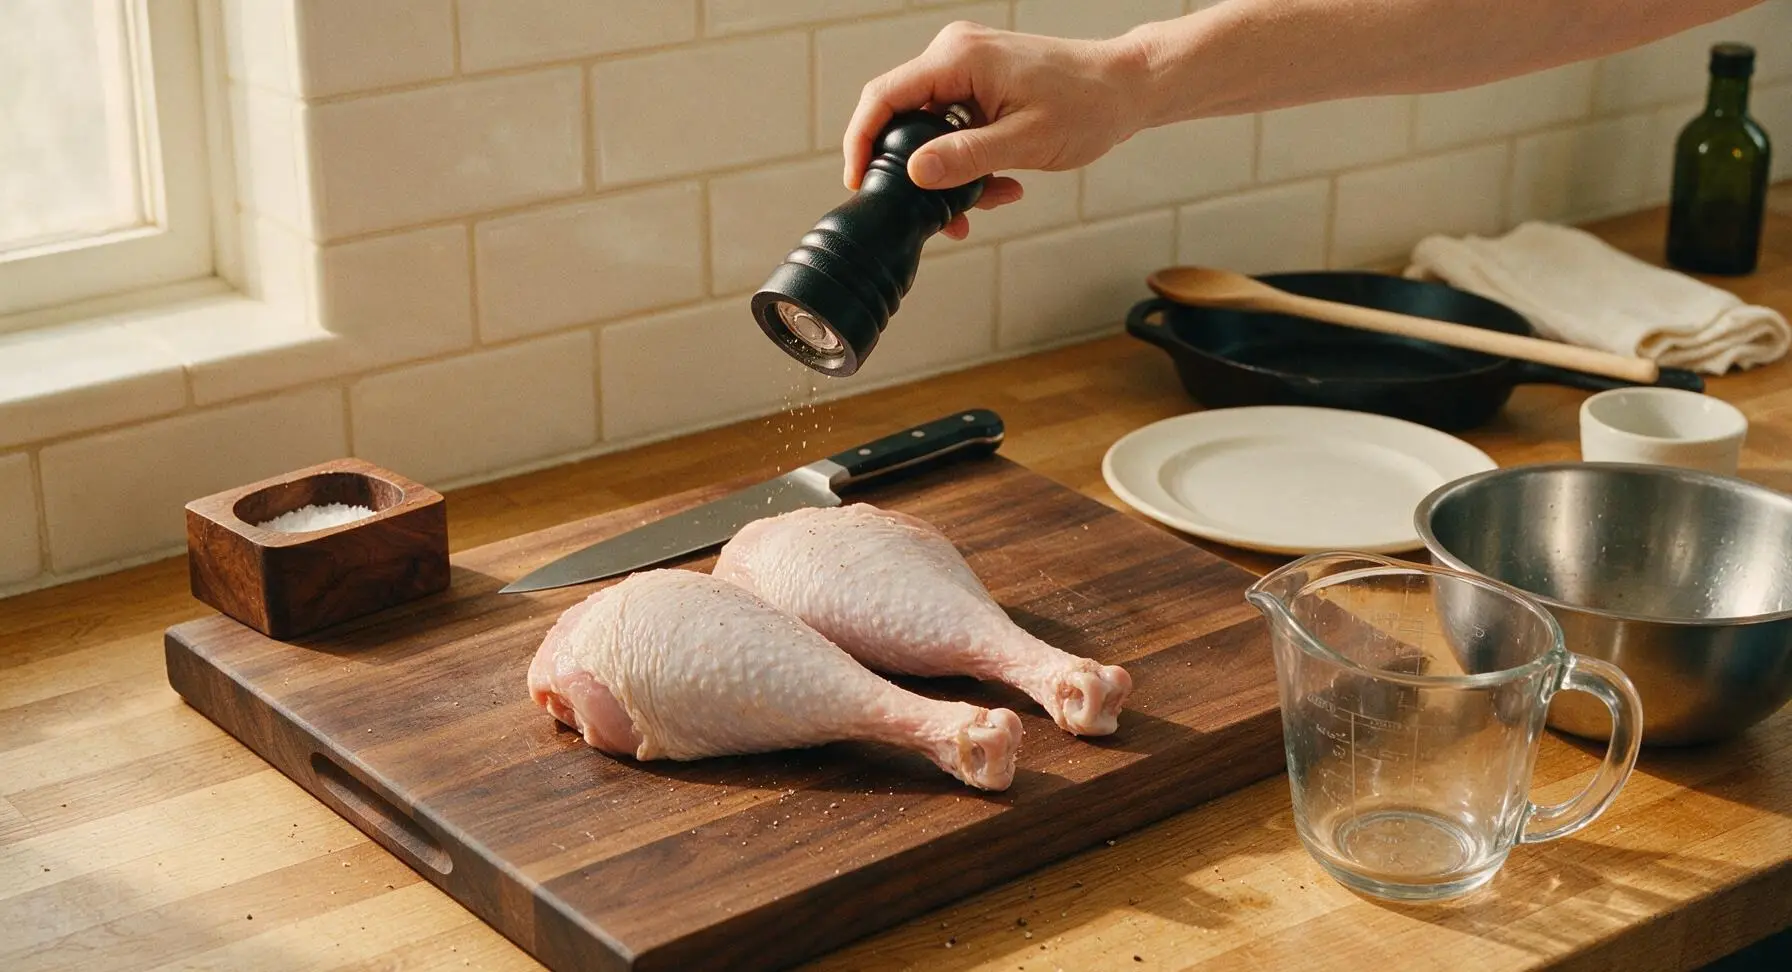
Step 1
step1:Prep and season turkey
2

Sear turkey until golden

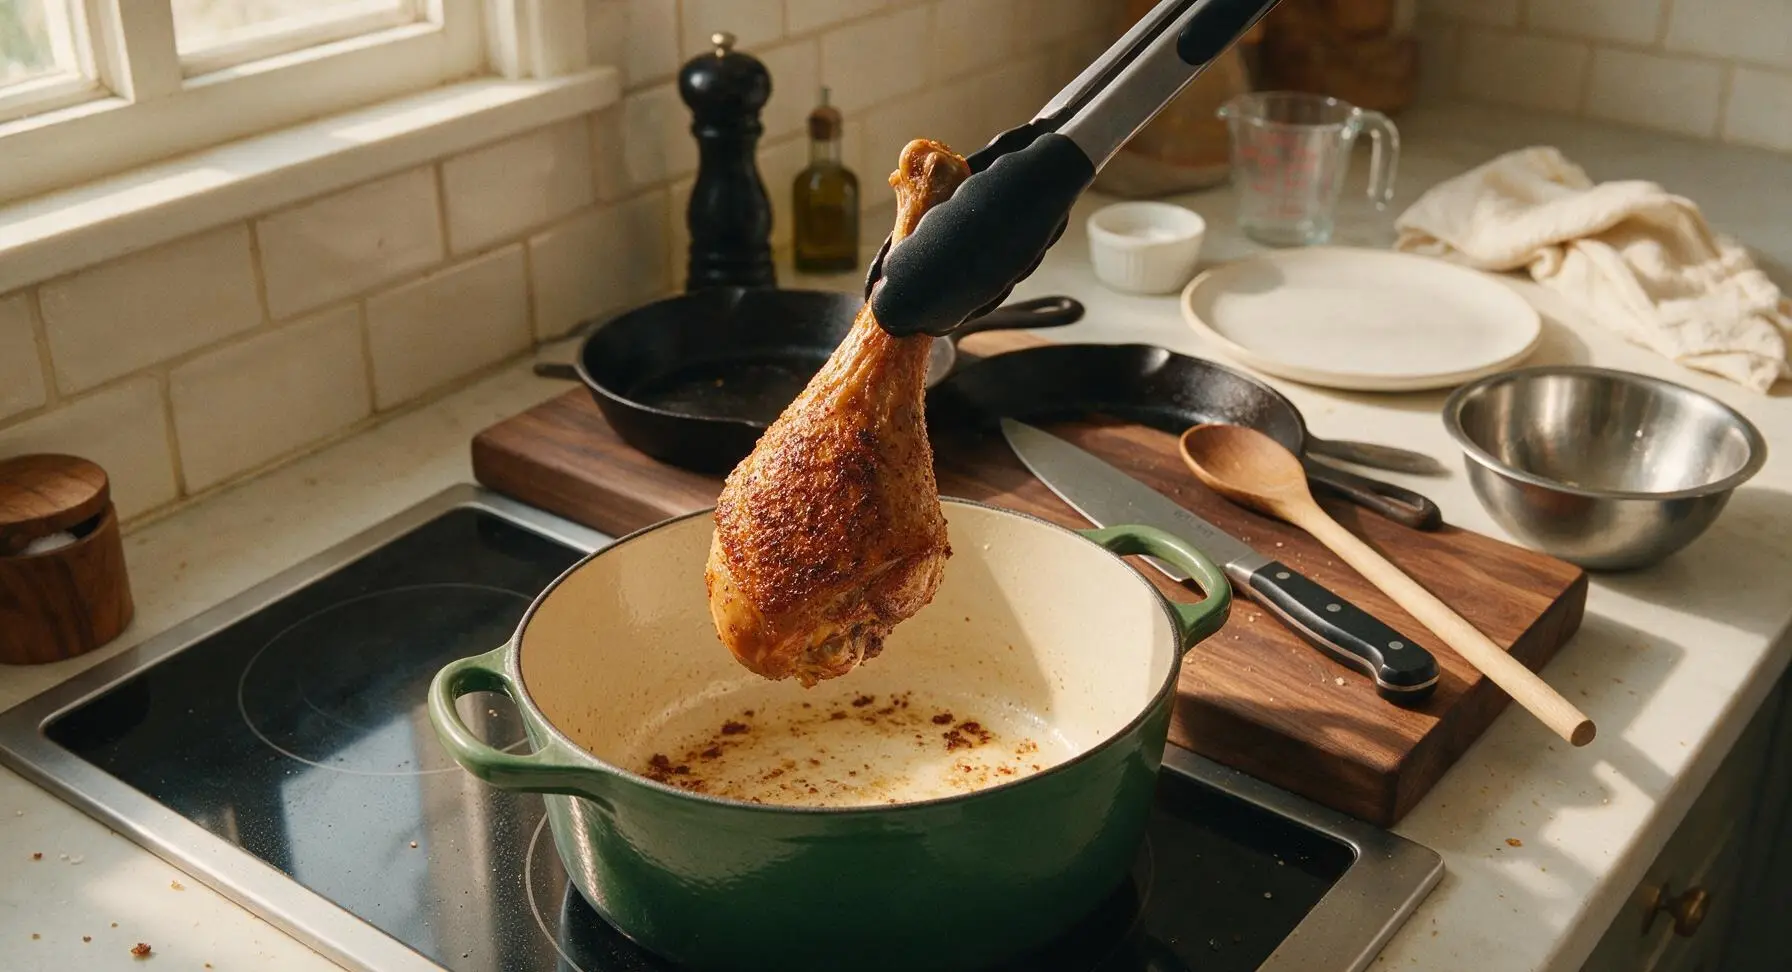
Place the enameled forest green Dutch oven on the central induction cooktop over medium-high heat, add 1 tsp neutral canola oil, and heat until the oil shimmers. Using the black silicone tongs, place the seasoned turkey legs skin-side down in the pot. Sear for 6-7 minutes per side, until the skin is deep golden brown and crispy, and easily releases from the pot bottom without sticking. Transfer seared turkey temporarily to the edge of the cutting board.
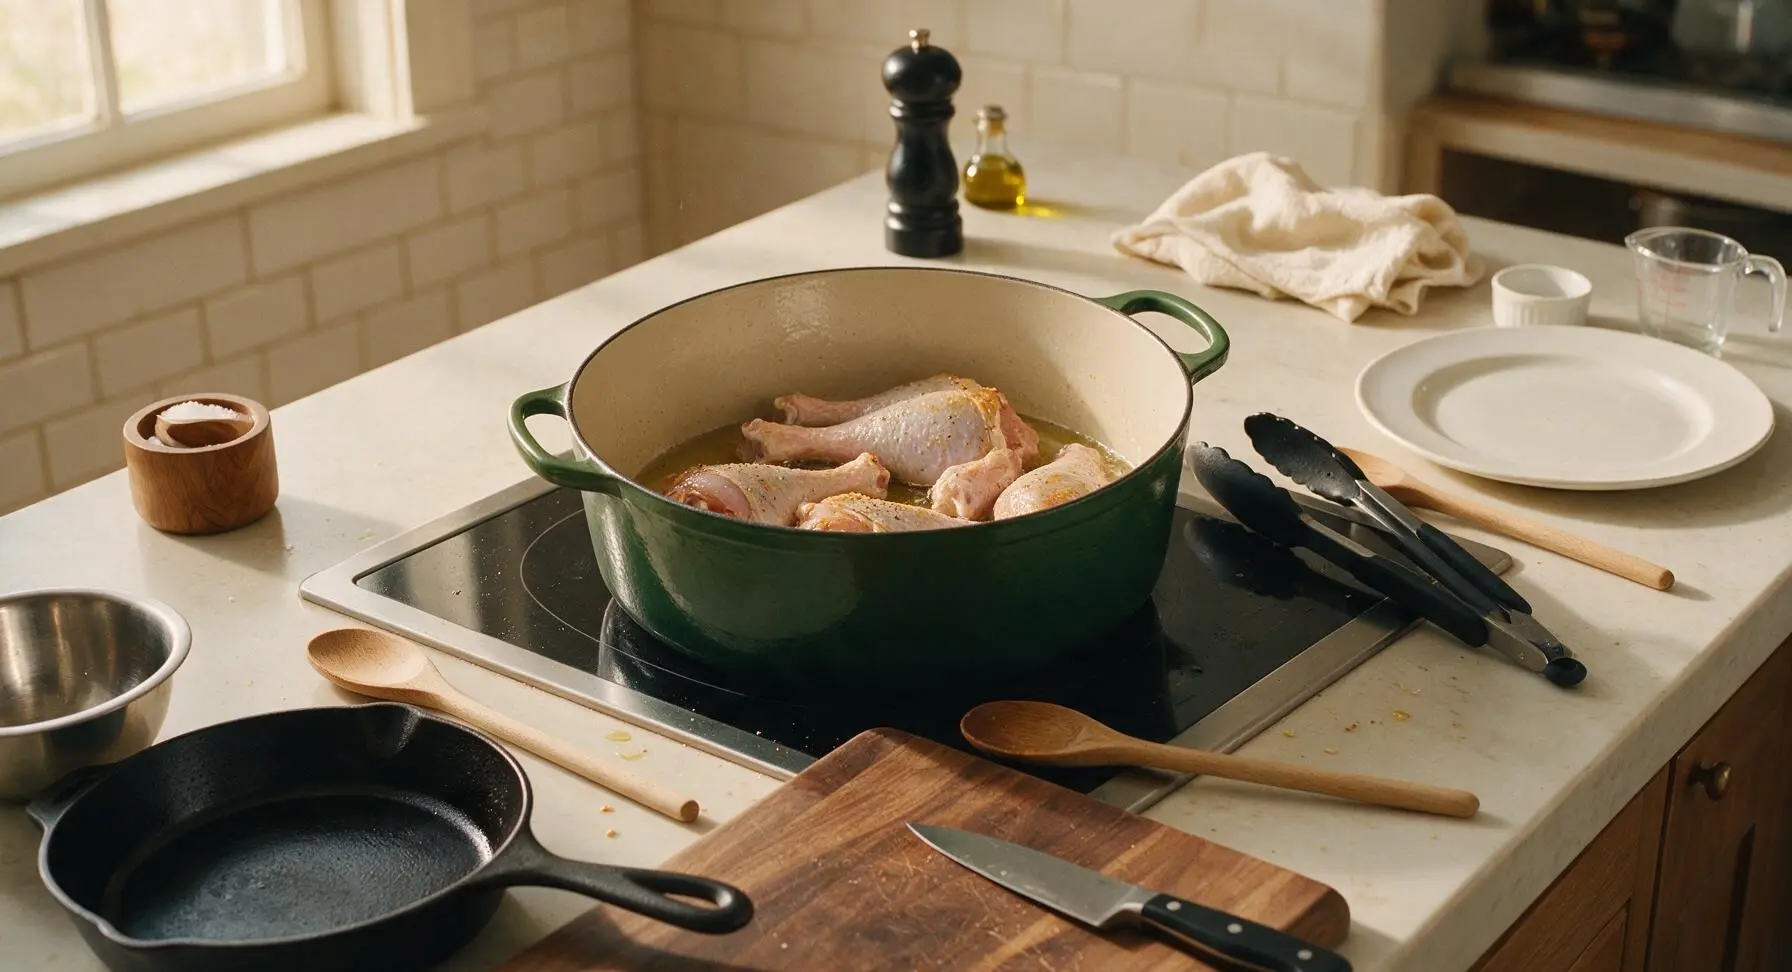
Step 2
step2:Sear turkey until golden
Step 2
step2:Sear turkey until golden
3

Saute aromatic base

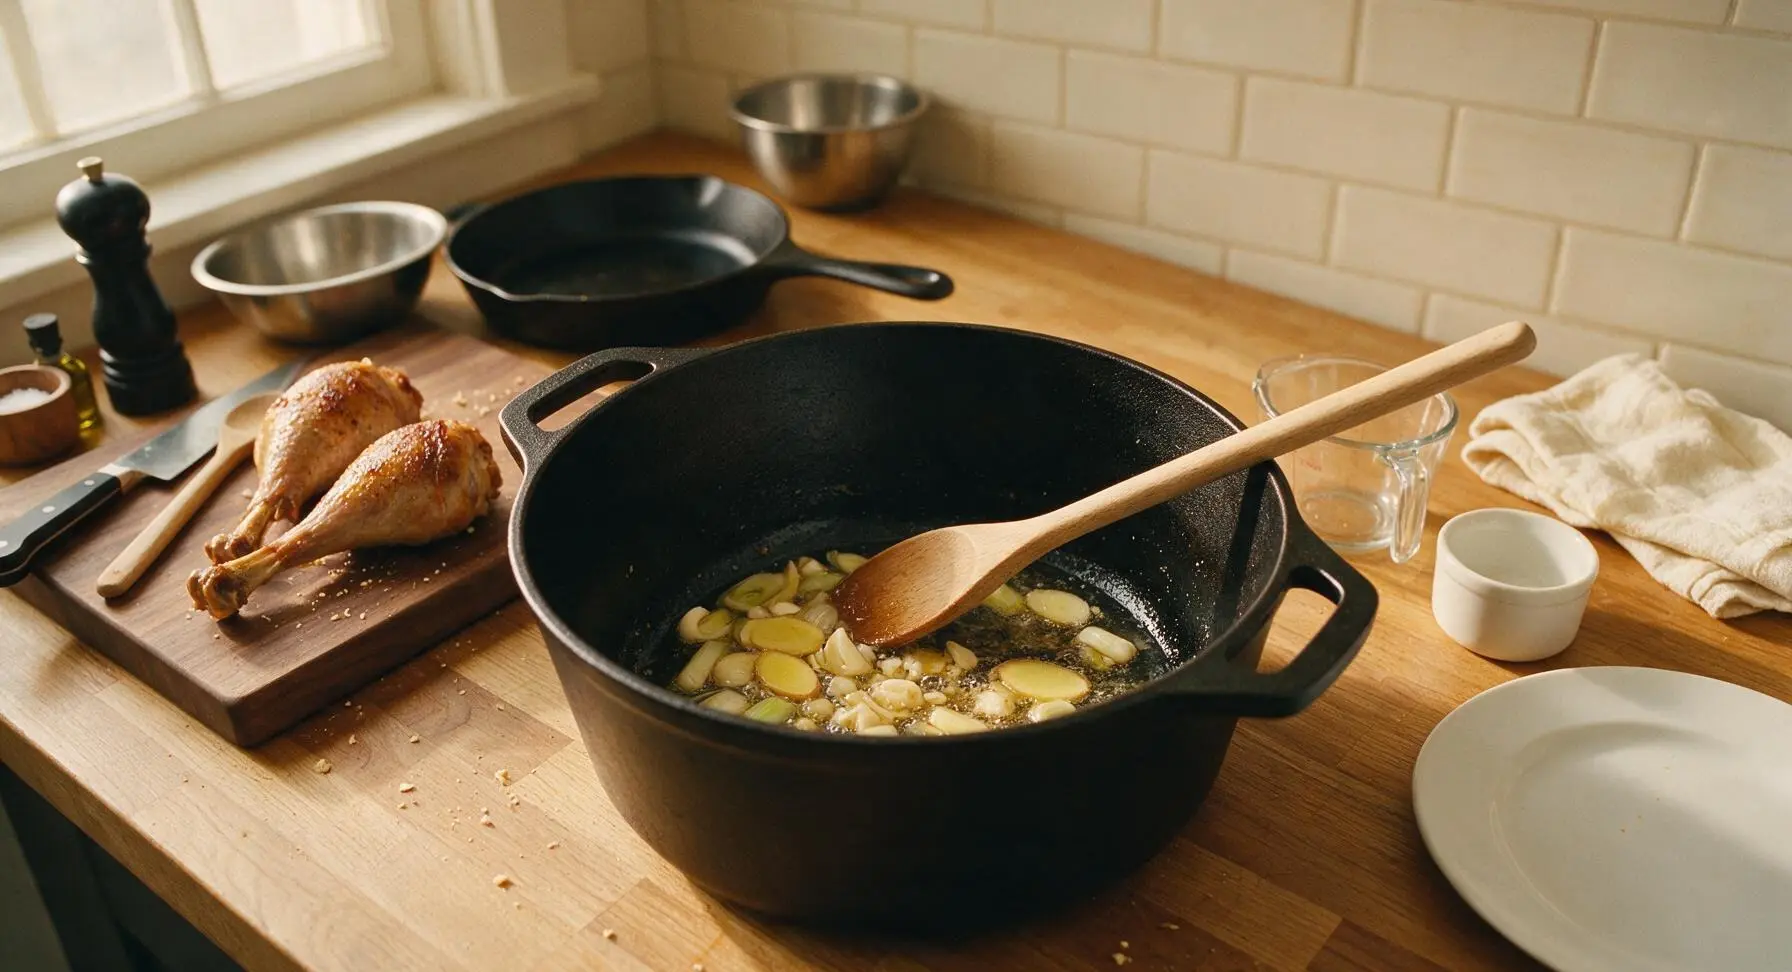
Reduce stovetop heat to medium, leaving 1 tbsp of rendered turkey fat in the Dutch oven (drain any excess). Add crushed garlic cloves, thinly sliced ginger, and the white/light green parts of the scallions (sliced into 5cm pieces, reserve dark green tops for garnish). Saute for 2 minutes, stirring constantly with the beech wood spoon, until fragrant and slightly softened, taking care not to burn the garlic.
Step 3
step3:Saute aromatic base
4

Add kimchi and seasonings

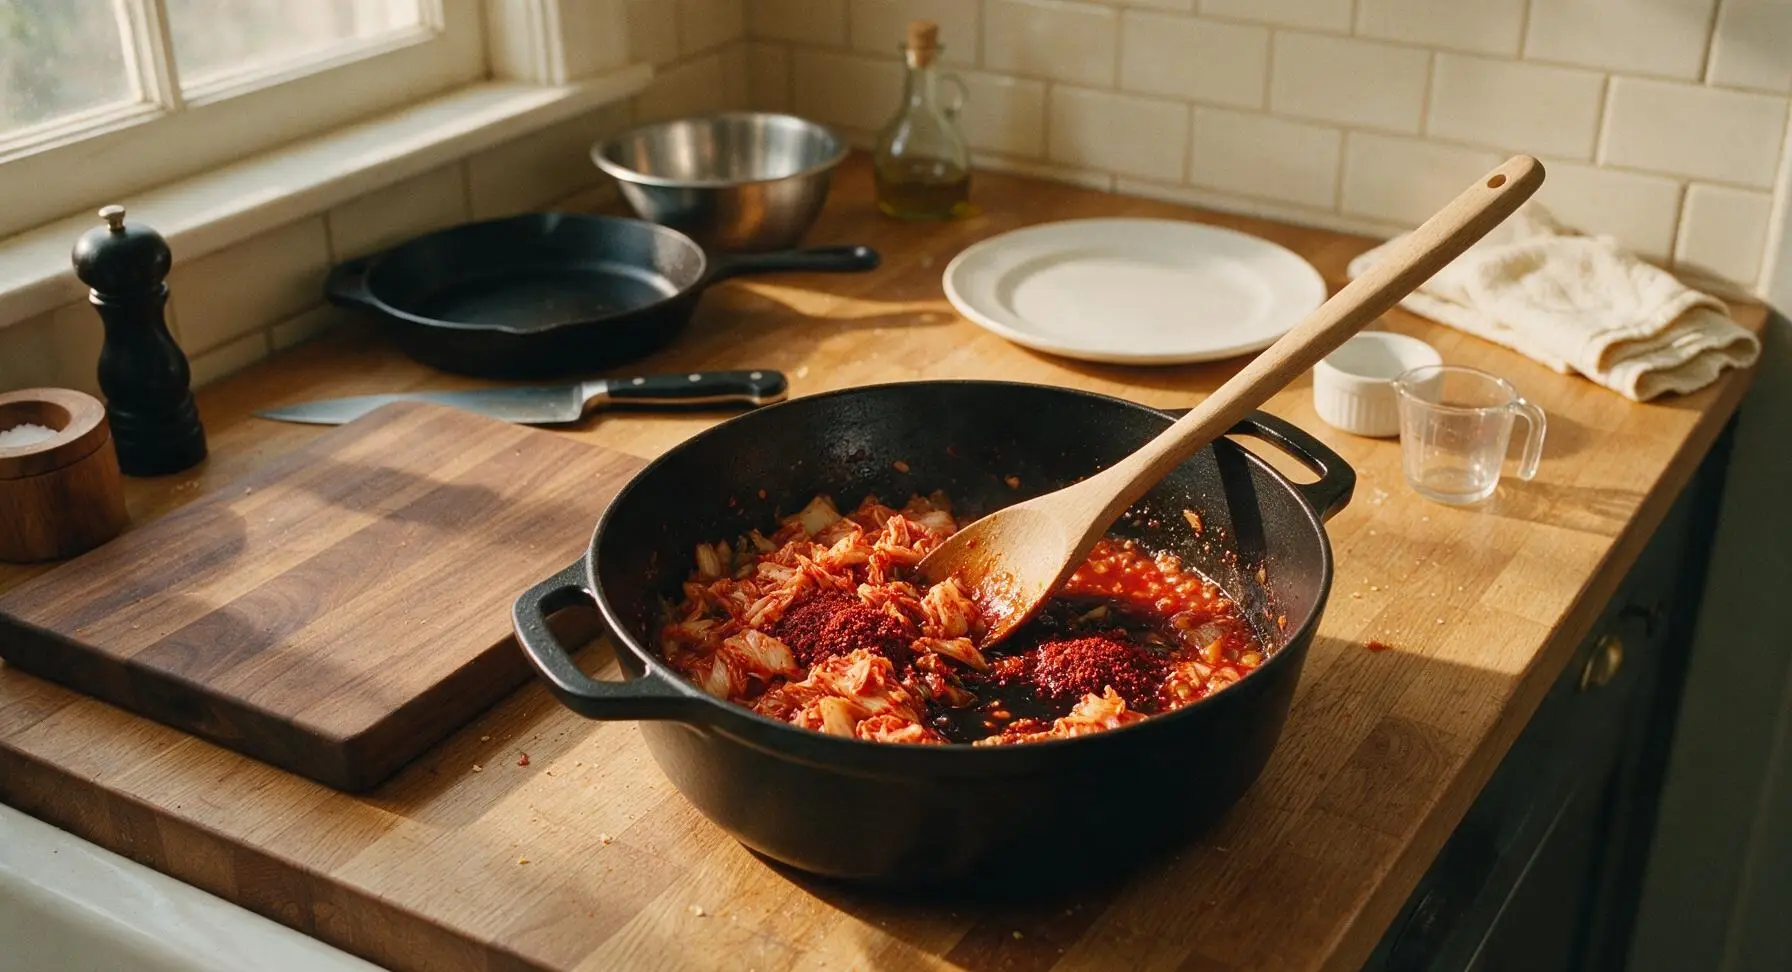
Add 2 cups (450g) of ripe fermented napa kimchi (cut into 5cm pieces, with all its brine), 3 tbsp low-sodium soy sauce, 1 tbsp gochugaru, and 1 tsp granulated sugar to the Dutch oven. Stir to combine with the aromatics, and cook for 3 minutes over medium heat, until the kimchi softens slightly and releases its bright tangy aroma.
Step 4
step4:Add kimchi and seasonings
5

Slow braise until tender

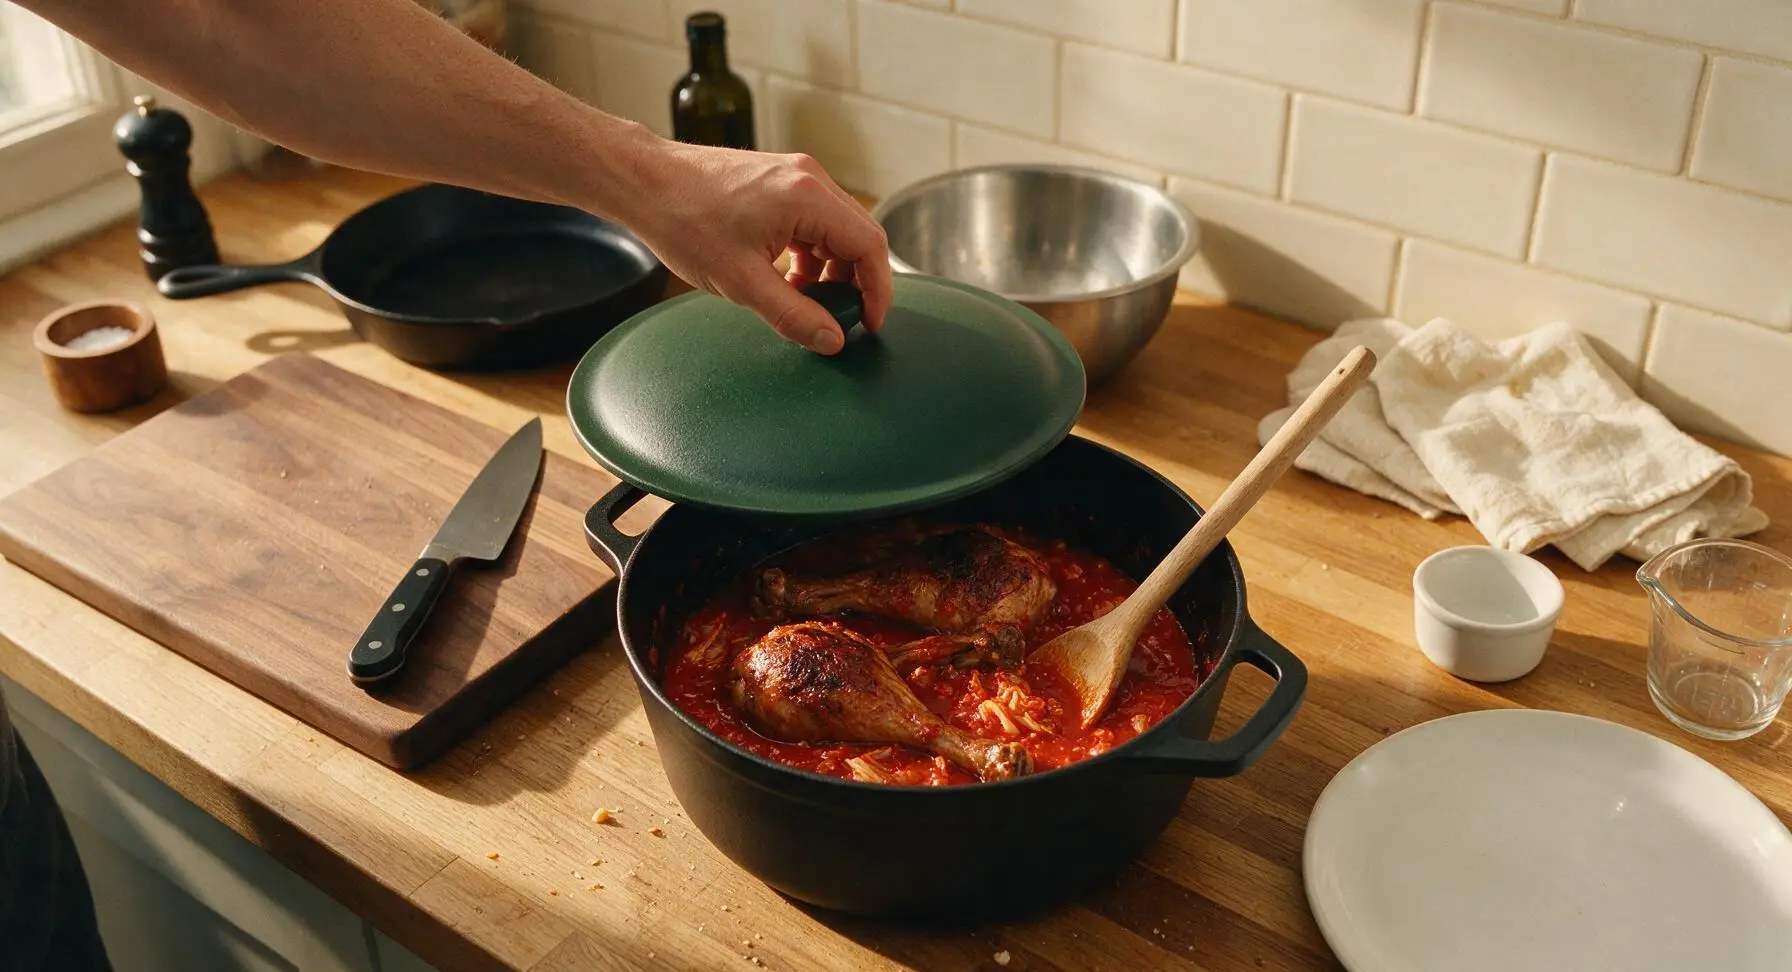
Return the seared turkey legs to the Dutch oven, nestling them into the kimchi mixture so they are half-submerged in liquid. Bring the sauce to a gentle simmer, then cover the pot with its matching forest green lid. Reduce heat to low, and braise for 1 hour, turning the turkey legs once at the 30-minute mark with the silicone tongs. The turkey is done when the meat pulls easily away from the bone with a fork, reaching an internal temperature of 165°F (74°C).
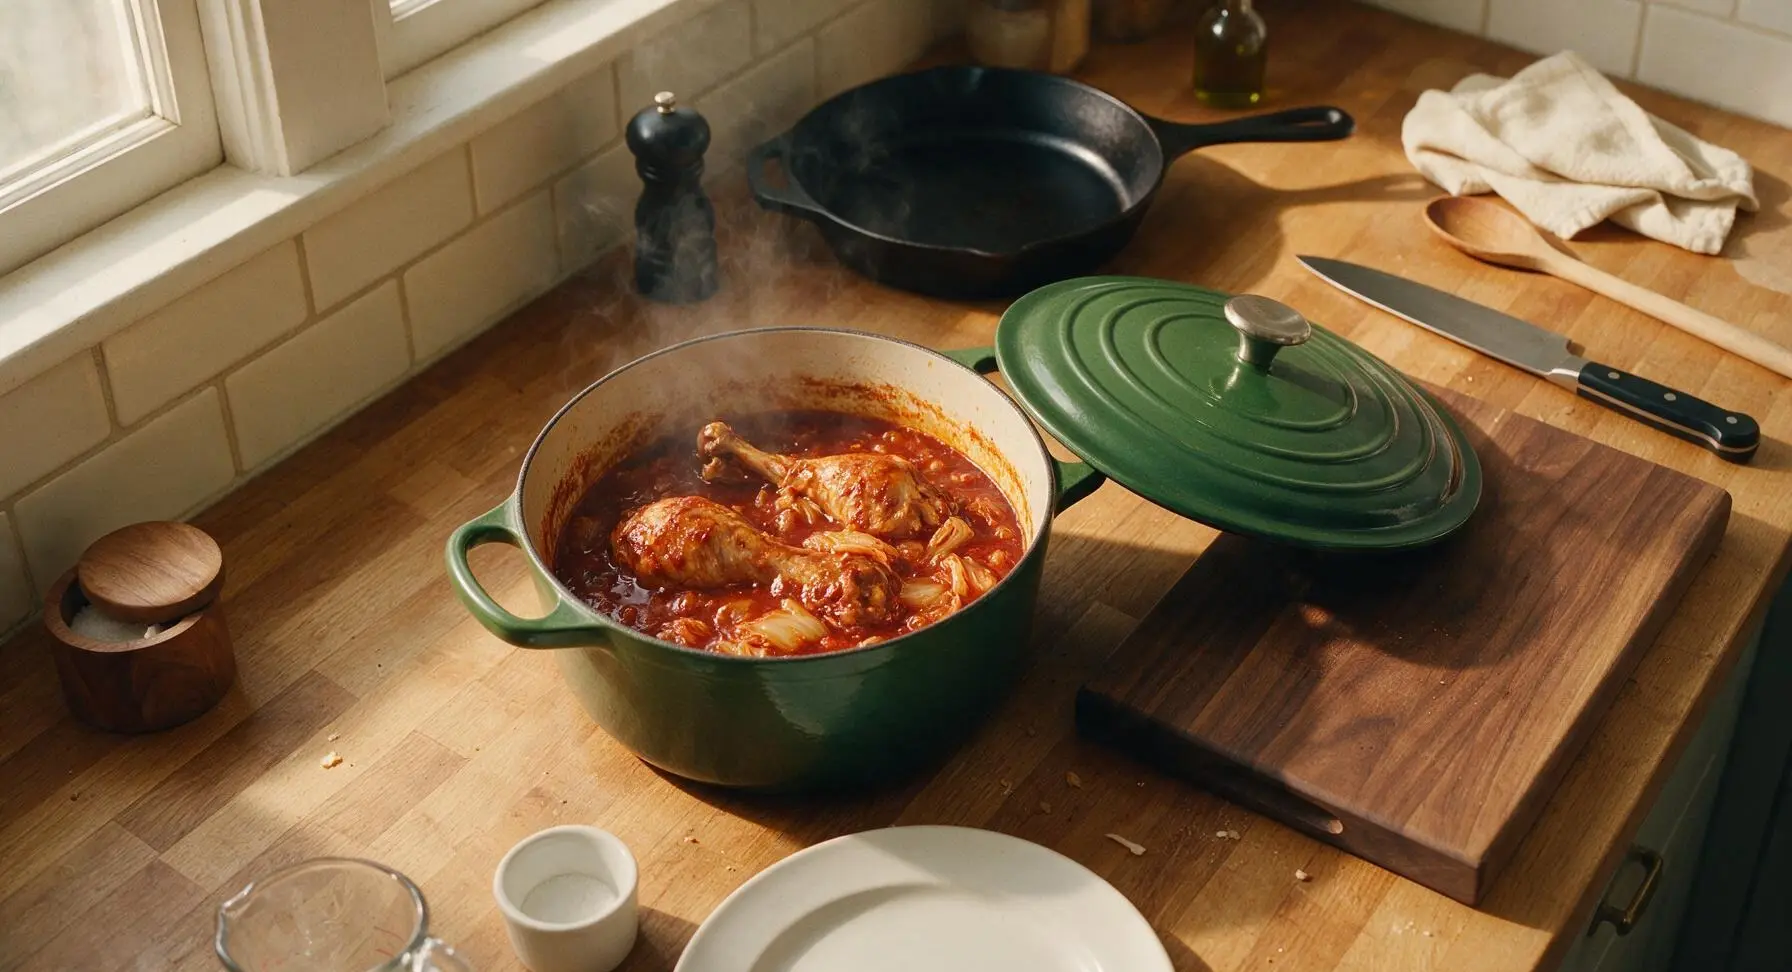
Step 5
step5:Slow braise until tender
Step 5
step5:Slow braise until tender
6

Rest and adjust sauce

Using the tongs, transfer the braised turkey legs back to the acacia cutting board to rest for 5 minutes, then split each leg into two equal portions (drumstick and thigh) with the chef knife. While the turkey rests, turn heat to medium, and simmer the kimchi sauce in the uncovered Dutch oven for 3-4 minutes to thicken slightly, stirring occasionally with the wooden spoon. Stir in 1 tbsp toasted sesame oil, and taste to adjust seasoning if needed.
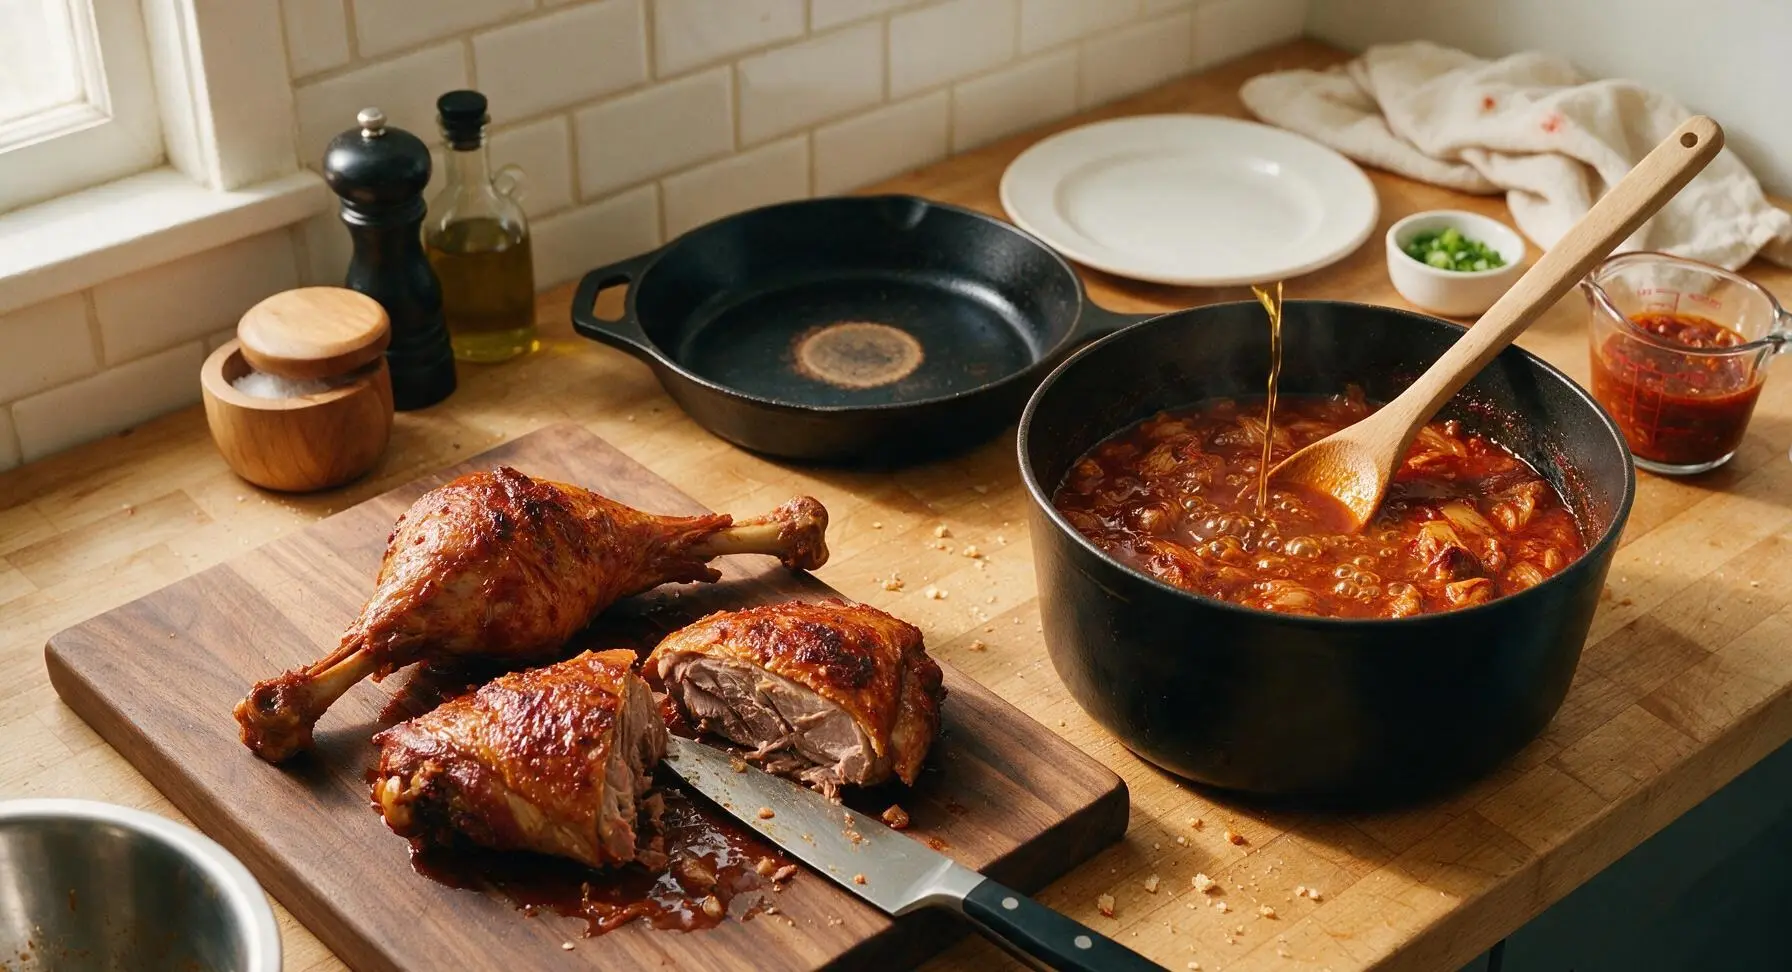
Step 6
step6:Rest and adjust sauce
7

Plate and garnish

Place one portion of rested turkey on each matte cream stoneware dinner plate. Use the small stainless steel ladle to pour a generous ½ cup of thickened kimchi sauce and vegetable chunks over and around each turkey portion. Thinly slice the reserved dark green scallion tops, and sprinkle them over the turkey, along with 1 tsp of toasted white sesame seeds for garnish. Serve immediately.
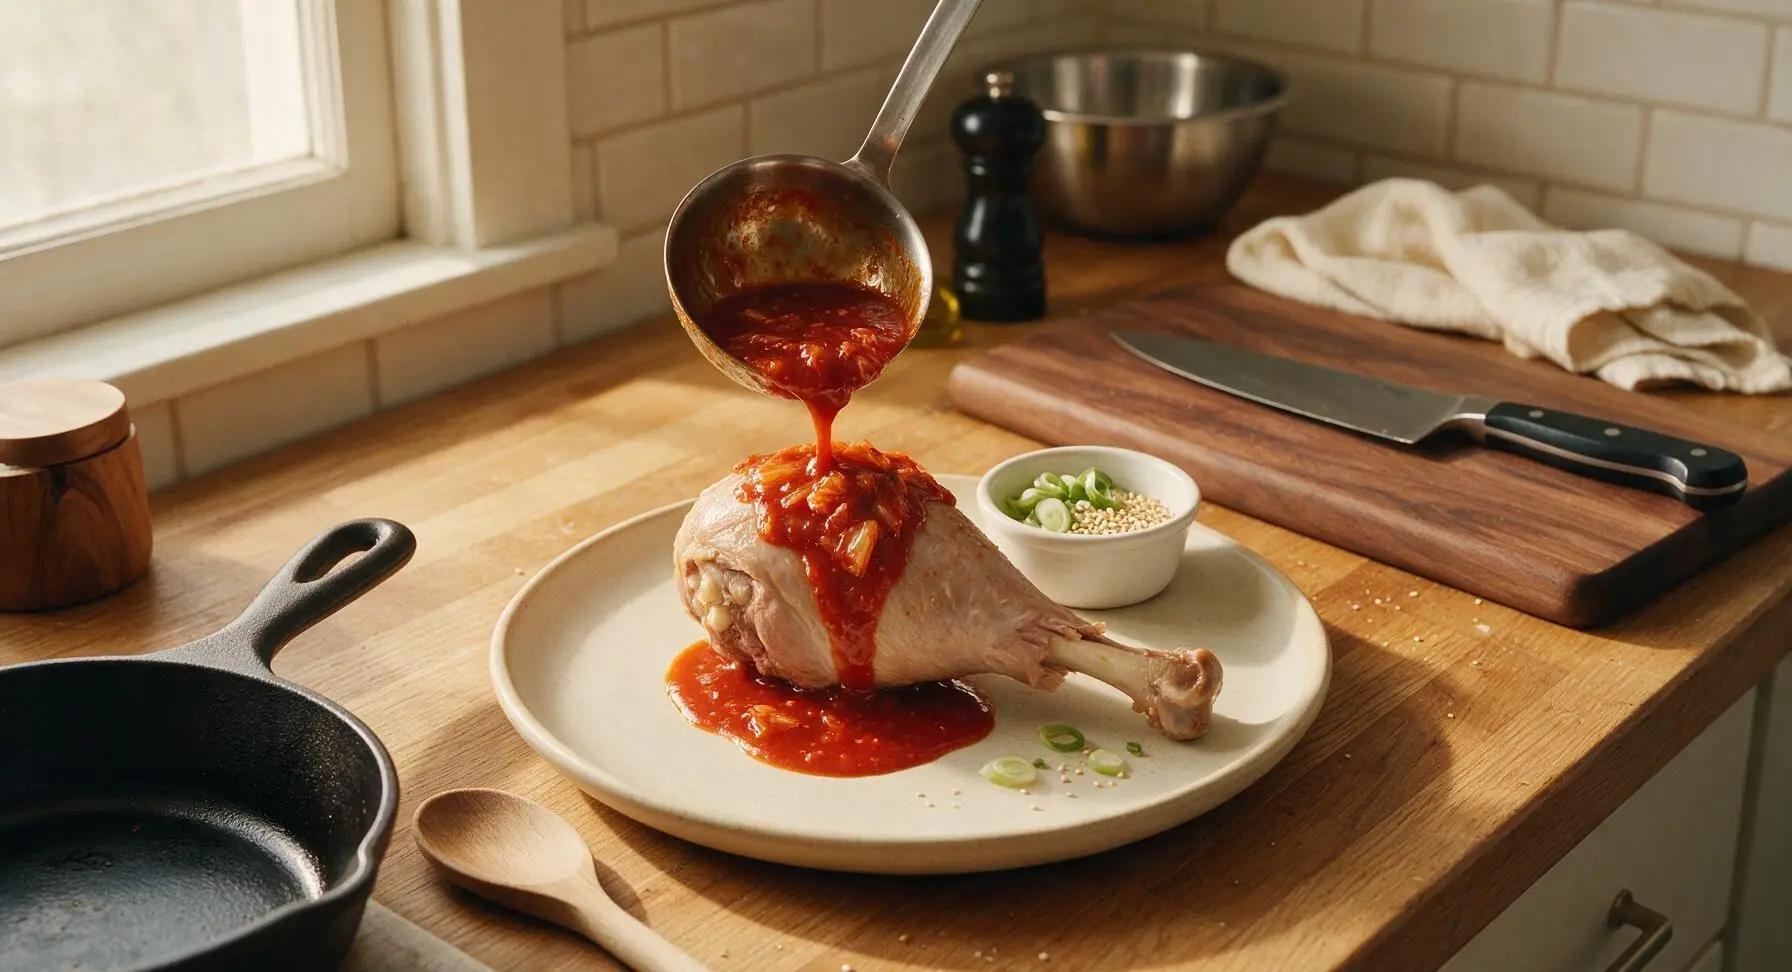
Step 7
step7:Plate and garnish

Tips

1.Use fully ripe, sour kimchi (fermented for 2+ weeks, stored in the back of the fridge) for this recipe instead of fresh, mild kimchi: the deep tangy, umami fermented flavor cuts through the richness of the turkey skin and creates a more complex braising sauce, while fresh kimchi will taste flat and overly cabbage-y after long cooking.
2.Take time to pat the turkey skin completely dry with paper towels before seasoning and searing: any residual moisture on the skin will cause it to steam instead of crisping, leading to pale, rubbery skin that won’t hold up to the braising liquid or develop a nice roasted flavor.
3.Keep the braise at a very low, gentle simmer (only 2-3 small bubbles breaking the surface every second) rather than a rolling boil: high heat will cause the turkey muscle fibers to seize up, leading to tough, stringy meat instead of the tender, fall-off-the-bone texture this recipe is designed for.


✨ You May Also Like

Main Course
🍜 United Kingdom

A showstopping classic of tender seared beef, savory mushroom duxelles, and crisp prosciutto wrapped in flaky golden puff pastry, baked to juicy perfection.

⏱️ 2 hours 1Main Course ★ 4.7
Main Course
🍜 India

Tender charred marinated chicken simmered in a rich, spiced creamy tomato sauce, this iconic Anglo-Indian curry pairs perfectly with basmati rice or warm naan.

⏱️ 50 minuteMain Course ★ 4.6
Main Course
🍜 Thailand

Classic tangy, sweet, and savory Thai stir-fried rice noodles with shrimp, tofu, and crunchy garnishes, balancing all five core Thai flavor profiles.

⏱️ 30 minuteMain Course ★ 4.5
Main Course
🍜 United Kingdom

Crispy golden beer-battered cod and fluffy double-fried chips, served with tangy tartar sauce and malt vinegar: the timeless, beloved British pub comfort classic.

⏱️ 45 minuteMain Course ★ 4.7
Main Course
🍜 Mexico

Smoky, chile-marinated pork tacos with caramelized pineapple, fresh cilantro, and lime: a beloved classic Mexican street food perfect for casual summer gatherings.

⏱️ 1 hour 45Main Course ★ 4.8
Main Course
🍜 United States

Crunchy Fritos corn chips layered with savory beef chili and melted cheddar, topped with cool, zesty fixings for a beloved, cozy Tex-Mex comfort food.

⏱️ 35 minuteMain Course ★ 4.8

Kimchi Turkey Leg:Frequently Asked Questions

1.Can I use boneless, skinless turkey legs instead of the bone-in, skin-on cut called for? ▾
I strongly recommend sticking to bone-in, skin-on legs for the juiciest, most flavorful result—the bone adds deep savoriness as it braises, and the skin renders rich fat that melds perfectly with the kimchi. If you only have boneless, skinless legs, cut braise time by 30 minutes and add 1 tablespoon of neutral oil to prevent dry, stringy meat.
2.How do I tell if my kimchi is ripe enough for this braise? ▾
Ripe fermented kimchi tastes tangy, slightly fizzy, and soft (not crisp like fresh-made kimchi), usually 2-3 weeks old when stored in the fridge. If your kimchi is still too fresh and crisp, let it sit on the counter for 1-2 days to kickstart extra fermentation, and be sure to reserve all its brine for the braising liquid.
3.Can I make this dish less spicy for kids or people with low heat tolerance? ▾
Absolutely! First, cut the gochugaru measurement in half, or skip it entirely for a very mild version. You can also rinse your kimchi lightly under cold water to remove some surface chili before chopping, which tones down heat without stripping away that signature tangy umami flavor at the core of the dish.
4.How long does it take for the turkey leg to reach fall-off-the-bone tenderness? ▾
When braised low and slow at 325°F in a covered Dutch oven, plan on 2 to 2.5 hours of total cook time. You’ll know it’s done when you can twist the drumstick bone easily with tongs, and the meat pulls away from the bone without resistance—no tough, chewy bits left to work through.
5.Do I really need to sear the turkey legs first before adding braising ingredients? ▾
Yes, that quick sear is non-negotiable for deep, rounded flavor! Pat the turkey skin completely dry first, then sear in a hot oiled Dutch oven for 3-4 minutes per side until deeply golden. This builds a toasty Maillard reaction crust and renders excess skin fat you can’t get from braising alone.
6.Can I use regular high-sodium soy sauce instead of low-sodium? ▾
You can, but you’ll need to adjust the ratio to avoid an overly salty final dish. Cut the soy sauce measurement by 1/3, and taste the braising liquid before adding the turkey—if it tastes too briny, add a splash of water or pinch of sugar to balance it, since kimchi brine already carries quite a bit of salt.
7.What sides pair best with this slow-braised kimchi turkey leg? ▾
For a cozy autumn meal, I love serving this over steamed short-grain white rice to soak up all the tangy braising liquid, with a side of quick pickled cucumbers or roasted butternut squash. Buttery mashed potatoes or crusty sourdough also work beautifully to mop up every last bit of savory sauce.
8.Can I make this recipe in a slow cooker instead of the oven? ▾
Totally! After searing the turkey legs and sautéing your garlic and kimchi, transfer everything to your slow cooker, pour in the soy sauce and reserved brine, and cook on LOW for 4 to 5 hours. Avoid cooking on HIGH, as that can make the turkey meat tough and stringy instead of melt-in-your-mouth tender.
9.How far in advance can I make this dish, and how do I store leftovers? ▾
This braise actually tastes better the next day, as the flavors meld and deepen while resting! Let it cool completely, then store in an airtight container in the fridge for up to 4 days. Reheat gently in a covered pot on the stovetop over low heat so the turkey doesn’t dry out or get rubbery.
10.What if I don’t have gochugaru on hand? What’s a good substitute? ▾
If you don’t have Korean gochugaru, use half the measured amount of standard crushed red pepper flakes for a similar gentle heat, since crushed red pepper is sharper and spicier per teaspoon. Skip hot sauce as a swap, because its added vinegar will throw off the balanced umami and tang of the braising liquid.
11.Should I chop the kimchi before braising, or leave it in whole pieces? ▾
I recommend chopping your kimchi into 2-inch chunks before adding it to the pot. This lets it break down slightly as it cooks, infusing every bit of braising liquid with tangy flavor, while still leaving tender, recognizable kimchi bites to serve alongside the turkey. Whole large leaves tend to clump and distribute flavor unevenly.
12.My braising liquid is too thin when the turkey finishes cooking—how do I fix that? ▾
Once the tender turkey is out of the pot, crank the stovetop to medium-high and simmer the remaining liquid for 5 to 7 minutes to reduce it to a thick, glossy sauce. If you want it even richer, stir in a tiny slurry of 1 teaspoon cornstarch mixed with 1 tablespoon cold water to help it thicken faster.
13.Can I use turkey thighs instead of legs for this recipe? ▾
Absolutely! Bone-in, skin-on turkey thighs work just as well as legs, with the same rich dark meat that stays juicy through long, slow braising. Keep the cook time almost identical, just check for doneness at the 2-hour mark, since thighs are often slightly smaller than full turkey legs and may cook a touch faster.
14.Do I need to add extra broth or water to the braise to keep it from drying out? ▾
You likely won’t need extra liquid! The kimchi brine, rendered turkey fat, and juice released from the kimchi and garlic as it cooks will create more than enough braising liquid. If you notice the liquid level is very low after searing, add just 1/4 cup low-sodium chicken broth to prevent the pot bottom from scorching.

Comments (11)

2 days ago

OMG y’all, this slow-braised kimchi turkey leg was an absolute game changer for our Sunday family dinner! I was worried the kimchi would be too tangy for my picky 7 and 9 year old, but they both cleaned their plates and asked for seconds. The meat fell right off the bone, no knife needed! Only thing I adjusted was adding a tiny splash of rice vinegar at the end because I love that extra zing. 10/10 will be making this again for our next neighborhood potluck.

yesterday

Wait the rice vinegar addition sounds chef’s kiss! Did you use unseasoned or seasoned rice vinegar? I have both in my pantry and don’t wanna mess it up when I make this this weekend!

yesterday

So glad your whole family loved this! Unseasoned rice vinegar works best here if you want that bright, clean zing without extra added salt or sugar, but seasoned will work just fine if that’s all you have — just cut back a touch on the added soy sauce to balance it out!

3 days ago

Pretty solid recipe overall! Cook time was spot on for me, turkey leg was fall-apart tender after 90 minutes like the recipe said. Only knock is I used really old, super fermented kimchi from the back of my fridge and it came out way sourer than I expected. My roommate still ate two legs though so that’s a win. Would make again with fresher kimchi next time.

2 days ago

Thanks for the honest feedback! Super fermented kimchi can definitely amp up the sour note — if you end up with older kimchi next time, try stirring in a teaspoon of honey or brown sugar at the 45 minute mark to mellow out that tang, it balances perfectly!

1 week ago

SO good, perfect for my weekly meal prep! I made a batch on Sunday, portioned it out with rice and roasted broccoli, and it held up amazing all week in the fridge. The flavors actually got better each day as the kimchi braising sauce soaked into the turkey. Already added this to my regular rotation!

2 weeks ago

I was a little skeptical about pairing kimchi with turkey leg at first — I’ve always done my turkey legs with plain old barbecue sauce! But my granddaughter convinced me to try this, and wow, I’m a convert. The depth of flavor is unreal, the braising liquid makes the most incredible gravy when you thicken it a little with cornstarch. My bridge club went crazy for it when I brought leftovers last week!

1 week ago

Oh the cornstarch gravy trick is genius! I never thought to thicken the braising liquid, I just poured it straight over rice and it was good but that would take it over the top. Did you use equal parts cornstarch and water to make the slurry?

1 week ago

Yes honey, 1 tablespoon cornstarch mixed with 1 tablespoon cold water, stirred in during the last 10 minutes of cooking! Comes out smooth every time, no lumps if you mix the slurry really good first.

5 days ago

Taste was great, but I had a little trouble with the recipe directions. It says medium difficulty, which felt accurate for me, but I wish it specified what heat setting to use for the braise once you put the lid on — I had my stove on medium high at first and the bottom of the pot burned a little before I turned it down. Ended up salvaging most of it though, and the flavor was still fire. Would recommend making sure your braise is at a low simmer, not a rolling boil.

3 days ago

So sorry you ran into burning issues! You’re totally right, the braise should be held at a low, gentle simmer (low to medium-low on most stovetops) — I’ve updated the recipe card to add that note so other folks don’t run into the same problem. Glad you were able to salvage it and still enjoyed the flavor!

1 week ago

Made this after a long day hike last weekend and it was the perfect cozy, filling meal! I swapped regular kimchi for vegan kimchi because that’s what I had on hand, and used turkey legs from the local farmers market. The meat was so juicy, and the kimchi cut through the richness of the dark meat perfectly. Will absolutely be making this after my next backpacking trip too, it’s such great comfort food.

2 hours ago

Wait, hold on, I never thought to use kimchi in a braise like this! I had a pack of turkey legs in the freezer I didn’t know what to do with, and this popped up on my feed. Game. Changer. I added a handful of chopped scallions and a sprinkle of sesame seeds on top when serving, and my partner said it’s better than the Korean braised short ribs we get at our favorite spot downtown. No cap.

30 minutes ago

Fr the flavor is insane! Just a heads up, don’t use super old kimchi like I did lmao, it gets way too sour. Fresher kimchi is the move here.

5 minutes ago

Love the scallion and sesame seed topping idea — that adds such a nice fresh crunch and nutty note to cut through the rich braise! So glad you and your partner enjoyed it.

yesterday

Tried this for a random weeknight dinner and it was way easier than I expected for a medium difficulty recipe! I thought 90 minutes would be too long for a weeknight, but most of that time it’s just simmering on the stove so I was able to answer emails and fold laundry while it cooked. My only note is I wish it had a little more heat — I added a tablespoon of gochugaru halfway through and that fixed it right up for me.

2 hours ago

The gochugaru add is such a good call! I threw in a couple sliced fresh chilies when I made it last week and it had the perfect kick, will have to try gochugaru next time for that deeper smoky heat.

just now

As someone who puts kimchi on literally everything, this recipe was made for me. The slow braise infuses every bite of turkey with that funky, spicy, umami kimchi flavor, no bland bites anywhere. I even drank a little cup of the leftover braising liquid like soup it was that good. Don’t judge me lmao. 10/10, no notes.

2 days ago

Made this for our office potluck yesterday and people were literally coming up to me asking for the recipe before they even finished their first bite! I made 6 turkey legs total and they were gone in 10 minutes flat. The only problem is now everyone is signing me up to bring it to every potluck for the rest of the year, oops. Worth it though.

yesterday

That’s the best kind of potluck problem to have! So glad it was such a hit with your coworkers — we recommend making a double batch next time, because people will definitely be coming back for seconds.

3 days ago

Overall really tasty, but I found the cook time a little off when I made this in my Dutch oven in the oven instead of on the stovetop. It took closer to 2 hours for the turkey leg to get fully tender instead of 90 minutes, so I had to hold dinner for my friends for half an hour. Flavor was 10/10 though, everyone raved, just budget extra time if you’re doing it in the oven!

2 days ago

Great callout! Oven temperatures can vary a lot, and braising in the oven often takes a touch longer than stovetop since the heat surrounds the pot more evenly. I’ll add an oven braise note to the recipe card recommending you budget an extra 20-30 minutes if you go that route, thanks for the feedback!



