
Kiss cookies (Hershey's Kiss)

title 1
Kiss cookies (Hershey's Kiss)
⏱️ cook time 35 minutes
🍽️ servings 12
⚡ Difficulty easy

intro

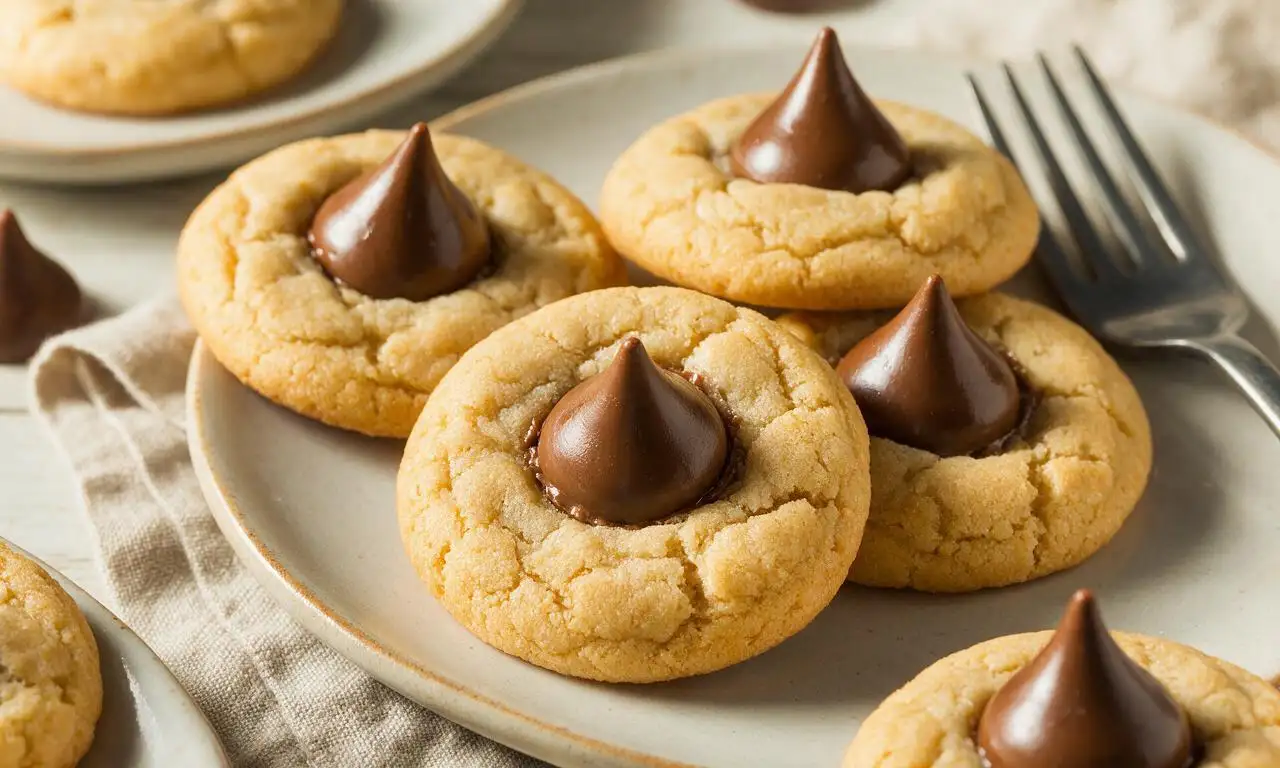
Soft, chewy buttery sugar cookies topped with a smooth milk chocolate Hershey's Kiss, a nostalgic, easy treat perfect for cookie trays and sweet snacking.

Ingredients

Unsalted butter 113 grams (½ cup / 1 stick, softened to room temperature)
All-purpose flour 270 grams (2 ¼ cups, spooned and leveled)
Hershey's Milk Chocolate Kisses 24 pieces (216 grams, unwrapped)
Granulated sugar (for dough) 100 grams (½ cup)
Packed light brown sugar 100 grams (½ cup)
Large egg 1 unit (50 grams, room temperature)
Pure vanilla extract 5 ml (1 teaspoon)
Baking soda 2 grams (½ teaspoon)
Fine table salt 1.5 grams (¼ teaspoon)
Granulated sugar (for rolling) 50 grams (¼ cup)

Steps

1

Prep oven and pan

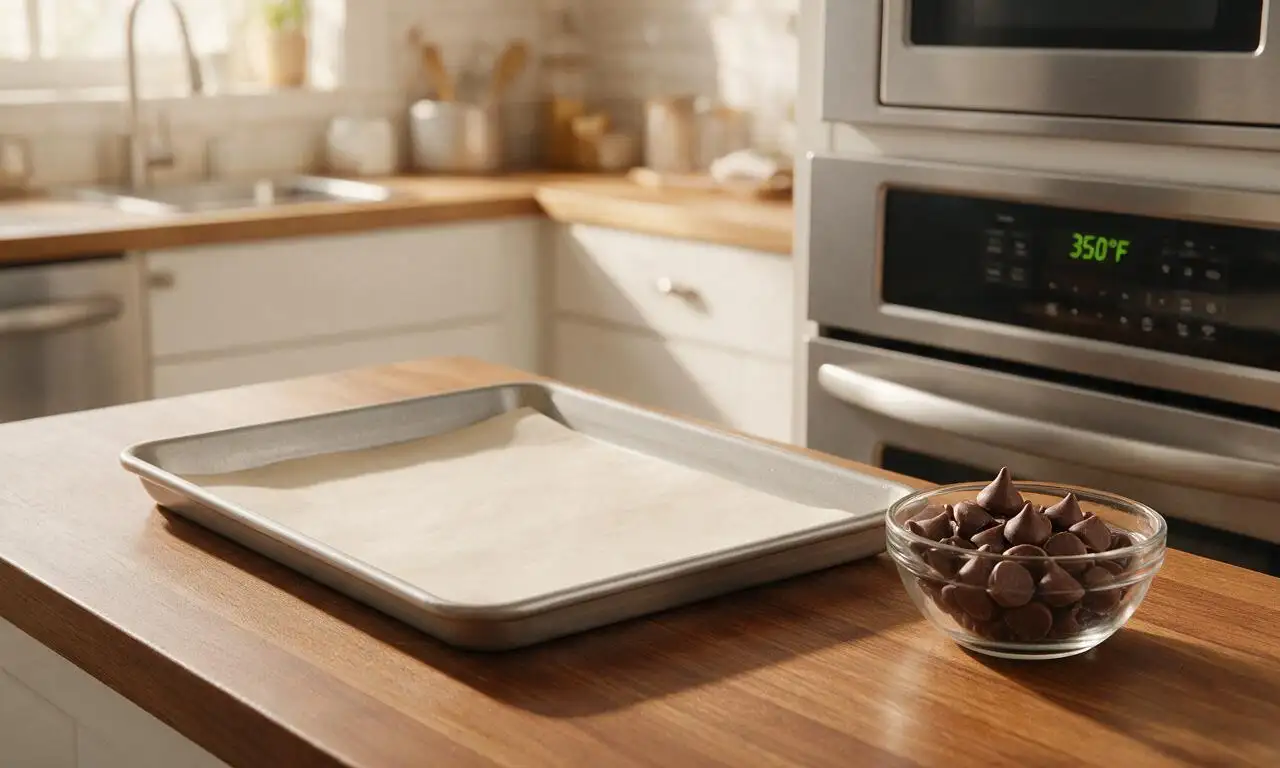
Preheat your oven to 175°C (350°F) with a rack positioned in the middle. Line a large rimmed baking sheet with parchment paper, unwrap all 24 Hershey's Kisses, and set them in a small bowl in the fridge to stay firm while you prepare the dough.
Step 1
step1:Prep oven and pan
2

Cream butter and sugars

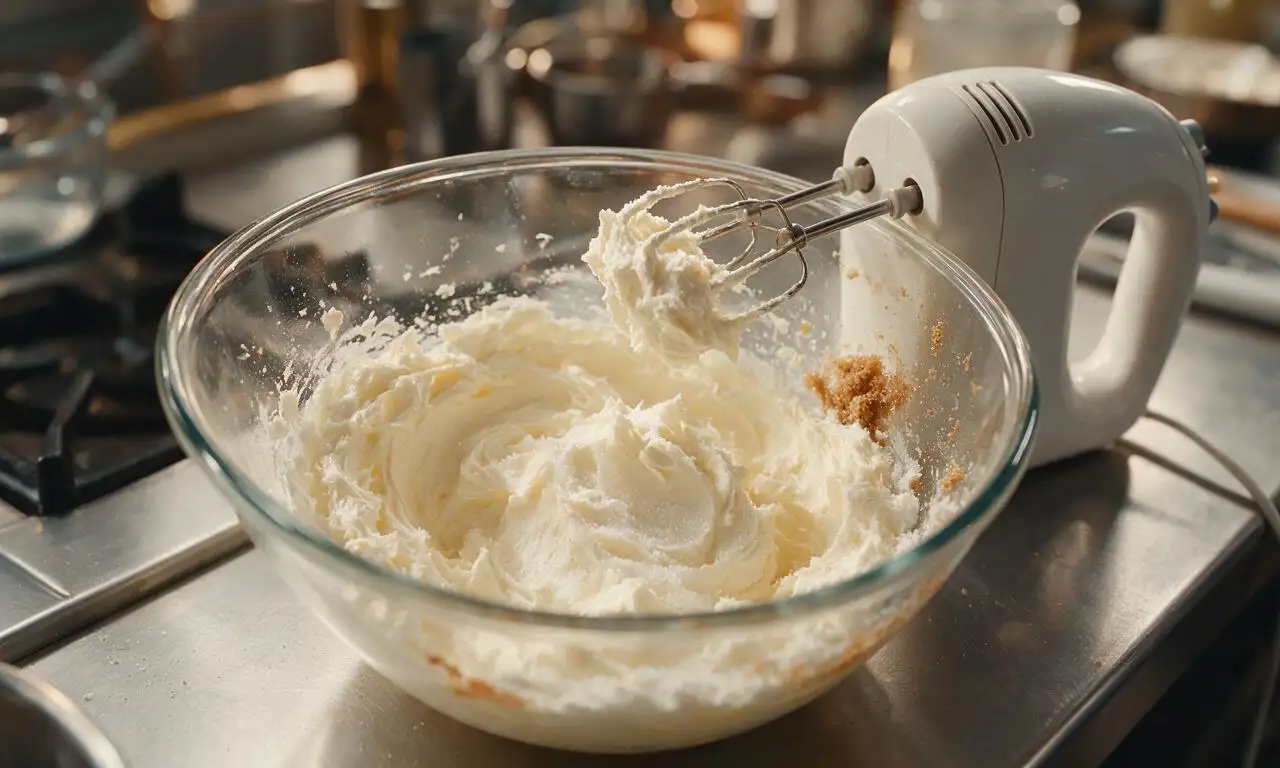
In a large mixing bowl, combine 113g softened unsalted butter, 100g granulated sugar (dough portion), and 100g packed light brown sugar. Beat with an electric mixer on medium speed for 2 full minutes, until the mixture is pale, fluffy, and light tan, scraping down the bowl sides once halfway through mixing.
Step 2
step2:Cream butter and sugars
3

Mix in egg and vanilla

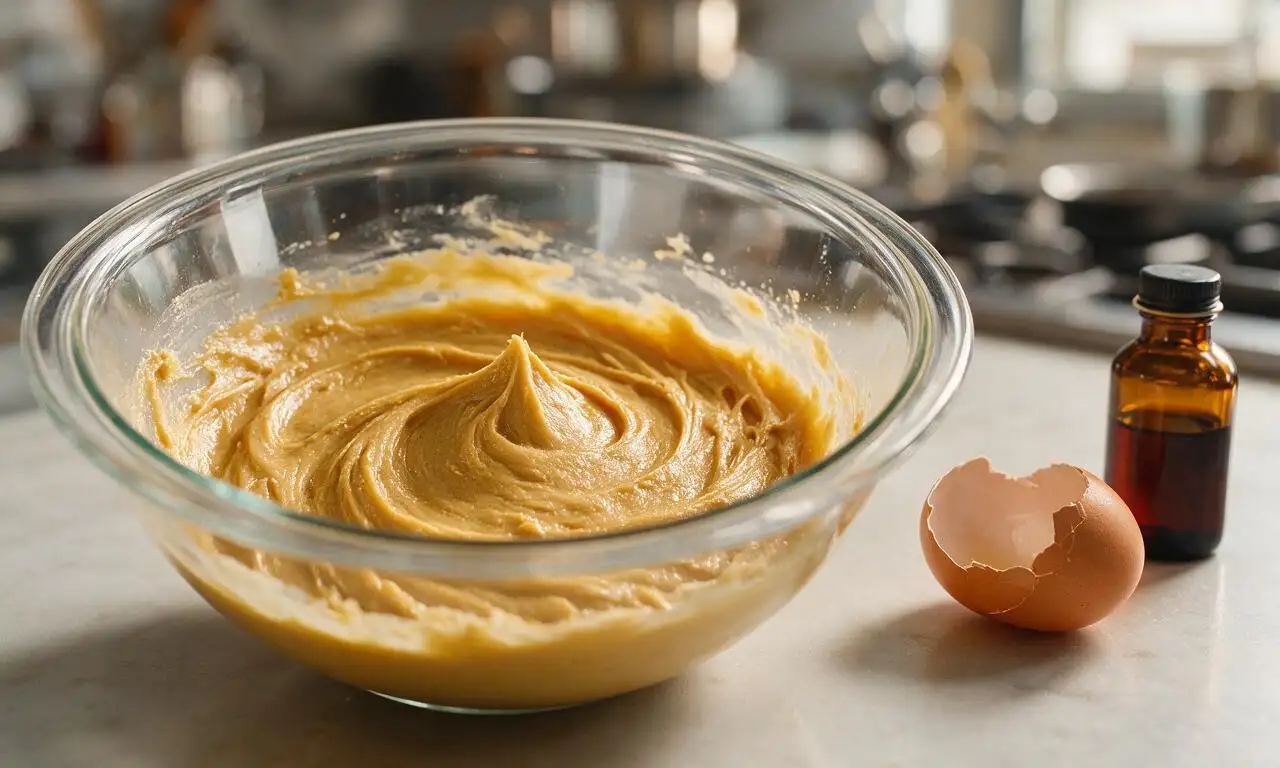
Add the room-temperature large egg and 5ml (1 tsp) vanilla extract to the creamed butter mixture. Beat on low speed for 30 seconds, just until fully incorporated, taking care not to overmix which would result in tough, dense cookies.
Step 3
step3:Mix in egg and vanilla
4

Fold in dry ingredients

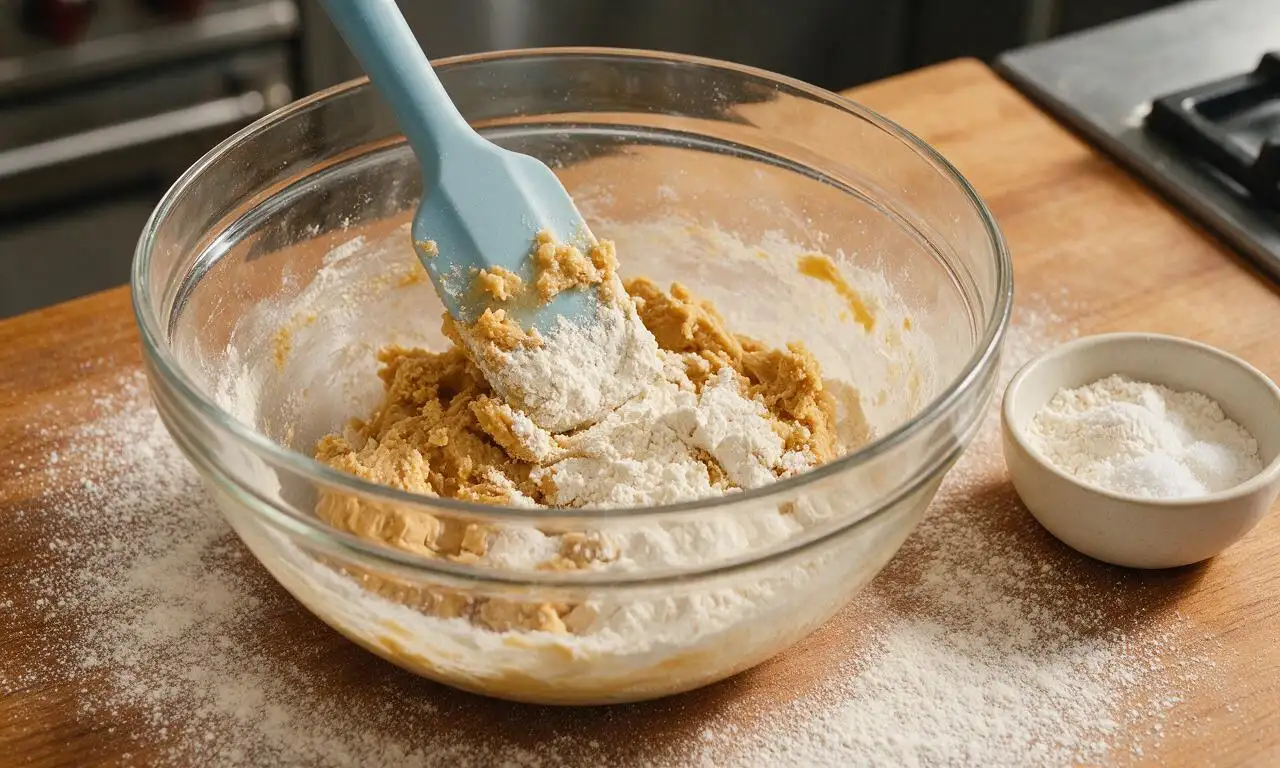
In a separate medium bowl, whisk together 270g spooned-and-leveled all-purpose flour, 2g (½ tsp) baking soda, and 1.5g (¼ tsp) fine salt to evenly distribute. Add the dry mix to the wet dough in 3 equal batches, folding with a silicone spatula after each addition, until no dry flour streaks remain.
Step 4
step4:Fold in dry ingredients
5

Portion and roll dough

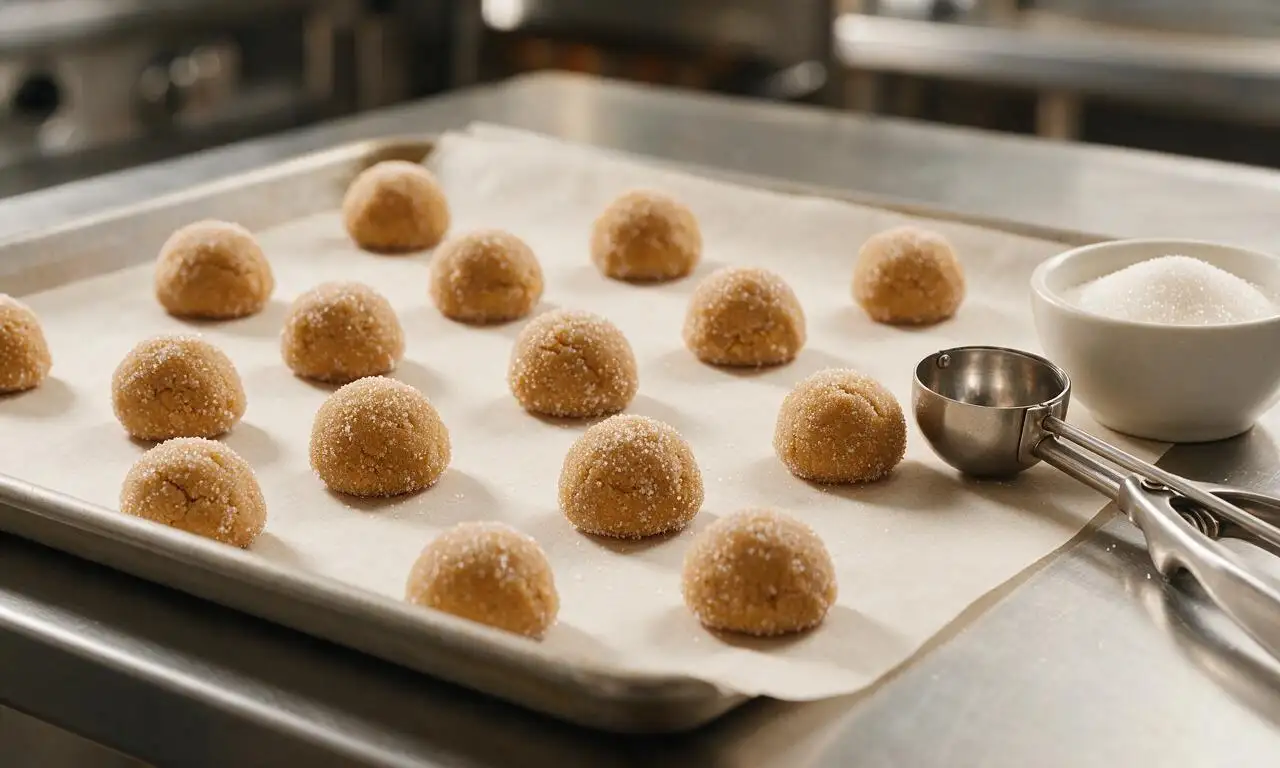
Scoop the dough into 24 equal 20g (1 heaping tablespoon) portions, rolling each between your palms into a smooth round ball. Roll each ball fully in the reserved 50g of granulated sugar for rolling to coat evenly, then place them 5cm (2 inches) apart on the prepared baking sheet to allow for spreading.
Step 5
step5:Portion and roll dough
6

Bake cookie rounds

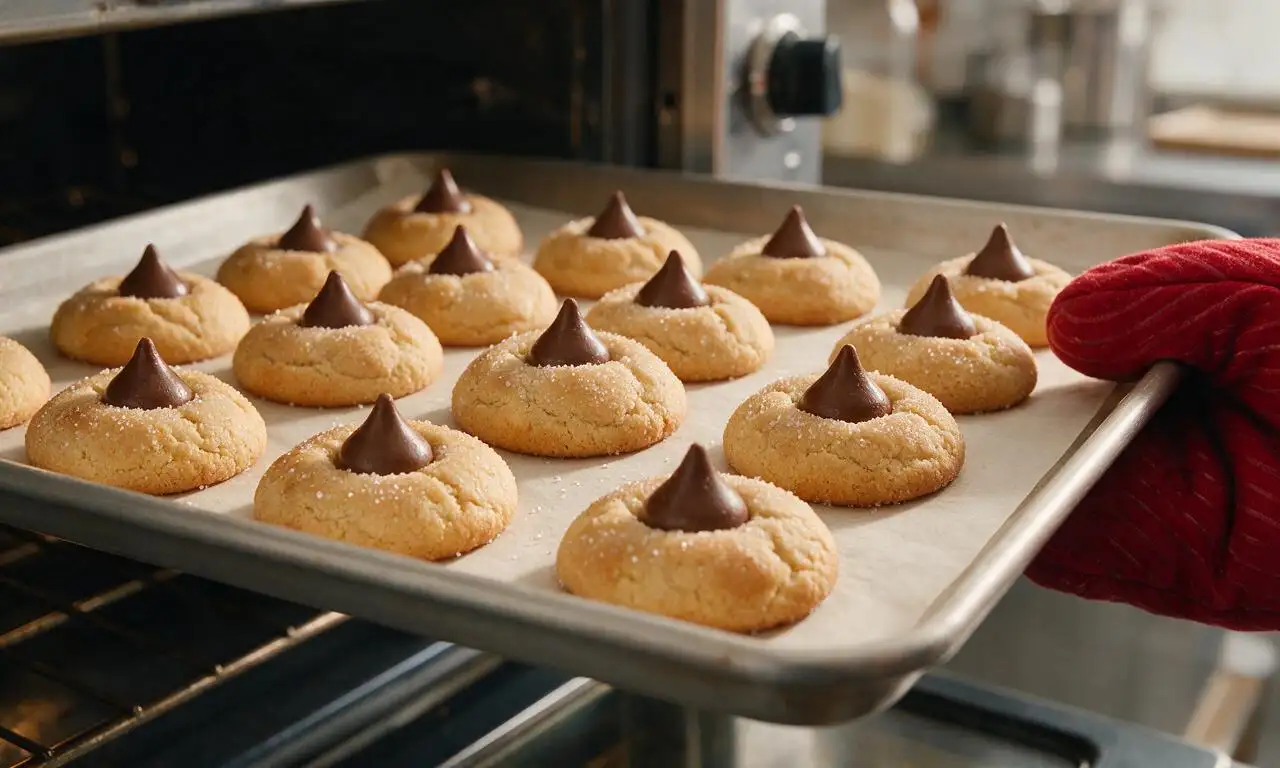
Bake one tray at a time in the preheated 175°C (350°F) oven for 9 to 10 minutes, until the cookie edges are just golden brown and the centers look slightly soft and underbaked. Do not overbake, as this will produce hard, crunchy cookies instead of soft, chewy ones.
Step 6
step6:Bake cookie rounds
7

Press kisses on cookies

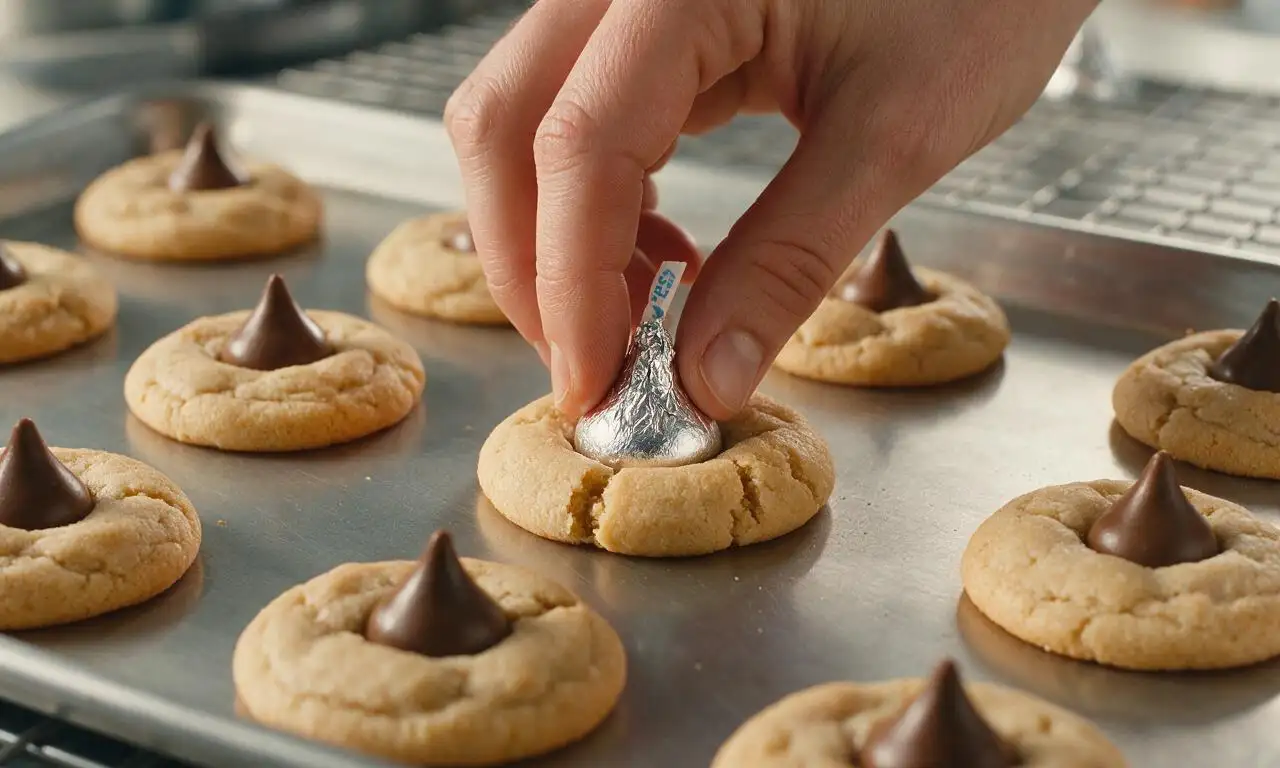
As soon as you pull the baking sheet out of the oven, press one cold Hershey's Kiss firmly into the center of each hot cookie, pressing down until the cookie cracks slightly around the edges. Let the cookies rest on the hot baking sheet for 5 full minutes to set, then transfer to a wire rack to cool completely so the chocolate firms up.
Step 7
step7:Press kisses on cookies

Tips

1.Chill unwrapped Hershey's Kisses in the refrigerator for 15 minutes before use to prevent the chocolate from fully melting and losing its signature pointed shape when pressed into hot cookies.
2.Use room-temperature butter (soft enough to leave an indent when pressed) and room-temperature egg, rather than melted butter or ice-cold ingredients, to create a smooth dough that spreads evenly for uniform, soft cookies.
3.For a festive twist, swap plain granulated rolling sugar for colored sanding sugar, or use seasonal Hershey's Kiss varieties (like candy cane or caramel) to match holiday or party themes.


✨ You May Also Like

Desserts & Baking
🍜 Italy

Creamy, coffee-kissed classic Northern Italian no-bake dessert, with layers of rum-spiked mascarpone cream, soft ladyfingers, and a rich cocoa dusting.

⏱️ 4 hours 3Desserts & Baking ★ 4.7
Desserts & Baking
🍜 France

Flaky, shatteringly crisp, buttery French croissants with golden exteriors and soft, airy layered interiors, perfect for pairing with coffee for a special morning treat.

⏱️ 12 hours Desserts & Baking ★ 4.5
Desserts & Baking
🍜 United States

Warm, spiced baked apples topped with a fluffy golden biscuit crust, this cozy dessert pairs perfectly with vanilla ice cream for cool-weather comfort.

⏱️ 55 minuteDesserts & Baking ★ 4.6
Desserts & Baking
🍜 United States

A star-spangled classic American blueberry pie with buttery flaky crust and bright sweet-tart filling, perfect for summer patriotic gatherings.

⏱️ 1 hour 25Desserts & Baking ★ 4.7
Desserts & Baking
🍜 United States

A beloved no-bake regional Maine candy with a chewy coconut-potato center coated in rich dark chocolate, a New England holiday staple since the 1870s.

⏱️ 2 hours 3Desserts & Baking ★ 4.8
Desserts & Baking
🍜 France

Luxuriously creamy, floral frozen custard made with aromatic Tahitian vanilla beans, boasting a smooth, rich texture that melts slowly on the tongue.

⏱️ 3 hours 3Desserts & Baking ★ 4.5

Kiss cookies (Hershey's Kiss):Frequently Asked Questions

1.When should I add the Hershey’s Kisses to the cookies so they don’t melt into a puddle or crack? ▾
Pull your cookies out of the oven as soon as the edges turn light golden, then let them rest on the hot baking sheet for 2 full minutes first. Gently press an unwrapped Kiss straight into the center of each cookie—don’t push all the way through. Let cookies cool fully on the sheet before moving, so the chocolate sets back up instead of oozing.
2.Why do my Hershey’s Kiss cookies turn out flat and crispy instead of soft and chewy? ▾
This almost always traces back to two common missteps: over-softened butter, or using a too-warm baking sheet. Your butter should be just soft enough to indent with a light finger press, not melted or greasy. Let baking sheets cool completely between batches, and chill scooped dough for 15 minutes before baking if your kitchen is warm to help cookies hold their chewy shape.
3.Can I make these cookies ahead of time for a holiday cookie tray or party? ▾
Absolutely! Fully cooled, assembled cookies stay fresh in an airtight container at room temperature for up to 5 days, layered between sheets of parchment paper to keep the chocolate Kisses from scuffing or sticking. For longer storage, freeze un-topped baked cookie bases for up to 3 months, thaw at room temp, then press in fresh Kisses right before serving for the best look and texture.

Comments (5)

3 days ago

OMG these are SO good! I made them for my son’s 3rd grade class holiday party and every single kid asked for seconds, even the super picky eaters who usually refuse anything homemade. The recipe was so easy to follow, no fancy ingredients needed, and total cook time was exactly what the card said. I swapped regular milk chocolate kisses for the candy cane ones for a festive twist and it worked perfectly. 10/10 will be making these every Christmas from now on!

2 days ago

Wait the candy cane swap sounds insane! Did you press them in right after baking the same way you do with regular kisses, or do they melt faster?

2 days ago

So glad these were a hit at the class party! The candy cane kiss swap is such a fun festive twist – they melt at almost the exact same rate as regular milk chocolate kisses, so just stick to the 1-2 minute post-bake wait before pressing them in and they’ll turn out perfect!

2 weeks ago

Game changer for work potlucks! I brought these to our office holiday potluck last week and the plate was empty in 10 minutes flat. People kept stopping by my desk all afternoon asking for the recipe. Super straightforward even for someone like me who burns toast half the time, no fancy equipment or weird ingredients required. Only quick tip: don’t overbake the cookie bases or they get too crumbly when you press the kiss in. Will absolutely be making these for every potluck next year too.

1 week ago

These were so easy to throw together for my daughter’s rec soccer team snack day! My only little hiccup was on the first batch I waited too long to press the kisses in after pulling the cookies out, so the chocolate didn’t stick at all and a few slid right off. Second batch I pressed them in about a minute out of the oven and they turned out perfect! Chewy, buttery, just the right amount of sweet. The whole team devoured them, even the kids who usually turn down baked goods.

5 days ago

So glad you nailed the second batch! The 1-2 minute wait post-bake is the sweet spot – long enough that the cookie doesn’t cave in when you press, but soon enough the heat melts the bottom of the kiss just enough to hold it tight. Soccer snack days are the best place for these, total kid crowd-pleaser!

2 hours ago

As someone who only has a tiny countertop toaster oven in my college dorm, I was shocked these turned out so good! I halved the recipe so it wouldn’t make a million cookies, messed around with the temp and time a little to work with my tiny oven, and used the milk chocolate kisses I had left over from Halloween. Perfect late-night study snack, my roommates are already begging me to make another batch before our finals next week.

5 minutes ago

Wait how did you adjust the bake time and temp for your toaster oven? I have one too and I always burn cookies in it, I can never get the settings right!

yesterday

Pro tip: Add a tiny dollop of creamy peanut butter on top of each cookie right before you press the Hershey’s Kiss in! It tastes like a peanut butter cup cookie, absolute chef’s kiss (pun intended). I made these for our weekly Sunday family dinner and my dad ate 4 in one sitting, he said they’re better than the ones his mom used to make when he was a kid. No notes, the recipe is perfect as written even with my little add-in.

2 hours ago

Wait how much peanut butter do you add? Like a little teaspoon sized dollop? I don’t want to add too much and make it run all over the place when it bakes!

30 minutes ago

That peanut butter addition sounds absolutely delicious! If you test it out, just make sure the peanut butter dollop is no bigger than 1/4 teaspoon so it doesn’t overflow when you press the kiss in – we might even have to test that variation for the site soon!



