
kitchen bouquet browning and seasoning sauce
intro
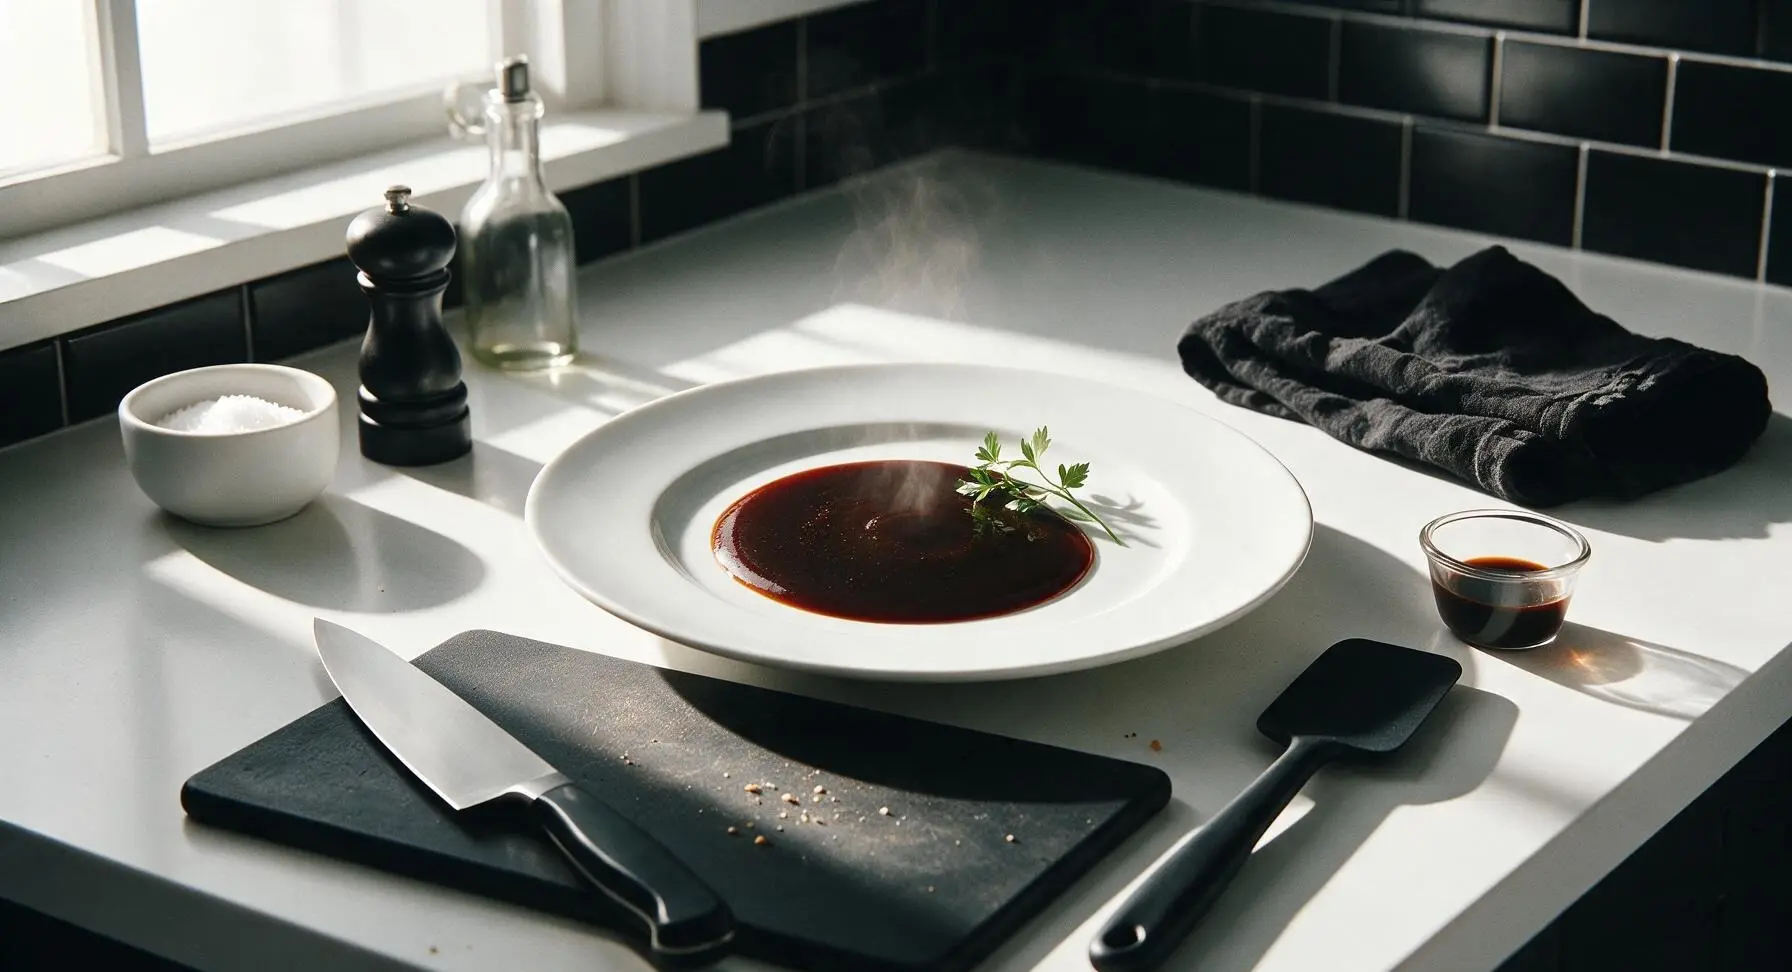
Homemade take on the classic American Kitchen Bouquet browning sauce: glossy deep mahogany hue, rich savory-sweet flavor, perfect for adding color and depth to gravies, stews, and roasts.
Ingredients
Steps
Prep Aromatic Vegetables
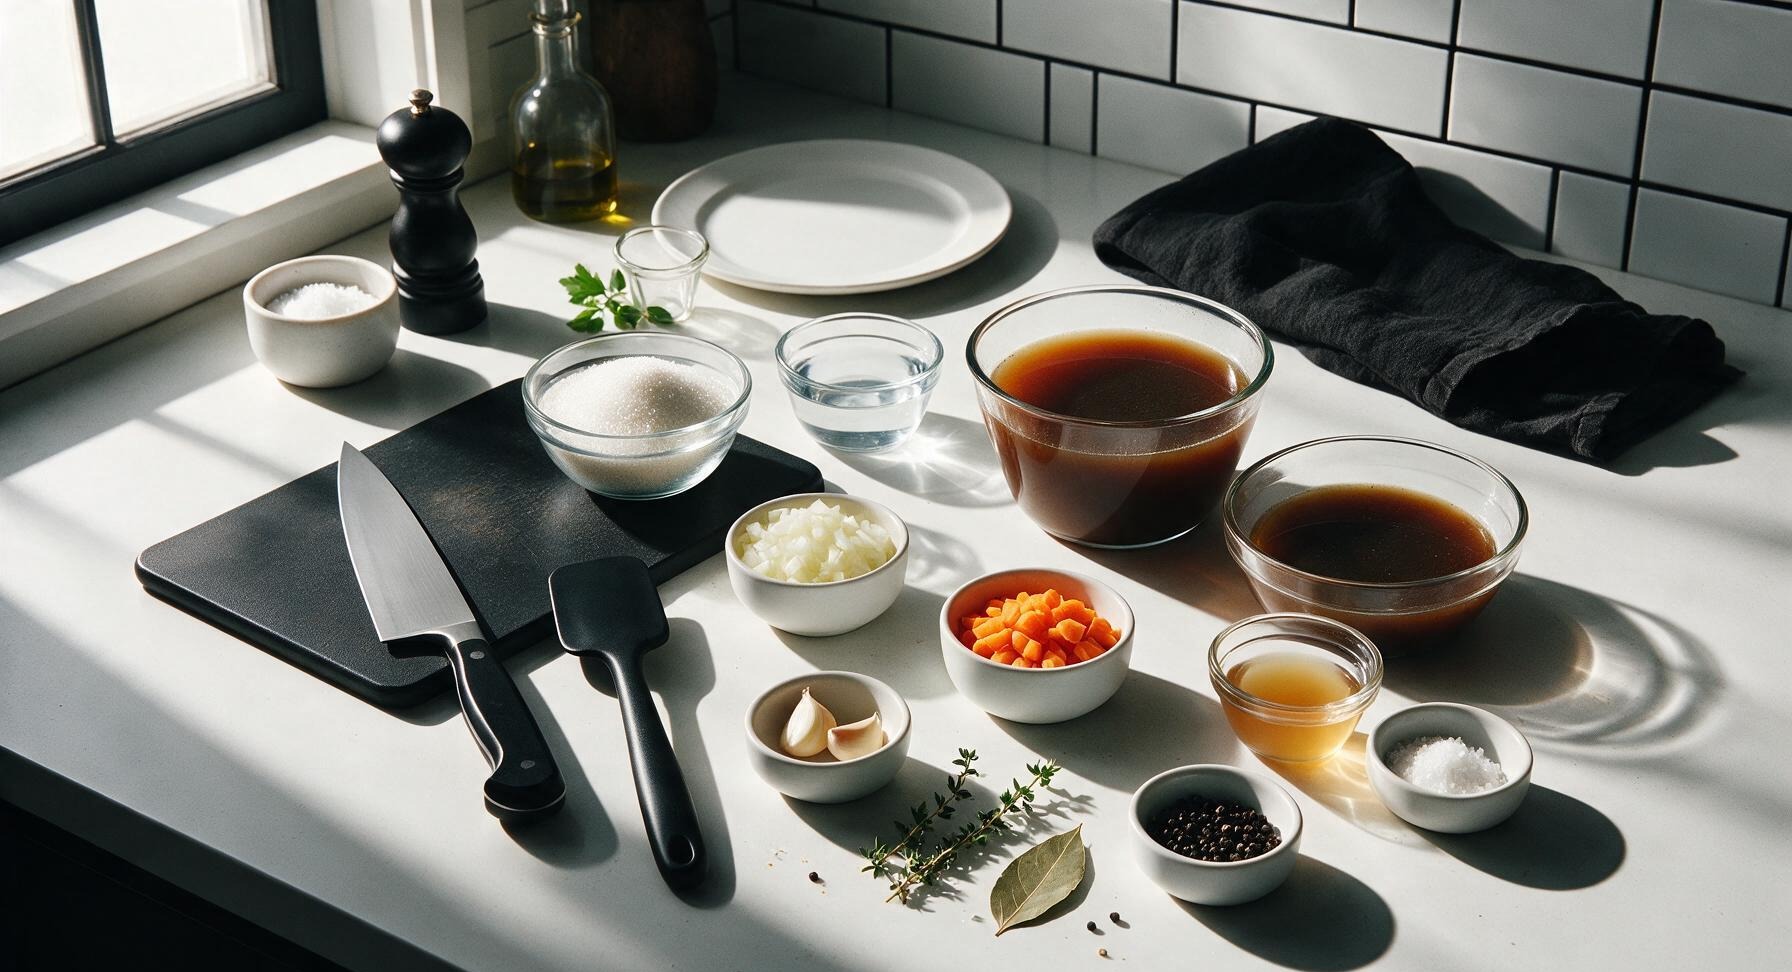
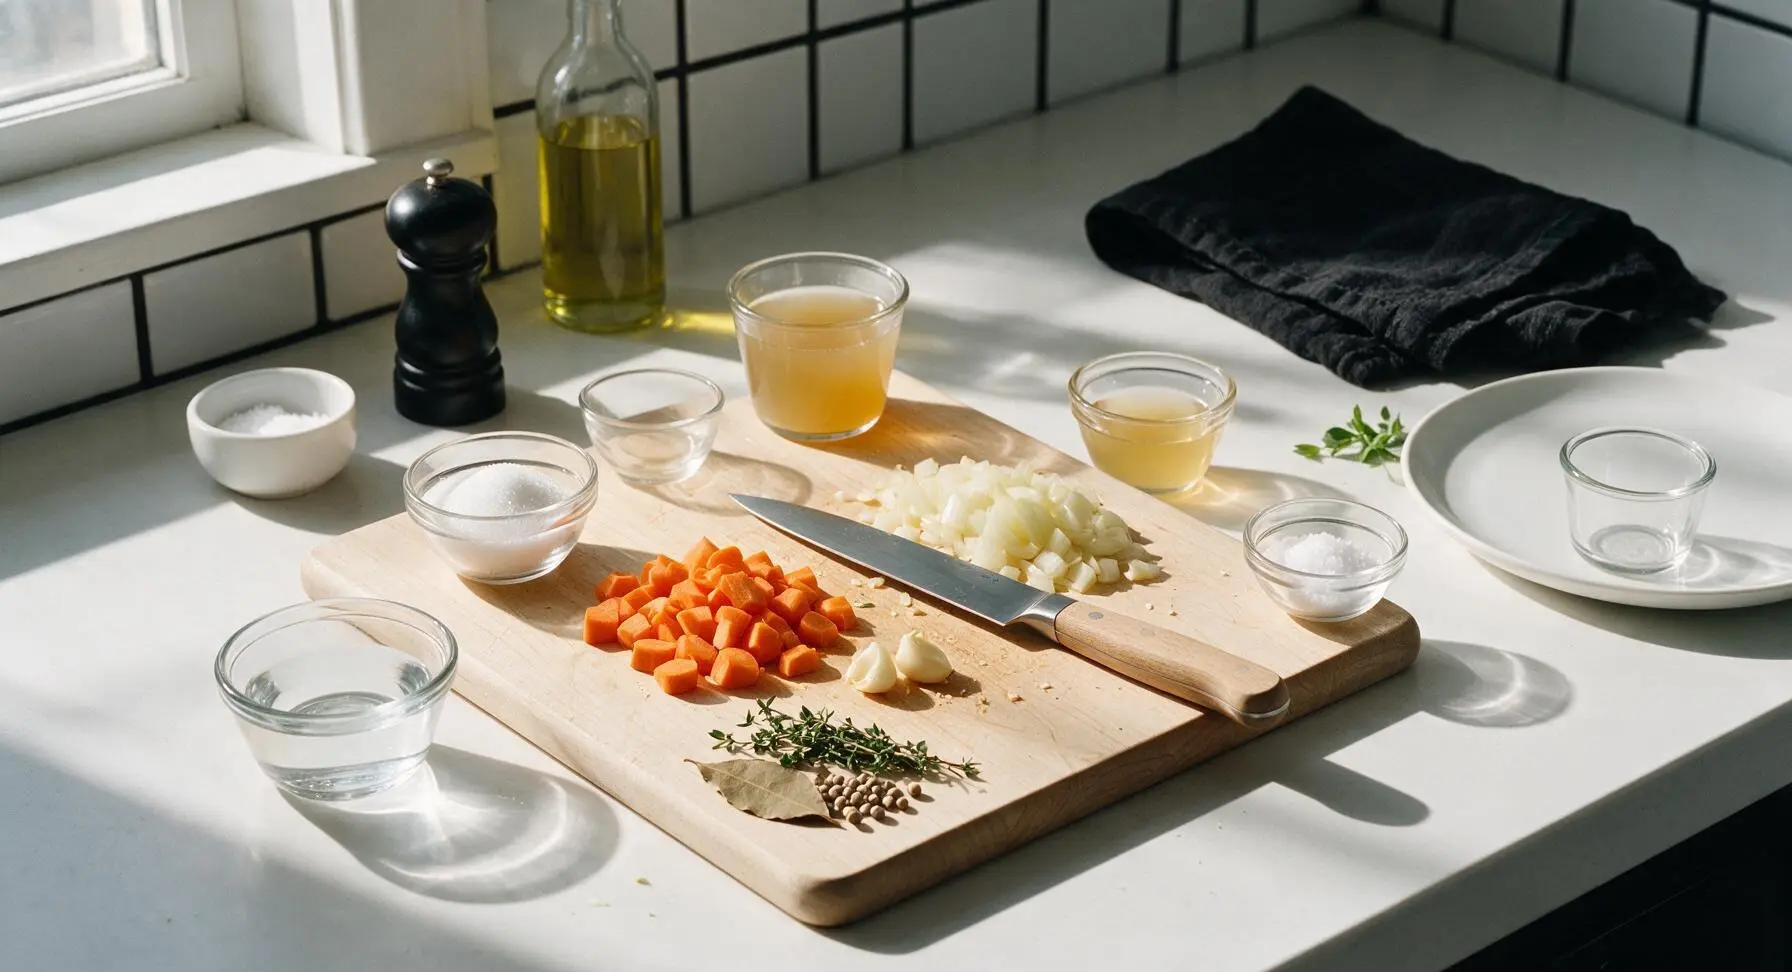
Place the light birch cutting board at the center of the counter work zone. Using the 6-inch beech-handle utility knife, chop the yellow onion and carrot into rough 1cm pieces, then smash the 2 garlic cloves with the flat of the knife blade. Gather the thyme sprigs, bay leaf, and whole black peppercorns into a small pile on the front corner of the board. Pre-measure granulated sugar, cold water, beef broth, apple cider vinegar, and kosher salt into separate small glass containers so all ingredients are within easy reach for cooking.
Caramelize Granulated Sugar
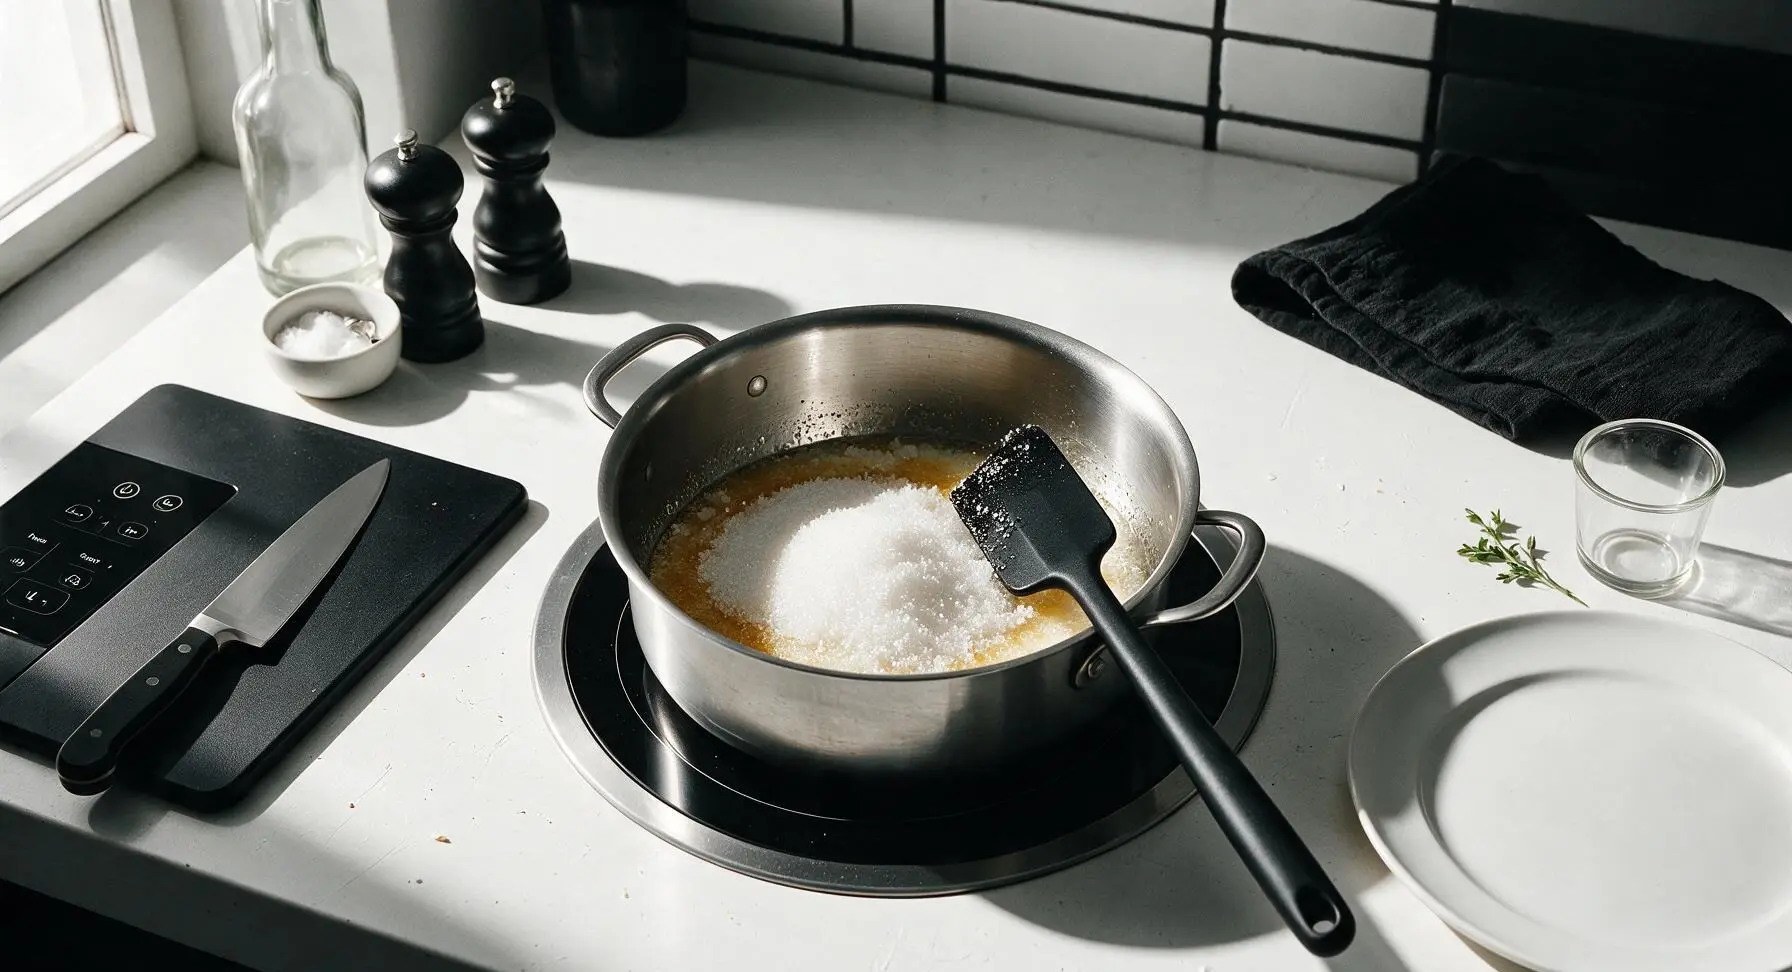
Place the 1.5L stainless steel saucepan on the center induction burner, set to medium-low heat. Add 1 cup granulated sugar and 2 tablespoons of the measured cold water to the pan, stirring gently with the off-white silicone spatula to moisten all sugar into a wet, sand-like consistency. Cook without stirring further for 8-10 minutes, swirling the pan occasionally, until the sugar melts into a deep, dark amber caramel (175°C / 350°F), just before it begins to release thin wispy smoke. Do not cook to black, as this will make the sauce bitter.
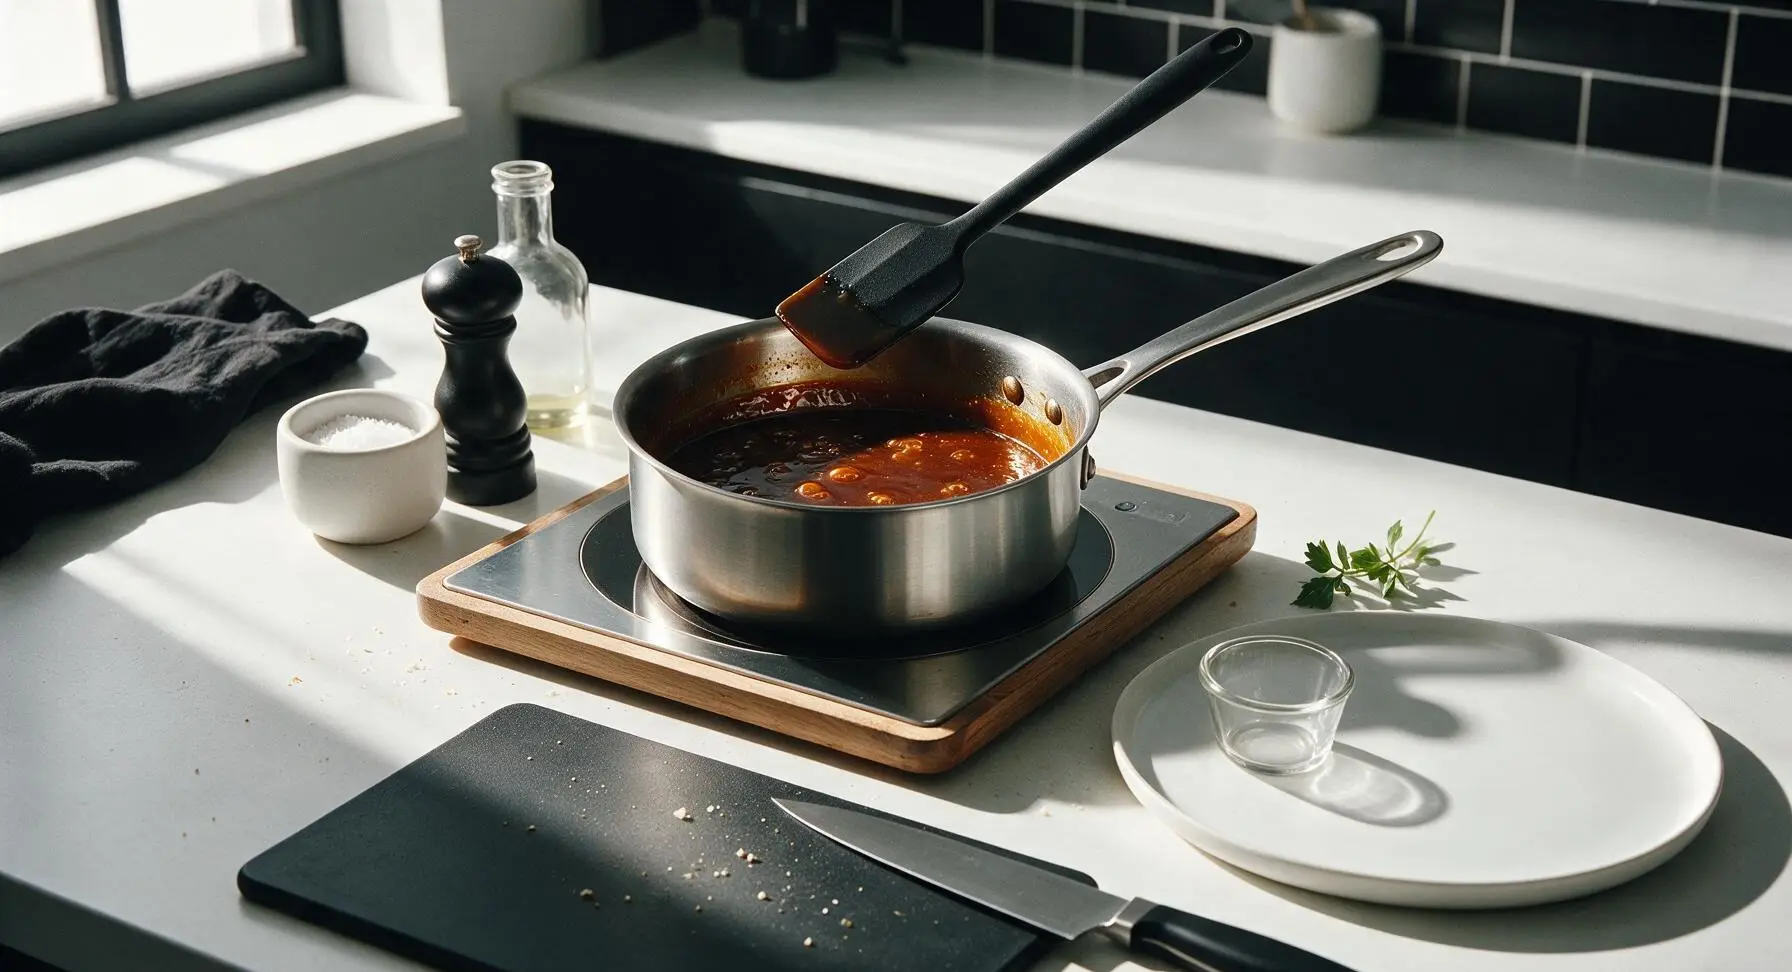
Add Broth and Water
Stand back slightly from the pan, then very slowly and carefully pour the remaining cold water and all 2 cups of low-sodium beef broth into the hot caramel. The mixture will bubble violently and release heavy steam due to the extreme temperature difference, so pour slowly to avoid hot splatters. Reduce heat to low, stirring constantly with the silicone spatula to dissolve any hardened caramel lumps that form when cold liquid hits the hot sugar.
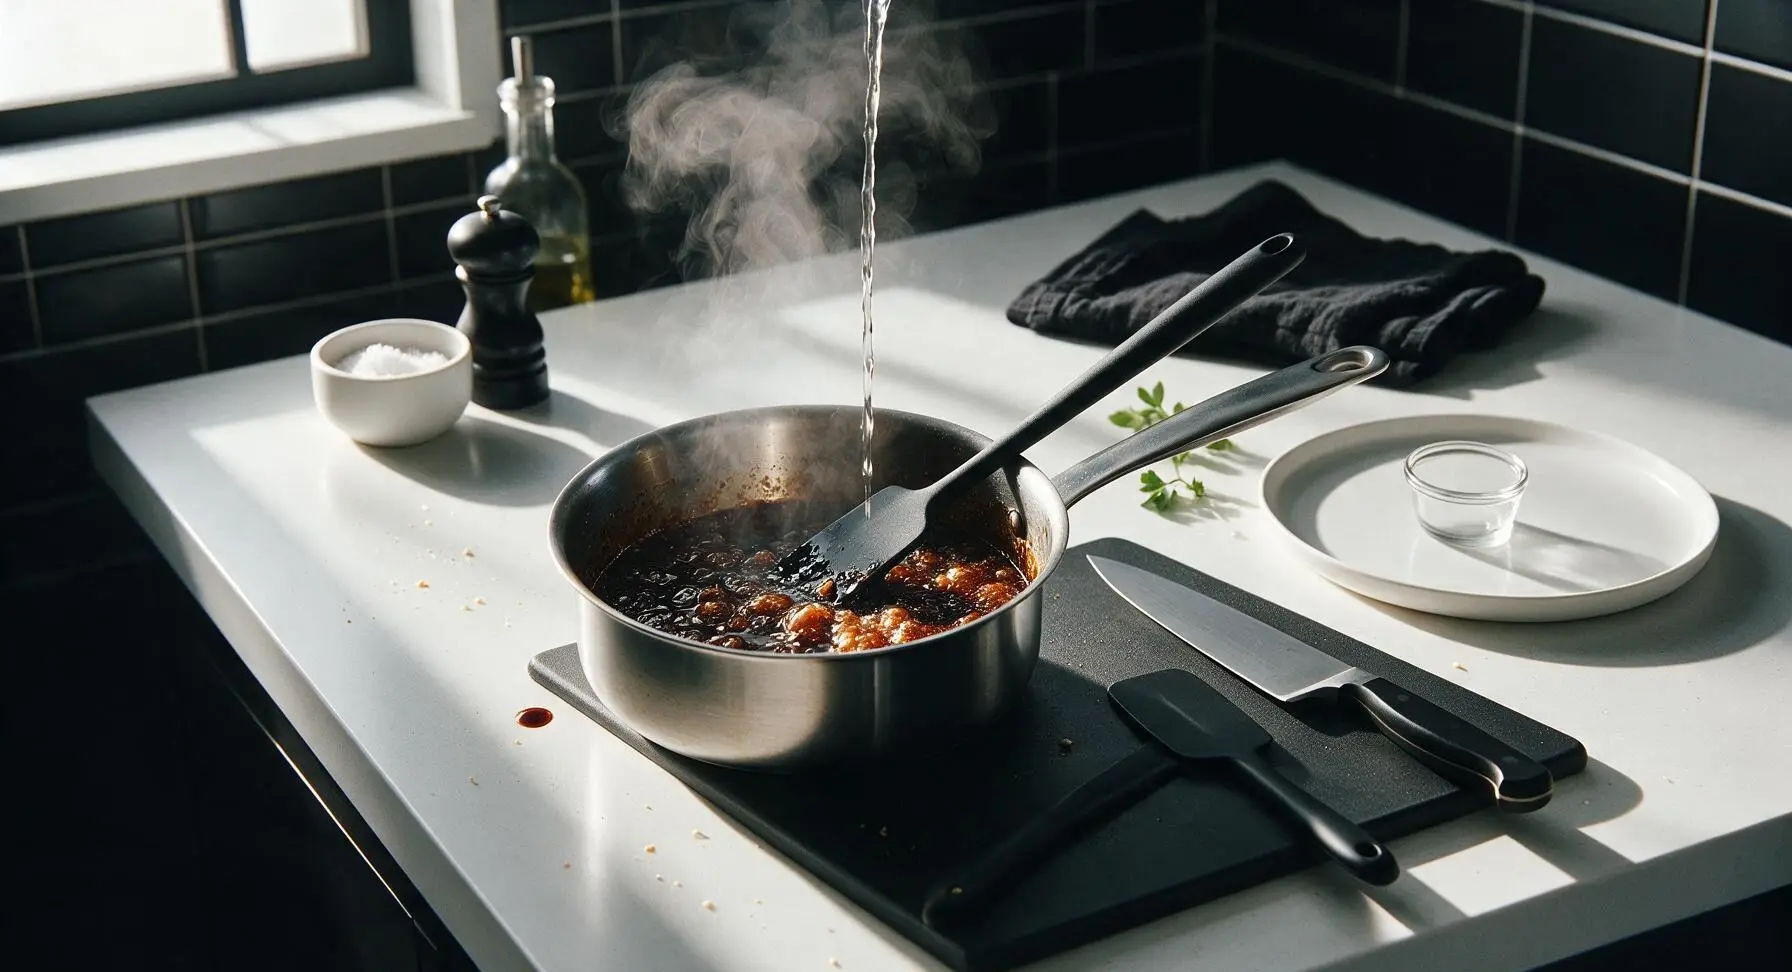
Add Aromatics and Season
Add the chopped onion, chopped carrot, smashed garlic, thyme sprigs, bay leaf, whole black peppercorns, 1 tablespoon apple cider vinegar, and 0.5 teaspoon kosher salt to the pan. Stir to combine all ingredients, then adjust heat to maintain a gentle, low simmer (do not allow a rapid rolling boil, as this will make the finished sauce cloudy).
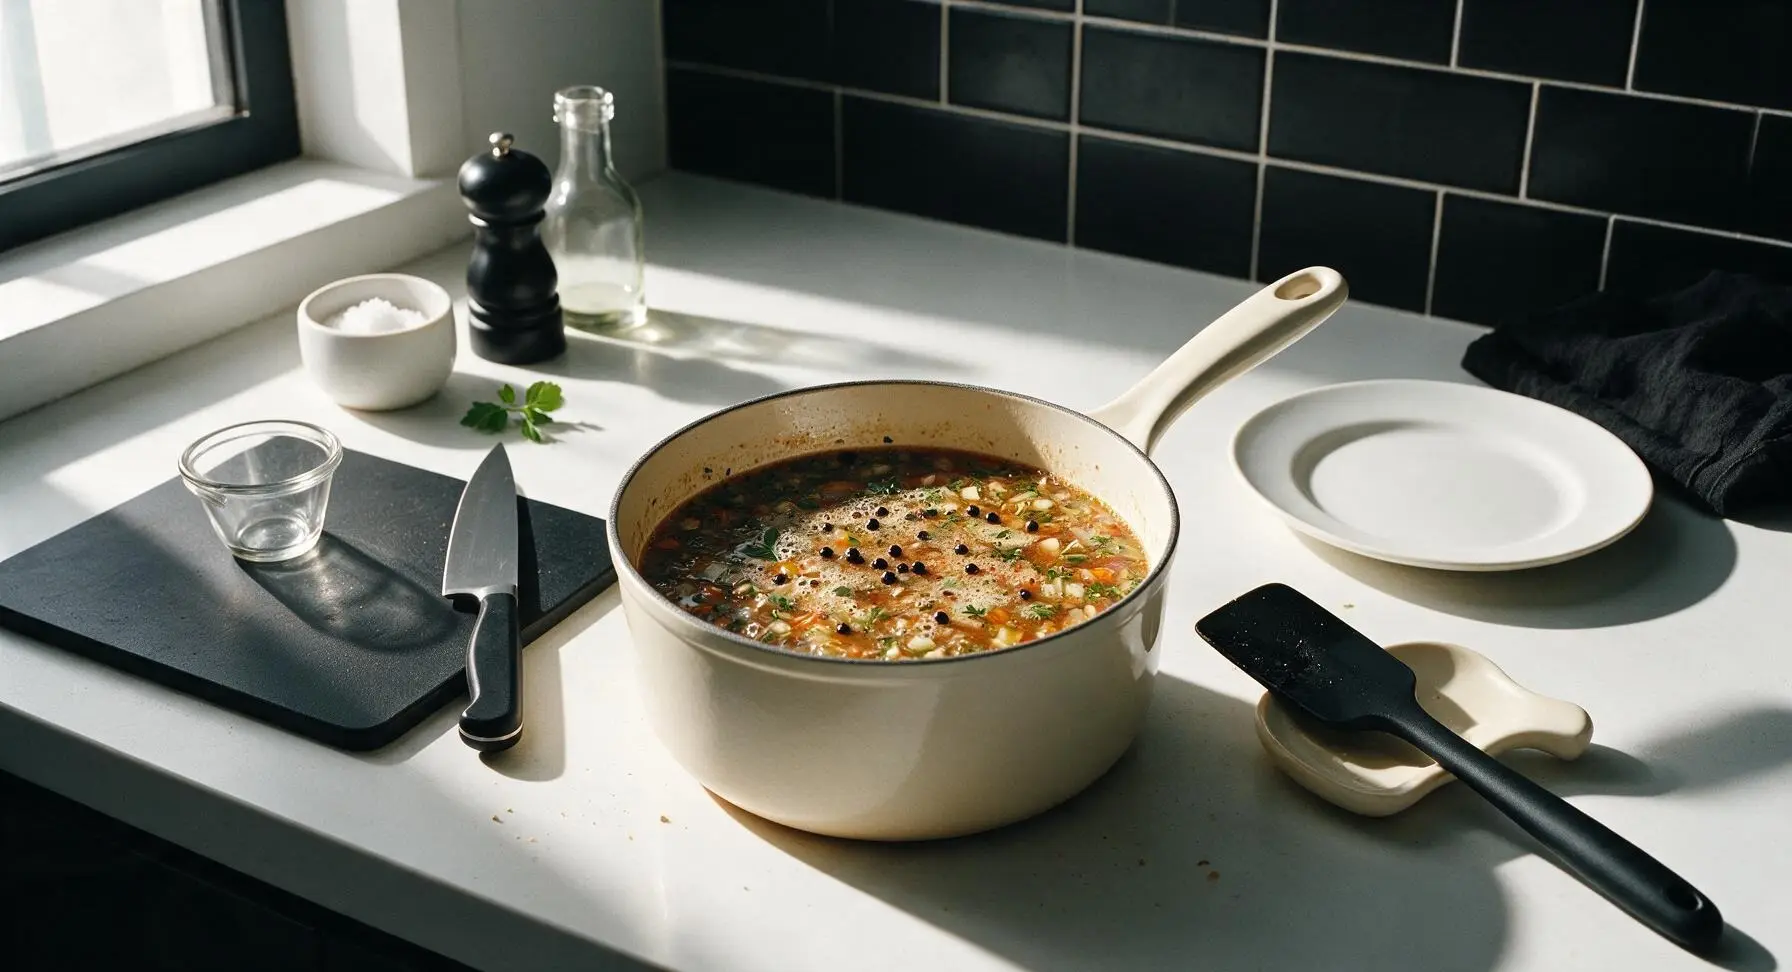
Simmer to Reduce Slightly
Maintain the low uncovered simmer for 15 minutes, until the sauce reduces by roughly one quarter, leaves a thin, glossy coating on the back of the silicone spatula, and emits a deep, rich roasted aroma. Do not over-reduce, as the sauce will thicken further as it cools.
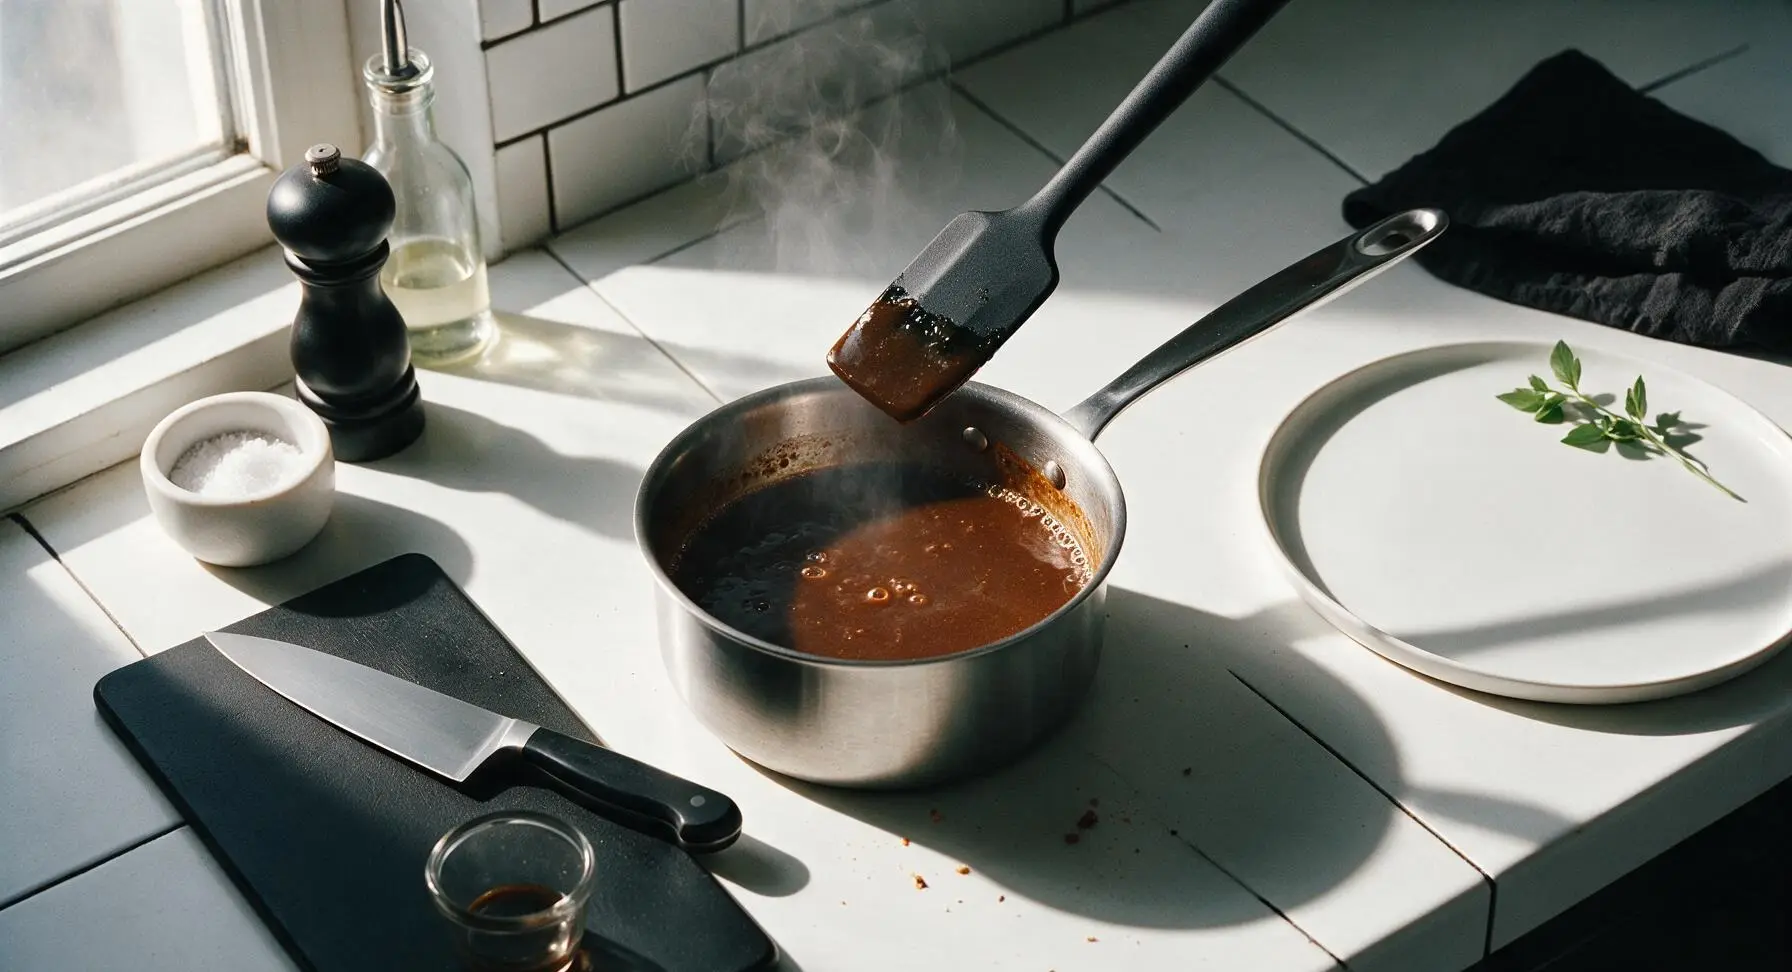
Strain Out Solid Bits
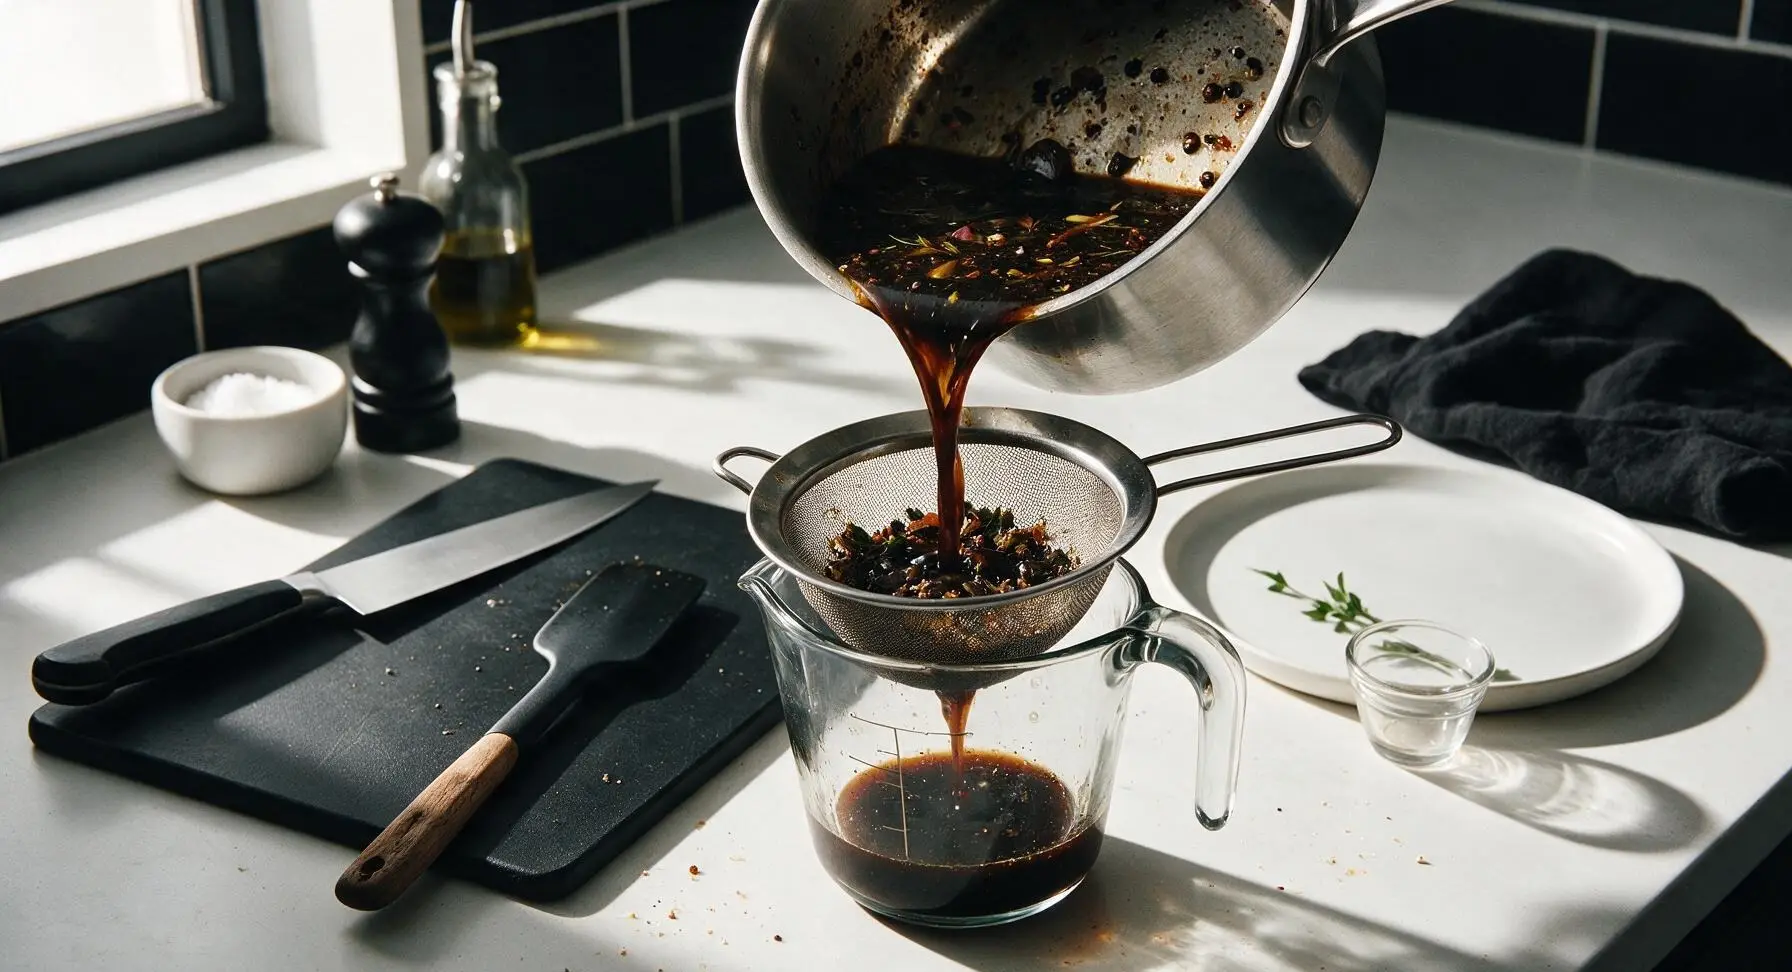
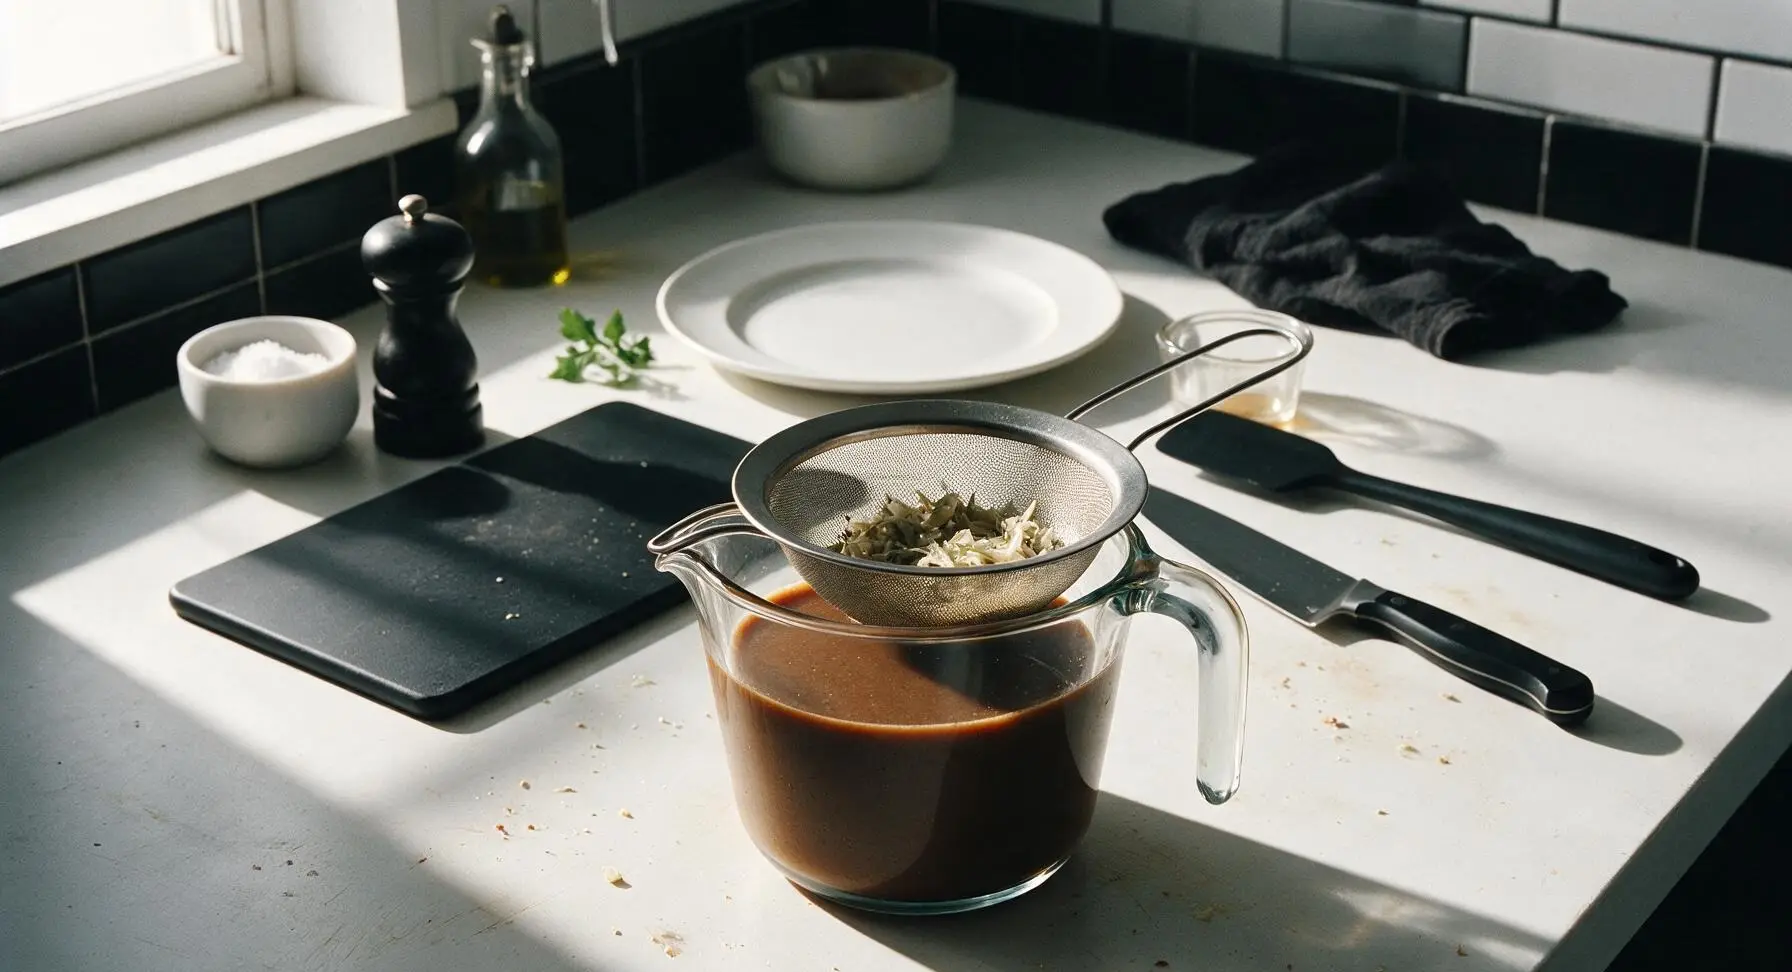
Turn off the heat, and let the sauce cool for 5 minutes in the pan. Move the 10cm stainless steel fine-mesh strainer to rest over a 2-cup heatproof glass measuring cup, then slowly pour the sauce through the strainer to catch all vegetable pieces, herbs, and peppercorns. Press gently on the trapped solids with the silicone spatula to extract all flavorful liquid, then discard the spent aromatics.
Bottle the Warm Sauce
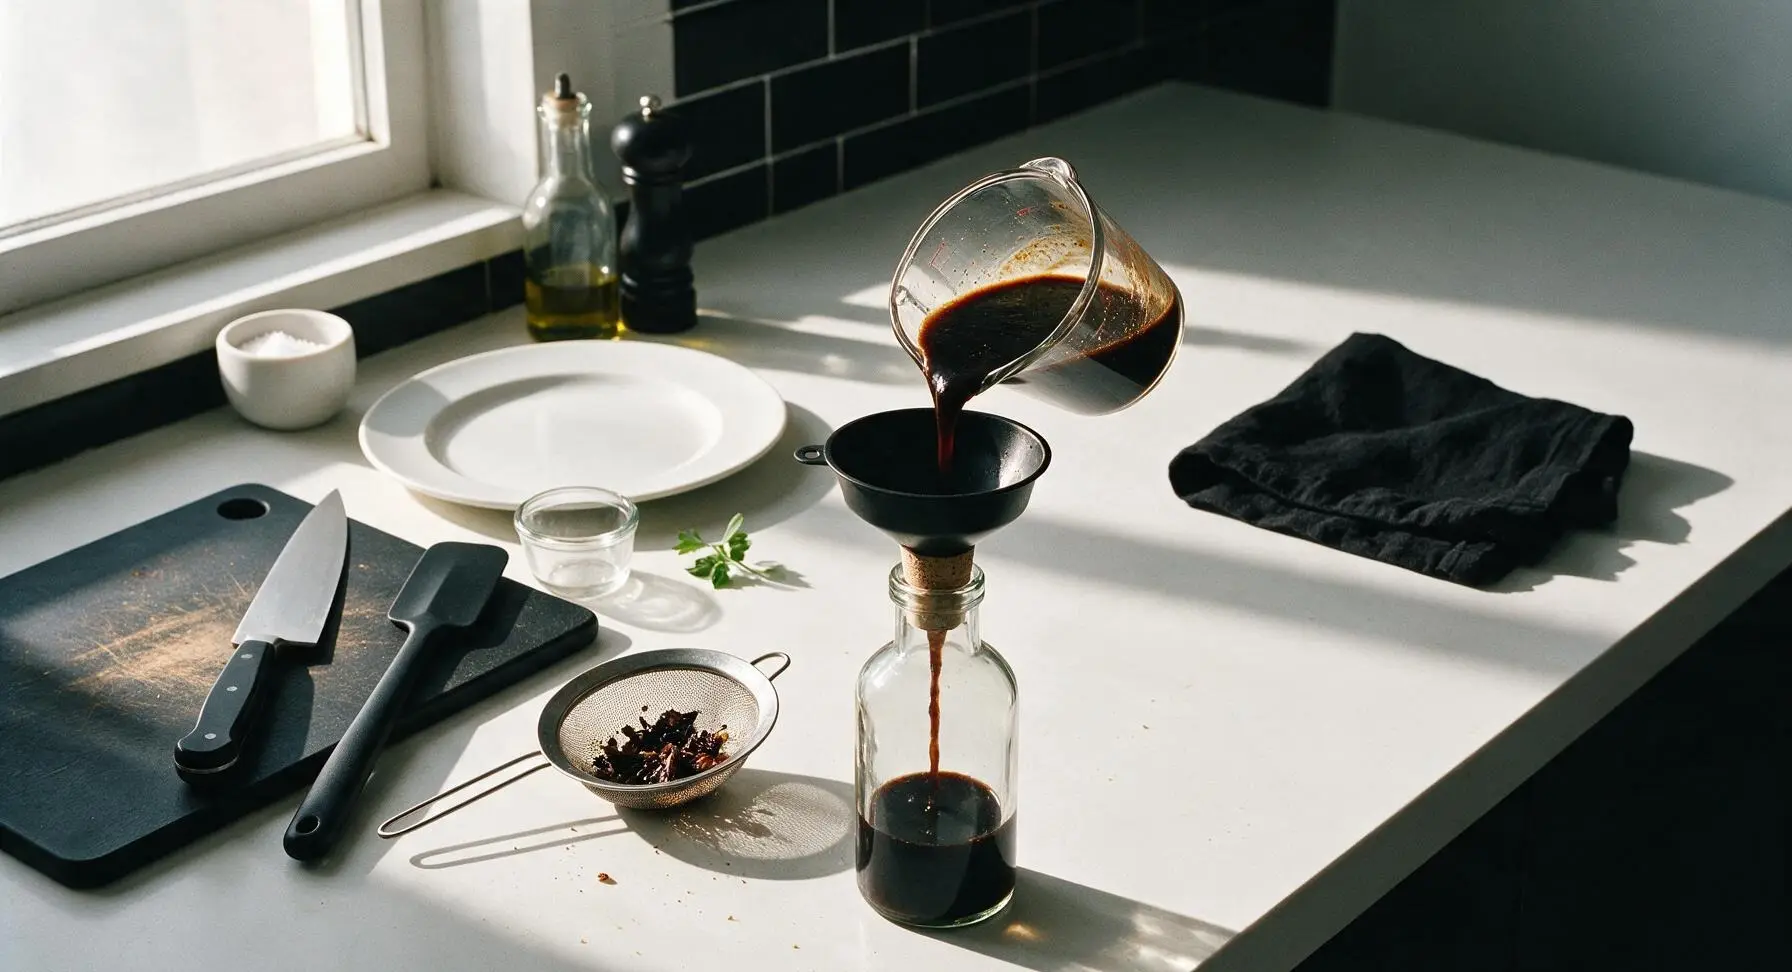
Place the matte black metal canning funnel in the mouth of the clear glass cork-stopper storage bottle. Carefully pour the strained, warm sauce through the funnel into the bottle, leaving 1cm of headspace at the top of the bottle to allow for expansion as it cools. Remove the funnel after pouring.
Taste and Store Sauce
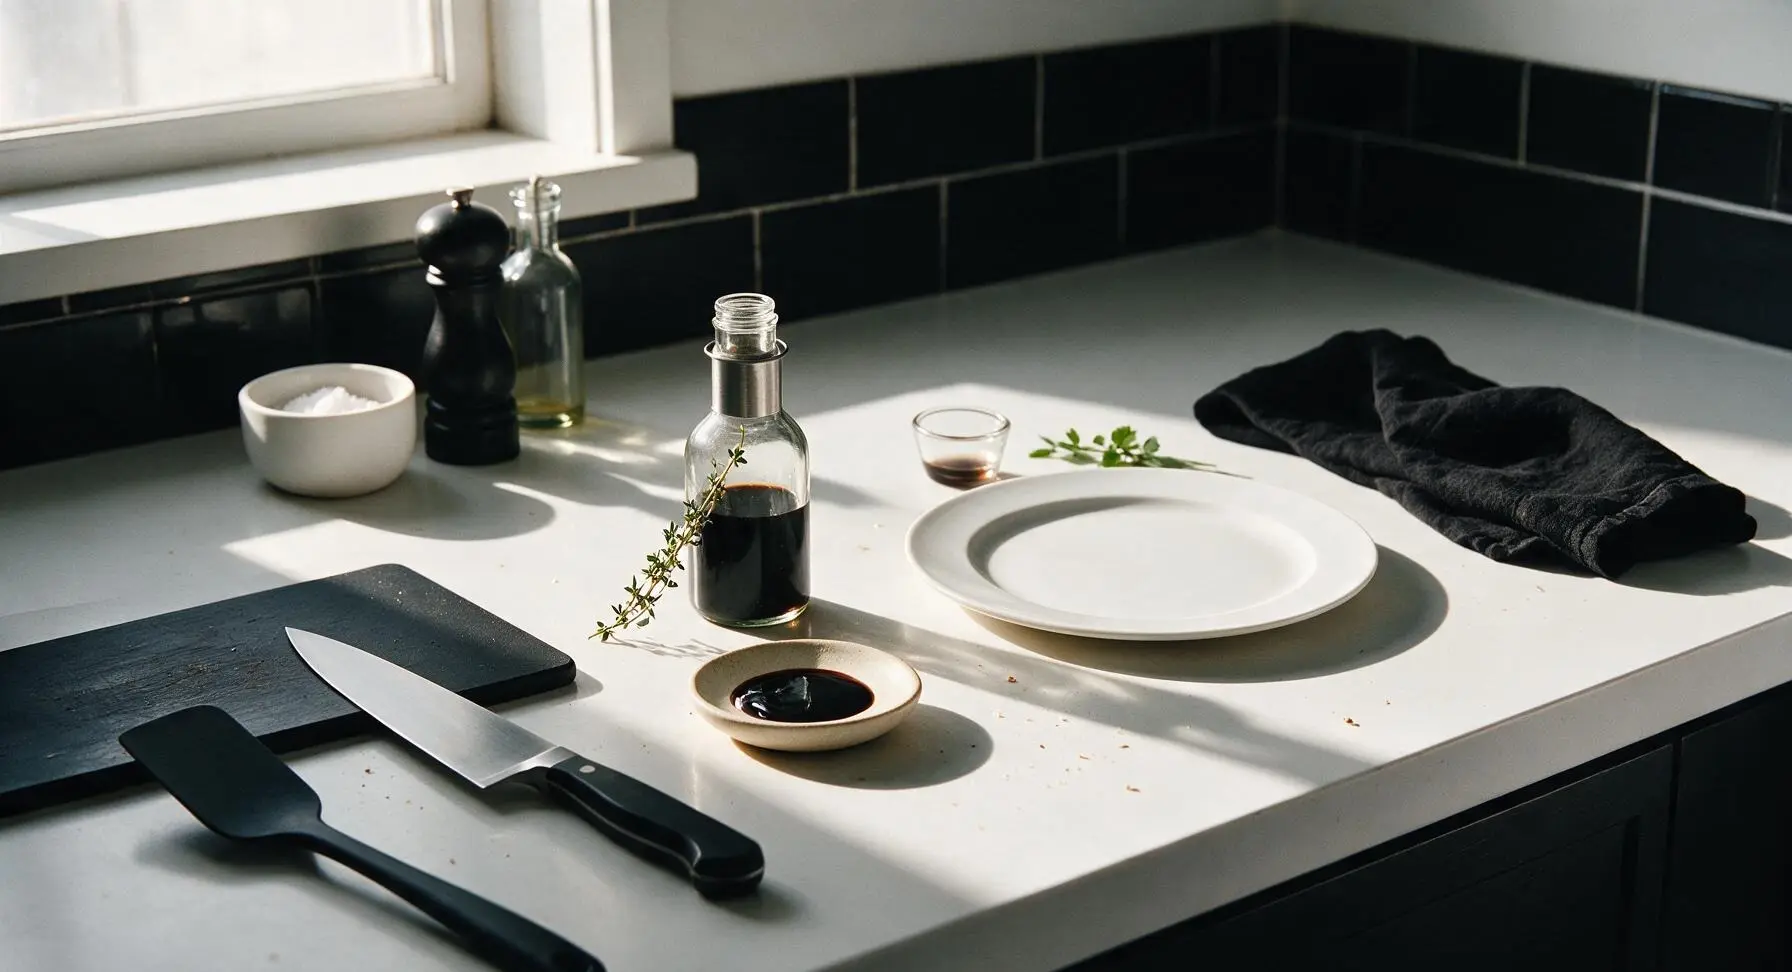
Pour a 1-teaspoon sample of the cooling sauce into the tiny matte cream ceramic tasting dish to check for balanced savory-sweet flavor and deep, rich color. Let the sauce cool completely to room temperature (approximately 30 minutes) before sealing the bottle with the cork. Store sealed sauce in the refrigerator for up to 6 months, using 1-2 teaspoons per recipe to add color and depth to gravies, stews, roasts, and pan sauces.
Tips
2.Pour cold liquid into hot caramel very slowly, keeping your face and hands turned away initially: the extreme temperature difference creates violent bubbling and steam that can cause painful burns if splashed on skin.
3.Do not cook caramel past deep dark amber: if it turns black and smells acrid, it is burnt and will leave the sauce with an unpleasant, irreparable bitter flavor, requiring you to restart the caramel step.
OMG, this is such a game changer! I’ve been buying the bottled Kitchen Bouquet for years for my Sunday pot roasts and gravy, and this homemade version tastes SO much better. No weird preservatives, took 25 minutes exactly like the recipe said, even my super picky husband said the gravy for last night’s pot roast was the best I’ve ever made. 10/10 will never buy store bought again!
Super easy recipe, perfect for meal prep Sundays! I whipped this up while my roasted veggies were in the oven, used it to season my batch of slow cooker beef tips for the week. Adds that perfect deep, rich color and umami kick I was missing. Only note is I added a tiny extra pinch of garlic powder for my taste, worked like a charm.
Wait, quick question—can I use this as a 1:1 substitute for the store bought Kitchen Bouquet in recipes? I’m making my grandma’s old meatloaf recipe this weekend for a family dinner and I don’t want to mess it up! Also, how long does this keep in the fridge?
Brought a batch of this to my neighborhood potluck last week to share with folks who love cooking, and everyone was asking for the recipe! I used it to glaze some smoked ribs before serving too, and people were raving about the deep, savory flavor. Who knew making your own browning sauce was this easy?
My kids loved the gravy I made with this! I usually struggle to get that deep brown color without making the gravy taste burnt, but this sauce did exactly what it was supposed to with zero weird aftertaste. Cook time was only 25 minutes which was perfect for a weeknight dinner between soccer practice drop offs and homework help.
Quick heads up for folks with soy allergies—has anyone tried making this without the soy sauce? My kid has a severe soy allergy so I can’t use regular soy, I’m wondering if coconut aminos would work as a swap?
Wow, this tastes exactly like the Kitchen Bouquet my mom used to keep in her pantry back in the 70s! I thought for sure that flavor was lost to time with all the new formula changes the brand has made over the years. So happy I found this recipe, it’s going right in my permanent recipe box.
Total budget win! I had all the ingredients already in my pantry, no extra trip to the grocery store needed. Way cheaper than buying a whole bottle of the store bought stuff, especially since I only need a tablespoon or two at a time for random recipes. No more wasting half a bottle that goes bad in the back of my fridge!
Wait, I think I messed this up? I let the sugar caramelize a little too long and it got super dark, almost bitter. Did I ruin the whole batch? Is there a way to save it, or do I need to start over?
Used this in my Sunday bolognese last weekend and it added that perfect depth I’ve been trying to nail for years! I always thought that rich, deep brown color and savoriness came from hours and hours of simmering, but a couple tablespoons of this cut that time way down without skimping on flavor. Game changer.
Made this ahead of my last camping trip and packed it in a small sealed bottle to take with me. Perfect for adding flavor to campfire stews and skillet hash when you don’t have a ton of spice packets with you. Super portable, doesn’t need to stay cold for a weekend trip if you keep it out of direct sun, which was a huge win.
Has anyone tried making this vegan? I don’t eat honey or animal products, so I’m wondering if swapping the beef broth for vegetable broth and skipping the Worcestershire (since it has anchovies) would work? I’ve been missing having a good browning sauce for my lentil roasts and mushroom gravy!