
Korean-Style Cream Cheese Garlic Bread

title 1
Korean-Style Cream Cheese Garlic Bread
⏱️ cook time 15 minutes
🍽️ servings 4
⚡ Difficulty medium

intro

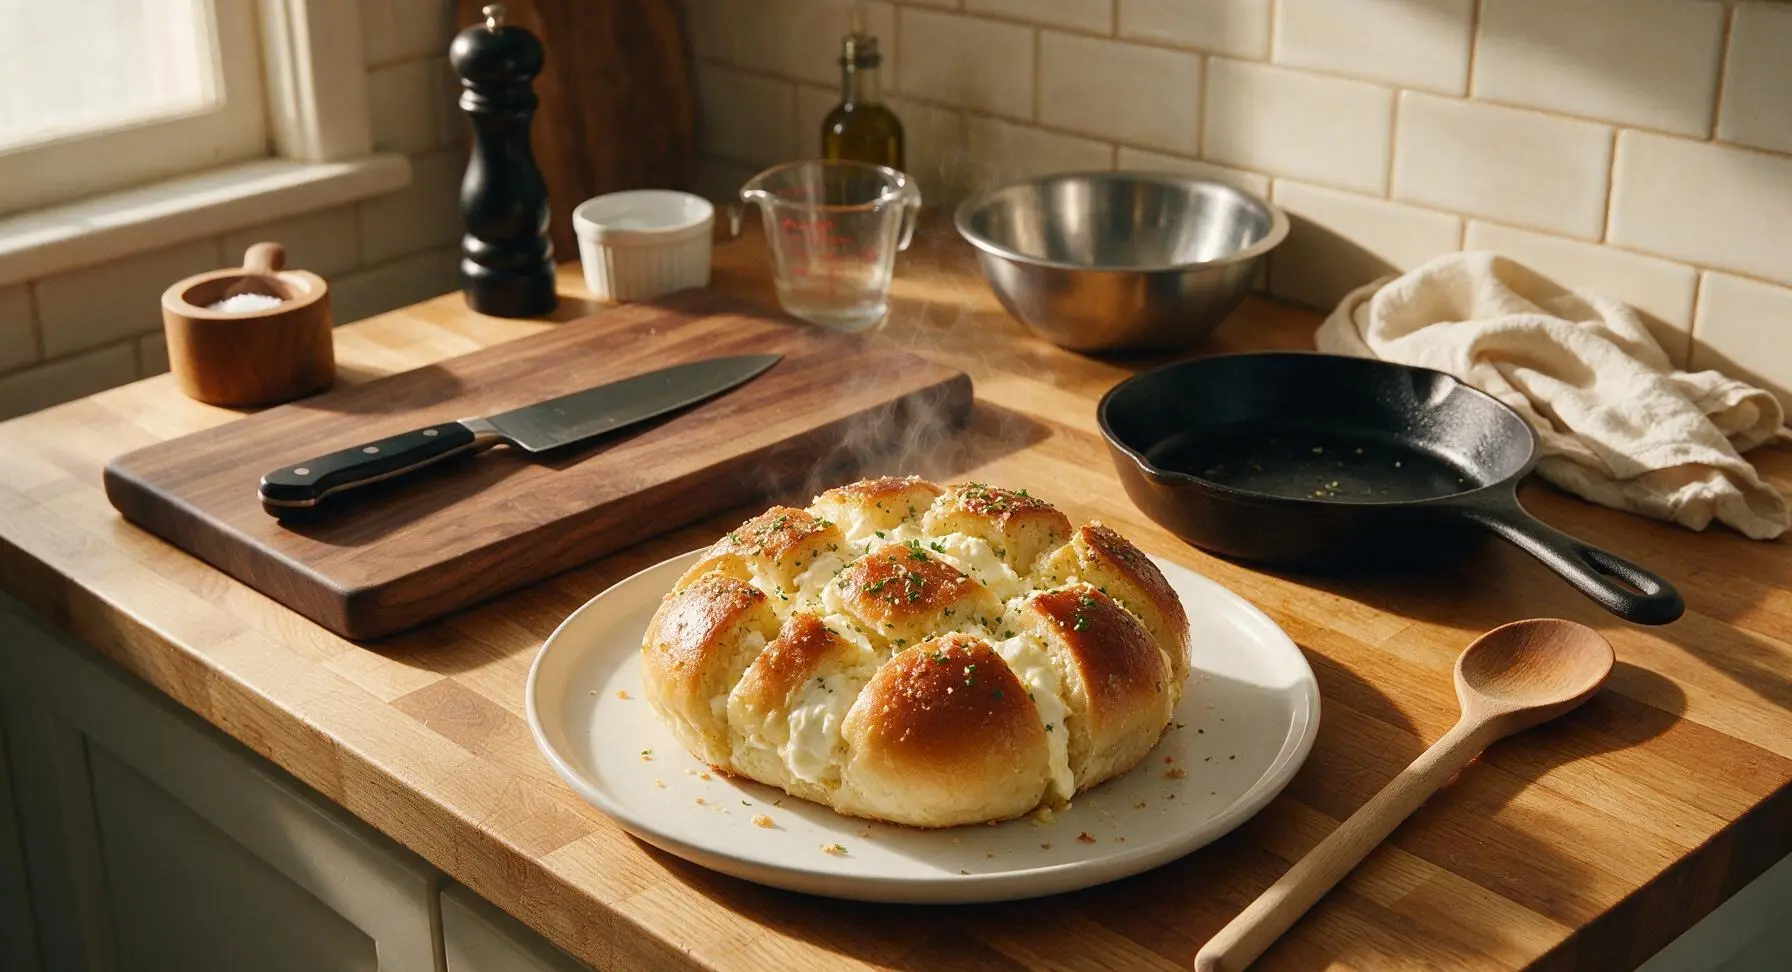
Pillowy soft milk buns stuffed with tangy sweet cream cheese, soaked in fragrant garlic butter, and baked until crisp-edged and golden. This iconic Korean street food is indulgent, aromatic, and impossible to resist.

Ingredients
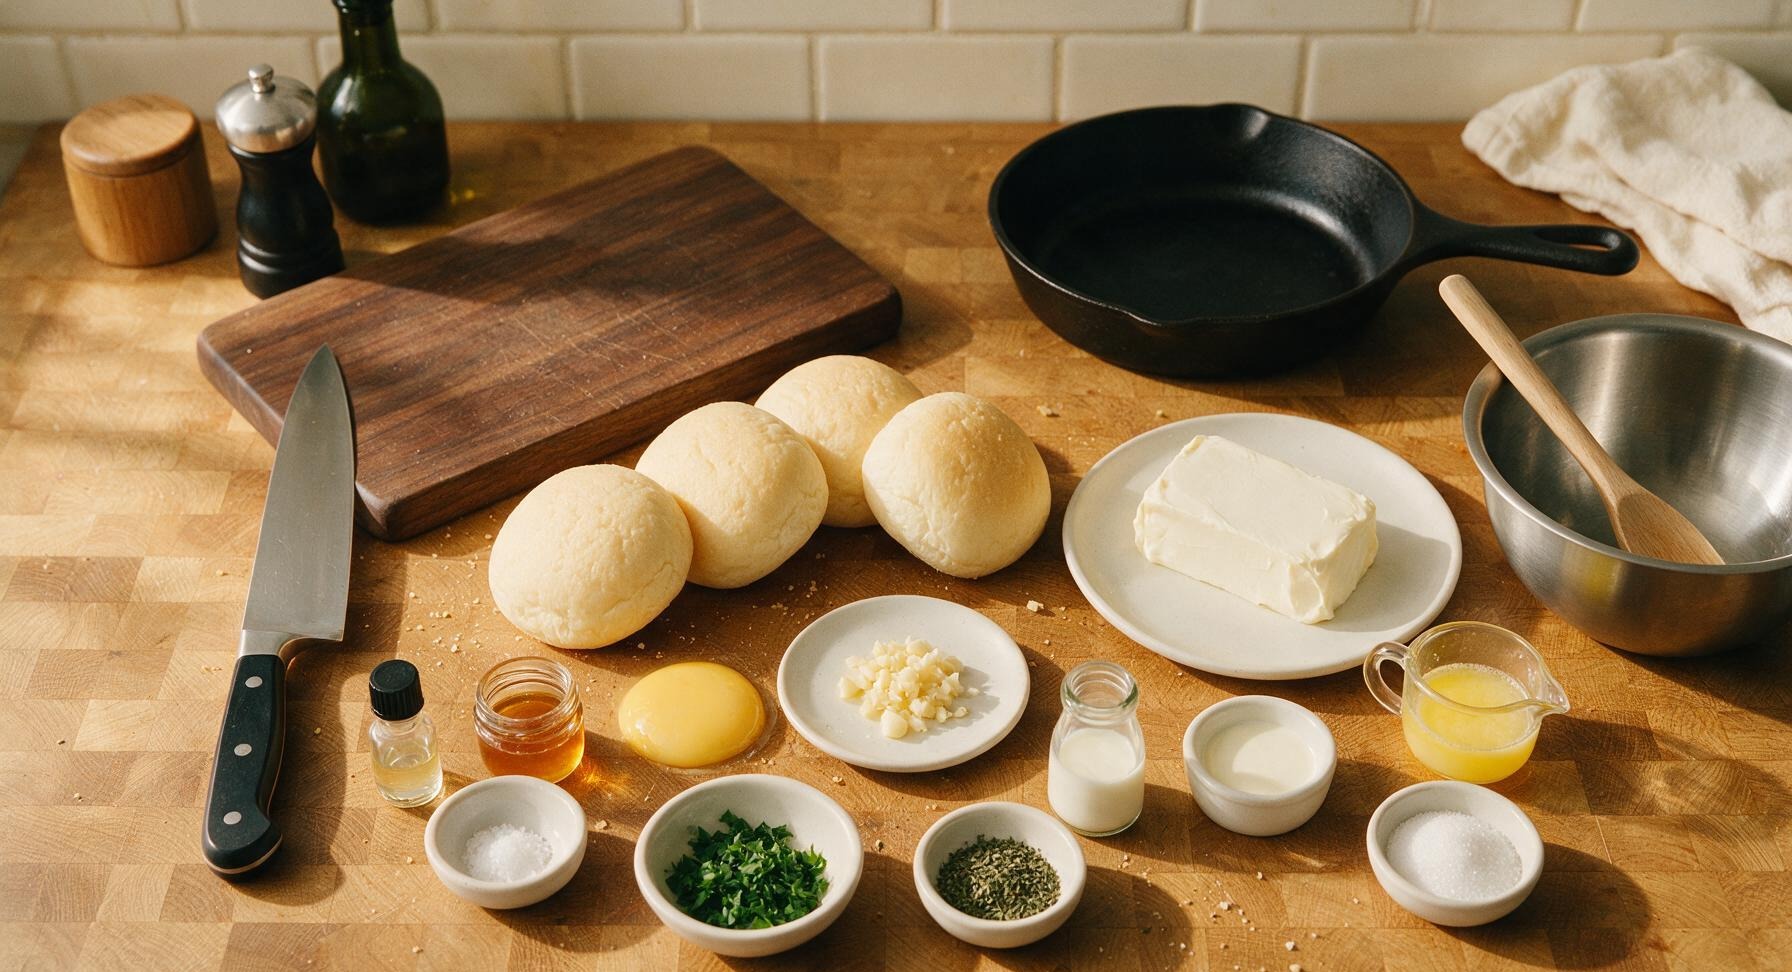
Soft milk bread buns 4 pieces (80g each)
Full-fat block cream cheese 220g, softened to room temperature
Unsalted butter 100g, melted and slightly cooled
Granulated sugar 3 tbsp
Heavy cream 1 tbsp
Vanilla extract 1 tsp
Garlic cloves 6 large, finely minced
Whole milk 2 tbsp
Large egg 1 piece, room temperature, lightly beaten
Dried parsley 1 tbsp
Fresh flat-leaf parsley 2 tbsp, finely chopped (for garnish)
Fine sea salt 1/4 tsp
Honey 1 tsp

Steps

1

Make Cream Cheese Filling

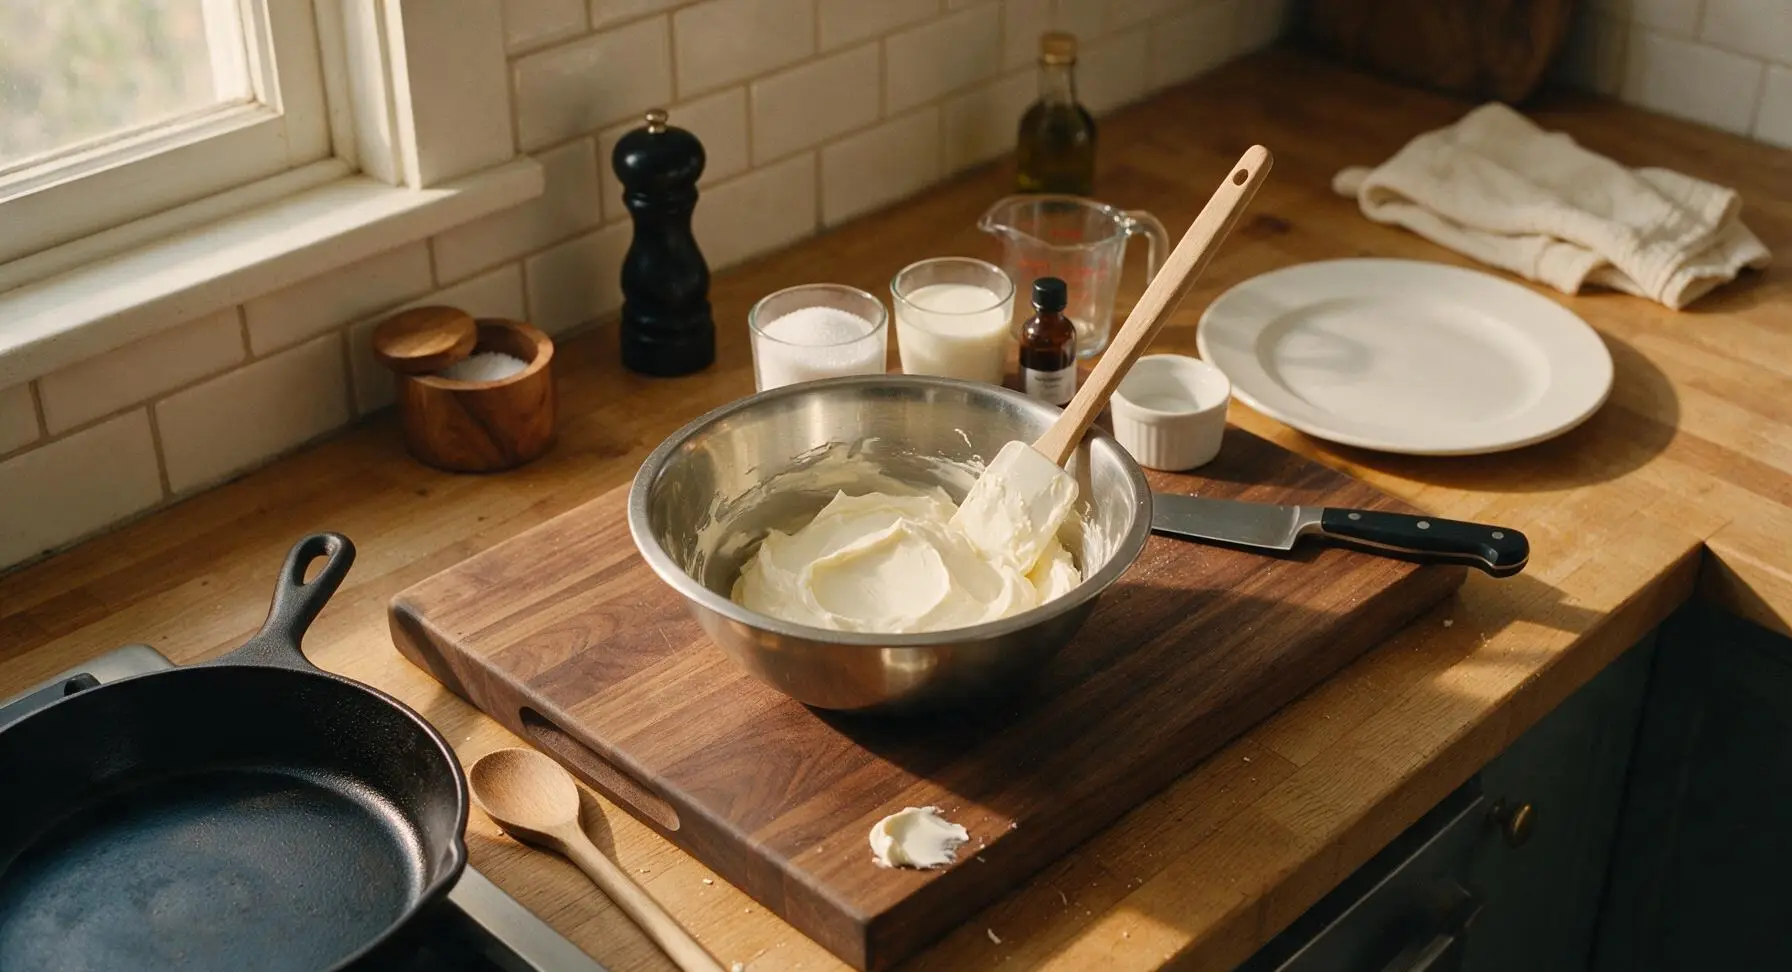
Place 220g softened room-temperature full-fat cream cheese into the medium stainless steel mixing bowl. Add 3 tbsp granulated sugar, 1 tbsp heavy cream, and 1 tsp vanilla extract. Use the silicone spatula to mix until completely smooth, with no lumps remaining — the finished texture should be thick, spreadable, and hold a soft peak when you lift the spatula. Set aside at room temperature to keep it soft and easy to spread.
Step 1
step1:Make Cream Cheese Filling
2

Score Bread Buns

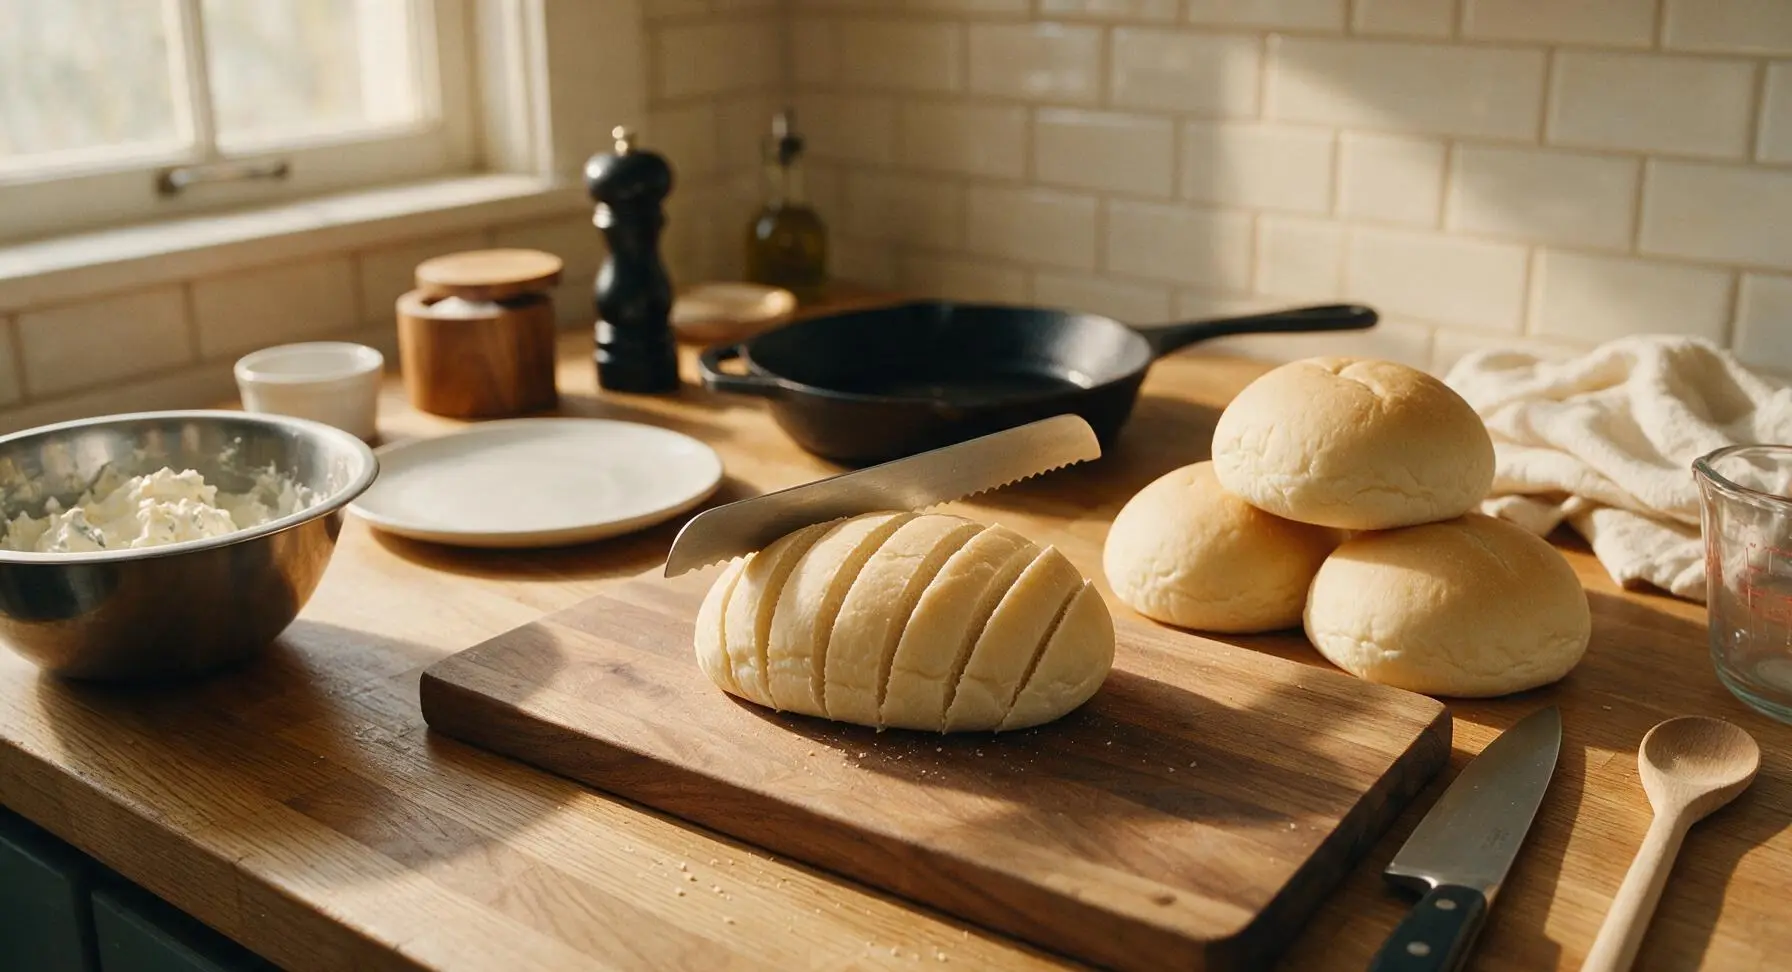
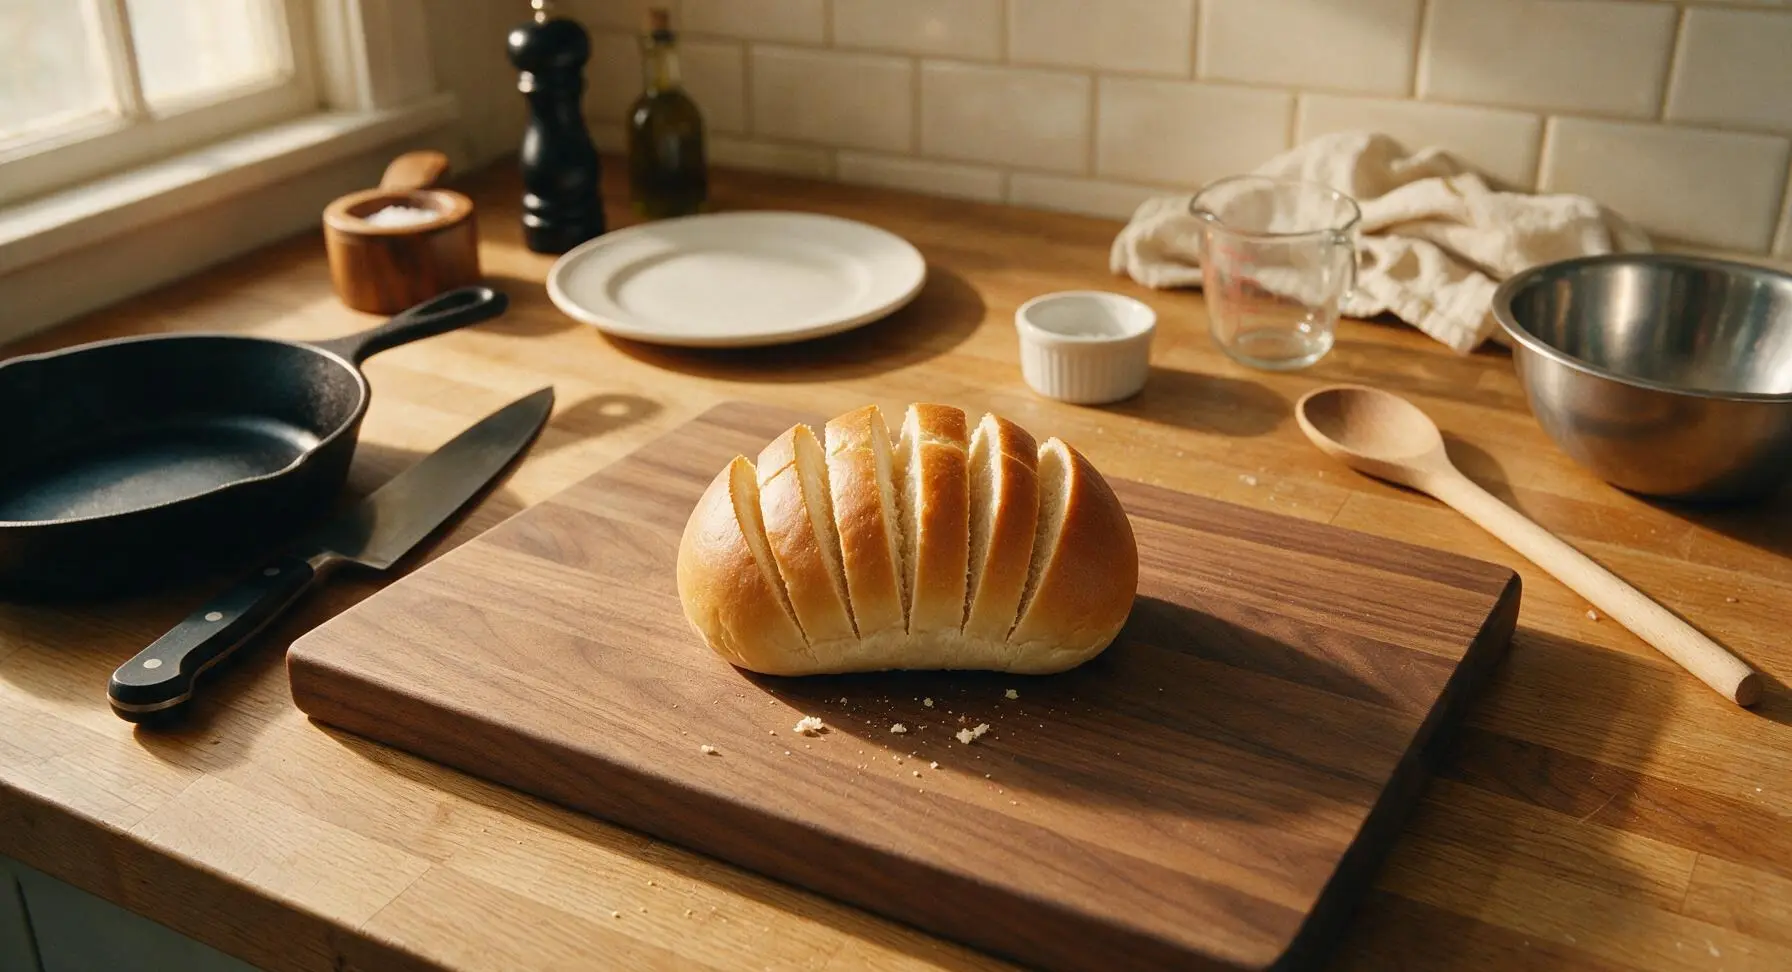
Place each soft milk bun on the acacia wood cutting board. Use the small serrated bread knife to cut 6 evenly spaced deep slits across the top of each bun, cutting 90% of the way through the bread but leaving the base fully intact so the bun fans out like a flower without falling apart. Use gentle sawing motions to avoid tearing the soft, delicate bread crumb.
Step 2
step2:Score Bread Buns
Step 2
step2:Score Bread Buns
3

Fill Buns with Cheese

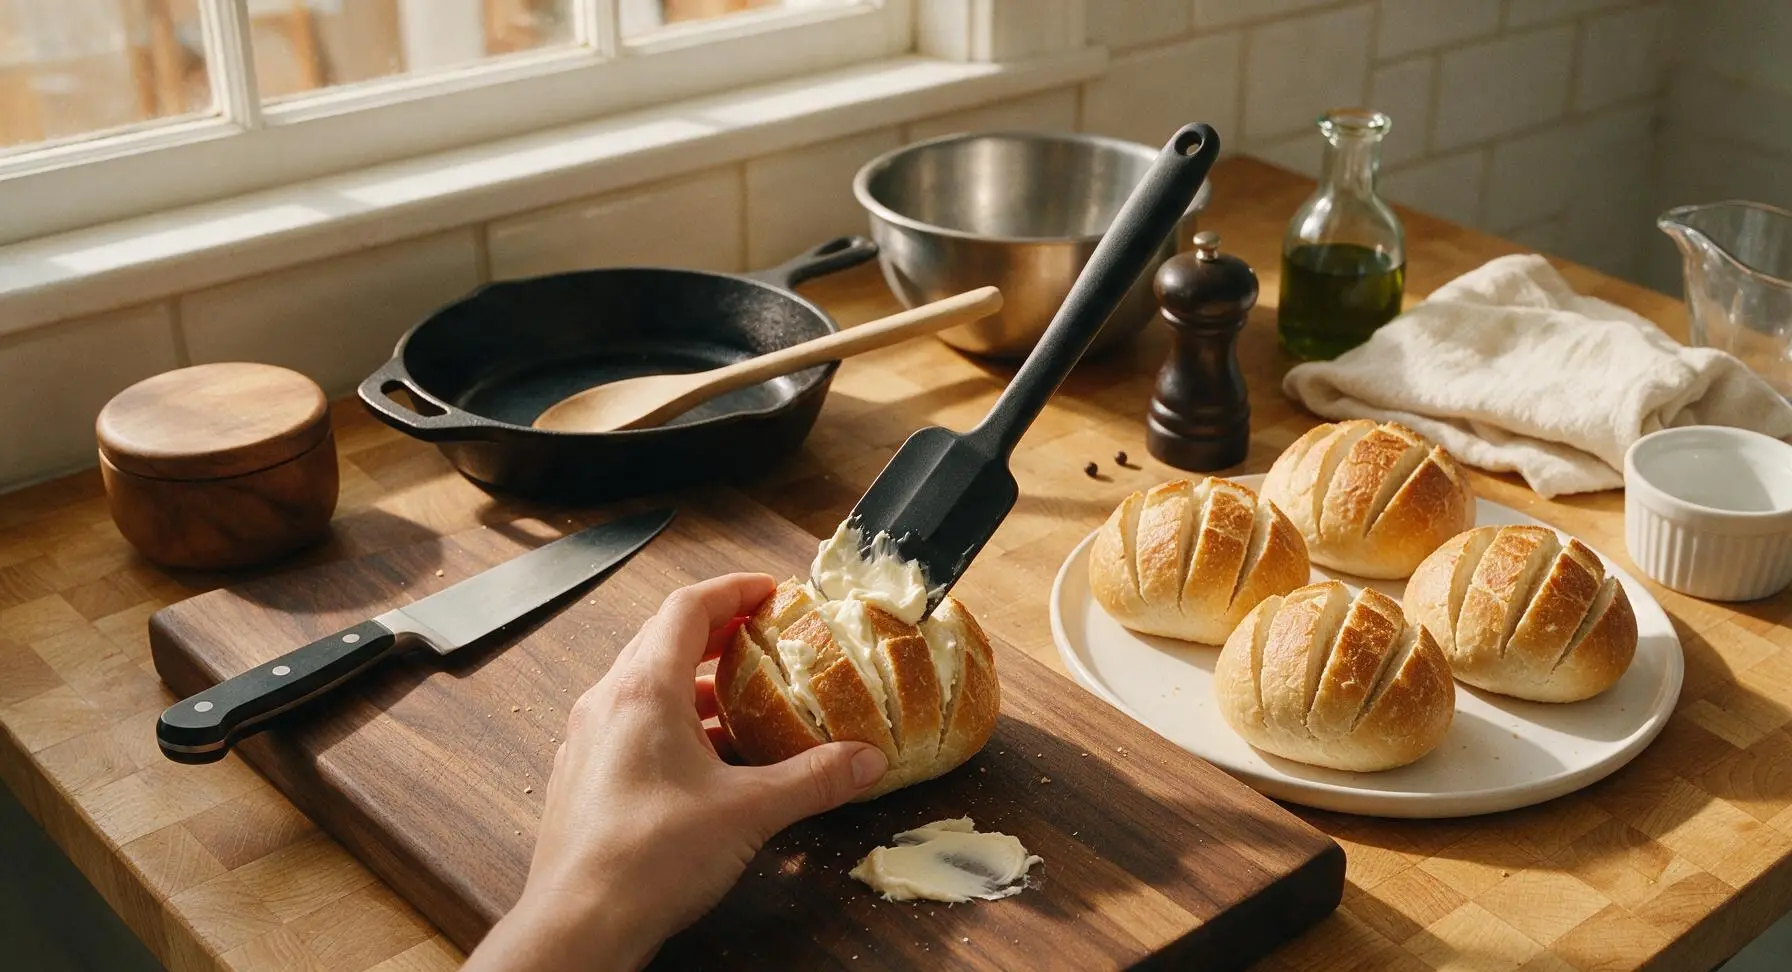
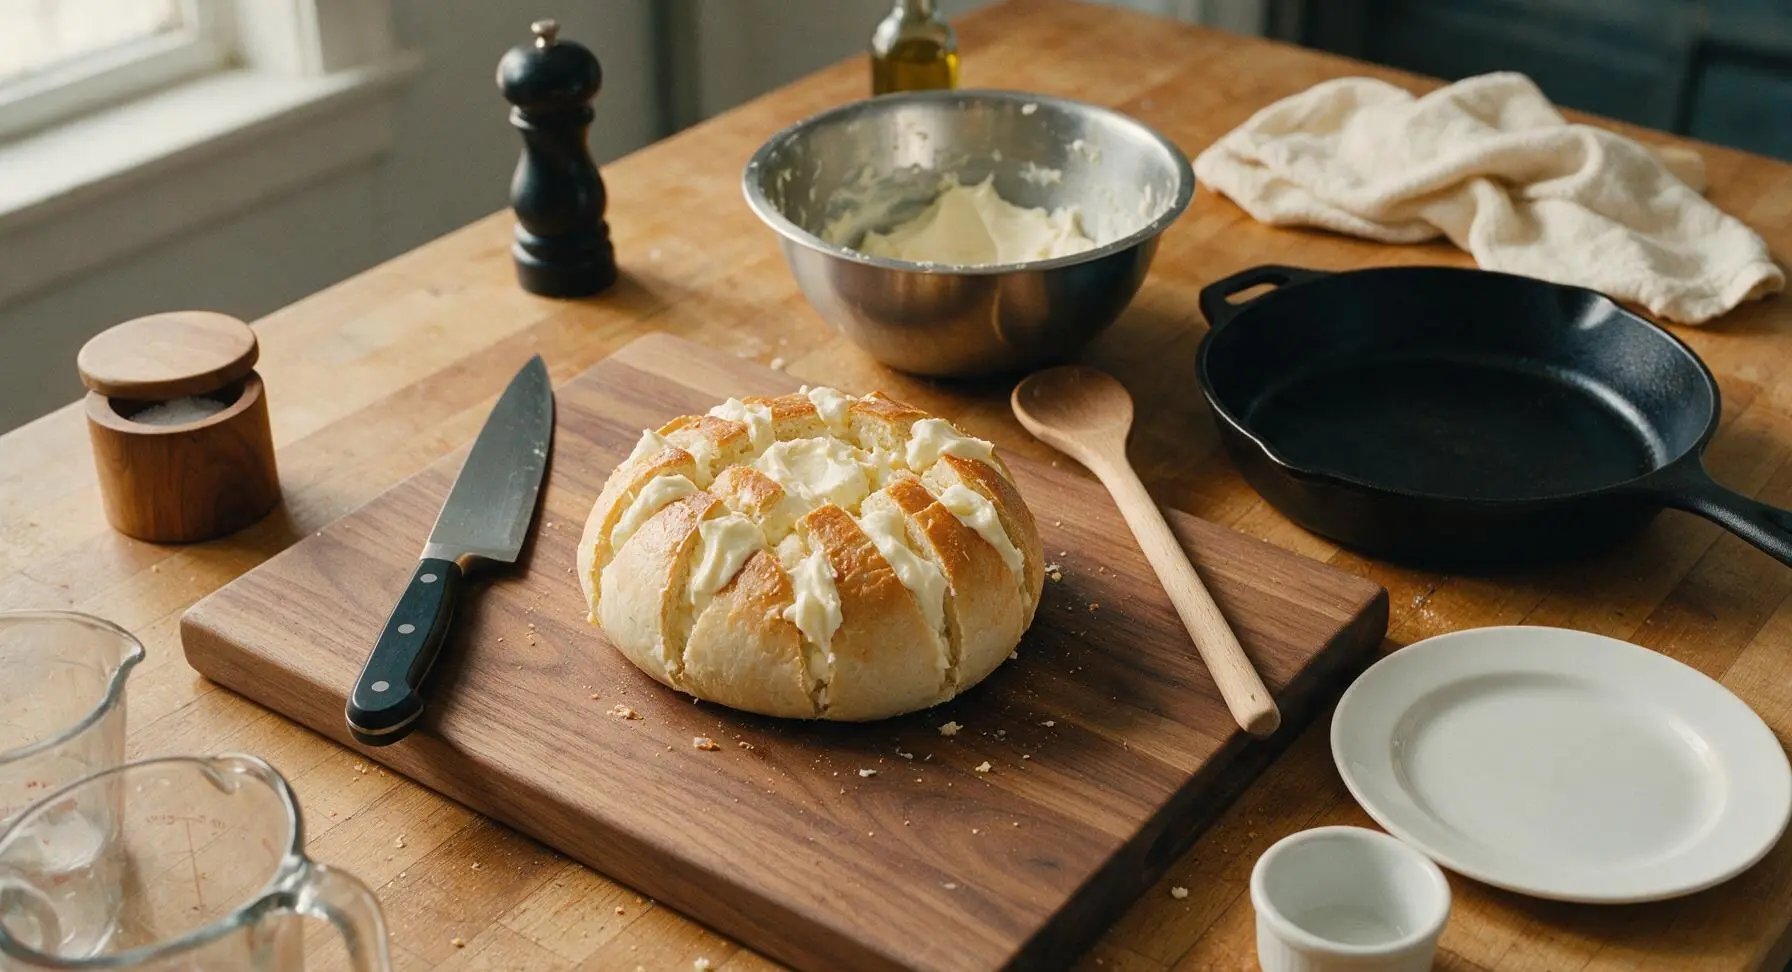
Spoon approximately 2 tbsp of the smooth cream cheese filling per bun, divided evenly between the slits, pressing gently to make sure the filling reaches the bottom of each cut without pushing the bun segments apart. Wipe any excess filling that smears on the outside of the buns with the edge of the linen towel for a clean finish. Set filled buns aside while you prepare the garlic butter coating.
Step 3
step3:Fill Buns with Cheese
Step 3
step3:Fill Buns with Cheese
4

Make Garlic Butter Coating

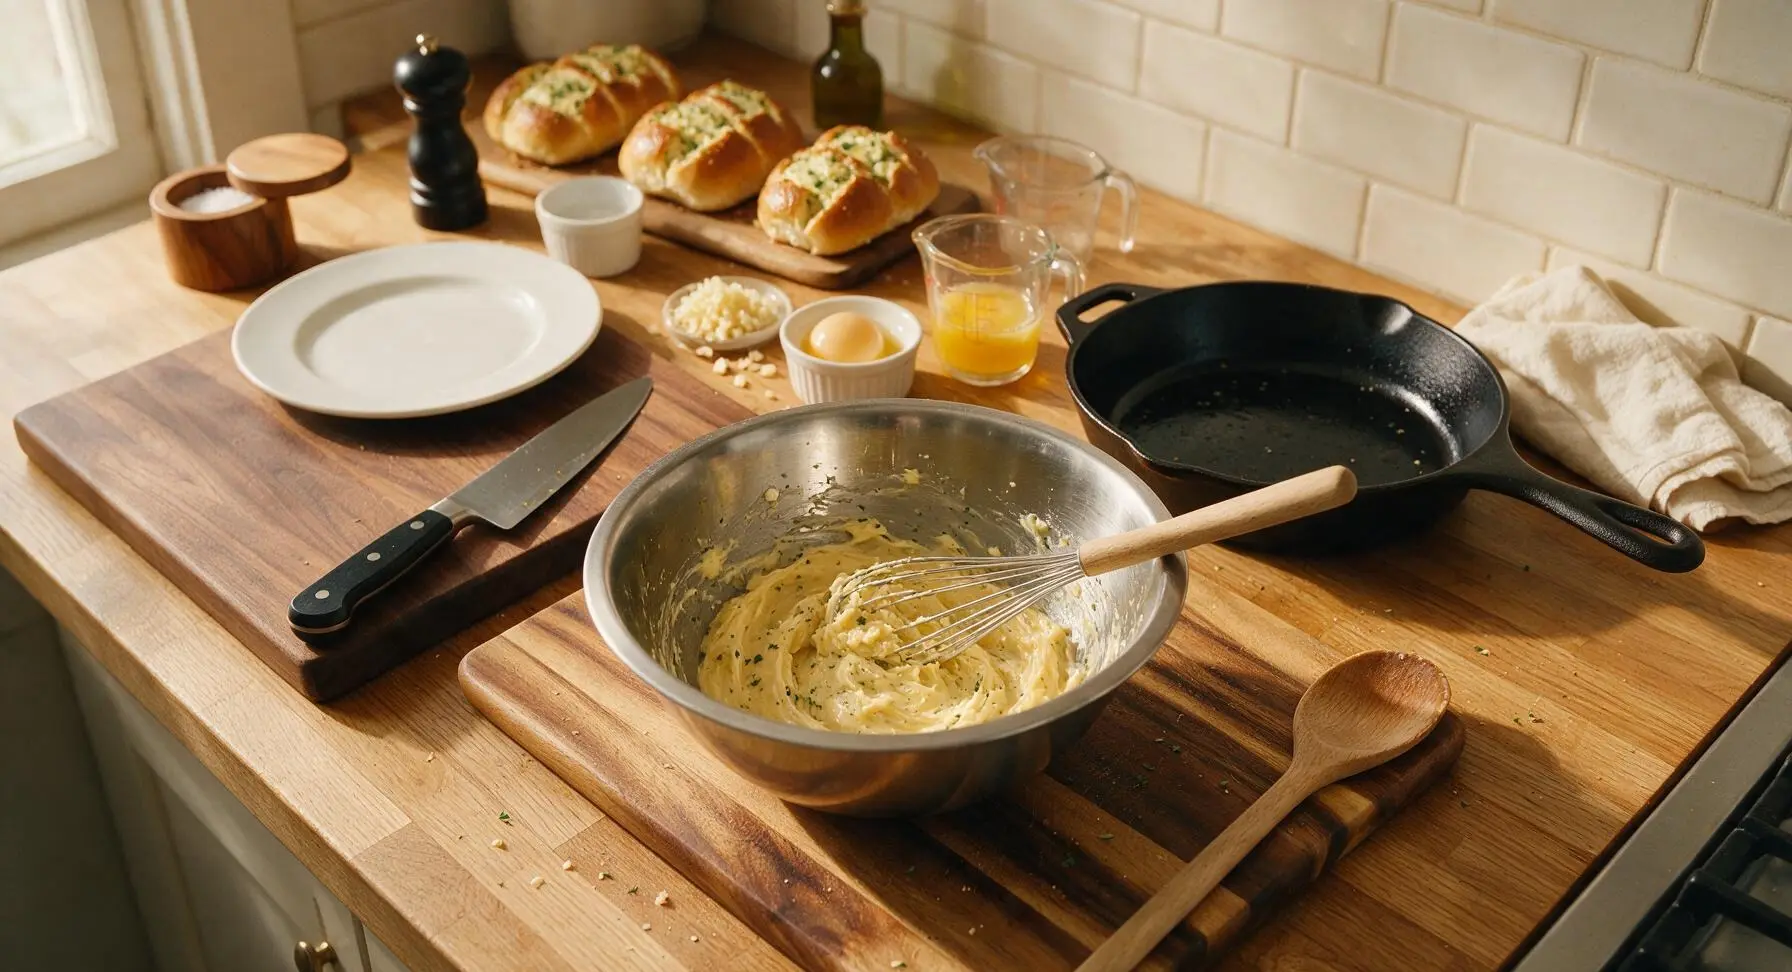
Place 100g melted, slightly cooled unsalted butter into the small stainless steel mixing bowl. Add 6 finely minced garlic cloves, 2 tbsp whole milk, 1 lightly beaten room-temperature large egg, 1 tbsp dried parsley, 1/4 tsp fine sea salt, and 1 tsp honey. Use the wire whisk to mix thoroughly until completely smooth, with no streaks of egg remaining. The finished mixture will be thin, pourable, and strongly fragrant with garlic.
Step 4
step4:Make Garlic Butter Coating
5

Prep Baking Sheet

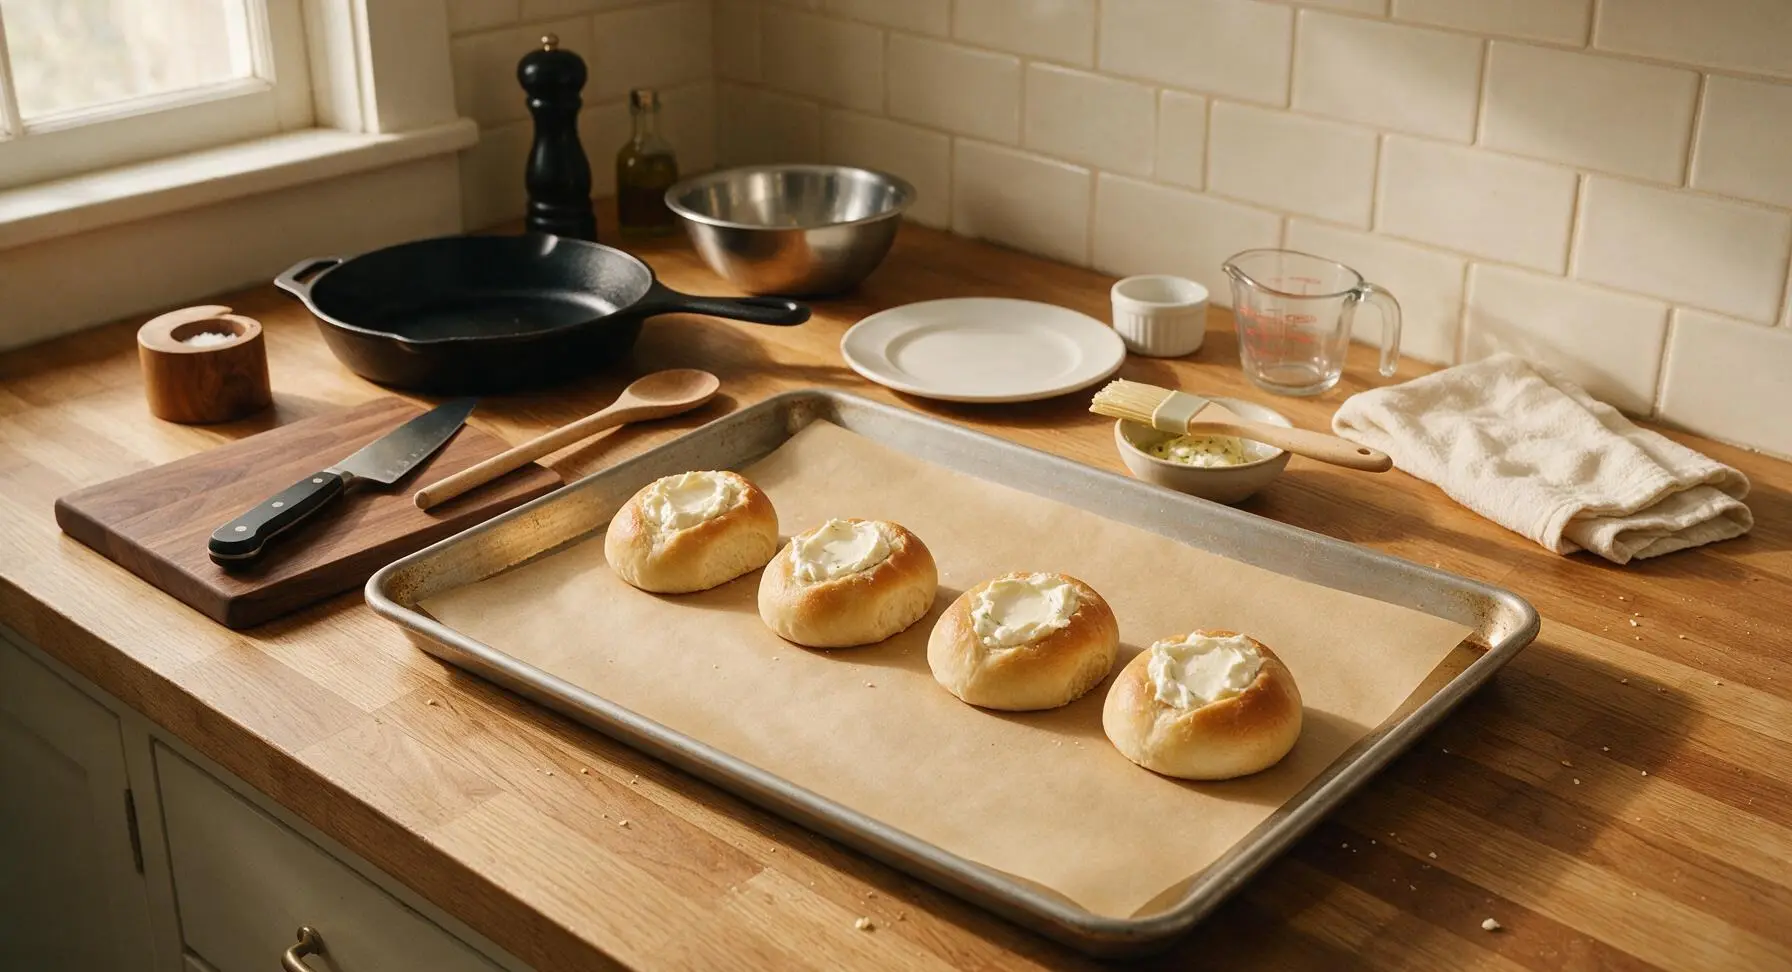
Line the heavy-gauge rimmed baking sheet with a sheet of unbleached parchment paper, smoothing out any wrinkles so it lies completely flat. Preheat your oven to 180°C (350°F) with a rack positioned in the middle. Arrange the cream-cheese-filled buns on the parchment paper, leaving 5cm of space between each bun to allow for even air flow and butter spread during baking.
Step 5
step5:Prep Baking Sheet
6

Coat Buns in Butter

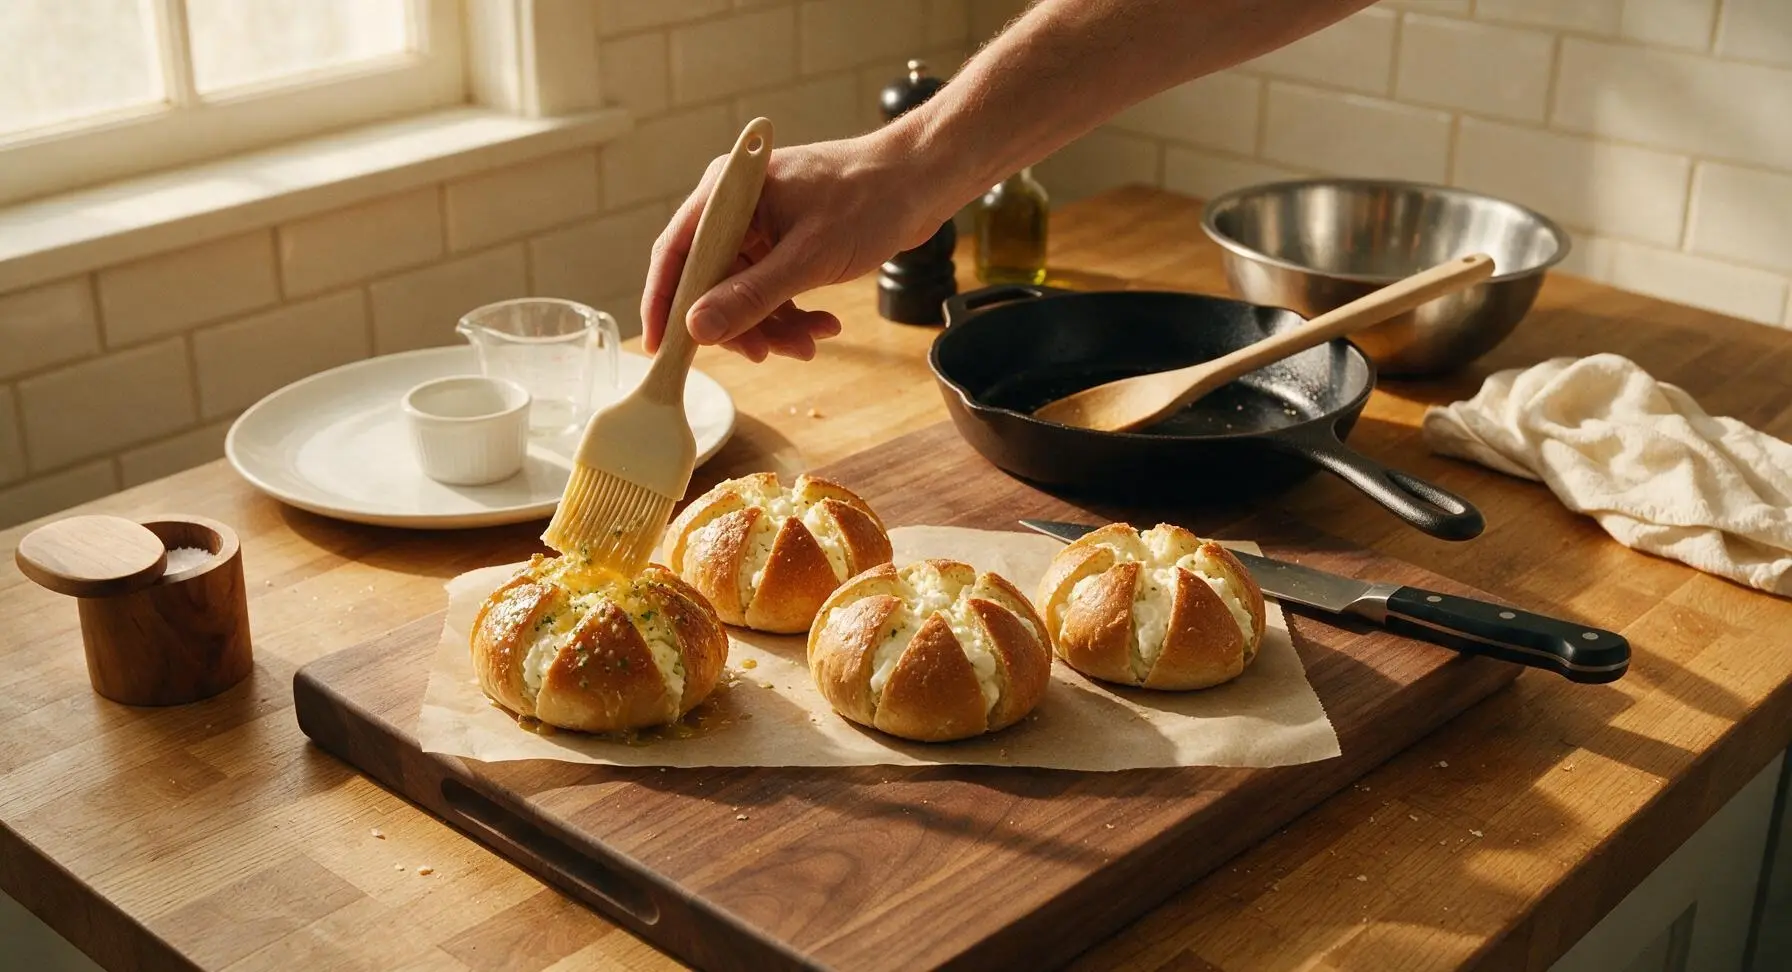
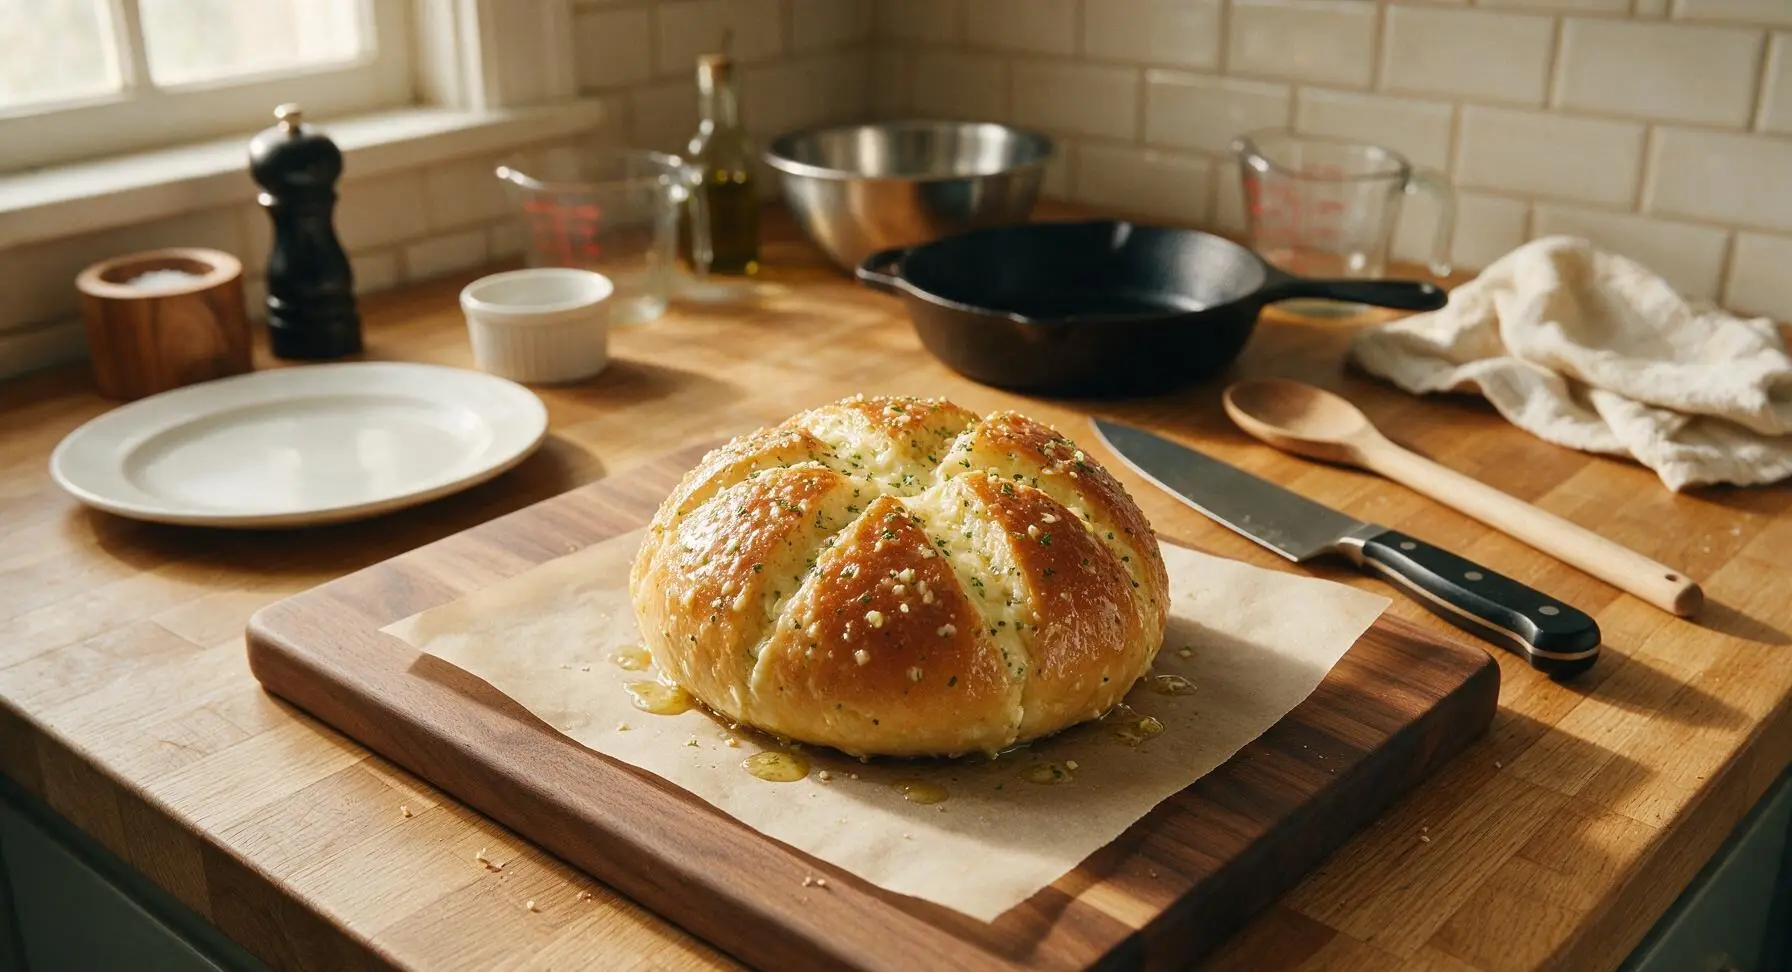
Use the silicone pastry brush to generously brush the garlic butter mixture all over the surface of each filled bun, making sure to coat every slit, top, side, and edge of the bread. Pour any remaining garlic butter evenly over the tops of the buns, letting it seep down into the cream cheese filling — don’t worry if some butter drips onto the parchment, as it will crisp the bottom of the buns perfectly as it bakes.
Step 6
step6:Coat Buns in Butter
Step 6
step6:Coat Buns in Butter
7

Bake to Golden Perfection

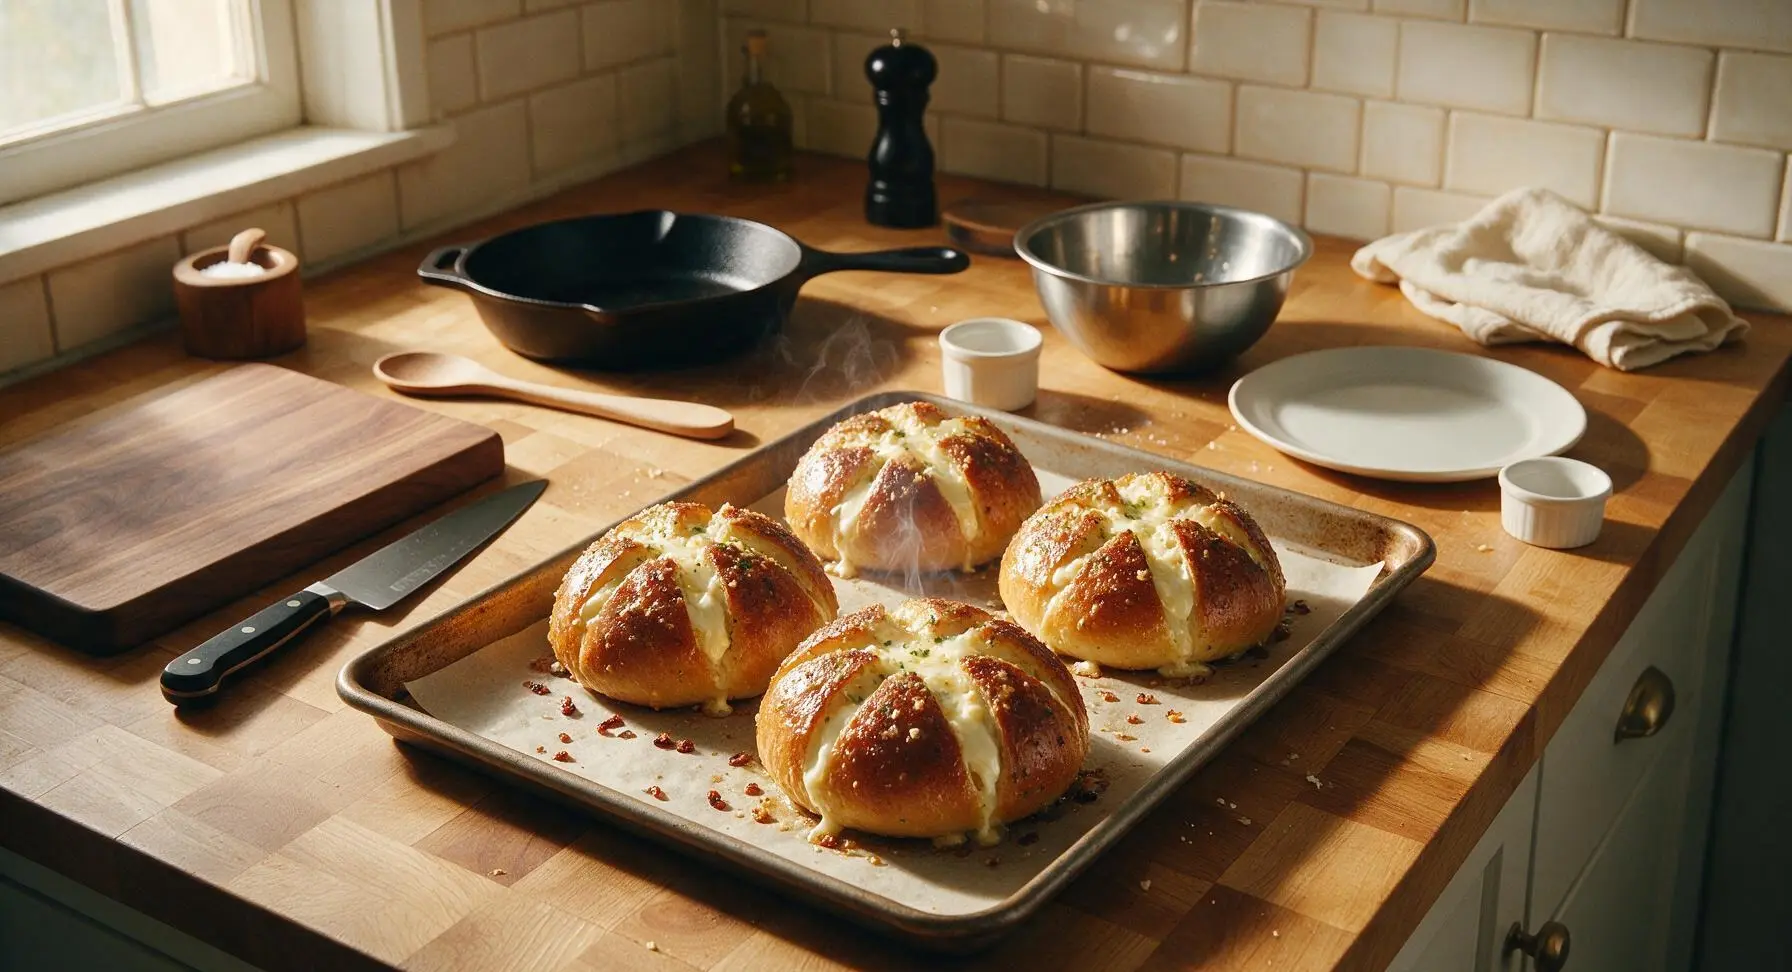
Place the baking sheet on the middle rack of the preheated 180°C (350°F) oven. Bake for 12-15 minutes, until the tops of the buns are deep golden brown, the garlic butter is bubbling around the edges, and the cream cheese filling is slightly puffed. Watch closely after the 10-minute mark to prevent the minced garlic from burning, which will give the bread a bitter, unpleasant taste.
Step 7
step7:Bake to Golden Perfection
8

Garnish and Serve

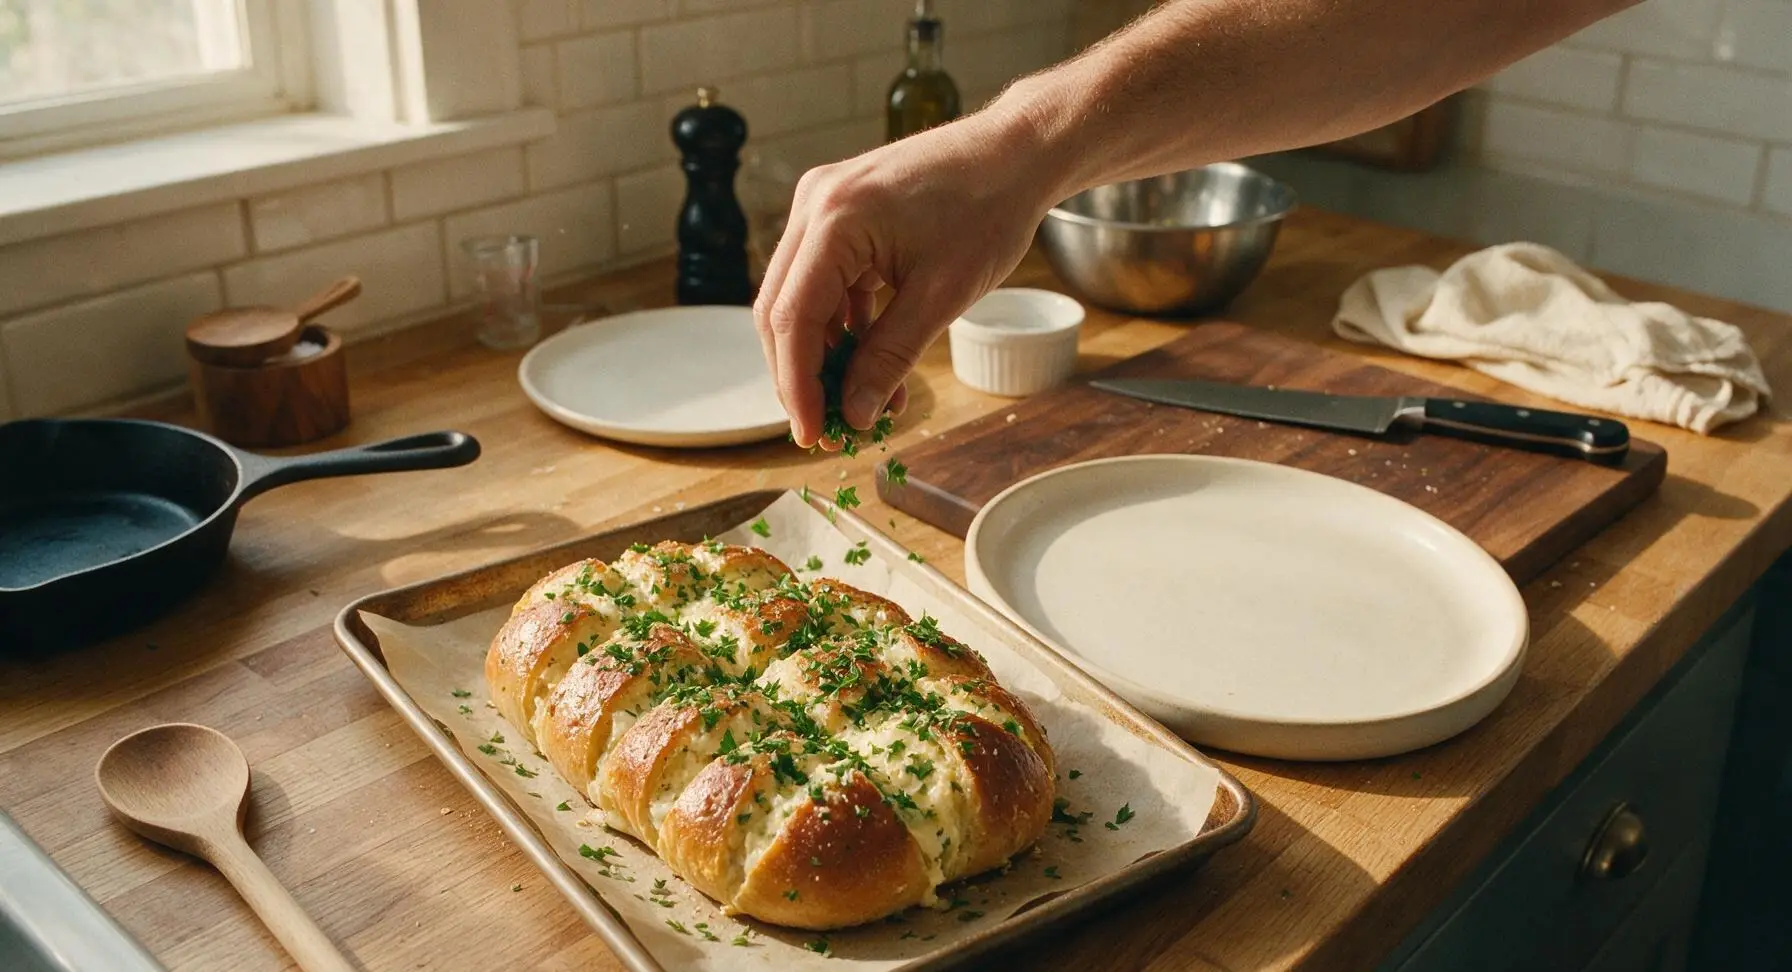
Remove the buns from the oven and let them cool for 3 minutes on the baking sheet — this allows the hot butter to set slightly so it doesn’t run everywhere when picked up. Sprinkle the tops generously with 2 tbsp finely chopped fresh flat-leaf parsley, then transfer to the large cream ceramic serving platter. Serve warm for the best soft-crisp texture.
Step 8
step8:Garnish and Serve

Tips

1.Use full-fat block-style cream cheese (not whipped spreadable cream cheese) for the filling: whipped versions contain added air and stabilizers that cause the filling to turn runny when heated, leading to messy leaks out of the buns during baking.
2.Do not omit the egg in the garlic butter coating: the egg acts as an emulsifier to bind the butter and milk into a smooth, glossy mixture that clings to the bread instead of pooling entirely on the baking sheet, and adds a subtle rich, custardy note as it bakes.
3.Let the baked buns rest for exactly 3 minutes before serving: straight from the oven, the butter is boiling hot and the cream cheese filling is thin enough to burn your mouth, but waiting longer than 5 minutes will make the crisp buttery crust turn soggy as it absorbs trapped moisture.


✨ You May Also Like

Desserts & Baking
🍜 Italy

Creamy, coffee-kissed classic Northern Italian no-bake dessert, with layers of rum-spiked mascarpone cream, soft ladyfingers, and a rich cocoa dusting.

⏱️ 4 hours 3Desserts & Baking ★ 4.7
Desserts & Baking
🍜 France

Flaky, shatteringly crisp, buttery French croissants with golden exteriors and soft, airy layered interiors, perfect for pairing with coffee for a special morning treat.

⏱️ 12 hours Desserts & Baking ★ 4.5
Desserts & Baking
🍜 United States

Warm, spiced baked apples topped with a fluffy golden biscuit crust, this cozy dessert pairs perfectly with vanilla ice cream for cool-weather comfort.

⏱️ 55 minuteDesserts & Baking ★ 4.6
Desserts & Baking
🍜 United States

A star-spangled classic American blueberry pie with buttery flaky crust and bright sweet-tart filling, perfect for summer patriotic gatherings.

⏱️ 1 hour 25Desserts & Baking ★ 4.7
Desserts & Baking
🍜 United States

A beloved no-bake regional Maine candy with a chewy coconut-potato center coated in rich dark chocolate, a New England holiday staple since the 1870s.

⏱️ 2 hours 3Desserts & Baking ★ 4.8
Desserts & Baking
🍜 France

Luxuriously creamy, floral frozen custard made with aromatic Tahitian vanilla beans, boasting a smooth, rich texture that melts slowly on the tongue.

⏱️ 3 hours 3Desserts & Baking ★ 4.5

Korean-Style Cream Cheese Garlic Bread:Frequently Asked Questions

1.Can I use store-bought buns instead of making homemade milk bread for this recipe? ▾
Absolutely! Store-bought soft milk buns or brioche slider buns (3–4 inches wide) work perfectly to cut down on prep time. Skip crusty sourdough or hard dinner rolls, though—their dense, tough crumb won’t soak up garlic butter evenly, and you’ll miss that signature pillowy, soft contrast to the crisp baked edges.
2.Do I have to use full-fat block cream cheese, or are low-fat or whipped versions okay? ▾
Stick with full-fat block cream cheese for the best results. Low-fat versions have extra water and stabilizers that make the filling runny when baked, and whipped cream cheese has added air that leads to a flat, less rich filling. Let the block cream cheese come to room temp first so it mixes smooth with no lumps.
3.Why does my cream cheese filling turn runny after I bake the bread? ▾
Runny filling usually comes from three common culprits: using low-fat or whipped cream cheese, not draining excess surface moisture from your cream cheese block, or over-mixing the filling with too much heavy cream. Mix room temp block cream cheese just until smooth with 1–2 tablespoons of heavy cream and sugar for a stable, thick result.
4.Can I make the cream cheese filling ahead of time to save prep work? ▾
You sure can! Mix the cream cheese filling up to 3 days ahead, store it in an airtight container in the fridge, and let it sit at room temp for 15 minutes before stuffing your buns. Don’t freeze the filling, though—the texture will turn grainy and separate when it thaws, ruining that smooth, tangy bite.
5.How should I cut the buns so they don’t fall apart when I stuff them? ▾
Cut a deep crosshatch into the top of each bun, stopping ½ inch from the bottom so the base stays fully intact—don’t cut all the way through! That connected base holds the cream cheese filling in place while you pour garlic butter over top, and lets butter soak into every nook without the bun splitting during baking.
6.My garlic butter soaks right through the buns and makes them soggy—what am I doing wrong? ▾
Soggy bread happens if your garlic butter is too hot when you pour it, or if your buns are overly fresh and extremely moist. Let the melted garlic butter cool for 5 minutes before using, and if your buns are extra soft, toast them lightly for 3 minutes at 350°F first to create a slight barrier that prevents total sogginess.
7.Can I add extra herbs or seasonings to the garlic butter for more flavor? ▾
Absolutely! The base garlic butter is super versatile. Stir in a pinch of dried parsley, a tiny sprinkle of grated parmesan, a dash of gochugaru for subtle heat, or even ¼ teaspoon of honey for extra depth. Just skip large chunks of garlic or raw veggies, since they’ll burn and turn bitter during the short bake time.
8.What oven temperature and bake time gives the best results? ▾
Bake the assembled buns at 375°F for 10–12 minutes, until the edges are deep golden and crisp, the cream cheese filling is warm and slightly oozing, and the garlic butter smells fragrant across your kitchen. Don’t bake longer than 15 minutes, or the buns will turn tough and dry instead of soft in the middle.
9.How should I store leftovers, and what’s the best way to reheat them? ▾
These taste best fresh out of the oven, but you can store leftover baked buns in an airtight container in the fridge for up to 3 days. Reheat them in a 350°F oven or toaster oven for 5 minutes to crisp the edges back up—avoid the microwave, which will turn the bread rubbery and the filling runny.
10.Can I freeze assembled, unbaked buns for quick future snacks? ▾
You can freeze assembled, unbaked buns for up to 1 month! Arrange them on a baking sheet to flash freeze first, then transfer to a sealed freezer bag to prevent freezer burn. Bake straight from frozen at 375°F for 18–20 minutes, no thawing needed, until golden and heated all the way through.
11.I don’t have heavy cream for the filling—what’s a good substitute? ▾
If you don’t have heavy cream, you can use full-fat sour cream or crème fraîche in equal amounts for a slightly tangier filling that still stays thick when baked. Skip plain milk or half-and-half, since they’re too thin and will make the filling run out of the buns while they bake.
12.How much sugar should I add to the cream cheese filling for the right flavor balance? ▾
For 8 ounces of block cream cheese, use 2–3 tablespoons of granulated sugar, depending on your taste preference. Start with 2 tablespoons, taste the filling, and add more if you want it sweeter—you want it to balance the savoriness of the garlic butter, not taste like straight dessert frosting.
13.Can I use salted butter instead of unsalted butter for the garlic soak? ▾
You can use salted butter if that’s all you have, just skip adding any extra salt to the garlic butter mixture. Taste the melted butter before pouring it over the buns—if it tastes overly salty, stir in a tiny extra pinch of sugar to balance it out so it doesn’t overpower the sweet cream cheese filling.
14.Why do my buns come out with burnt, bitter garlic bits on the edges? ▾
Burnt garlic happens if you mince your garlic too fine, use garlic powder instead of fresh, or bake the buns too close to the top heating element of your oven. Use coarsely minced fresh garlic, place the baking sheet on the middle oven rack, and keep a close eye on them after the 8 minute mark to avoid burning.
15.Do I need to line my baking sheet when making these buns? ▾
It’s highly recommended to line your baking sheet with parchment paper or a silicone baking mat! The garlic butter and oozing cream cheese will drip as the buns bake, and the sugar in both can burn onto a bare baking sheet, making cleanup a total nightmare. The liner also prevents the bun bottoms from sticking.
16.Can I make a vegan version of Korean-style cream cheese garlic bread? ▾
You can make a great vegan swap! Use soft vegan milk buns, block-style vegan cream cheese, vegan unsalted butter, and chilled full-fat coconut cream scooped from the can in place of dairy heavy cream. Stick to the same ratios and baking time, and you’ll get nearly the same rich, aromatic, indulgent result.
17.How do I get crispy bun edges without drying out the soft stuffed center? ▾
For perfect crisp edges with a soft, pillowy center, brush a little extra garlic butter directly onto the cut edges of the buns right before baking, and spritz the tops lightly with a tiny bit of water before sliding them into the oven. The steam from the water helps edges crisp fast without drying out the tender, filled middle.

Comments (3)

3 days ago

OMG this Korean cream cheese garlic bread was such a game changer for our weekend potluck! I was a little nervous about the medium difficulty level since I’m not a super experienced baker, but the steps were so straightforward and it came out perfect in 15 minutes? Everyone was begging me for the recipe, even my super picky teen who turns his nose up at almost everything I bake. SO good, I’m already making a double batch for next week’s family dinner!

2 days ago

Wait did you use full fat cream cheese? I tried a different version last month and the filling was runny, wondering if that was my issue!

yesterday

So glad it was a hit at your potluck! To answer the question too - we definitely recommend full-fat block cream cheese (not the whipped spreadable kind!) to keep the filling thick and creamy, it makes all the difference. Let us know how that double batch turns out!

2 hours ago

Made this last night for movie night with the kids and holy cow it’s better than the ones I’ve gotten at the Korean bakery 20 minutes from my house! My kids loved it so much they ate half the loaf before the movie even started. Only note: I added a tiny extra sprinkle of parmesan on top before baking and it slapped. 10/10 will be adding this to my weekly meal prep rotation for easy snacks.

30 minutes ago

Love the parmesan sprinkle hack, that sounds absolutely delicious! So stoked the whole family enjoyed it - it’s such a perfect quick movie night treat, we’re big fans of adding extra cheese too around here!

5 days ago

Took a chance on this for a random weeknight side when I had a block of cream cheese I needed to use up, and wow I’m mad I didn’t try this sooner. Cook time was actually 15 minutes like the recipe said which is a huge win for busy school nights, no weird fancy ingredients required. The only tiny hiccup was I cut my bread slices a little too deep and some filling oozed out, but honestly that just made crispy cheesy bits on the baking sheet so it wasn’t even a loss. Will make again!



