
kraft cheesecake
intro
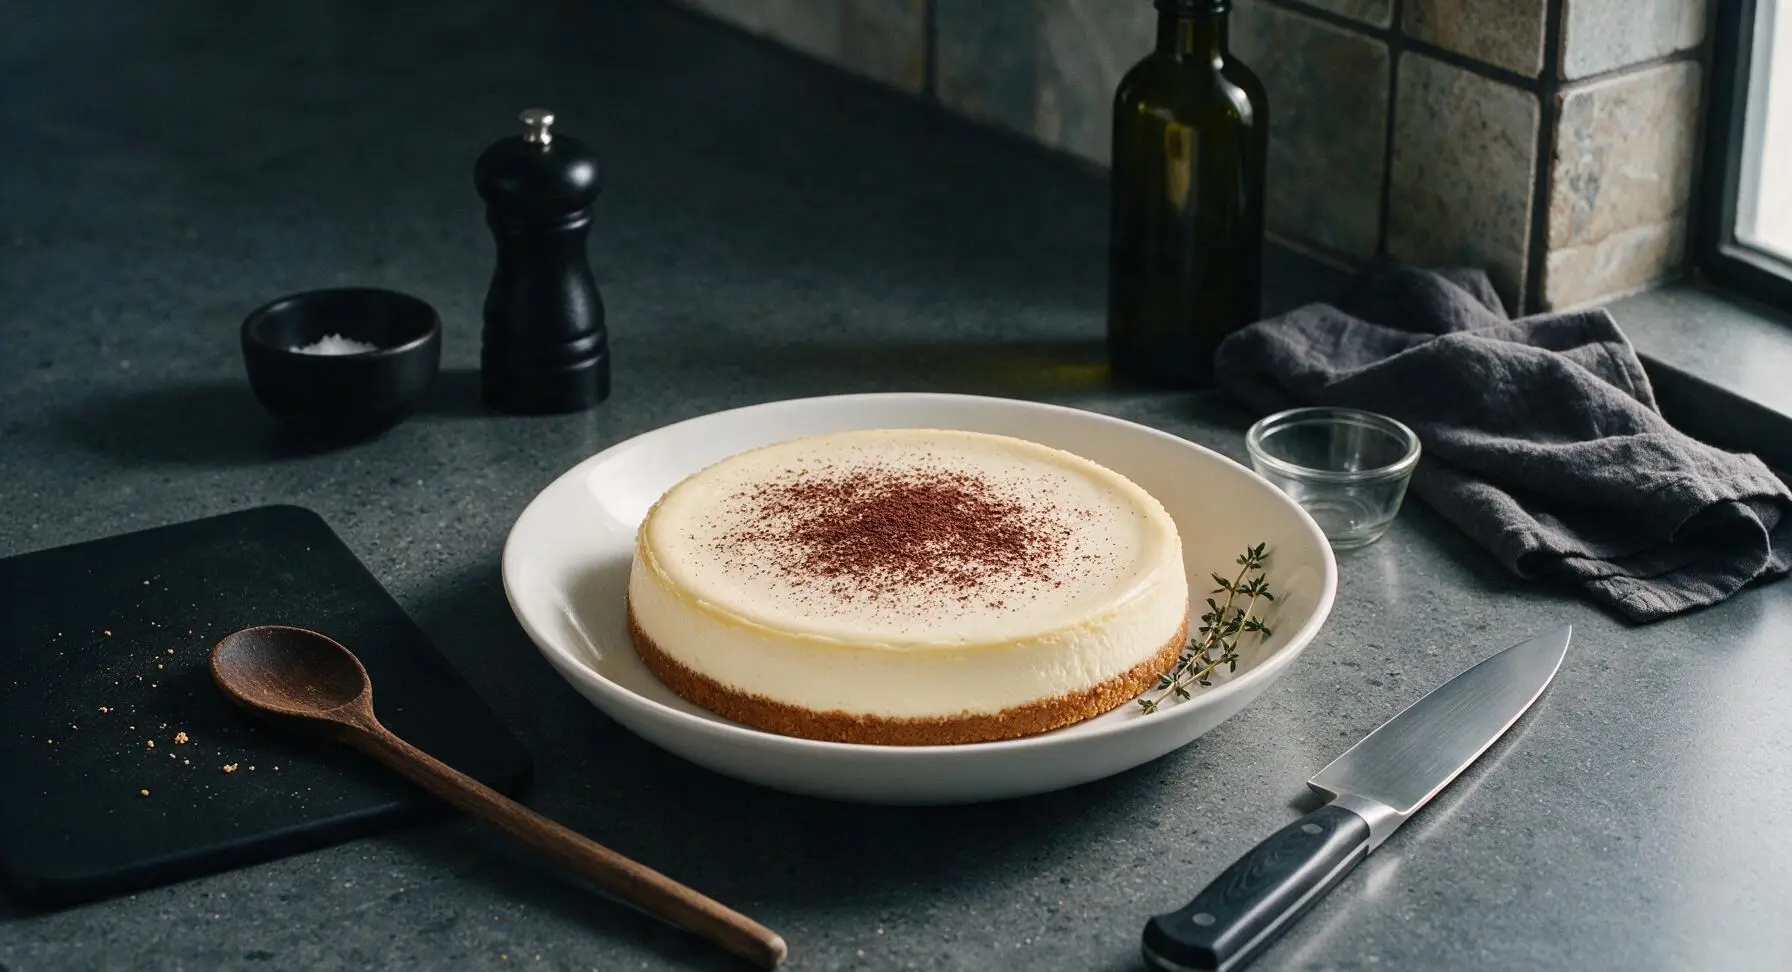
Velvety, rich classic Kraft Philadelphia cheesecake with a buttery graham cracker crust, smooth vanilla filling, and perfectly set, crack-free top—an iconic, crowd-pleasing baked dessert.
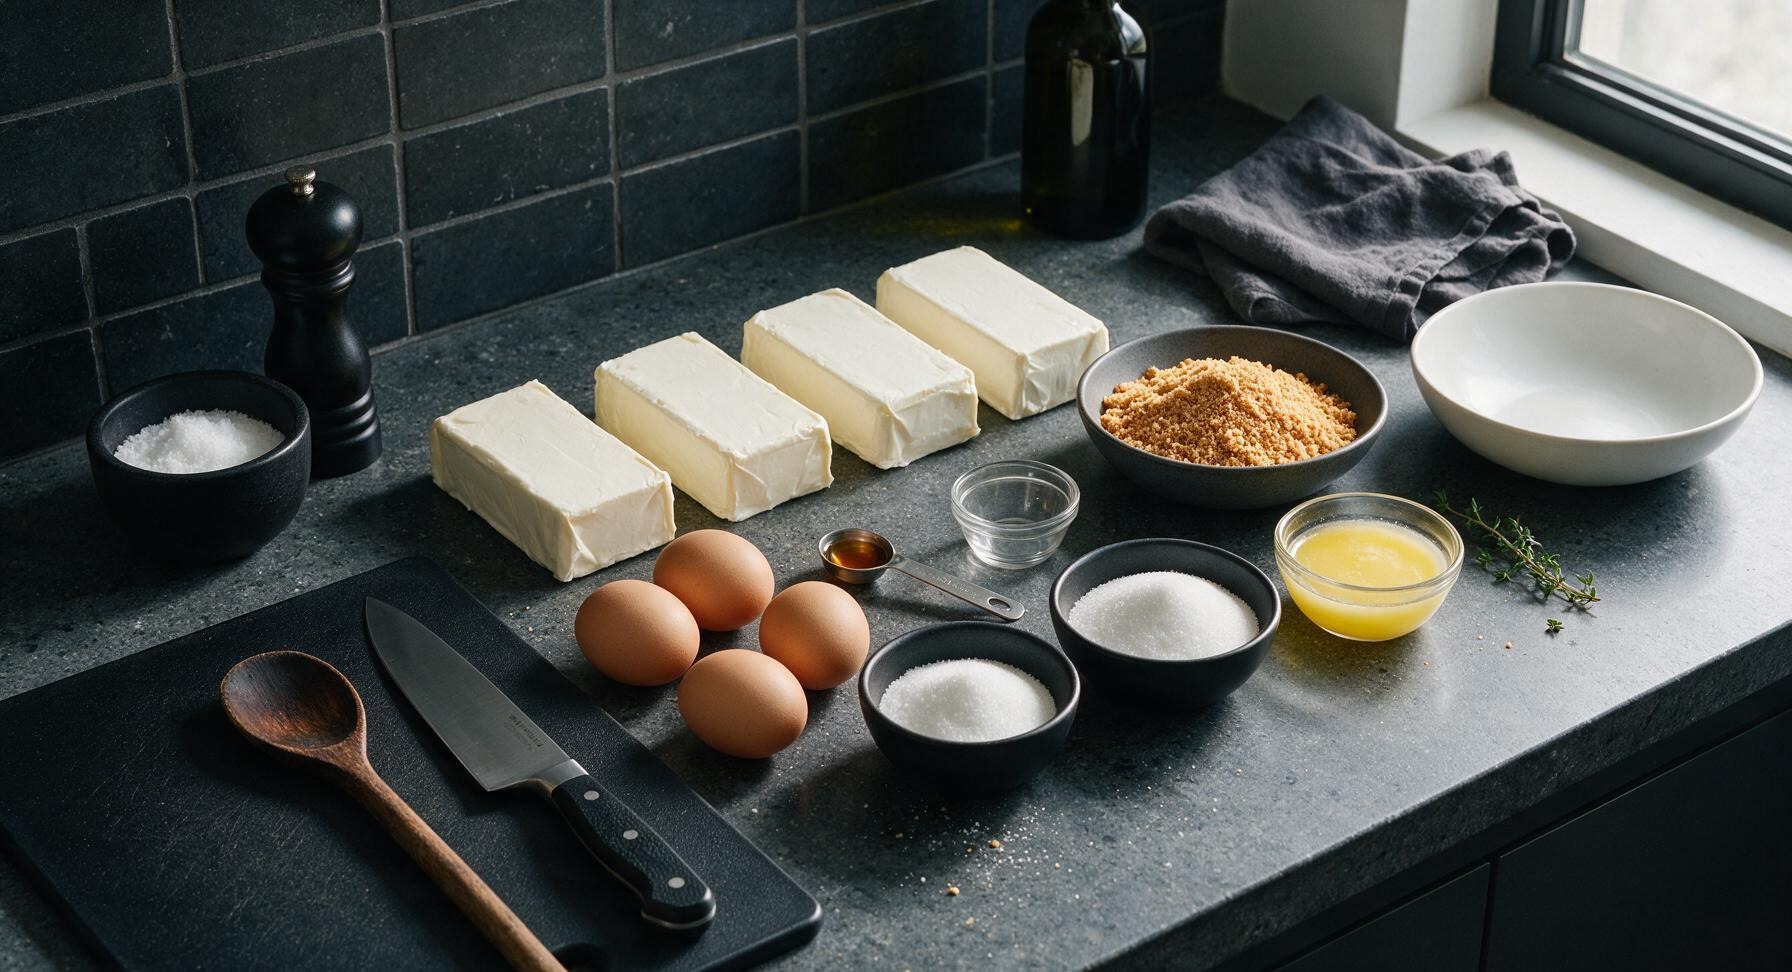
Ingredients
Steps
Mix Graham Cracker Crust
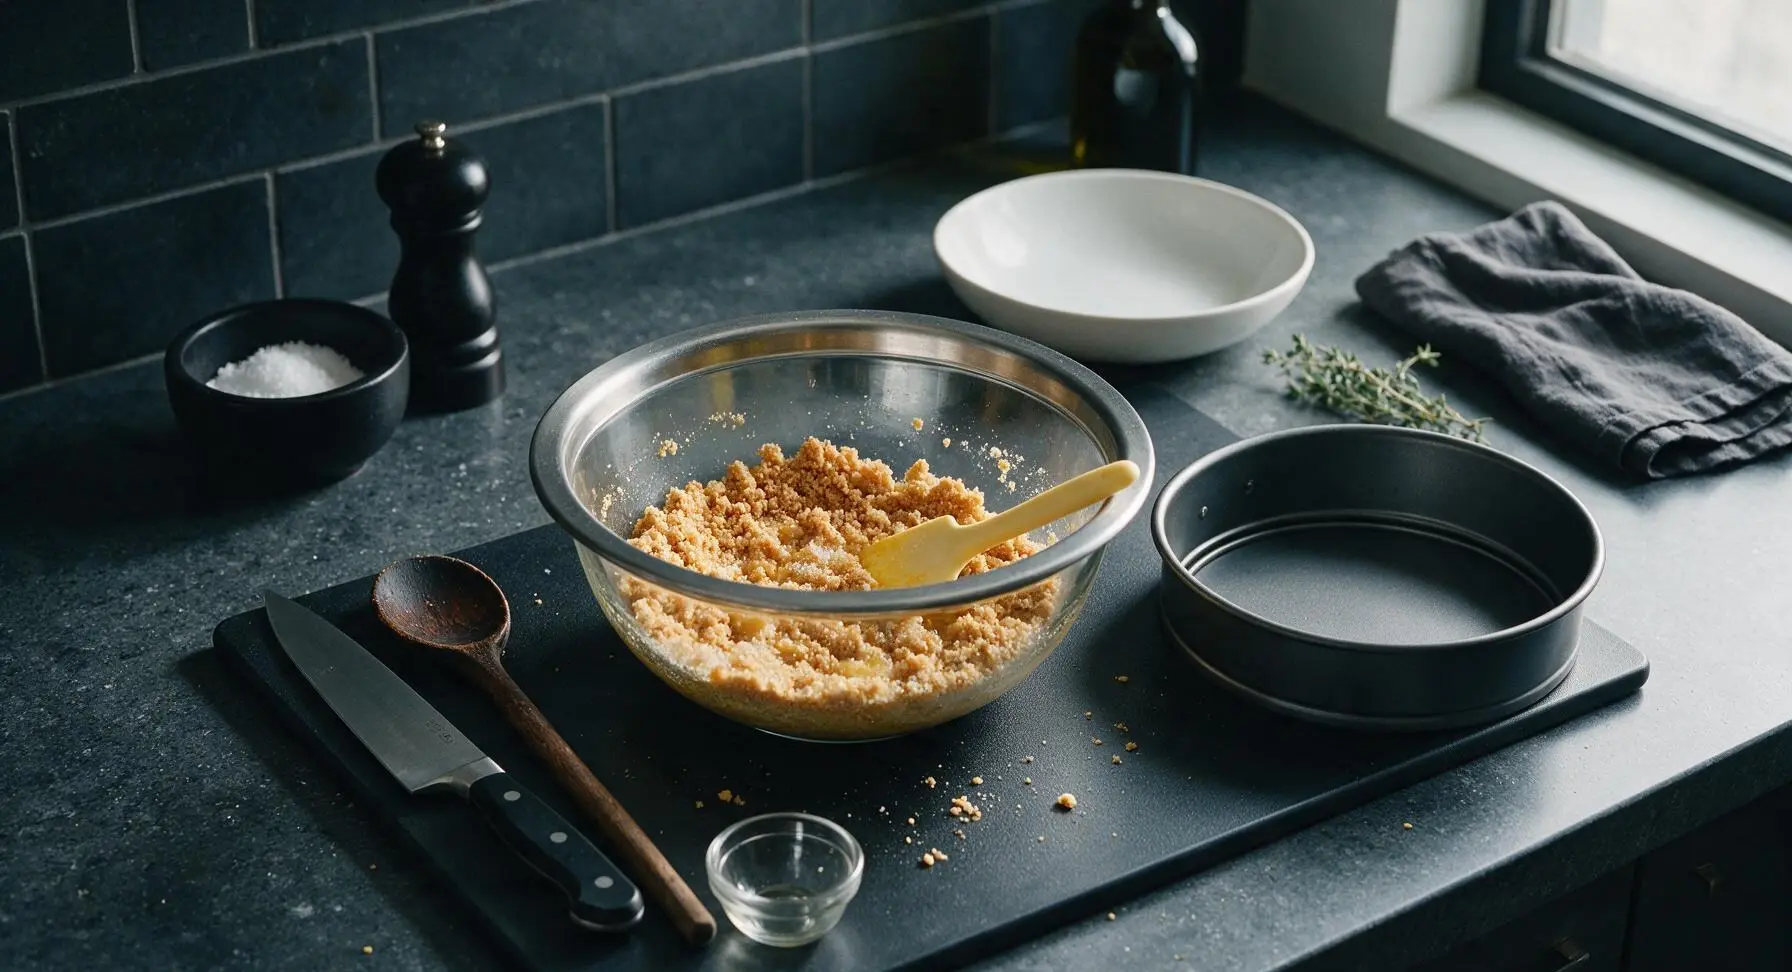
Preheat oven to 325°F (160°C). In the medium clear glass mixing bowl, combine 1 1/2 cups (150g) graham cracker crumbs, 3 tablespoons (38g) granulated sugar, and 1/3 cup (75g) melted unsalted butter. Stir with the pale yellow silicone spatula until every crumb is evenly coated in butter, reaching a texture that clumps firmly when squeezed like damp sand. A few loose crumbs on the bowl edge are normal.
Press Crust Into Pan
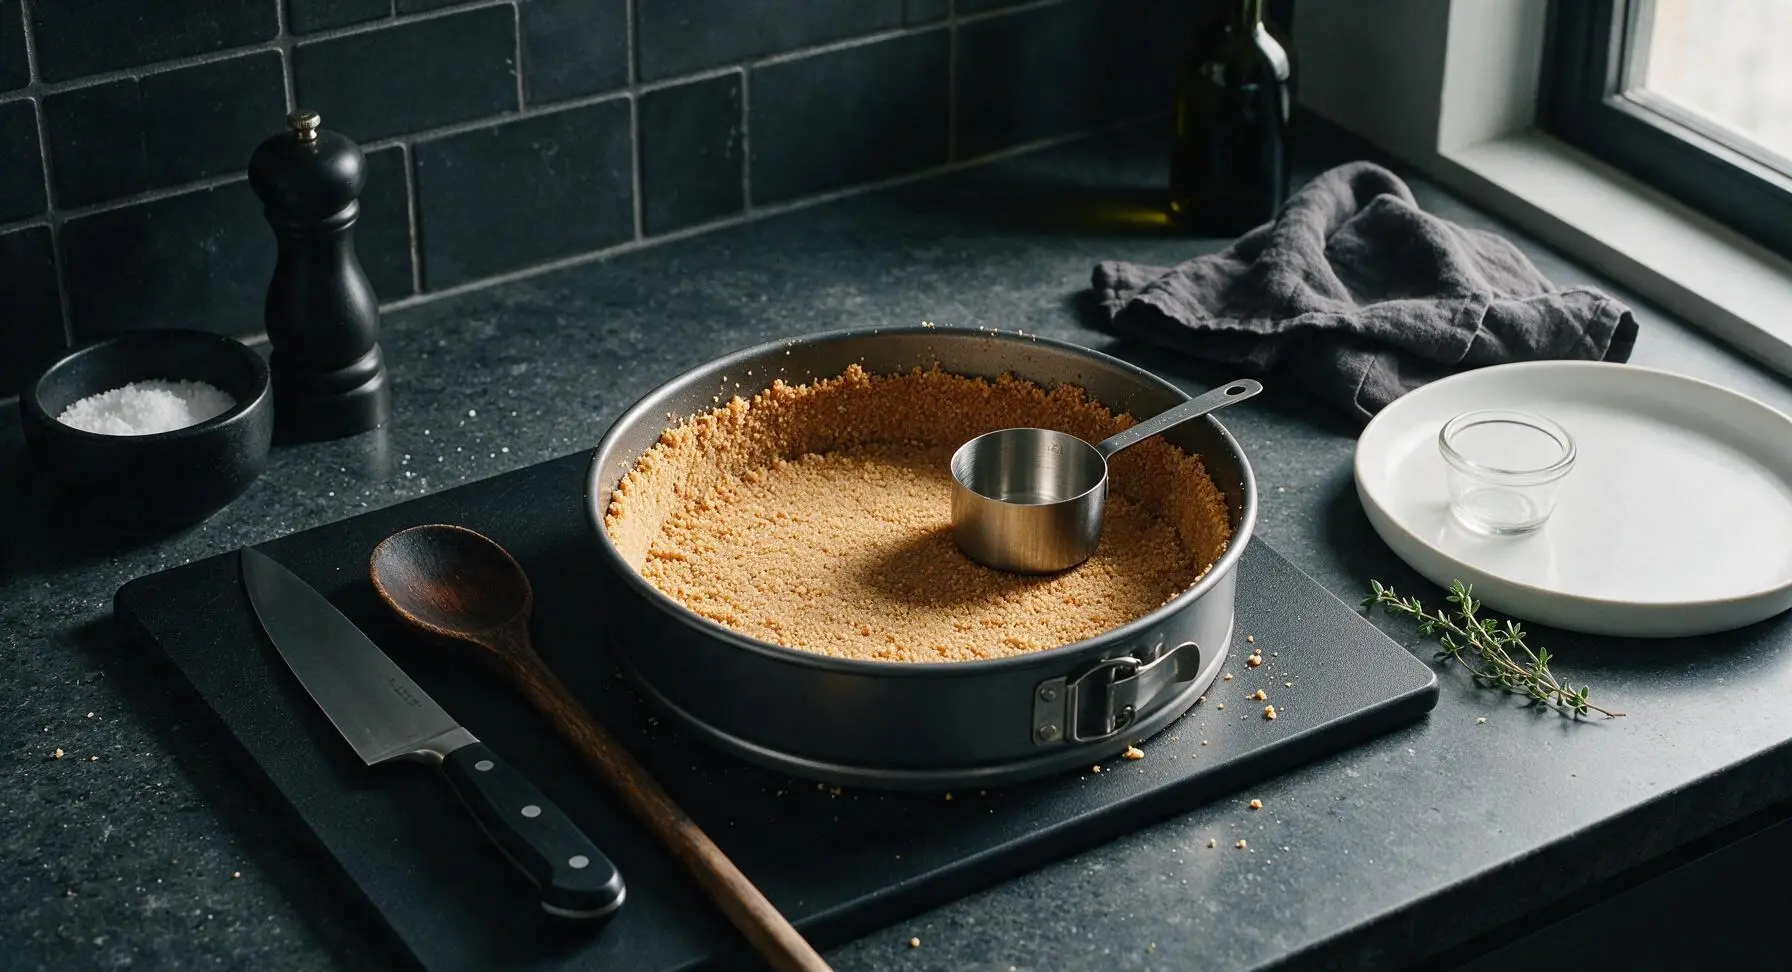
Transfer the buttered crumb mixture to the 9-inch springform pan. Press firmly and evenly across the entire bottom of the pan, then press crumbs 1 inch up the inner sides of the pan. Use the flat base of the 1-cup stainless steel measuring cup to compact the crumbs into a tight, even layer with no thin spots. The finished crust should feel solid and not shift when touched lightly.
Mix Cream Cheese Base
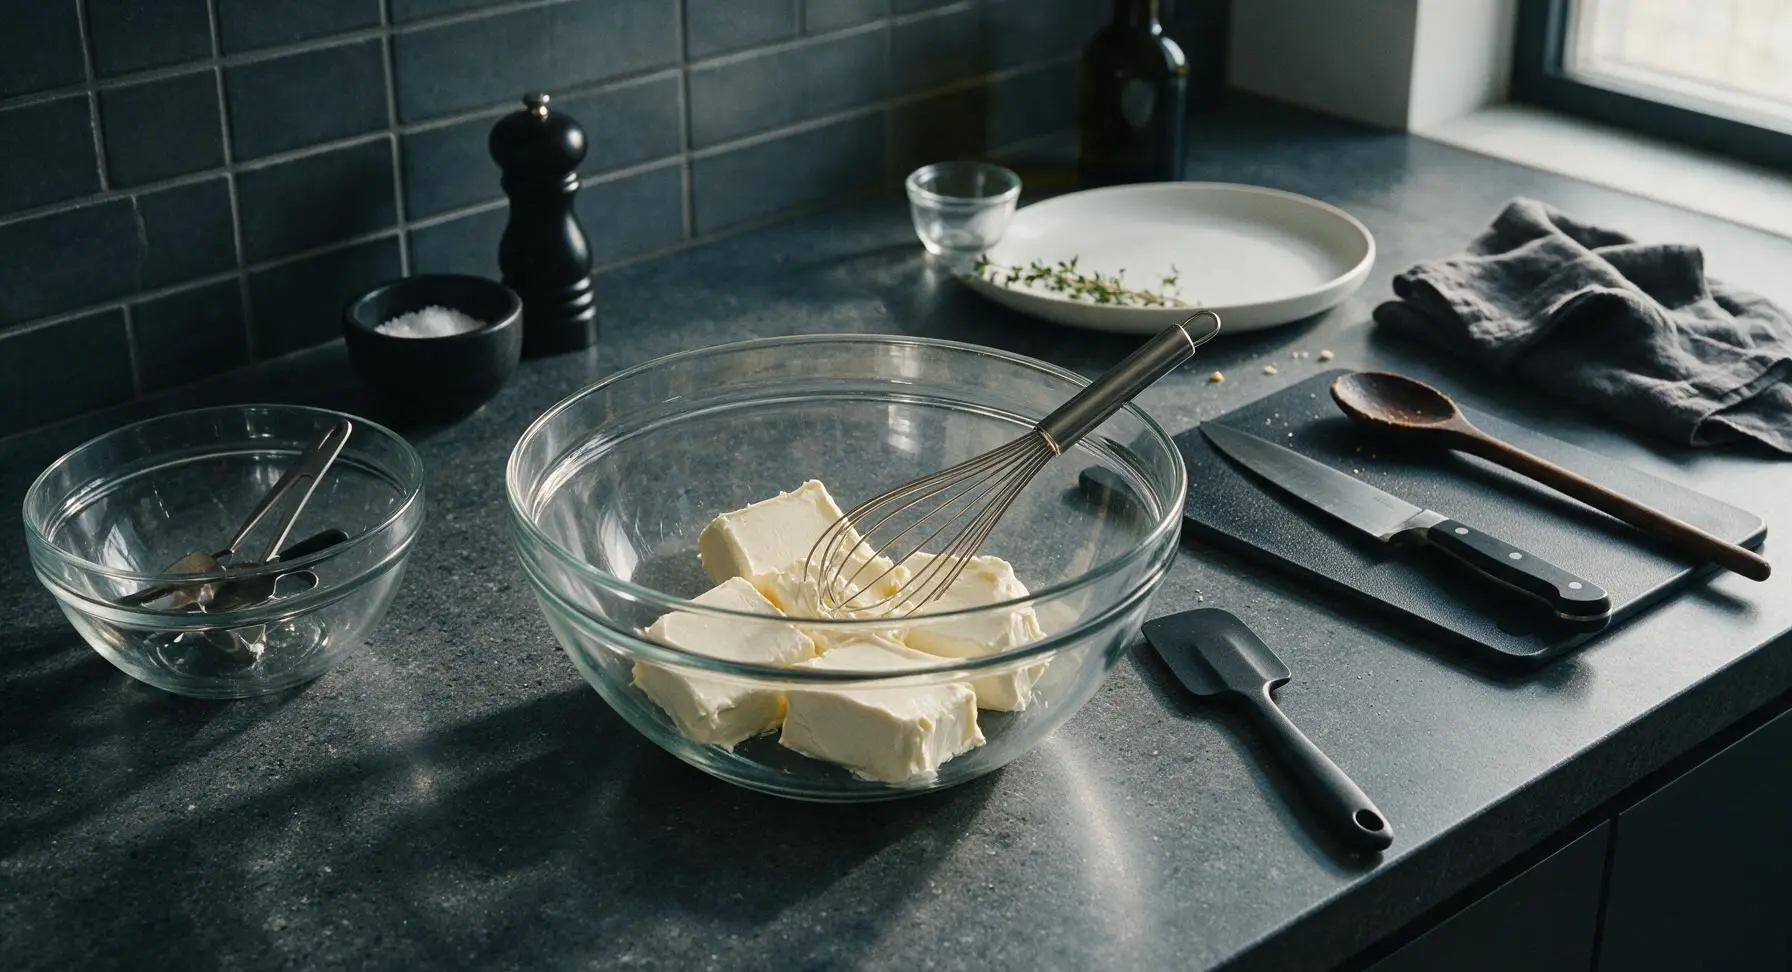
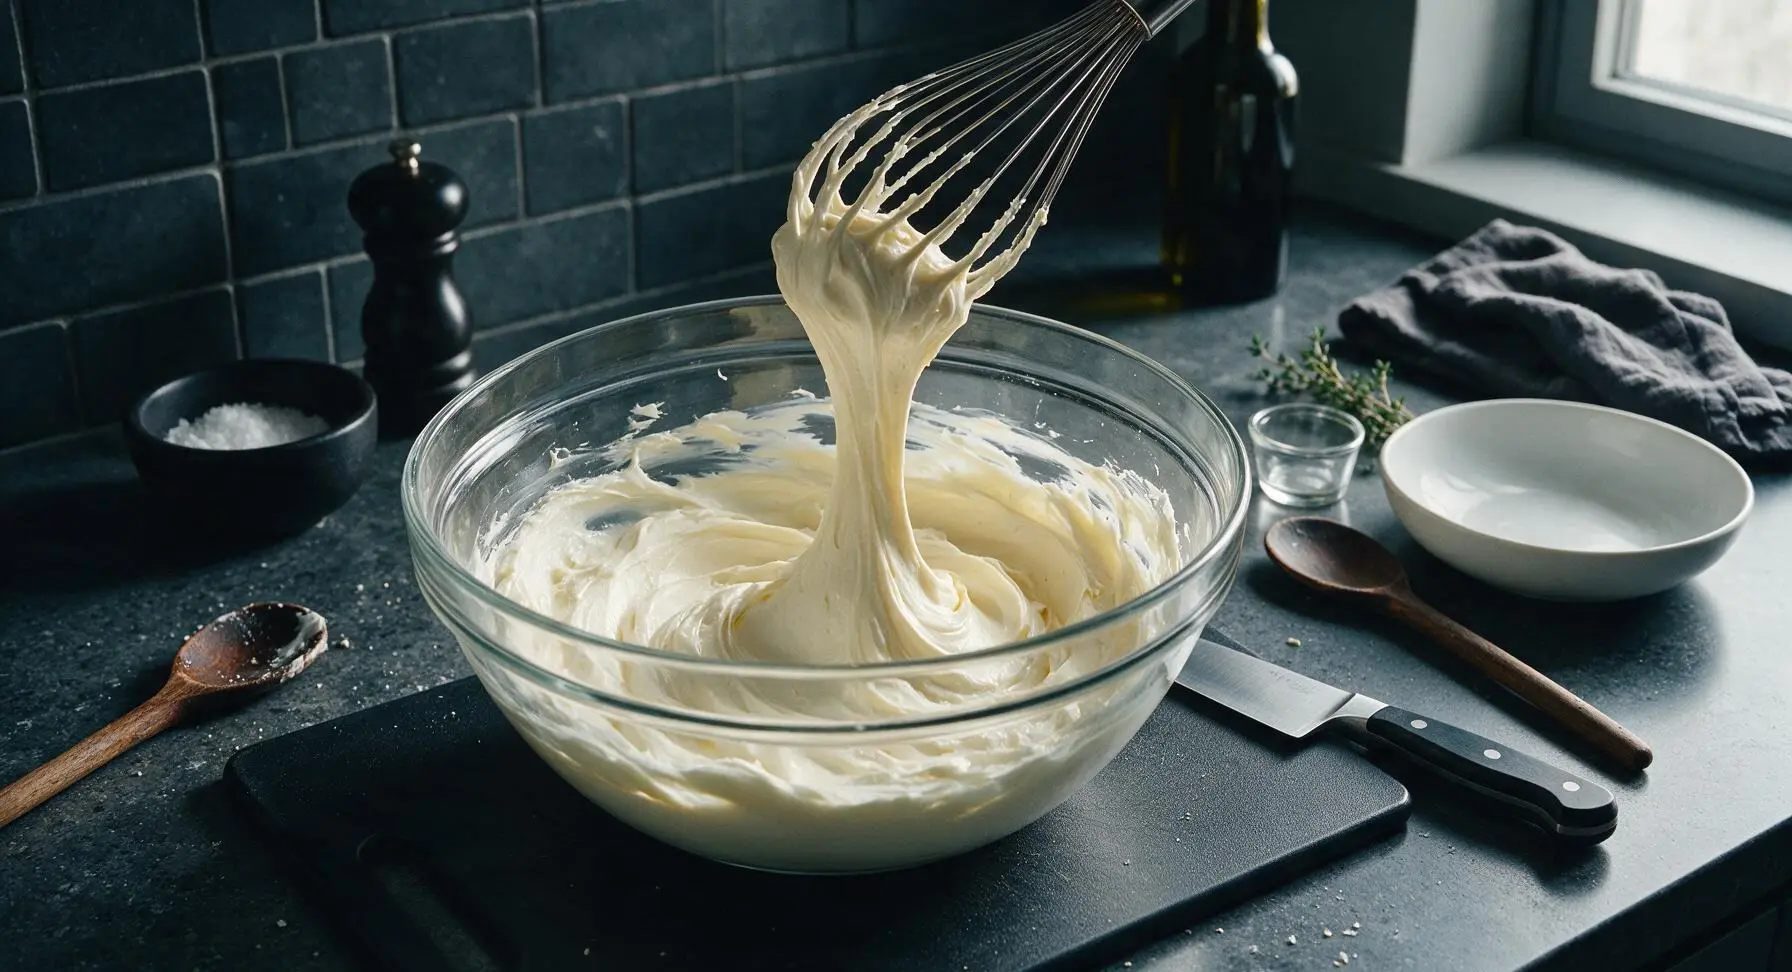
Place four softened 8oz blocks of full-fat cream cheese in the large clear glass mixing bowl. Beat with the stainless steel wire whisk for 2 to 3 minutes until completely smooth, with no tiny lumps remaining. Add 1 cup (200g) granulated sugar and 1 teaspoon (5ml) pure vanilla extract, then continue mixing for 1 to 2 minutes until the base is silky, uniform, and pale cream. Scrape down the bowl sides with the silicone spatula halfway through to incorporate any stuck cream cheese.
Incorporate Eggs Gently
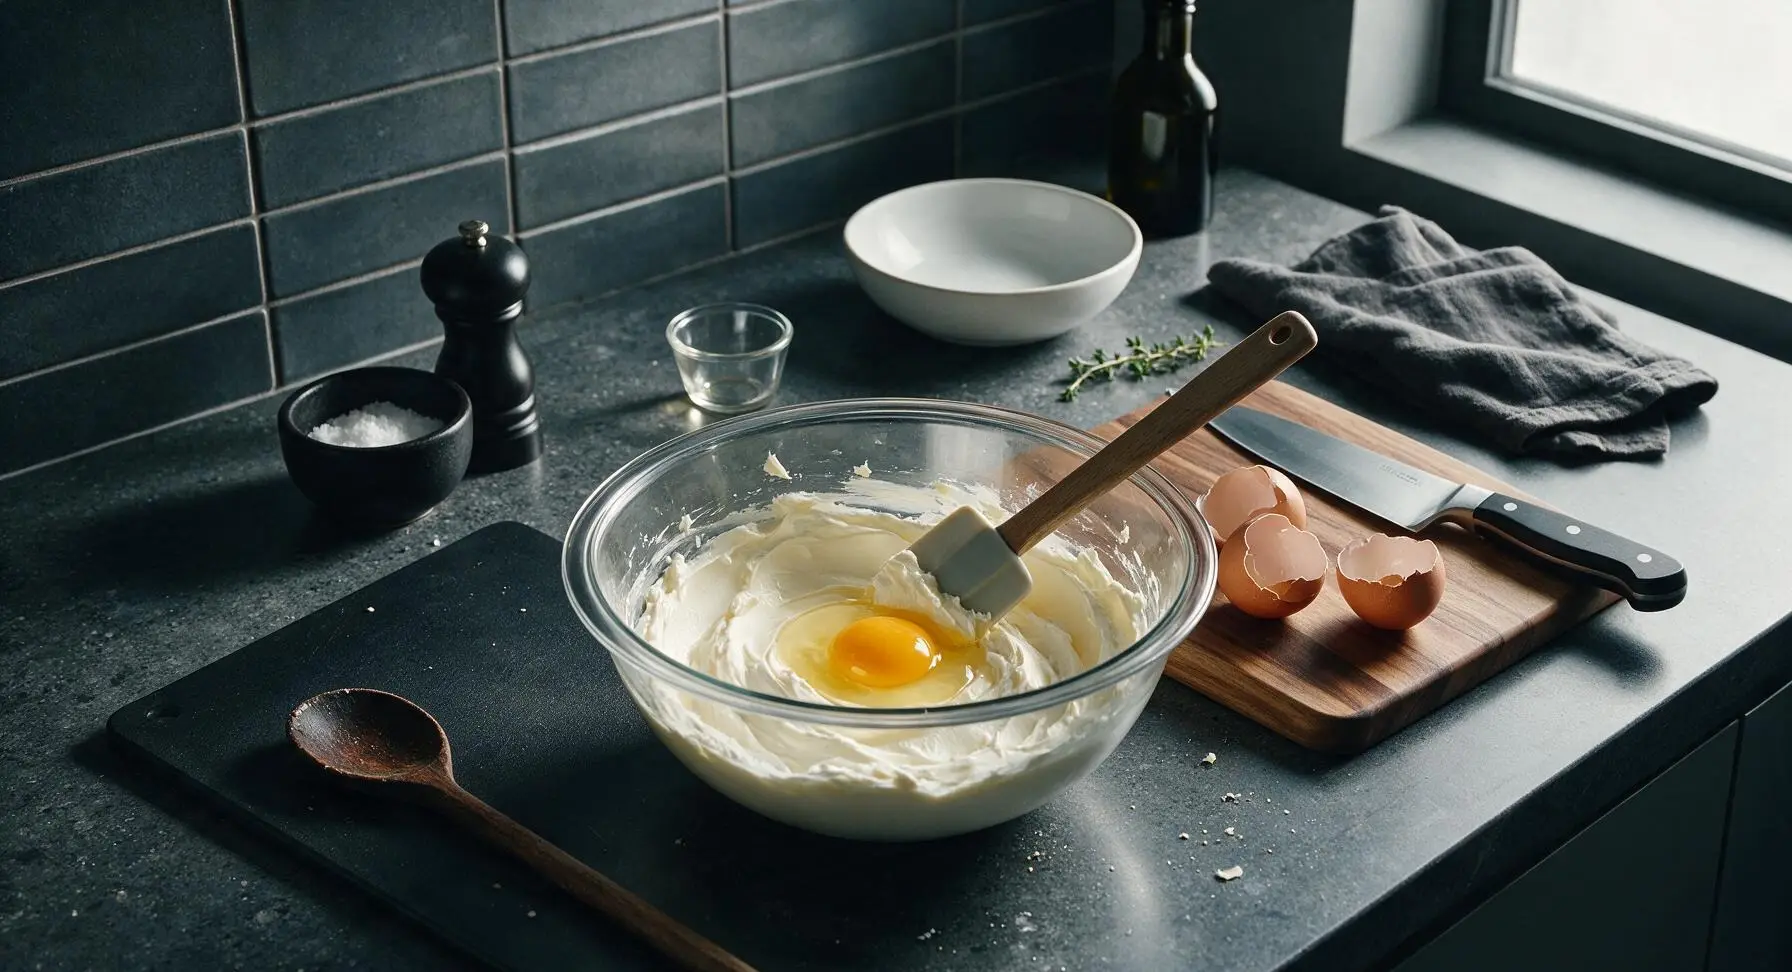
Add the four large eggs one at a time to the cream cheese base, stirring gently with the silicone spatula just until the yellow yolk is fully incorporated after each addition. Do not overmix once eggs are added—overbeating incorporates too much air, which causes the cheesecake to crack and sink while cooling. Stop mixing as soon as no streaks of egg remain, for a thick, smooth, pourable filling.
Pour Filling Into Crust
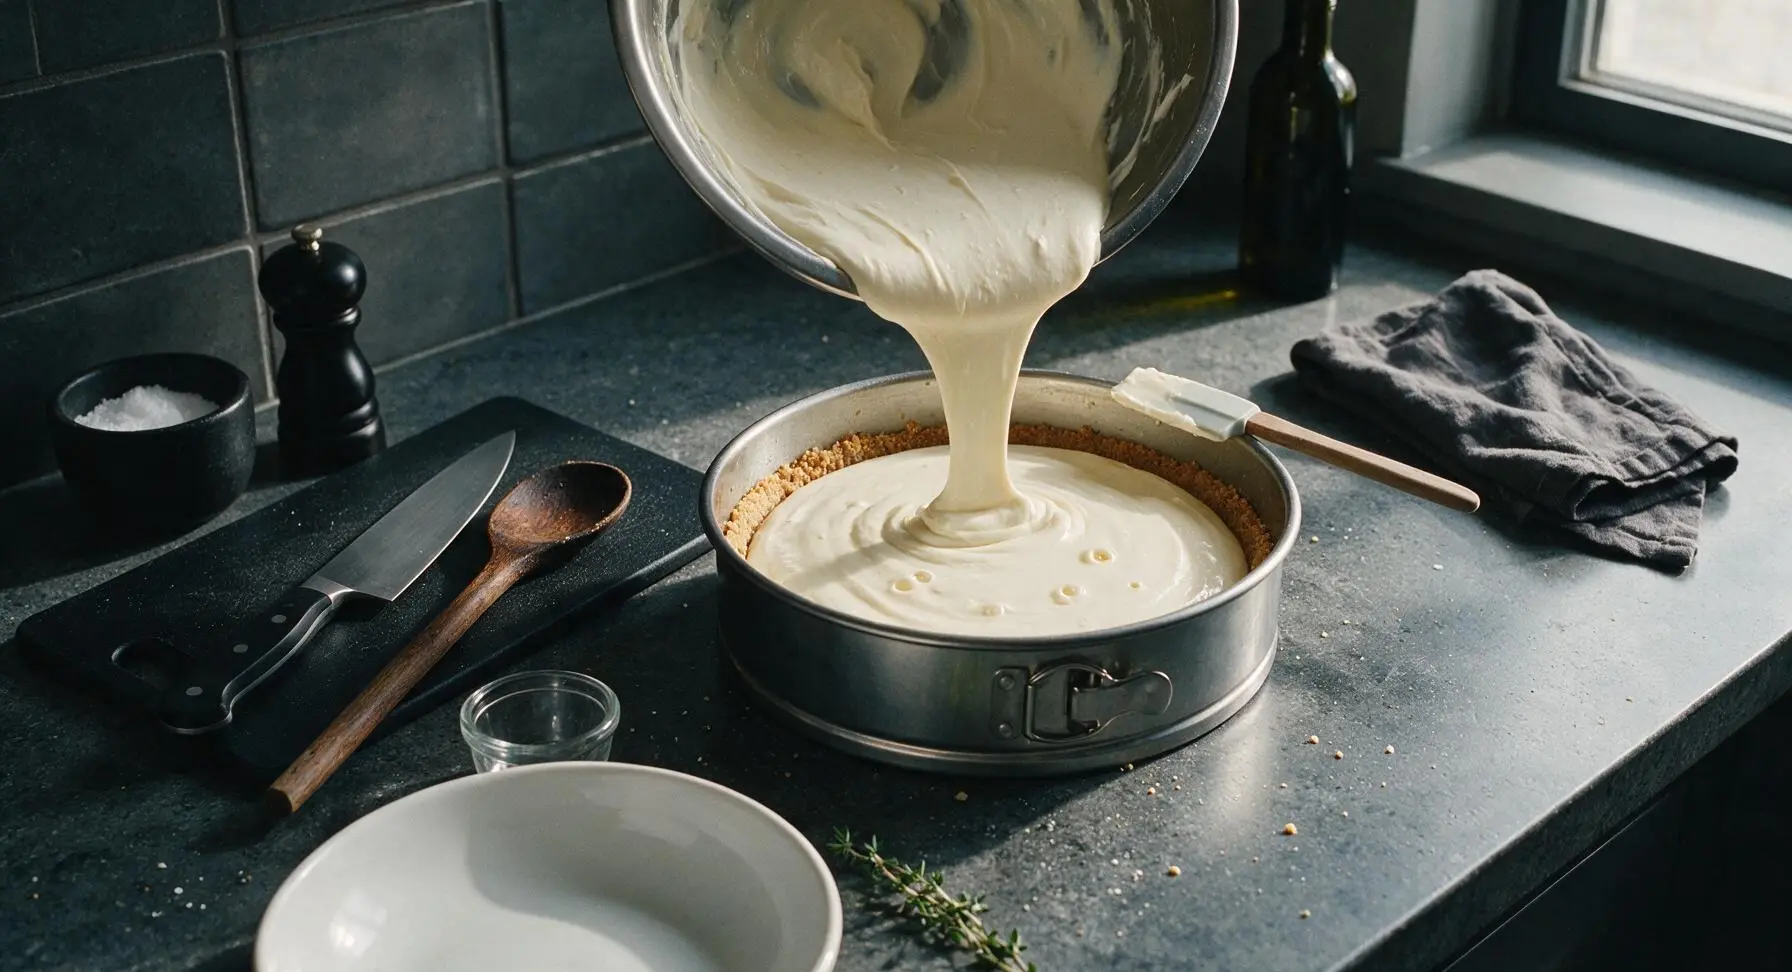
Slowly pour the smooth cream cheese filling over the prepared graham cracker crust in the springform pan. Tap the pan firmly on the counter 2 to 3 times to release any trapped air bubbles in the filling—this prevents large holes and surface cracks during baking. Use the silicone spatula to smooth the top of the filling into an even, flat layer.
Bake Until Just Set
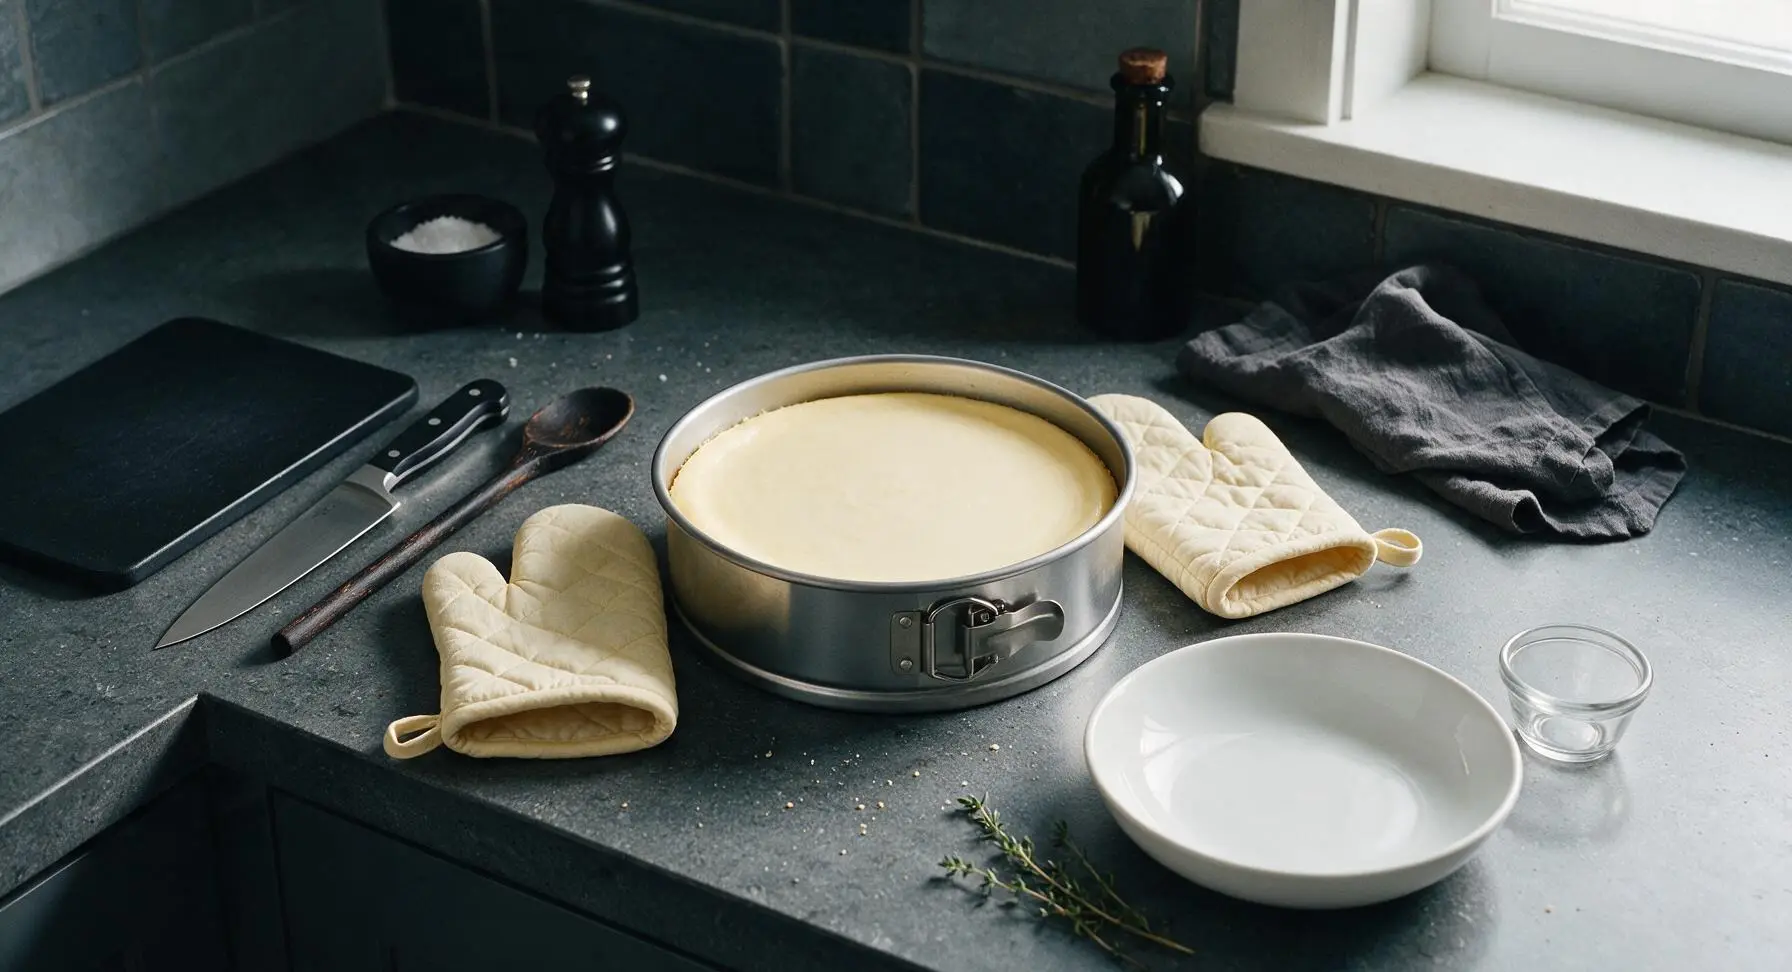
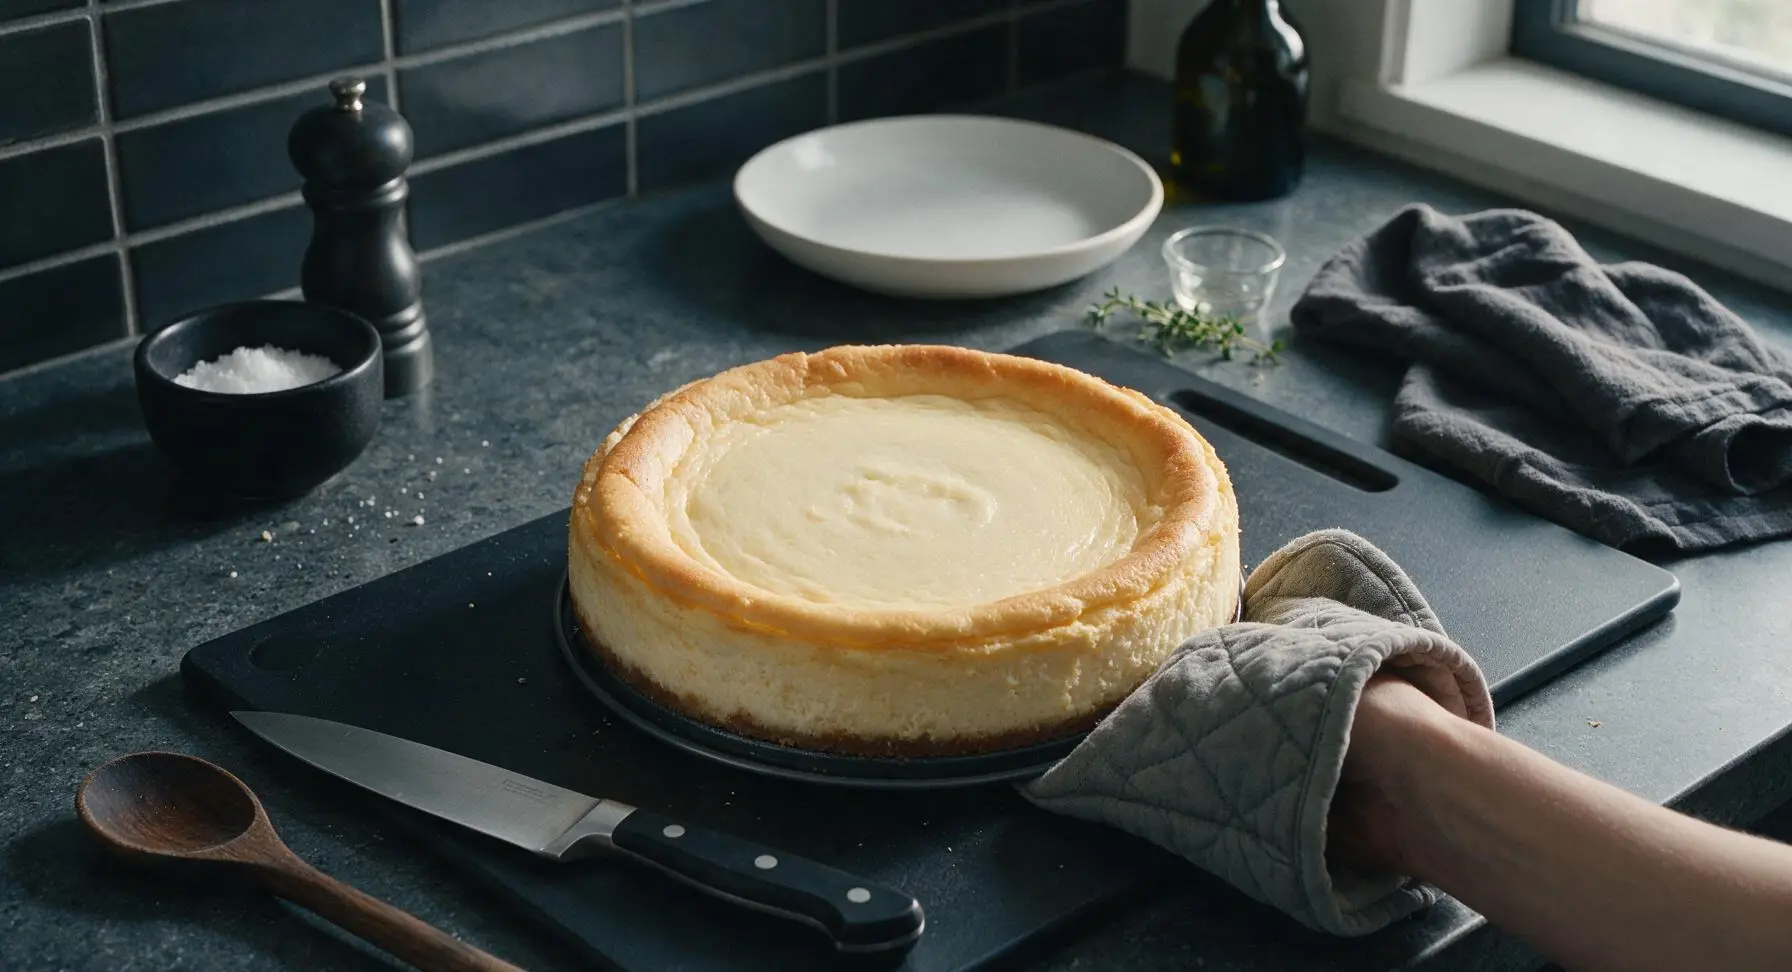
Place the springform pan on a middle oven rack. Bake for 55 minutes at 325°F (160°C), until the edges of the cheesecake are puffed and fully set, but the center 2 inches still jiggle slightly like soft Jell-O when the pan is gently nudged. Do not bake until the center is fully firm, as residual heat will continue to cook the cheesecake as it cools, leading to a dry, cracked top.
Cool and Chill Cheesecake
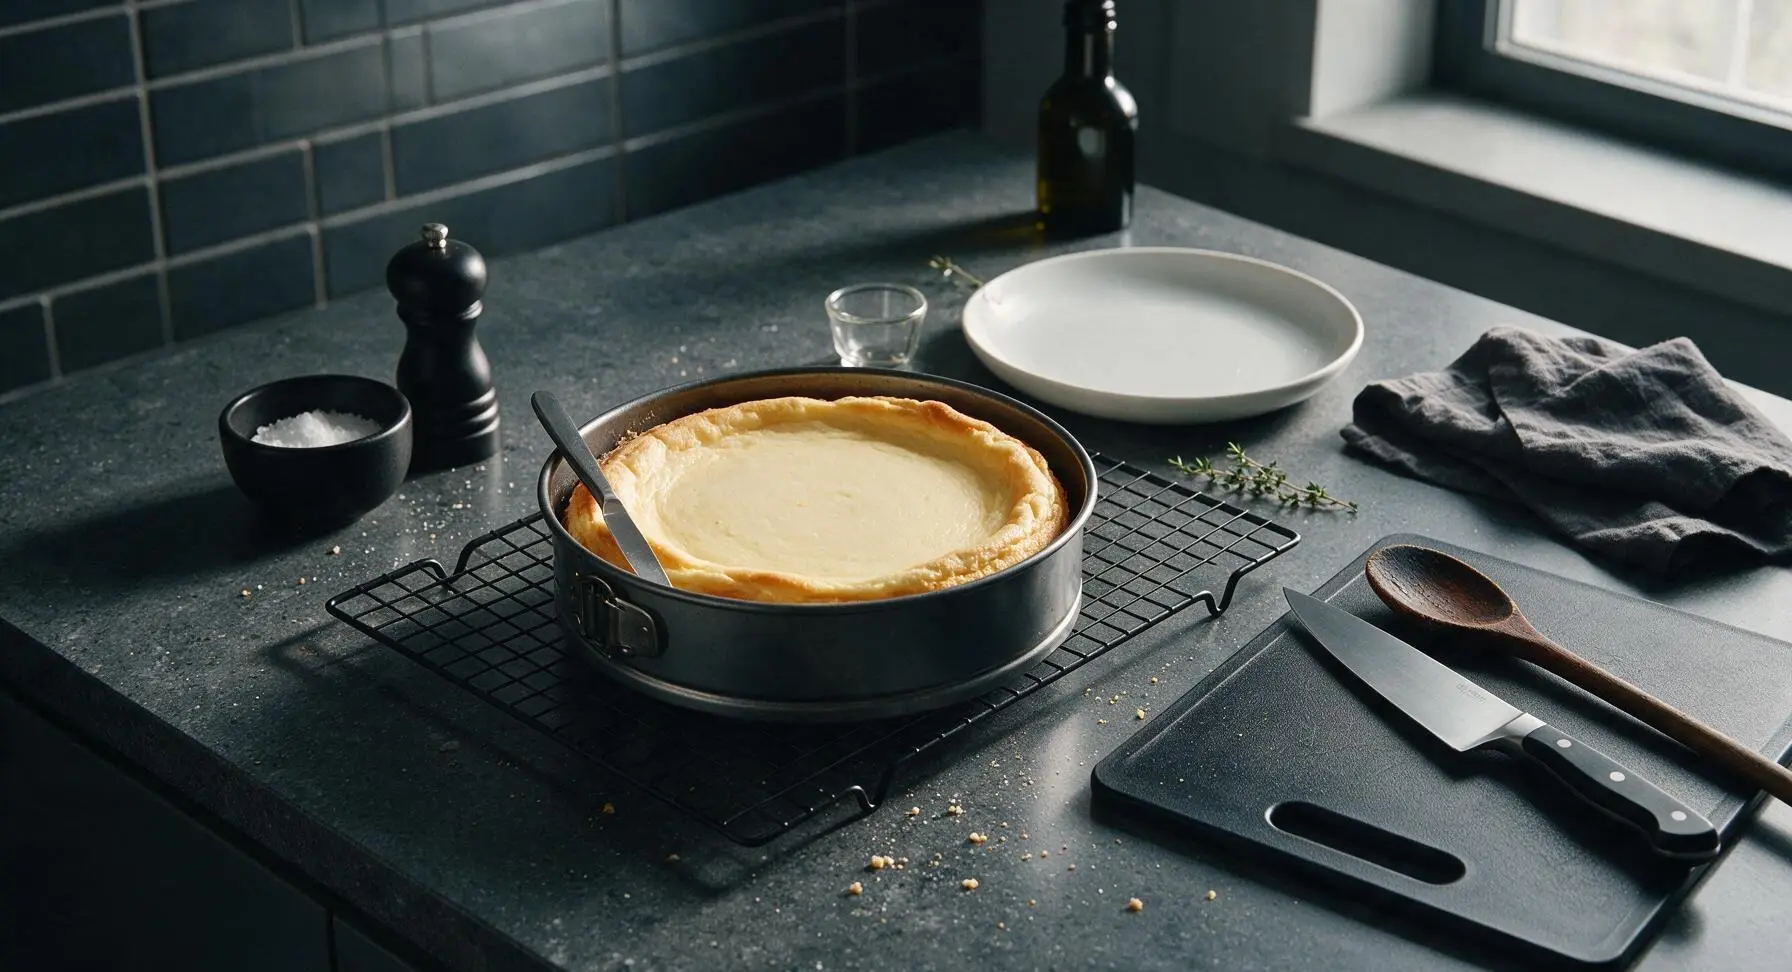
Run the small stainless steel paring knife around the inner edge of the springform pan immediately after removing the cheesecake from the oven, to prevent the cake from sticking and cracking as it cools. Let the cheesecake cool completely on the matte black wire cooling rack for 1 hour at room temperature, then cover loosely with plastic wrap and refrigerate for a minimum of 4 hours (preferably overnight) until fully chilled and set. Do not remove the springform ring until the cheesecake is completely cold.
Unmold and Plate Cheesecake
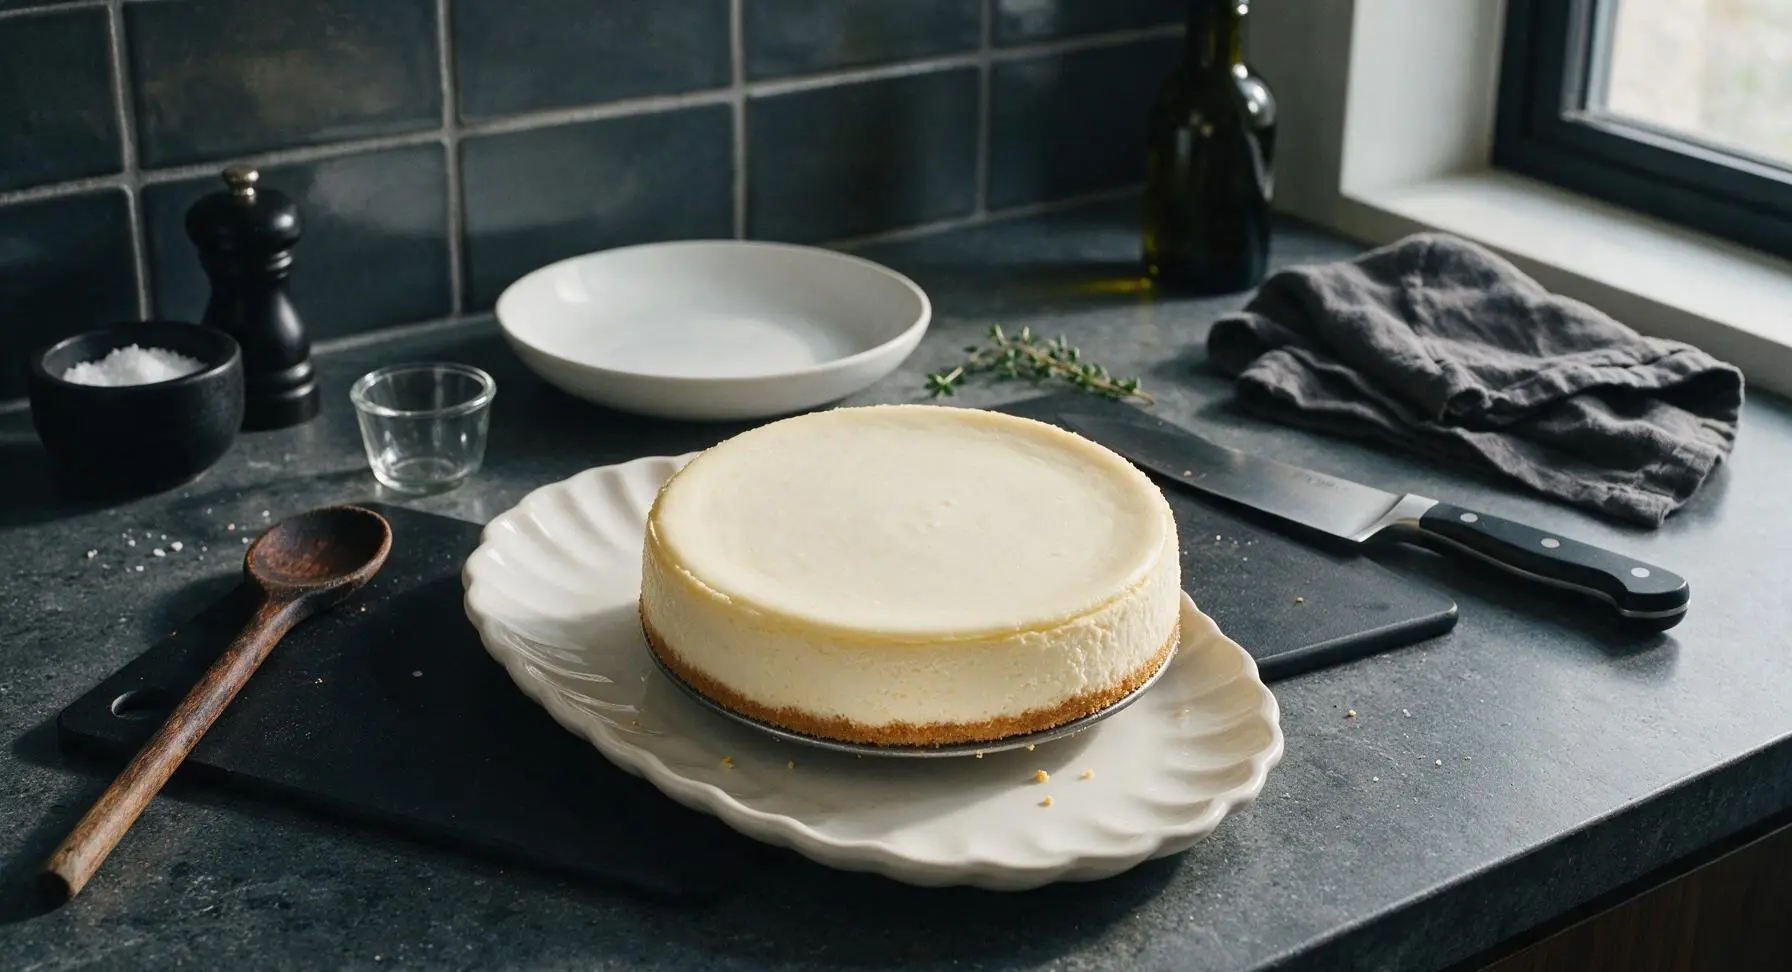
Once fully chilled, release the black latch on the springform pan and carefully lift the outer ring away from the cheesecake. Slide a thin spatula under the crust base to loosen it from the pan bottom, then transfer the whole cheesecake to the creamy white fluted ceramic serving platter. Slice into 8 even wedges with a sharp knife dipped in hot water between cuts for clean, smooth slices.
Tips
2.Avoid overbaking: The center 2 inches of the cheesecake should still jiggle slightly when you pull it from the oven. Residual heat will finish setting the center as it cools, and overbaking results in a dry, crumbly texture and deep surface cracks.
3.For perfectly clean slices, dip a sharp thin knife in hot water and wipe it dry between each cut. This prevents the soft cream cheese filling from sticking to the knife and tearing the slice edges, for polished, restaurant-worthy presentation.






OMG this cheesecake came out PERFECT on my first try! I was so nervous I’d mess up the water bath but the instructions were so straightforward, even for a total baking newbie like me. My husband and two kids devoured half of it after dinner last night, they’re already begging me to make it again for our neighborhood potluck next weekend. SO good, no weird lumps or cracks at all!
Super easy recipe, turned out way better than the frozen cheesecake I usually pick up from the grocery store. Only reason I’m not giving 5 stars is I accidentally baked it 10 minutes too long and the edges got a little darker than I wanted, but the middle was still perfectly creamy. My roommate said it’s better than the cheesecake we got at that fancy steakhouse last month, which is high praise.
Game changer! I’m a broke college student with basically zero baking supplies and I still pulled this off without a springform pan (used a regular 9 inch cake pan lined with parchment, worked like a charm). I brought slices to my dorm floor and everyone thought I bought it from the fancy bakery downtown. 10/10, will be making this every other week for quick dessert meal prep all semester, no more sad vending machine snacks for late study nights!
I’ve been making this exact cheesecake for every family holiday for 12 years and it never misses! My sister in law is gluten free so I swap the graham cracker crust for gluten free graham crackers every year and she says it’s still her favorite part of Thanksgiving dinner. Such a reliable, easy recipe that feels way fancier than the effort it takes.
Took a chance on this for my partner’s birthday and it was almost perfect! I forgot to let the cream cheese come to room temp first so I had a few tiny lumps in the filling, but no one else even noticed. He said it was better than the cheesecake he had on our trip to New York last year, so that’s a win in my book. Definitely letting the cream cheese soften properly next time though.