
layered tater tot casserole

title 1
layered tater tot casserole
⏱️ cook time 45 minutes
🍽️ servings 6
⚡ Difficulty easy

intro

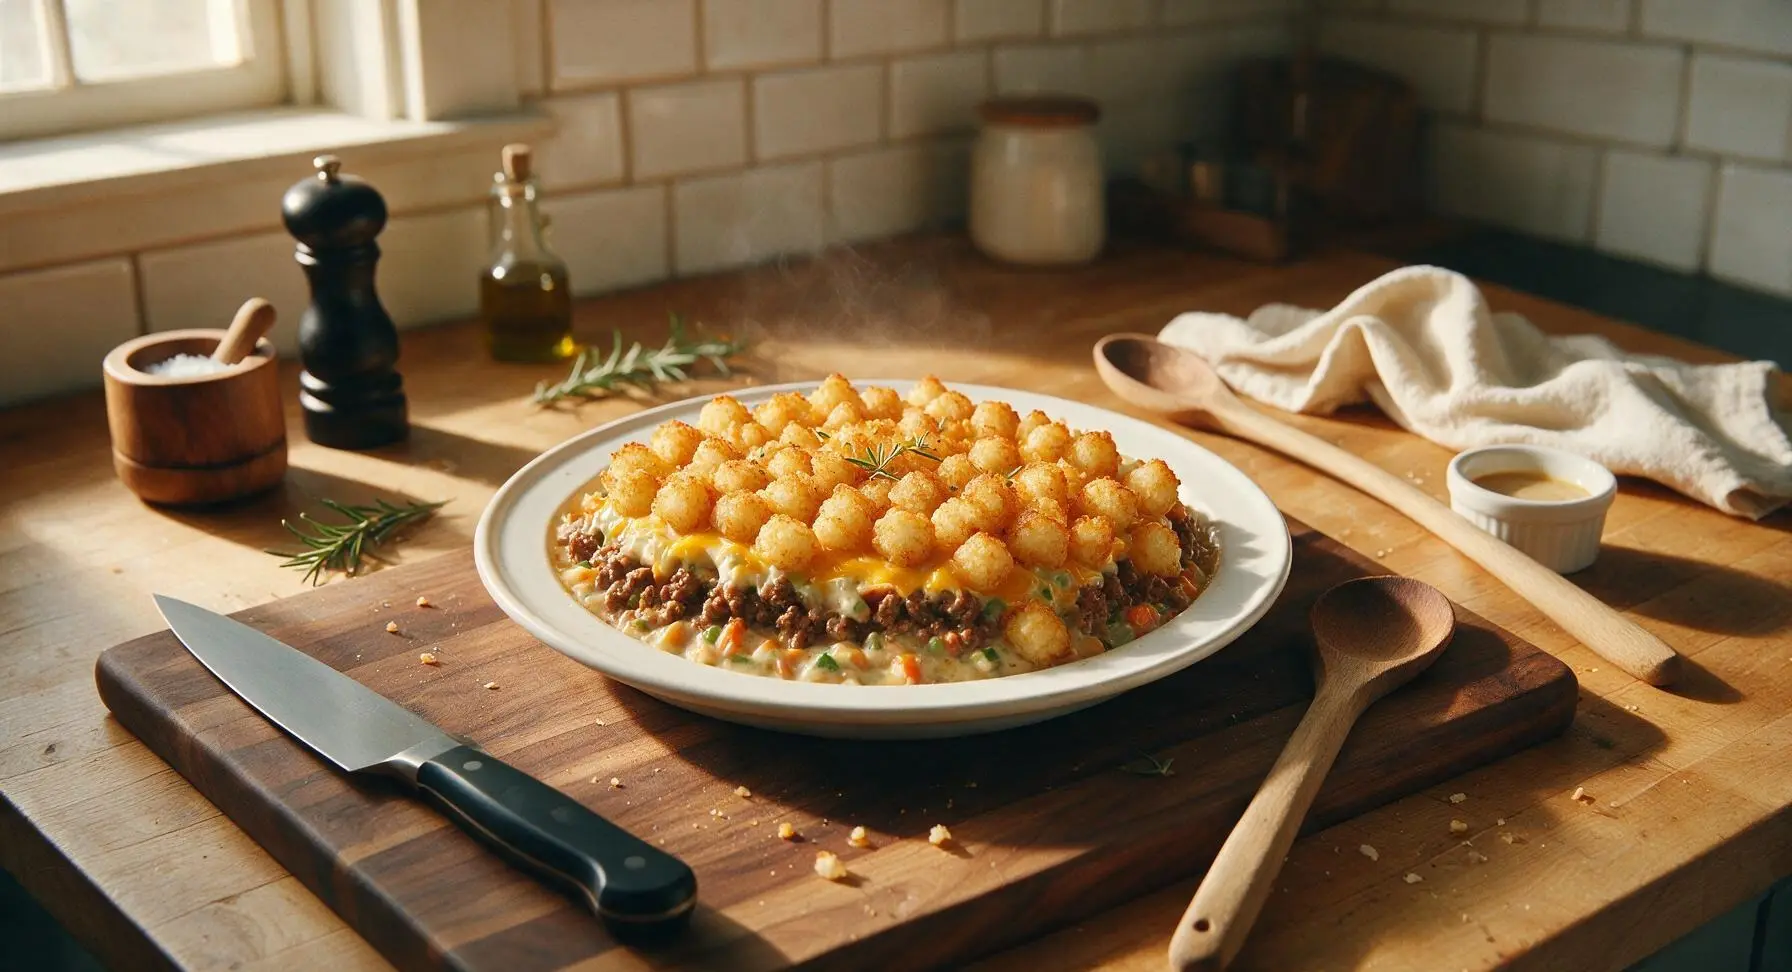
Crispy golden tater tots layered over savory seasoned beef, creamy vegetable sauce, and melted sharp cheddar—this nostalgic, hearty bake is ultimate cozy comfort food.

Ingredients
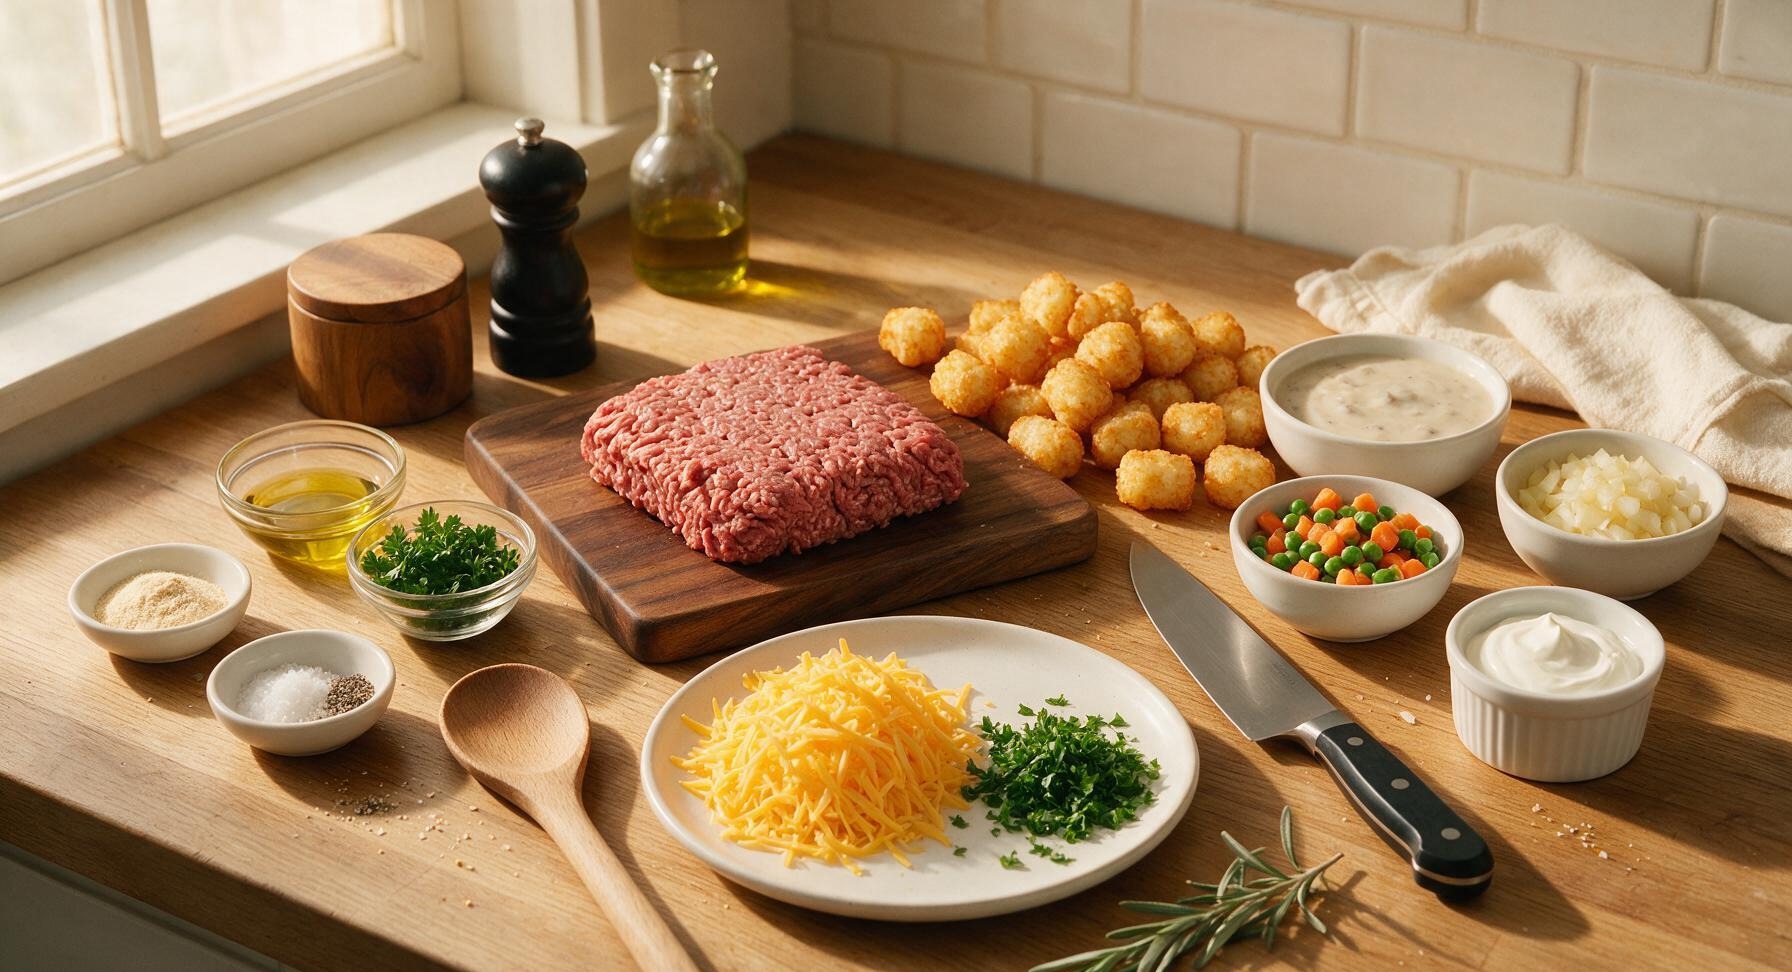
Lean ground beef (85/15) 1 lb (450g)
Frozen tater tots 2 lb (900g)
Sharp yellow cheddar cheese 2 cups (220g, shredded)
Cream of mushroom soup 1 can (10.5 oz / 300g)
Yellow onion 1 small (110g, diced)
Frozen mixed peas and carrots 1 cup (130g)
Sour cream 2 tbsp (30g)
Extra-virgin olive oil 1 tsp
Garlic powder 1 tsp
Kosher salt 1/2 tsp
Ground black pepper 1/2 tsp
Fresh curly parsley 2 tbsp (chopped, for garnish)

Steps

1

Prep Dish and Oven

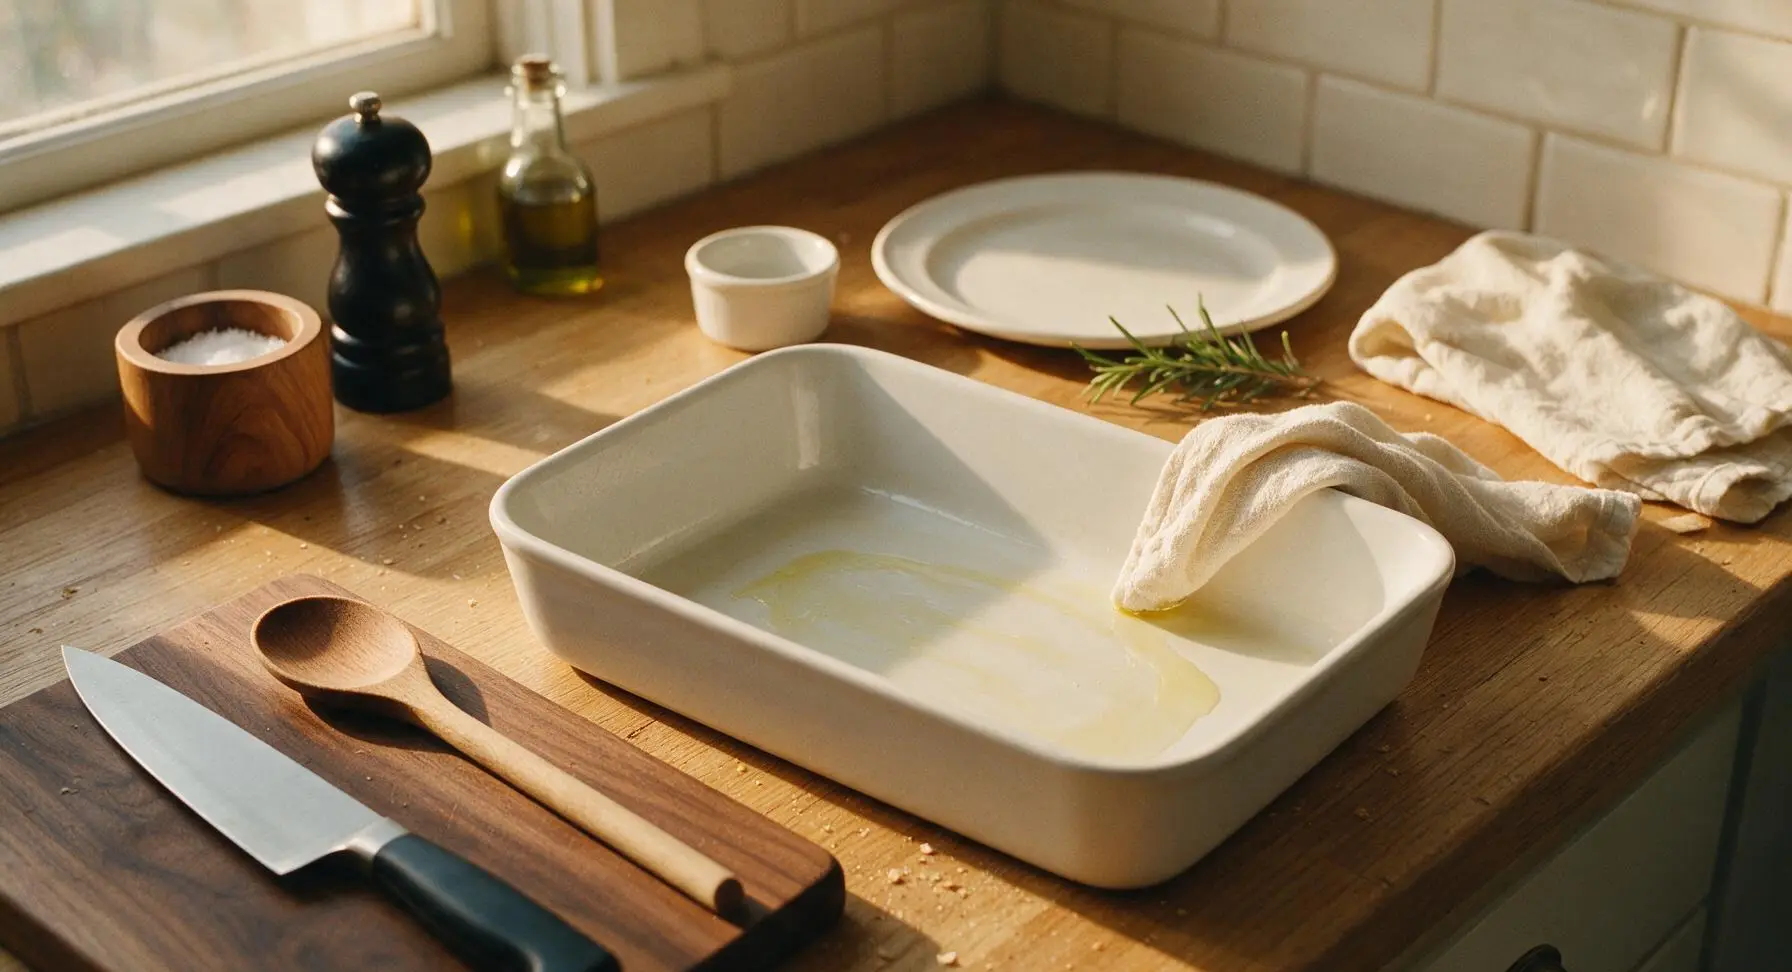
Preheat your oven to 375°F (190°C). Lightly grease the interior of the 9x13 inch matte white ceramic baking dish with 1/4 tsp olive oil, using a corner of the folded cream cotton kitchen towel to spread the oil evenly across the bottom and 1 inch up the sides. Set the prepared dish in the center of the counter; no food is added at this stage.
Step 1
step1:Prep Dish and Oven
2

Brown the Ground Beef

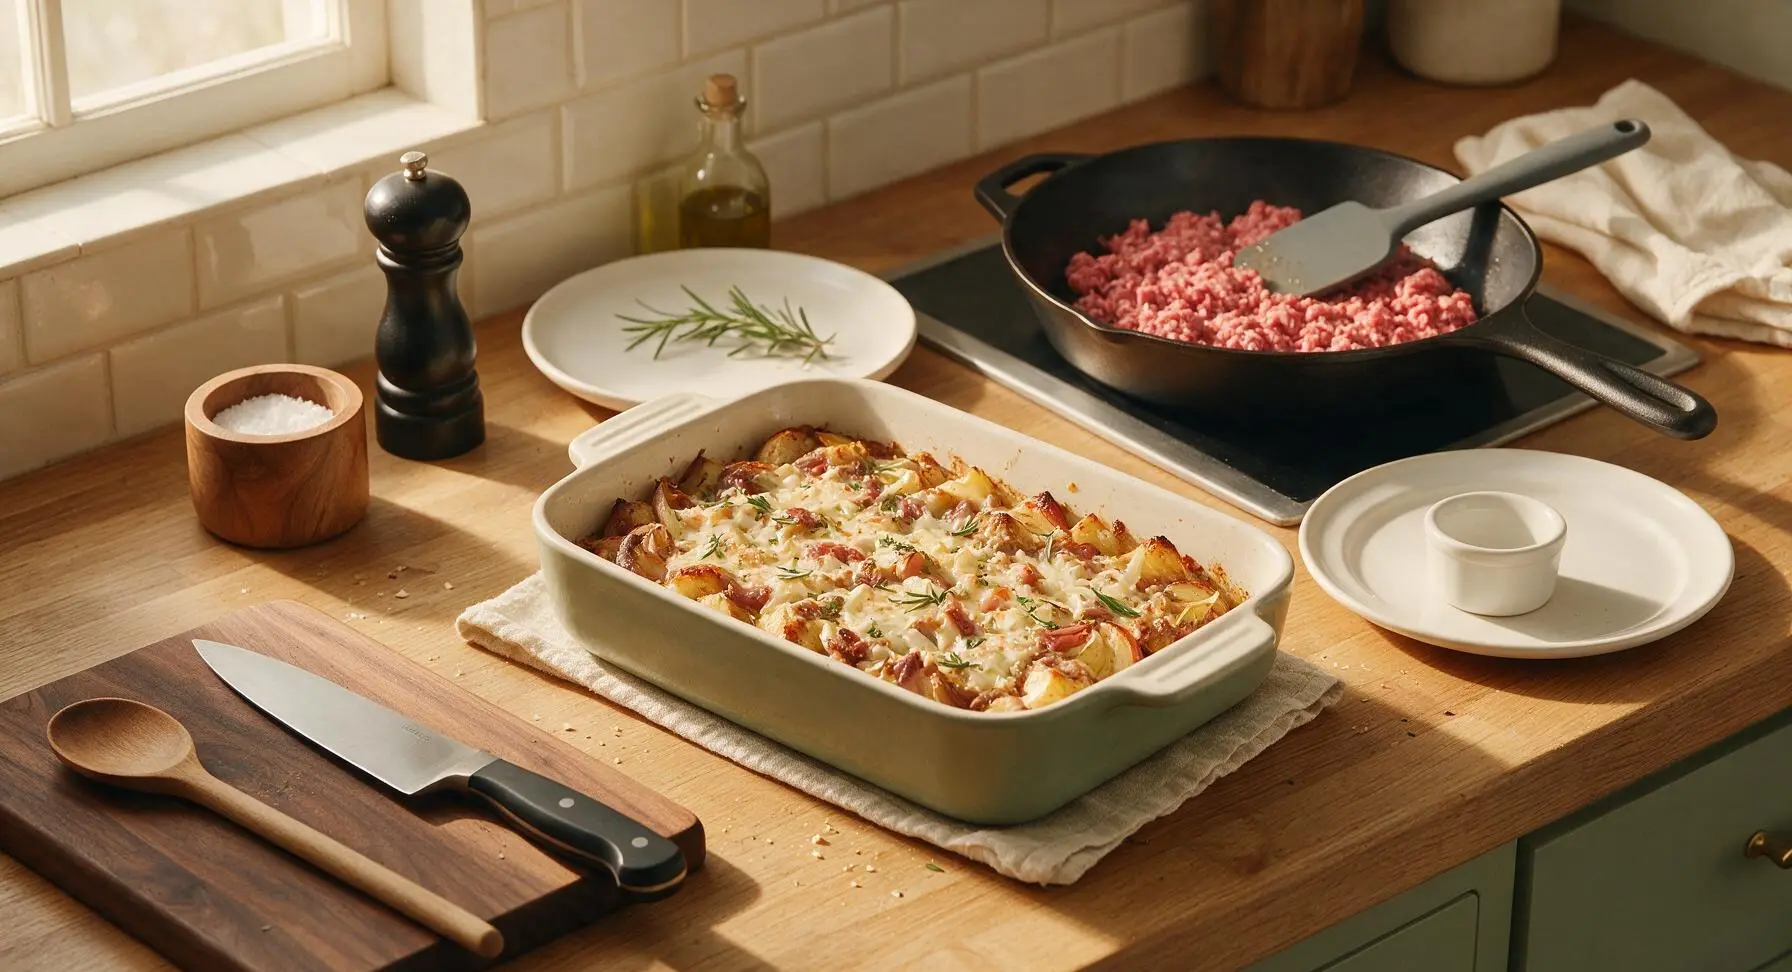
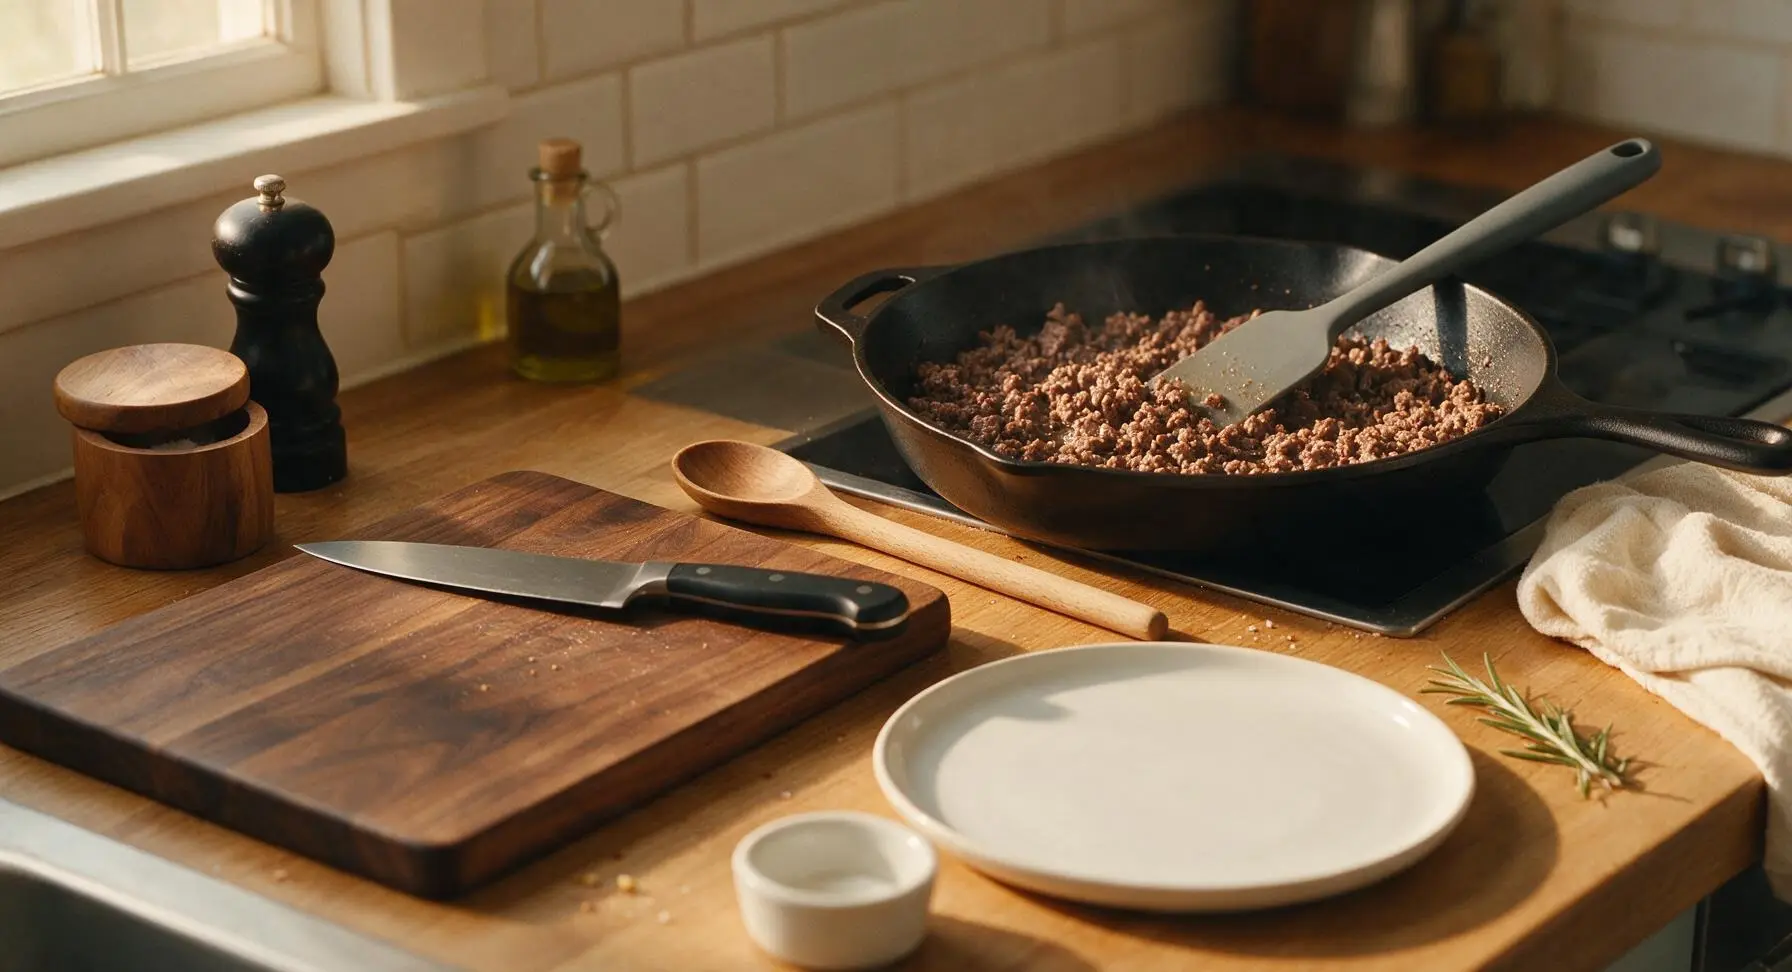
Place the 10-inch matte black carbon steel skillet on the back-right counter cook surface over medium heat. Add the remaining 3/4 tsp olive oil, then crumble the 1lb lean ground beef into the pan. Cook for 6-7 minutes, breaking the beef apart into small crumbles with the matte gray silicone spatula as it cooks, until no pink remains and the meat is evenly deep golden brown. Carefully tilt the skillet to drain off any excess rendered grease into a heat-safe container.
Step 2
step2:Brown the Ground Beef
Step 2
step2:Brown the Ground Beef
3

Sauté Veggies and Season

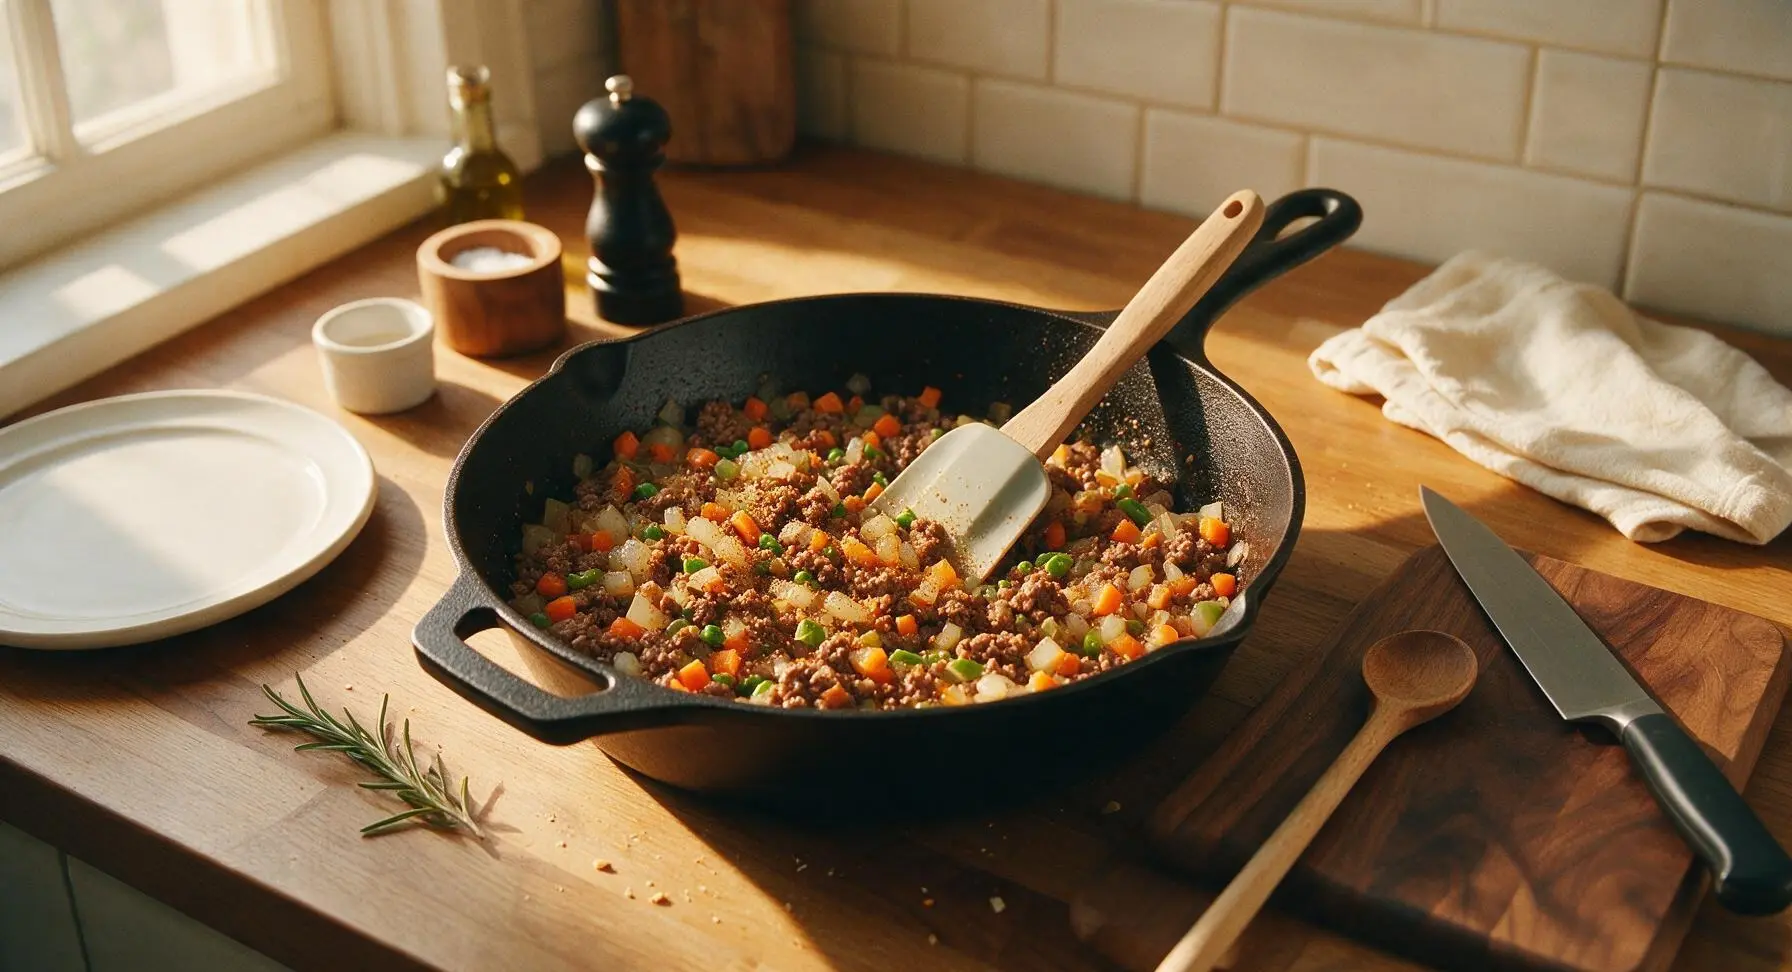
Add the diced small yellow onion to the skillet with the browned beef, stirring to combine. Cook for 3 minutes over medium heat until the onion turns soft and translucent, then stir in the 1 cup frozen mixed peas and carrots. Cook for 2 more minutes until the vegetables are just thawed and warmed through, then stir in 1 tsp garlic powder, 1/2 tsp kosher salt, and 1/2 tsp black pepper to evenly coat the entire mixture.
Step 3
step3:Sauté Veggies and Season
4

Mix Creamy Filling

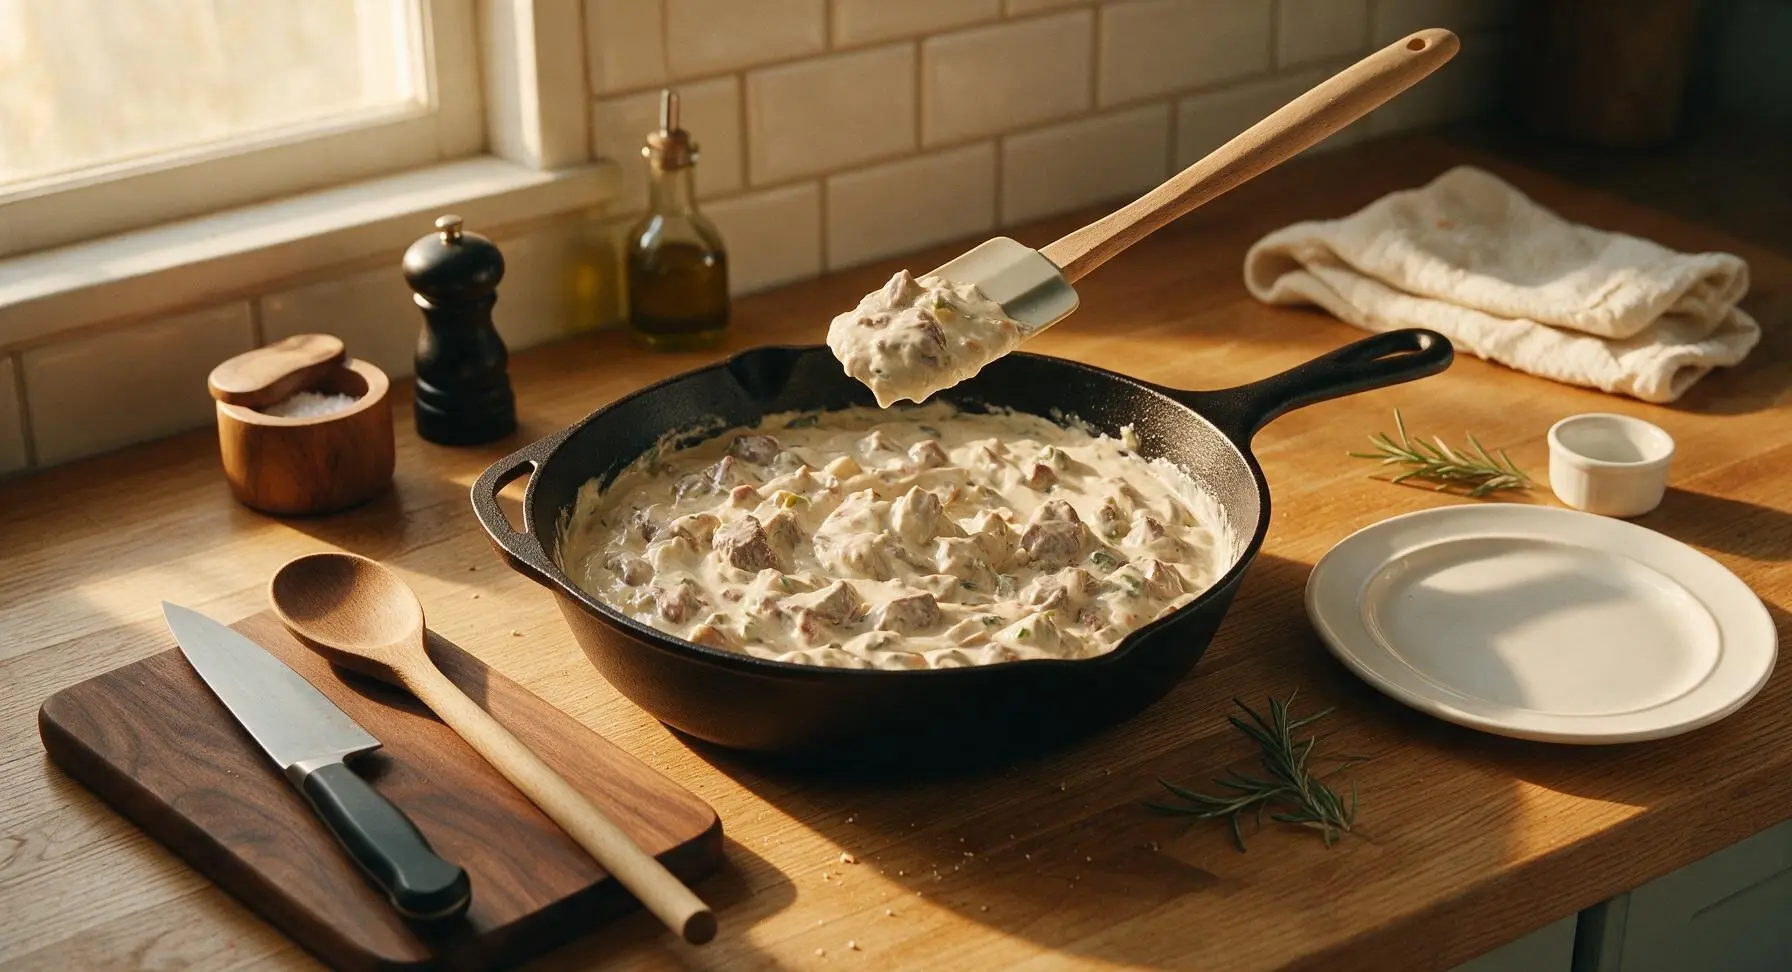
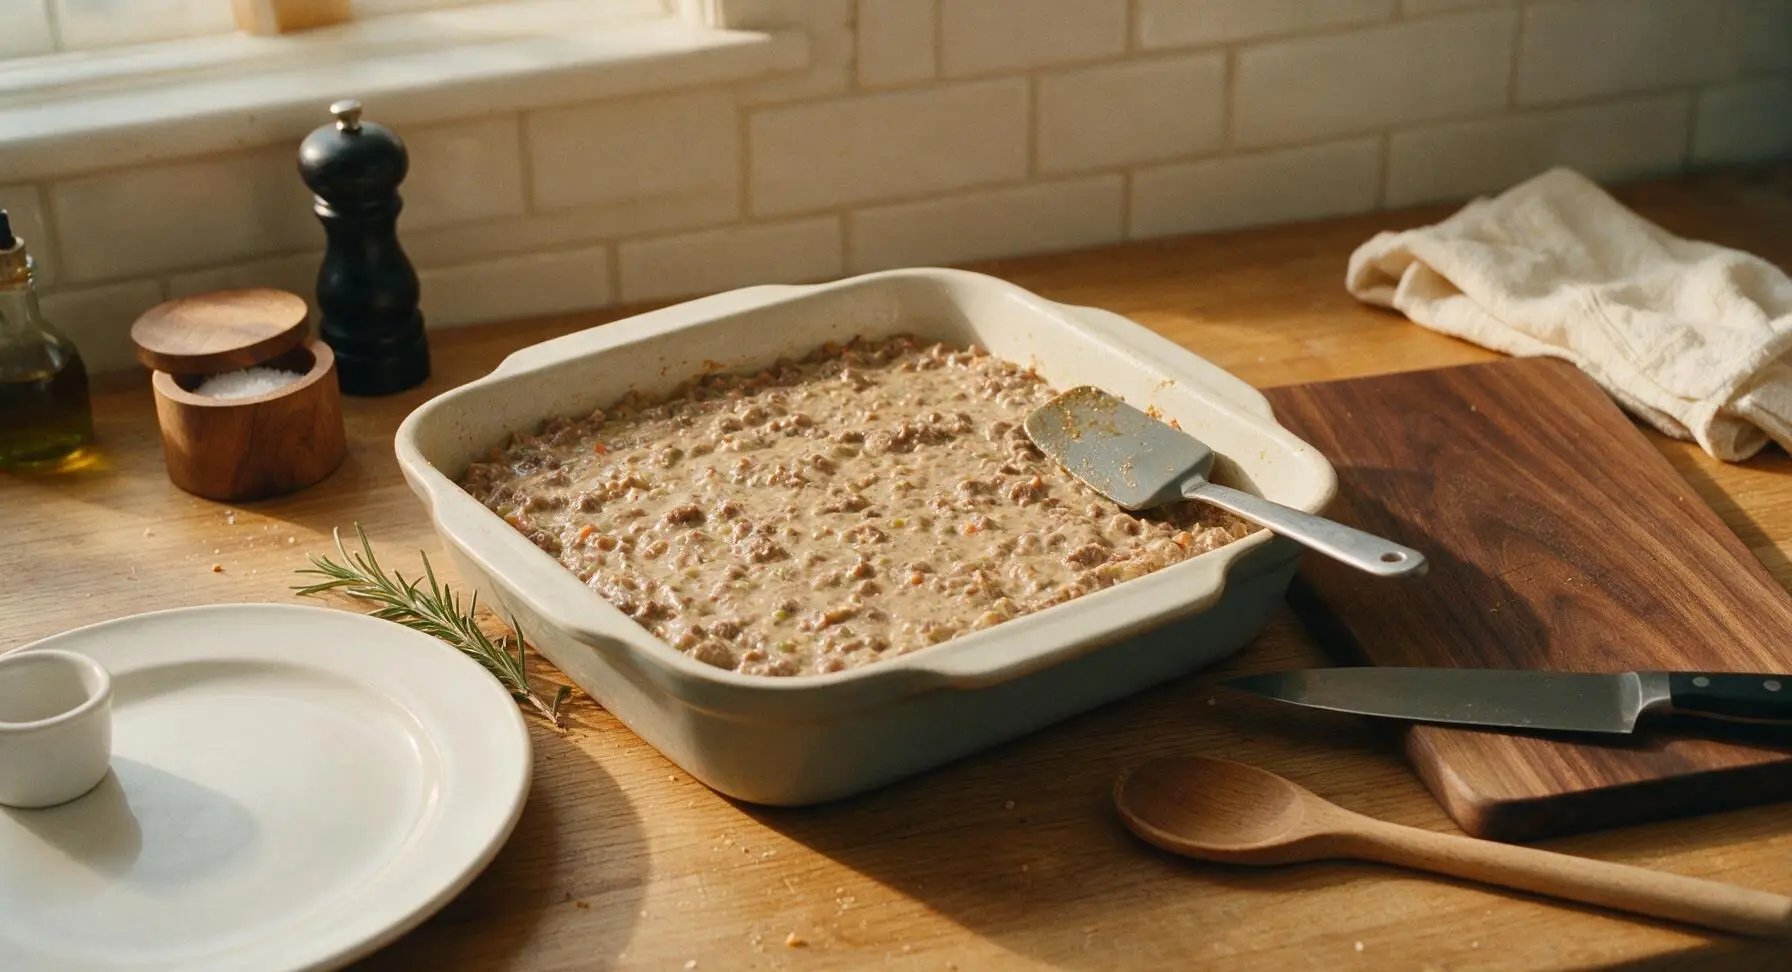
Remove the skillet from heat. Stir the 1 can cream of mushroom soup and 2 tbsp sour cream into the beef and vegetable mixture, folding thoroughly with the silicone spatula until every piece of meat and vegetable is coated in a smooth, pale creamy sauce, with no dry clumps or unincorporated soup streaks remaining.
Step 4
step4:Mix Creamy Filling
5

Spread Base Layer

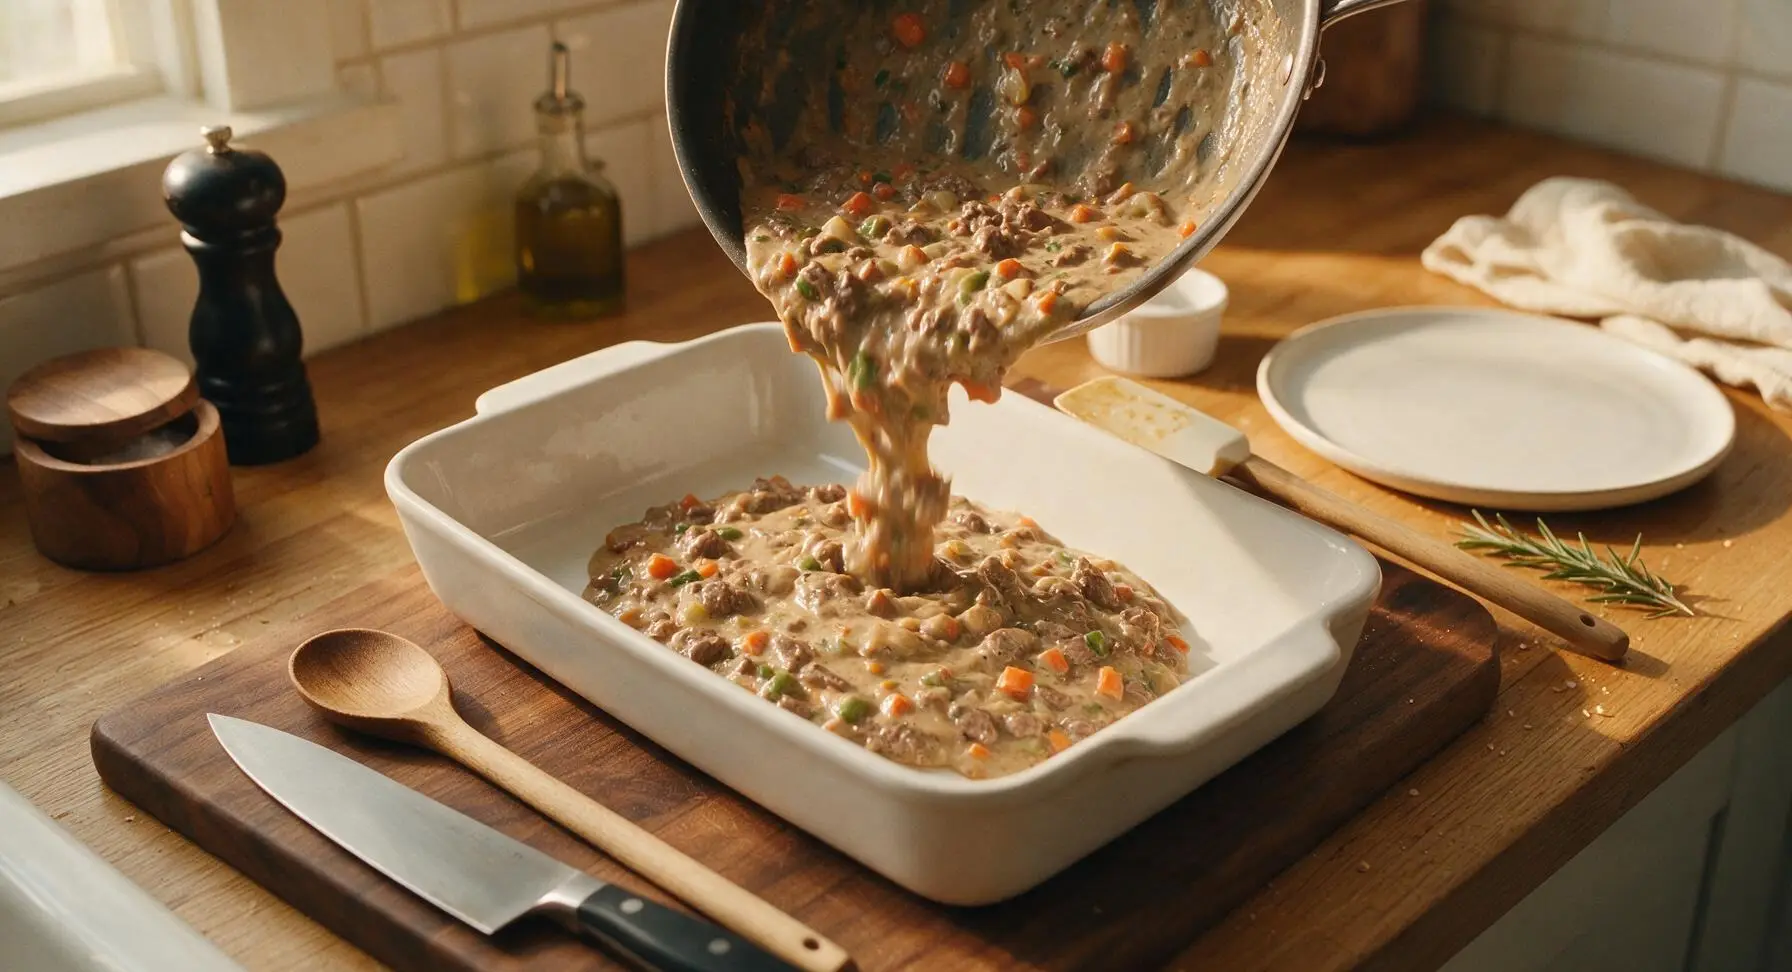
Pour the entire creamy beef and vegetable mixture from the skillet into the prepared 9x13 inch baking dish. Use the silicone spatula to spread the mixture into a single, flat, even layer across the entire bottom of the dish, pressing gently to eliminate air gaps so the base is completely level.
Step 5
step5:Spread Base Layer
Step 5
step5:Spread Base Layer
6

Add Cheese and Tots

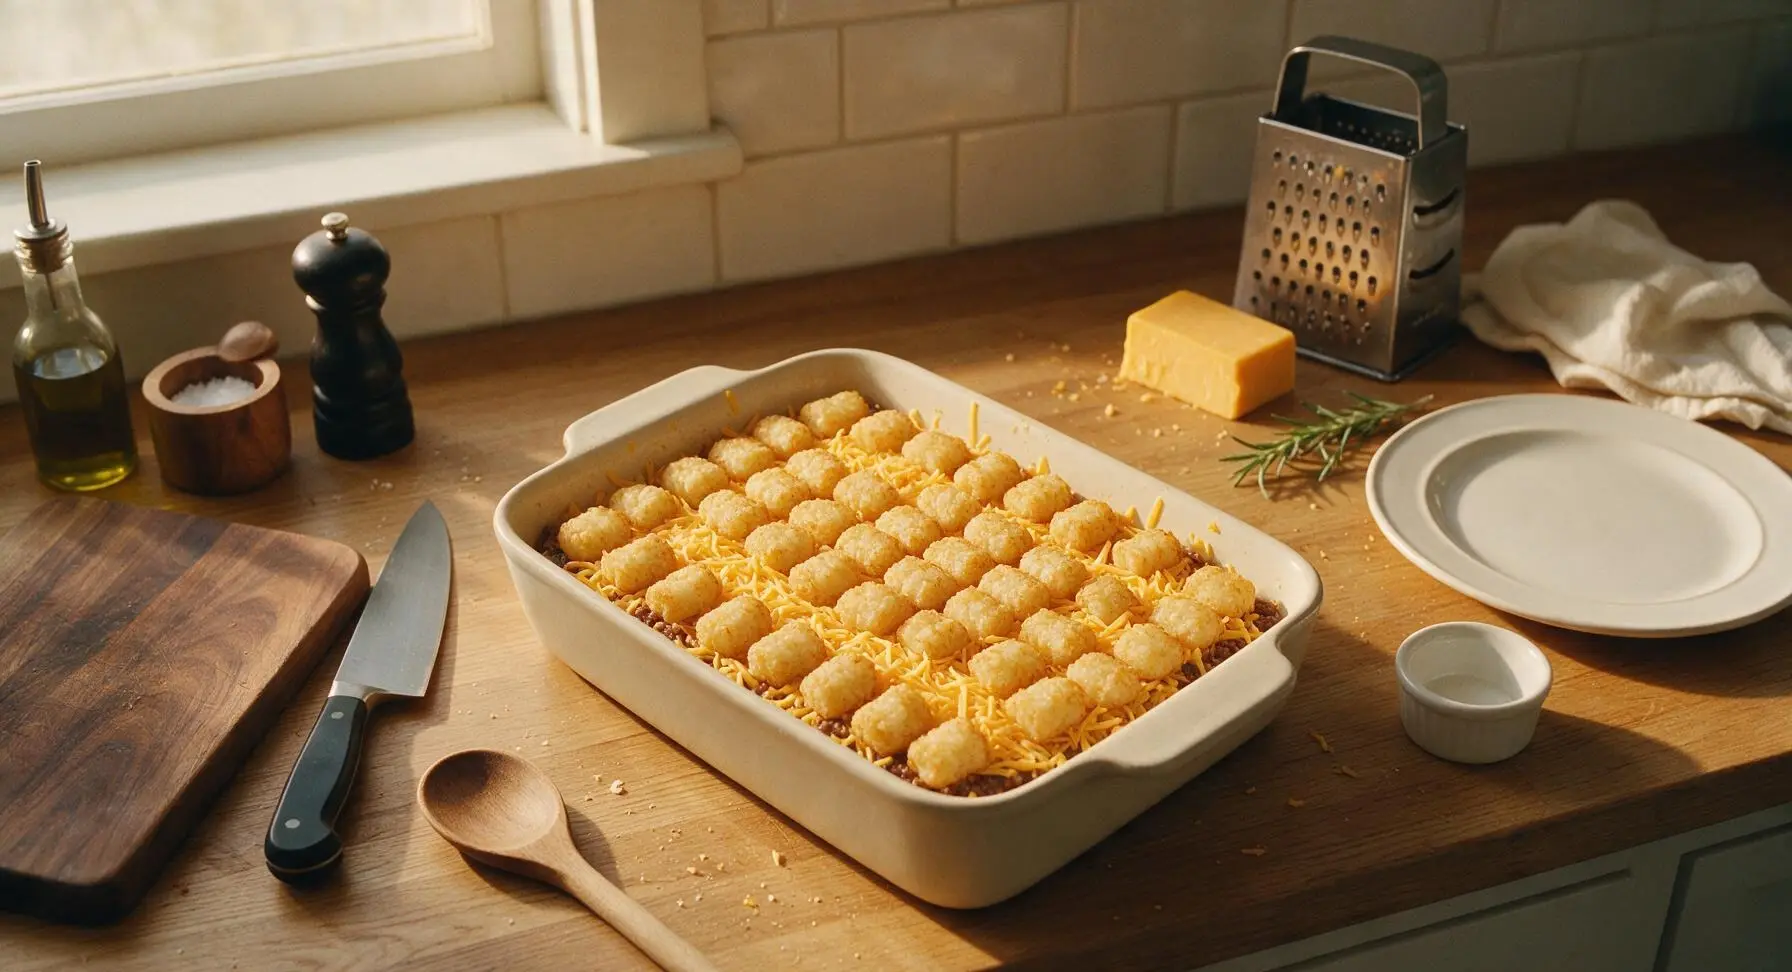
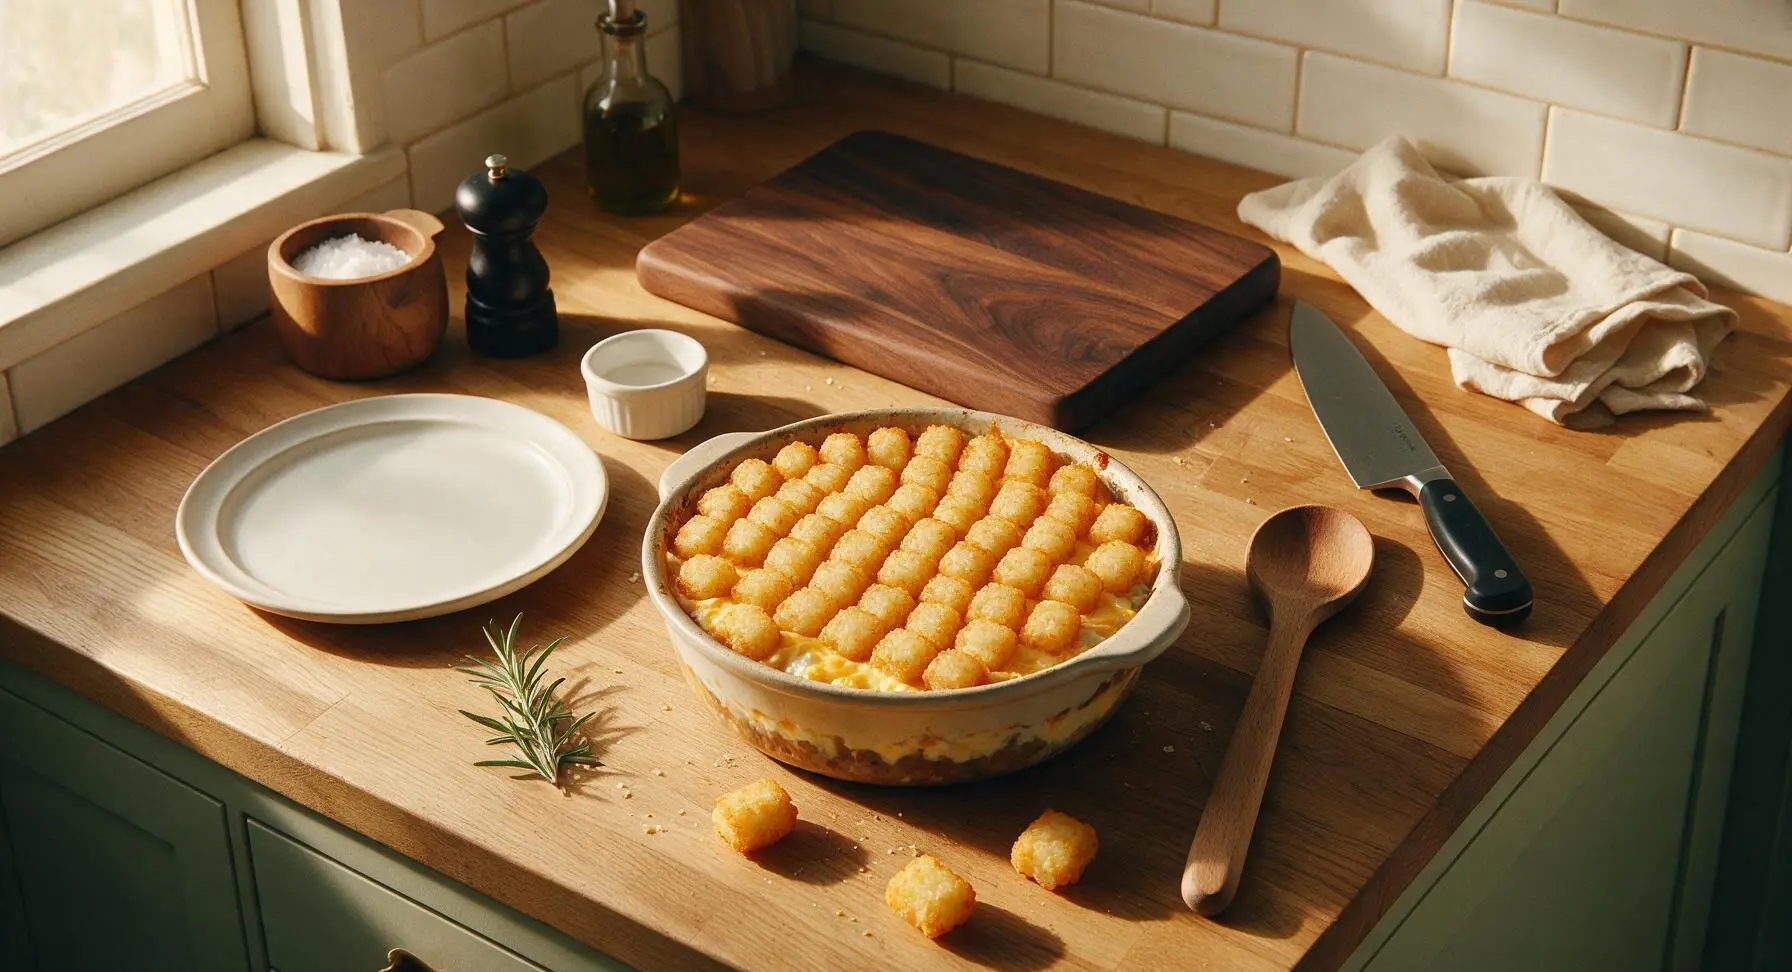
Sprinkle 1.5 cups of the shredded sharp cheddar cheese in an even layer over the top of the beef base, covering the entire surface so no creamy mixture peeks through. Arrange the frozen tater tots in tight, neat rows across the top of the cheese, placing them flat-side down so they cover the cheese completely in a single, uniform layer—do not stack the tots, as this will prevent even crisping.
Step 6
step6:Add Cheese and Tots
Step 6
step6:Add Cheese and Tots
7

Bake to Crispy Perfection

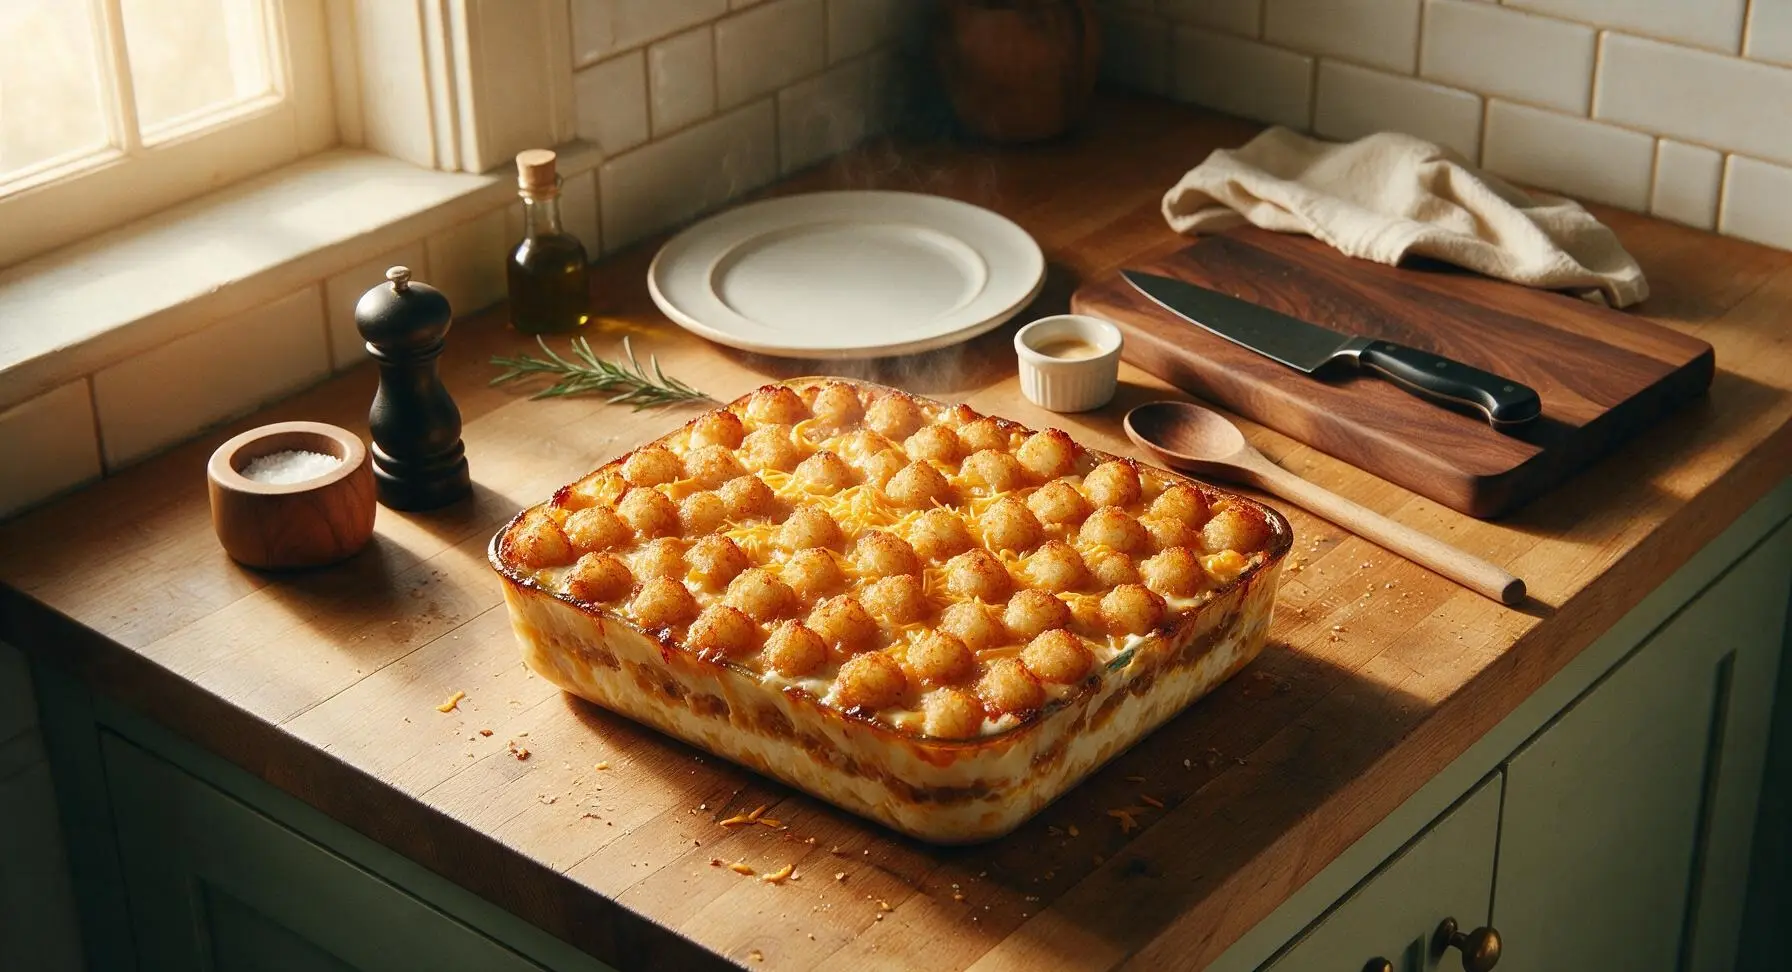
Carefully transfer the assembled baking dish to the preheated 375°F (190°C) oven. Bake uncovered for 40 minutes, until the edges of the casserole are actively bubbling and the tater tots are deep golden brown and crispy on top. Remove the dish from the oven, sprinkle the remaining 1/2 cup shredded cheddar over the hot tater tots, and let it melt for 2 minutes. For extra-crispy tots, broil on high for the final 2 minutes of bake time, watching closely to avoid burning the potato edges.
Step 7
step7:Bake to Crispy Perfection
8

Rest, Garnish, and Serve

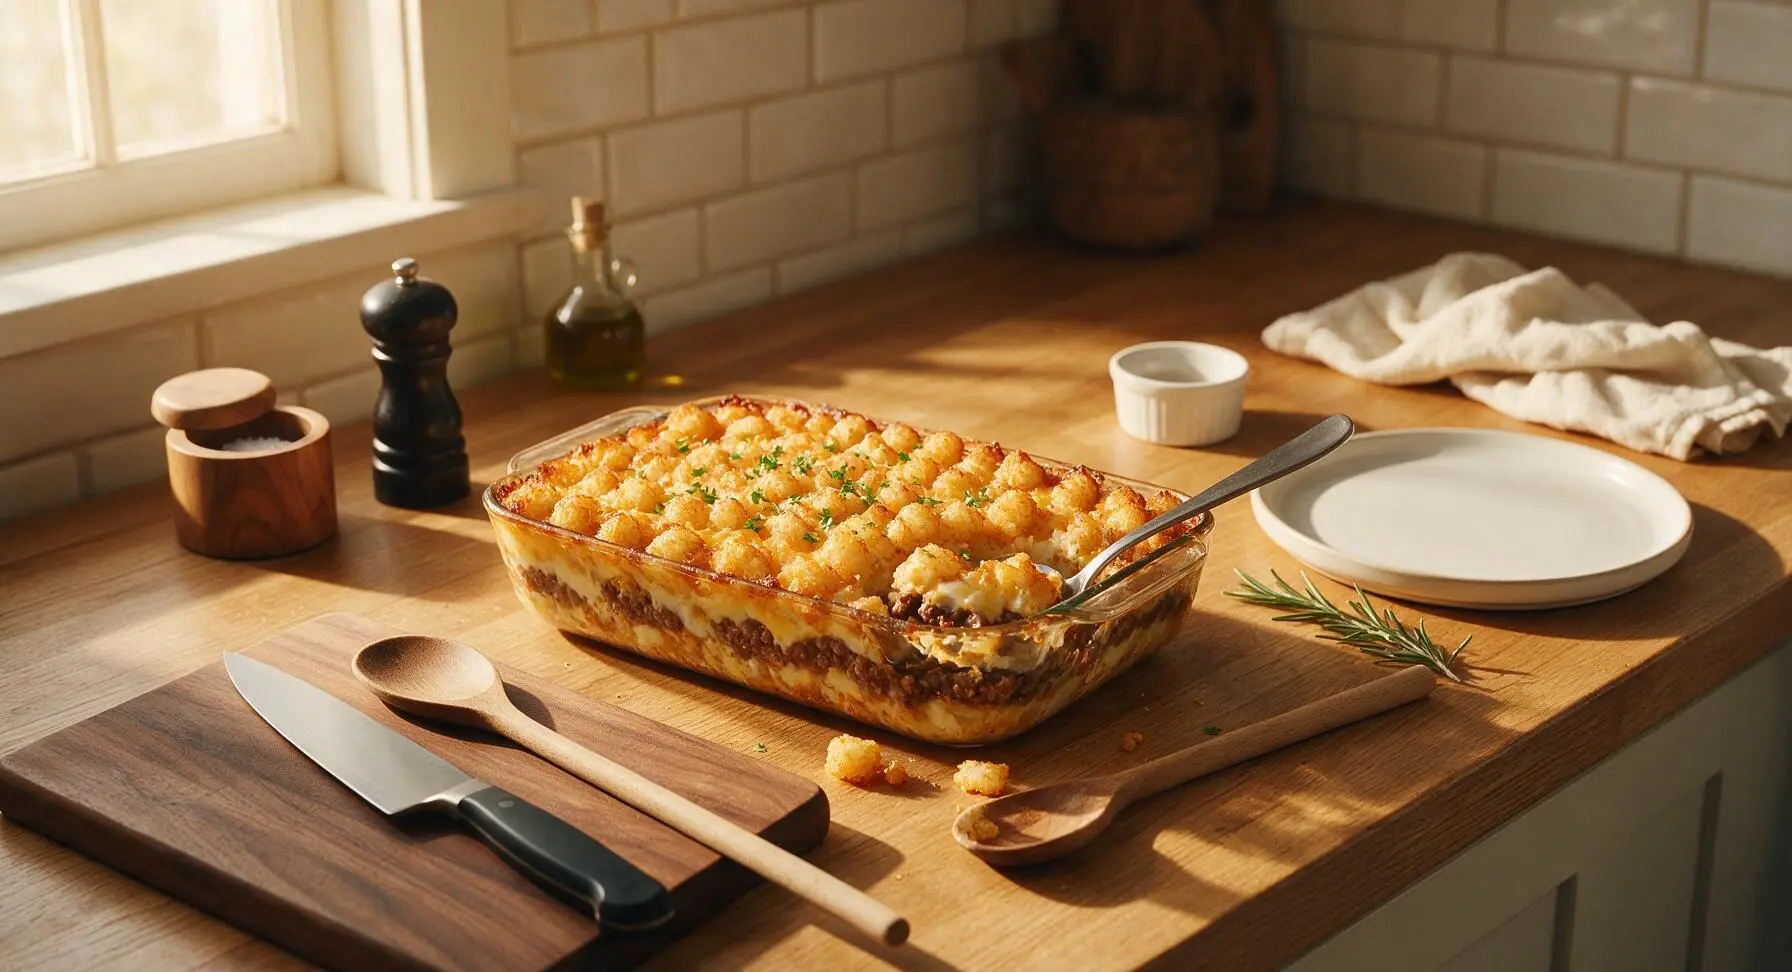
Let the casserole rest for 5 minutes at room temperature to set the layers, which will make serving clean, intact portions easier. Sprinkle the top with freshly chopped parsley, then scoop generous portions onto the matte off-white stoneware plates to serve.
Step 8
step8:Rest, Garnish, and Serve

Tips

1.Keep tater tots fully frozen until assembly: thawed tots absorb excess sauce from the filling and turn soggy during baking, while frozen tots develop a perfect crispy, crunchy outer layer as they cook.
2.Always let the casserole rest for the full 5 minutes after baking: this allows the creamy sauce and melted cheese to set, so you can scoop clean, intact portions with clearly defined layers instead of a runny, loose filling.
3.Customize layers to your taste: add 1/2 cup cooked crumbled bacon between the beef and cheese layer for smoky depth, swap cream of mushroom for cream of chicken soup for a lighter flavor, or mix in diced jalapeños for a subtle spicy kick.


✨ You May Also Like

Main Course
🍜 United Kingdom

A showstopping classic of tender seared beef, savory mushroom duxelles, and crisp prosciutto wrapped in flaky golden puff pastry, baked to juicy perfection.

⏱️ 2 hours 1Main Course ★ 4.7
Main Course
🍜 India

Tender charred marinated chicken simmered in a rich, spiced creamy tomato sauce, this iconic Anglo-Indian curry pairs perfectly with basmati rice or warm naan.

⏱️ 50 minuteMain Course ★ 4.6
Main Course
🍜 Thailand

Classic tangy, sweet, and savory Thai stir-fried rice noodles with shrimp, tofu, and crunchy garnishes, balancing all five core Thai flavor profiles.

⏱️ 30 minuteMain Course ★ 4.5
Main Course
🍜 United Kingdom

Crispy golden beer-battered cod and fluffy double-fried chips, served with tangy tartar sauce and malt vinegar: the timeless, beloved British pub comfort classic.

⏱️ 45 minuteMain Course ★ 4.7
Main Course
🍜 Mexico

Smoky, chile-marinated pork tacos with caramelized pineapple, fresh cilantro, and lime: a beloved classic Mexican street food perfect for casual summer gatherings.

⏱️ 1 hour 45Main Course ★ 4.8
Main Course
🍜 United States

Crunchy Fritos corn chips layered with savory beef chili and melted cheddar, topped with cool, zesty fixings for a beloved, cozy Tex-Mex comfort food.

⏱️ 35 minuteMain Course ★ 4.8

layered tater tot casserole:Frequently Asked Questions

1.Do I need to thaw frozen tater tots before assembling and baking the casserole? ▾
No, never thaw your tater tots first—using them straight from the freezer keeps their texture crispy instead of soggy. Arrange them in a tight, single layer on top of the cheese right before baking, and they’ll develop that perfect golden, crunchy exterior as the rest of the casserole cooks through, no pre-cooking required.
2.Can I use a different fat ratio of ground beef instead of the recommended 85/15 blend? ▾
You can, but 85/15 strikes the ideal balance of rich beefy flavor without excess grease that makes casserole layers soggy. If using fattier 80/20, fully drain all rendered fat after browning; if using extra-lean 90/10, add a teaspoon of olive oil when sautéing onion to keep the filling from drying out.
3.Why does my tater tot topping turn out soggy instead of crispy when I make this? ▾
Soggy tots almost always trace back to three common missteps: thawing tots before baking, piling tots too thickly so they steam instead of roast, or using an overly watery filling. Keep tots frozen, arrange them in a single even layer, and let the casserole rest 5 minutes post-bake so excess moisture absorbs before serving.
4.Can I assemble this casserole ahead of time for meal prep or a potluck? ▾
Absolutely! Assemble the fully layered casserole (keep tater tots frozen when adding them) and cover tightly with plastic wrap, then refrigerate for up to 2 days before baking. When ready to cook, remove the plastic, add 10 extra minutes of bake time, and it’ll turn out just as fresh as a day-of assembly.
5.Do I have to use cream of mushroom soup, or can I swap it for something else? ▾
Cream of mushroom is the classic nostalgic base, but you can swap it for equal amounts of cream of celery, cream of chicken, or a homemade thick roux-based sauce if you prefer to skip canned soup. Just make sure your creamy base is thick, not watery, to keep casserole layers from turning mushy.
6.What order should I layer the ingredients to get clean, distinct layers? ▾
Stick to this tested order for perfect layers every time: start with browned, seasoned beef and sautéed onion pressed evenly across the bottom of a 9x13 dish, top with the creamy soup mixture, add a layer of shredded sharp cheddar, then arrange frozen tater tots in a neat single layer on top—don’t press tots down into the cheese.
7.Can I add extra vegetables to the casserole filling? ▾
Definitely—this recipe is super flexible for veggie mix-ins. Stir in drained canned corn, steamed green beans, sautéed bell peppers, or frozen mixed veggies right into the creamy soup layer before adding cheese. Just drain any canned or cooked veggies really well first, so extra water doesn’t make the casserole soggy as it bakes.
8.How do I tell when the casserole is fully done baking? ▾
You’ll know it’s ready when the tater tots on top are deep golden and crispy all over, the cheesy filling is bubbling vigorously around the edges of the dish, and the internal temperature at the center hits 165°F on an instant-read thermometer. This typically takes 40 to 45 minutes in a 375°F oven.
9.Can I freeze leftover baked tater tot casserole for later? ▾
Yes, leftovers freeze really well for up to 3 months. Let the casserole cool completely first, then portion into airtight, freezer-safe containers, or wrap the whole baking dish tightly in two layers of plastic wrap and foil. Reheat portions in a 350°F oven, covered, for 20 minutes to keep tots crisp instead of microwaving them into mush.
10.Why does the recipe call for sharp yellow cheddar instead of milder cheese? ▾
Sharp yellow cheddar has a bold, tangy flavor that cuts through the richness of the beef, creamy soup, and starchy tater tots so no bite tastes bland. Milder cheddar or mozzarella will melt smoothly, but they won’t deliver that classic, nostalgic savory punch that makes this dish feel like ultimate cozy comfort food.
11.Do I need to cover the casserole with foil while it bakes? ▾
Bake it uncovered for the full cook time! Covering the dish with foil traps steam, which will turn your tater tot topping soft and soggy instead of crispy. If you notice the edges of the tots browning too fast before the filling is bubbly, you can tent a loose strip of foil just over the darkest edges for the last 10 minutes.
12.Can I substitute ground turkey for the ground beef to make a lighter version? ▾
You absolutely can swap in 93/7 lean ground turkey for the beef for a lighter take. Just season the turkey a little more heavily with extra salt, pepper, garlic powder, and a pinch of smoked paprika to amp up savoriness, since turkey is milder than beef, and drain any excess moisture after browning to keep layers firm.

Comments (5)

yesterday

Made this for Sunday meal prep yesterday and WOW, it's SO good! I swapped the regular cheddar for pepper jack to add a little kick, and it held up perfectly in the fridge all week for quick lunches. Super easy to throw together even when I was half asleep watching football pregame. 10/10 would make again.

2 hours ago

Wait the pepper jack swap sounds genius! Did you add any extra sour cream on top to cut the heat, or was it just right?

30 minutes ago

Love the pepper jack swap idea, Jessie! For anyone who likes a little extra heat, adding a pinch of cayenne or a diced jalapeno in the meat layer works great too — just don't skimp on the cheese layer between the tots and meat to keep all the layers from getting soggy!

1 week ago

Took this to my kid's soccer team potluck last weekend and the pan was empty in 10 minutes flat. I added a layer of crumbled bacon between the cheese and tots on a whim, and people were begging for the recipe. Only quick note: make sure you let it rest 5 minutes after pulling it out of the oven so it sets properly, otherwise it's a little goopy when you scoop it. Still 5 stars though, this recipe is a keeper!

5 days ago

So glad it was a hit at the soccer potluck! Great tip about letting it rest — that 5 minute wait makes such a big difference for clean, easy scoops, I'm glad you mentioned that. The crumbled bacon addition sounds absolutely delicious, I'll have to test that version for a future recipe twist!

3 days ago

This was just okay for me. I followed the recipe exactly but the tater tots on the top layer were a little soggier than I wanted, even after adding extra cook time like I usually do for tot casseroles. Might try flipping the tots halfway next time to get them crispier on all sides. It was super easy to make though, so I'll definitely give it another shot.

2 days ago

So sorry the tots came out soggy for you, Luna! A common culprit is overcrowding the tots on the top layer, or if your oven runs a little cool, I'd recommend popping the broiler on for the last 2-3 minutes to crisp up the top — just keep a close eye so they don't burn! Hope your next turn out perfectly crispy.

5 days ago

Game. Changer. I have three super picky kids and they all cleared their plates without a single complaint, which is basically a miracle on a school night. It was so easy to throw together after work too — I didn't even have to thaw the tater tots first, which saved me so much time. Already added the ingredients to my regular grocery list!

3 days ago

Wait you didn't thaw the tots first? Did they get crispy enough on top? I've always thawed mine because I was scared they'd be soggy!

2 days ago

They were perfectly crispy! I just made sure the oven was fully preheated before I popped the pan in, and I left them in for the full 45 minutes like the recipe says. No sogginess at all, even with frozen tots straight from the bag!

2 weeks ago

OMG, made this on a whim last night when I realized I had a bag of tater tots in the freezer and a pound of ground beef to use up. SO good! I added a dollop of sour cream and a sprinkle of green onions on top when I served it, and my roommate ate half the pan before I even got a second helping. Dead simple to make, no fancy ingredients required. Will be a regular in our dinner rotation for sure.



