
Lemon Meringue Pie
intro
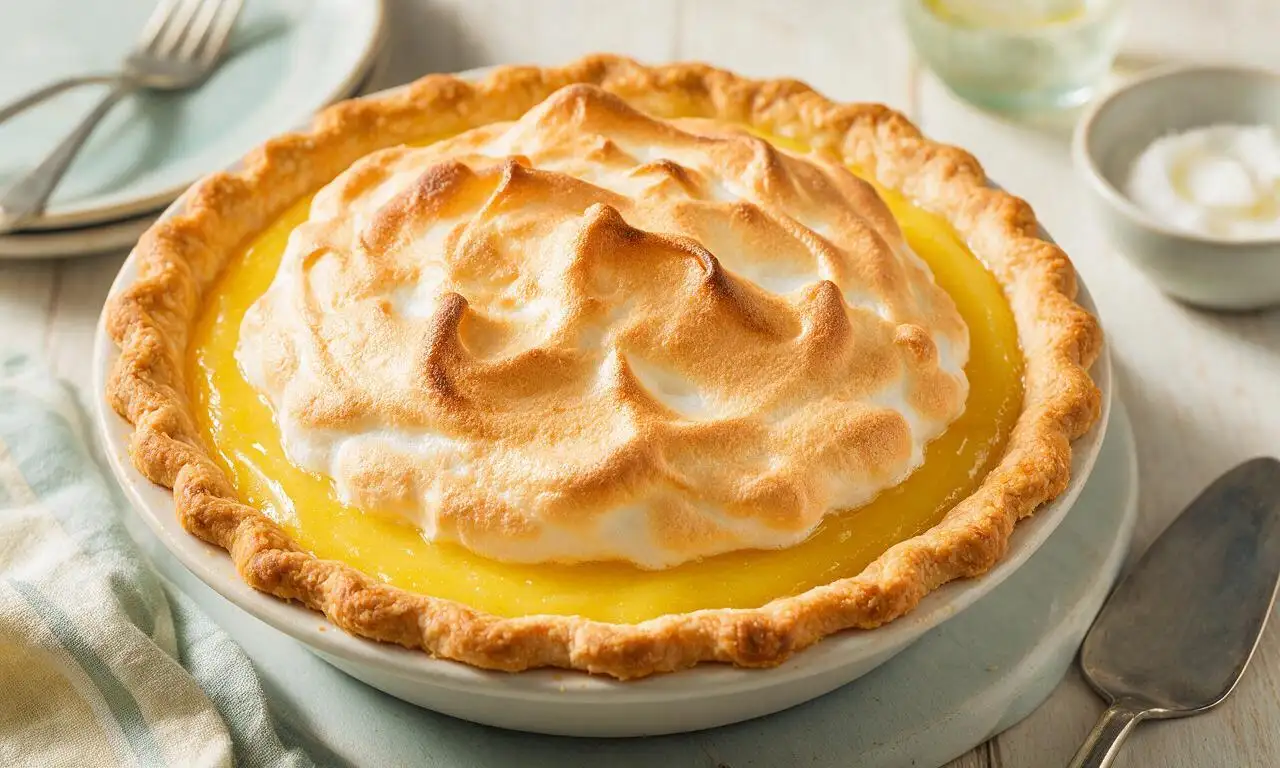
Bright tangy lemon curd in a buttery flaky crust, topped with fluffy golden toasted meringue. A timeless, crowd-pleasing dessert balancing zesty tart and sweet flavors.
Ingredients
Steps
Blind bake pie crust
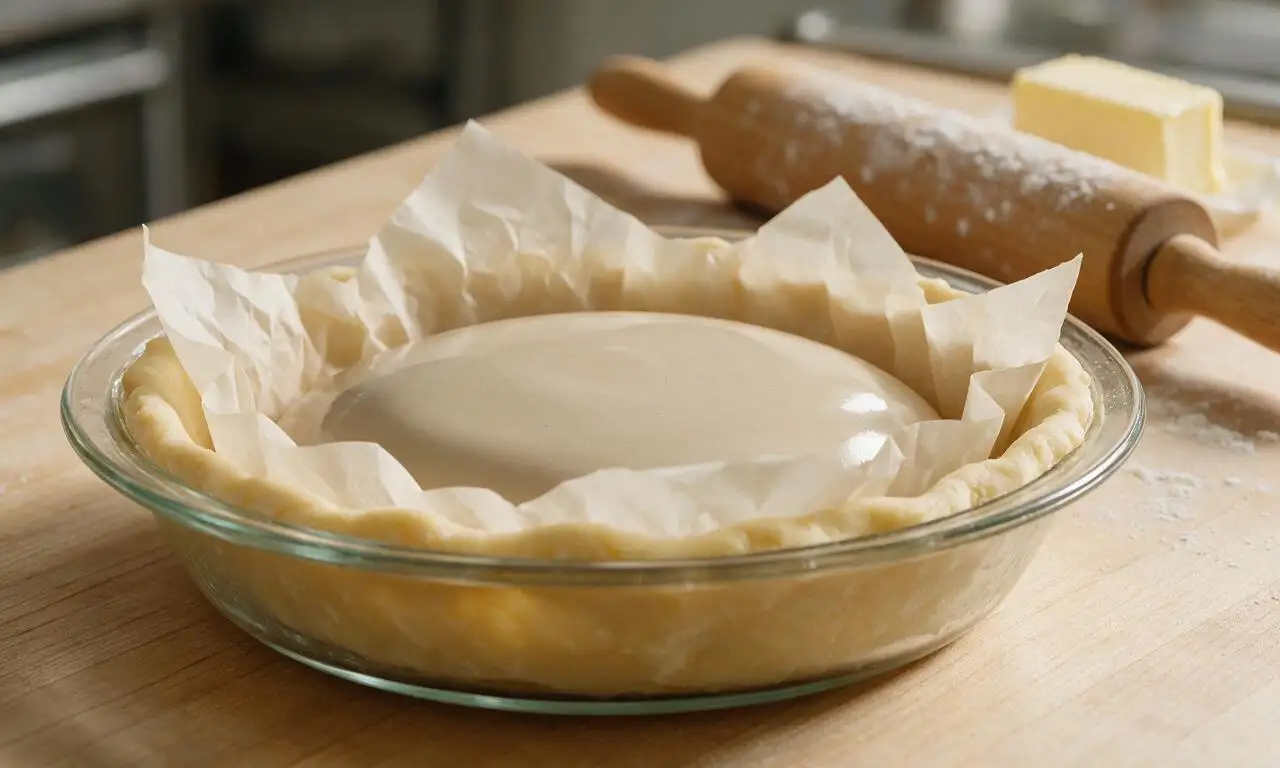
Preheat oven to 190C (375F). In a food processor, combine 180g all-purpose flour, 25g of the granulated sugar, and 1g fine sea salt. Add 113g of the cold cubed butter, pulse 8-10 times until the mixture resembles coarse crumbs with pea-sized butter bits. Drizzle in 45ml ice water, pulse just until the dough clumps together. Press dough evenly into a 9-inch pie dish, prick the bottom all over with a fork, line with parchment paper, and fill with pie weights or dried beans. Bake for 15 minutes, remove weights and parchment, then bake 5 more minutes until pale golden. Set aside to cool slightly.
Cook lemon curd filling
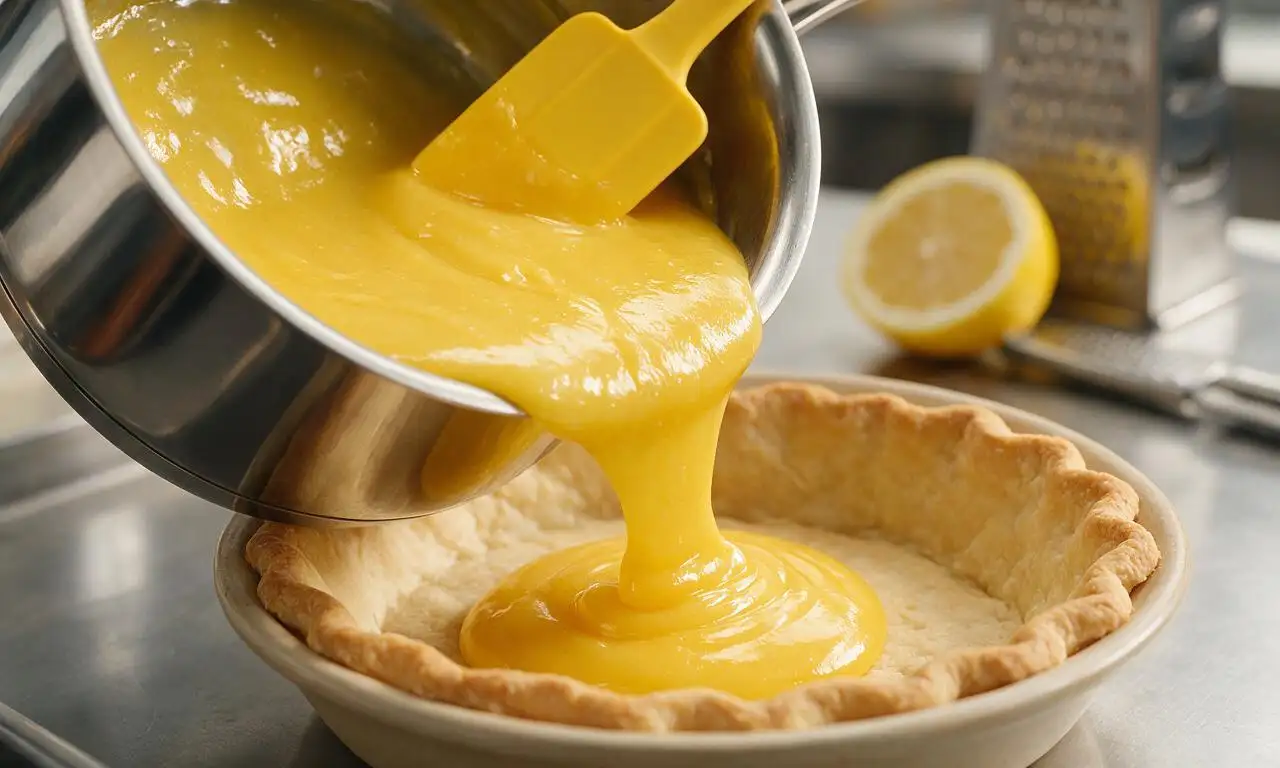
In a medium saucepan over medium-low heat, whisk together 200g of the granulated sugar, 30g cornstarch, and 180ml water for curd until smooth. Bring to a gentle simmer, stirring constantly, and cook for 2 minutes until the mixture thickens to a pudding-like consistency. In a separate heatproof bowl, lightly beat 6 egg yolks. Slowly pour 1/3 of the hot sugar mixture into the yolks while whisking constantly to temper and prevent curdling, then pour the yolk mixture back into the saucepan. Cook for 2 more minutes over low heat, stirring nonstop, until thick and glossy. Remove from heat, stir in the remaining 57g butter, 180ml fresh lemon juice, and 2 tbsp lemon zest until fully combined. Pour warm curd into the pre-baked pie crust and spread evenly.
Whip stable meringue
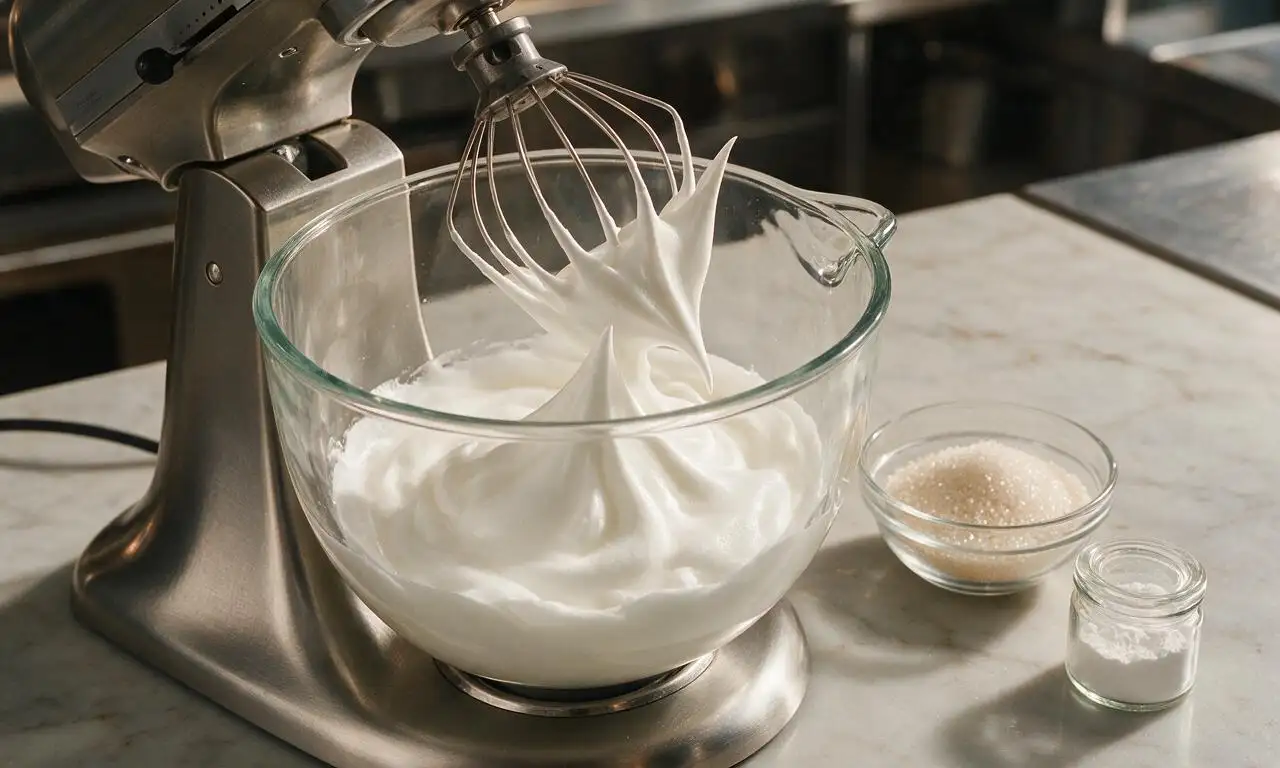
Reduce oven temperature to 175C (350F). Ensure your mixing bowl and wire whisk are completely grease-free (wipe with a vinegar-dampened paper towel first for best results). Add 4 room-temperature egg whites and 1g cream of tartar to the bowl. Beat on medium speed with an electric mixer for 1 minute until soft, billowy peaks form. Gradually add the remaining 100g granulated sugar, 1 tablespoon at a time, while beating on high speed, then add 5ml vanilla extract. Continue beating for 3-4 minutes until stiff, glossy peaks form that stand straight up when the whisk is lifted, with no gritty sugar texture when rubbed between your fingers.
Top pie with meringue
Spoon the meringue onto the warm lemon curd immediately, starting by spreading meringue all the way to the edges of the crust to create a tight seal that prevents shrinking or weeping during baking. Pile remaining meringue in the center of the pie, then use the back of a spoon to create decorative swells and tall peaks across the surface, checking for no gaps between meringue and crust.

Bake until golden
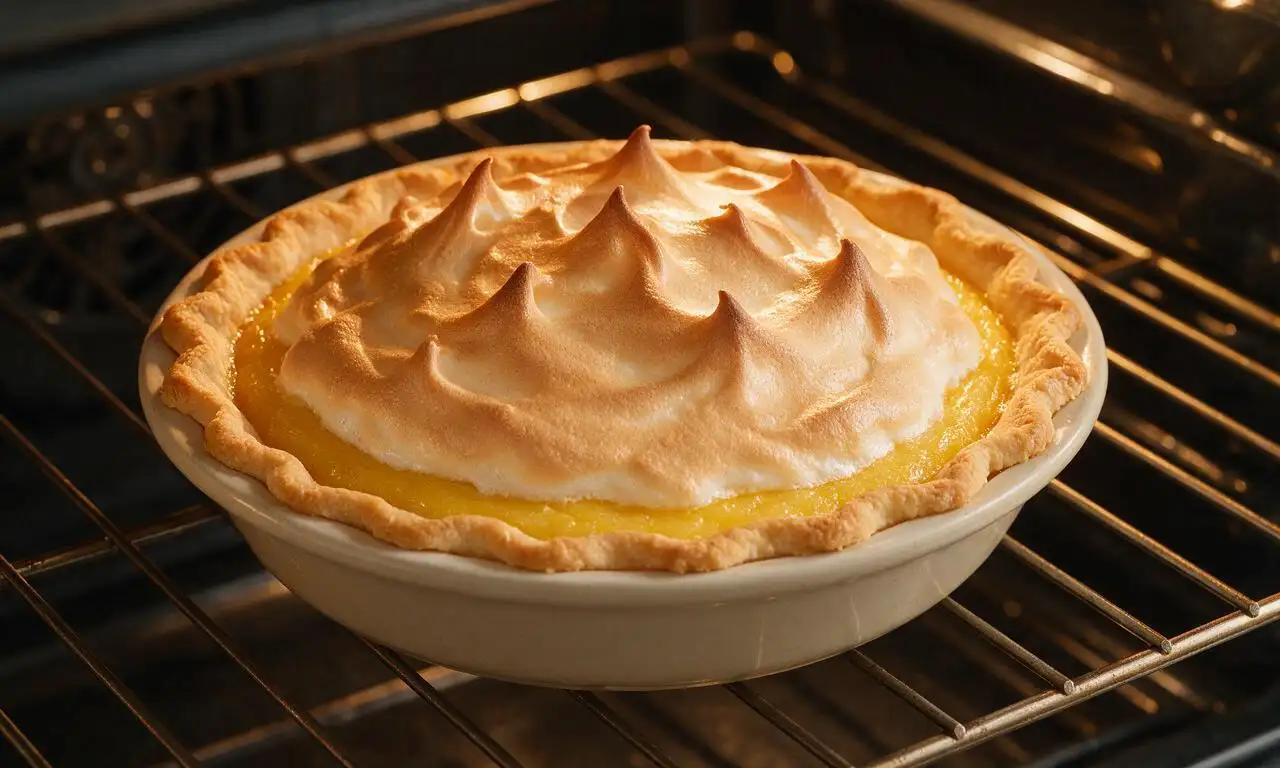
Place the assembled pie on the middle rack of the preheated 175C (350F) oven. Bake for 18-20 minutes, rotating the pie 180 degrees halfway through baking, until the meringue peaks are a deep toasted golden brown and the meringue is set to the touch (no sticky soft spots when lightly pressed with a clean finger). Watch closely during the last 5 minutes of baking to avoid burning the delicate meringue tips.
Cool and set fully
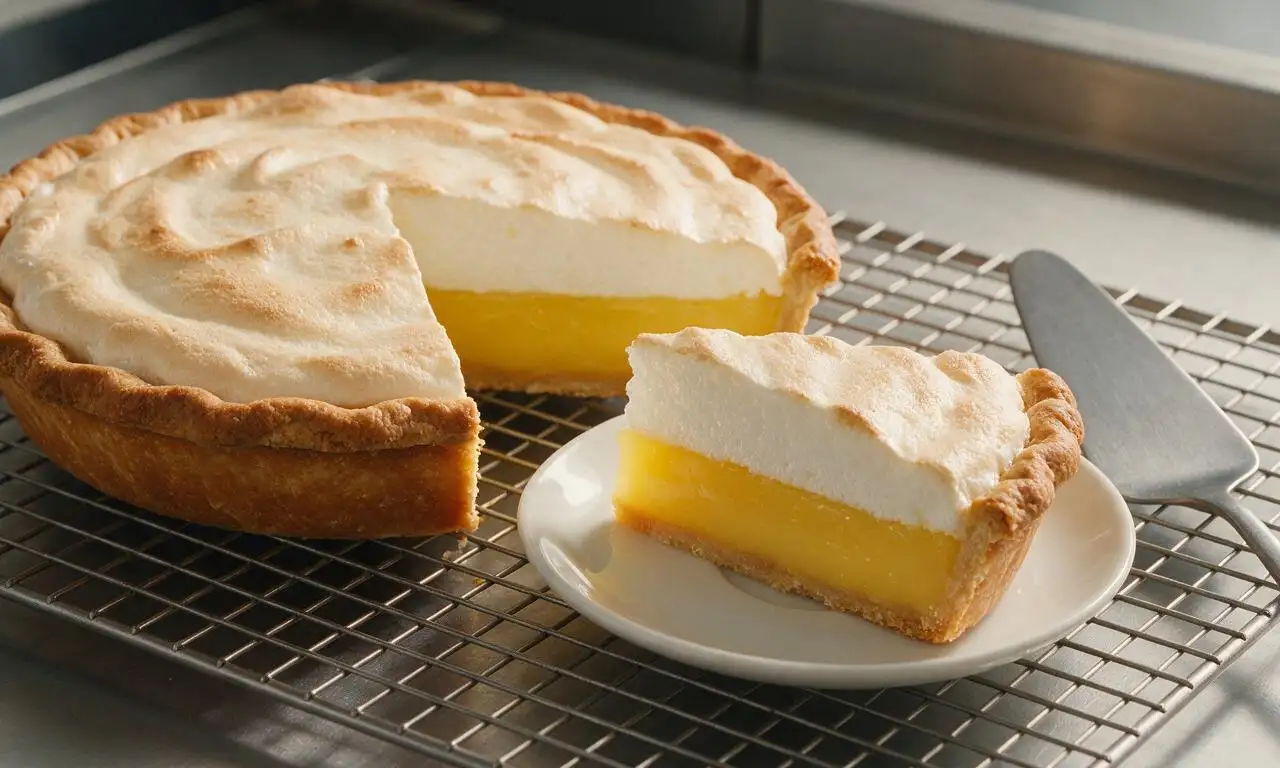
Remove the pie from the oven and transfer to a wire cooling rack. Let it cool at room temperature for 1 full hour, then transfer to the refrigerator to chill for at least 2 hours before slicing. Do not cut the pie early, as the lemon curd needs this time to fully set to hold clean, neat slices.
Tips
2.Use ice-cold butter for the pie crust and avoid overmixing or overworking the dough—overworking develops gluten and melts butter, leading to a tough, dense crust instead of a light, flaky texture.
3.Ensure your mixing bowl and whisk are completely free of grease or egg yolk residue before whipping meringue; even a tiny amount of fat will prevent egg whites from whipping to full, stable, fluffy volume.






OMG this classic lemon meringue pie was the star of our Sunday family dinner! The filling was perfectly tangy, not too sweet, and the meringue toasted up so fluffy with those gorgeous golden peaks. My kids begged for second slices before I even finished serving the adults. 10/10 will make again for our next neighborhood potluck!
This was way easier to pull off than I expected for a medium difficulty recipe! I was nervous about nailing the meringue consistency, but the step-by-step instructions were super clear. The 2 hour chill time is no joke though — I tried to cut a slice early once and the filling was way too runny, learned my lesson! SO good once it set properly.
Brought this to my office potluck yesterday and people were literally scraping the pie plate clean! The balance of tart lemon and sweet, cloud-like meringue is unmatched. Already sent the recipe link to three of my coworkers who begged for it. Total game changer for my go-to dessert rotation.
Uh oh, I think I messed up the lemon curd filling? Mine came out a little lumpy even after I strained it like the recipe said. It still tasted great, but the texture wasn’t as smooth as I wanted it to be. Any tips for next time? Flavor was 10/10 even with the lumps though!
I used fresh squeezed Meyer lemons from my backyard tree instead of regular lemons and it was chef’s kiss. The meringue held up perfectly even after being in the fridge overnight, which never happens with other recipes I’ve tried. Seriously so impressed, this is my new go-to lemon meringue pie recipe forever.
Made this for my daughter’s birthday because lemon meringue is her absolute favorite. She said it was better than the one we get from our local bakery! The crust was buttery and flaky, the filling had that perfect pucker, and the meringue was light as air. Won’t lie, I was pretty proud of myself for pulling this off. SO good.
Wait, has anyone tried making this ahead of time for a holiday meal? I’m hosting Easter dinner in a couple weeks and want to knock out as many dishes as I can the day before so I’m not stressed cooking all day. Worried the meringue won’t hold up for a full day in the fridge.
The flavor was amazing, but my meringue shrank a ton after I pulled it out of the oven! I followed the recipe exactly as written, so I’m not sure what went wrong. It still tasted incredible, but it didn’t look nearly as pretty as the photos on the post. Bummed because I made it for my book club meeting.
First time ever making a pie from scratch (no store bought crust, no boxed filling!) and this recipe made me look like a total pro. My roommates lost their minds when they tried it, thought I bought it from that fancy bakery downtown. Total win, will absolutely be making this again soon.
Swapped the regular all purpose flour for a 1:1 gluten free flour blend for the crust and it turned out absolutely perfect! No weird gritty texture, no crumbly mess, and none of my gluten free guests could even tell the difference. This recipe is so adaptable, 10/10.