
Light / Reduced Fat Cream Cheese
intro
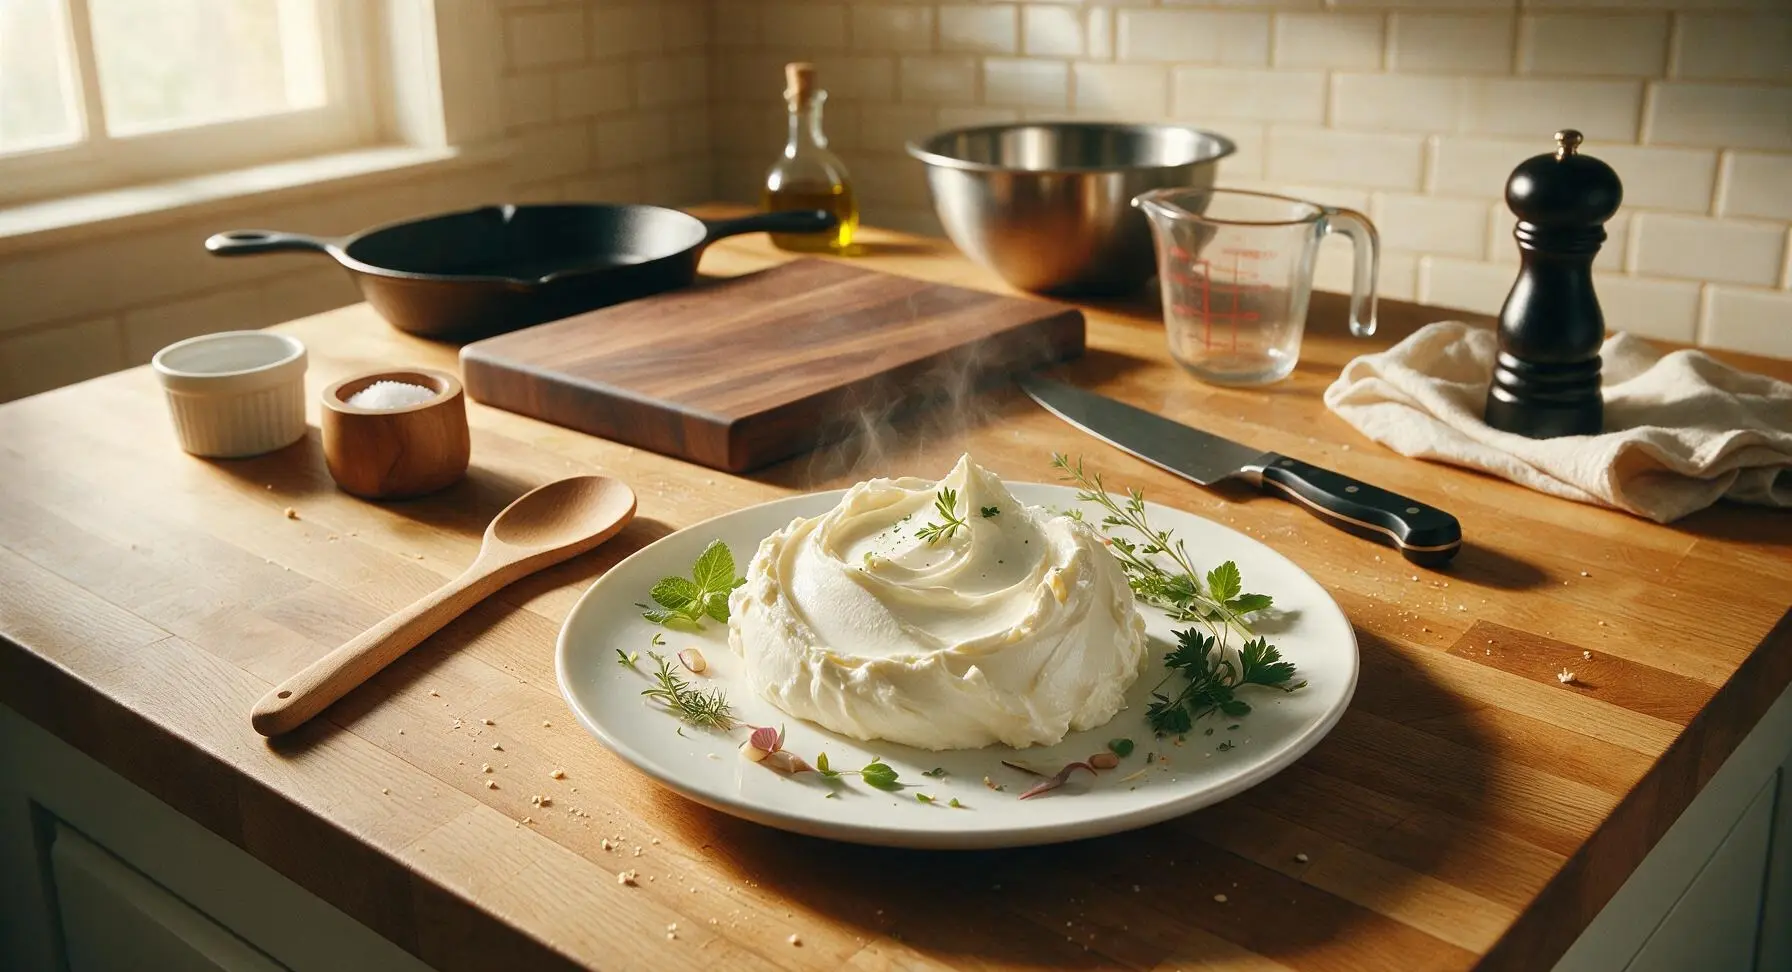
Smooth, tangy, spreadable reduced-fat cream cheese with 50% less fat than full-fat versions, perfect for bagels, light dips, and creamy baked cheesecakes.
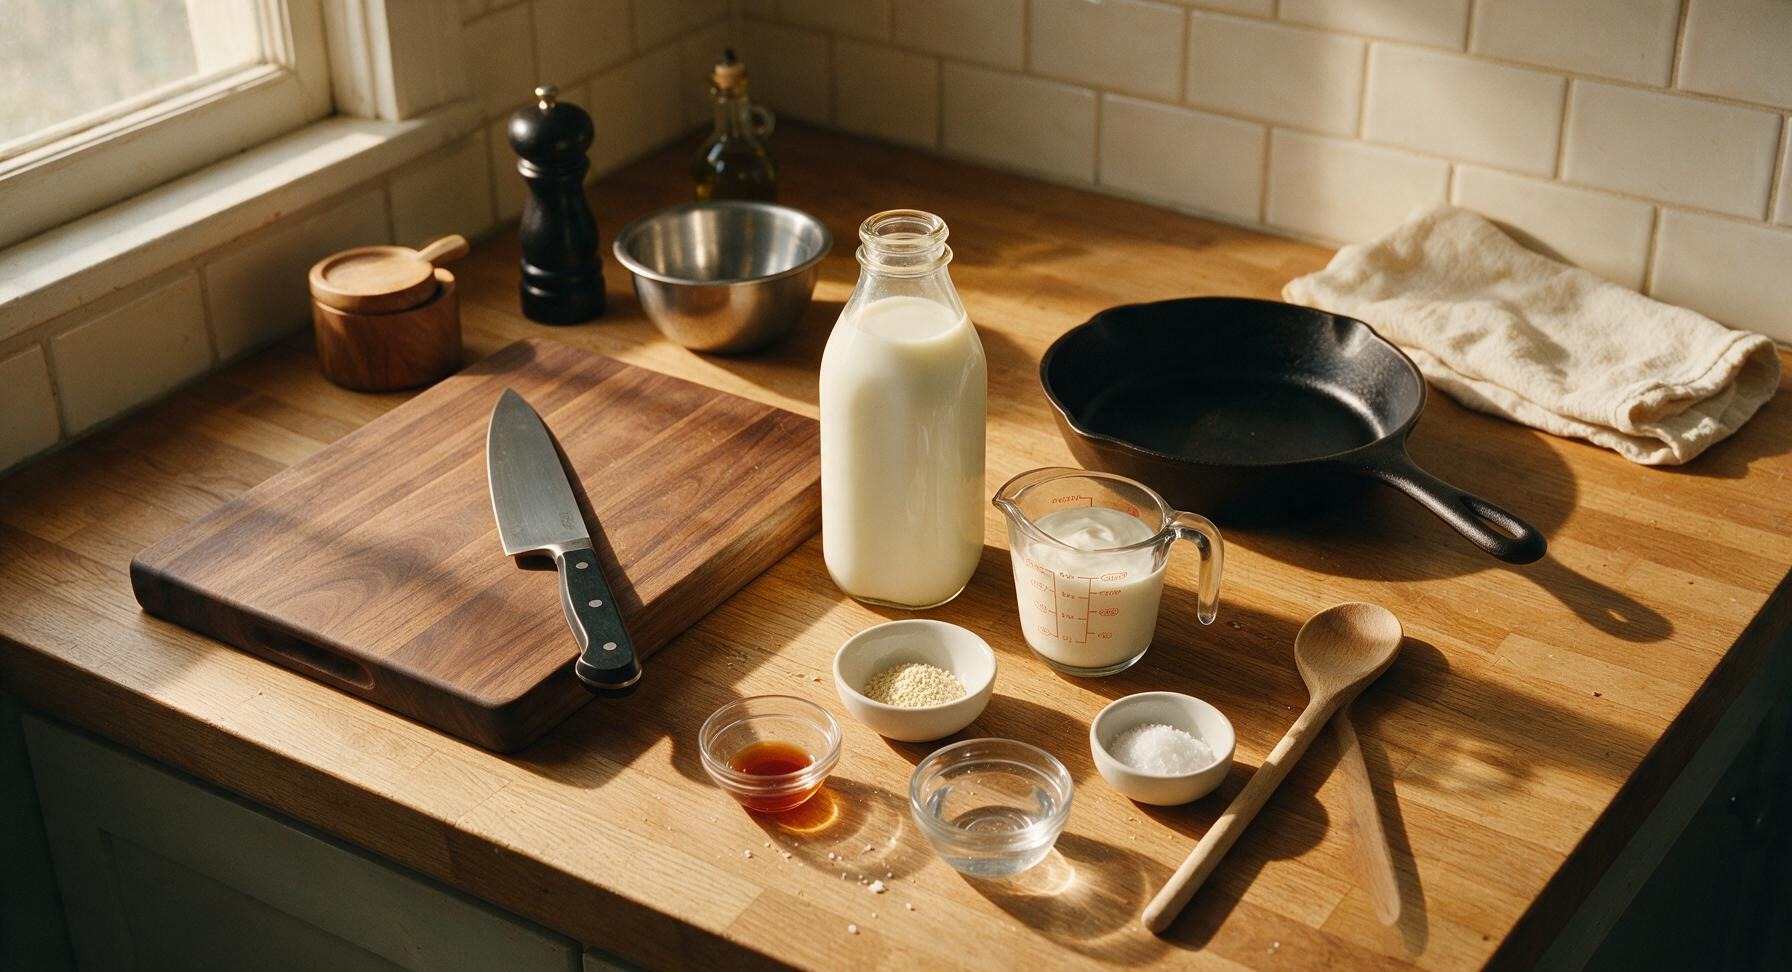
Ingredients
Steps
Heat Dairy Mixture
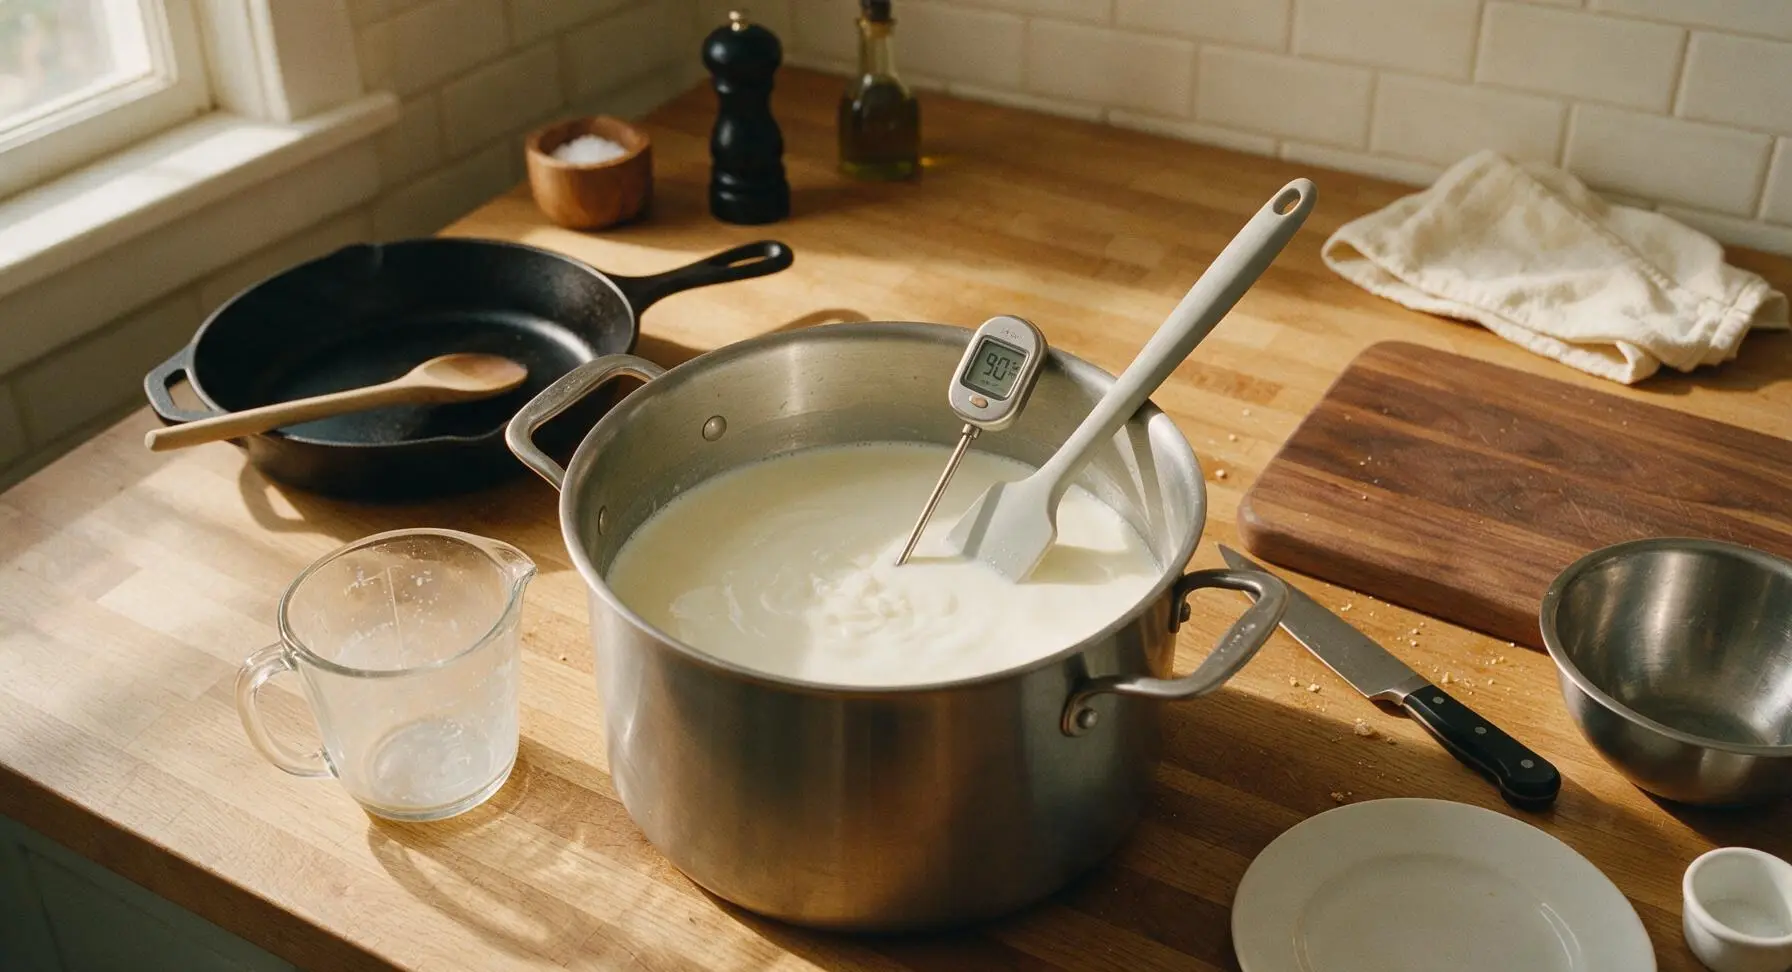
Pour the measured low-fat milk and heavy cream into the 4L brushed stainless steel stock pot. Place over medium-low heat, stirring slowly and constantly with the long-handled pale grey silicone spatula to prevent scorching on the pot bottom. Heat the mixture until it reaches exactly 32°C (90°F), checking temperature frequently with the digital instant-read thermometer. Remove the pot from heat immediately once the target temperature is reached; do not overheat, as high temperatures will kill the cheese culture and prevent proper curd formation.
Add Cheese Culture
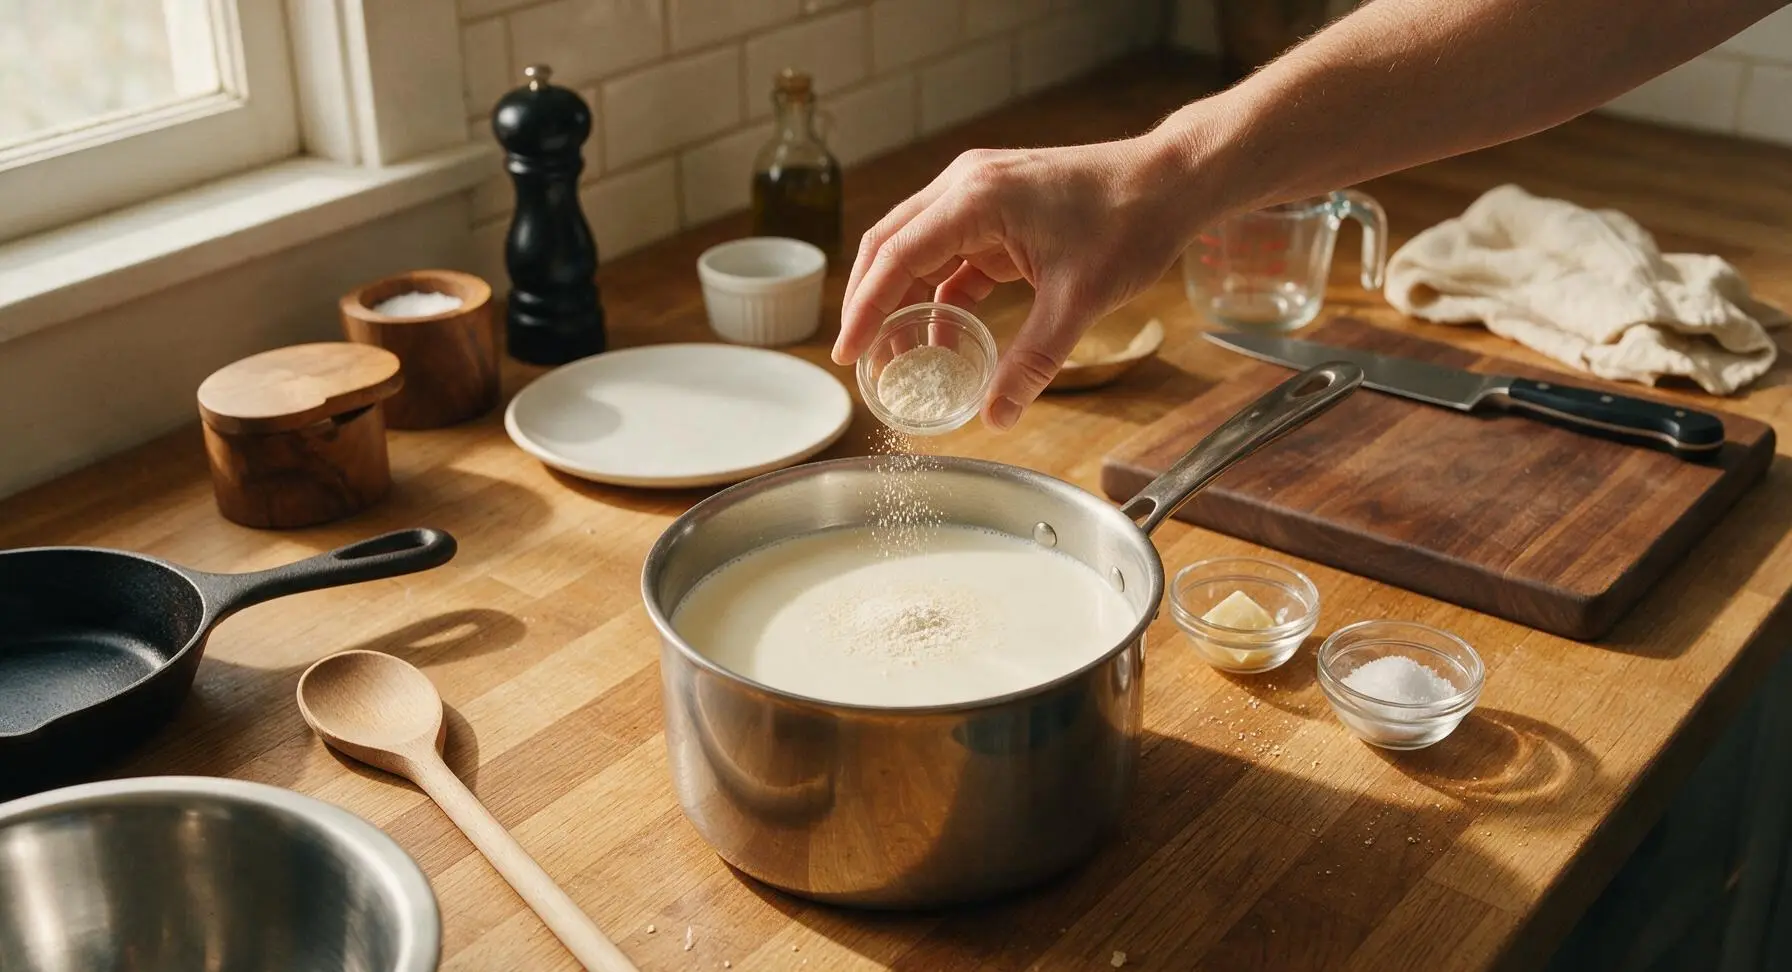
Sprinkle the measured mesophilic cheese culture evenly over the surface of the warm milk mixture. Let it sit undisturbed for 2 minutes to rehydrate on the liquid surface, then stir gently in slow up-and-down motions with the silicone spatula to fully incorporate the culture, taking care not to whip air into the mixture.
Add Diluted Rennet
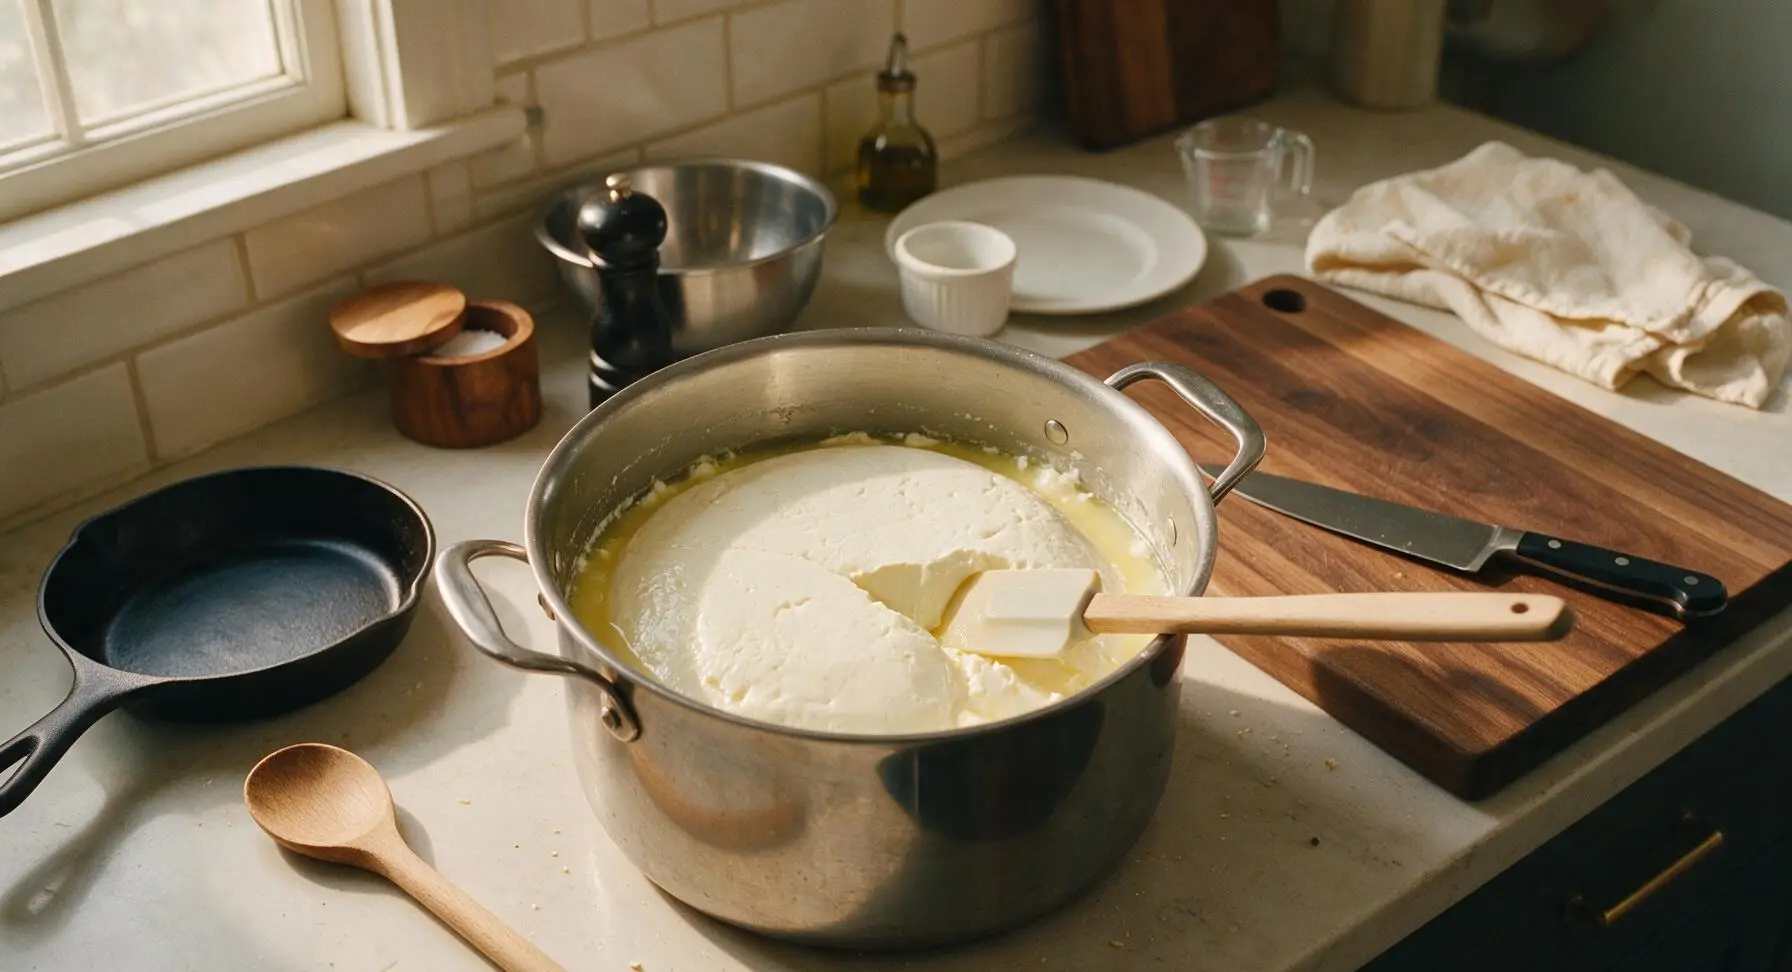
Stir the 1/4 teaspoon liquid rennet into the 2 tablespoons cold filtered water in a small pinch bowl, mixing gently with the small stainless steel whisk to combine. Pour the diluted rennet evenly over the cultured milk mixture, stirring slowly for 30 seconds to distribute evenly. Cover the pot with its lid, wrap in a separate clean kitchen towel to hold a steady temperature, and let rest undisturbed at room temperature for 12 hours, until a firm curd forms that pulls cleanly away from the pot sides when tilted, with clear pale yellow whey pooling around the edges.
Cut Set Curds
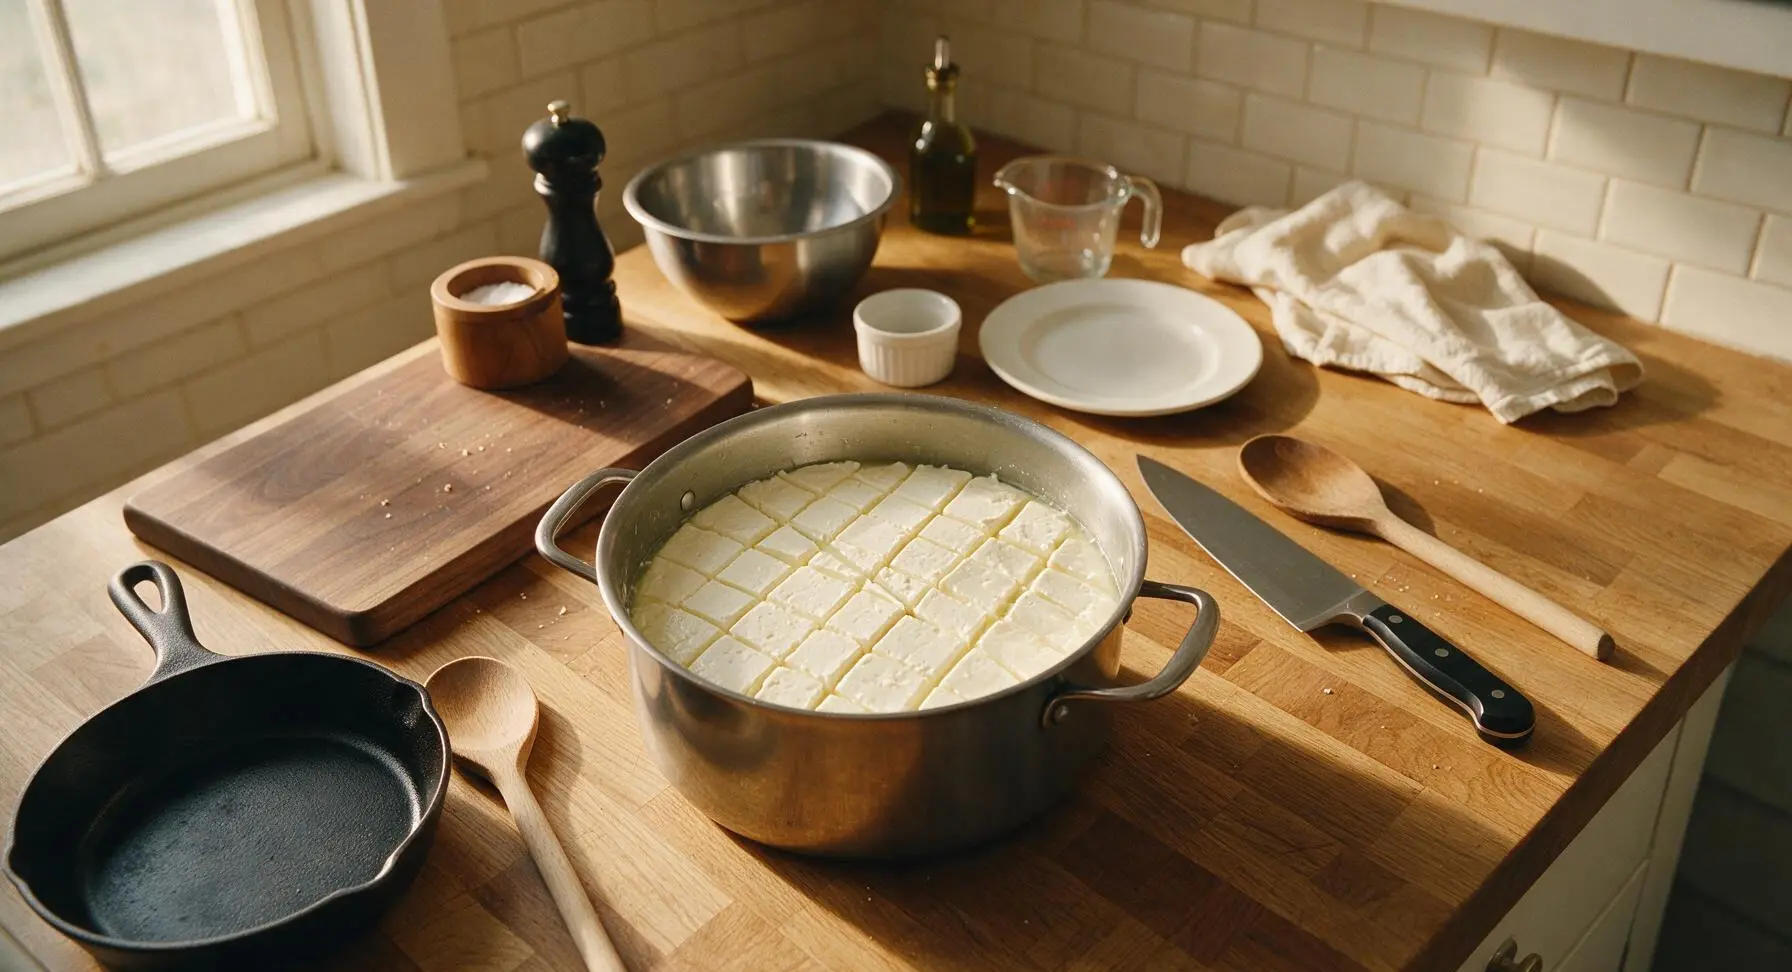
Use the long edge of the silicone spatula to cut the firm curd into even 1.5cm (1/2 inch) cubes, cutting straight down through the curd in a uniform grid pattern across the entire pot, then making diagonal cuts to ensure evenly sized pieces. Let the cut curds rest for 10 minutes to release additional whey, as they will shrink slightly and firm up during this time.
Strain Out Whey
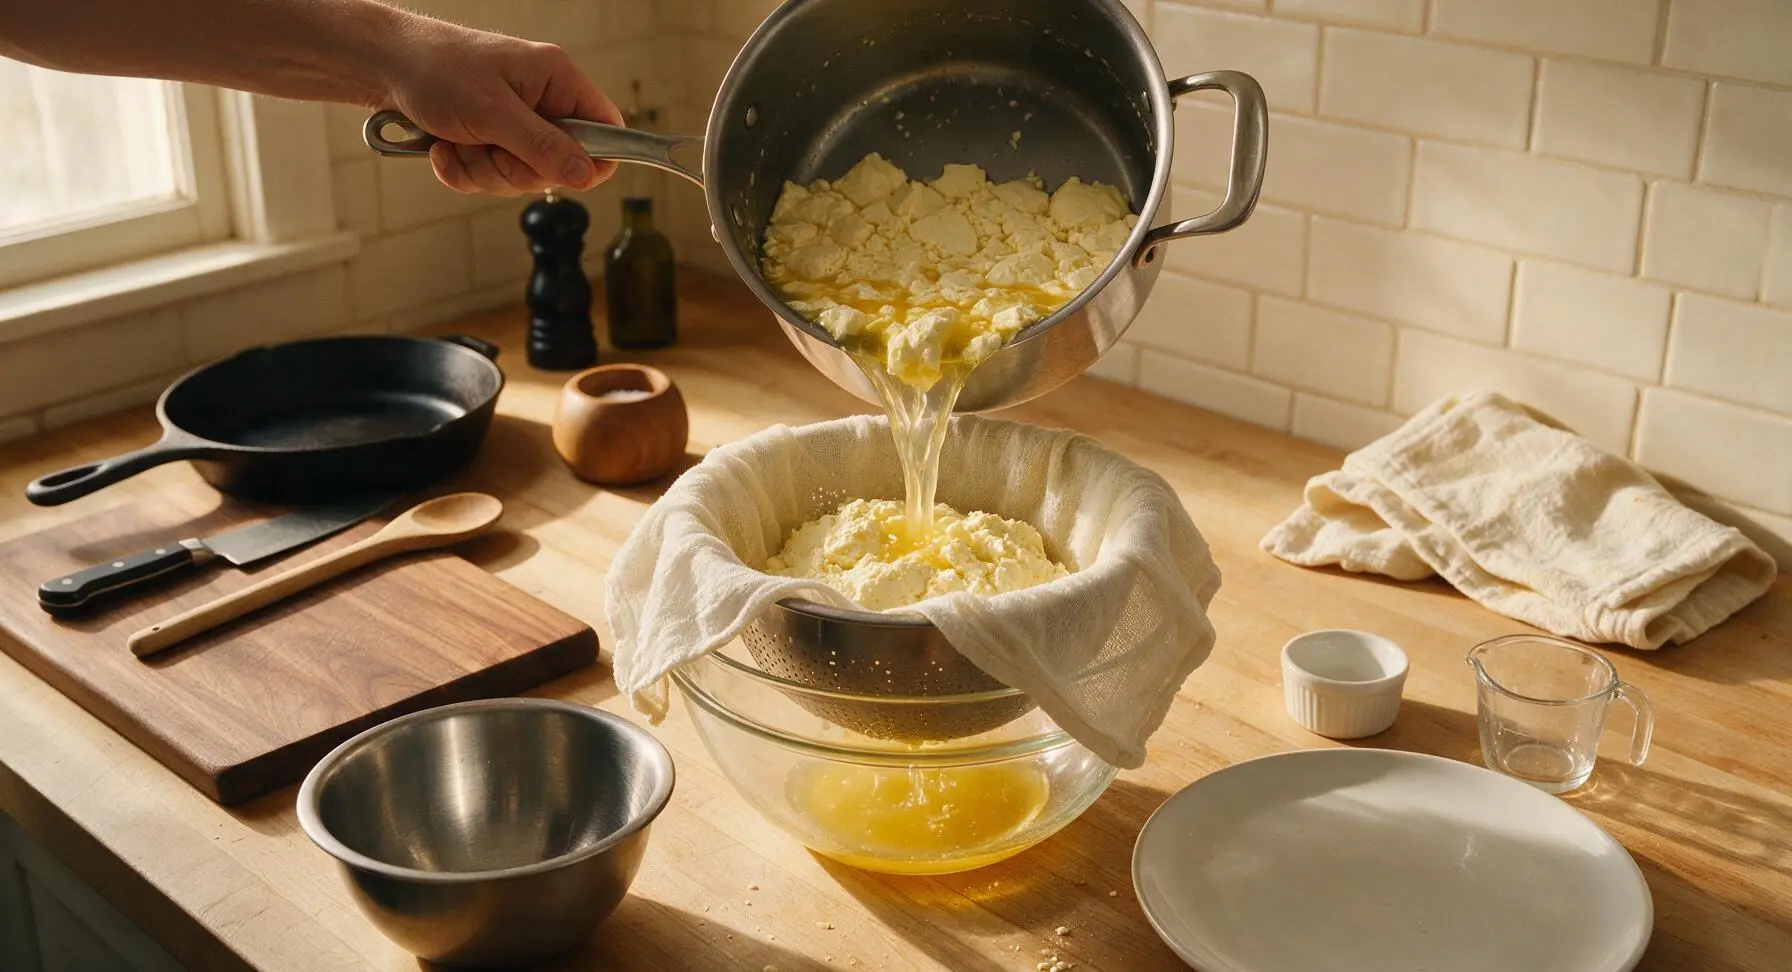
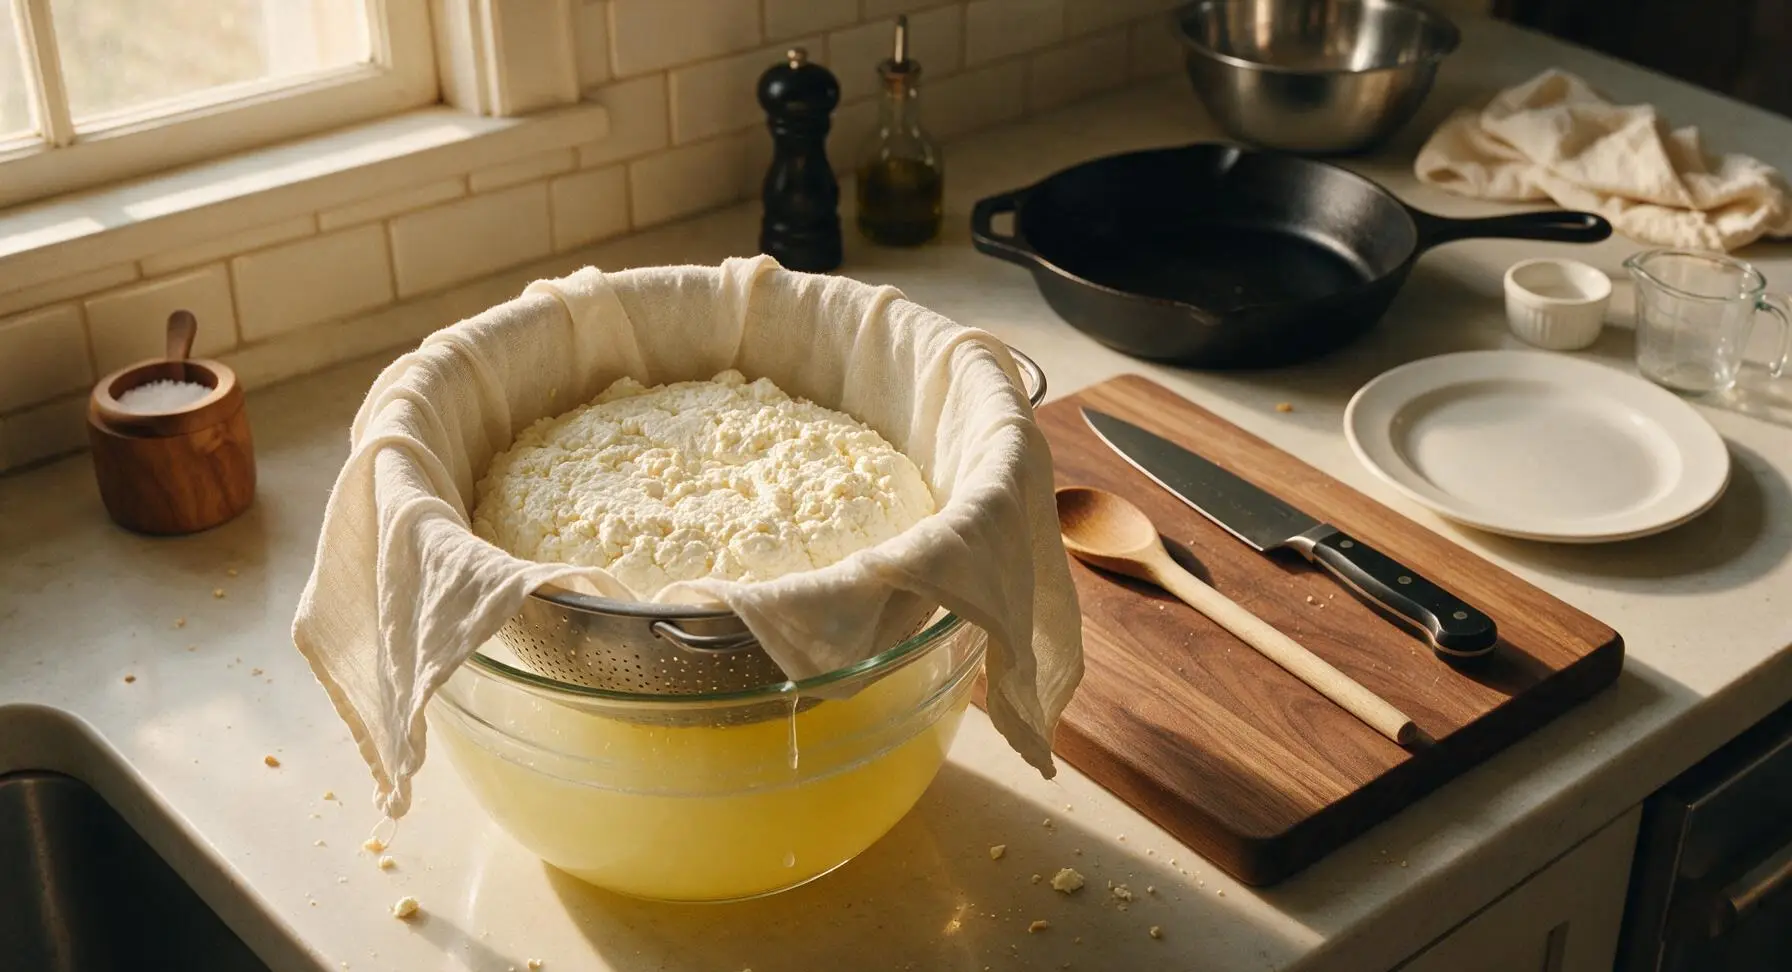
Line the stainless steel colander with a double layer of unbleached cotton cheesecloth, leaving 10cm of cloth overhang on all sides. Set the lined colander inside the 2.5L clear glass mixing bowl to catch draining whey. Gently pour the cut curds and whey from the stock pot into the cheesecloth-lined colander. Let the mixture drain at room temperature for 4 hours, until most free whey has dripped into the bowl below, leaving thick, crumbly curds in the cloth.
Blend Until Smooth
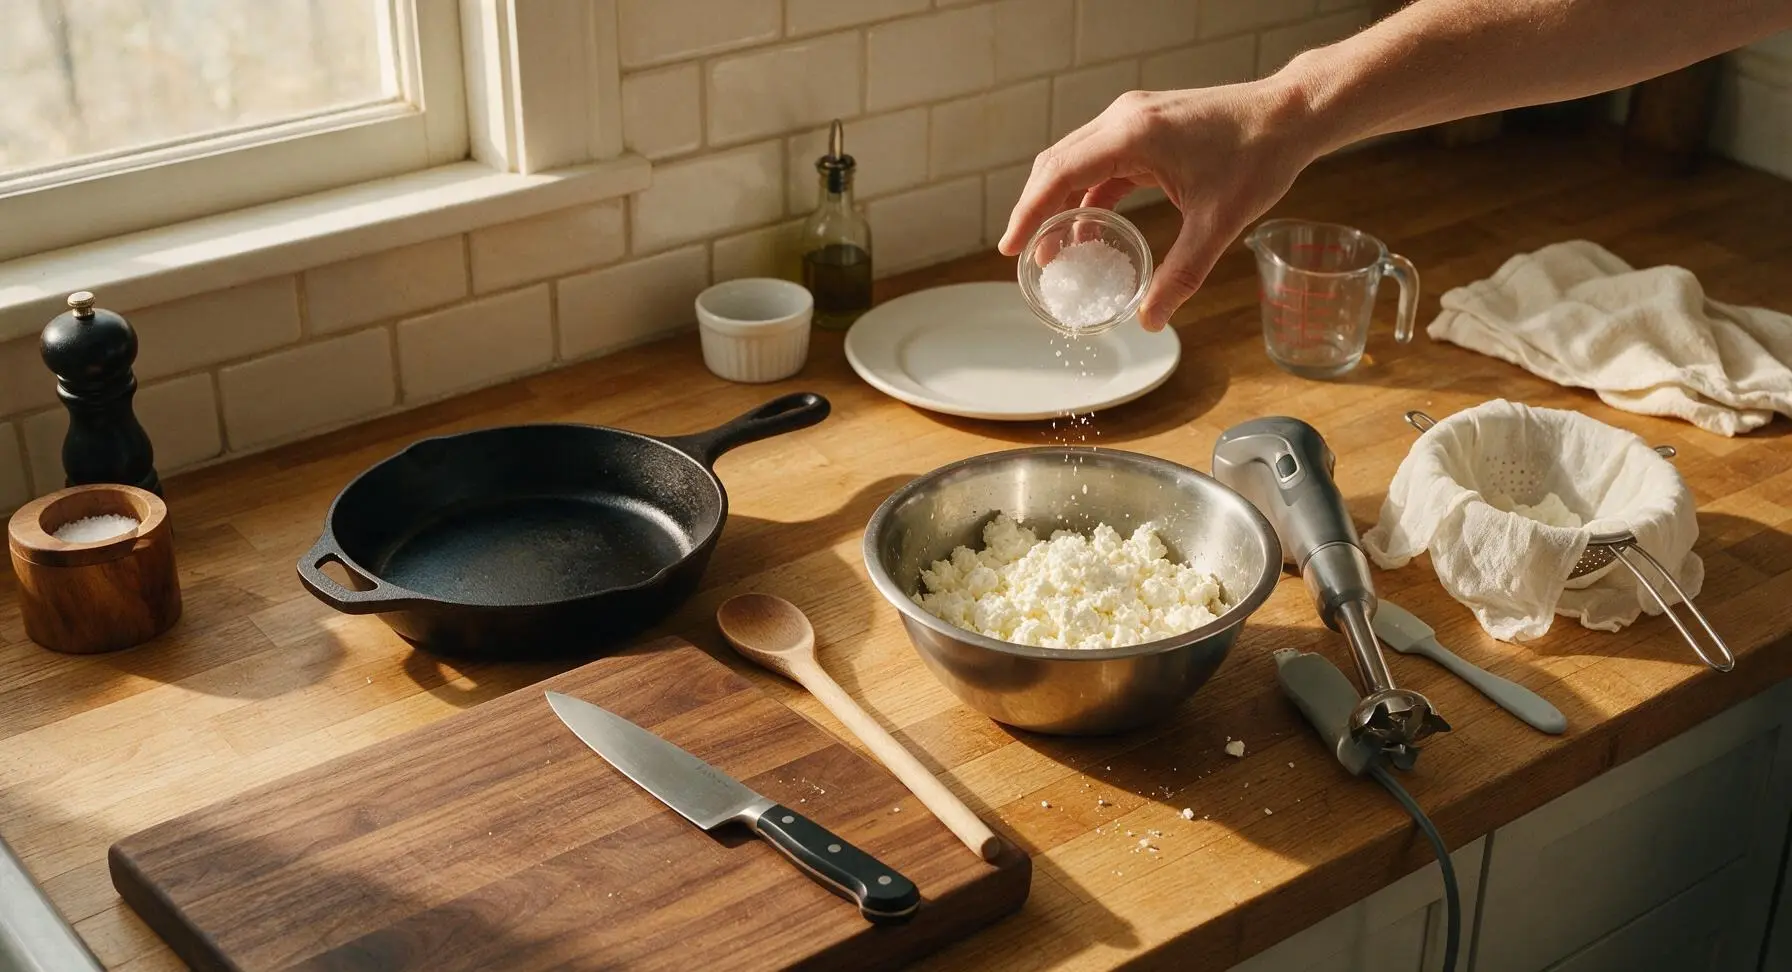
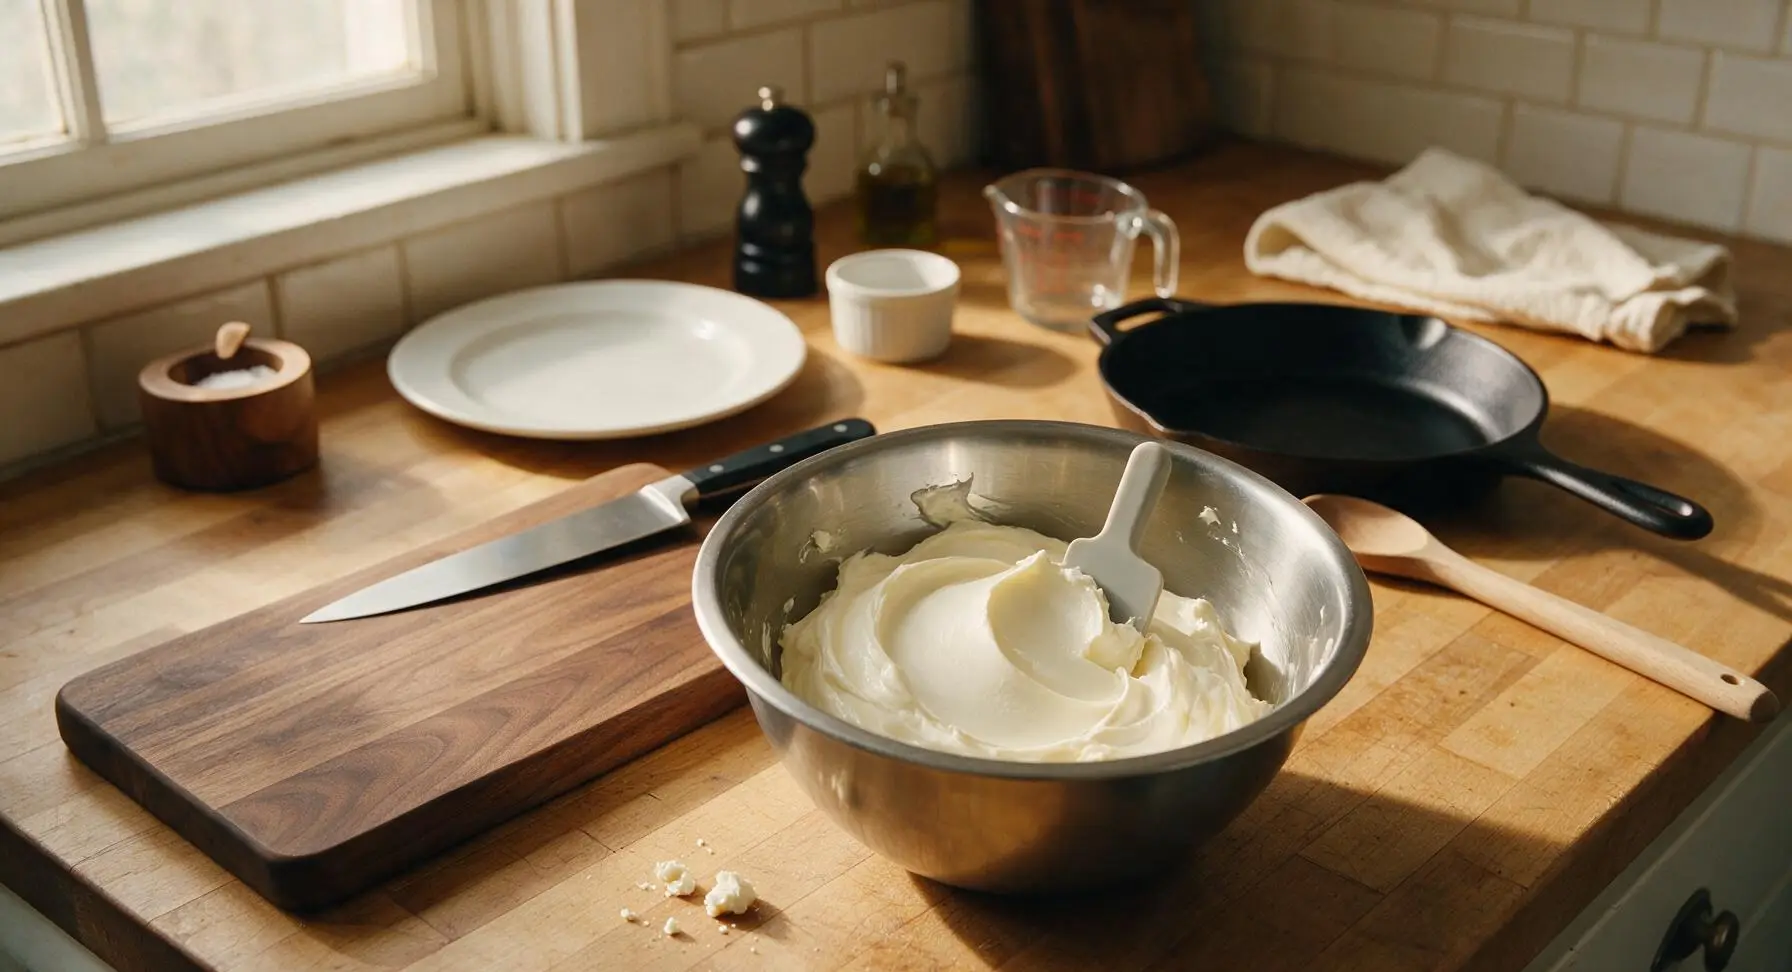
Gather the cheesecloth edges to lift the drained curds from the colander, scraping any clinging curds from the cloth into a clean bowl with the mini pale grey silicone spatula. Add the measured kosher salt to the curds, then blend with the immersion blender on low speed for 1-2 minutes, scraping down the bowl sides frequently with the mini spatula, until curds become completely smooth, creamy, and spreadable with no remaining lumps. If the mixture is too thick, stir in 1-2 teaspoons of reserved whey to reach your desired consistency.
Chill Before Serving
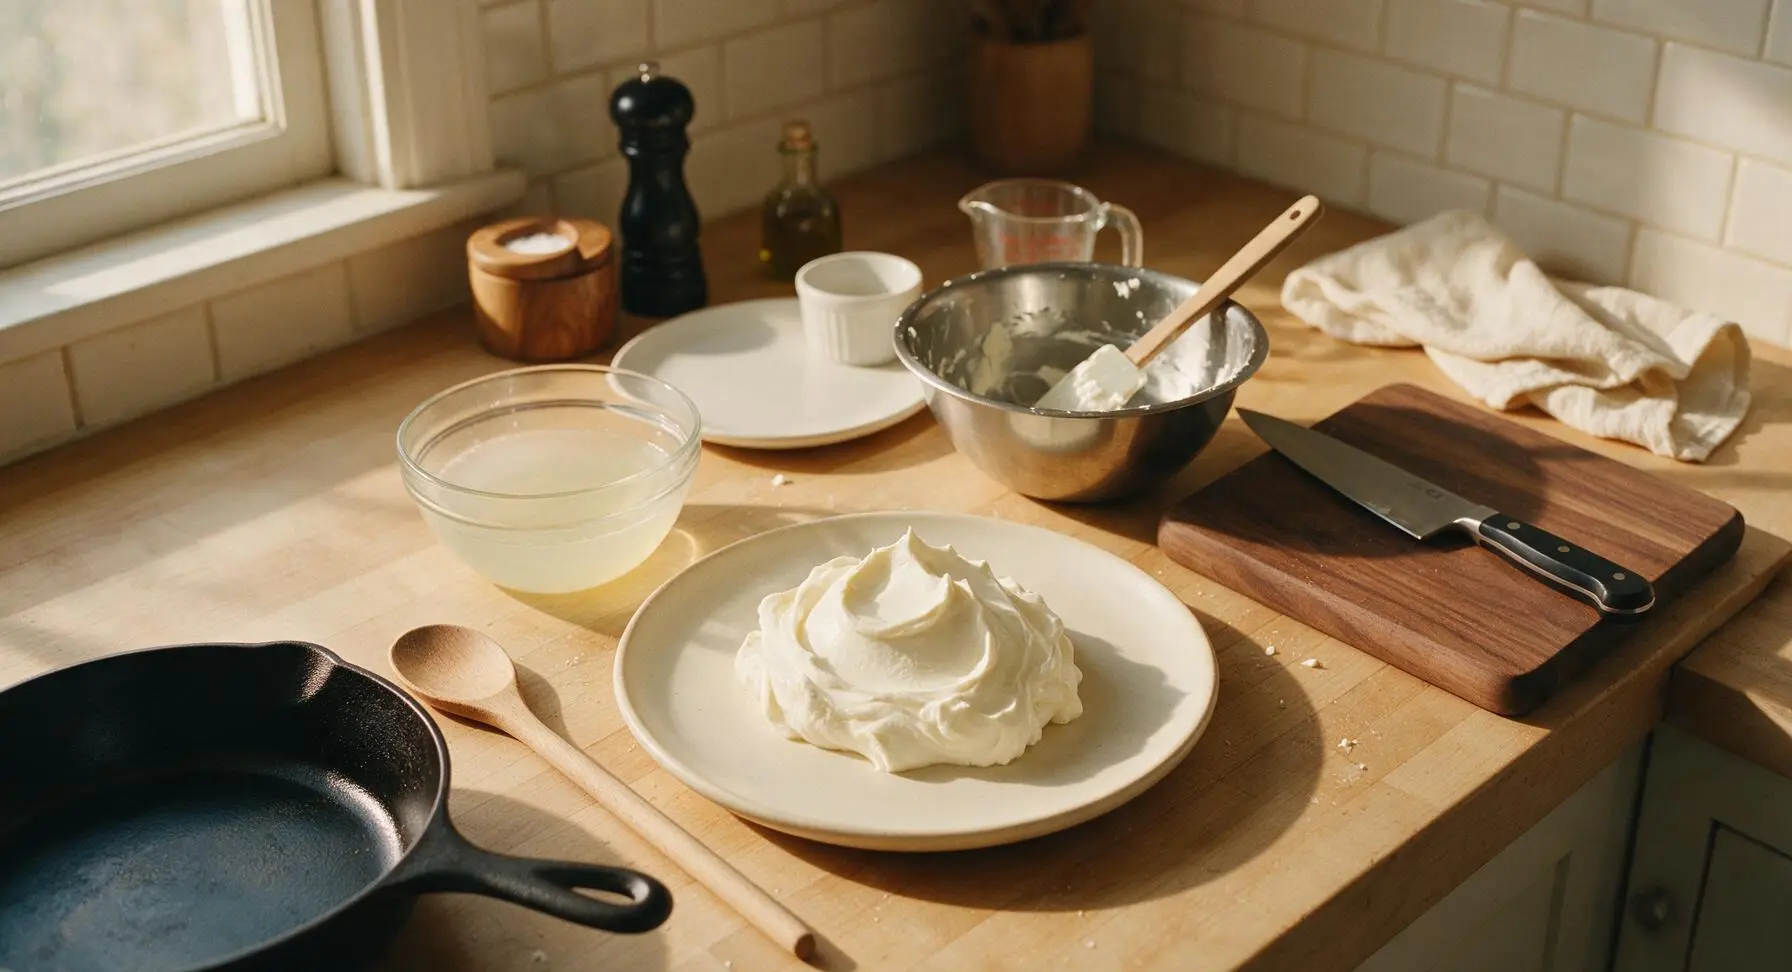
Scrape the finished smooth cream cheese into an airtight storage container, or mound it directly onto the serving plate for immediate use. Refrigerate for at least 2 hours to chill and firm up slightly, as the cream cheese will be very soft right after blending. Stored in an airtight container, the light cream cheese will keep refrigerated for up to 1 week.
Tips
2.For a brighter, tangier flavor matching classic full-fat cream cheese, extend the initial 12-hour room temperature culturing time by 2-3 hours: longer culturing allows lactic acid bacteria to develop more complex tang, without adding any extra fat or calories.
3.Reserve the pale yellow whey drained during straining: it is high in protein and natural probiotics, and can be used to replace water or milk in bread dough, smoothies, or overnight oats, or as a tenderizing brine for chicken or pork, reducing food waste.






OMG this is such a game changer! I’ve been buying the expensive store-bought light cream cheese for my kids’ morning bagels for ages, and this tastes identical for half the cost. I was nervous about the long wait time, but literally 25 minutes of actual work? So worth it. My 7 year old asked if we could make a double batch for his soccer team potluck this weekend. SO good!
Pretty solid recipe! I’ve been trying to cut back on saturated fat for my cholesterol, and this hits the cream cheese craving without all the guilt. Only knock is I think I strained mine a little too long the first go around, it got almost crumbly instead of spreadable. Still tasted great on my everything bagel though, I’ll just set a timer next time!
Game changer for my meal prep! I portion this out into little containers with some everything bagel seasoning on top, grab one on my way out the door with a mini bagel, and I have a quick high protein breakfast all week. So much less added garbage than the store bought light spreads too.
I used this light cream cheese as the base for my famous low-fat cheesecake bites for my office meal prep swap, and nobody could tell it wasn’t full fat! So creamy, no weird tang like some of the other reduced fat cream cheese recipes I’ve tried. 10/10 will be making this every other week from now on.
Wait this is so easy? I’m a total beginner in the kitchen and I was convinced homemade cream cheese was way too fancy to pull off in my tiny dorm fridge. I have literally zero fancy equipment, just a regular colander and cheesecloth I grabbed from the grocery store down the street. Can’t wait to put this on my morning toast tomorrow!
I brought this to my family dinner last Sunday to go with the bagel board my sister set up, and everyone was raving! Even my brother who swears ‘low fat food always tastes like cardboard’ went back for thirds. The long inactive time is actually perfect because I just let it strain in the fridge overnight while I slept, no hassle at all.
SO good! I’ve been struggling to find a lower fat cream cheese that doesn’t have a weird gummy texture from all the additives, and this is perfect. I stirred in a little honey and cinnamon and it’s chef’s kiss on apple slices for a post-run snack. Will absolutely be a staple in my fridge from now on.
Really good basic recipe! I added a little jalapeño and lime zest to mine to make a spicy version for taco night, and it was perfect dolloped on top of my chicken tacos. Only reason it’s 4 stars instead of 5 is I wish the recipe noted how much salt to add to taste a little more clearly, I ended up under-salting the first batch. Easy fix next time though!
Just pulled my first batch out of the strainer and wow, way easier than I thought it would be! My daughter is lactose sensitive so I used lactose-free whole milk to make this, and it turned out perfectly creamy. Can’t wait to surprise her with her favorite strawberry cream cheese toast after school today, she’s gonna lose her mind.