
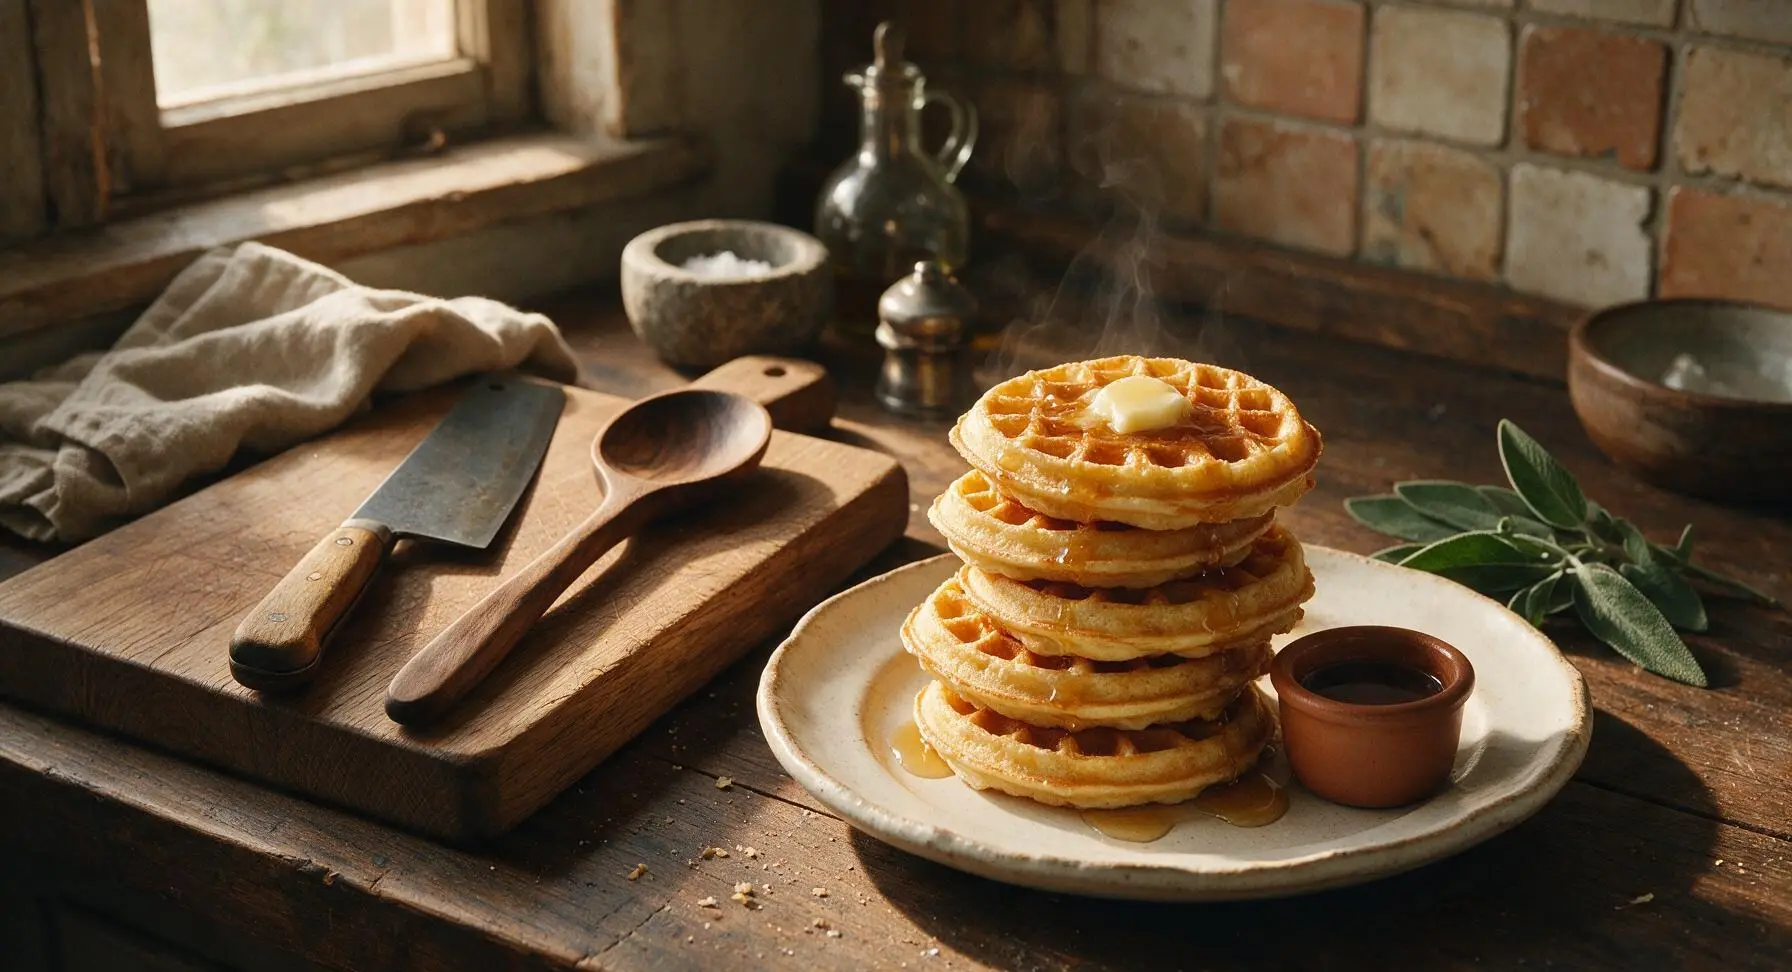
little waffle maker

title 1
little waffle maker
⏱️ cook time 15 minutes
🍽️ servings 4
⚡ Difficulty easy

intro

Golden, crisp-edged mini waffles with fluffy tender centers, made fast in a countertop little waffle maker. Topped with butter and maple syrup for a cozy, satisfying quick meal.

Ingredients
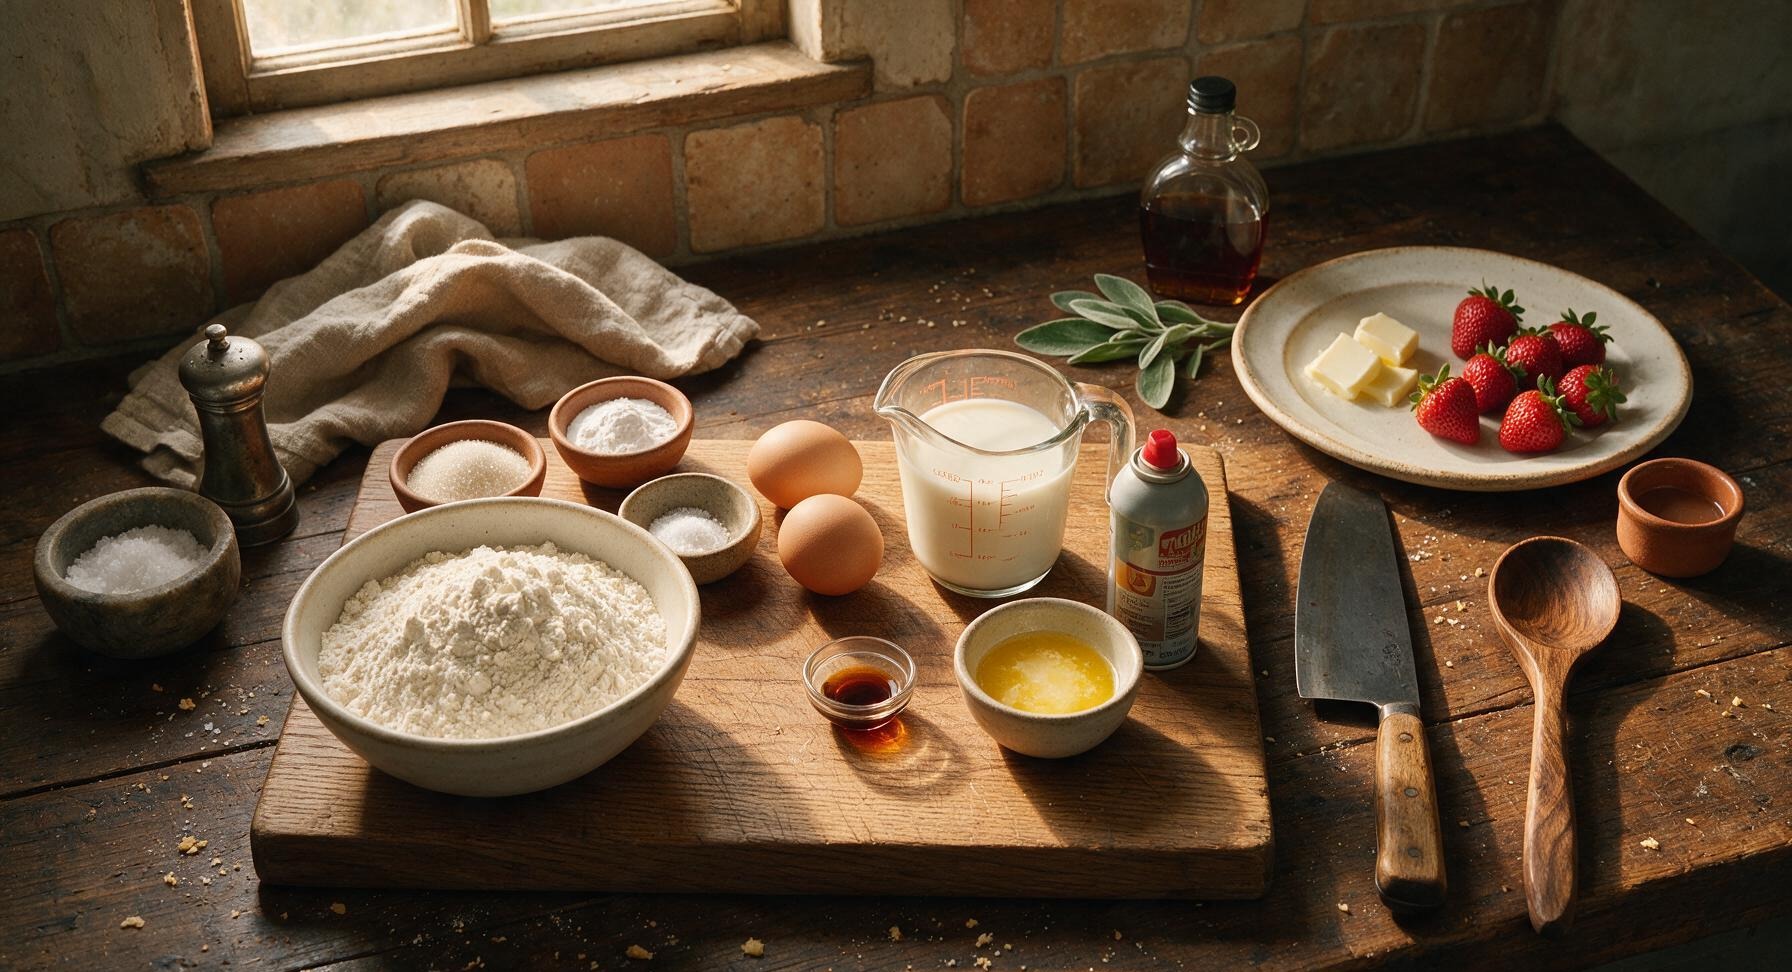
All-purpose flour 2 cups (240g)
Granulated sugar 2 tbsp
Baking powder 1 tsp
Baking soda 1/2 tsp
Fine sea salt 1/2 tsp
Large eggs 2
Buttermilk 1 3/4 cups (420ml)
Unsalted butter, melted and cooled 1/3 cup (75g)
Vanilla extract 1 tsp
Non-stick cooking spray 1 short burst
Salted butter (for topping) 4 tsp (4 small pats)
Pure maple syrup 1/2 cup
Fresh strawberries 8 whole

Steps

1

Preheat Waffle Maker

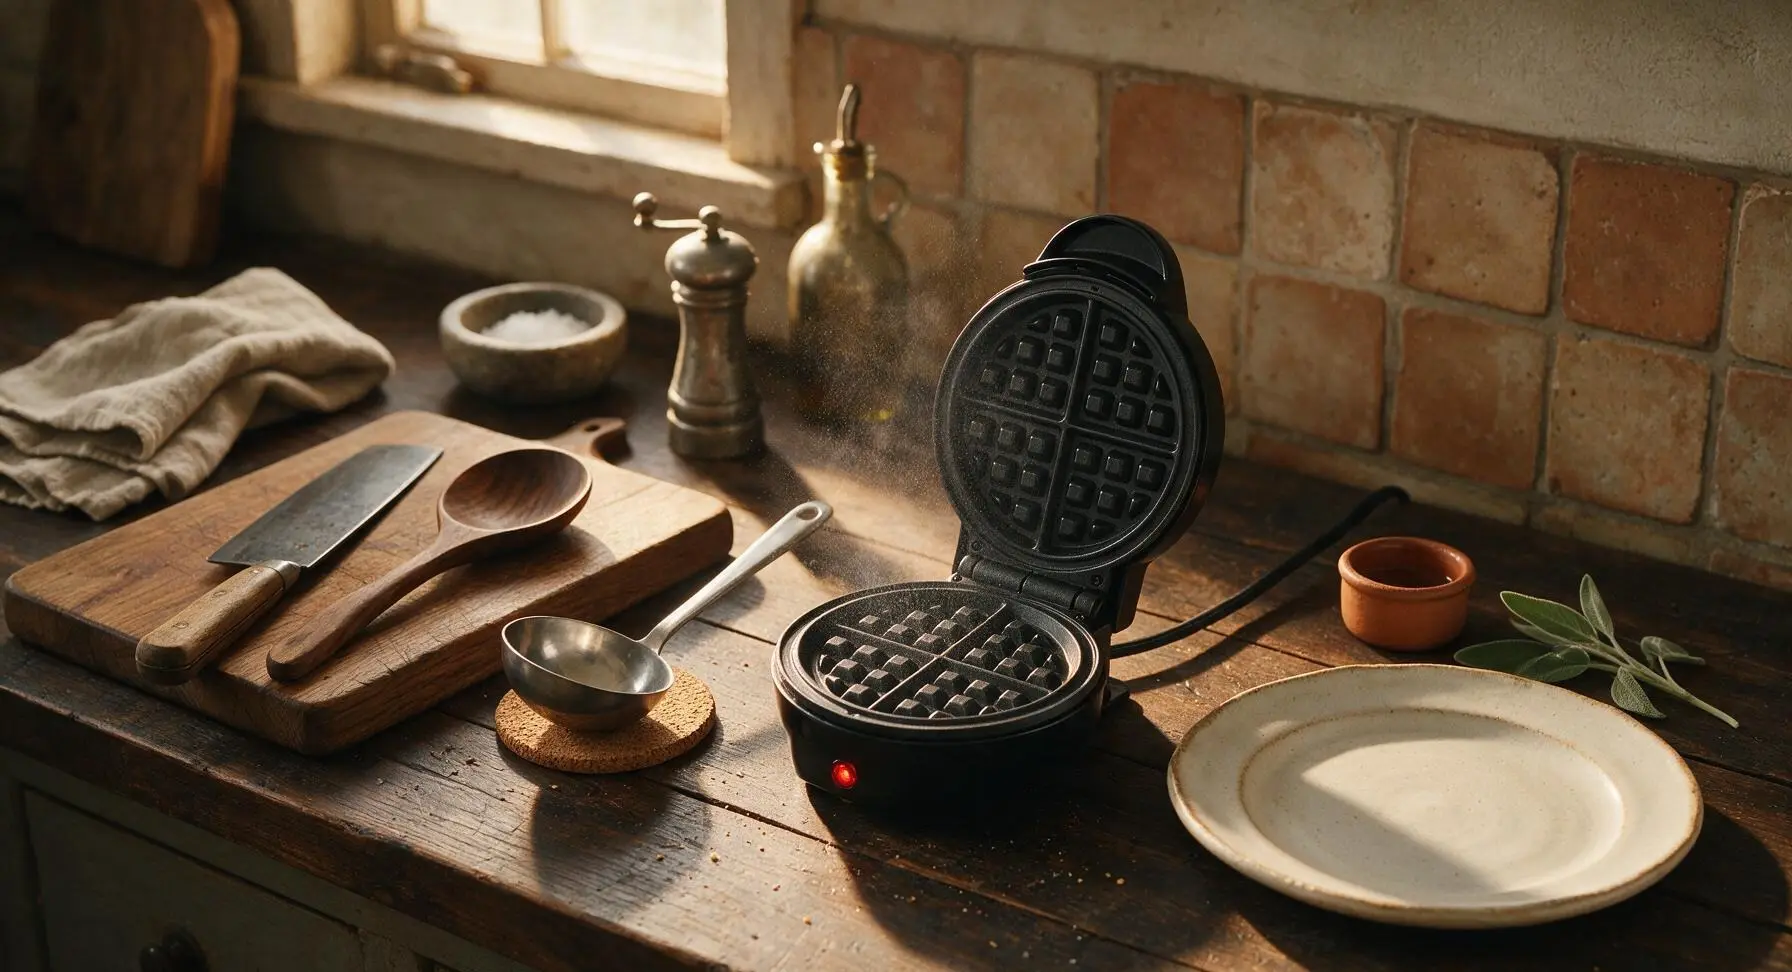
Plug in the matte black 4-inch little waffle maker to preheat for 3-4 minutes, until its built-in indicator light confirms it has reached 375°F (190°C). Lightly coat the top and bottom non-stick plates with non-stick cooking spray, holding the can 6 inches away to avoid over-spray. Wipe any stray spray droplets off the counter with the striped cotton kitchen towel if needed.
Step 1
step1:Preheat Waffle Maker
2

Mix Dry Ingredients

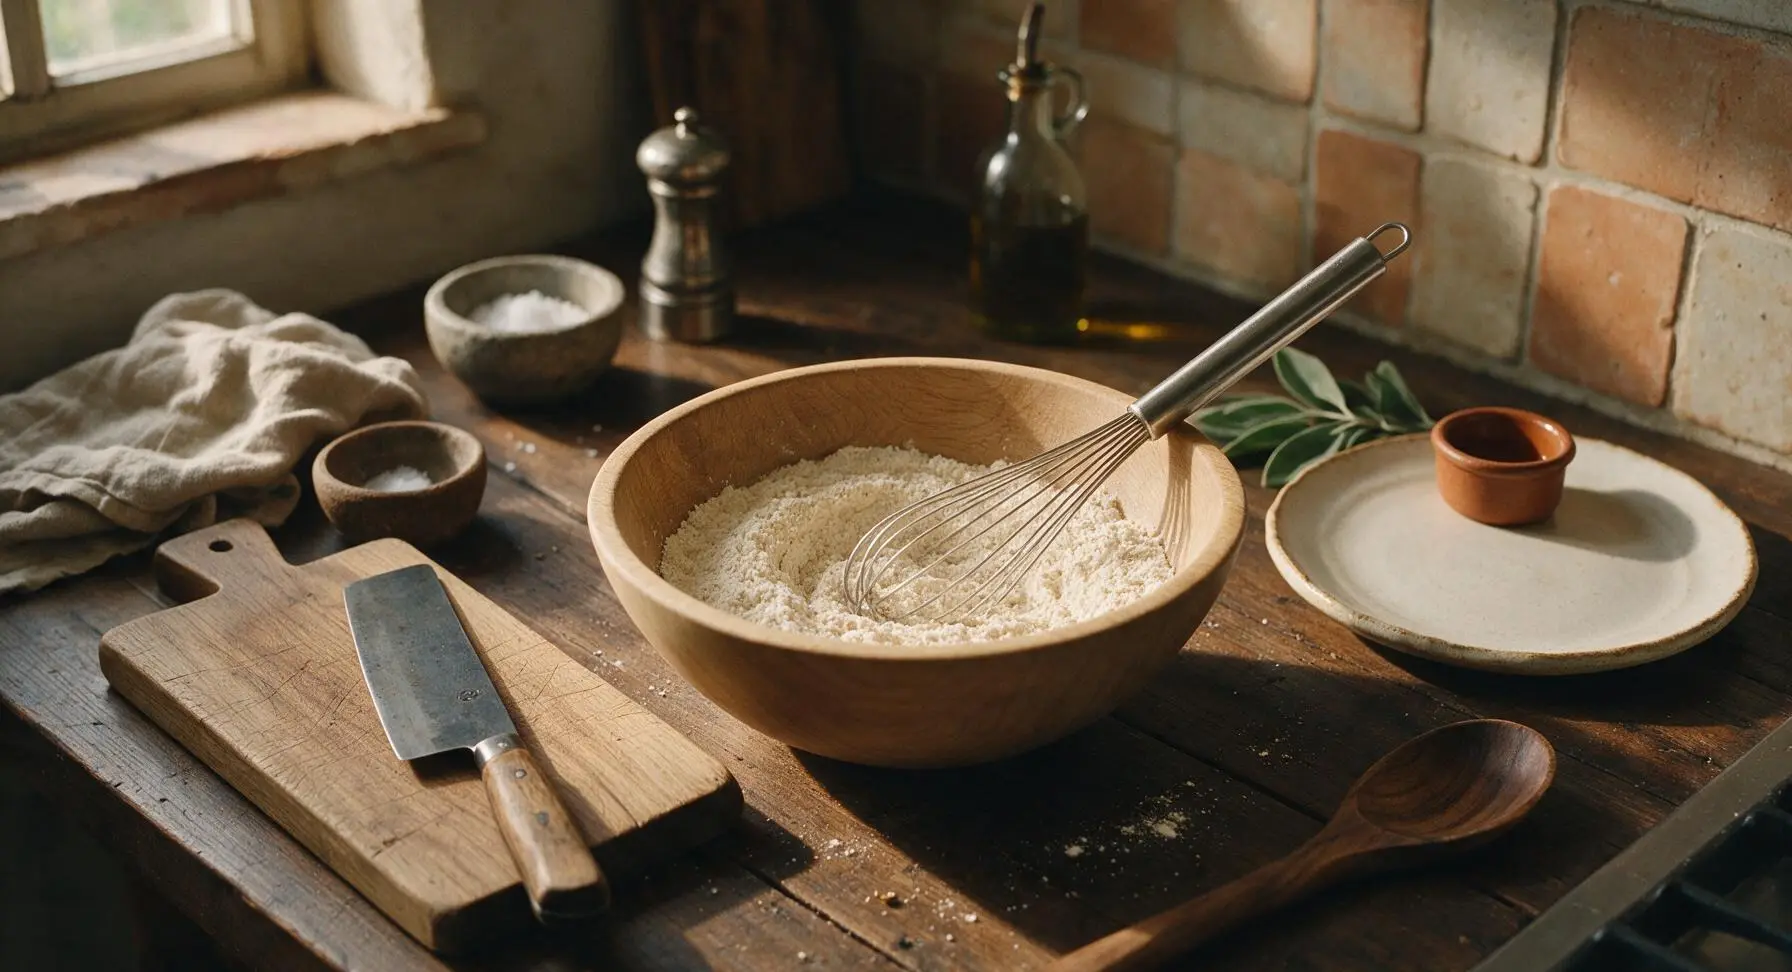
Add the 2 cups all-purpose flour, 2 tbsp granulated sugar, 1 tsp baking powder, 1/2 tsp baking soda, and 1/2 tsp fine sea salt to the light oak mixing bowl. Use the matte stainless steel wire whisk to stir the dry ingredients together for 30 seconds, until fully combined with no visible clumps of leavening.
Step 2
step2:Mix Dry Ingredients
3

Add Wet Ingredients

Create a 2-inch wide well in the center of the combined dry ingredients in the oak bowl. Crack the 2 large eggs into the well, then pour in the 1 3/4 cups buttermilk, 1/3 cup cooled melted unsalted butter, and 1 tsp vanilla extract. Do not stir the ingredients at this stage.
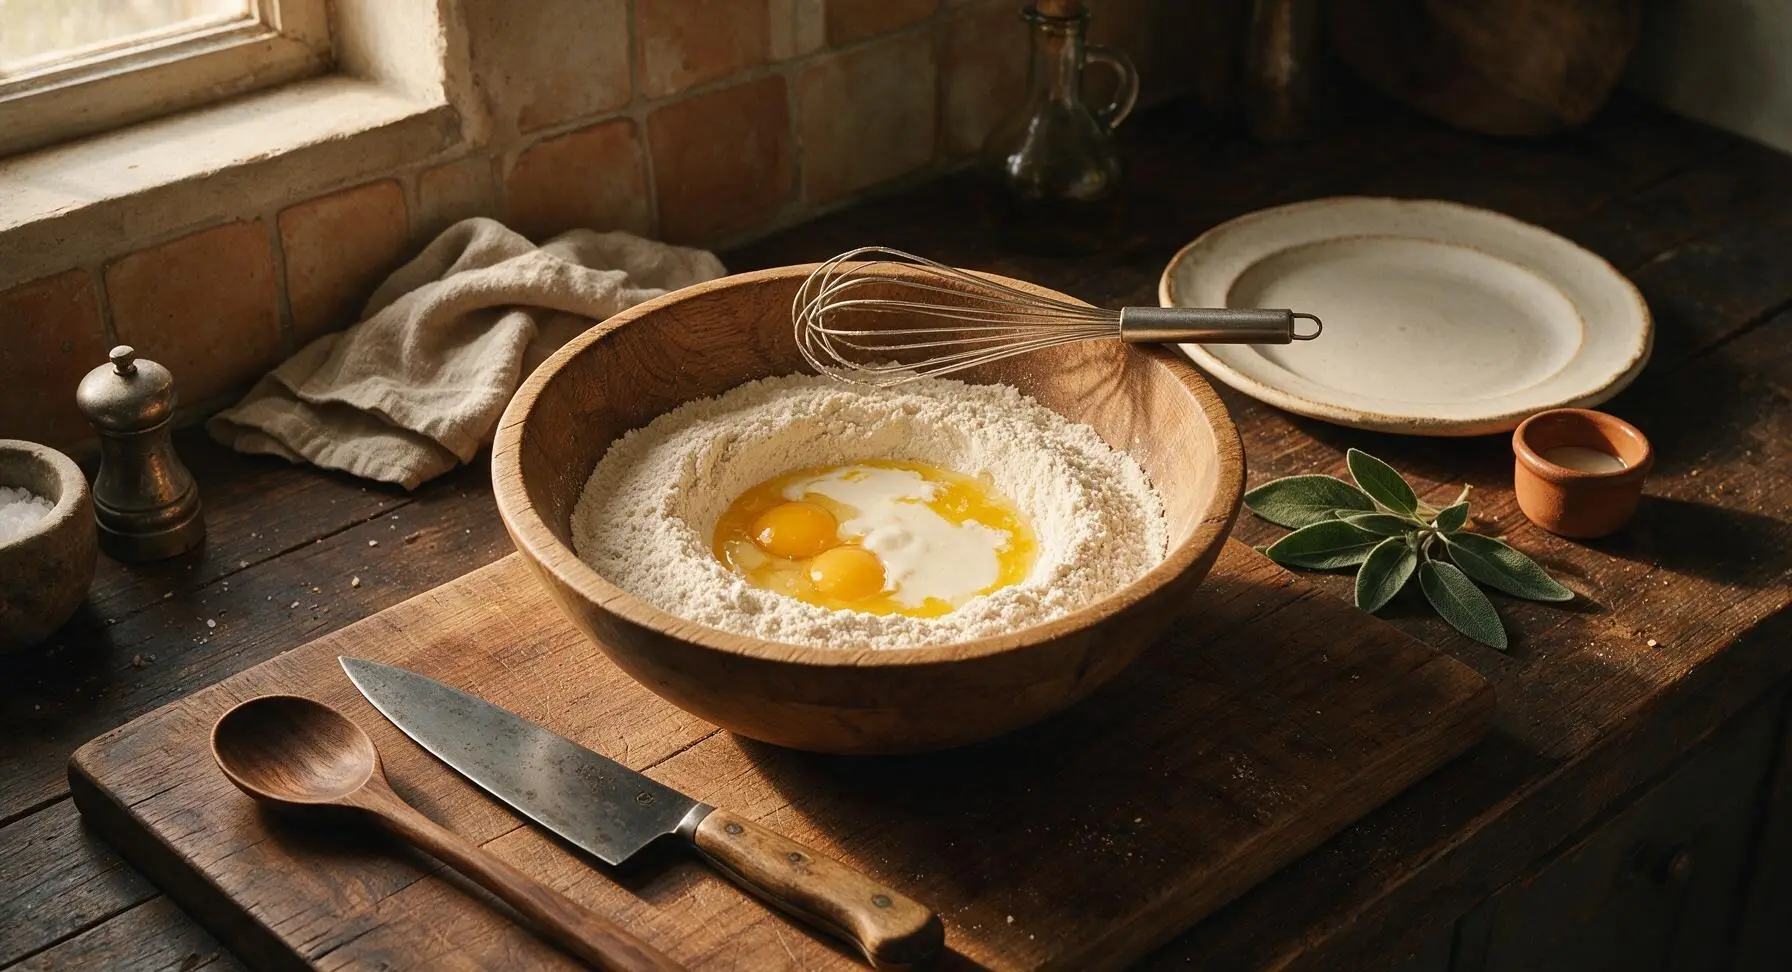
Step 3
step3:Add Wet Ingredients
4

Mix Batter Gently

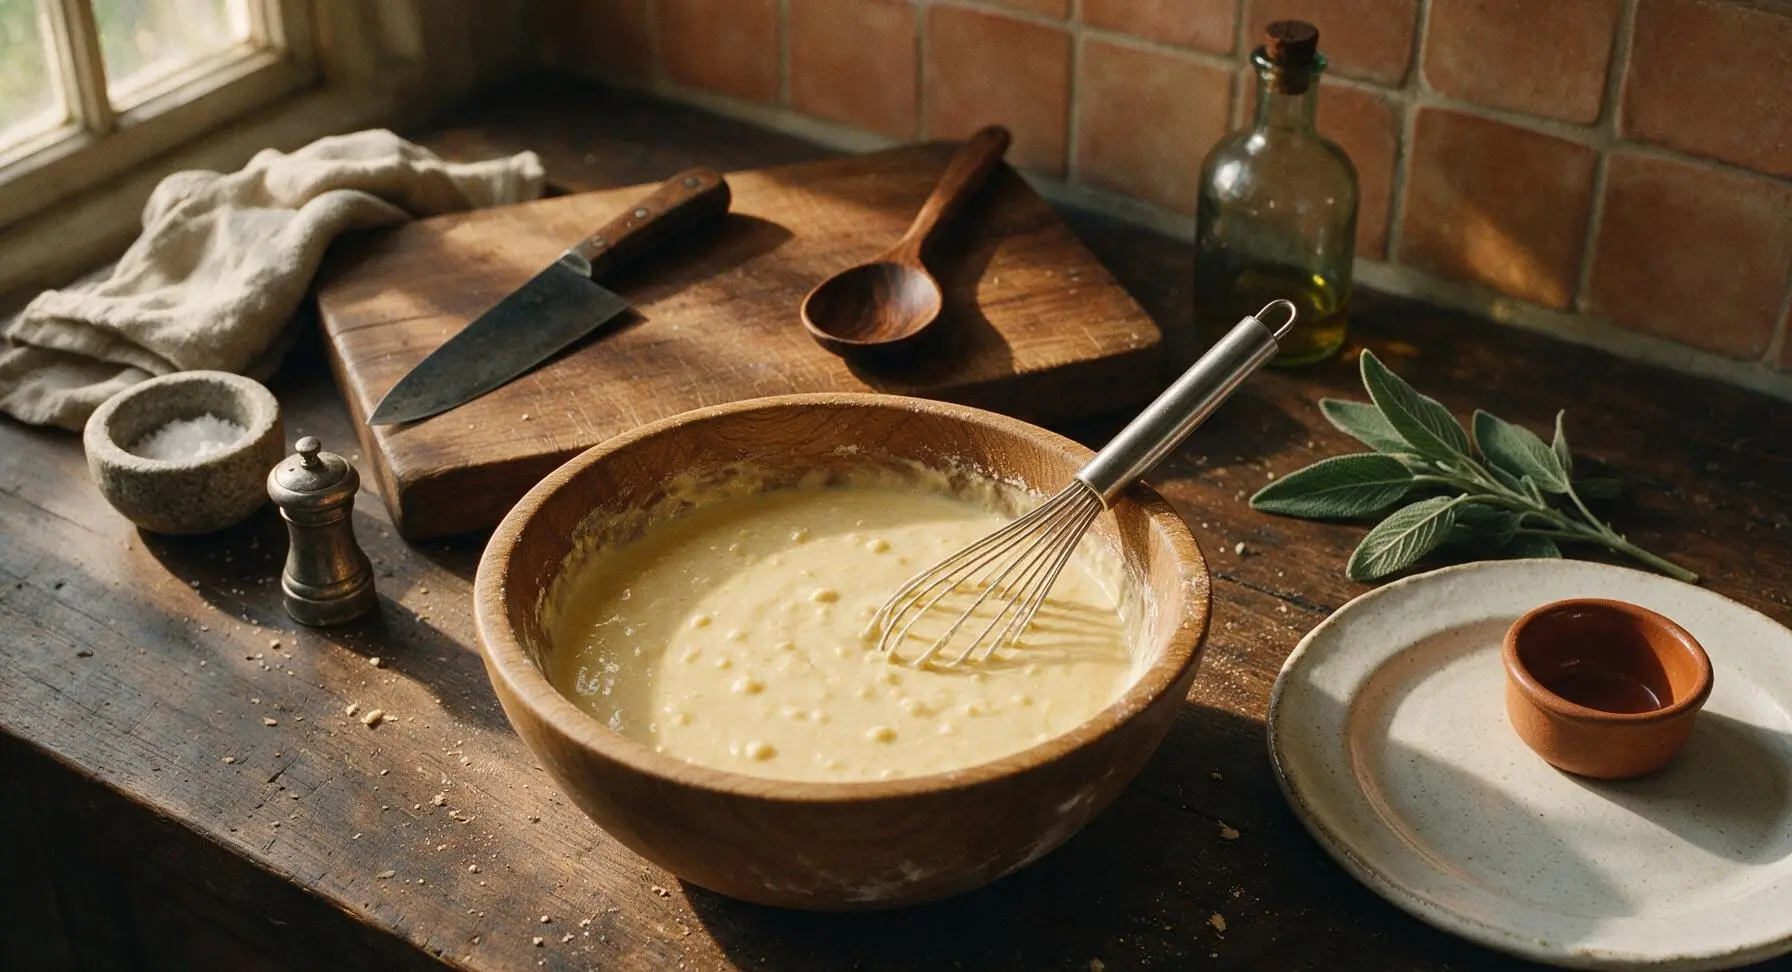
Use the stainless steel whisk to gently stir the wet and dry ingredients together, mixing only just until no large dry flour streaks remain. Stop stirring as soon as the batter comes together; small, pea-sized lumps are normal and desirable, as overmixing develops gluten and will make waffles tough. The finished batter will be thick but slow-pouring.
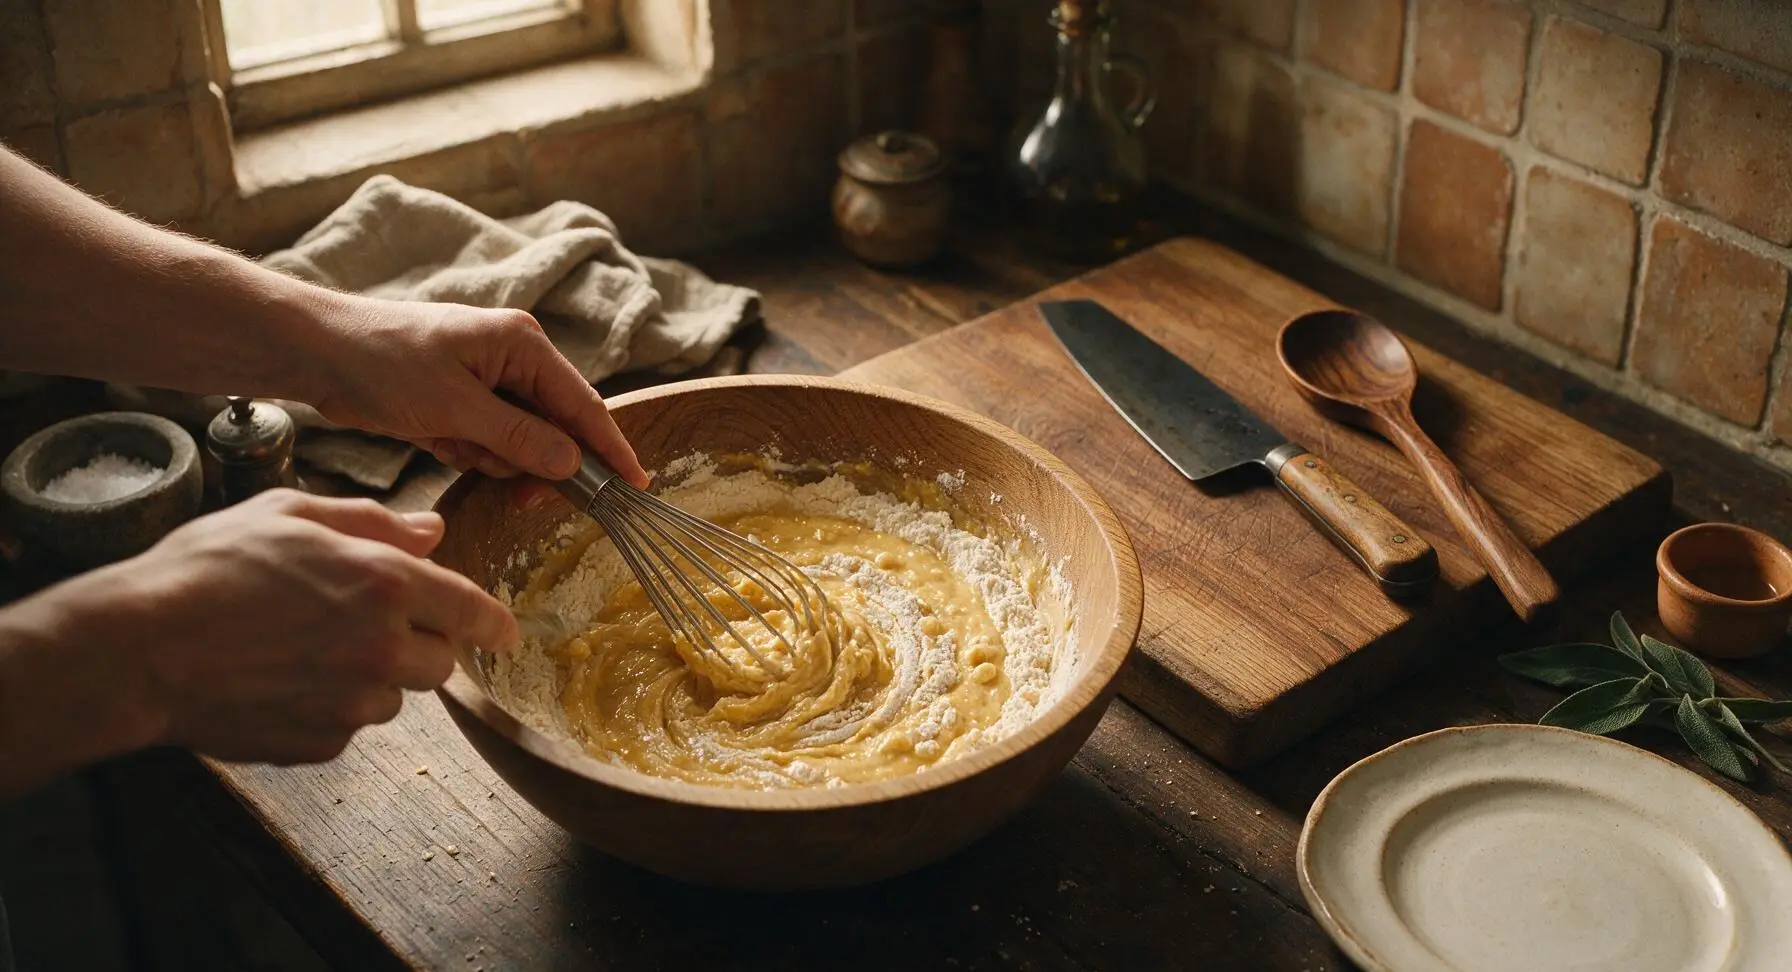
Step 4
step4:Mix Batter Gently
Step 4
step4:Mix Batter Gently
5

Ladle Batter Onto Iron

Use the 30ml stainless steel ladle to scoop exactly one level ladleful (approximately 2 tbsp) of batter, pouring it directly into the center of the preheated waffle maker’s lower plate. Do not spread the batter manually—it will spread evenly across the plate when the lid is closed.
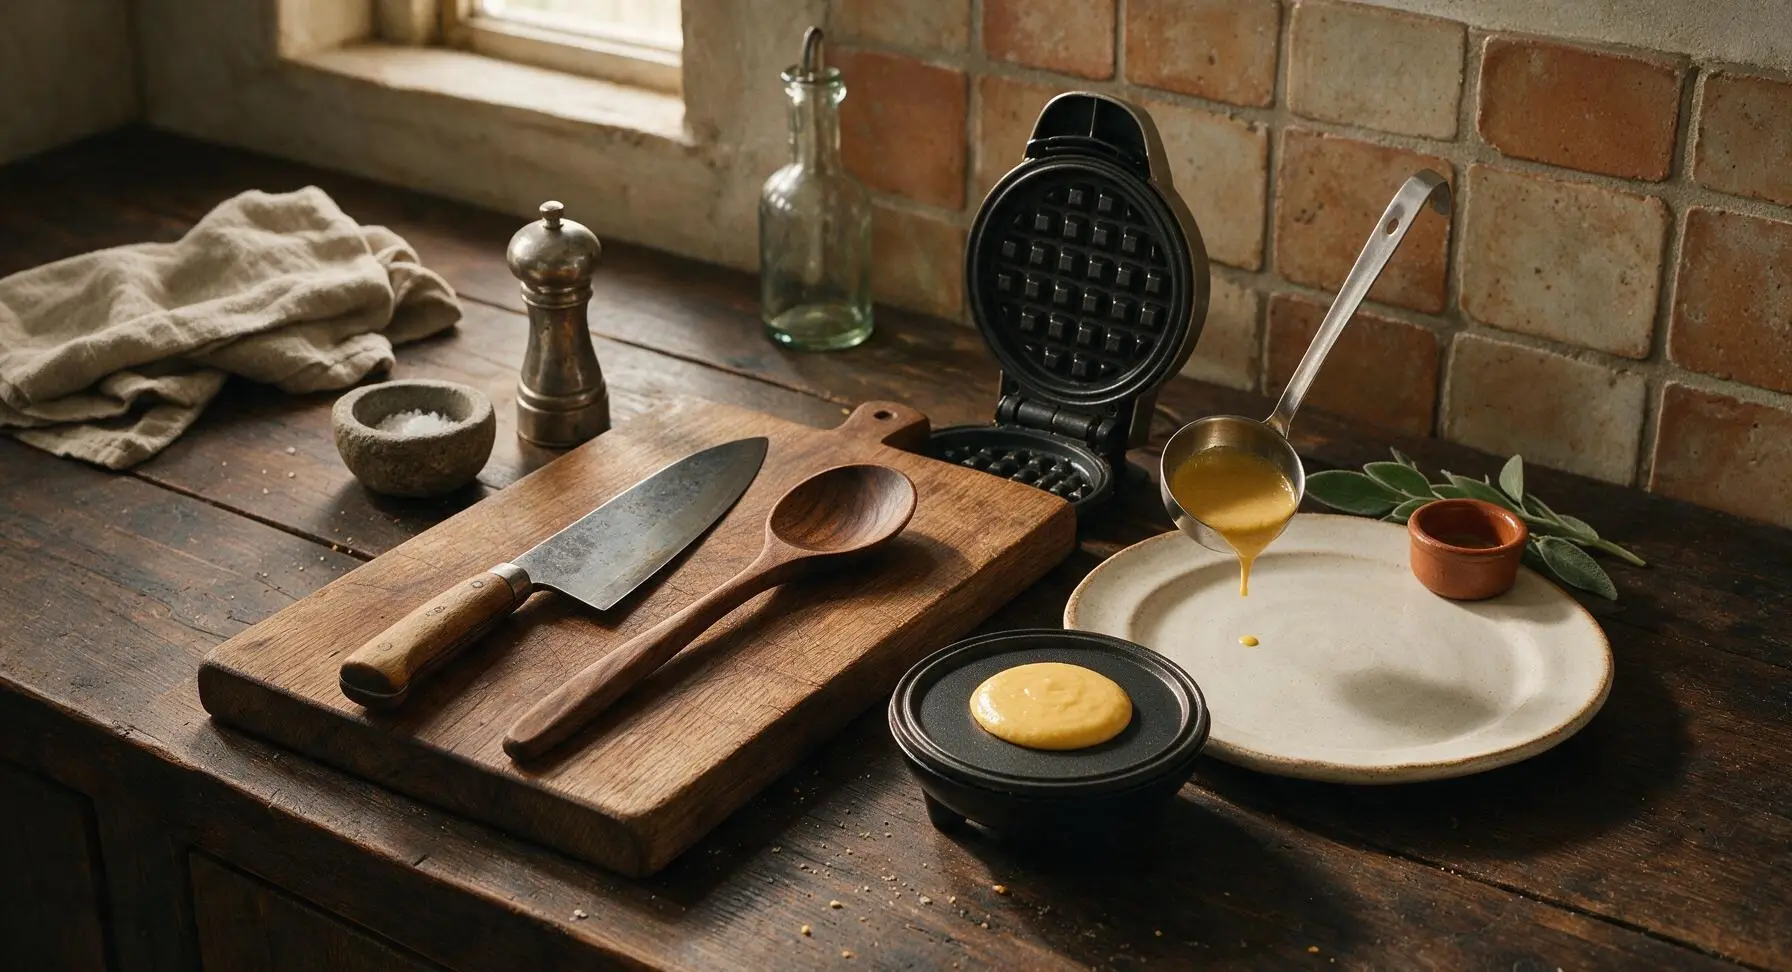
Step 5
step5:Ladle Batter Onto Iron
6

Cook Until Golden

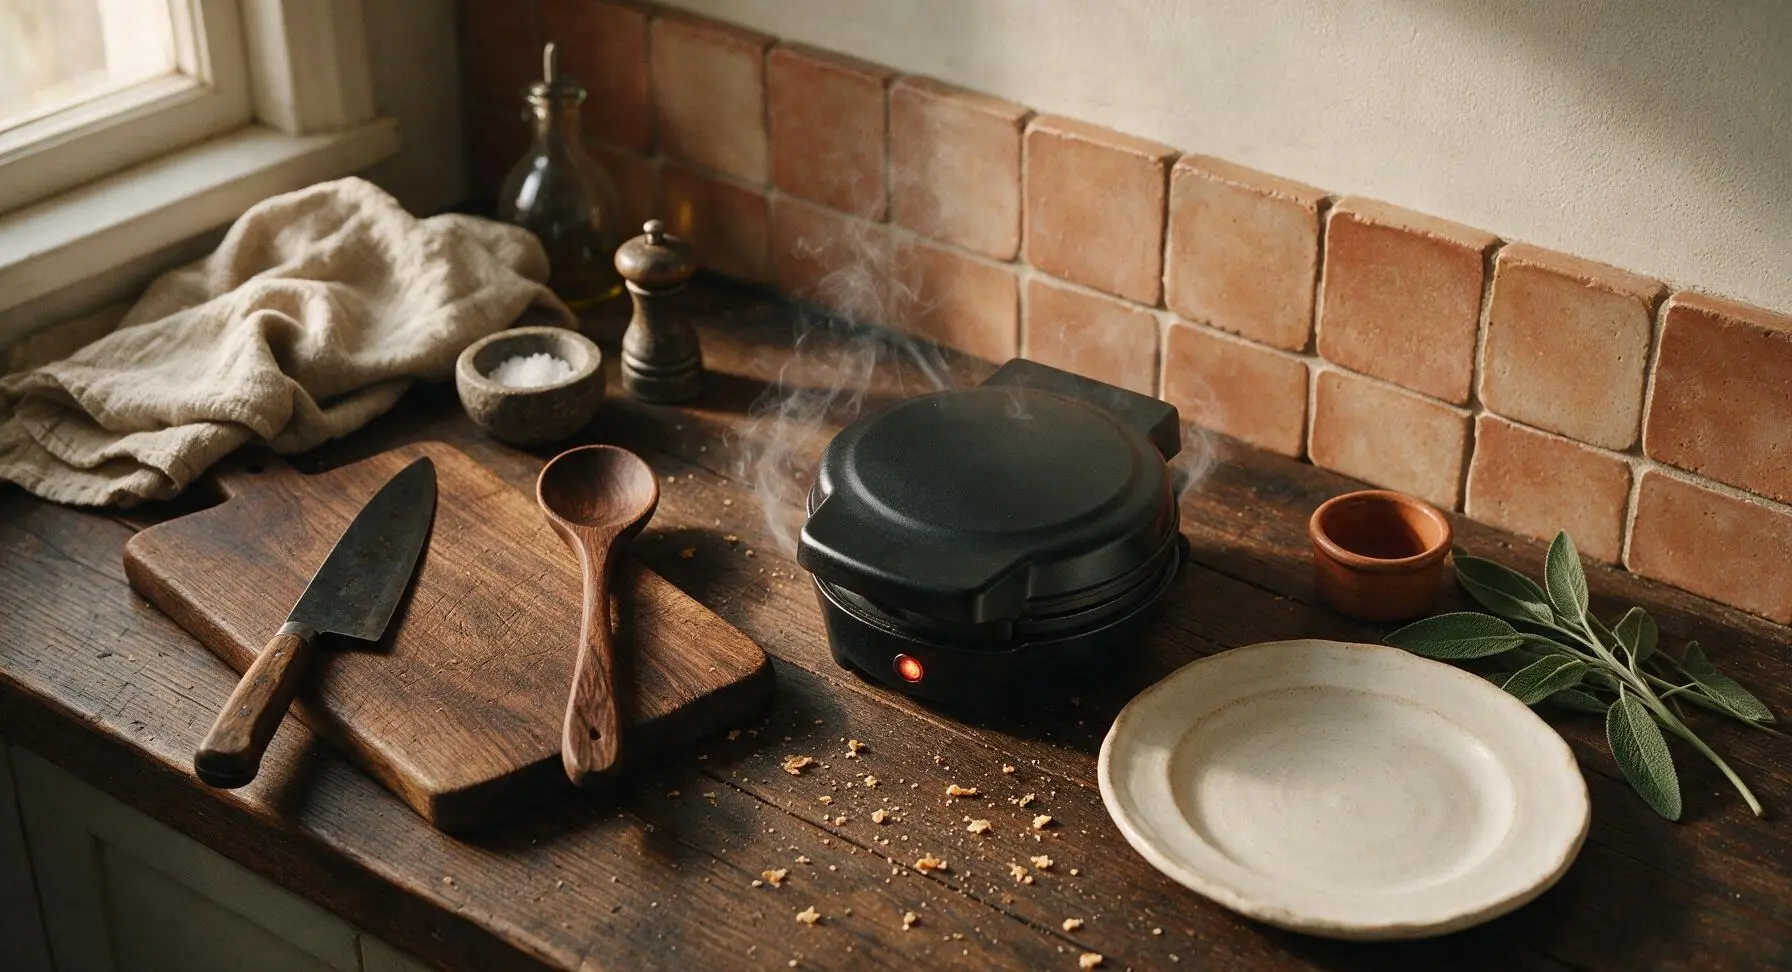
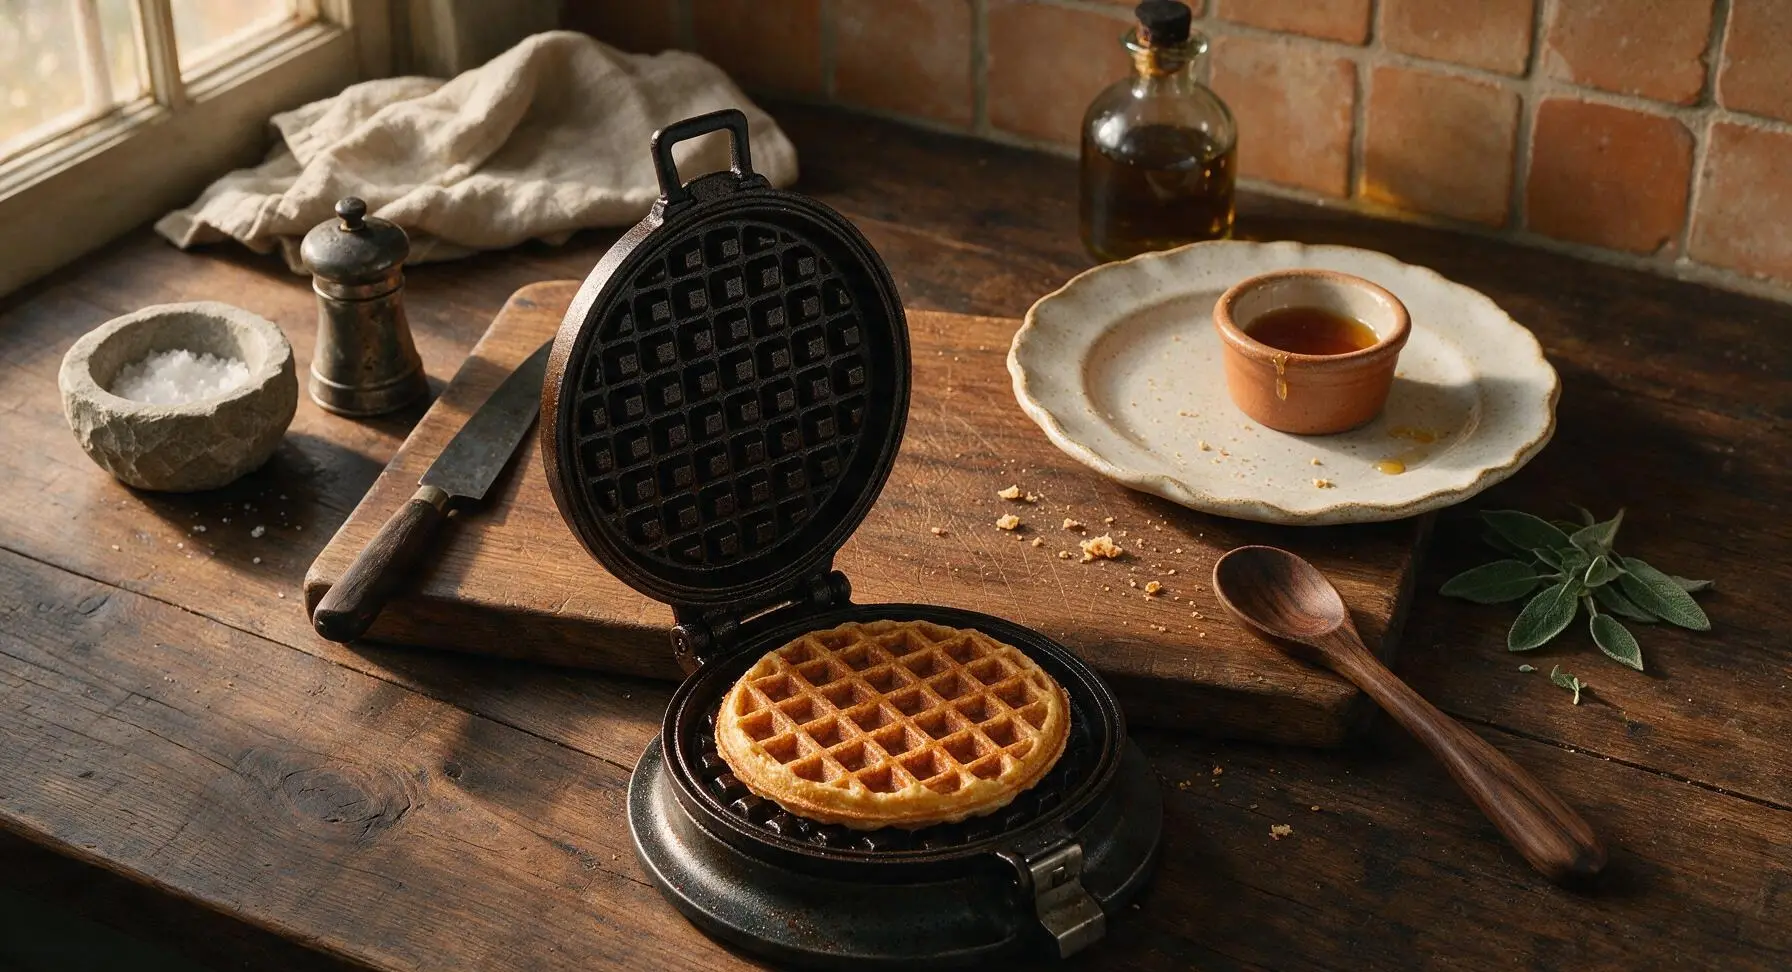
Close the waffle maker lid and latch it gently. Cook for 2 to 2.5 minutes, until no more visible steam escapes from the gaps around the waffle maker lid, and the waffle is deep golden brown with crisp, well-defined grid lines. Do not open the lid before the 2-minute mark, as early peeking will cause the waffle to split or stick. If the waffle resists when you lift the lid, close it and cook for 30 additional seconds.
Step 6
step6:Cook Until Golden
Step 6
step6:Cook Until Golden
7

Transfer Waffles to Plate

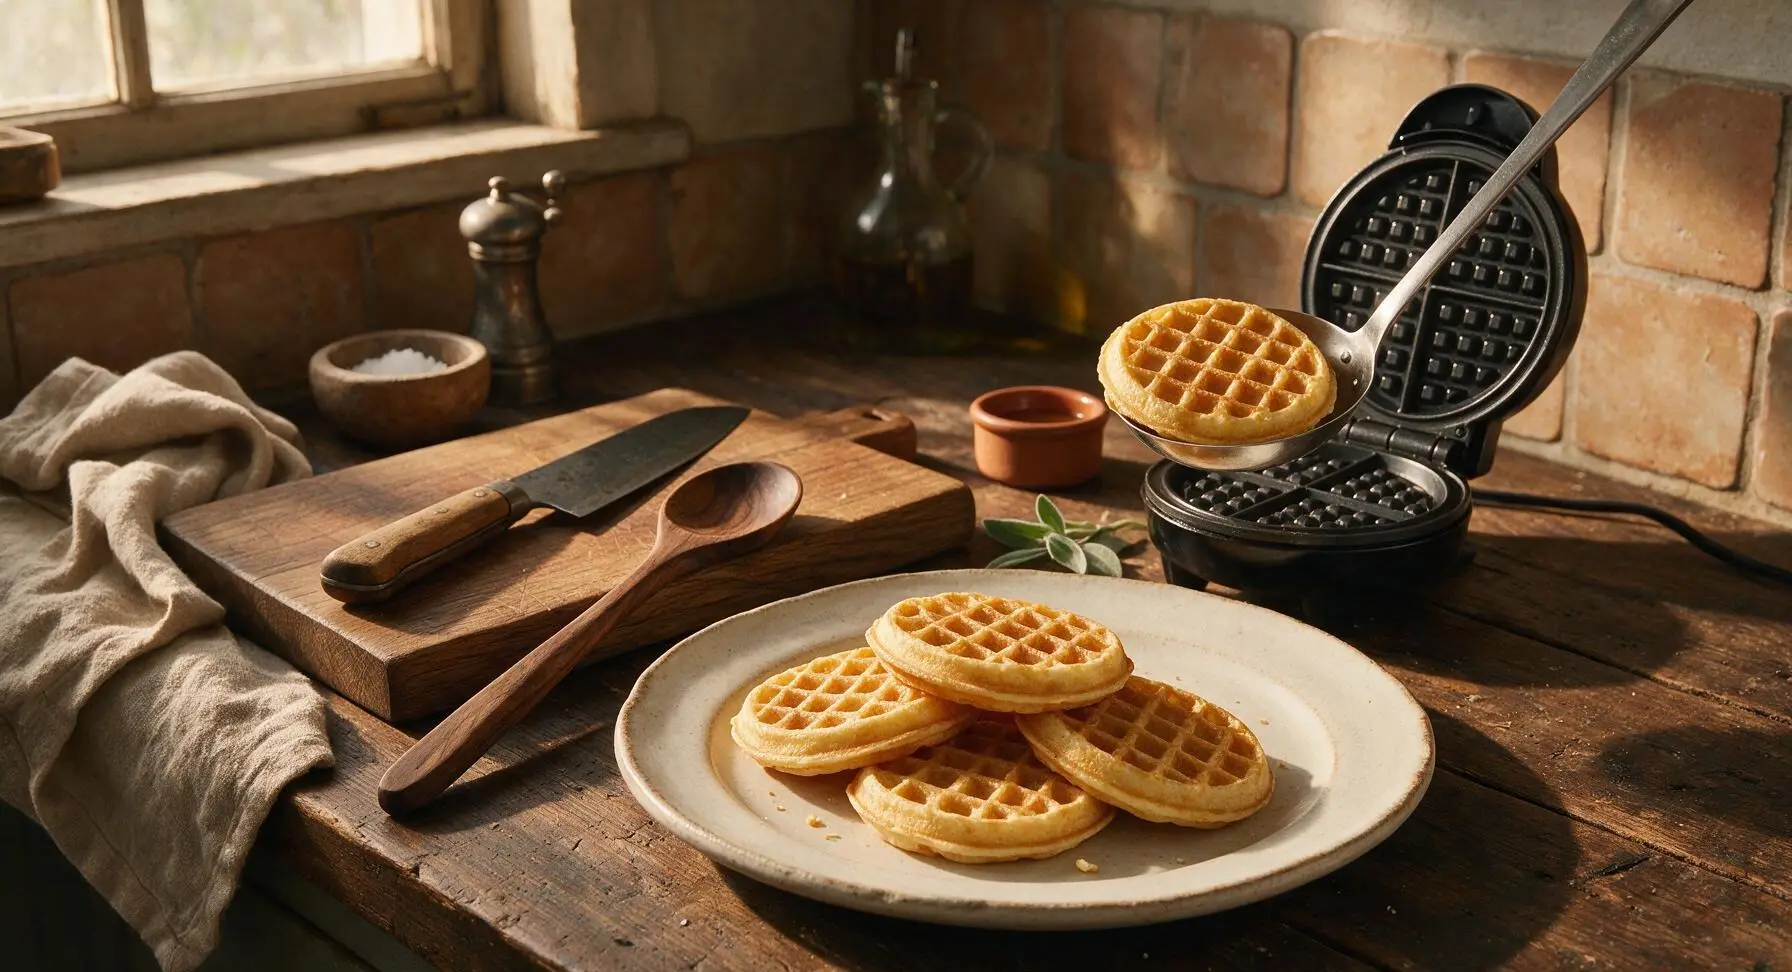
Use the tip of the stainless steel ladle to gently lift the cooked waffle from the iron, transferring it to the matte cream ceramic dinner plate positioned front-center. Repeat the ladling and cooking process with the remaining batter, arranging cooked waffles in a loose, shallow stack on the plate to avoid trapping steam. The full batch will yield 8 mini waffles total.
Step 7
step7:Transfer Waffles to Plate
8

Top and Serve Warm

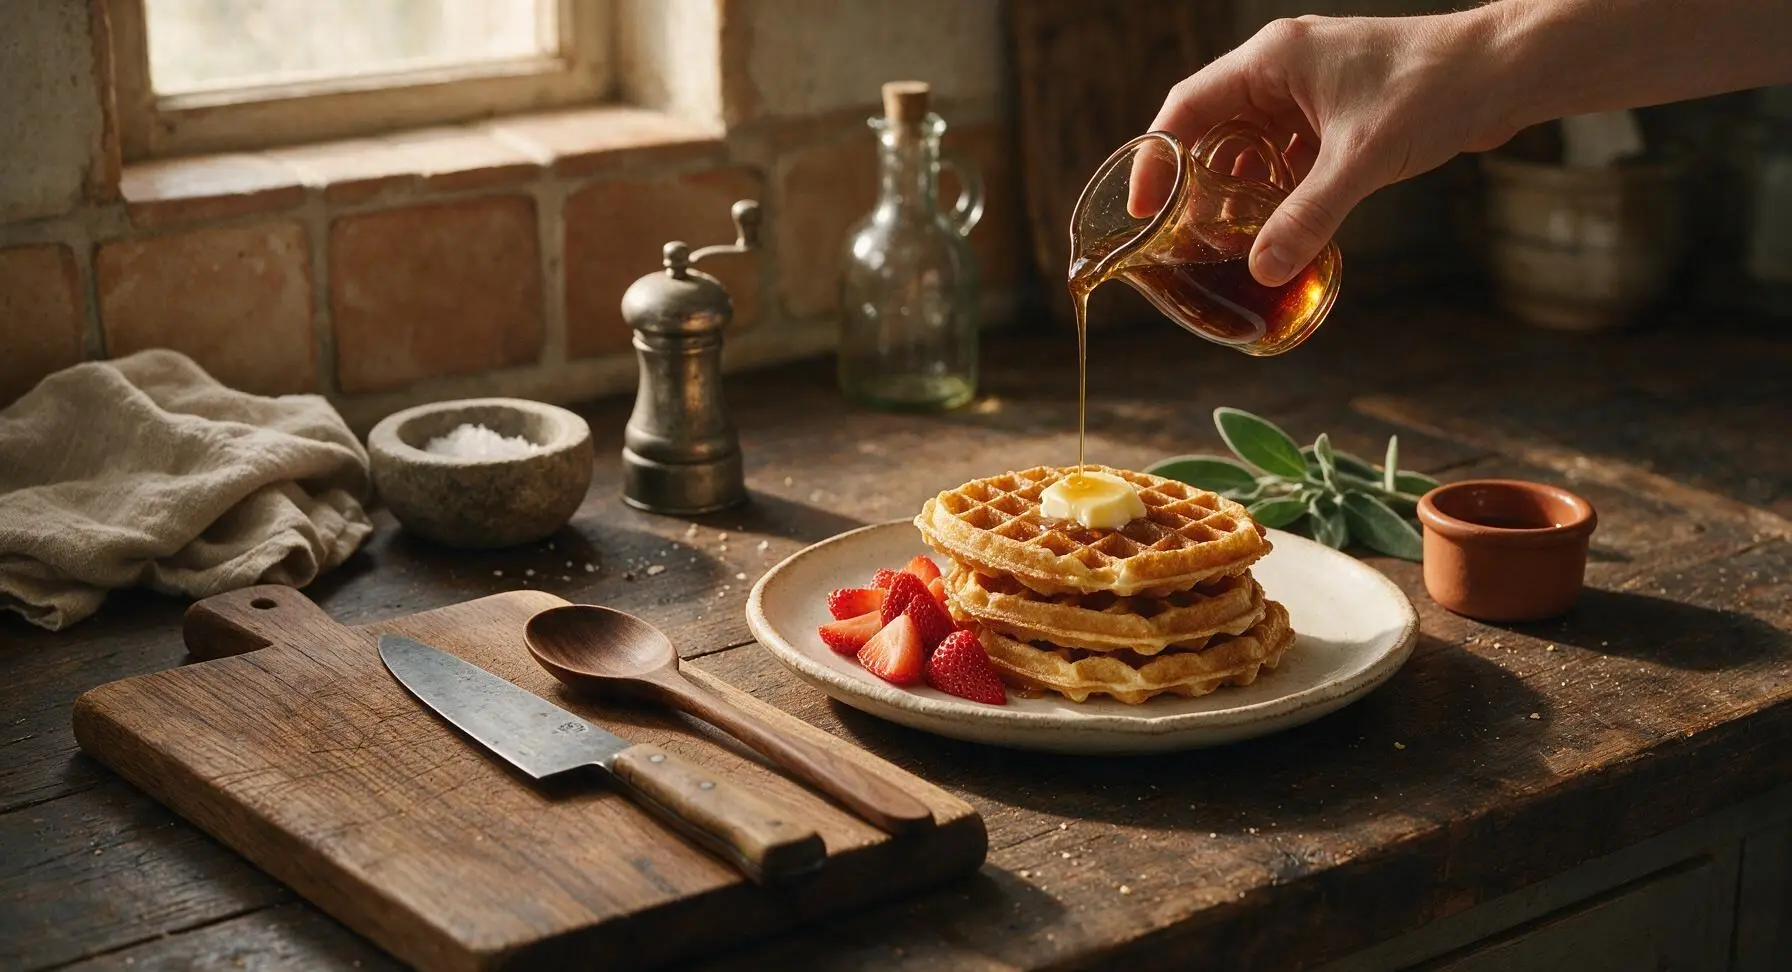
Arrange 2 waffles per serving on the cream ceramic plate. Top each serving with a pat of salted butter, letting it melt into the warm waffle grids, drizzle with warm maple syrup, and garnish with sliced fresh strawberries from the wicker basket. Serve immediately while waffles are hot and crisp, before syrup soaks through and softens the edges.
Step 8
step8:Top and Serve Warm

Tips

1.Cool melted butter for 2 full minutes before adding it to the batter: hot butter will partially cook the eggs on contact, creating lumpy batter and dense, tough waffles instead of light, fluffy ones.
2.Never overfill your little waffle maker: 2 tablespoons (one level 30ml ladle) of batter is the perfect amount. Too much batter will ooze out the sides of the iron, burn onto the appliance casing, and create hard-to-clean messes.
3.Keep waffles crisp between batches by setting them on a wire rack placed over a baking sheet in a 200°F (95°C) oven, instead of piling them directly on a plate. Tight stacking traps steam that softens crisp waffle edges in under 60 seconds.


✨ You May Also Like

Breakfast
🍜 United States

Crisp-edged, fluffy lard griddle cakes are a nostalgic homestyle staple, with rich savoriness from rendered lard, perfect topped with maple syrup or savory gravy.

⏱️ 25 minuteBreakfast ★ 4.8
Breakfast
🍜 United States

Flaky, buttery homemade buttermilk biscuits smothered in creamy, peppery pork sausage gravy: a beloved, hearty Southern American comfort food classic.

⏱️ 35 minuteBreakfast ★ 4.8
Breakfast
🍜 United States

Golden, custardy brioche stuffed with sweet cream cheese and fresh berries, pan-fried to crisp perfection. An indulgent, cozy breakfast perfect for slow weekend mornings.

⏱️ 30 minuteBreakfast ★ 4.7
Breakfast
🍜 United States

Flaky, buttery Southern-style biscuits stuffed with savory salty country ham, a portable, satisfying classic perfect for casual on-the-go meals.

⏱️ 25 minuteBreakfast ★ 4.8
Breakfast
🍜 United States

Iconic puffy baked pancake popularized in Seattle, with crisp golden edges and soft custardy center, served warm with classic sweet toppings.

⏱️ 35 minuteBreakfast ★ 4.6
Breakfast
🍜 United States

Fluffy, golden pancakes studded with juicy peak-summer mixed berries, drizzled with maple syrup for a bright, comforting, crowd-pleasing family breakfast.

⏱️ 25 minuteBreakfast ★ 4.7

little waffle maker:Frequently Asked Questions

1.How do I make sure my mini buttermilk waffles come out crispy instead of soggy? ▾
Great first question! Wait for your little waffle maker to fully preheat (don’t skip the ready light!) before adding batter, and resist peeking for the first 45 seconds of cooking, as escaping steam softens edges. Don’t overmix your batter—small lumps are ideal, since overworked gluten leads to chewy, dense, less crisp results.
2.How much batter should I pour per mini waffle to avoid messy overflow? ▾
For most standard countertop little waffle makers, 2 to 3 tablespoons of batter per well is the sweet spot. Pour it right in the center, and don’t spread it—the lid will press batter evenly across the grid as it closes. If you get a little overflow, wait for it to crisp up for a quick, tasty chef’s snack.
3.Can I substitute regular milk for buttermilk if I don’t have any on hand? ▾
Absolutely! For a quick DIY buttermilk swap, add 1 tablespoon of white vinegar or fresh lemon juice to a 1-cup liquid measuring cup, then top with regular whole or 2% milk to the 1-cup line. Let it sit 5 minutes at room temperature until it curdles slightly, then use it exactly as you would store-bought buttermilk.
4.Why do my waffles keep sticking to the little waffle maker plates? ▾
Sticking usually happens for one of three easy-to-fix reasons: your waffle maker isn’t fully preheated, you skipped a light coating of high-smoke-point nonstick spray, or you’re trying to lift the waffle too early before it’s fully set. Give it 15-20 extra seconds if it tugs when you lift the lid.
5.How long do these mini waffles take to cook fully in a little waffle maker? ▾
Most mini waffle makers cook these perfectly in 2 to 3 minutes total. Wait for the built-in ready light to turn back on (most models light up when the set temperature is reached after cooking) then check for a deep golden, crisp edge. If you love extra-crisp waffles, add 30 extra seconds of cook time for that perfect crunch.
6.Can I make the waffle batter ahead of time for quick weekday mornings? ▾
Yes! You can mix the dry ingredients together in an airtight container and store it in the pantry for up to 3 months for a DIY waffle mix. If you mix full wet and dry batter, store it covered in the fridge for up to 24 hours—give it a gentle stir before pouring, and add 10 extra seconds of cook time for cold batter.
7.What’s the best way to reheat leftover mini waffles so they stay crispy? ▾
Skip the microwave—it turns waffles rubbery and soggy fast. For best results, reheat leftover waffles in a toaster or toaster oven on the medium setting for 1 to 2 minutes until heated through and crisp. If reheating a big batch, spread them on a baking sheet in a 350°F oven for 5 minutes, no flipping needed.
8.Can I freeze these mini waffles for quick meal prep? ▾
Absolutely! Let cooked waffles cool completely to room temperature first, then layer them between sheets of parchment paper in a freezer-safe zip-top bag for up to 3 months. You don’t even need to thaw them—pop them straight from the freezer into the toaster on the frozen setting for a quick, crispy breakfast in minutes.
9.Why does this recipe use both baking powder and baking soda? ▾
Great ingredient question! Baking powder gives the waffles their light, fluffy tender center lift as they cook, while baking soda reacts with the acidic buttermilk to boost browning and create that signature crisp, golden edge we love. Skipping either will lead to flat, dense waffles or pale, soft edges that don’t crisp well.
10.My waffles came out really dense and flat—what did I do wrong? ▾
Dense, flat waffles almost always trace back to one of two common missteps: either your leavening (baking powder or baking soda) was expired and lost its lifting power, or you overmixed the batter until completely smooth, which overdevelops gluten and pops the tiny air bubbles that create that light, fluffy center.
11.Can I make these waffles gluten-free for friends with dietary restrictions? ▾
Yes, you can swap the all-purpose flour for a 1:1 gluten-free all-purpose baking blend that contains xanthan gum for best results. Keep all other ingredient measurements exactly the same, and you may need to add 15-20 seconds of extra cook time to get the same crisp edge, since gluten-free flours often hold more moisture.
12.Do I have to add sugar to the batter, or can I make these savory? ▾
The small amount of granulated sugar in this recipe is mostly there to boost browning and crispness, not make the waffles overtly sweet, so you can absolutely skip it for savory versions! Add a pinch of garlic powder, dried herbs, or shredded cheddar to the batter to pair with fried chicken, eggs, or avocado.
13.Can I use this batter in a regular full-sized waffle maker instead of a mini one? ▾
Definitely! The batter works perfectly in full-sized waffle makers, you’ll just need to adjust the portion size to ½ to ¾ cup per waffle well, and add 1 to 2 minutes of extra cook time to make sure the center is fully set and edges are crisp. Just don’t overfill the wells, as the batter rises as it cooks.
14.What toppings pair best with these crispy mini buttermilk waffles? ▾
The classic pat of salted butter and pure maple syrup is always a hit, but you’ve got tons of great options! Try fresh berries and whipped cream, a drizzle of Nutella and sliced banana, crispy fried chicken and hot honey for a savory-sweet twist, or a light dusting of powdered sugar for a simple, kid-friendly treat.
15.What consistency should the waffle batter be before I pour it? ▾
Your batter should be thick but pourable, with lots of small, visible lumps throughout—think the consistency of slightly thick pancake batter. If it’s so thick it doesn’t pour at all, stir in 1 extra tablespoon of buttermilk at a time to thin it; if it’s runny, stir in 1 tablespoon of flour to thicken slightly.
16.Do I need to grease my nonstick little waffle maker for this recipe? ▾
Even if your waffle maker advertises a premium nonstick coating, I always recommend a light, even spritz of high-smoke-point nonstick cooking spray (like canola or avocado oil) before pouring each batch. Skip melted butter for greasing, as its milk solids burn quickly and can cause sticking or bitter dark spots on edges.
17.Can I add mix-ins like chocolate chips or blueberries to the batter? ▾
Absolutely! Just fold mix-ins like mini chocolate chips, fresh blueberries, or chopped toasted pecans into the batter very gently right before you start pouring waffles. Don’t stir them in too hard, or you’ll overmix the batter. Aim for ¼ to ⅓ cup of mix-ins per batch so they don’t weigh waffles down or cause sticking.

Comments (10)

2 days ago

OMG these are SO good! I pulled out my tiny little waffle maker that’s been sitting in the back of my cabinet for a year just to make these, and my kids devoured them before I even got to set the syrup out on the table. Game changer for busy school mornings, I’m gonna make a big batch on Sunday for meal prep! Wait quick question—has anyone frozen these and reheated them in the toaster okay?

1 day ago

I froze a batch last week! Just pop them straight from the freezer into the toaster on medium, they get just as crispy as fresh. Total weekday lifesaver.

1 day ago

So glad your family loved them! Freezing works perfectly like MidwestMomLiz said—just let them cool completely first before tossing them in a freezer bag, they’ll stay good for up to 3 months.

30 minutes ago

Made these for a quick brunch potluck with my roommates, everyone thought I picked them up from that fancy waffle spot downtown. The buttermilk tang is chef’s kiss, no weird soggy spots at all even when I left a few on the plate for 10 minutes while I made coffee. 10/10 will make every weekend from now on.

1 week ago

These came out great! I only had regular milk on hand so I added a tablespoon of white vinegar to sour it, worked like a charm. Only issue was my first batch stuck a little—did I not spray my waffle iron enough? Wait time was 3 minutes for me instead of 2, but that’s probably just my maker being old.

6 days ago

The vinegar swap for buttermilk is such a smart hack! For the sticking, a quick light coat of nonstick spray before pouring each batch usually does the trick, and making sure your iron is fully preheated before adding batter helps too. Older waffle makers can definitely run a little cooler, so adjusting cook time to match your machine is totally normal!

5 days ago

Pro tip: add a handful of mini chocolate chips to the batter for the kids (and let’s be real, for me too). Crispy on the outside, fluffy inside, just perfect. My wife asked if we can have these for dinner tonight too lmao.

4 days ago

Chocolate chips are such a good call! I did half plain half blueberry last time I made these, both batches vanished in 10 minutes. We absolutely had them for dinner once too, no shame.

2 weeks ago

First waffle recipe I’ve tried that actually stays crispy! Every other recipe I’ve made gets floppy and soggy 2 minutes after taking it out of the iron. I used this for my first time hosting brunch at our new apartment, all our guests asked for the recipe. Quick note—how much batter does everyone pour per mini waffle? I kept overfilling and making a mess the first couple tries.

12 days ago

I do 2 tablespoons per waffle! It sounds like not a lot, but it puffs up perfectly and doesn’t leak out the sides once you close the lid. No more messy drips for me once I figured that out.

11 days ago

Second the 2 tablespoon measurement! I keep a small cookie scoop right next to my batter bowl now to make it super easy, no guessing needed.

yesterday

15 minutes total cook time is no joke! I got home from the gym, threw these together, and was eating before my post-workout smoothie even finished blending. Crispy, tangy, not too sweet so they work with both syrup and savory toppings too—I tried one with a little fried chicken bite on top for a mini chicken and waffle bite, insane. No notes, this is my new go-to quick breakfast.

3 days ago

I swapped the all purpose flour for a 1:1 gluten free flour blend to make these for my sister who has celiac, and they turned out so crispy! Only knock is they were a tiny bit denser than I expected, does anyone have a tip to make them a little fluffier with GF flour?

2 days ago

So glad the GF swap worked for you! For a little extra fluff with GF flour, try adding 1/4 teaspoon of extra baking powder and letting the batter rest for 5 minutes before pouring it into the waffle maker—this helps the leavening activate a little more for a lighter texture.

just now

My granddaughter brought her little mini waffle maker over for our weekly Sunday visit, and we made these together. They’re the perfect size for little hands to hold! We dusted a few with powdered sugar and put rainbow sprinkles on some for her, she had the best time. Easy enough for a 7 year old to help stir the batter, which is a win in my book.

2 hours ago

Wait why did no one tell me mini waffles are perfect for snack boards? I made a batch of these for my kid’s soccer team snack this weekend, put out little cups of syrup, Nutella, and yogurt dip on the side, and every single one was gone. Coaches asked for the recipe too! Quick question, can I use whole wheat flour for half the all purpose to make them a little more fiber heavy?

1 hour ago

I do half whole wheat pastry flour all the time! It adds a little nutty flavor and extra fiber without making them tough or dense, works perfectly.

45 minutes ago

Love the snack board idea—these are perfect for that! The whole wheat pastry flour swap Fran mentioned is our go-to for a little extra fiber too, just don’t swap more than half the flour or you’ll lose that signature crispy texture.

5 minutes ago

I was today years old when I found out buttermilk is the secret to crispy waffles that don’t get soggy. I’ve been making waffles with regular milk for years and they’re always floppy, these came out perfect on the first try. My roommate walked in while I was cooking and said the whole apartment smelled like a diner, in the best way.

2 minutes ago

Girl, buttermilk changes EVERYTHING for waffles and fried chicken! Wait till you try adding a tiny pinch of cayenne to the batter, it cuts the sweetness just right and makes the flavor pop even more.



