
magic cookie bar
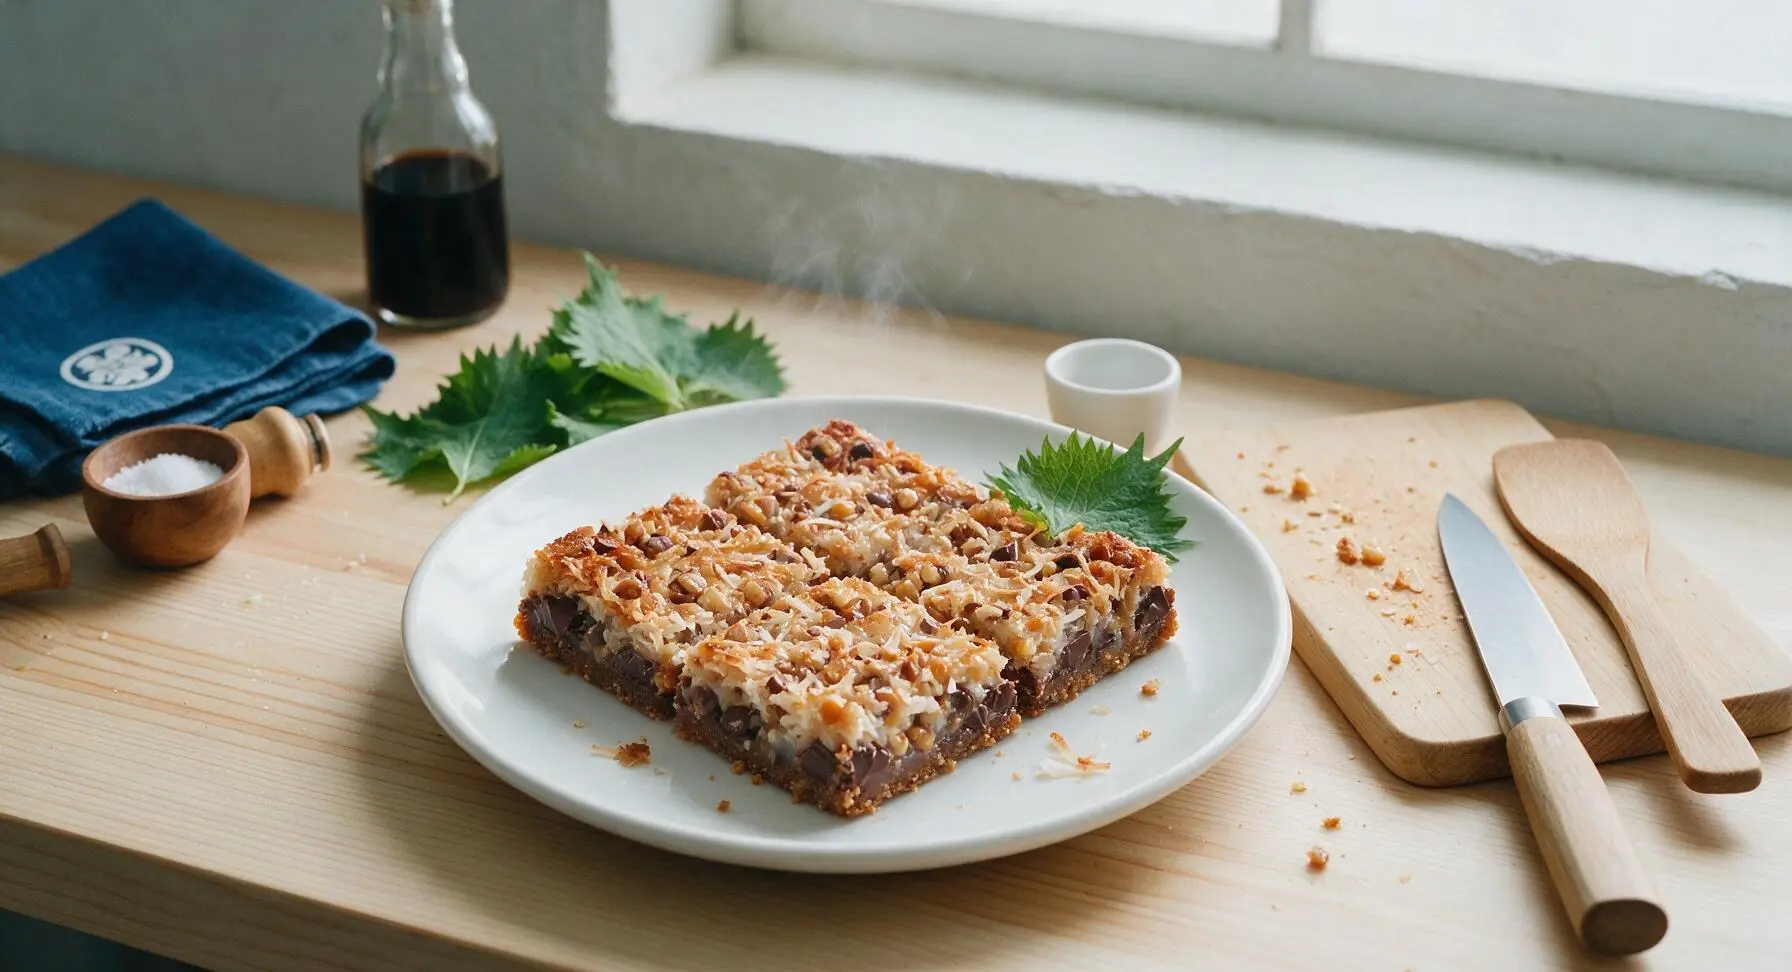
intro
Chewy, rich 7-layer magic cookie bars, loaded with buttery graham crust, chocolate, butterscotch, coconut, and nuts, held together by sweet condensed milk—pure nostalgic, no-fuss baking comfort.
Ingredients
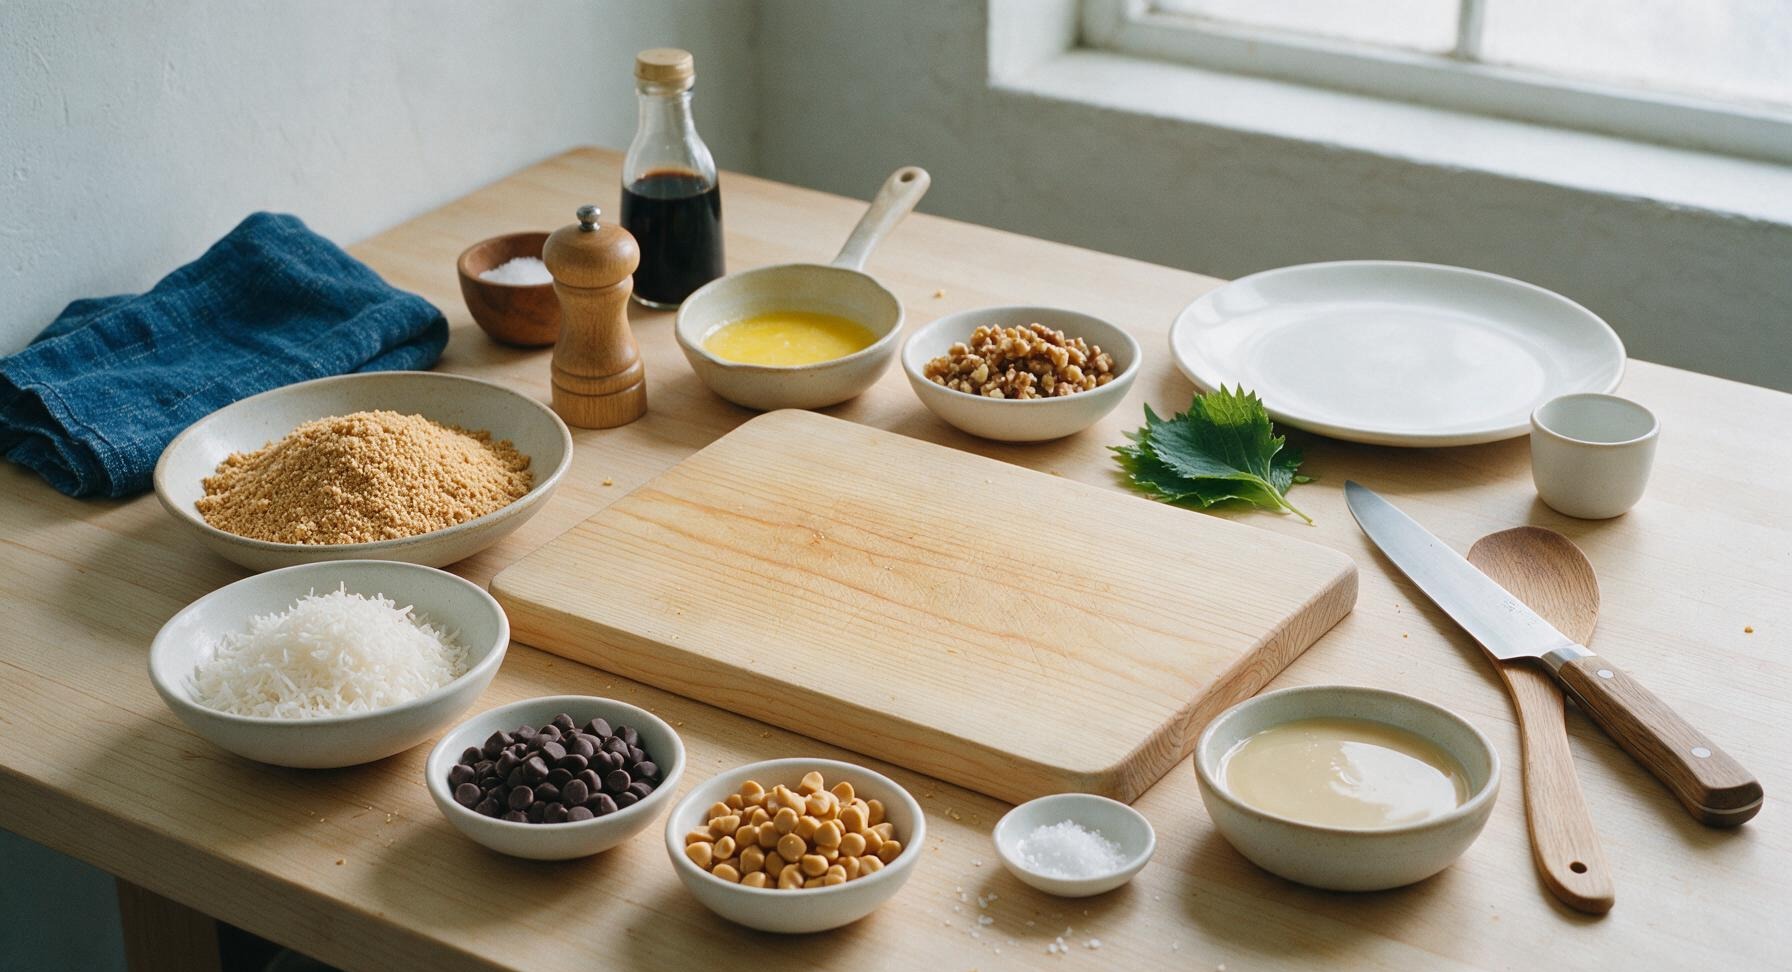
Steps
Prep and line pan
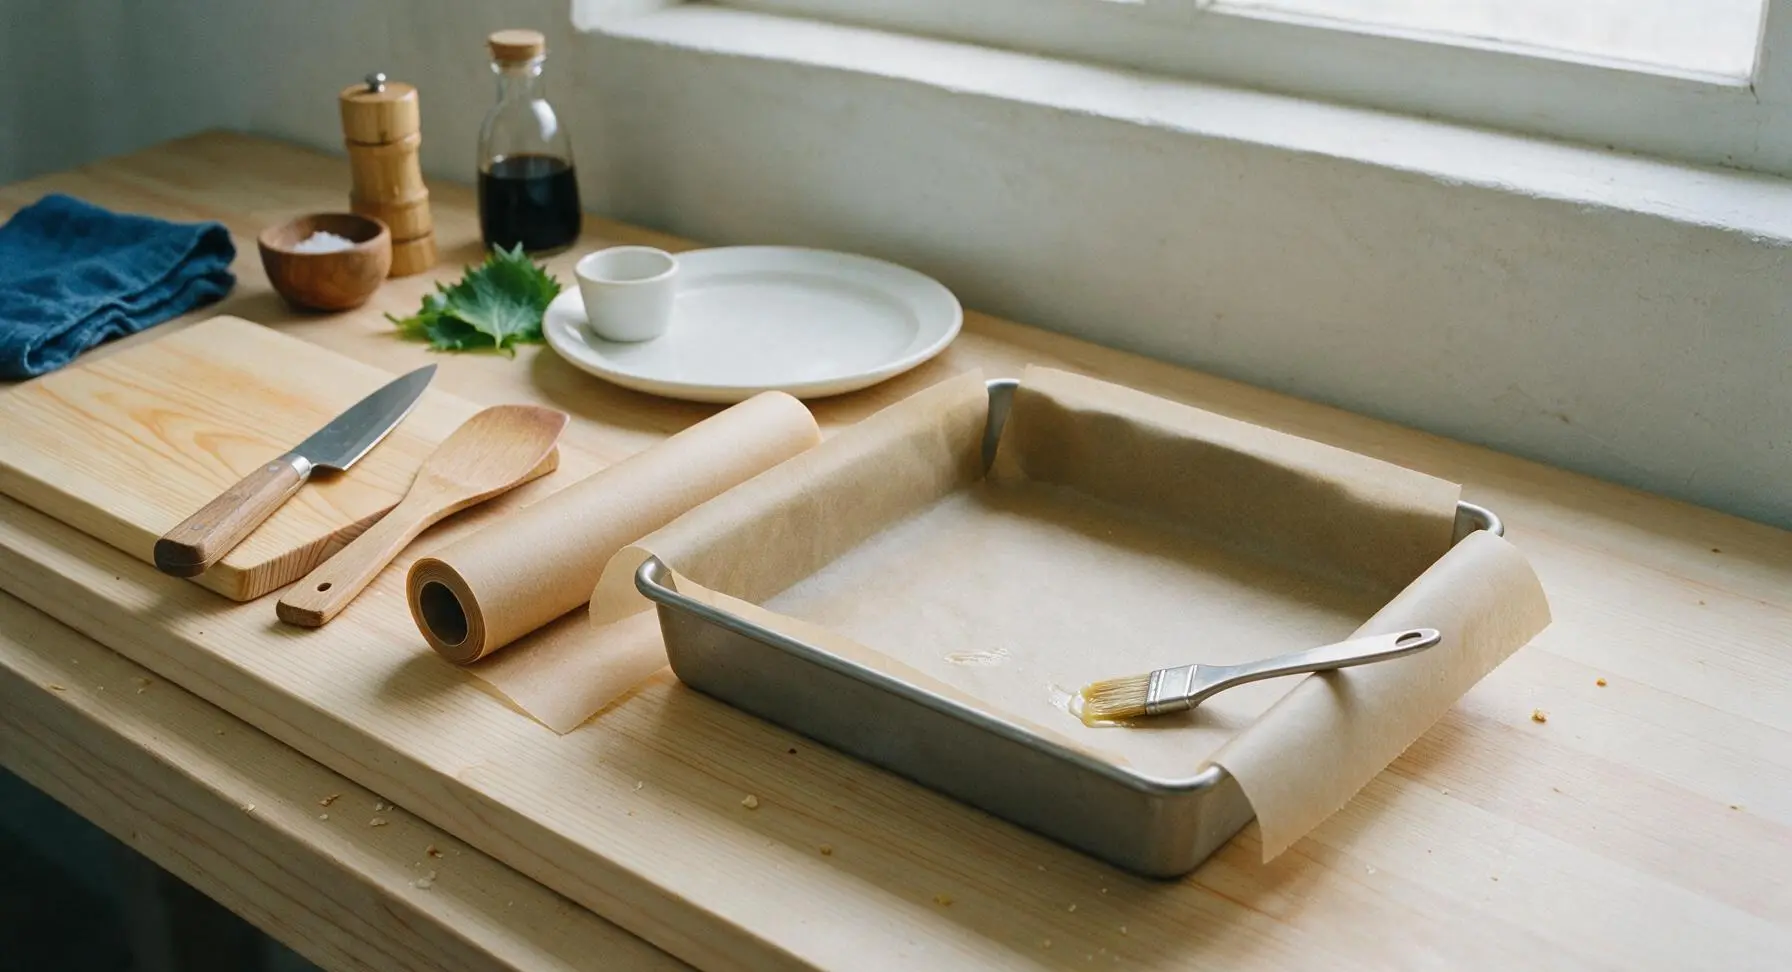
Preheat oven to 350°F (175°C). Unroll a 12-inch sheet of unbleached parchment paper from the roll on the far left counter, and line the 9x9 inch matte steel baking pan, leaving 2 inches of parchment overhang on two opposite sides to use as lift handles later. Use the small stainless steel pastry brush to coat any exposed pan metal not covered by parchment with a thin layer of melted butter to prevent sticking.
Press crumb crust
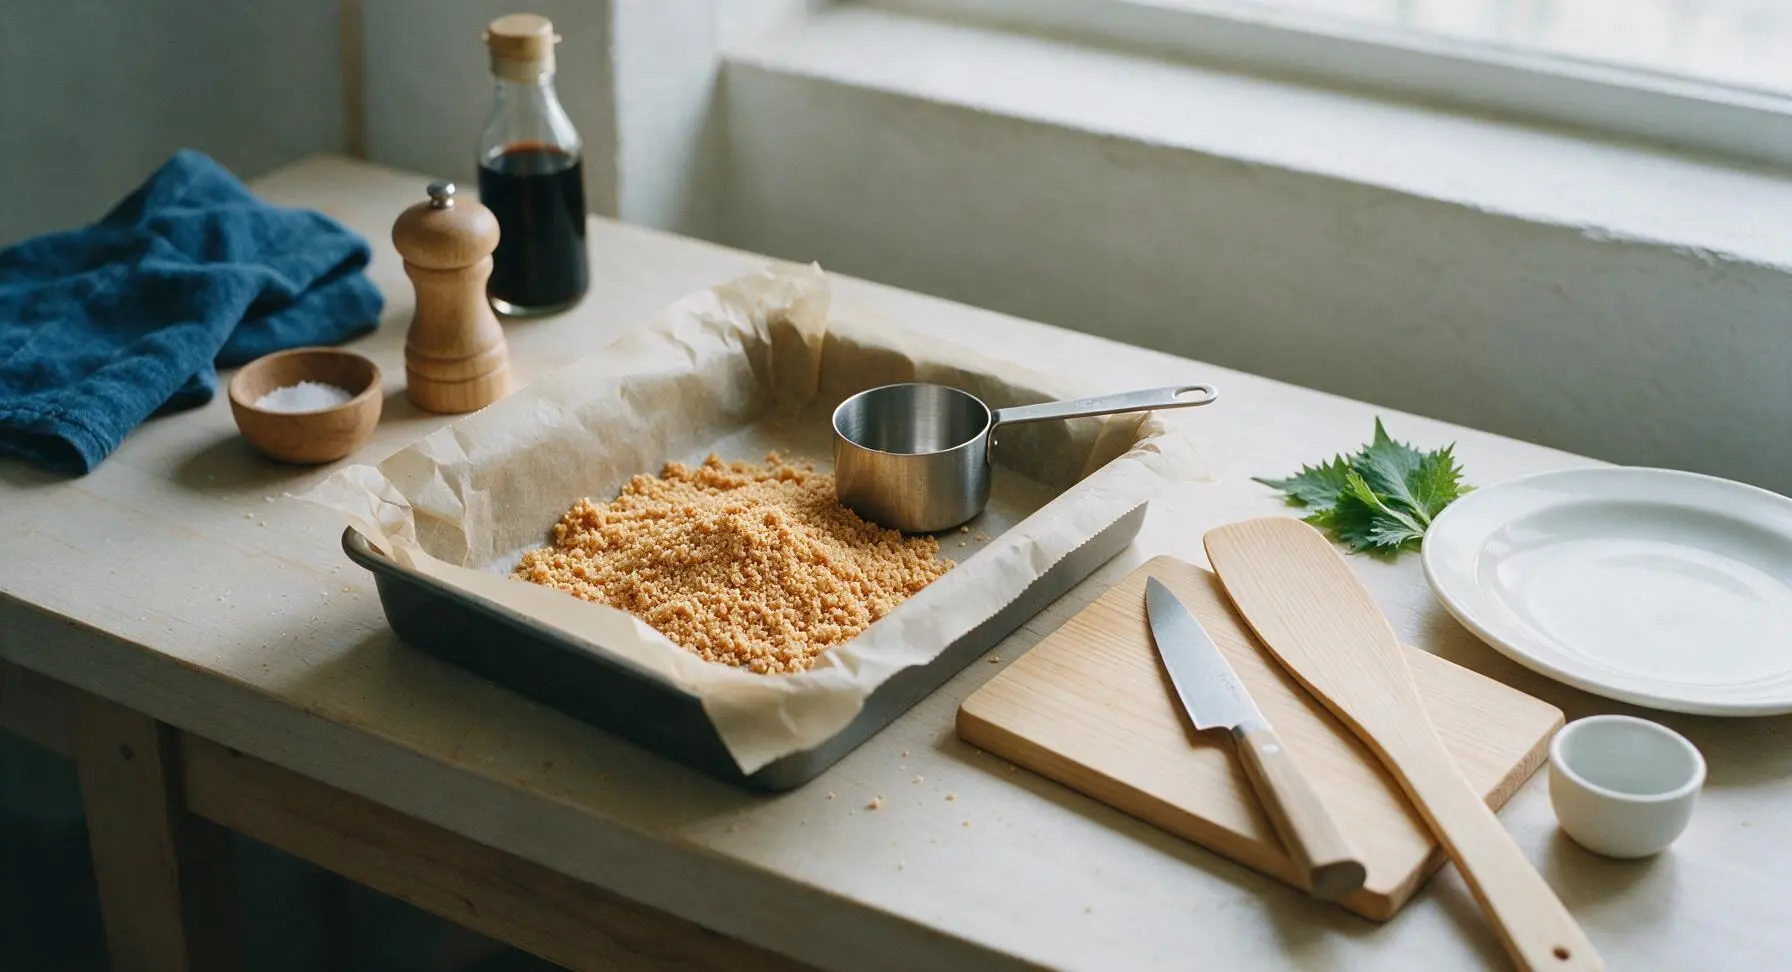
Stir 1 1/2 cups finely crushed graham cracker crumbs together with the remaining melted unsalted butter until every crumb is evenly coated; the mixture will clump like damp sand when squeezed between your fingers. Pour the crumb mixture into the parchment-lined pan, then use the flat base of the 1-cup stainless steel measuring cup to press the crumbs into a tight, uniformly flat layer across the entire pan bottom, with no thin spots or loose crumbs.
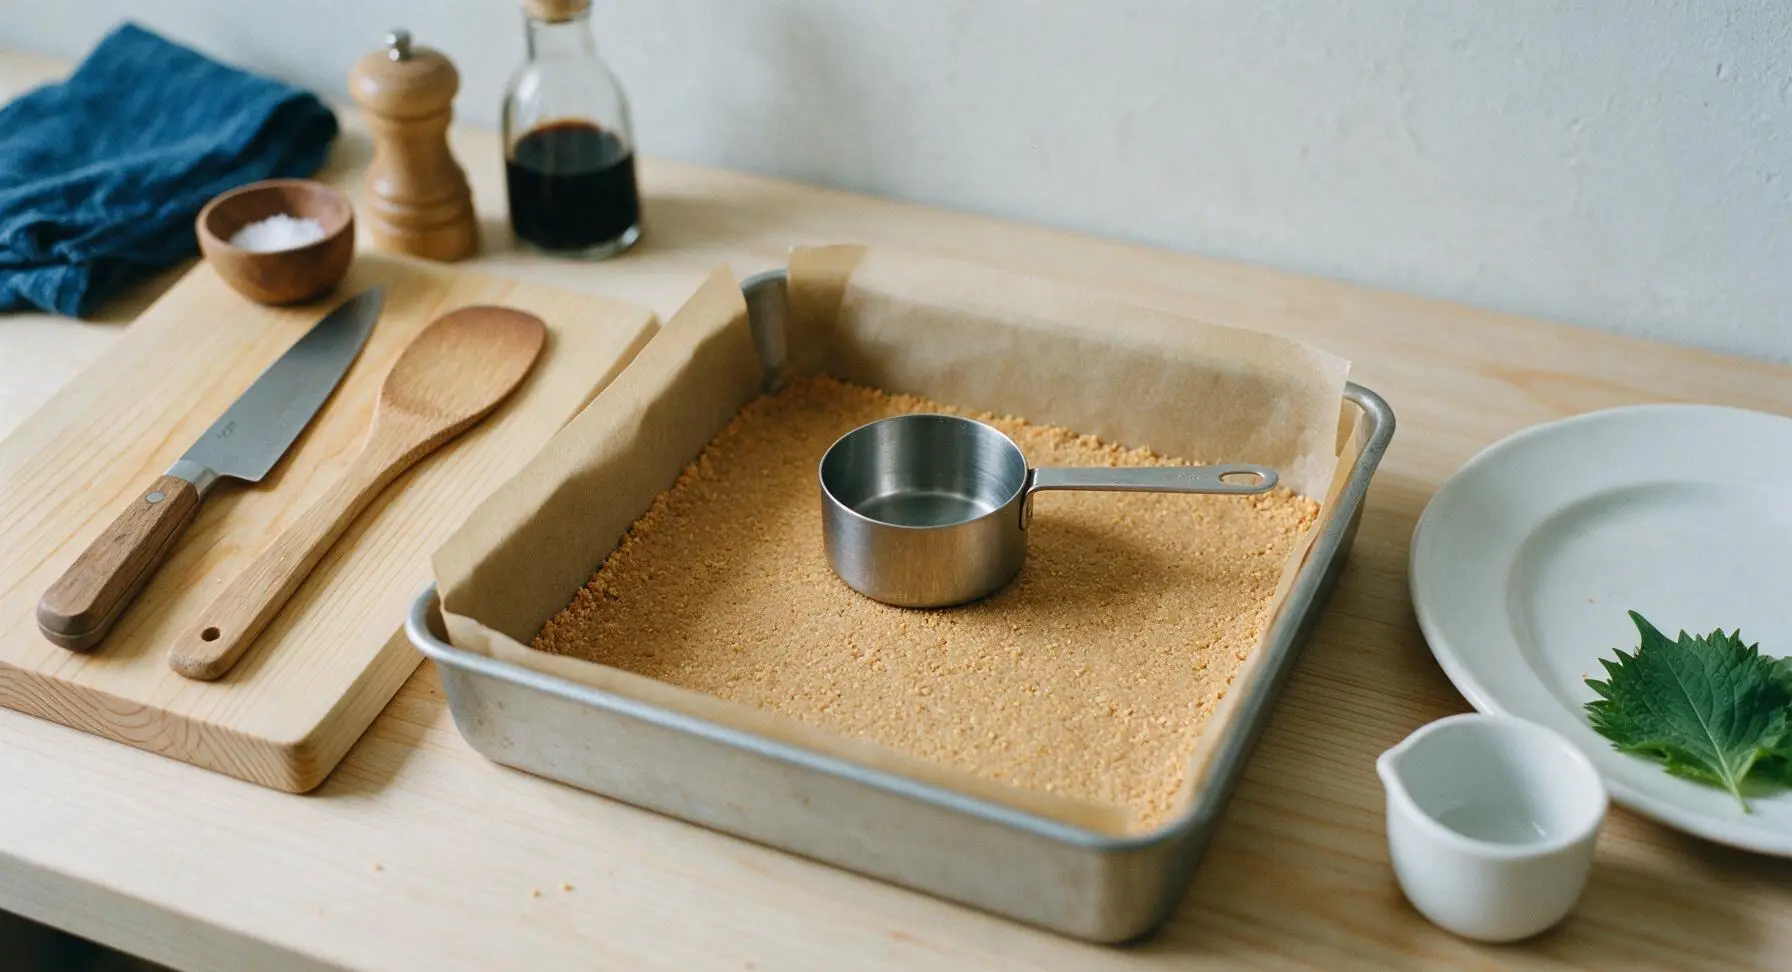
Add chip layers
Evenly sprinkle 1 cup semi-sweet chocolate chips across the full surface of the pressed graham cracker crust, spreading them into a loose, even layer. Follow with 1 cup butterscotch chips, distributed evenly over the chocolate chips, so no large gaps of crust show through. Do not press the chips into the crust; they will melt and settle naturally during baking.
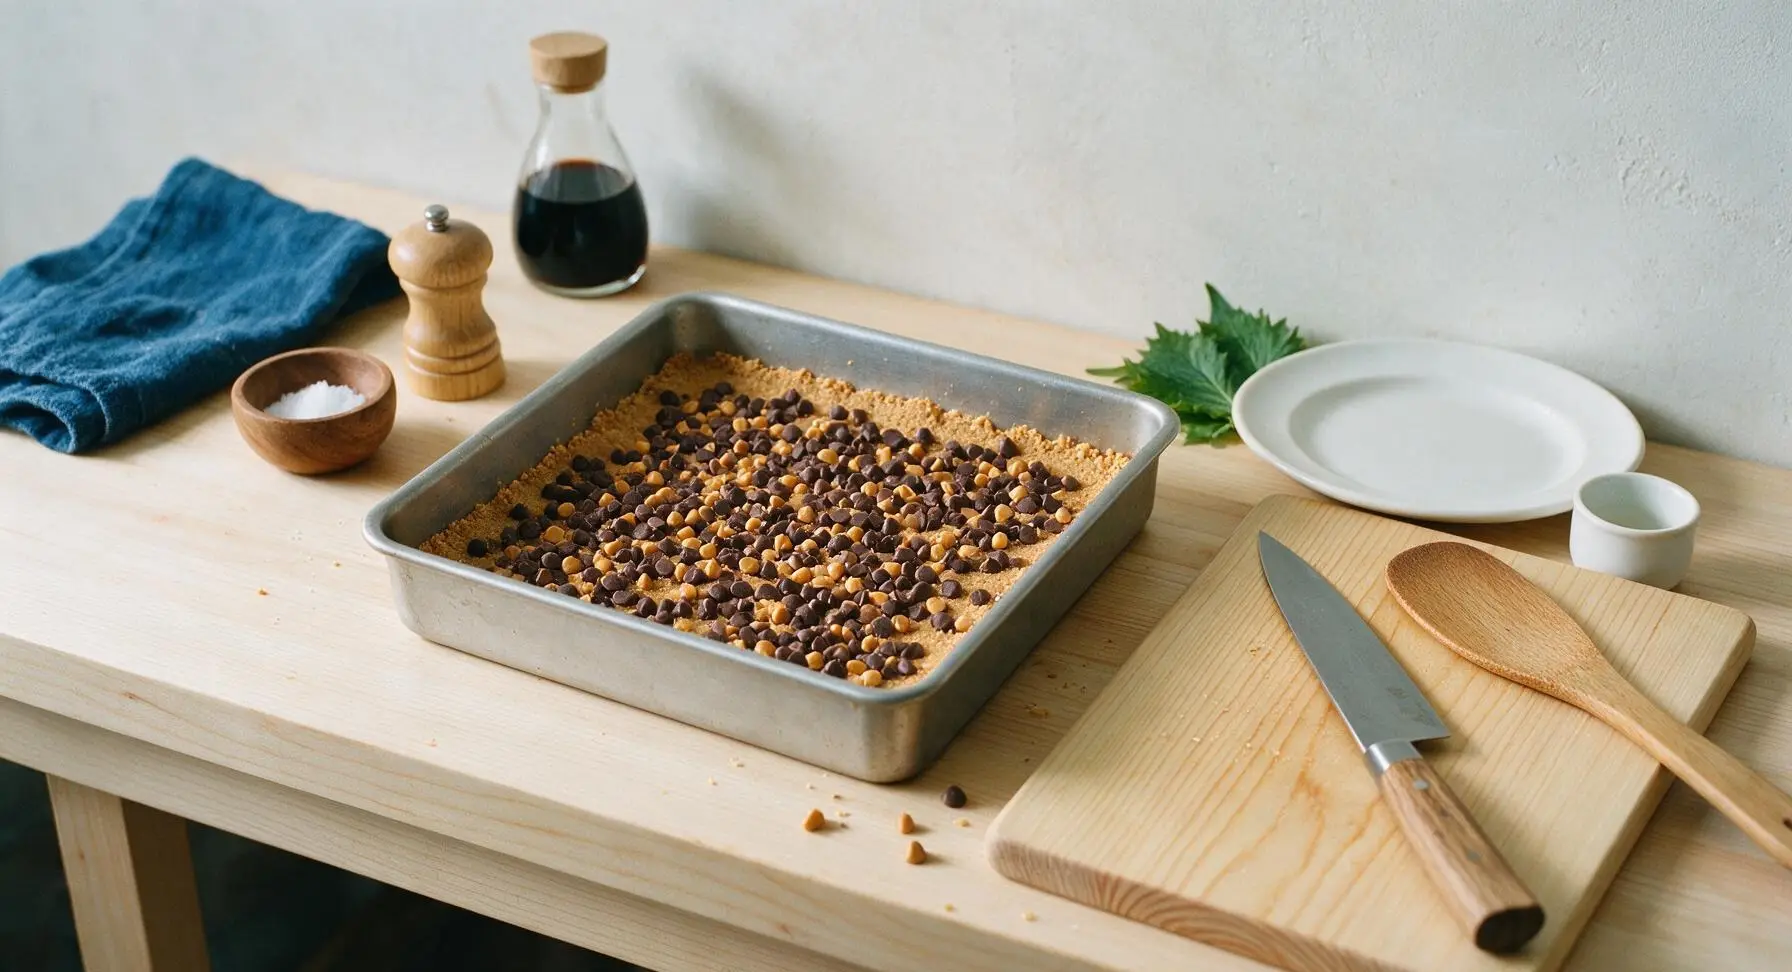
Top with nuts coconut
Evenly sprinkle 1/2 cup chopped walnuts over the chocolate and butterscotch chip layer, followed by 1 cup sweetened shredded coconut. Spread both layers gently with your fingertips to create a uniform covering, so chips peek through only in small spots. Do not press these layers down.
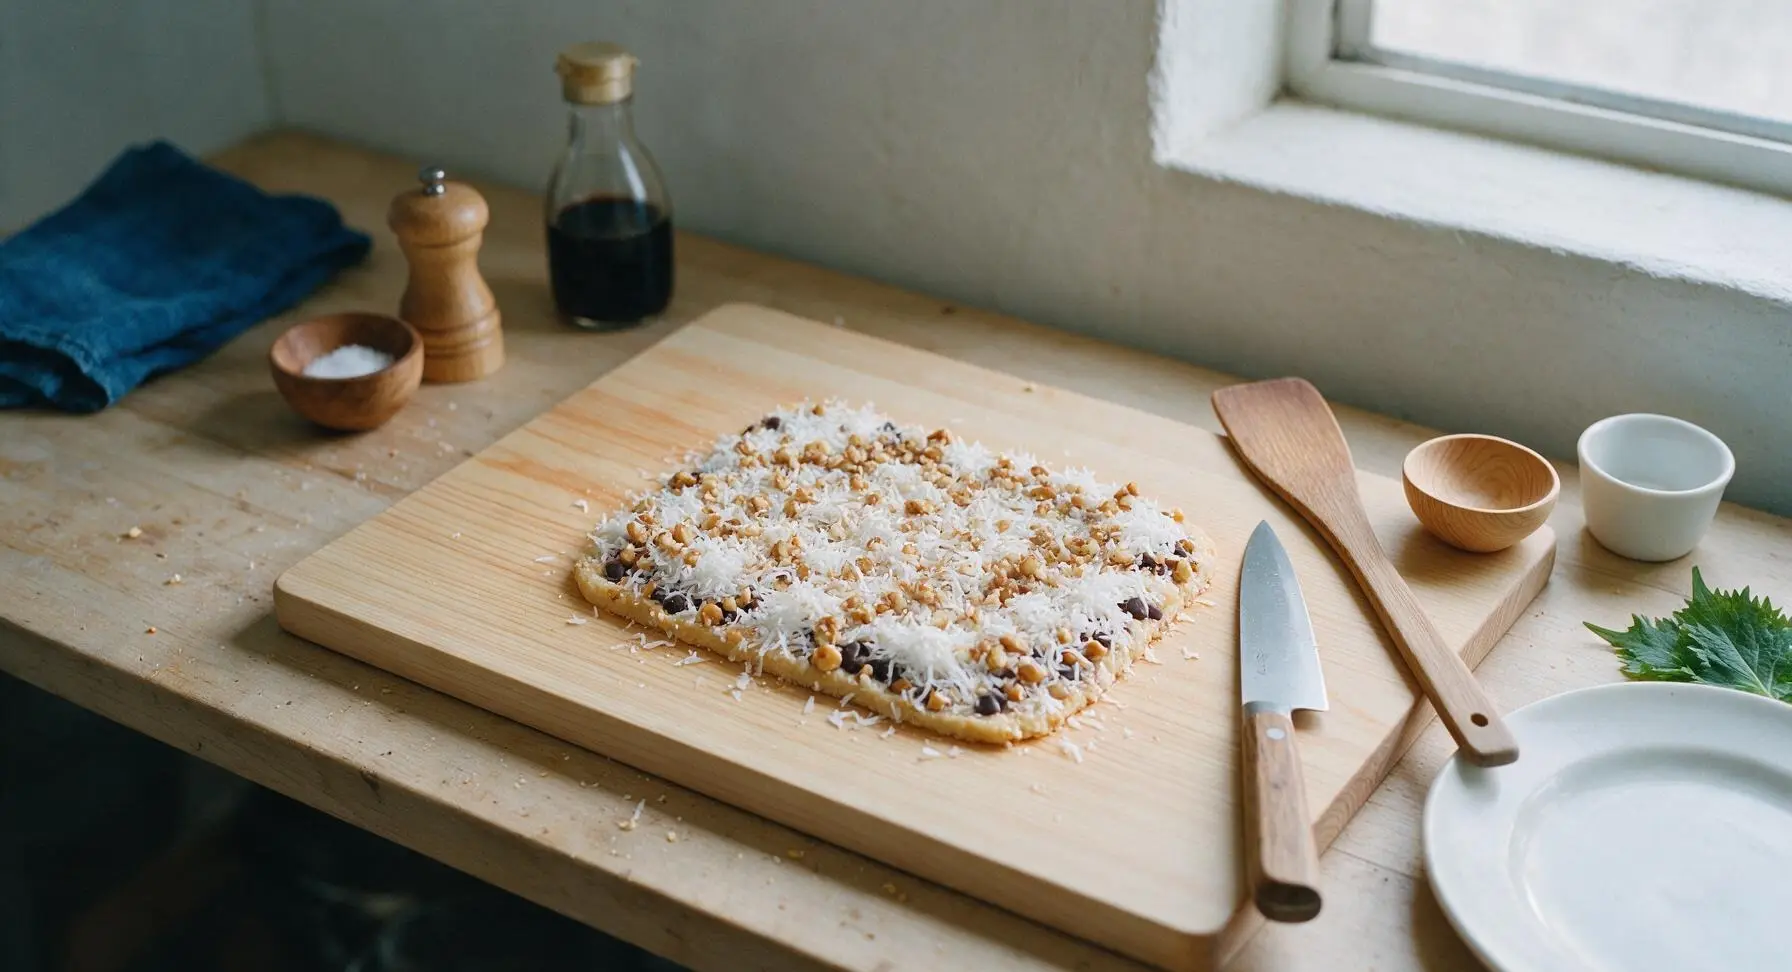
Drizzle condensed milk
Slowly pour the full 14oz can of sweetened condensed milk in a thin, even stream across the entire coconut surface, working from the edges of the pan to the center to ensure full coverage. The thick, pale golden milk will seep down through the coconut, nut, and chip layers as it pours, binding all layers together; avoid dumping the full can in the pan center, which creates soggy, uneven bars.
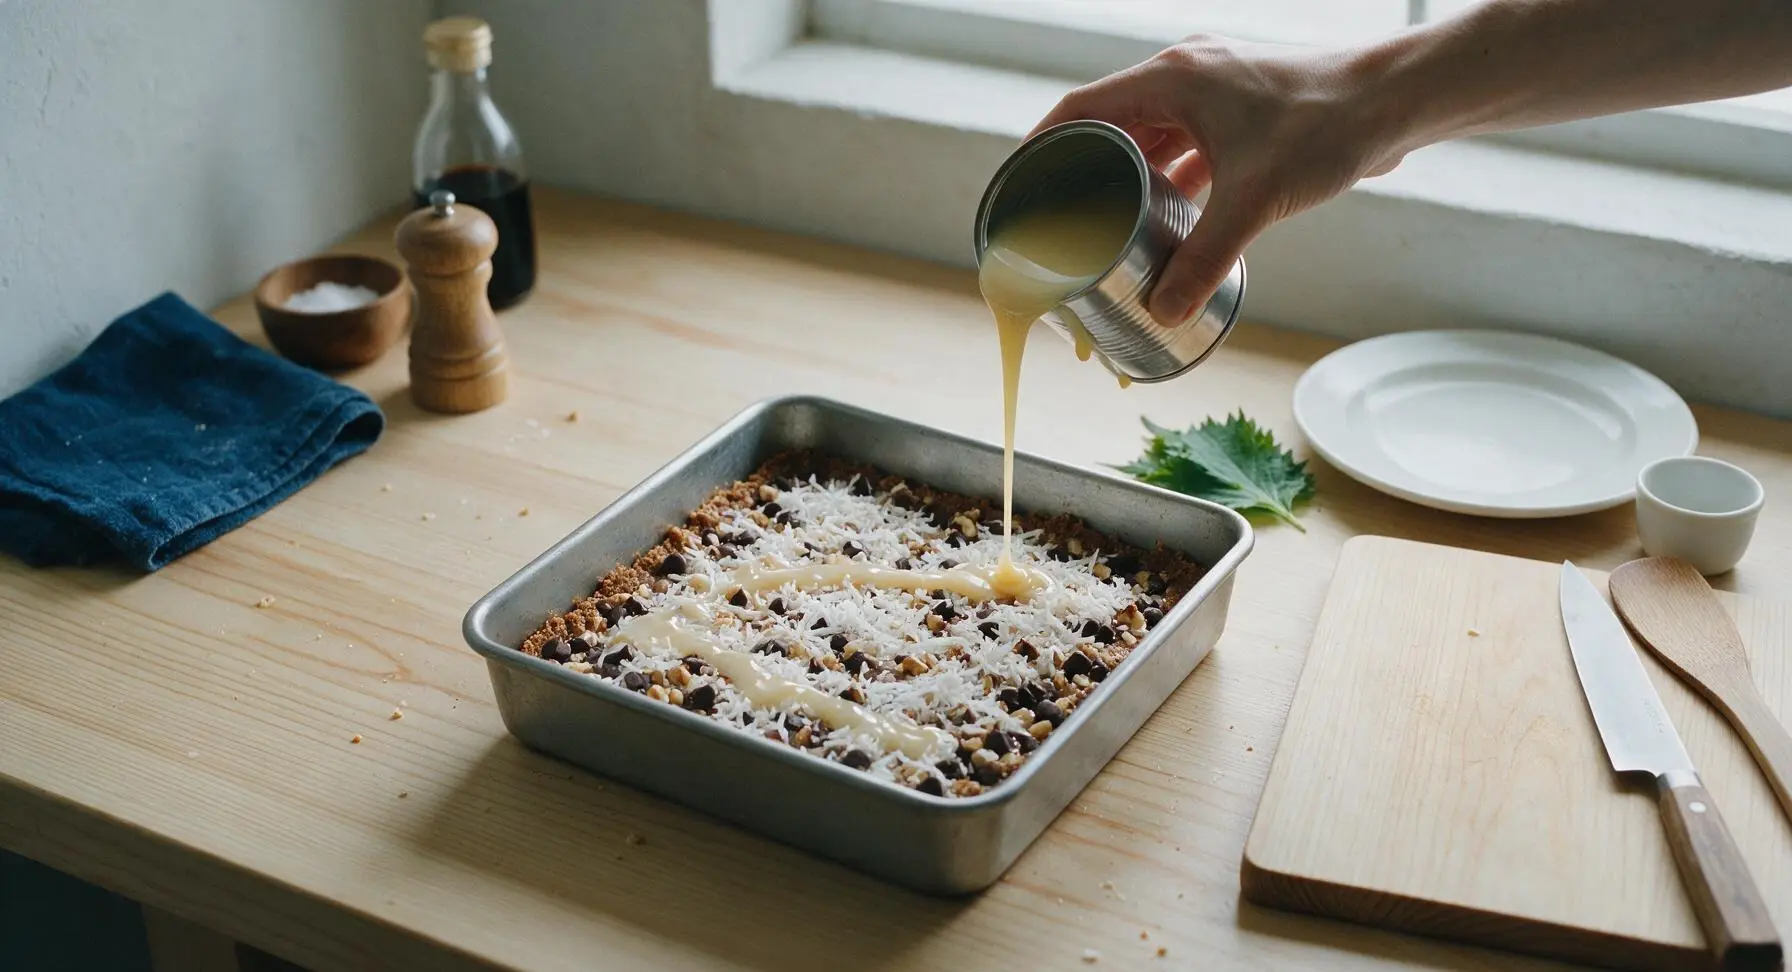
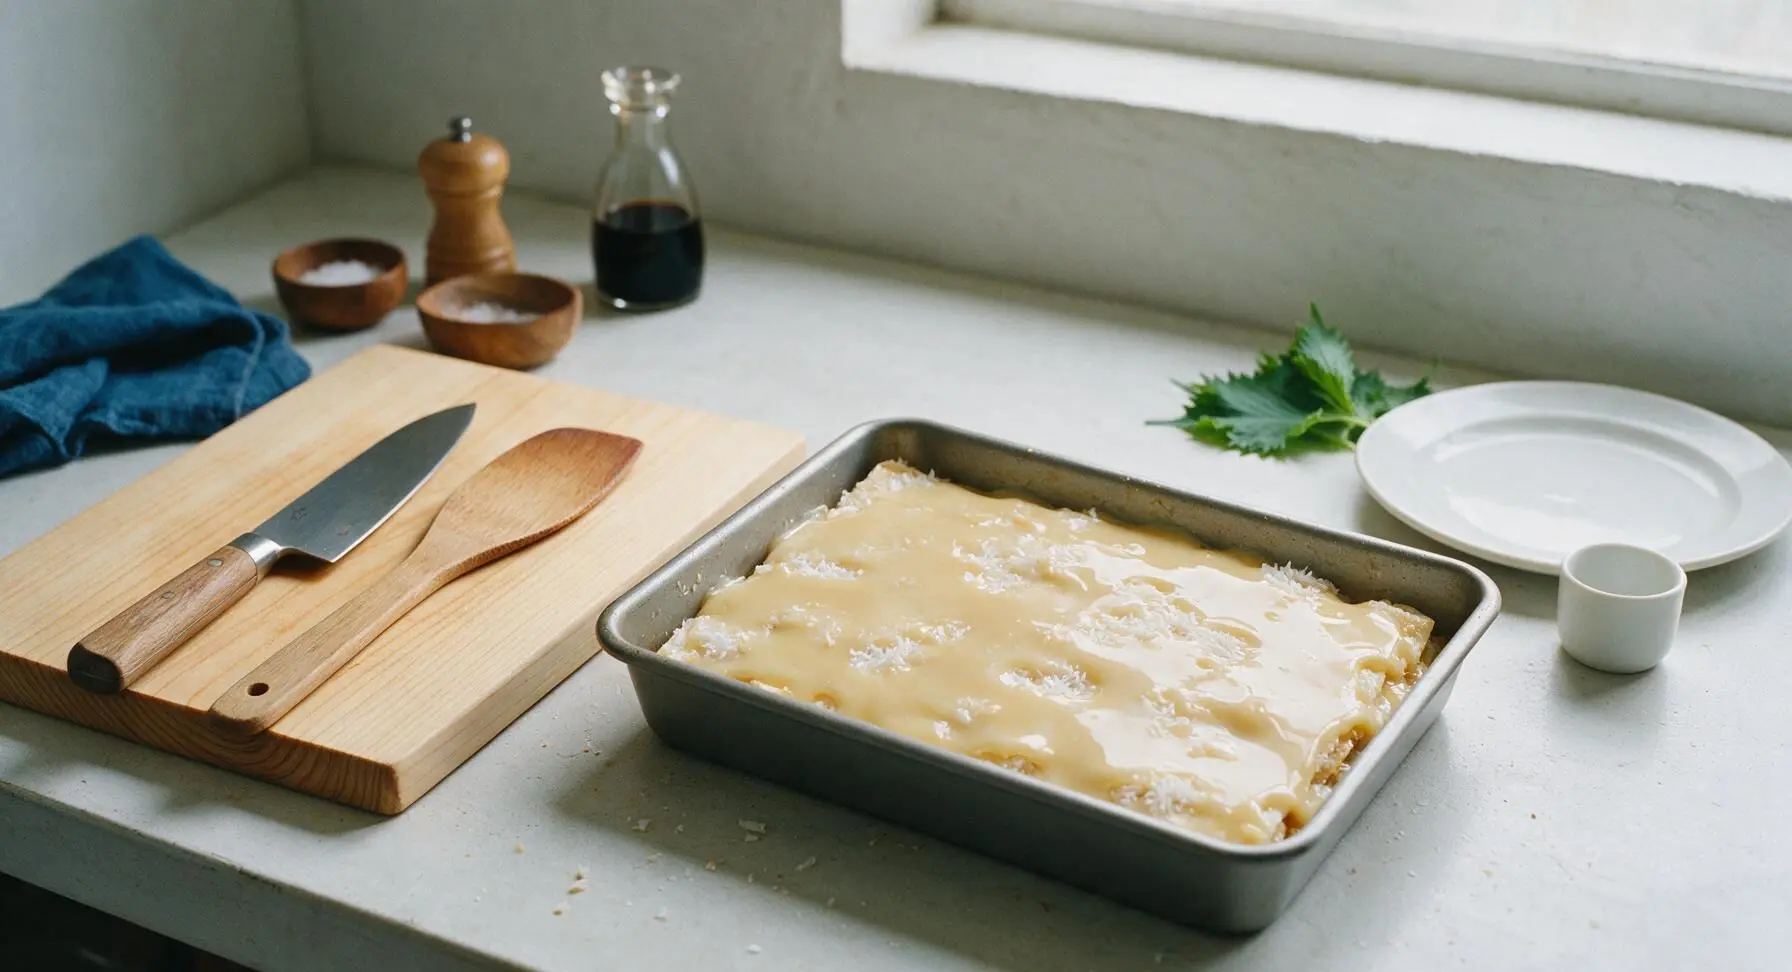
Bake to golden
Carefully slide the prepared pan into the preheated 350°F (175°C) oven, positioned on the middle rack. Bake for 25 minutes, until the shredded coconut on top is toasted deep golden brown, and the edges of the bars are bubbling with melted chocolate and caramelized milk. The center will appear slightly soft and jiggly when you pull the pan out; it will set completely as it cools, so avoid overbaking which leads to hard, dry bars.
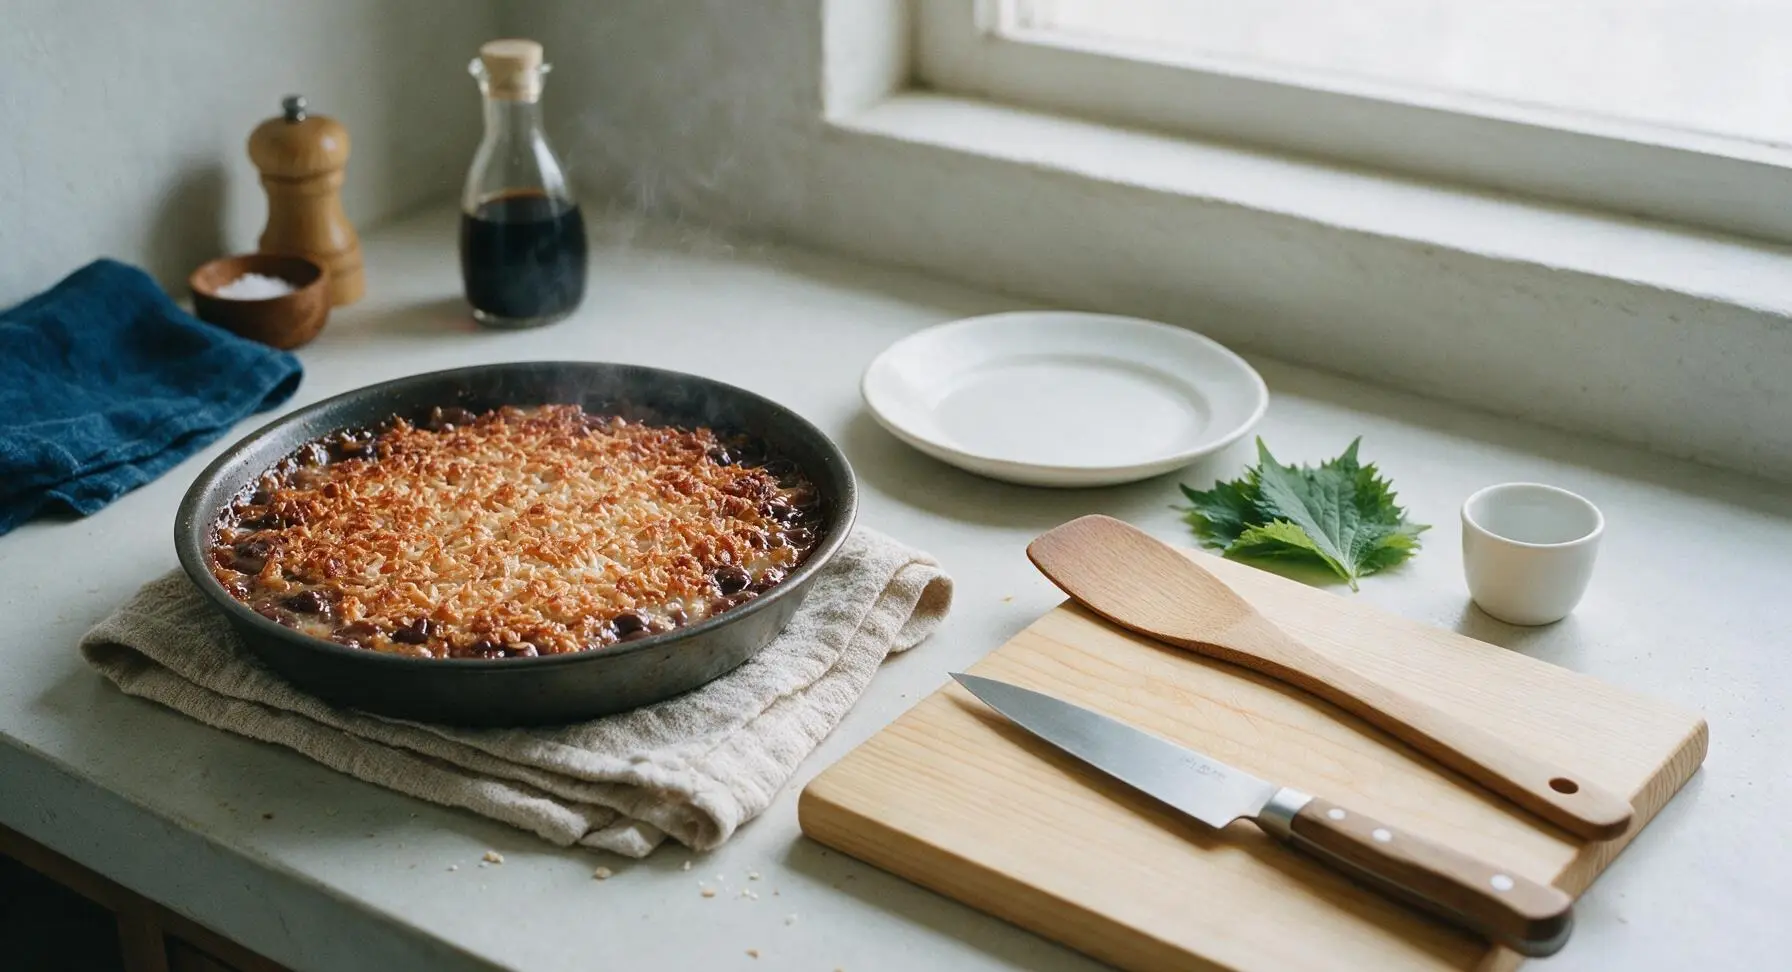
Cool bars fully
Let the bars cool completely in the pan at room temperature for 2 full hours, until the center is firm to the touch with no residual warmth. For extra clean cuts, transfer the pan to the refrigerator to chill for 30 minutes after room-temperature cooling; warm bars will squish and pull apart when cut.
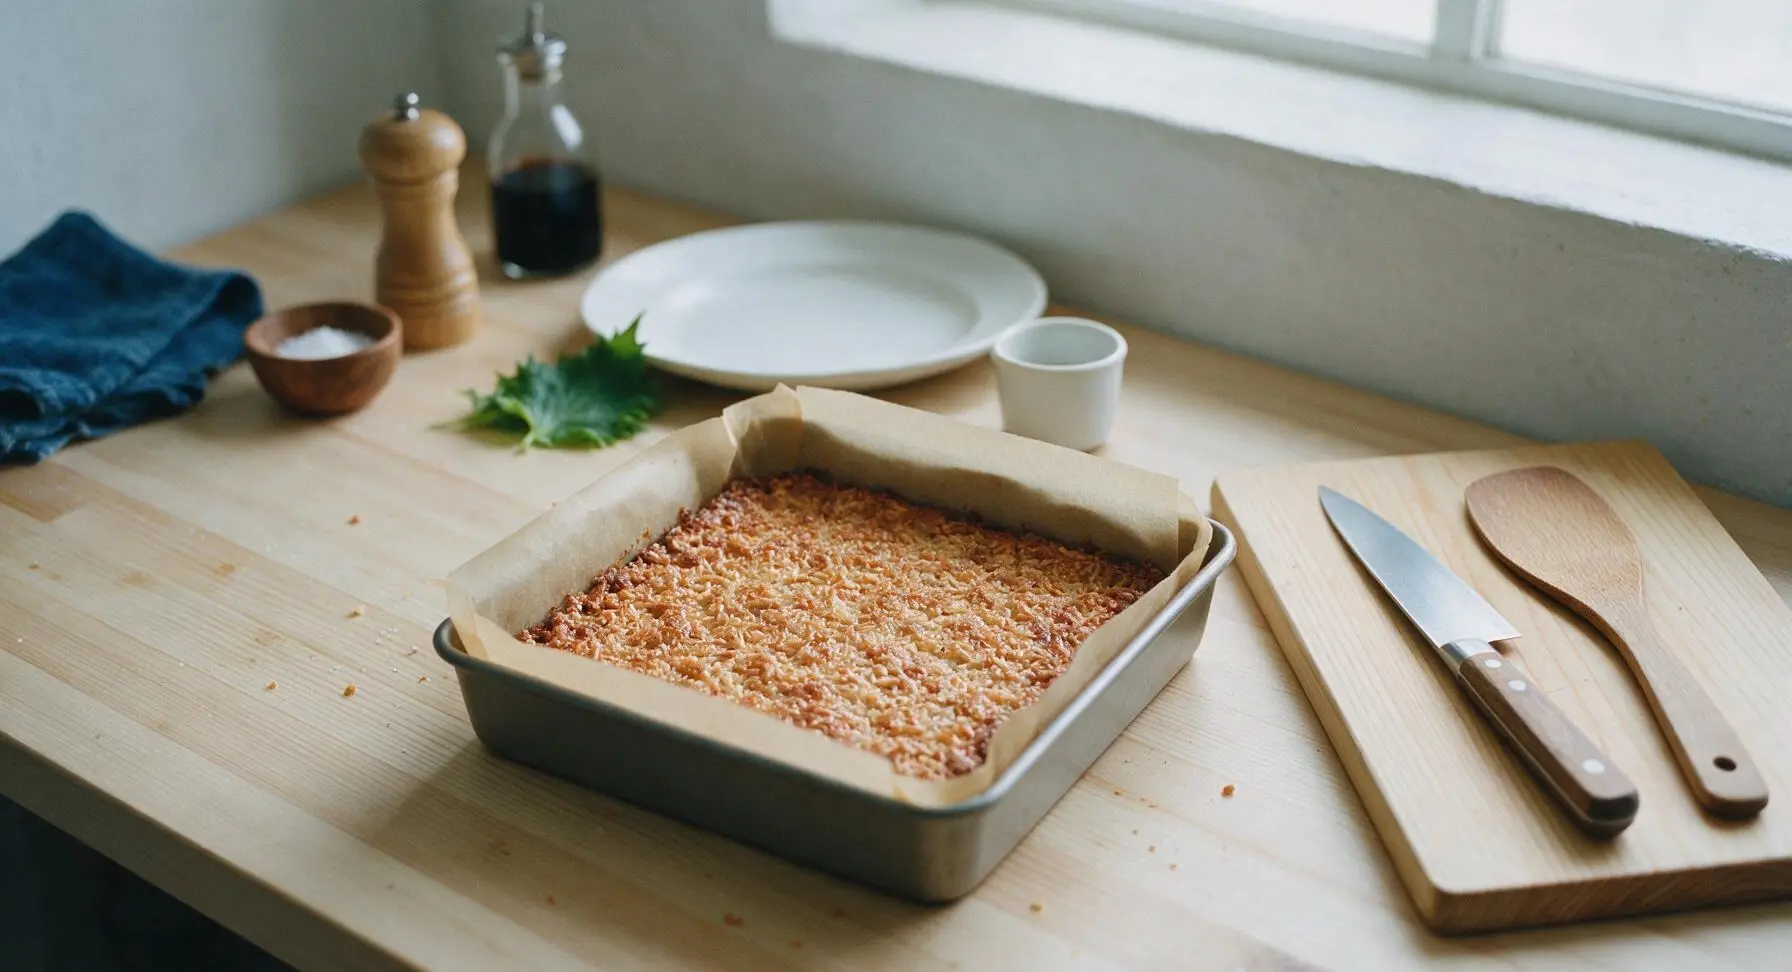
Lift and slice bars
Grasp the two overhanging parchment paper handles firmly, and lift the entire solid block of cookie bars straight up out of the baking pan, setting it flat on the light maple wood cutting board. Use the 8-inch chef's knife to cut the block into 16 equal 2-inch squares, wiping the knife blade clean between cuts for smooth, even edges. Sprinkle the top of the cut bars with 1/4 tsp flaky sea salt for a bright salty-sweet balance.
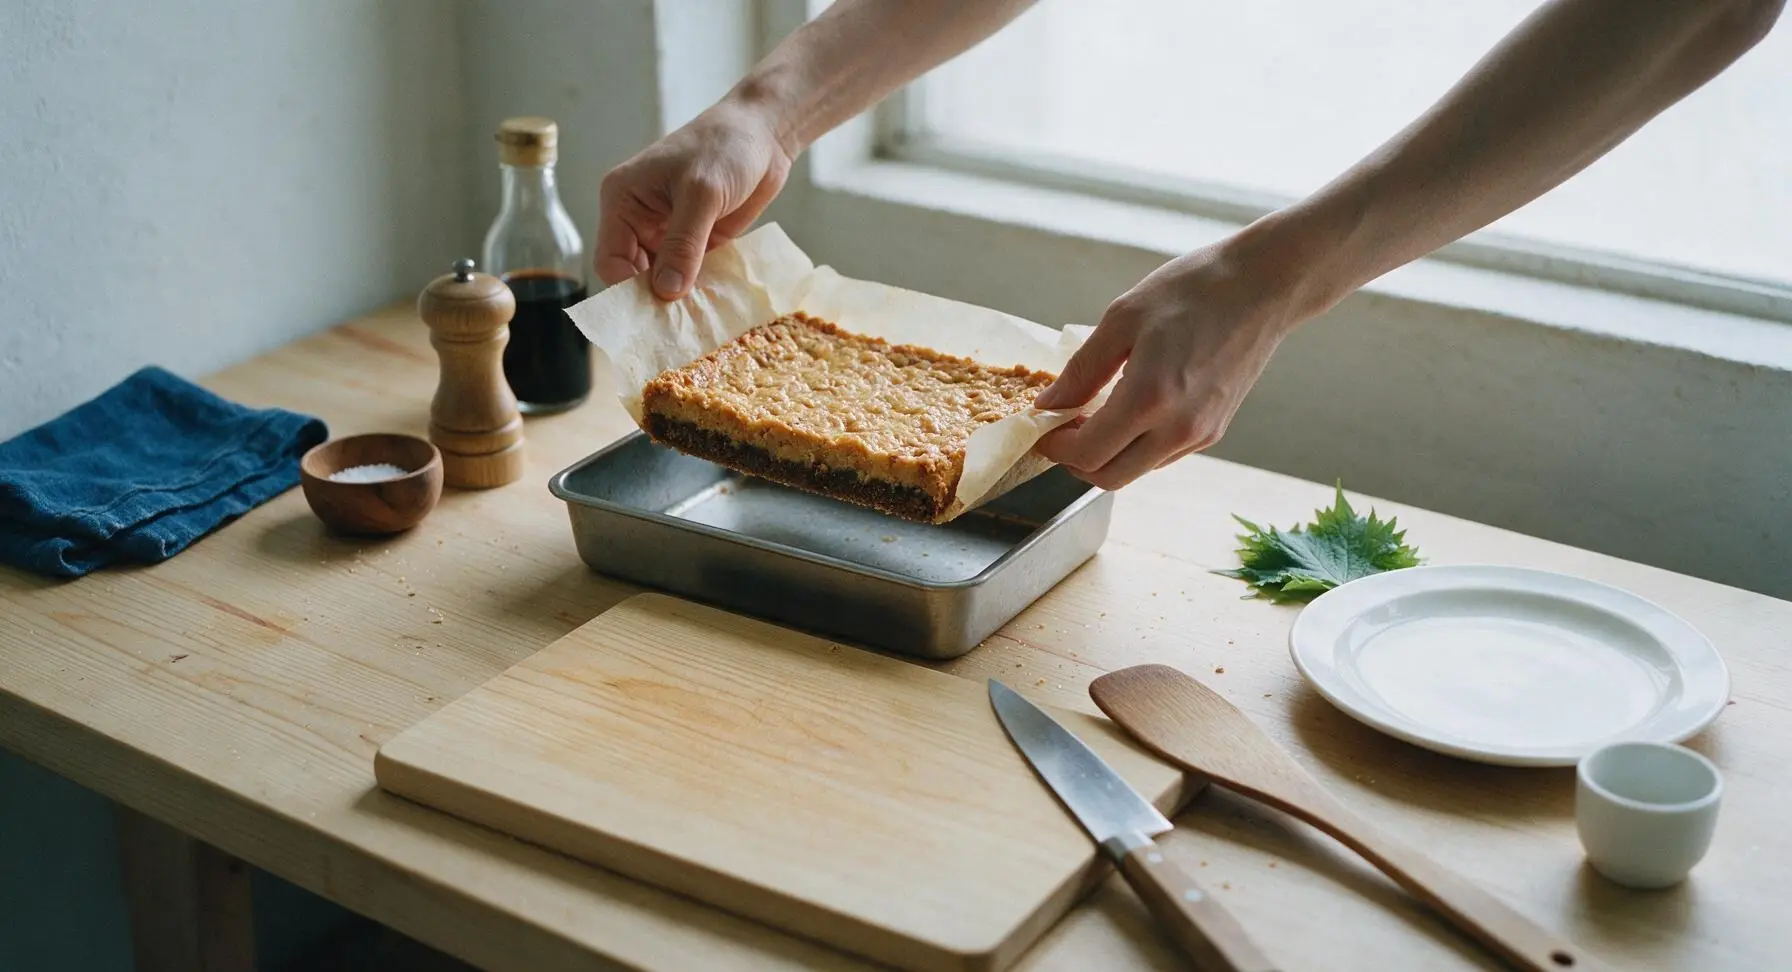
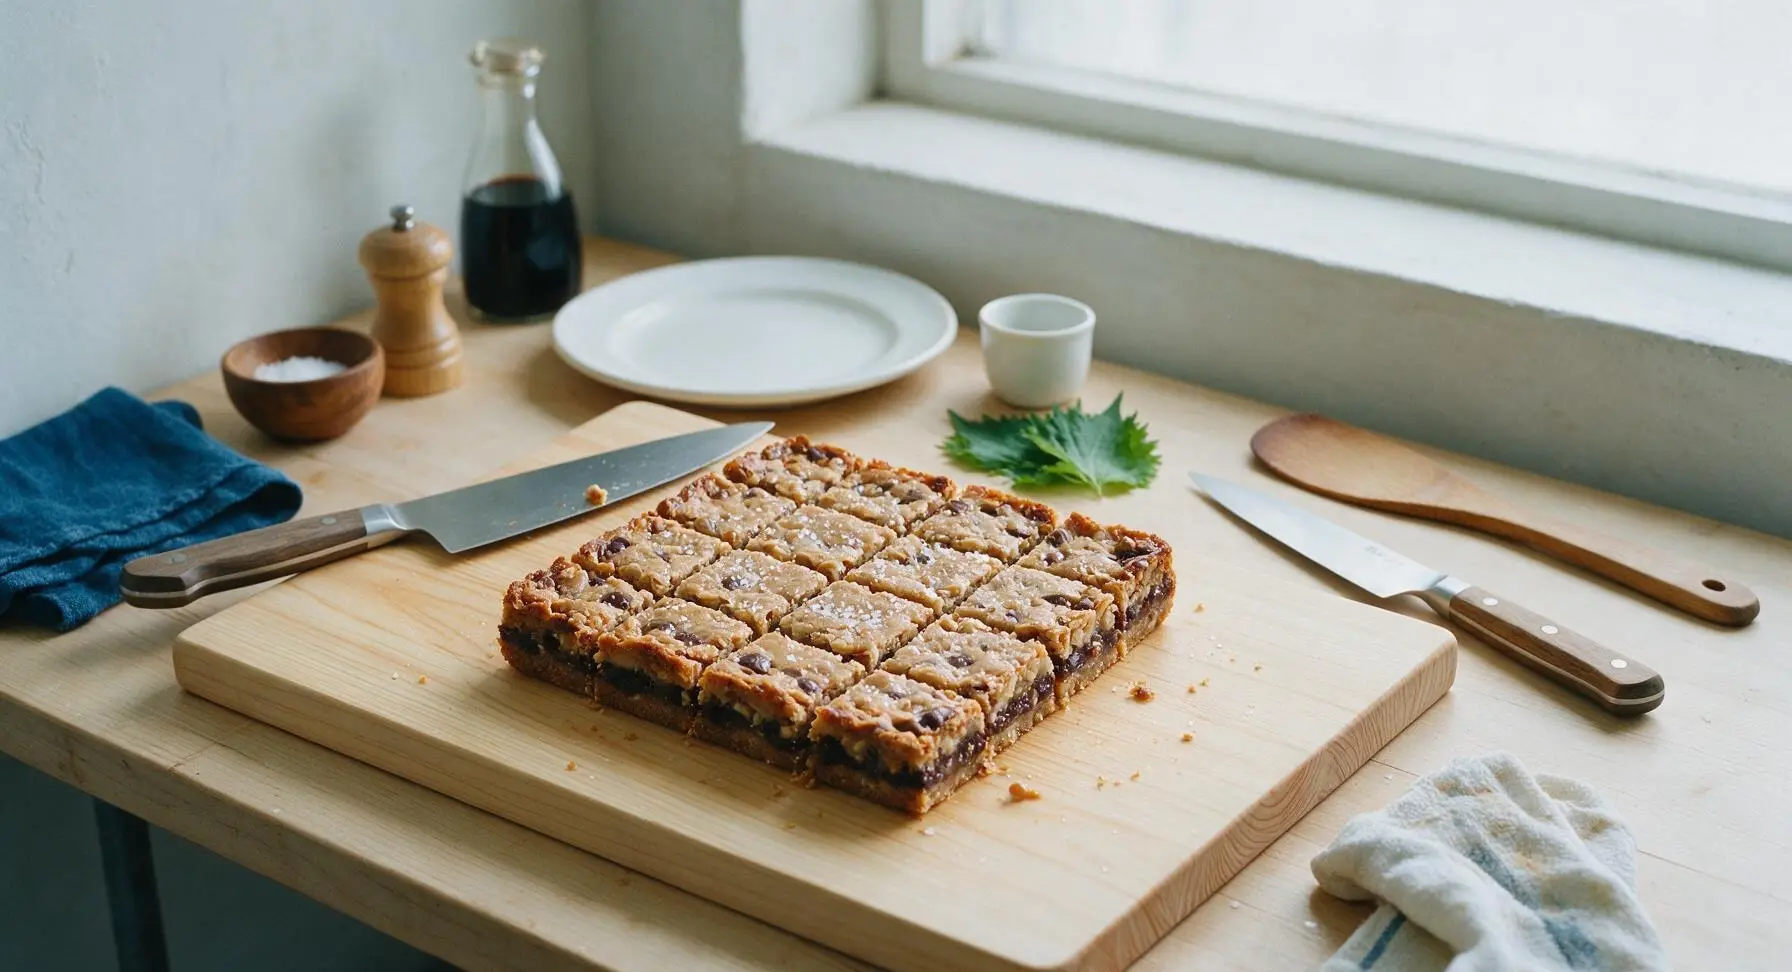
Tips
2.Wait the full 2 hours for bars to cool before cutting: slicing warm bars causes melted chocolate and condensed milk to ooze, resulting in messy, uneven slices instead of clean, distinct layers. Chilling cooled bars for 30 minutes makes cuts even sharper.
3.Customize add-ins to taste: swap walnuts for pecans or sliced almonds, or swap butterscotch chips for white chocolate or peanut butter chips, but keep the graham cracker crust and sweetened condensed milk base to retain the classic chewy magic bar texture.






Game changer for summer cookouts! I always show up with burgers and brats but decided to bring a sweet option this time. These bars are SO good, they were gone before the hot dogs even came off the grill. Super easy to throw together even when I’m half watching the grill and half chasing my dog around the yard.
Made these in my dorm’s tiny toaster oven for my floor potluck and people were literally banging on my door asking for the recipe. Only ding is I used salted butter by accident and it was a little too salty for my taste, still ate three bars though lmao.
I’ve been making 7-layer bars since my kids were little, and this recipe is exactly the one I used to scribble on an index card back in the 70s! Tastes exactly like I remember, no weird modern tweaks. My grandkids devoured a whole pan when they visited last weekend, even the picky one who only eats chicken nuggets.
Okay I was skeptical these would fit my mostly whole-foods diet but I caved and made them for my book club. Let me tell you, I ate two before the guests even arrived. I swapped the butterscotch chips for dark chocolate chips to cut the sweetness a little and it worked great. Only reason it’s not 5 stars is I wish there was a lower-sugar version!
Brought these into the office for my birthday treat and my boss who never eats sweets asked me for the recipe before 9am. 25 minute cook time? Are you kidding? I got home at 7pm, made the whole pan, and was eating a warm bar while watching the game by 7:45. No fuss, no fancy equipment, perfect.
OMG, made these for the teacher appreciation luncheon today and I already got three text messages from other moms begging for the link. I added a handful of chopped pecans on top like my mom used to and it added the perfect little crunch. 10/10, will be making these for every school event from now on.
I’ve made these three times in the last two weeks, no shame. The combination of coconut, butterscotch, chocolate, and that gooey condensed milk is addictive. My roommate is threatening to hide the baking pans from me because I keep making them and he can’t stop eating them.
Packed a bunch of these cut into small squares for our day hike last weekend and they were the perfect trail snack. Dense, sweet, no messy melting even when it was 75 degrees out, gave me so much energy for the last steep mile up. Way better than boring store-bought granola bars.
Wait why did I sleep on these for so long? I always thought magic bars were fussy to make but there’s literally no mixing, you just layer everything in the pan? That’s my kind of baking. Just pulled them out of the oven and my whole apartment smells like heaven.
Taste was great but mine came out a little runny in the middle? I followed the bake time exactly, maybe it’s the high altitude out here? I had to stick them back in for 10 extra minutes to set properly.
My wife usually handles all the baking in our house but I decided to surprise her after a long week of work. These were so easy even I couldn’t mess them up! She said they’re better than the ones her grandma used to make, which is the highest possible compliment I could get.
Made these for my weekly girls’ night and we ate the whole pan while watching rom-coms. I used a mix of milk chocolate and dark chocolate chips plus a sprinkle of flaky sea salt on top right when they came out of the oven. Game. Changer. The salt makes all the sweet flavors pop so much.
I’ve been making magic bars for potlucks for years and this is hands down the best ratio of layers I’ve ever tried. No skimping on the coconut, not too many graham cracker crumbs, the sweetened condensed milk amount is perfect so every bite is gooey but not drippy. Absolute perfection.
I tried to make these vegan for my cousin who’s visiting, used vegan condensed milk and coconut oil instead of butter, and they still slapped! Only thing is the vegan butterscotch chips I found were kind of wack, so next time I’ll just use extra chocolate and coconut.
I added a swirl of peach jam on top before baking to give it a little Southern twist and OH MY GOODNESS. The sweet fruit cuts through the richness of the chocolate and condensed milk so perfectly. If you’re a peach fan you have to try it!
Meal prep win! I cut these into small bars and stuck them in individual snack baggies for the kids’ lunches all week. They keep perfectly in the fridge and my kids loved them, say they’re way better than the processed snack bars I used to buy. Saving so much money too!
My husband said these taste exactly like the magic bars his late mom used to make when he was a kid. I may have cried a little when he said that, I’ve been trying to find a copycat recipe for two years since we got married. Thank you so much for sharing this, it’s going to be a staple in our house forever.
Wait a second, I made these last night and added a layer of crushed pretzels to the crust for a salty-sweet twist and my family went feral for them. My oldest kid who is going through a super picky teen phase asked if we could have these every Friday night as our new family tradition.
Solid recipe, made it for our neighborhood block party and the pan was empty in 15 minutes. Only note is I’d press the crust a little firmer next time, mine was a little crumbly when I cut into squares. Still tasted amazing, just messy to eat standing up while chatting with neighbors.