
Malasada
intro
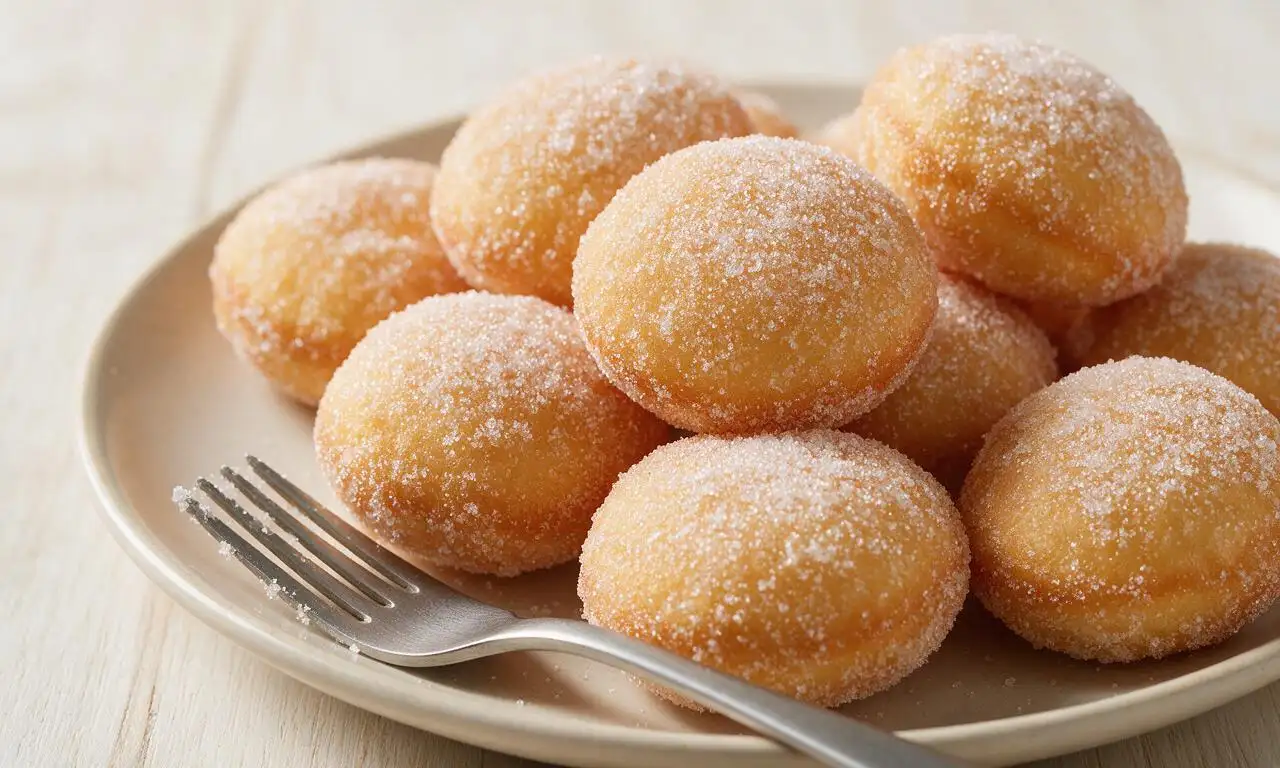
Pillowy, hole-free fried doughnuts iconic to Hawaii, adapted from Portuguese recipes, coated in crisp granulated sugar with a light, buttery, airy crumb.
Ingredients
Steps
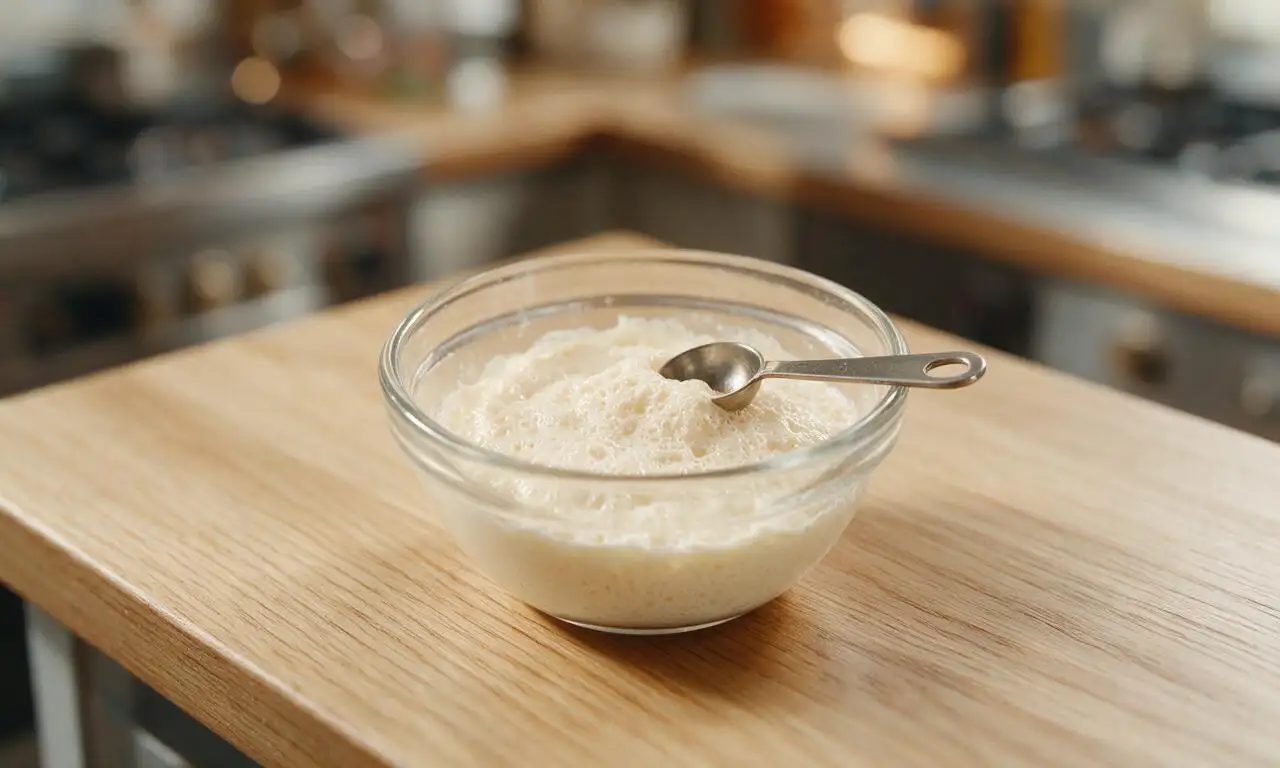
Activate the yeast
In a small bowl, combine the warmed 180ml whole milk (100°F/38°C, do not use hotter milk as it will kill yeast), 1 teaspoon of the dough sugar, and 7g active dry yeast. Stir gently to combine, then let rest for 5-7 minutes at room temperature until the surface forms a foamy, bubbly layer, confirming the yeast is active.
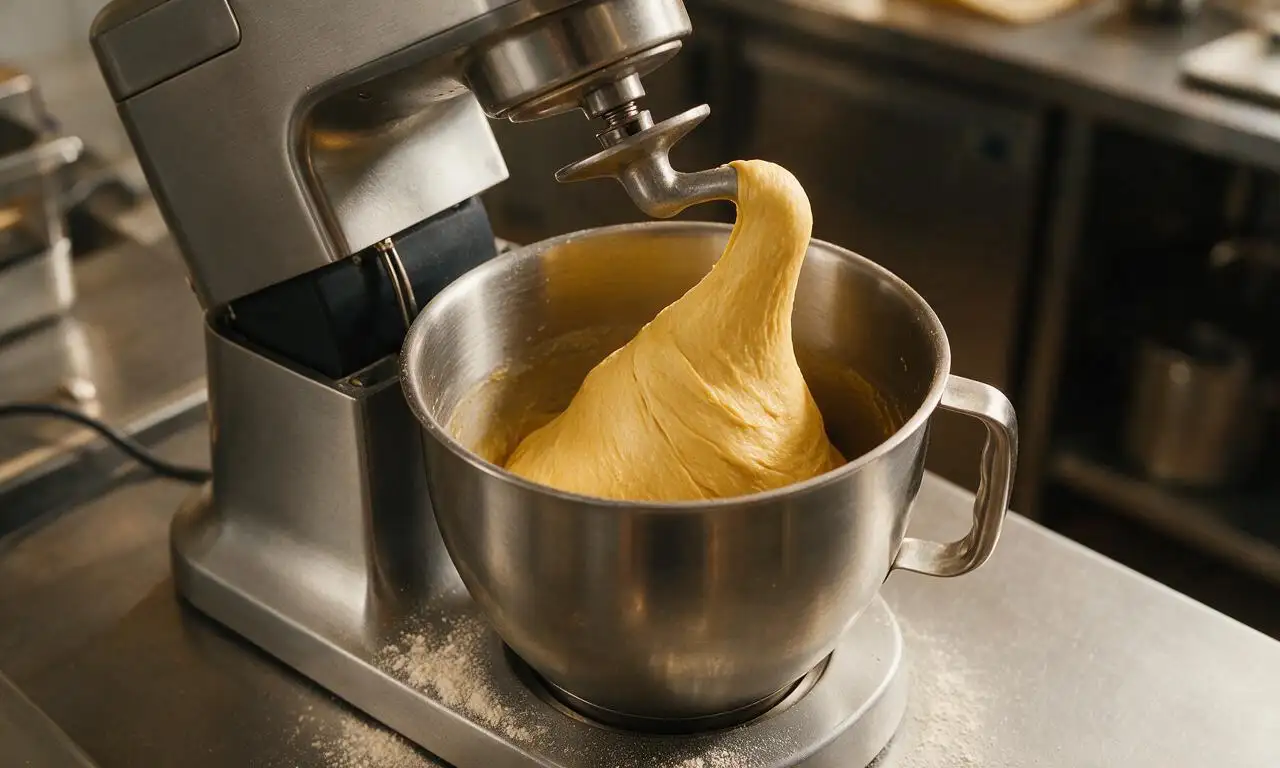
Mix the enriched dough
In the bowl of a stand mixer fitted with a dough hook, combine 480g all-purpose flour, remaining dough sugar, and 1 teaspoon fine sea salt. Add the foamy yeast mixture, 3 room-temperature large eggs, 5ml vanilla extract, and cooled melted 57g unsalted butter. Mix on low speed (speed 2 on most household stand mixers) for 8 minutes, until the dough is smooth, soft, and pulls cleanly away from the bowl sides, feeling tacky but not sticky when touched lightly.
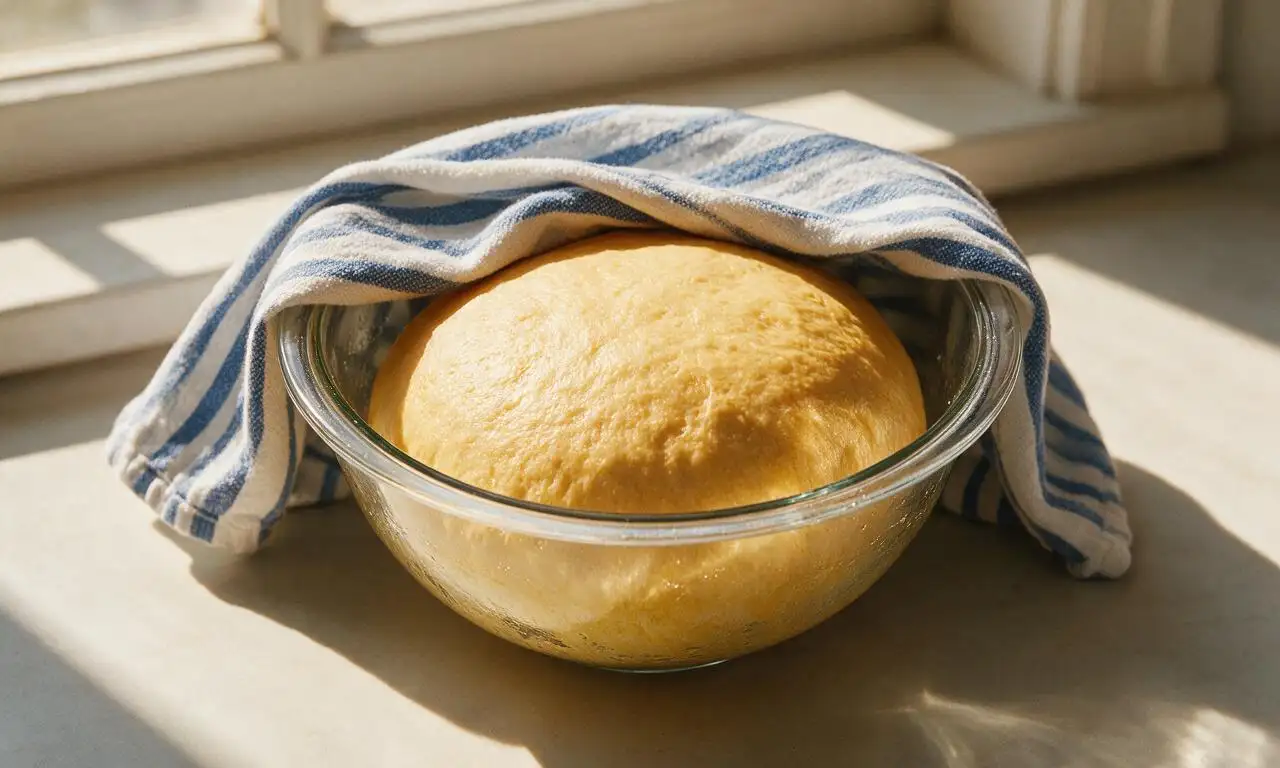
First dough proof
Lightly grease a large clean glass bowl with 1 teaspoon of neutral oil, form the mixed dough into a tight ball, and place it seam-side down in the bowl. Cover tightly with plastic wrap and a clean cotton kitchen towel, then let rise in a warm, draft-free spot (75°F/24°C is ideal) for 90 minutes, until the dough has doubled in volume and leaves a slow-springing indent when poked gently.
Shape malasada portions
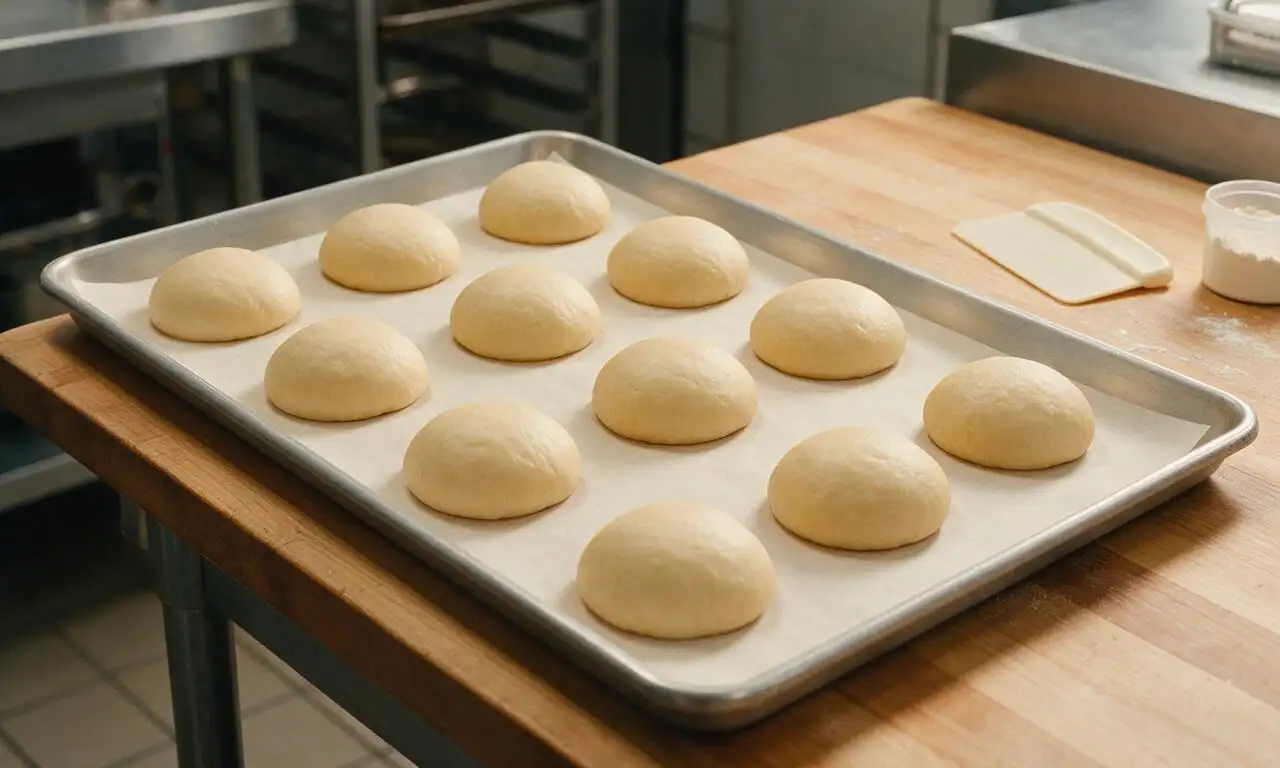
Once the dough has doubled, punch it firmly in the center to release all trapped air. Turn it out onto a lightly floured work surface, and divide into 12 equal 65g portions. Roll each portion into a tight, smooth ball, spacing them 5cm (2 inches) apart on a parchment-lined baking sheet. Cover loosely with a kitchen towel and let rest for 20 minutes to puff slightly, so they hold their round shape during frying.
Fry to golden perfection
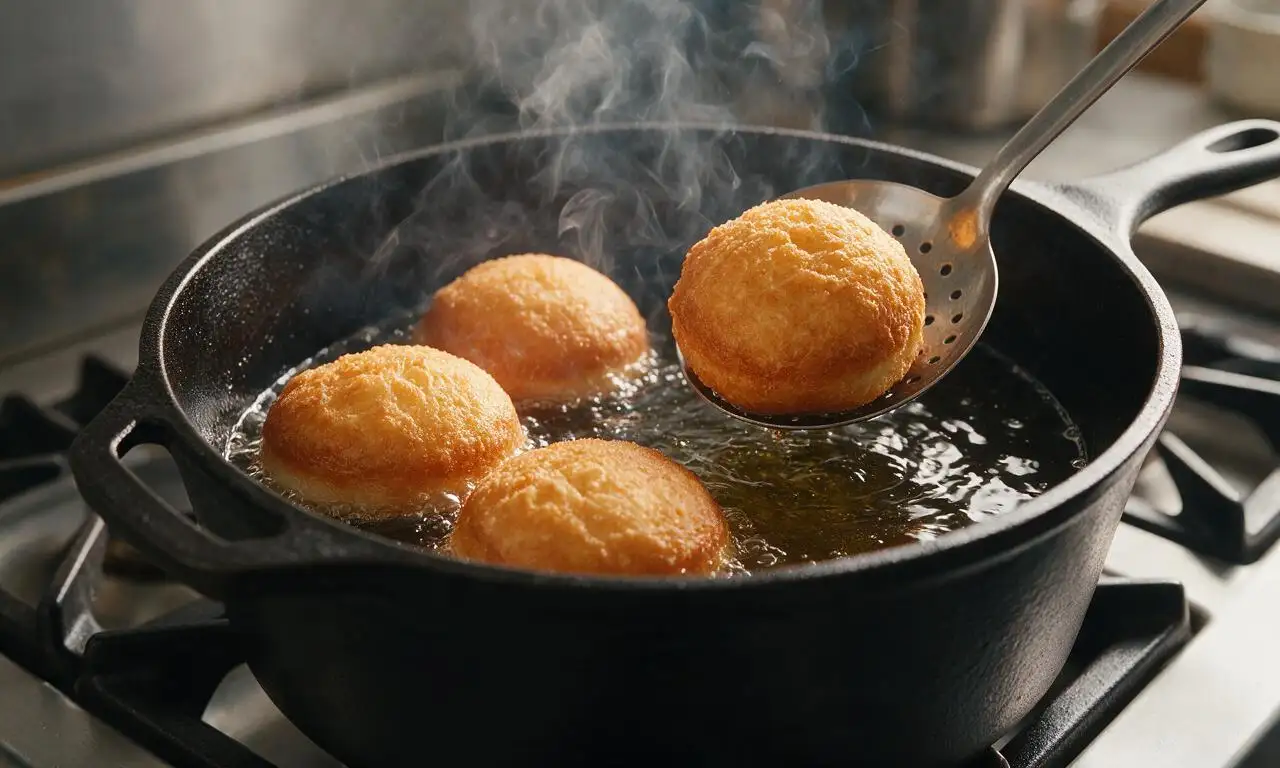
Heat 1.5 liters of neutral frying oil in a heavy-bottomed Dutch oven to 350°F/175°C over medium stovetop heat, using a clip-on candy thermometer to monitor temperature closely. Working in batches of 3-4 malasadas at a time (do not overcrowd the pot, as this drops oil temperature and causes greasy dough), fry for 2 minutes per side until deep, even golden brown all over, adjusting heat as needed to maintain a steady 350°F. Use a slotted metal spoon to transfer cooked malasadas to a wire rack set over a baking sheet to drain for 1 minute.
Coat and serve warm
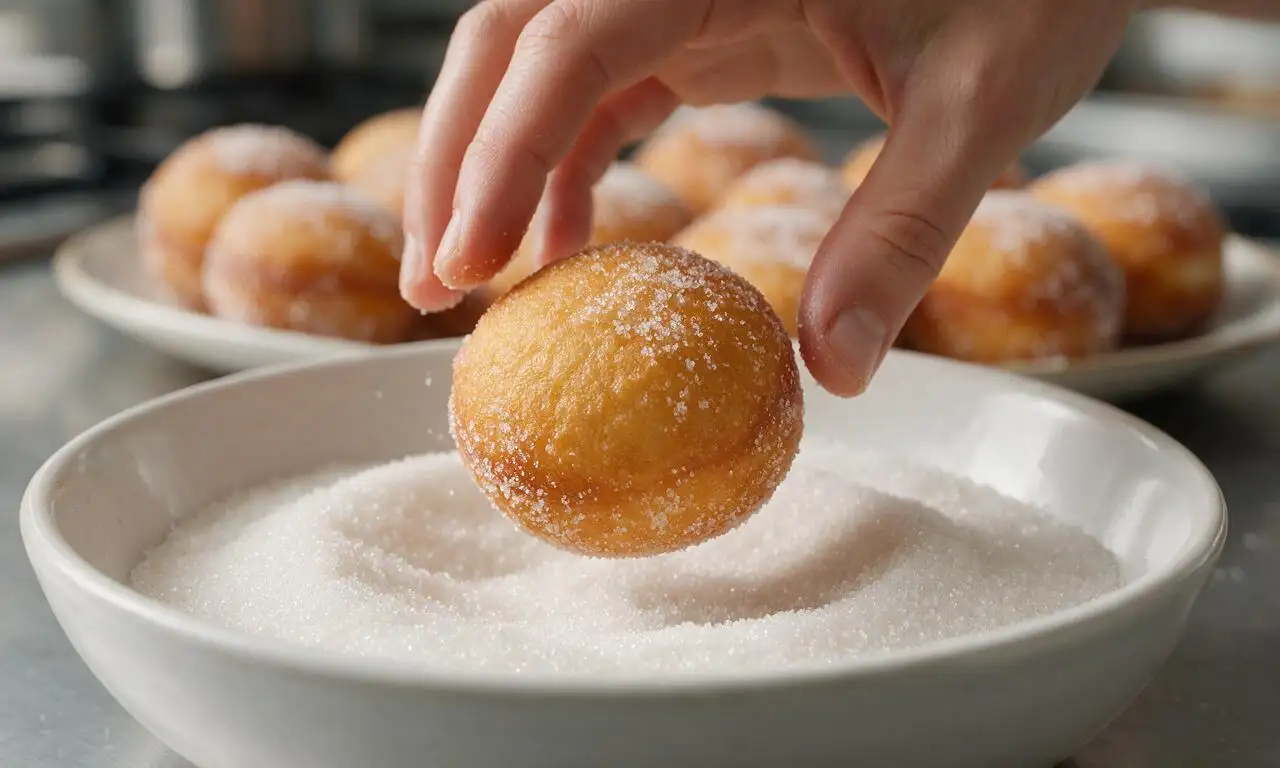
While the drained malasadas are still warm (not piping hot, which will melt sugar into a sticky glaze instead of a crisp coating), add them one at a time to a shallow bowl holding 150g granulated sugar, tossing thoroughly to coat every surface evenly. Serve immediately, as classic malasadas have the best light, fluffy texture when eaten within 2 hours of frying.
Tips
2.If you do not have a warm, draft-free spot for proofing dough, heat your oven to 200°F/93°C for 1 minute, then turn it off completely before placing the covered dough bowl inside. This creates a consistent 75°F/24°C environment perfect for even yeast rising.
3.Resist adding extra flour during kneading if the dough feels slightly tacky: a soft, supple, slightly tacky dough produces the lightest, airiest malasadas, while too much extra flour will result in dense, tough, bread-like fried dough.






OMG these malasadas were an absolute hit at my kid’s soccer team potluck last weekend! I was nervous to work with yeast dough for the first time in forever but the steps were so straightforward. They were light, fluffy, and the sugar crust was *chef’s kiss*. Even the coach asked for the recipe! Will be making these again for our next family game night for sure.
Took me a little longer than 2.5 hours because my kitchen was cold and the dough took extra time to rise, but WOW was it worth it. These taste exactly like the malasadas I used to get from the bakery on Maui when I was a kid. So pillowy, not too sweet, perfect with a hot cup of Kona coffee.
Made these for my dorm floor’s late night study session and they were GONE in 10 minutes flat. I didn’t have a stand mixer so I kneaded the dough by hand and it still turned out great! Pro tip: don’t skimp on the sugar coating while they’re still warm, it sticks so much better.
Help! I tried making these last night and my dough didn’t rise at all. I used instant yeast like the recipe said but it was super dense after I fried them. Did I kill the yeast somehow? I really want these to turn out for my partner’s birthday this weekend :(
Game changer. I’ve tried so many malasada recipes over the years and this is the only one that gets that light, airy texture just right without being greasy. I rolled half in cinnamon sugar and half in plain granulated sugar and both were chef’s kiss. 10/10
These were SO good after a long morning hike last weekend. I made a batch the night before, stored them in an airtight container, and they were still soft when we pulled them out at the summit. Just a quick toss in a little extra sugar and they were good as fresh. Perfect post-trail treat.
I made the regular version of these for my son’s birthday party and they were a huge hit! Has anyone tried making these with gluten free all purpose flour? My daughter has celiac and she’s been begging for malasadas ever since we tried them on our trip to Portugal last summer.
Fried these up for my roommates last night and we may have eaten the entire batch while watching bad reality TV. No regrets. The outside is perfectly crisp right out of the fryer and the inside is like biting into a sweet, fluffy cloud. 100% adding this to my regular rotation.
I was skeptical about making a sweet donut recipe on my outdoor propane fryer but it worked like a charm. Cooked 3 at a time, didn’t crowd the pot, and they came out golden brown in exactly 2 minutes per side like the recipe said. Served them with a side of warm chocolate sauce for dipping and my whole family raved.
These were so good when I made them last week! Wait, can you freeze these after frying? I like to make big batches of treats on Sunday to grab for quick snacks during the work week but I don’t want them to get all soggy in the freezer.
Made these for my weekend brunch spread and they were the star of the show! I set out little bowls of cinnamon sugar, powdered sugar, and chocolate sprinkles for people to coat their own and it was such a fun activity. Even my picky toddler ate two whole malasadas, which is a win in my book.
Full transparency: I messed up the first batch because I rolled the dough too thin, so they came out more like crispy sugar chips than fluffy malasadas. The second batch I rolled to exactly 1/2 inch thick like the recipe said and *chefs kiss* perfect. Don’t be like me and skip the thickness note, folks!
I brought these to our town’s annual bake sale last weekend and I sold out in 20 minutes! People were coming back asking if I had any more hidden under the table. The recipe is so easy to scale up too, I tripled it without any issues. Already have requests to make them for the high school fundraiser next month.
Made these for my partner for our at-home date night to recreate our first date to a Portuguese restaurant and they were better than the restaurant version! We ate them warm while listening to our wedding playlist and it was such a sweet little night. This recipe is going in our permanent family recipe box.
Taste was amazing but wow, 2.5 hours felt like forever when I was waiting for the dough to rise. I get that it’s yeast dough so there’s no way around it, but next time I’m going to prep the dough the night before and let it do a slow rise in the fridge so I don’t spend half my Sunday waiting around. Still delicious enough that I’ll make them again, though!