
Malasadas
intro
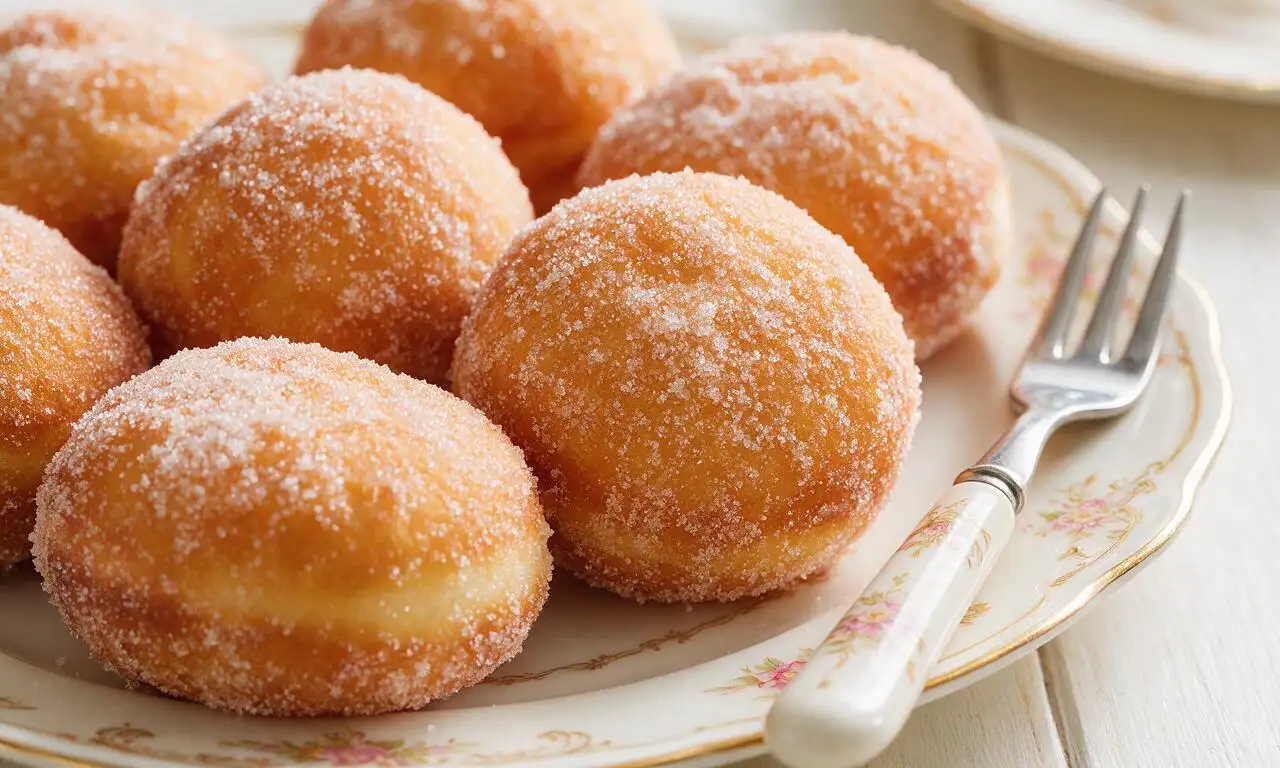
Pillowy, hole-free fried dough rolls coated in crisp granulated sugar, a beloved Hawaiian-American treat adapted from Portuguese immigrant baking traditions.
Ingredients
Steps
Activate the yeast
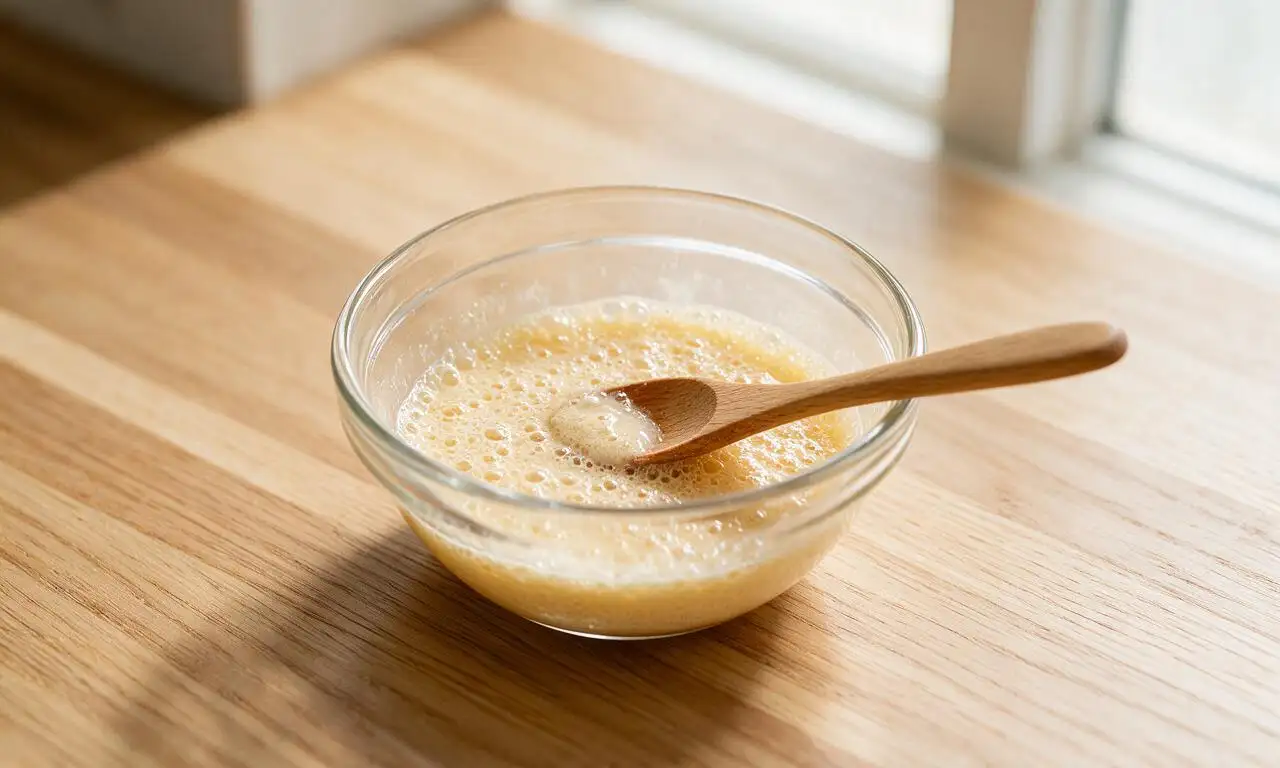
In a small bowl, combine warmed whole milk (heated to 105°F/40°C, no hotter to avoid killing yeast), 1 teaspoon of the portioned dough sugar, and active dry yeast. Stir gently to combine, then let rest for 5-7 minutes until the mixture forms a foamy, frothy layer on top, confirming the yeast is active and alive.
Mix the malasada dough
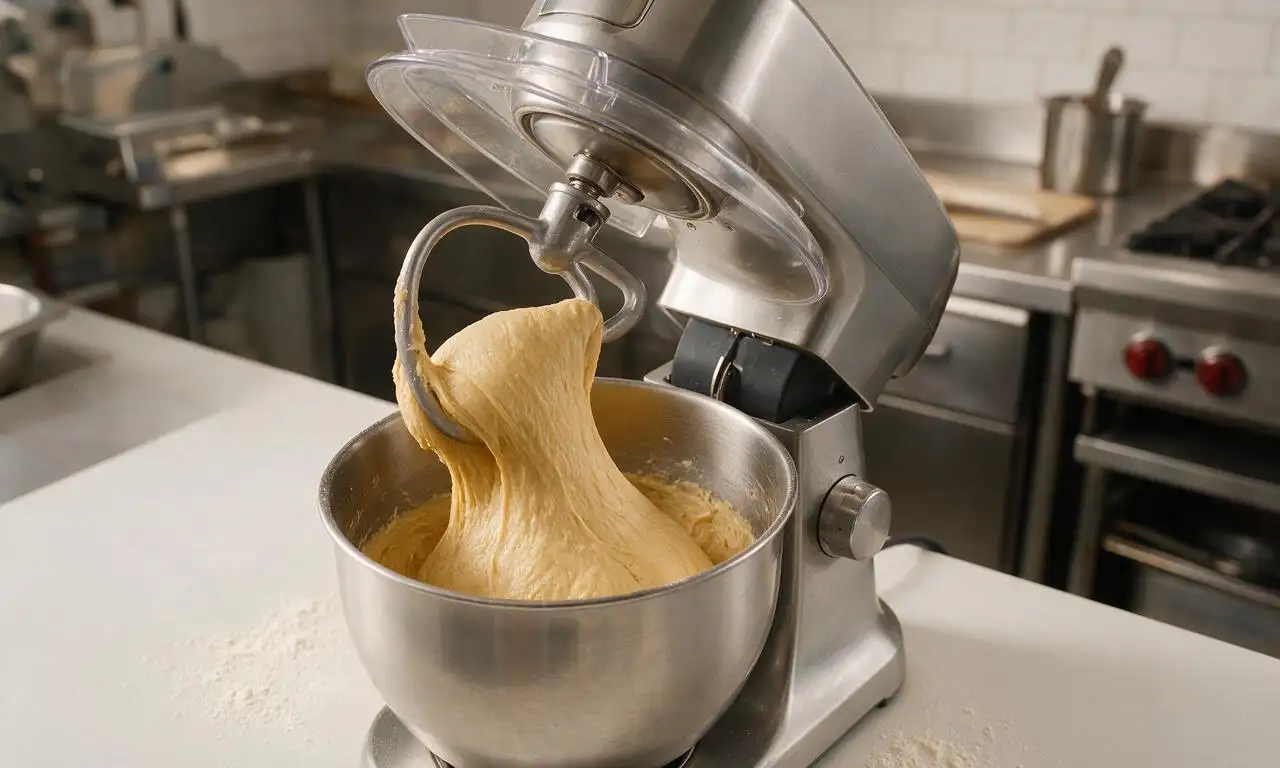
In the bowl of a stand mixer fitted with a dough hook attachment, add the remaining dough sugar, room-temperature large eggs, melted cooled unsalted butter, vanilla extract, fine sea salt, foamy activated yeast mixture, and all-purpose flour. Mix on low speed (mixer setting 2) for 4 minutes to combine ingredients, then increase to medium-low speed (mixer setting 4) for 6 minutes, until the dough is smooth, soft, and pulls cleanly away from the bowl sides, with a slightly tacky but not sticky surface.
First dough proof
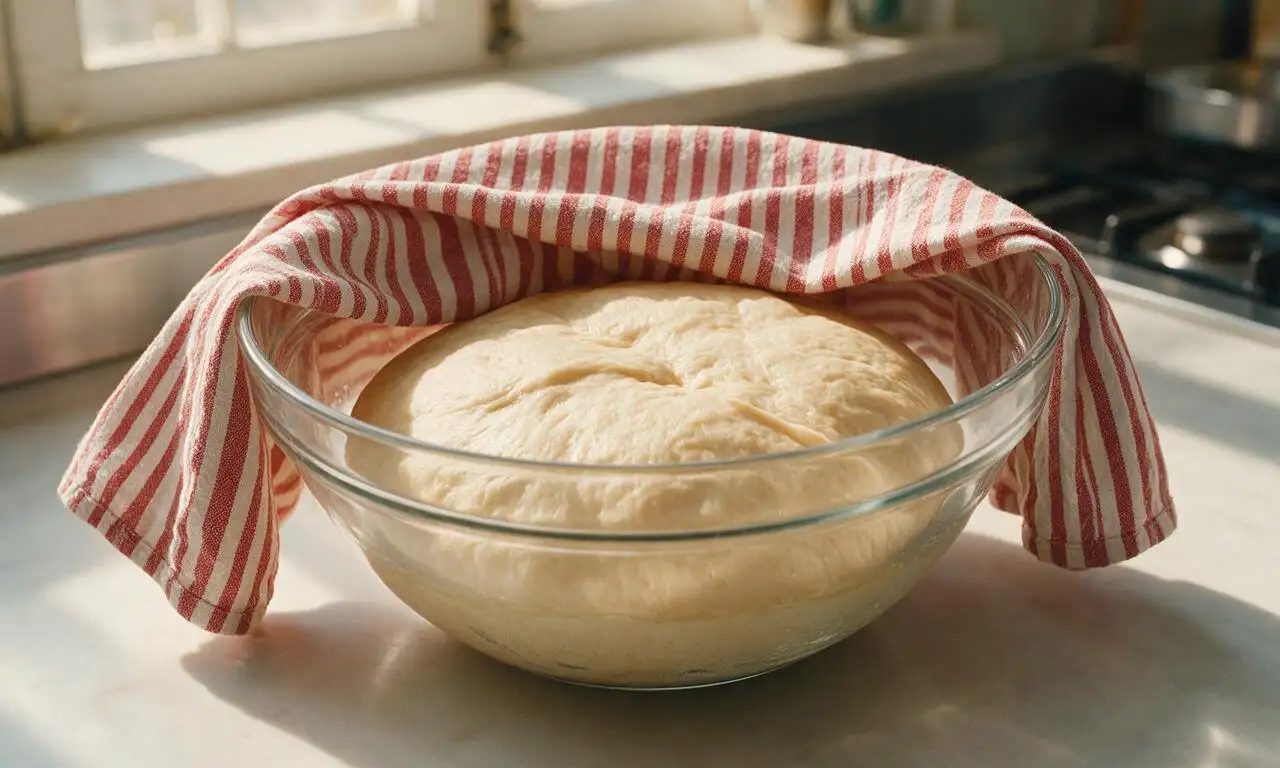
Lightly grease a large clean glass bowl with 1 teaspoon of vegetable oil, form the kneaded dough into a tight smooth ball, and place it in the bowl, turning once to coat the dough surface lightly in oil. Cover the bowl tightly with plastic wrap and a clean cotton kitchen towel, then set it in a warm, draft-free spot (75°F/24°C) to rise for 1 hour, or until the dough doubles in total volume.
Shape dough portions
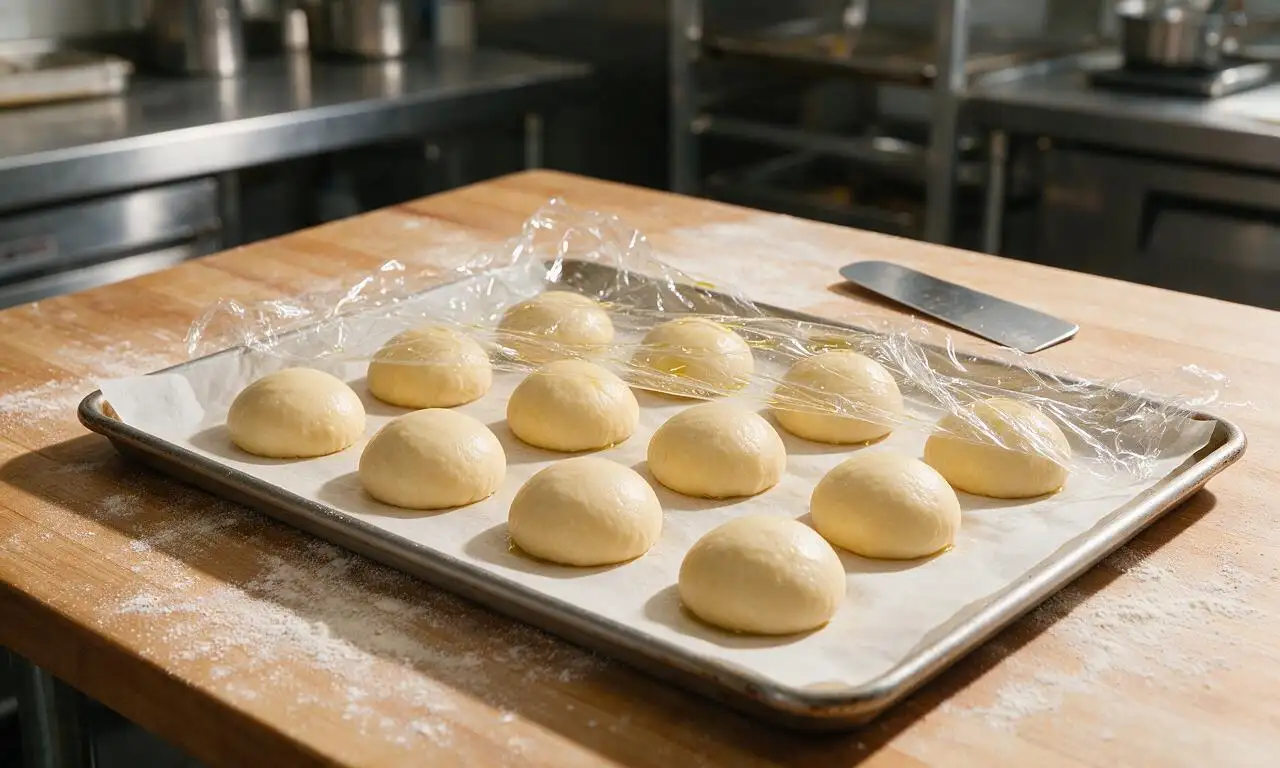
Once the dough has doubled, punch it firmly in the center to release all trapped air, then turn it out onto a lightly floured work surface. Divide the dough into 12 equal 70-gram portions using a bench scraper, roll each portion into a tight, smooth round ball, and place the balls 5cm (2 inches) apart on a parchment paper-lined baking sheet. Cover loosely with oiled plastic wrap and let rise a second time for 30 minutes, until the balls are puffy and increased by 50% in size.
Heat frying oil
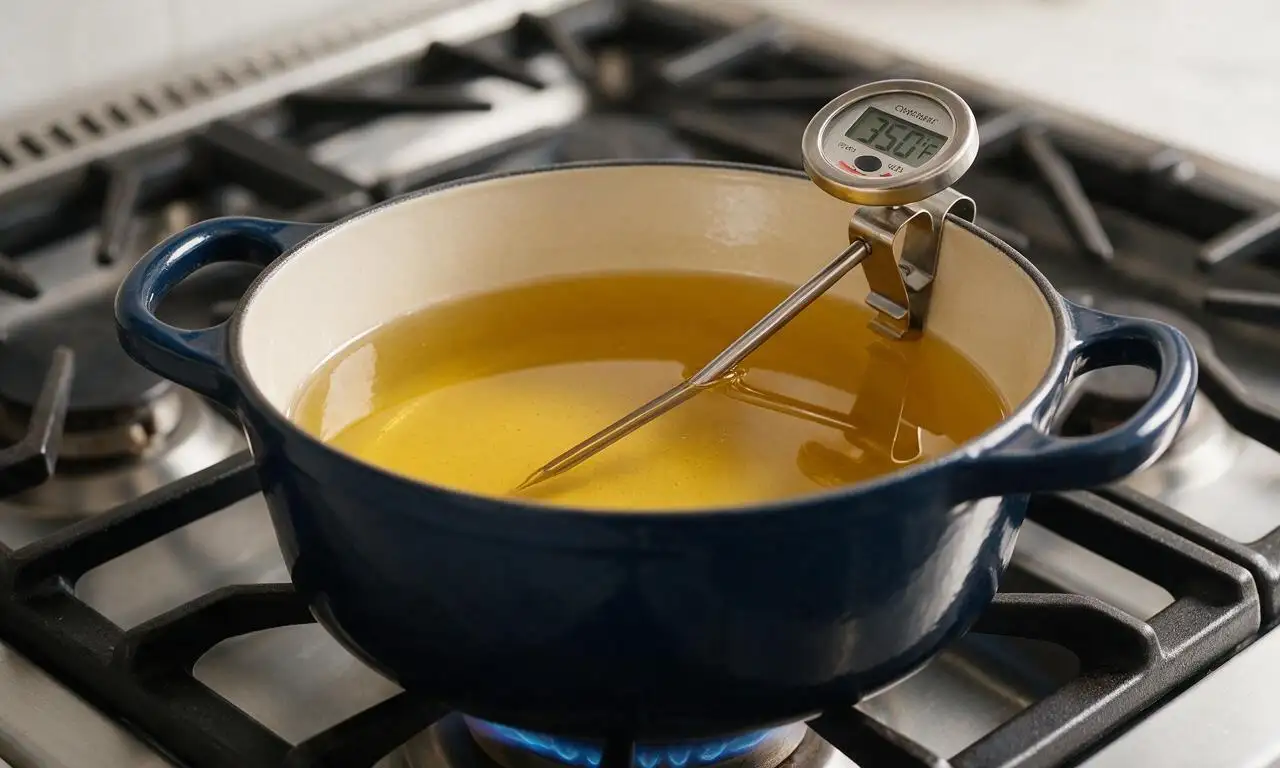
While the dough completes its second rise, pour the remaining neutral vegetable oil into a large heavy-bottomed Dutch oven, clipping a candy/deep fry thermometer to the inner side of the pot. Heat the oil over medium stovetop heat until it reaches a steady 350°F/175°C, adjusting the burner heat as needed to maintain this consistent temperature throughout the frying process.
Fry to golden brown
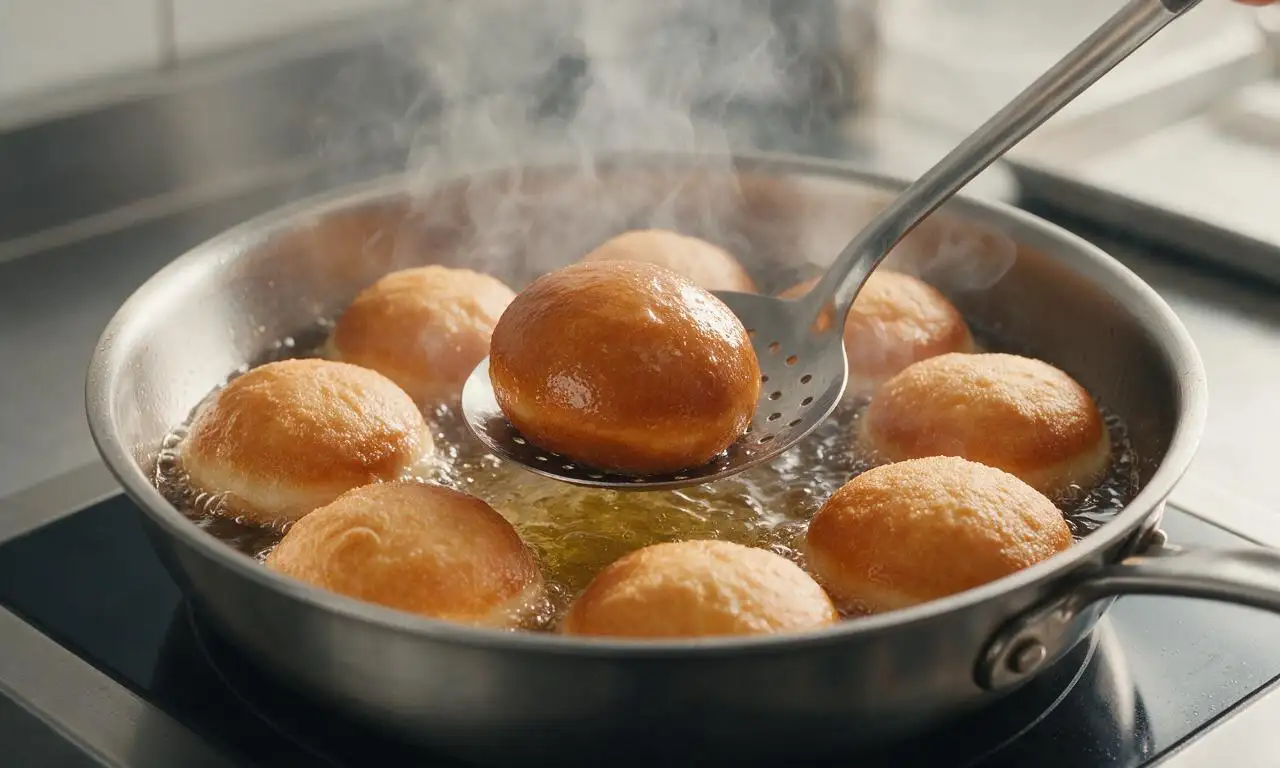
Carefully lower 3-4 dough balls into the hot oil at a time, taking care not to crowd the pot (which causes oil temperature to drop sharply). Fry for 2 minutes per side, using a slotted metal spoon to flip the malasadas, until both sides are a deep, even golden brown and the internal temperature of the dough reaches 190°F/88°C. Remove fried malasadas from the oil and let drain on a wire rack set over paper towels for 1 minute to remove excess oil.
Coat and serve warm
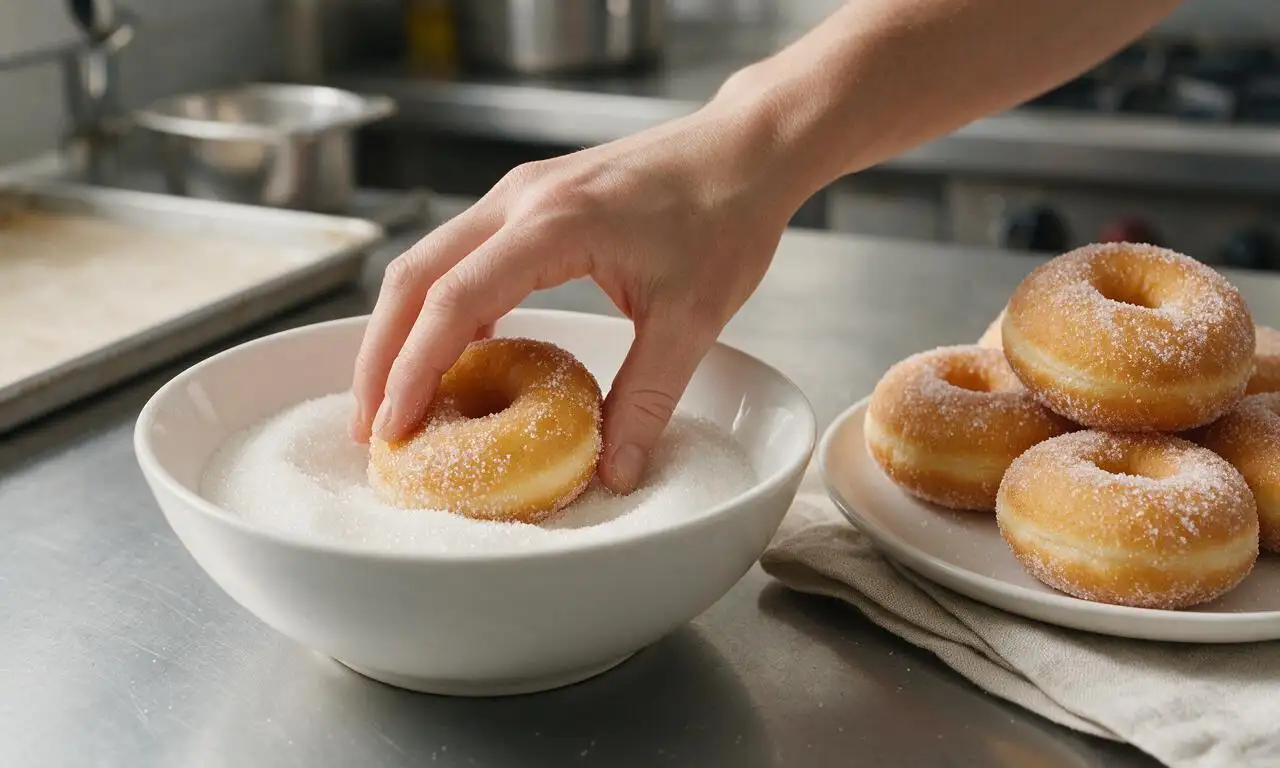
While the malasadas are still warm (not piping hot, which causes sugar to melt and clump), place them one at a time into a wide bowl holding the 200 grams (1 cup) of coating granulated sugar, tossing thoroughly to coat every surface evenly. Serve immediately, as malasadas have the best fluffy texture when eaten fresh within 2 hours of frying.
Tips
2.If your kitchen is cooler than 72°F/22°C during proofing, place the covered dough bowl inside a turned-off oven with the interior oven light turned on; this creates a perfectly warm, draft-free 75°F environment for even rising.
3.For a popular Hawaiian-style filled variation, poke a 1cm (1/2 inch) hole in the side of slightly cooled malasadas, and pipe 1 tablespoon of haupia (coconut pudding), vanilla custard, or guava jam into the center using a pastry bag fitted with a small round tip.






OMG these taste exactly like the malasadas I got from Leonard’s when we visited Oahu last year! I was so nervous the dough would be finicky since I’m pretty new to yeast breads, but the step-by-step instructions were so clear. My kids devoured half the batch before they even cooled, I had to hide the rest for our neighborhood potluck this weekend. Only tweak I made was rolling them in li hing mui powder instead of plain sugar for that extra local kick, SO good. 10/10 will make again!
Tried these for my daughter’s luau-themed birthday party and they were a total hit! I was worried the 2+ hour total time would be a pain on party day, so I prepped the dough the night before and let it do the first rise in the fridge, then fried them up right before guests arrived. Crispy on the outside, light and fluffy inside, not too sweet. People kept asking me for the recipe all night, zero leftovers. Total game changer for party desserts.
Okay, full transparency: I messed up the first batch because I killed the yeast by using water that was way too hot (rookie mistake, don’t be me). The second batch came out perfect though! The only note I have is that if you’re filling them, make sure you let them cool for at least 10 minutes first otherwise the haupia filling I made got all melty and oozed out everywhere. Still tasted amazing, just messy. Worth every minute of effort though.
Made these last night for our weekly family dinner and wow, I can’t believe how fluffy they were! I don’t have a deep fryer so I used my heavy-bottomed Dutch oven on the stovetop and kept a candy thermometer clipped to the side to keep the oil at 350°F, worked like a charm. My only question is: can I freeze the leftover dough to make these later? I’d love to keep a stash on hand for lazy Sunday mornings.