
Malasadas (Hawaii)
intro
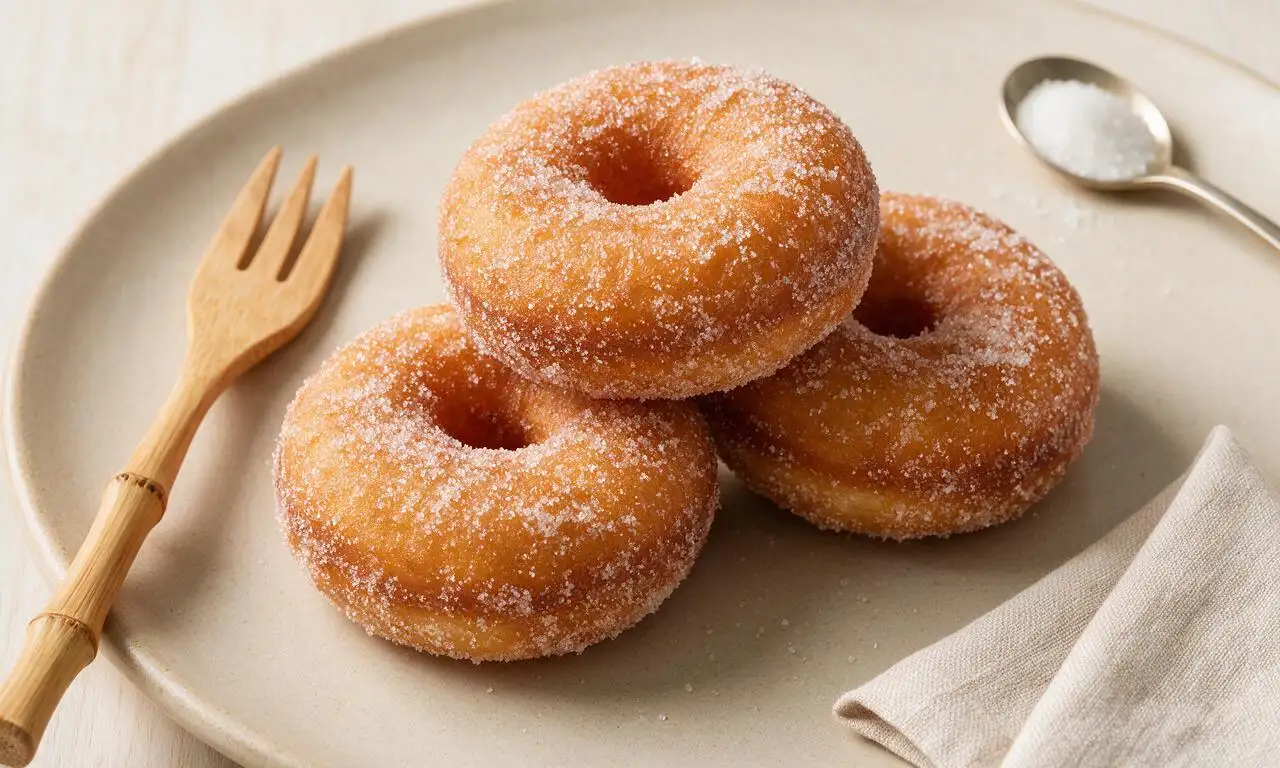
Fluffy, holeless, sugar-dusted Portuguese-Hawaiian fried doughnuts—light, rich, and airy, an iconic sweet treat from Hawaii’s beloved local food culture.
Ingredients
Steps
Activate the yeast
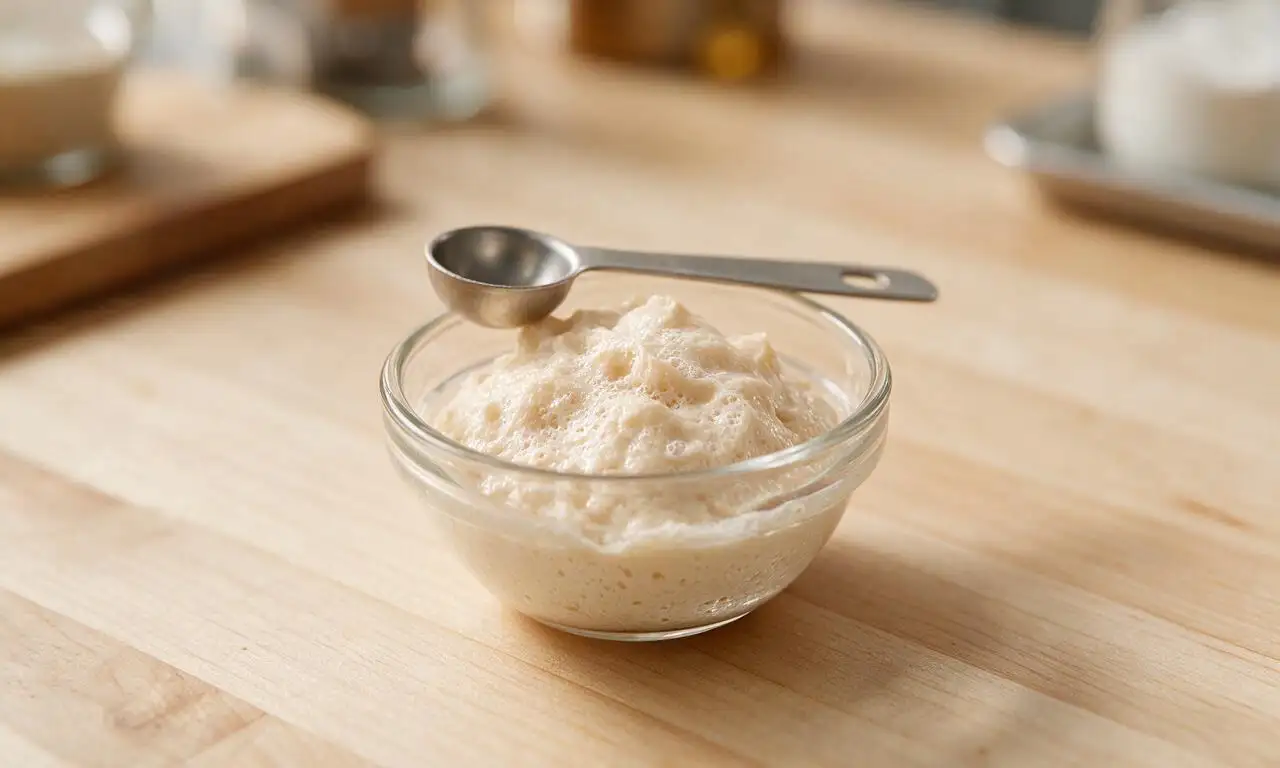
In a small heatproof bowl, combine warmed whole milk (heated to exactly 100°F/38°C, do not exceed 110°F/43°C to avoid killing yeast), 1 teaspoon (5g) of the reserved dough sugar, and the full 7g packet of active dry yeast. Stir gently to dissolve, then let rest for 5-7 minutes until the surface is covered in foamy, bubbly yeast bloom. If no foam forms after 7 minutes, discard the mixture and start with fresh, unexpired yeast.
Mix the shaggy dough
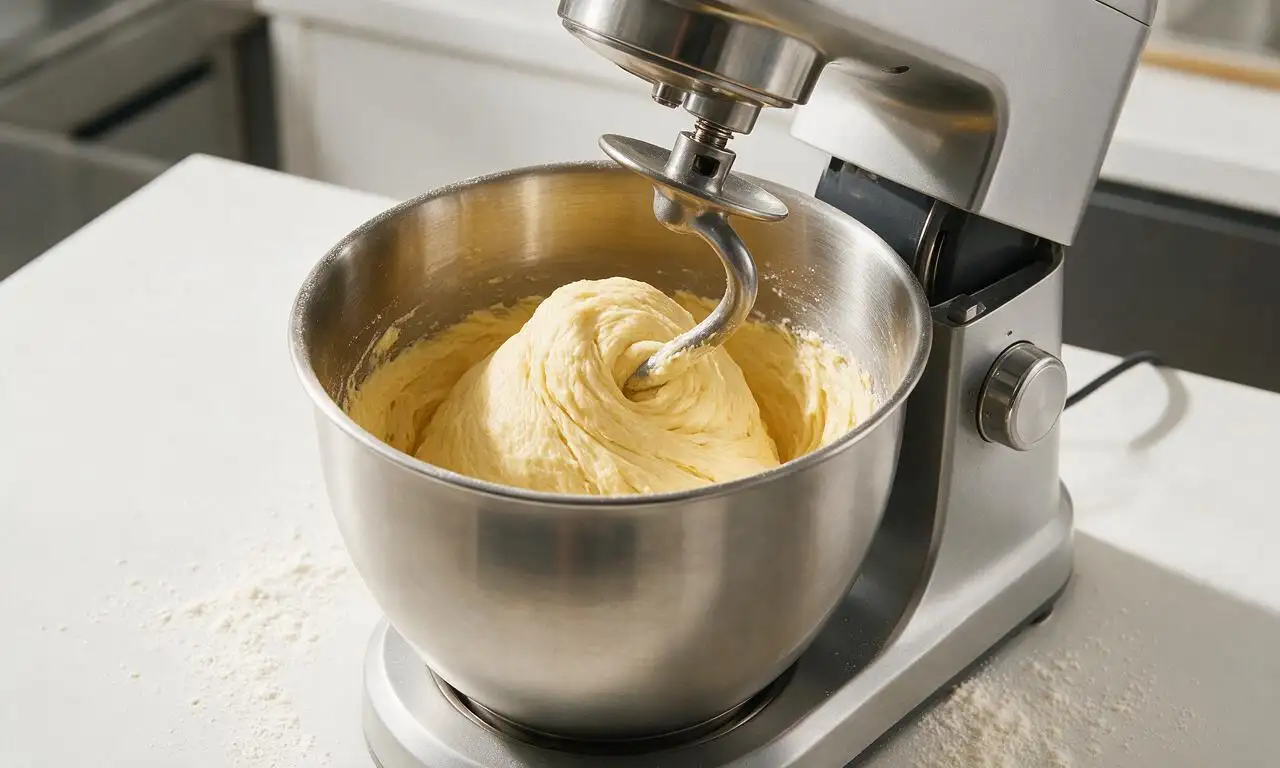
In the large bowl of a stand mixer fitted with a dough hook attachment, combine the 480g all-purpose flour, remaining 45g of dough sugar, and 5g fine sea salt, whisking briefly to evenly distribute ingredients. Pour in the activated yeast mixture, lightly beaten room-temperature eggs, 57g melted cooled unsalted butter, and 5ml vanilla extract. Mix on low speed (mixer setting 2) for 4 full minutes, stopping once halfway to scrape down the bowl sides, until a sticky, shaggy dough forms.
Knead and first rise
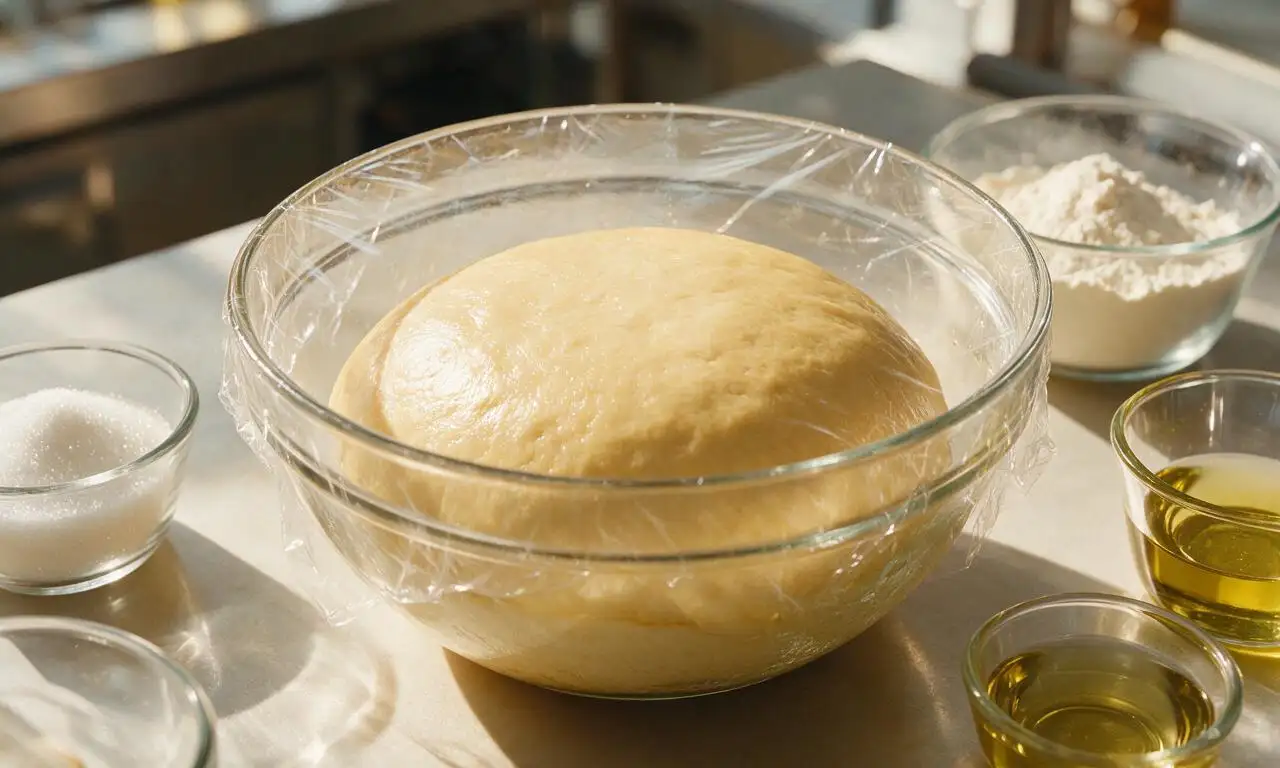
Increase the stand mixer speed to medium-low (setting 3) and knead the dough for 6-7 minutes, until it becomes smooth, elastic, and pulls cleanly away from the bowl sides (the dough will remain slightly tacky to the touch, not stiff). Lightly grease a large 3L glass bowl with 1 teaspoon of vegetable oil, place the kneaded dough inside, and turn once to coat the dough surface in oil. Cover the bowl tightly with plastic wrap, and set it in a warm, draft-free spot (75°F/24°C) to rise for 1.5 hours, until the dough has doubled in volume.
Portion dough balls
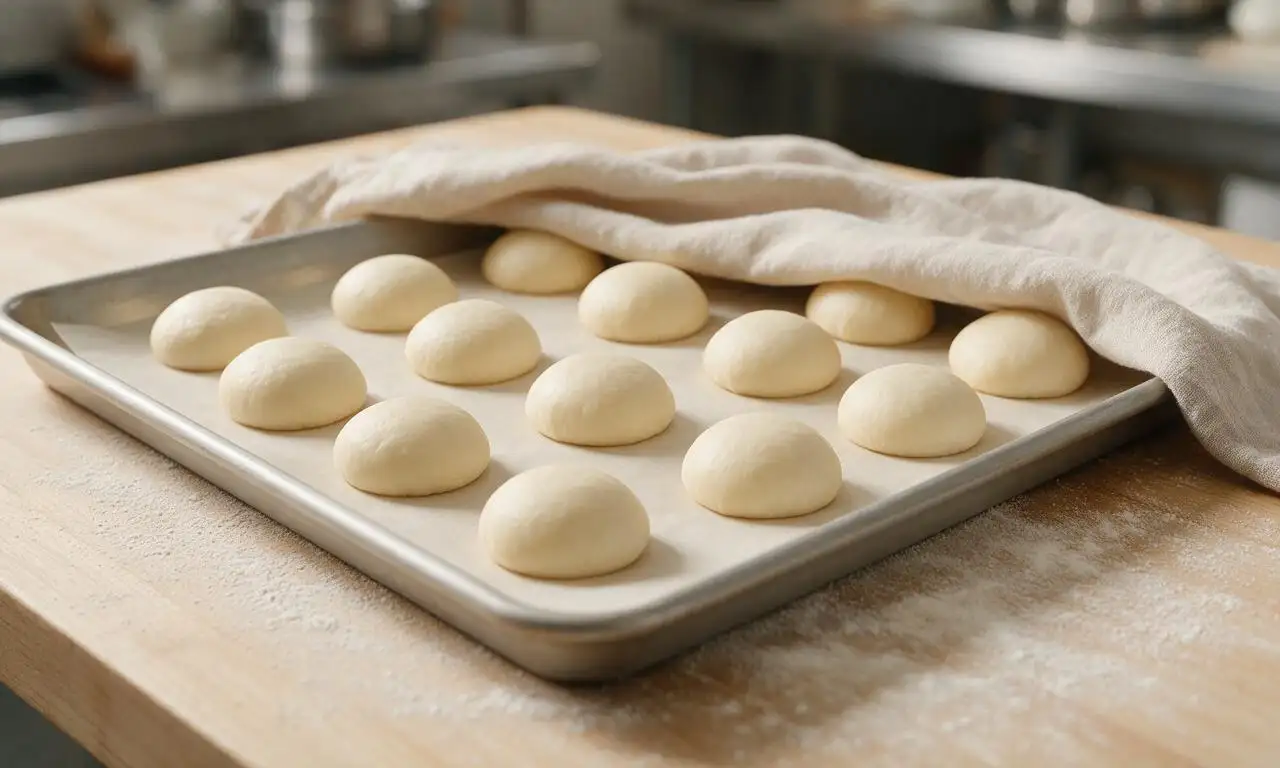
Once the dough has fully doubled, punch it firmly in the center to release all trapped air bubbles. Turn the dough out onto a very lightly floured work surface, and divide it into 12 equal pieces, each weighing 75 grams. Roll each piece into a tight, smooth ball by cupping your floured hand over the dough and making small circular motions against the counter. Arrange the balls 5cm (2 inches) apart on a parchment-lined baking sheet, cover loosely with a clean cotton kitchen towel, and let rest for 20 minutes until slightly puffed.
Fry to golden brown
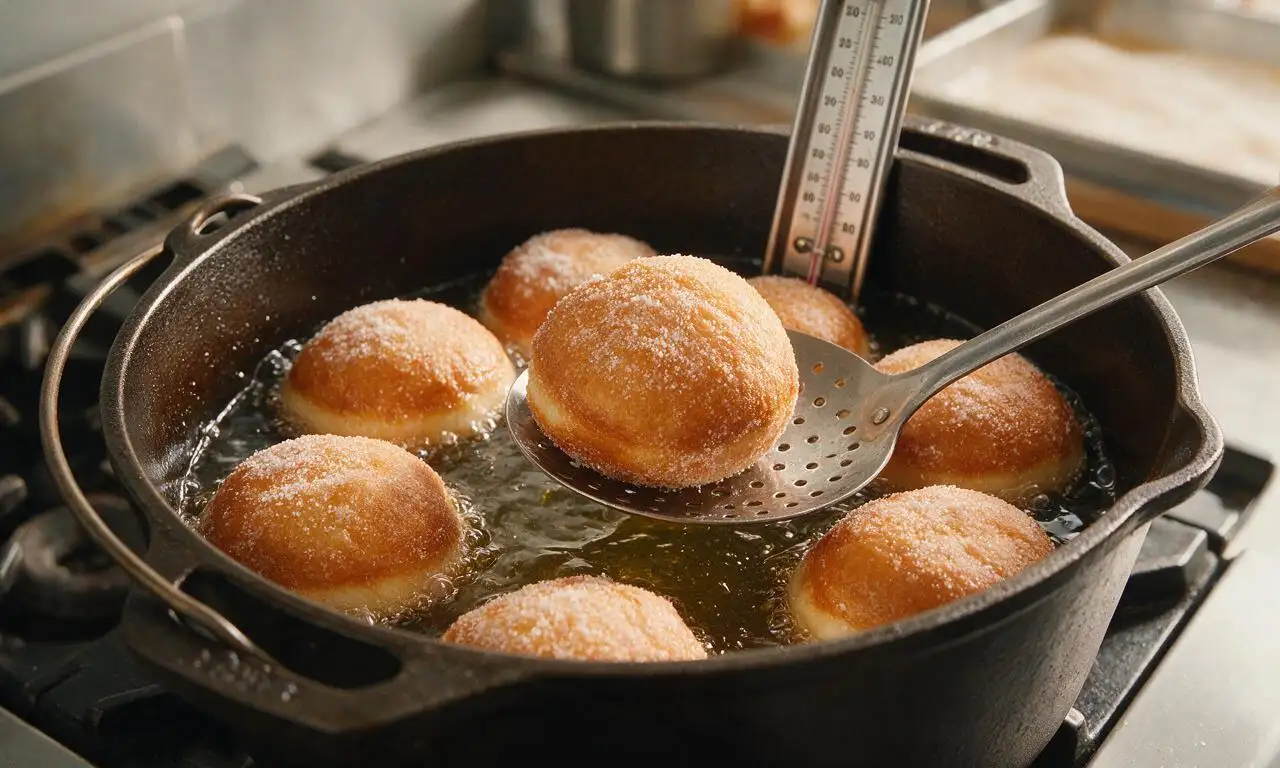
While the dough rests, pour 1.5L of neutral vegetable oil into a heavy-bottomed Dutch oven, and heat the oil to a steady 350°F/175°C, clipping a candy thermometer to the pot edge to monitor temperature. Working in small batches of 3-4 malasadas at a time (do not overcrowd the pot, as this drops oil temperature and causes greasy dough), fry for 2 minutes per side until deep, even golden brown on all surfaces. Adjust the stovetop heat as needed to keep oil between 345-355°F. Use a slotted metal spoon to transfer cooked malasadas to a wire rack set over a baking sheet to drain for 1 minute.
Coat and serve warm
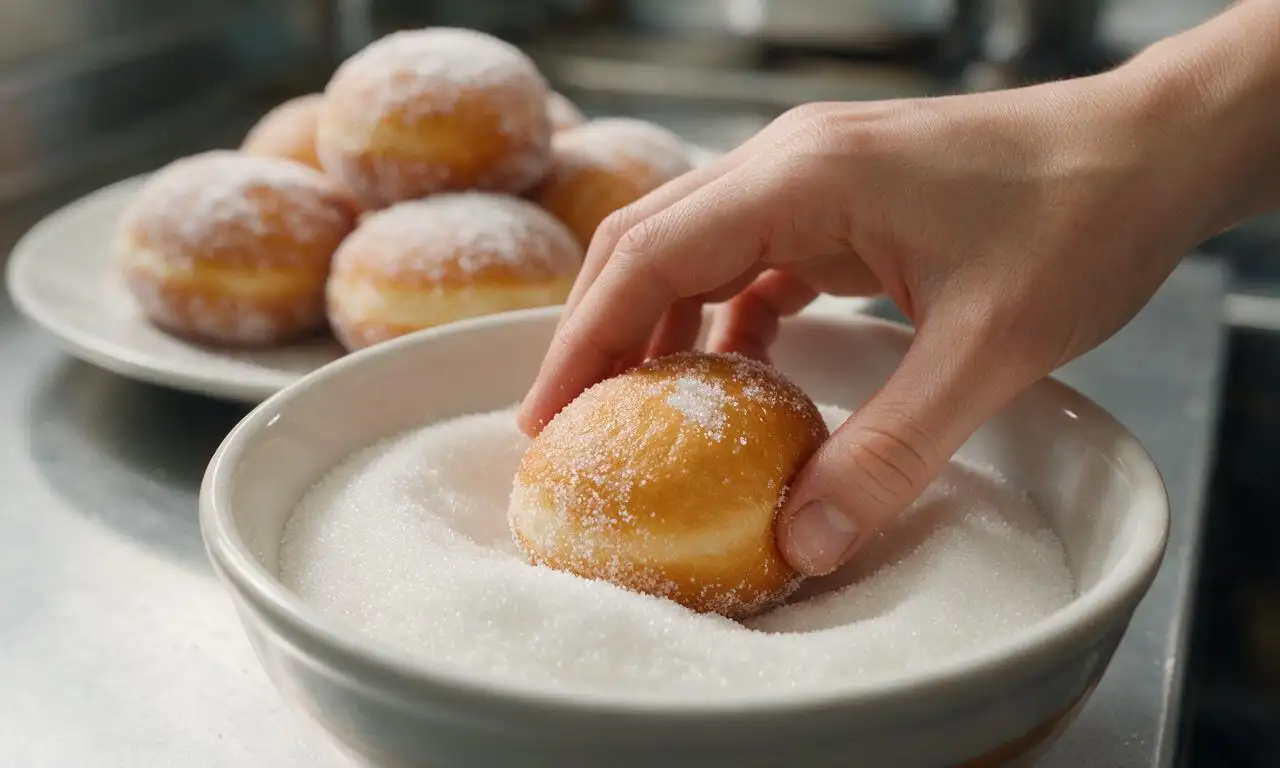
While the malasadas are still warm (about 1 minute after removing from oil, not piping hot to avoid melting sugar completely), add 2-3 malasadas at a time to a large wide bowl filled with the 200g of granulated coating sugar. Toss gently to coat every surface evenly with sugar, then return the coated malasadas to the wire rack. Serve immediately, while the dough is soft, fluffy, and warm for the best possible texture.
Tips
2.Resist adding extra flour to the dough if it feels slightly tacky during kneading: this rich egg and butter dough is intentionally soft, and adding too much extra flour will result in dense, tough malasadas instead of the signature light, fluffy texture.
3.For a popular modern Hawaiian variation, poke a 1cm (1/2 inch) hole in the side of slightly cooled malasadas, and pipe in 1 tablespoon of haupia (coconut pudding) or lilikoi (passion fruit) custard before rolling in sugar for a filled treat.






OMG these malasadas taste exactly like the ones I got from Leonard’s when we visited Oahu last summer! I was so worried I’d never get that fluffy, melt-in-your-mouth texture right at home but this recipe nailed it. Brought a batch to my office potluck yesterday and they were gone in 10 minutes flat. I did roll half in cinnamon sugar instead of plain granulated for my cinnamon-obsessed coworker and those were a hit too. 10/10 will make every other weekend from now on.
I’ve been intimidated to try fried dough recipes for years because I always thought they’d be too fussy, but the step-by-step instructions here made this so doable! My kids loved them so much they kept begging for a second one before they even finished their first after school yesterday. Only note is that my first batch fried a little faster than the recipe said, so definitely keep a close eye on them once they hit the oil.
Game changer. I made these for my family’s Sunday brunch and everyone thought I picked them up from a fancy bakery. The dough is so light and airy, not greasy at all like some store-bought doughnuts I’ve had. Wait, has anyone tried filling these with haupia? I feel like that would be next level.
Took a little longer than I expected for the dough to rise in my super cold NYC apartment, but the end result was SO worth the wait. Rolled mine in sugar while they were still warm and they were absolute perfection. Already sent the recipe link to three of my friends who are always hunting for good brunch recipes.
Made these for my son’s birthday party over the weekend and all the parents were asking for the recipe! I added a tiny bit of lemon zest to the sugar for a little bright kick and it complemented the rich fried dough so well. Will absolutely be adding this to my regular potluck rotation.
First time ever making any kind of yeast dough and I only messed up one part! I accidentally let my oil get too hot at first so the first two malasadas were a little dark on the outside and raw in the middle, but once I got the temp sorted they turned out amazing. My roommate ate three in a row without even pausing to talk. Wild.
These are such a great weekday breakfast hack! I made a half batch on Sunday and stored the leftover risen dough in the fridge to fry up a couple each morning this week and it worked like a charm. Warm, fresh malasada for breakfast without the 2 hour wait on a busy weekday? Total win.
I grew up eating malasadas from the Portuguese bakery in my grandma’s town, so I’m super picky about how they taste. This recipe is the closest I’ve ever gotten to that nostalgic flavor at home! The only thing I changed was using a little extra vanilla in the dough, just like my grandma used to do.
SO good. I was worried these would be too heavy since they’re fried, but they’re so light they practically float. I brought them on a camping trip last weekend and fried them up over our camp stove and everyone in our camp group wandered over to ask what smelled so good. 10/10, even works for camp cooking!
Tried this recipe last night and the texture was perfect, but I found the plain sugar coating a little boring? Next time I’m going to mix in some matcha powder with the sugar for a little fun twist, and maybe fill a few with Nutella for my partner. Still, solid base recipe that’s easy to follow even for medium difficulty.
I was a dummy and forgot to let the dough come to room temp after the second rise, so my first batch came out a little denser than the photos look. Even with that mistake, they were still so tasty! I’m making them again this weekend and actually following the rise instructions properly this time, I know they’ll be perfect.