
Maple Candy (VT)
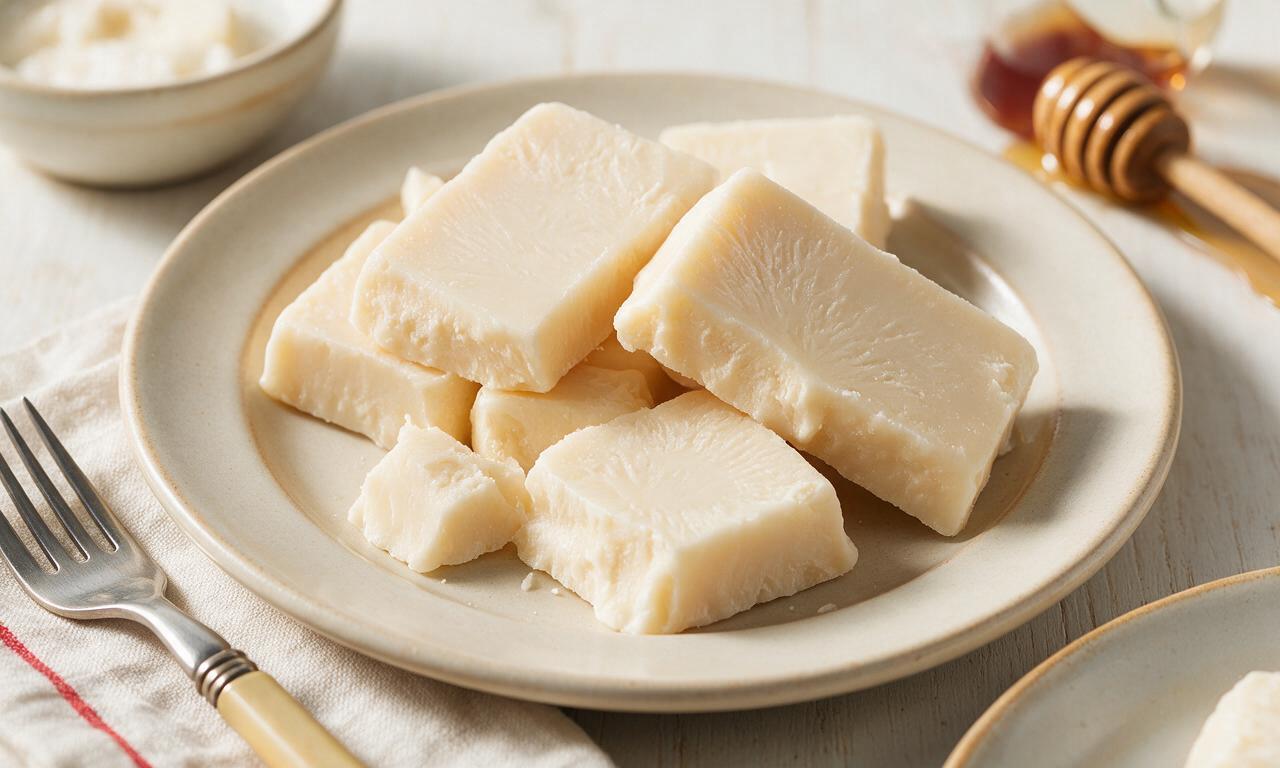
intro
Creamy, melt-in-your-mouth Vermont maple candy, made with pure maple syrup, boasting rich deep maple flavor and a smooth, fudgy meltaway texture.
Ingredients
Steps
Prep molds and equipment
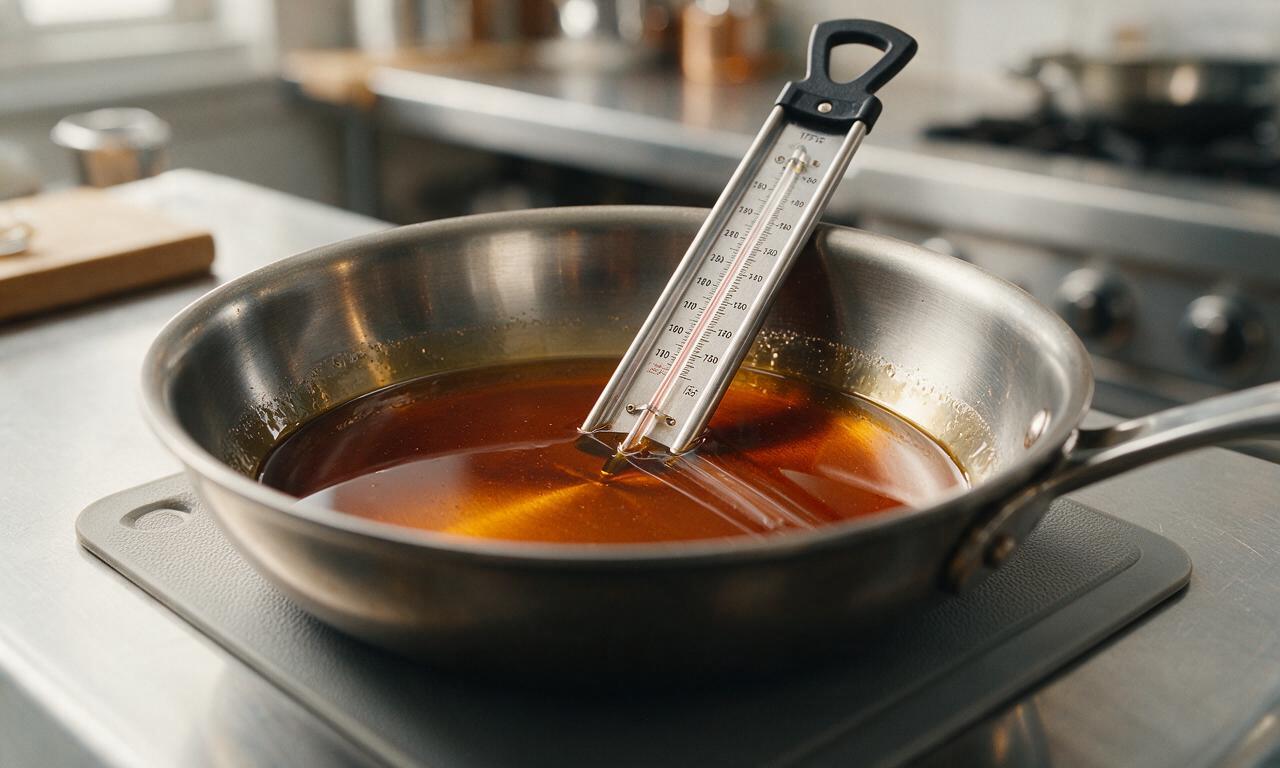
Lightly grease 24 small candy mold cavities (or an 8x8 inch square baking pan) with 1 teaspoon neutral vegetable oil and set aside. Clip a candy thermometer to the side of a heavy-bottomed 3-quart saucepan, ensuring the tip does not touch the pan base, and arrange all ingredients within easy reach to avoid rushing during temperature checks.
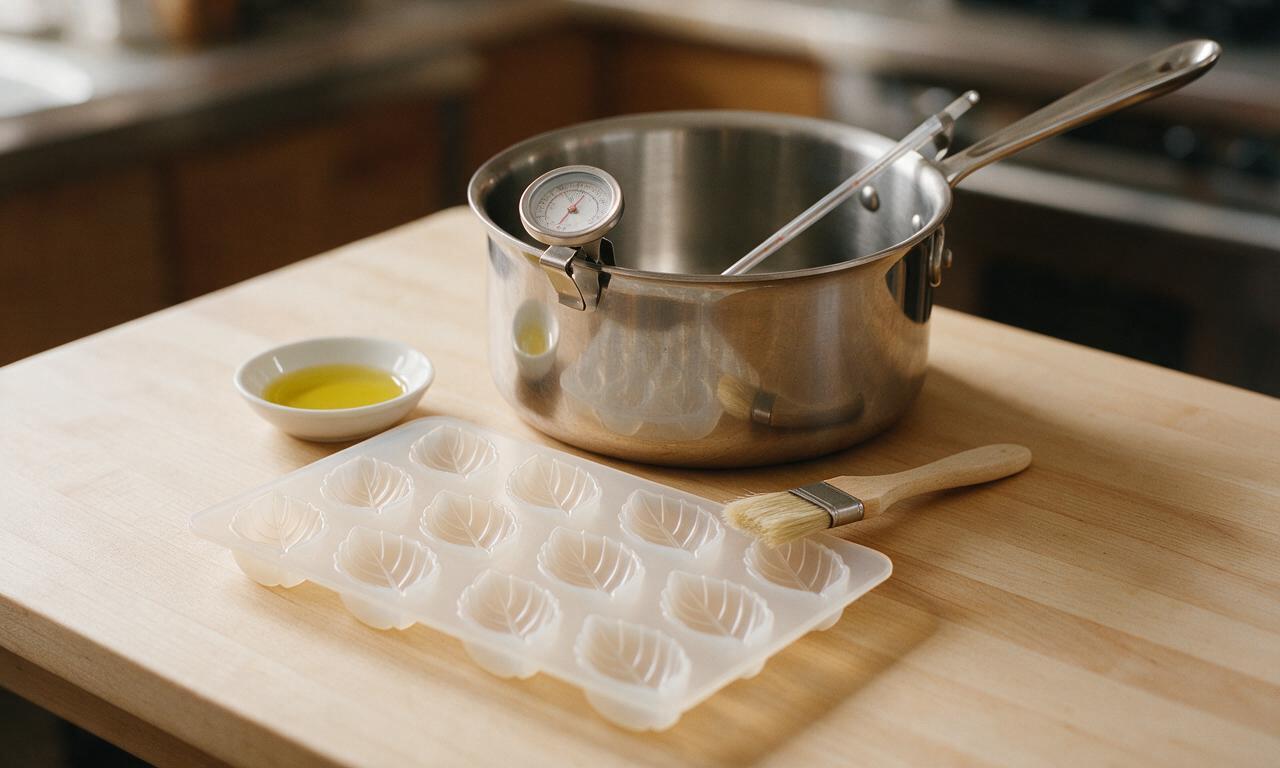
Heat maple syrup to boil
Pour 2 cups (473 ml) pure Vermont dark amber maple syrup into the prepared saucepan, add 1 tablespoon (14g) unsalted butter, and set over medium heat. Stir gently until the butter fully melts and the syrup reaches a steady rolling boil, approximately 4-5 minutes. Do not use heat higher than medium to prevent scorching the syrup on the pan bottom.
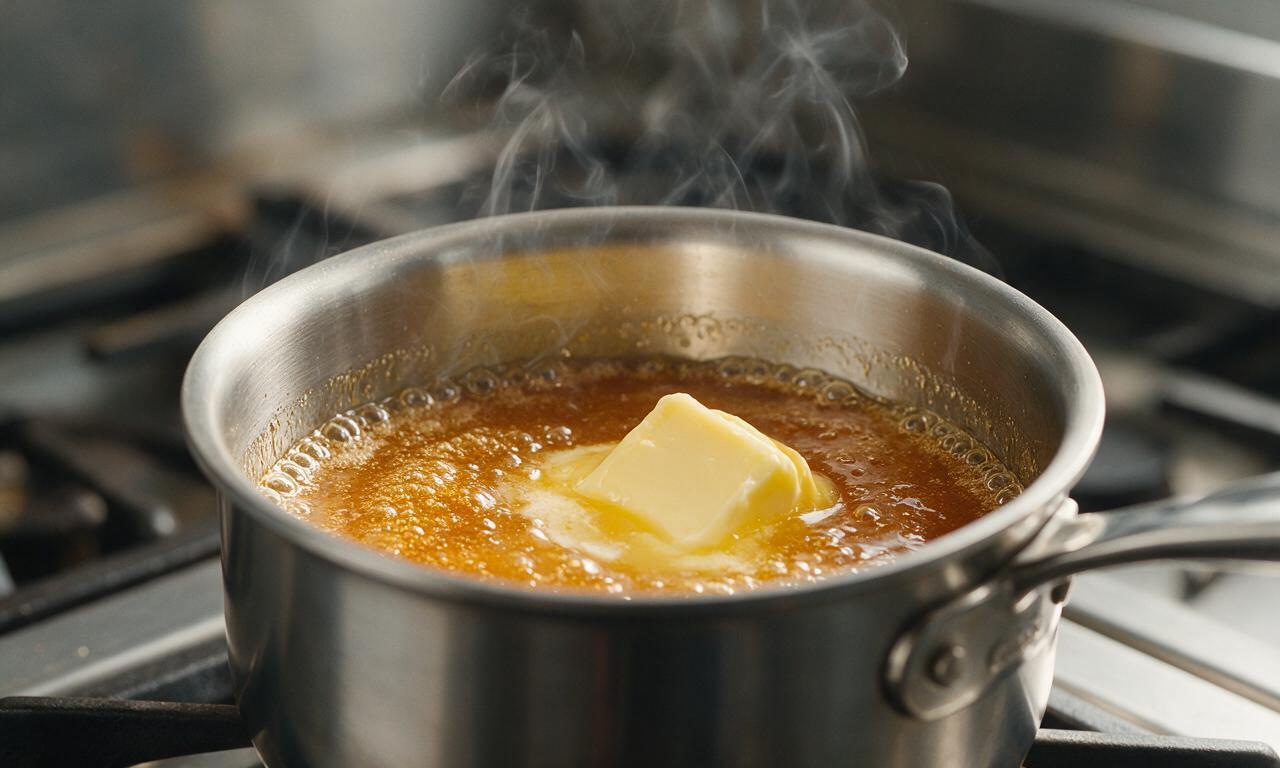
Cook to soft ball stage
Once the syrup reaches a rolling boil, stop stirring entirely and let it cook undisturbed until it hits exactly 235°F (113°C, soft ball candy stage), which takes 8-10 minutes. Watch closely as the syrup will foam high during cooking; if foam nears the pot rim, briefly lower heat to medium-low until foam recedes, then return to medium. Do not scrape pan sides during cooking to avoid grainy candy.
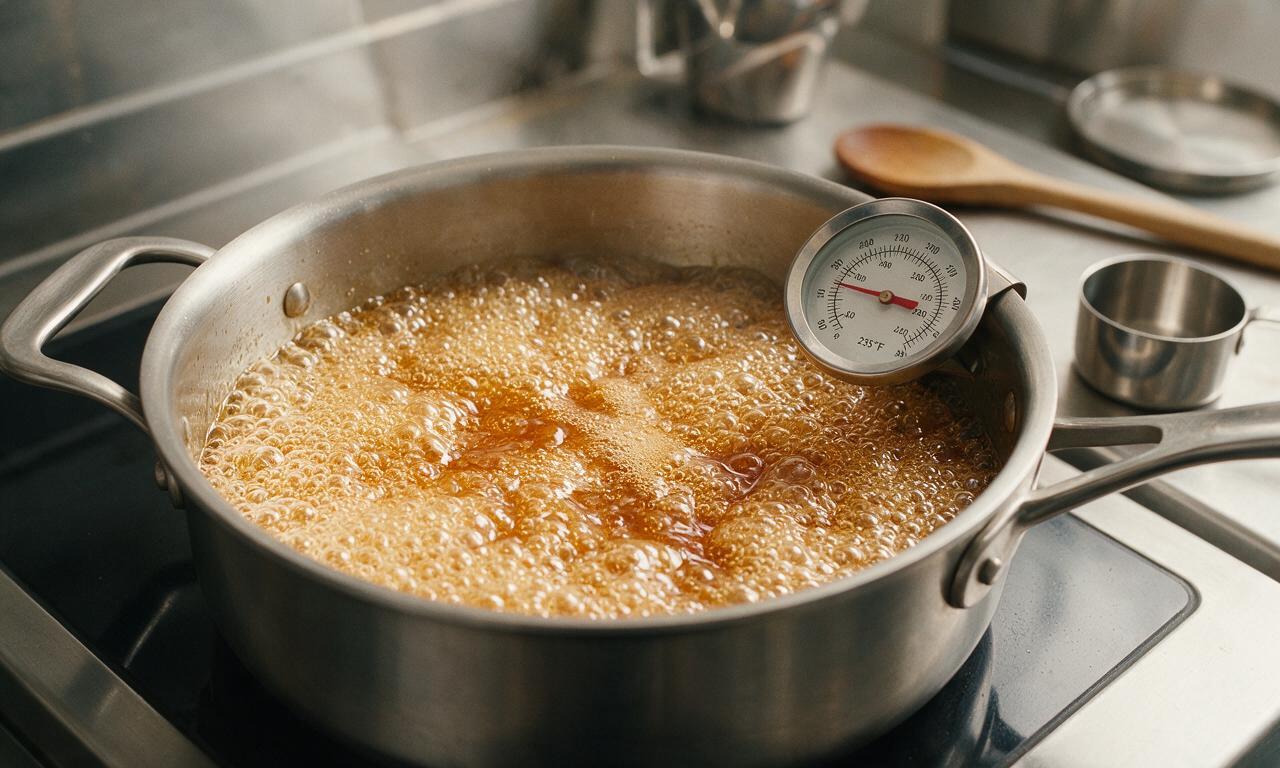
Cool cooked syrup
Immediately remove the saucepan from heat the moment the syrup reaches 235°F (113°C). Do not stir or jostle the pan, and let the syrup rest undisturbed until it cools to 175°F (79°C), roughly 10-12 minutes. Avoid stirring during this cooling period to ensure a smooth, non-grainy final texture.
Stir to creamy consistency
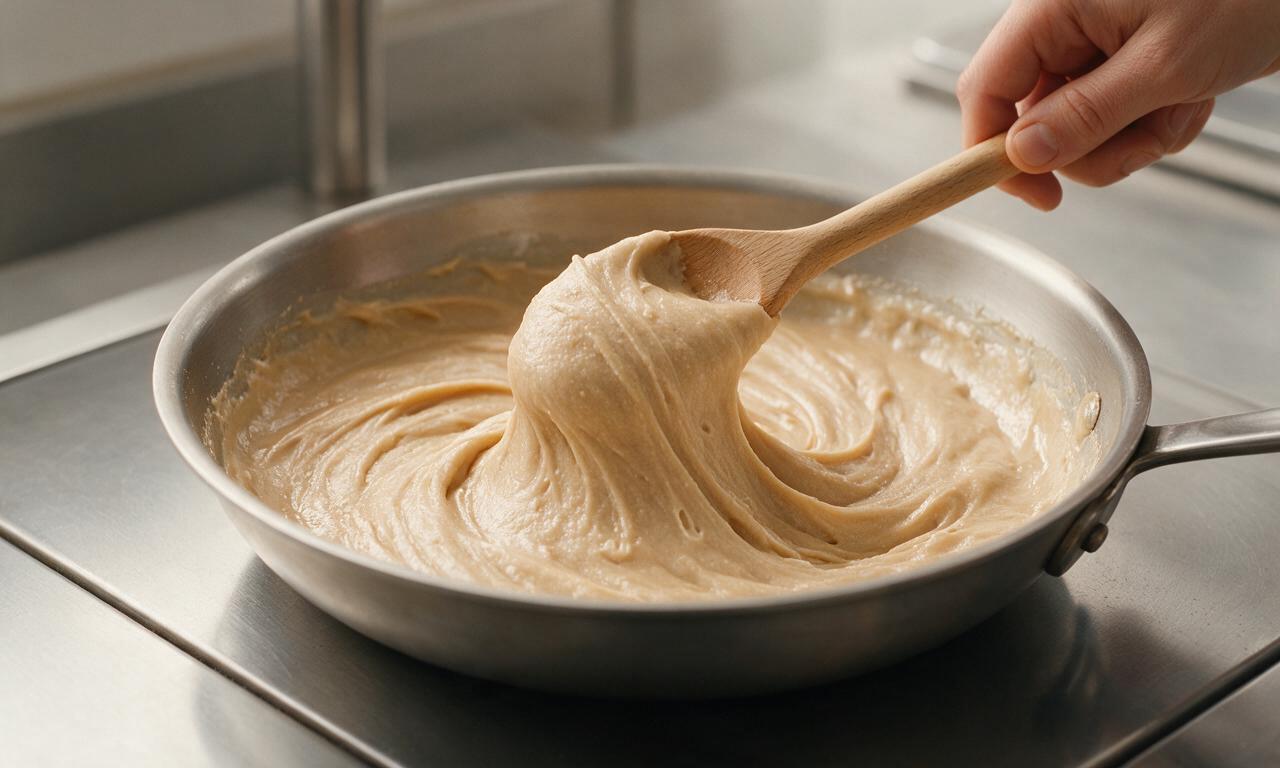
Once the syrup cools to 175°F (79°C), stir continuously and vigorously with a wooden spoon for 3-5 minutes. The syrup will lighten from deep amber to opaque pale golden tan, and thicken to a smooth, fudgy consistency that leaves a slow, soft trail when you lift the spoon. Stop stirring as soon as it loses its glossy sheen to prevent it setting hard in the pan.
Pour candy into molds
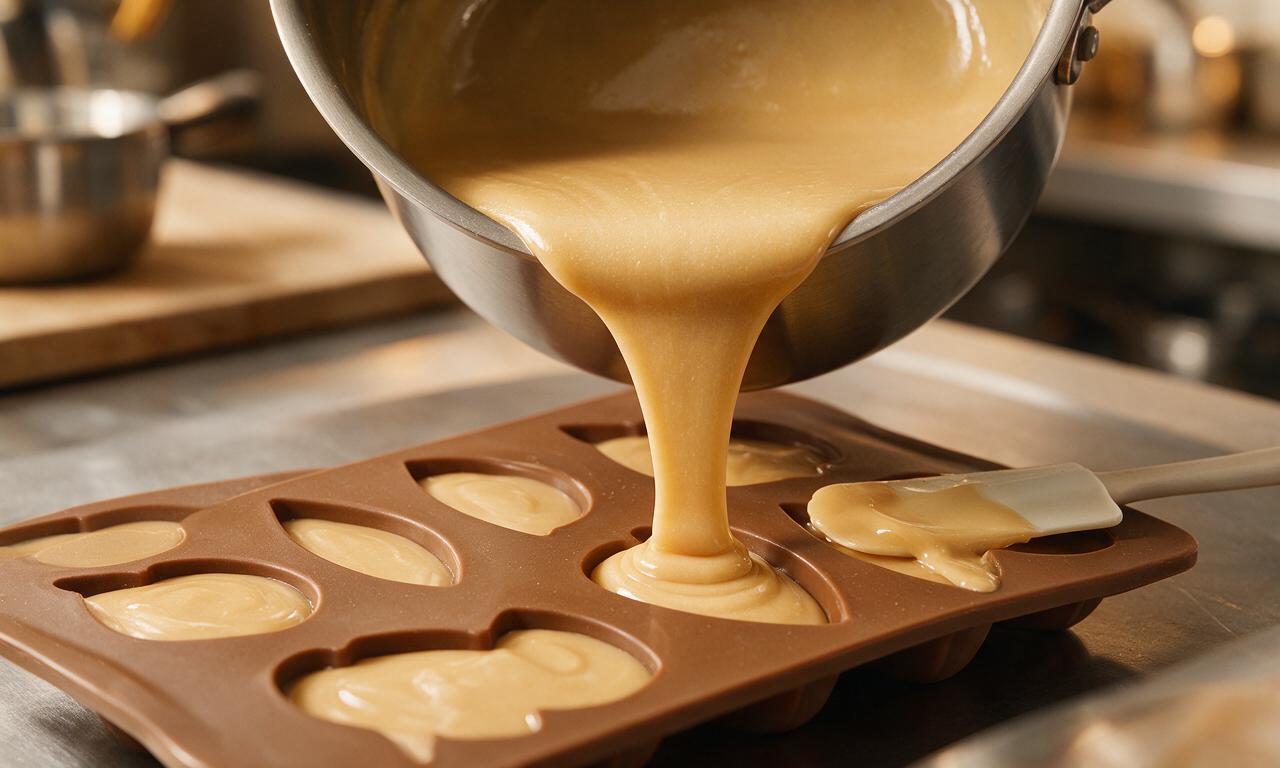
Working quickly (the candy will start to set in 1-2 minutes once thickened), immediately pour the creamy candy mixture into the pre-greased molds or 8x8 inch pan. Gently smooth the top with the back of a spoon if needed, then leave undisturbed at cool room temperature (65-70°F / 18-21°C) for 1 full hour to fully firm up. Do not refrigerate during setting, as this causes uneven sugar bloom on the candy surface.
Unmold and store candy
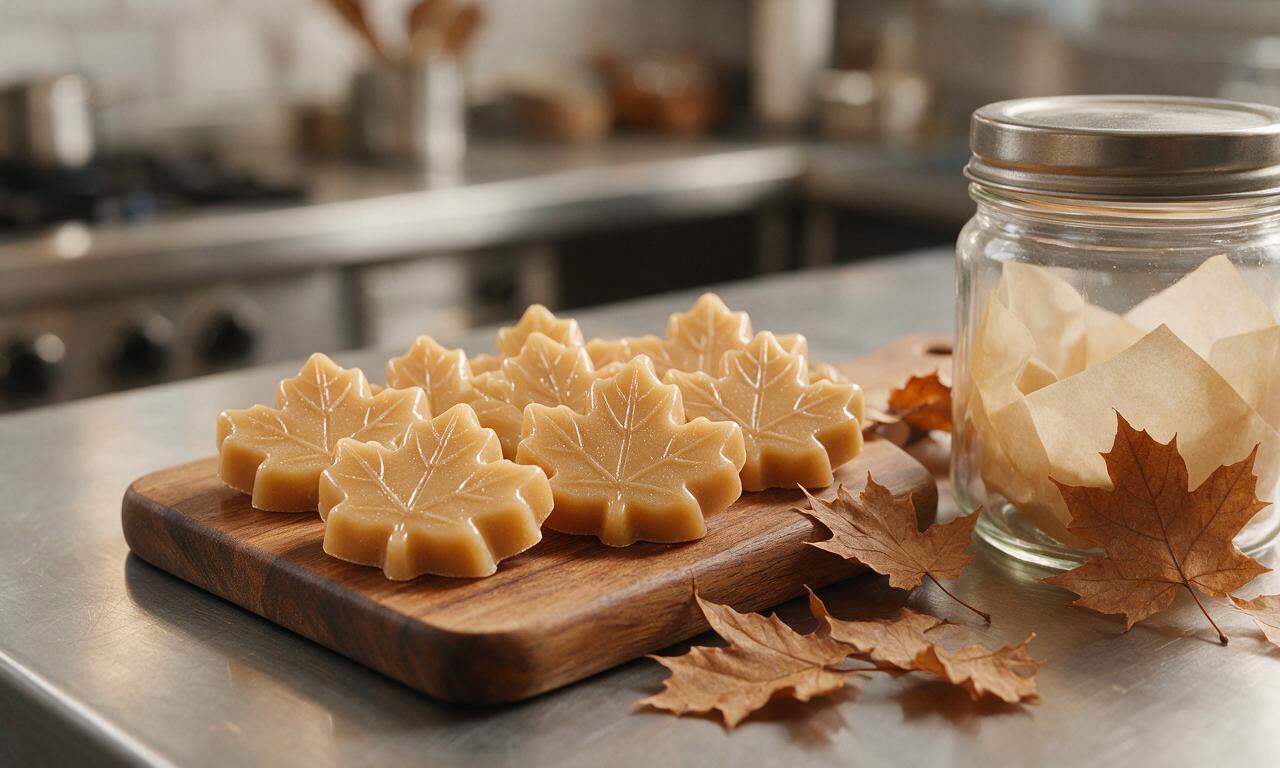
Once fully set, gently flex the silicone molds to pop out individual candies; if using a baking pan, lift the set candy block out and cut into 1-inch square pieces. Store finished candies in an airtight container at cool room temperature for up to 2 weeks, separating layers with small squares of parchment paper to prevent sticking.
Tips
2.Never scrape the sides of the saucepan during cooking or cooling, as dried sugar crystals on the pan edges can seed the entire batch and cause grainy, crumbly candy instead of a smooth texture.
3.For the most authentic, robust Vermont flavor, use Grade A Dark Robust (formerly Grade B) maple syrup, which has a deeper, more caramelized maple profile than lighter, delicate golden syrups ideal for table use.






OMG this is exactly the maple candy I grew up eating at my grandma’s house in northern Vermont! I was so worried I’d never get the texture right since candy making can be finicky, but following the temp steps exactly worked like a charm. My kids devoured half the batch before it even fully set, 10/10 will be making this for our fall potluck next month!
Quick question — I only have dark grade B maple syrup on hand, will that work for this recipe or do I need the lighter amber stuff? Don’t want to waste a whole quart of good syrup if it’ll throw the flavor off!
Game changer! I brought these to my office holiday party last week and people were begging me for the recipe. The only tiny tweak I made was adding a tiny pinch of flaky sea salt on top right before they set, and it cut the sweetness perfectly. SO good.
Tried making this last night and I think I messed up the cooling step? My candy came out a little grainy instead of that smooth, creamy texture I remember from Vermont trips. Any ideas where I went wrong?
Made these for my kid’s fall festival bake sale and they sold out in 15 minutes flat! I poured them into little leaf-shaped candy molds and they looked so cute, people thought I bought them from a fancy candy shop. Will absolutely be adding this to my annual fall baking rotation.
Wait, do I really need a candy thermometer for this? I tried making taffy once without one and it was a total disaster, but I’m hoping there’s a hack if I don’t have time to run to the store today.
How long do these stay good for? I want to make a big batch to ship to my brother who’s stationed out of state for the holidays, and I don’t want them to go bad or get all melty in the mail.
SO good. I was a little intimidated because I’d never made candy before, but this recipe was so straightforward even for a total newbie like me. The 1 hour set time is no joke though — I tried sneaking a piece at 45 minutes and it was still goopy, worth the wait though!
Made these for our family Thanksgiving dinner and even my super picky grandpa who grew up in Vermont said they tasted exactly like the ones he used to get at the general store as a kid. Total win, I felt so proud!
Pro tip: don’t make these on a super humid day! I tried making a batch last week when our AC was out and the humidity was 80%, and they never set up right, stayed all sticky no matter how long I left them. Waited for a dry, cool day and they turned out perfect.