
Margherita Grilled Cheese
intro
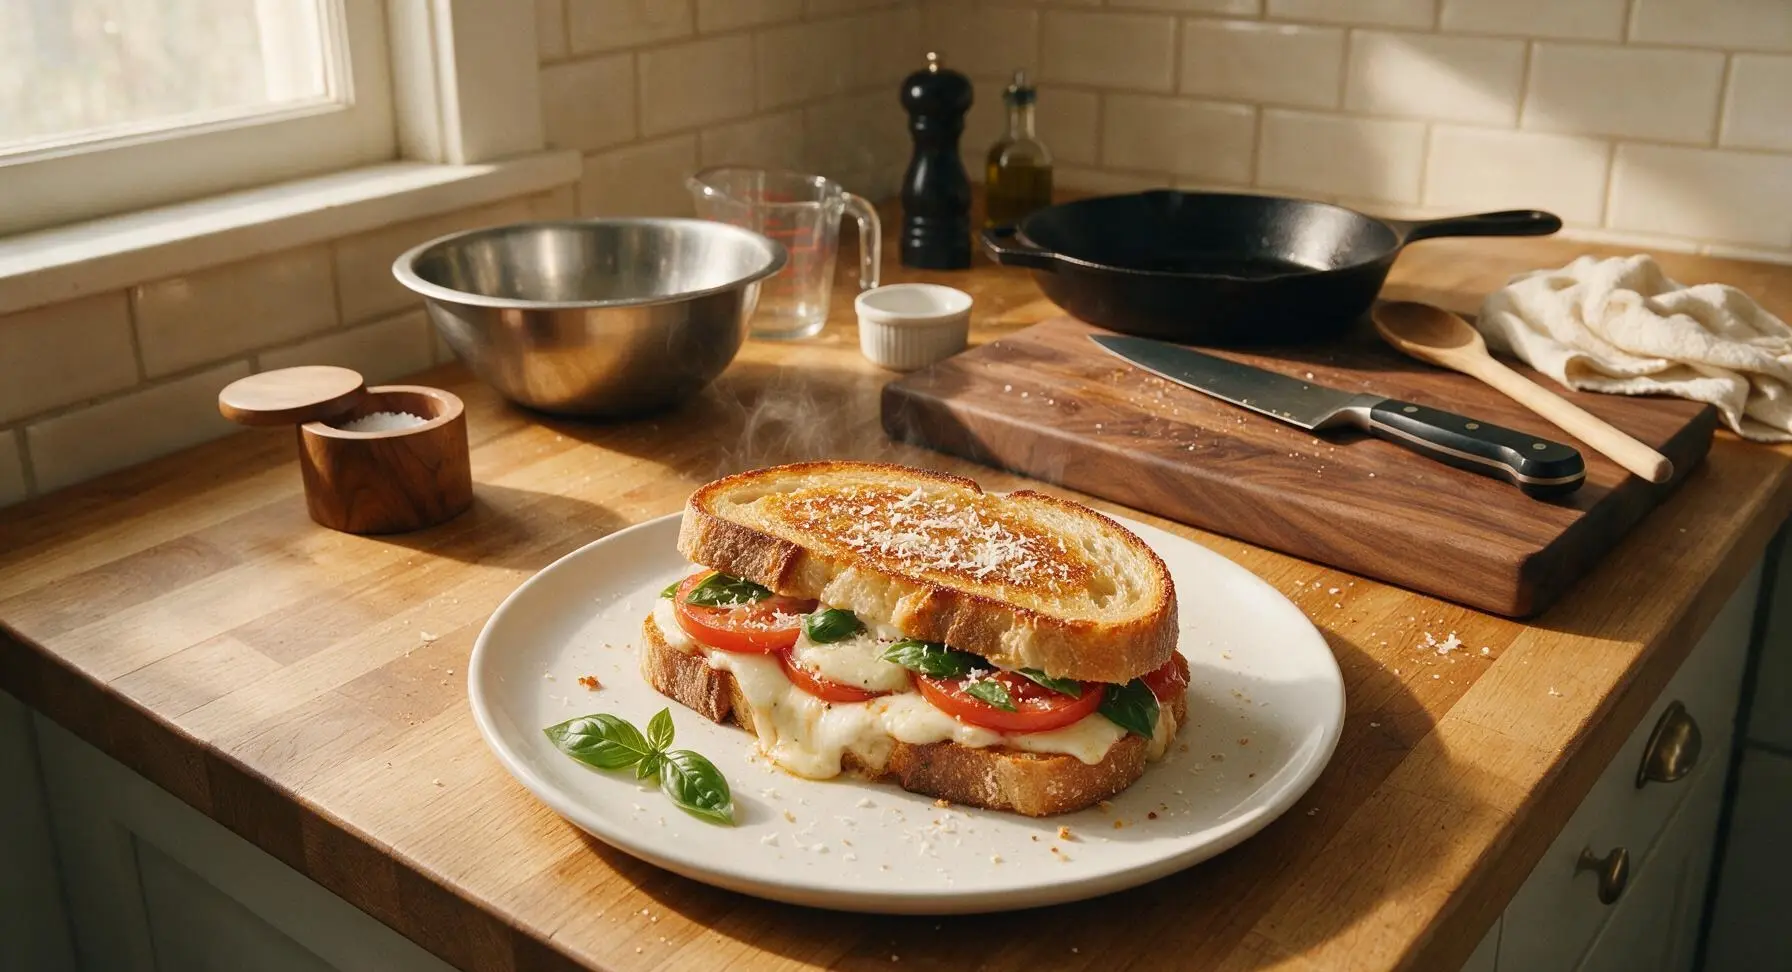
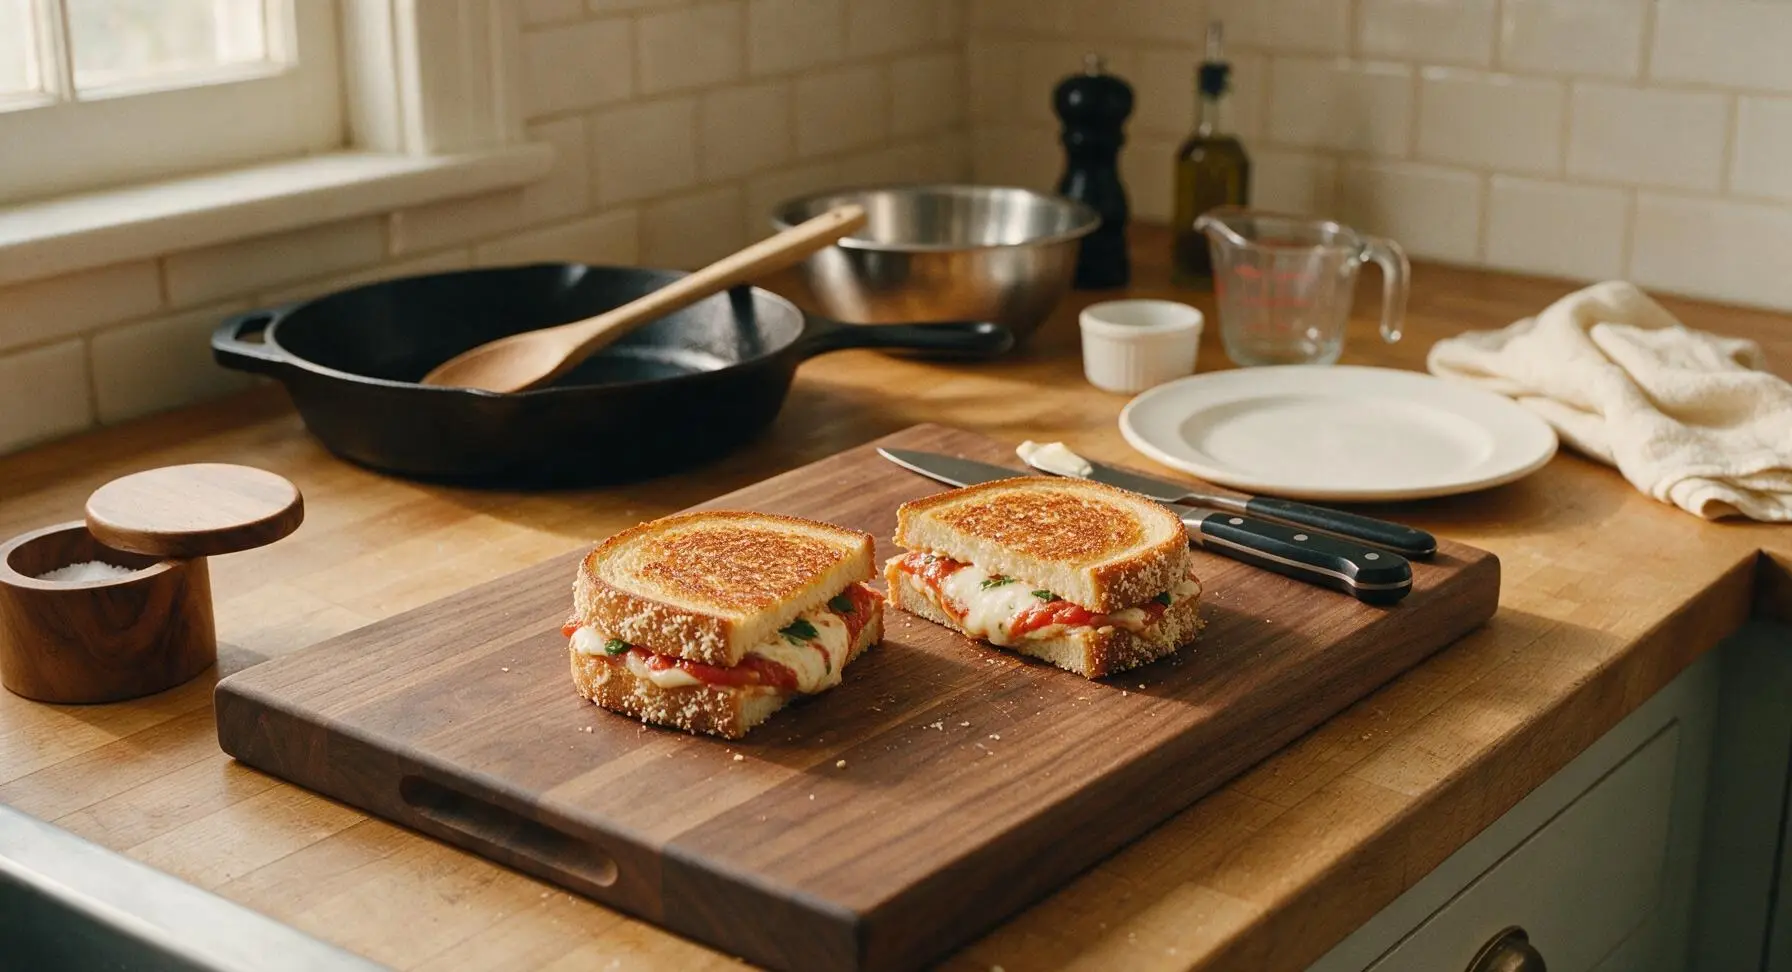
A toasty, golden fusion of classic Margherita pizza flavors and nostalgic American grilled cheese: oozing fresh mozzarella, ripe tomato, fragrant basil, and crisp Parmesan crust on buttery sourdough.
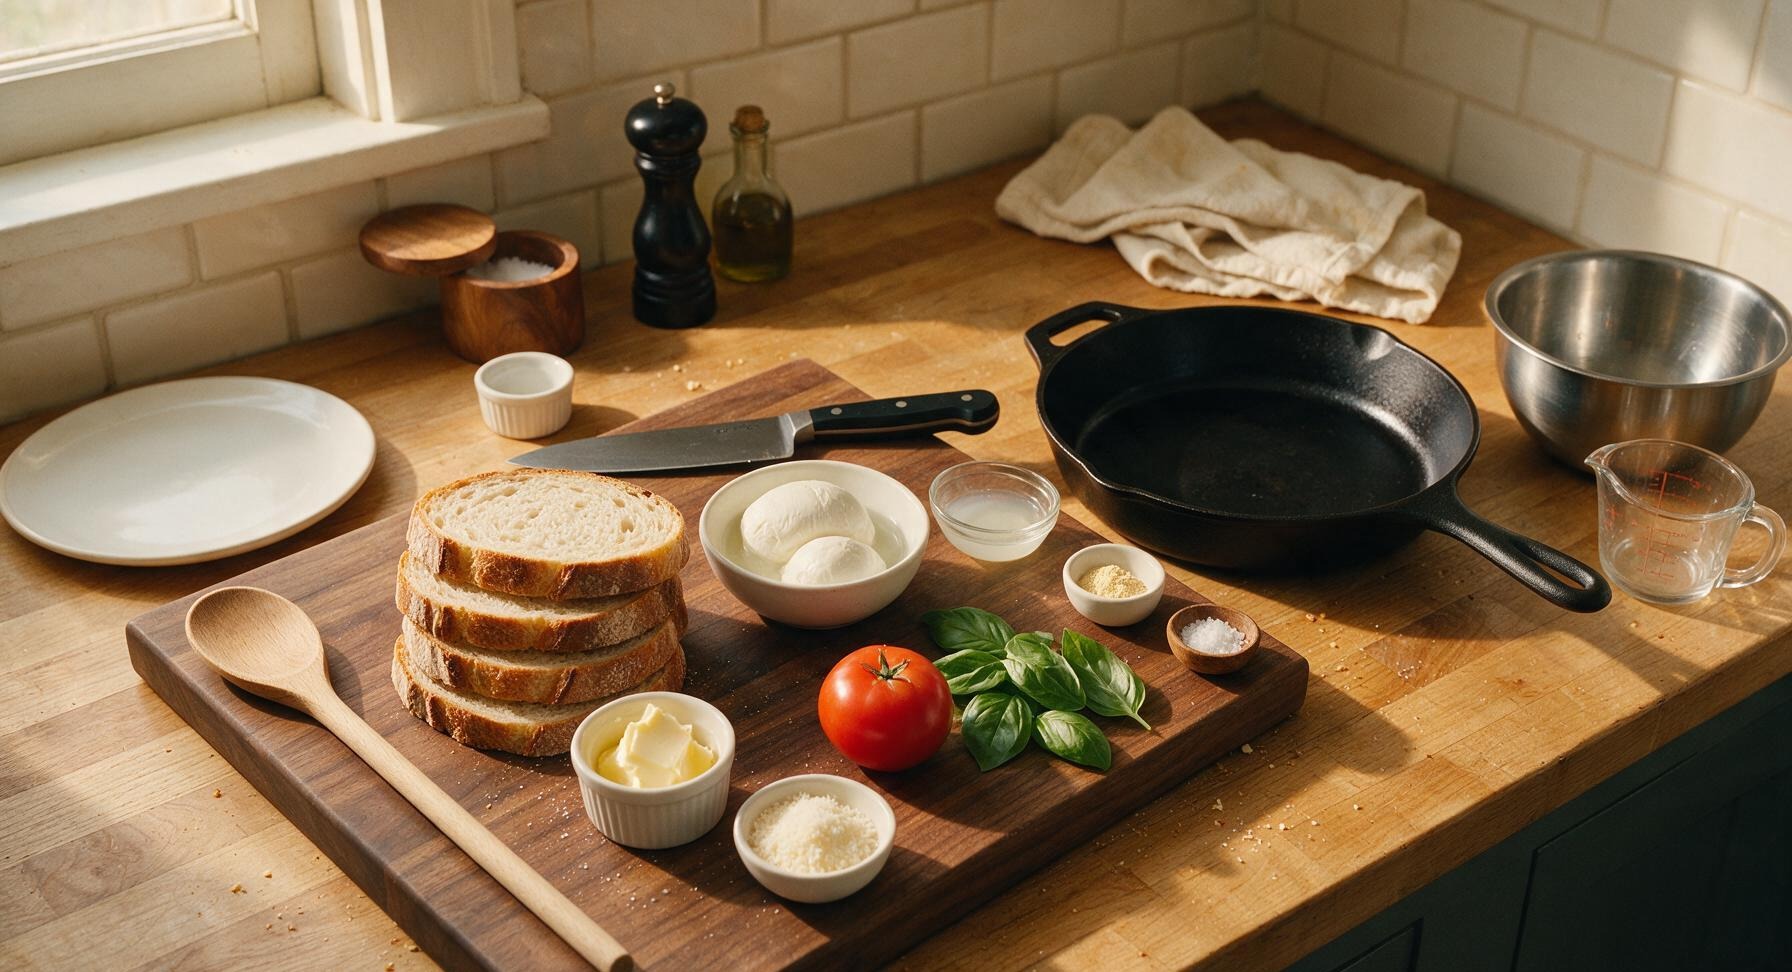
Ingredients
Steps
Prep and Dry Ingredients
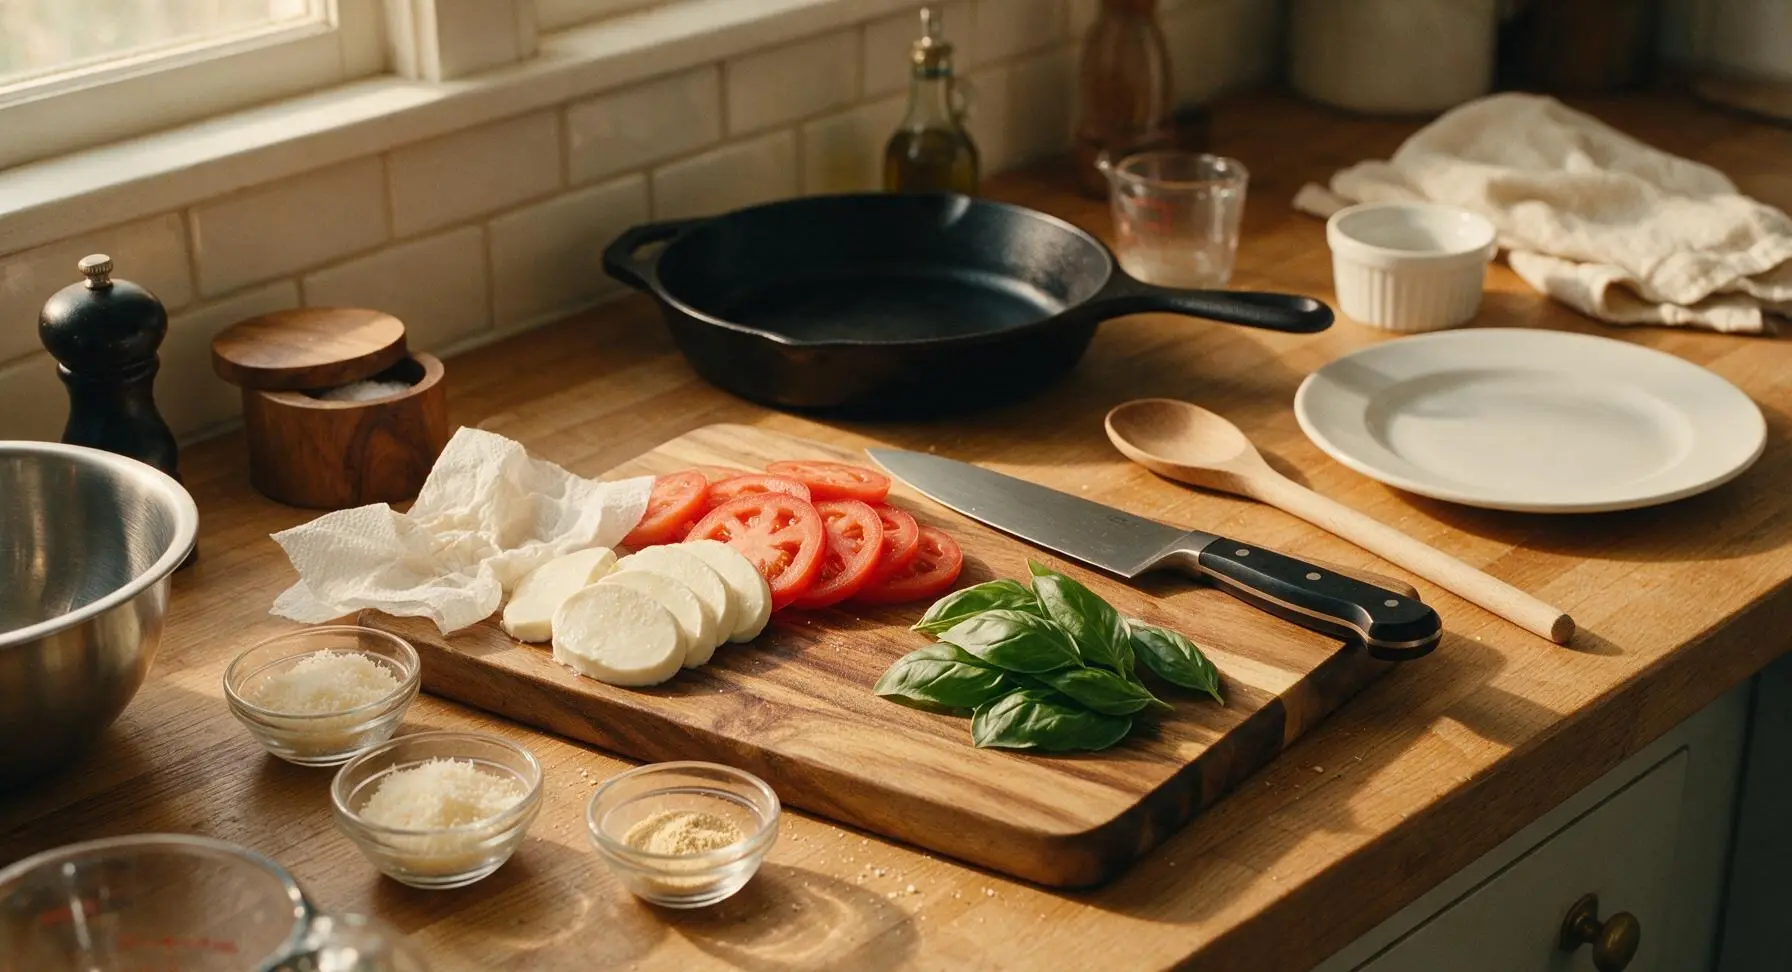
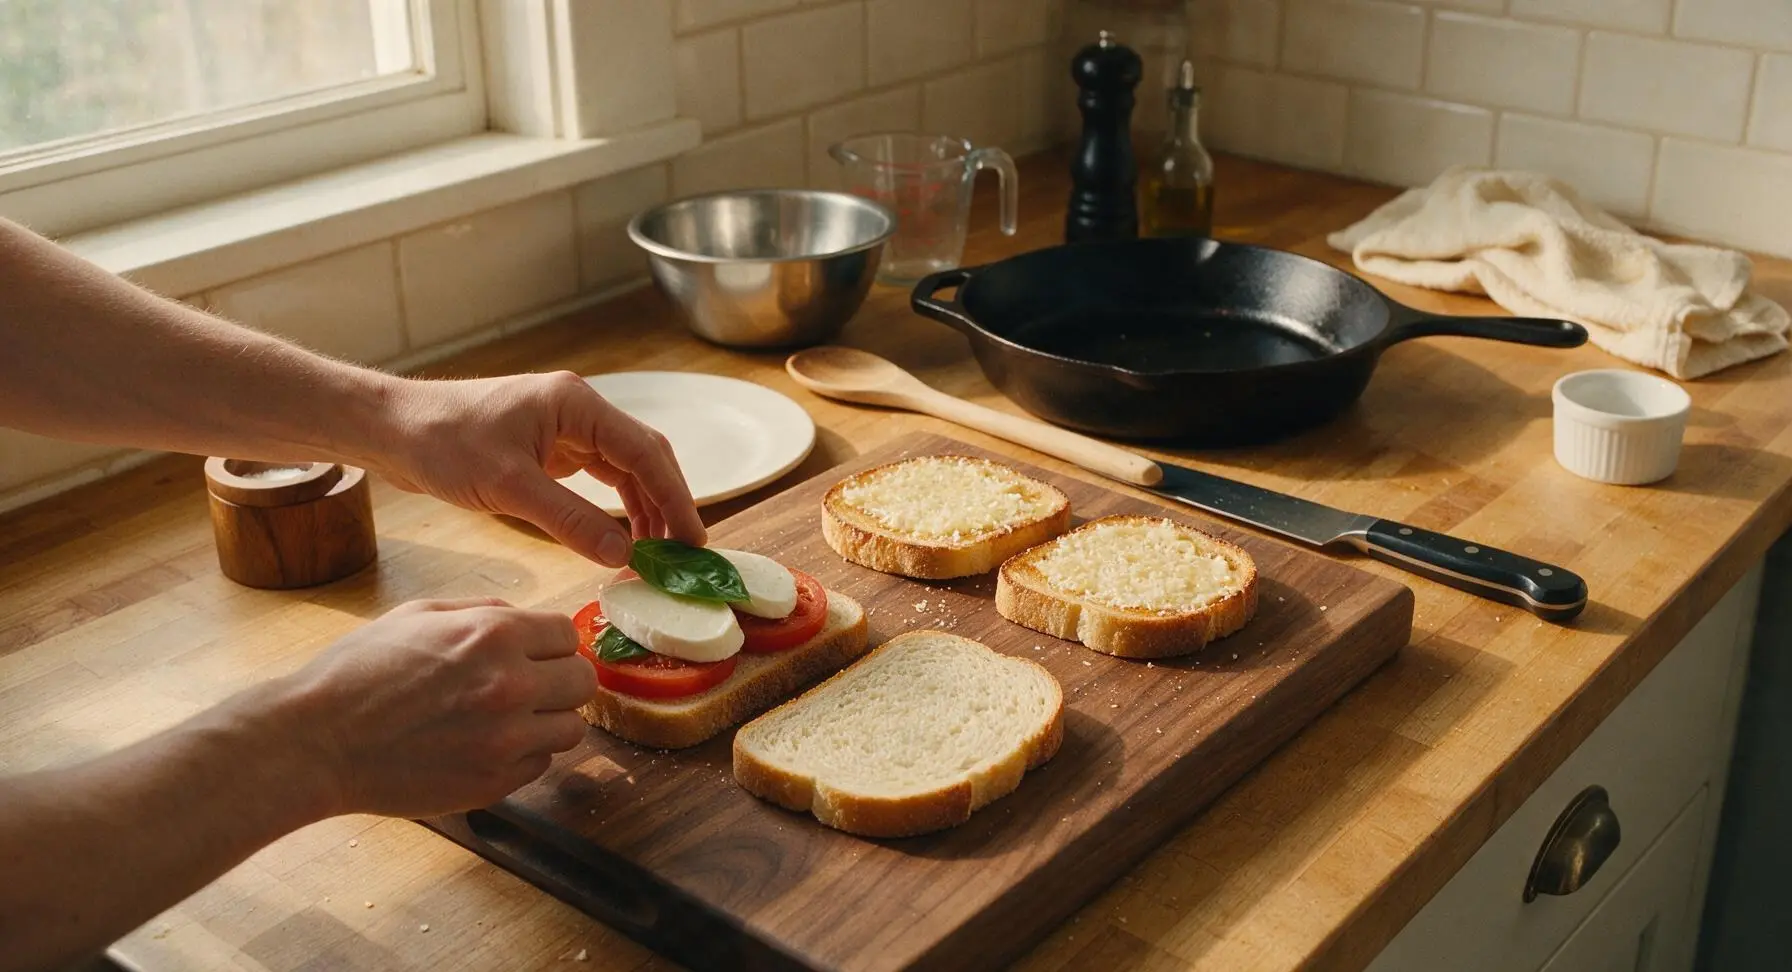
Place the acacia wood cutting board in the center of the counter work zone. Using the chef knife, slice the fresh mozzarella into 1cm thick slices, and the Roma tomato into 0.5cm thick slices, scooping out and discarding the seedy, juicy pulp from each tomato slice. Pat mozzarella and tomato slices thoroughly with a paper towel to remove all excess surface moisture—this prevents soggy sandwich crust. Pick 8 large fresh basil leaves from the stems, discarding any thick, woody stems.
Butter Bread Slices
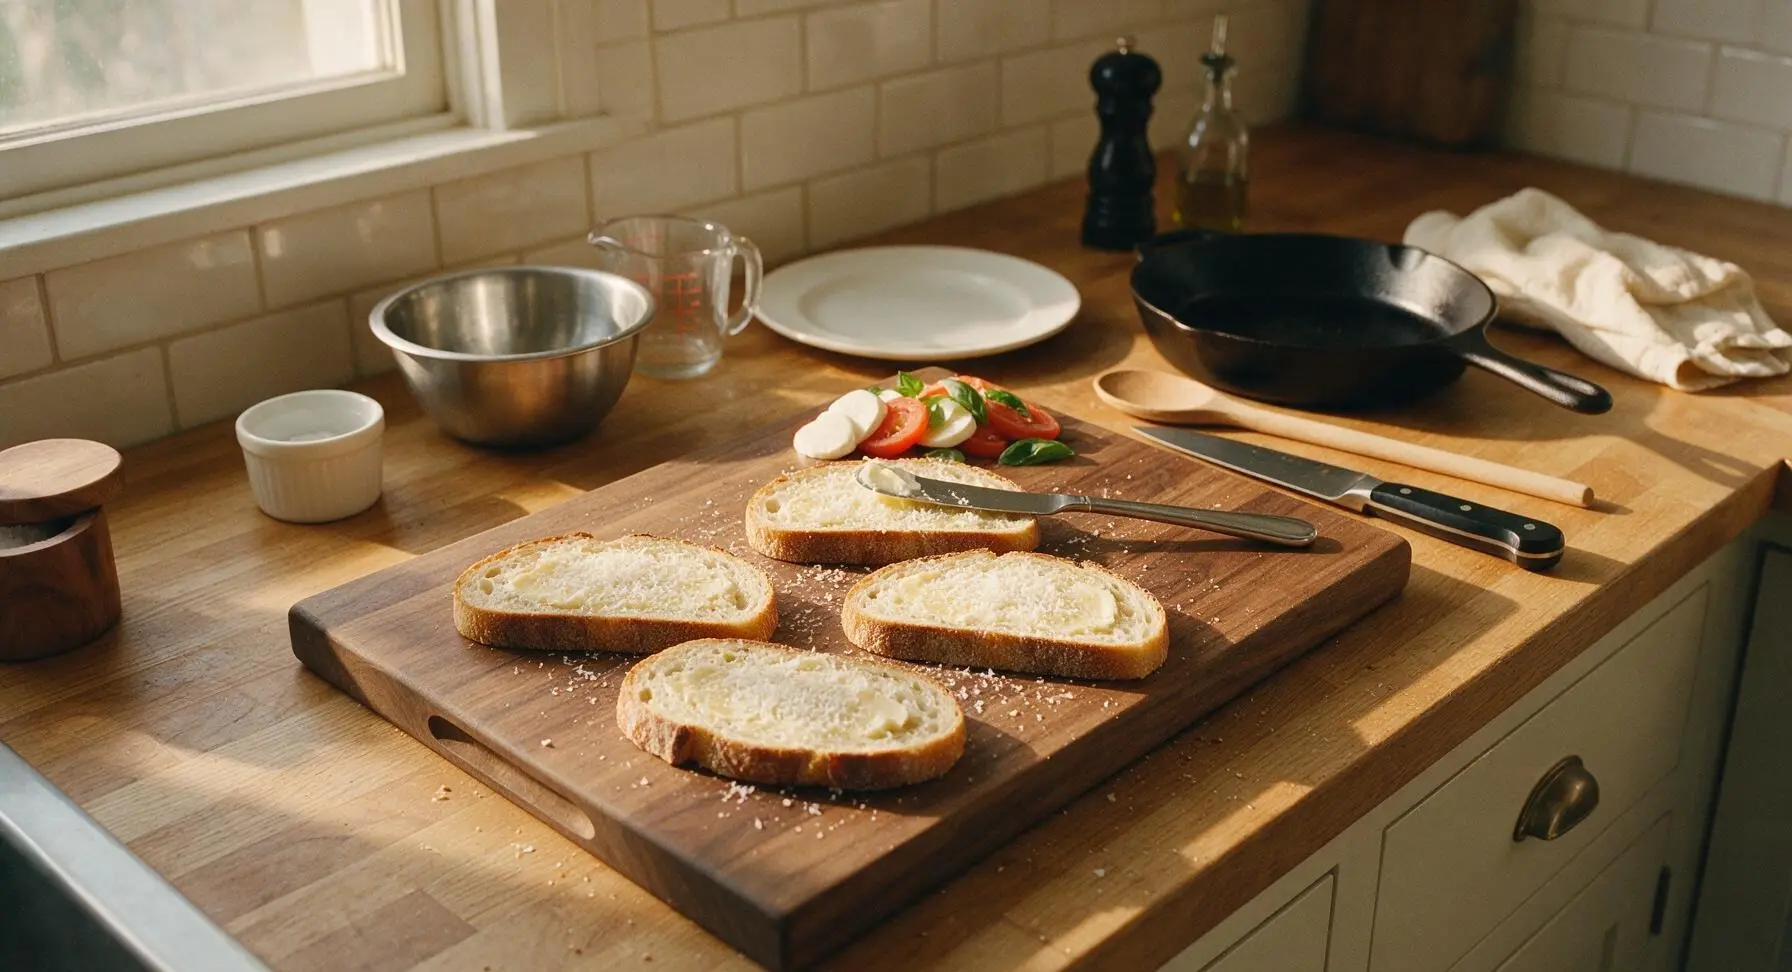
Lay all 4 sourdough slices flat on the cutting board. Use the stainless steel butter spreader to spread 1/2 tablespoon of softened unsalted butter evenly across one entire side of each bread slice, taking care to cover all the way to the crust edges. Sprinkle the finely grated Parmesan cheese evenly over the buttered sides, pressing lightly with the spreader so the cheese adheres to the butter. These buttered, cheese-dusted sides will form the crisp, golden outer crust of the sandwiches.
Layer Sandwich Fillings
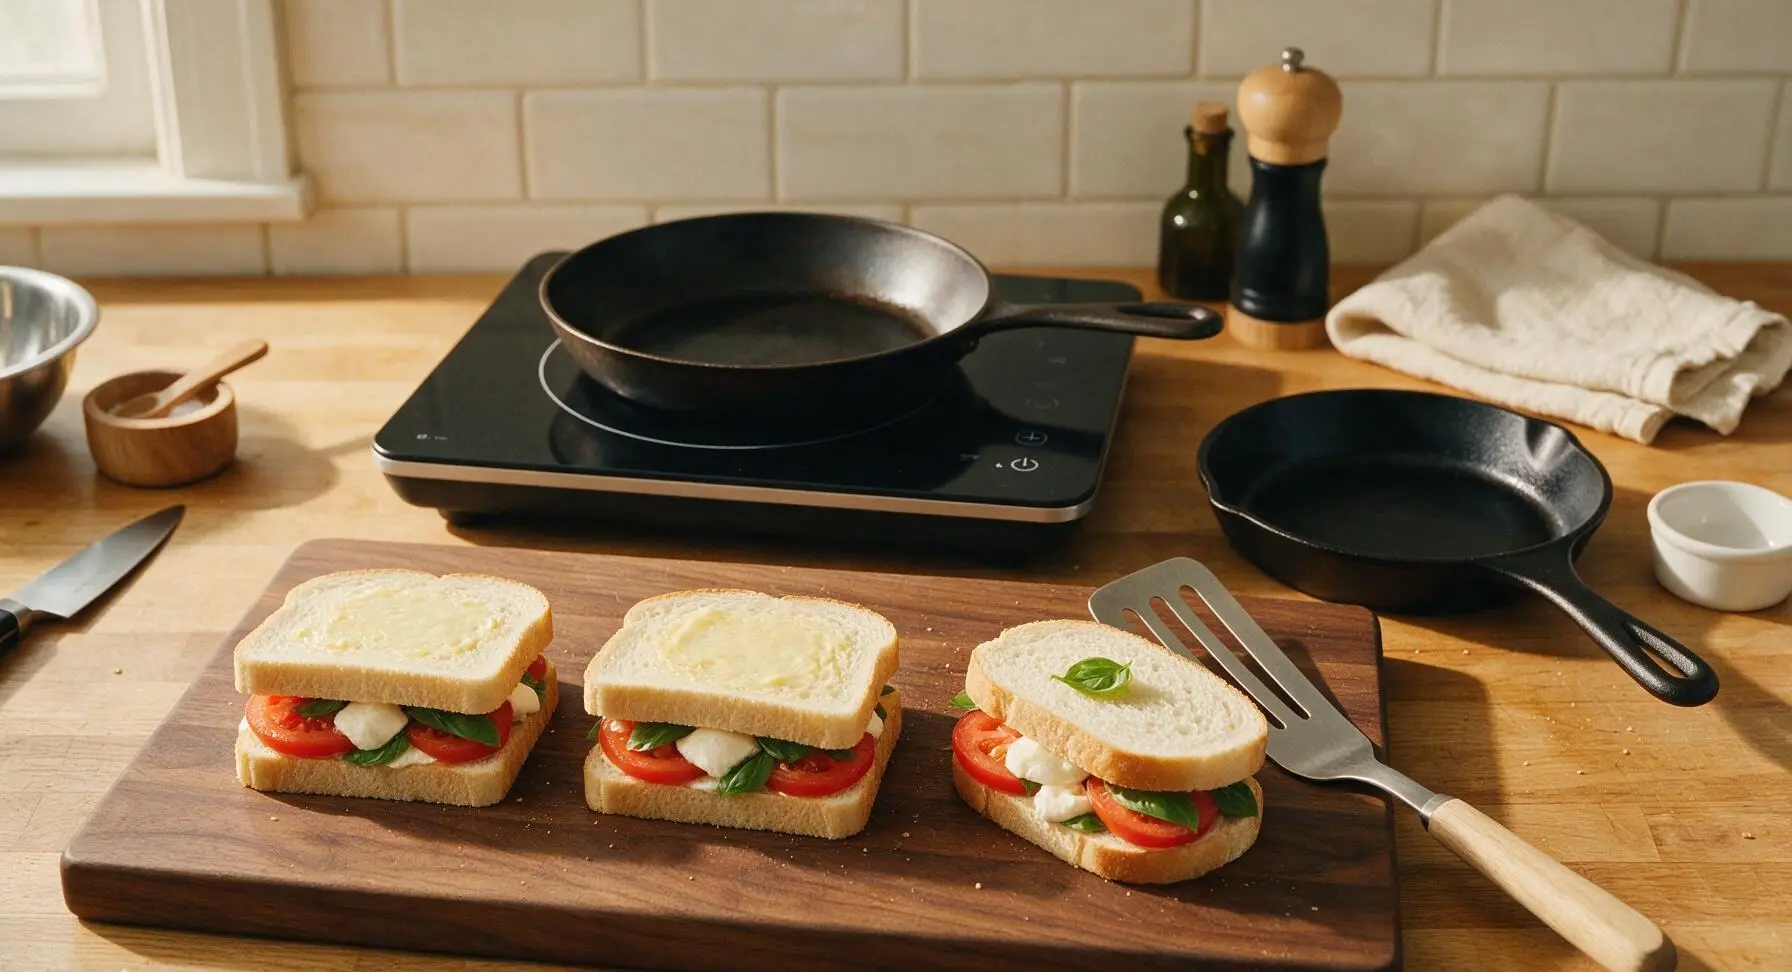
Flip two of the bread slices over so the unbuttered, un-cheesed side faces up. Layer fillings evenly across these two base slices in order: first half of the mozzarella slices, then a single overlapping layer of dried tomato slices, then 4 basil leaves per sandwich, then the remaining mozzarella slices. Sprinkle a tiny pinch of garlic powder over the top cheese layer, then place the remaining two bread slices on top, with the buttered Parmesan side facing outward. Press down gently on each assembled sandwich with the palm of your hand to compact fillings slightly.
Preheat Skillet to Medium
Place the 10-inch matte black carbon steel skillet centered on the fixed portable induction burner, set to medium heat (350°F / 175°C). Let the skillet preheat for 2 full minutes, testing readiness by flicking a single drop of water onto the surface: the water should sizzle and dance immediately across the pan without evaporating instantly. Do not add extra oil or butter to the skillet—the butter on the bread will create the nonstick crust and prevent sticking.
Toast First Sandwich Side
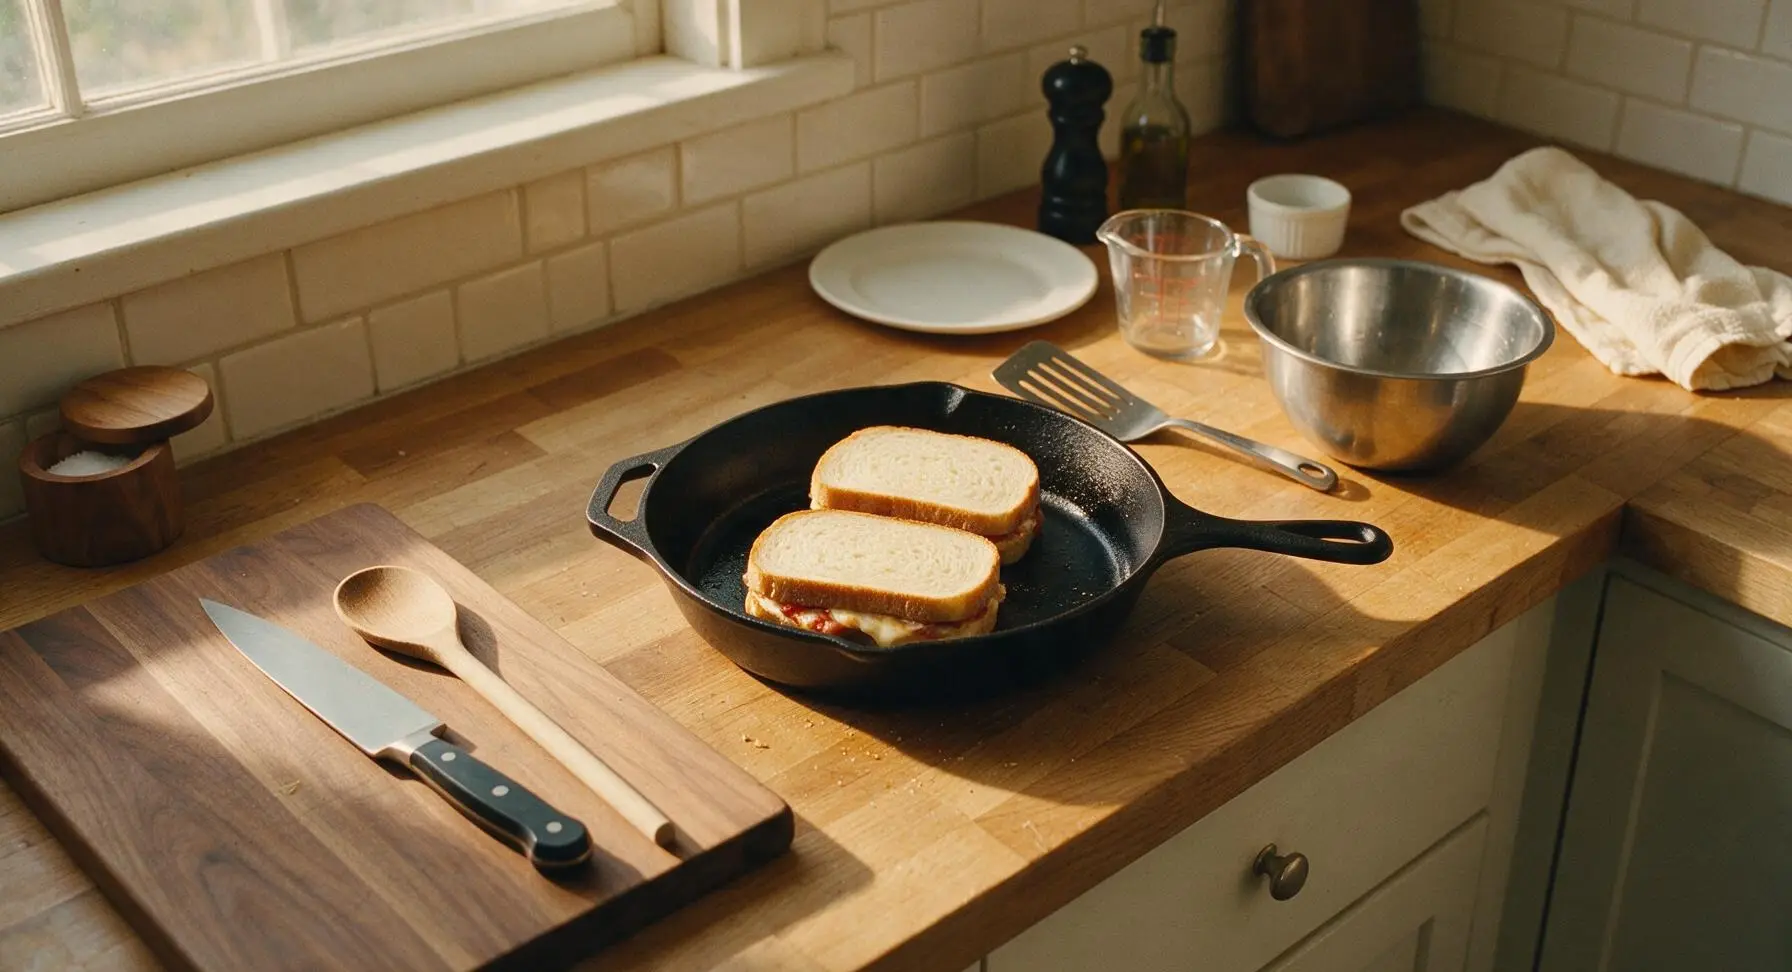
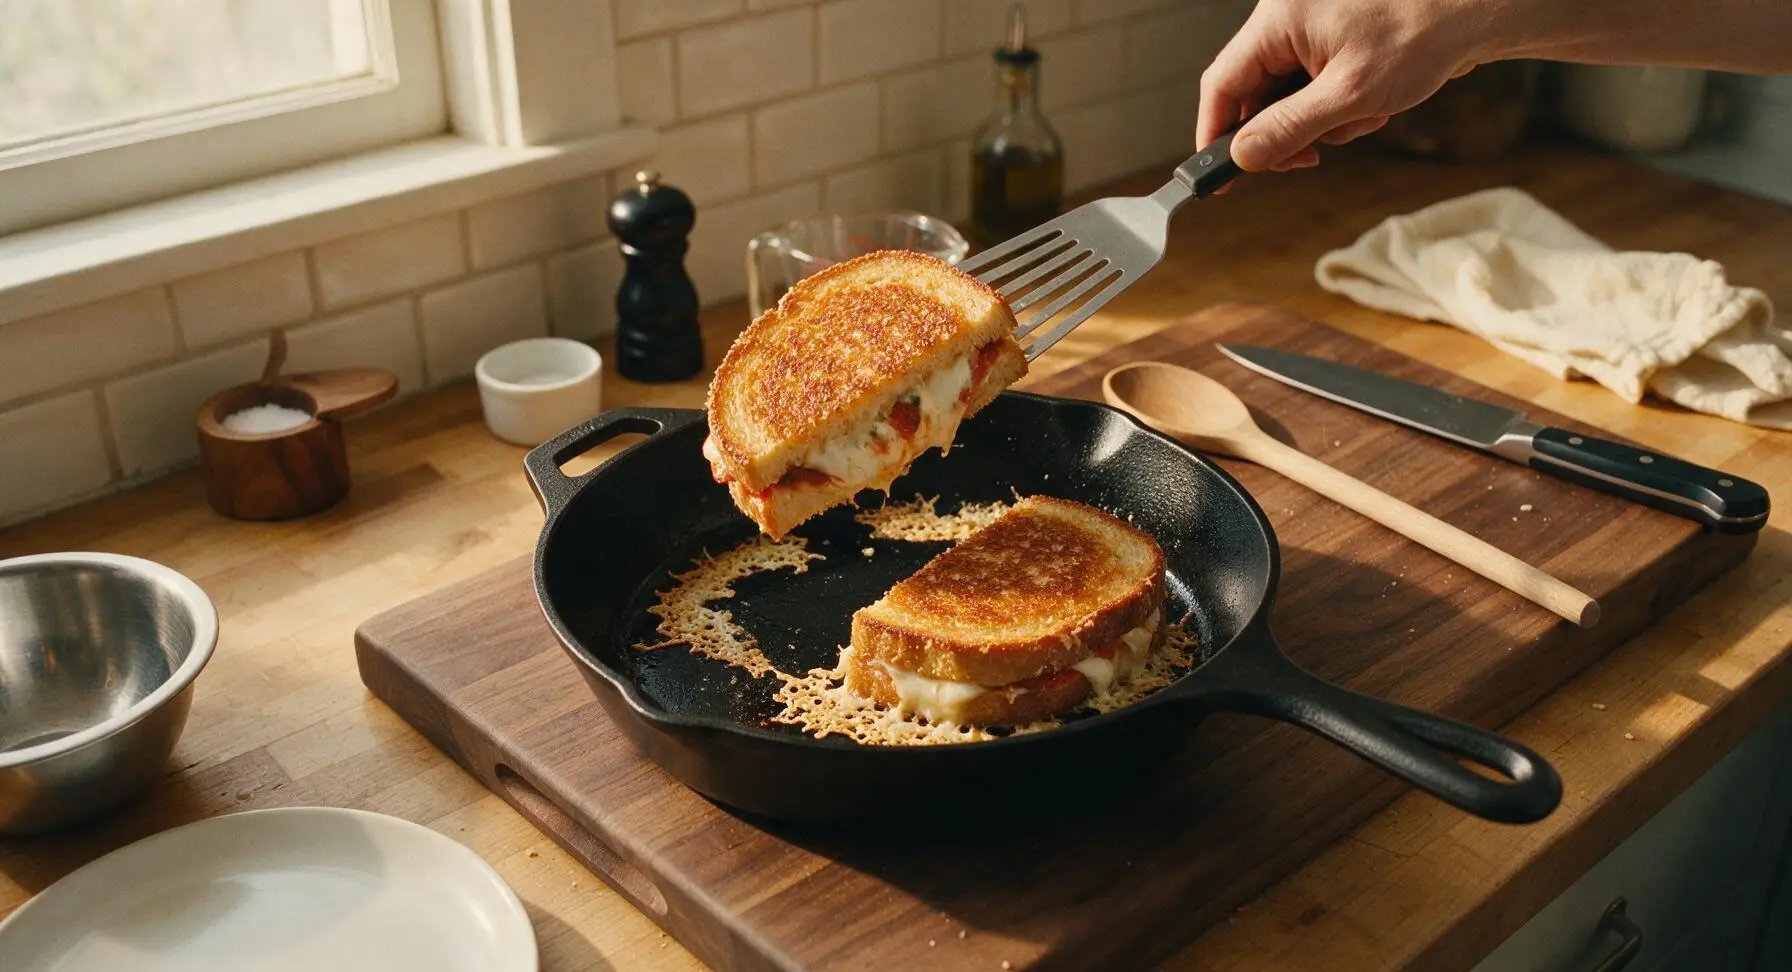
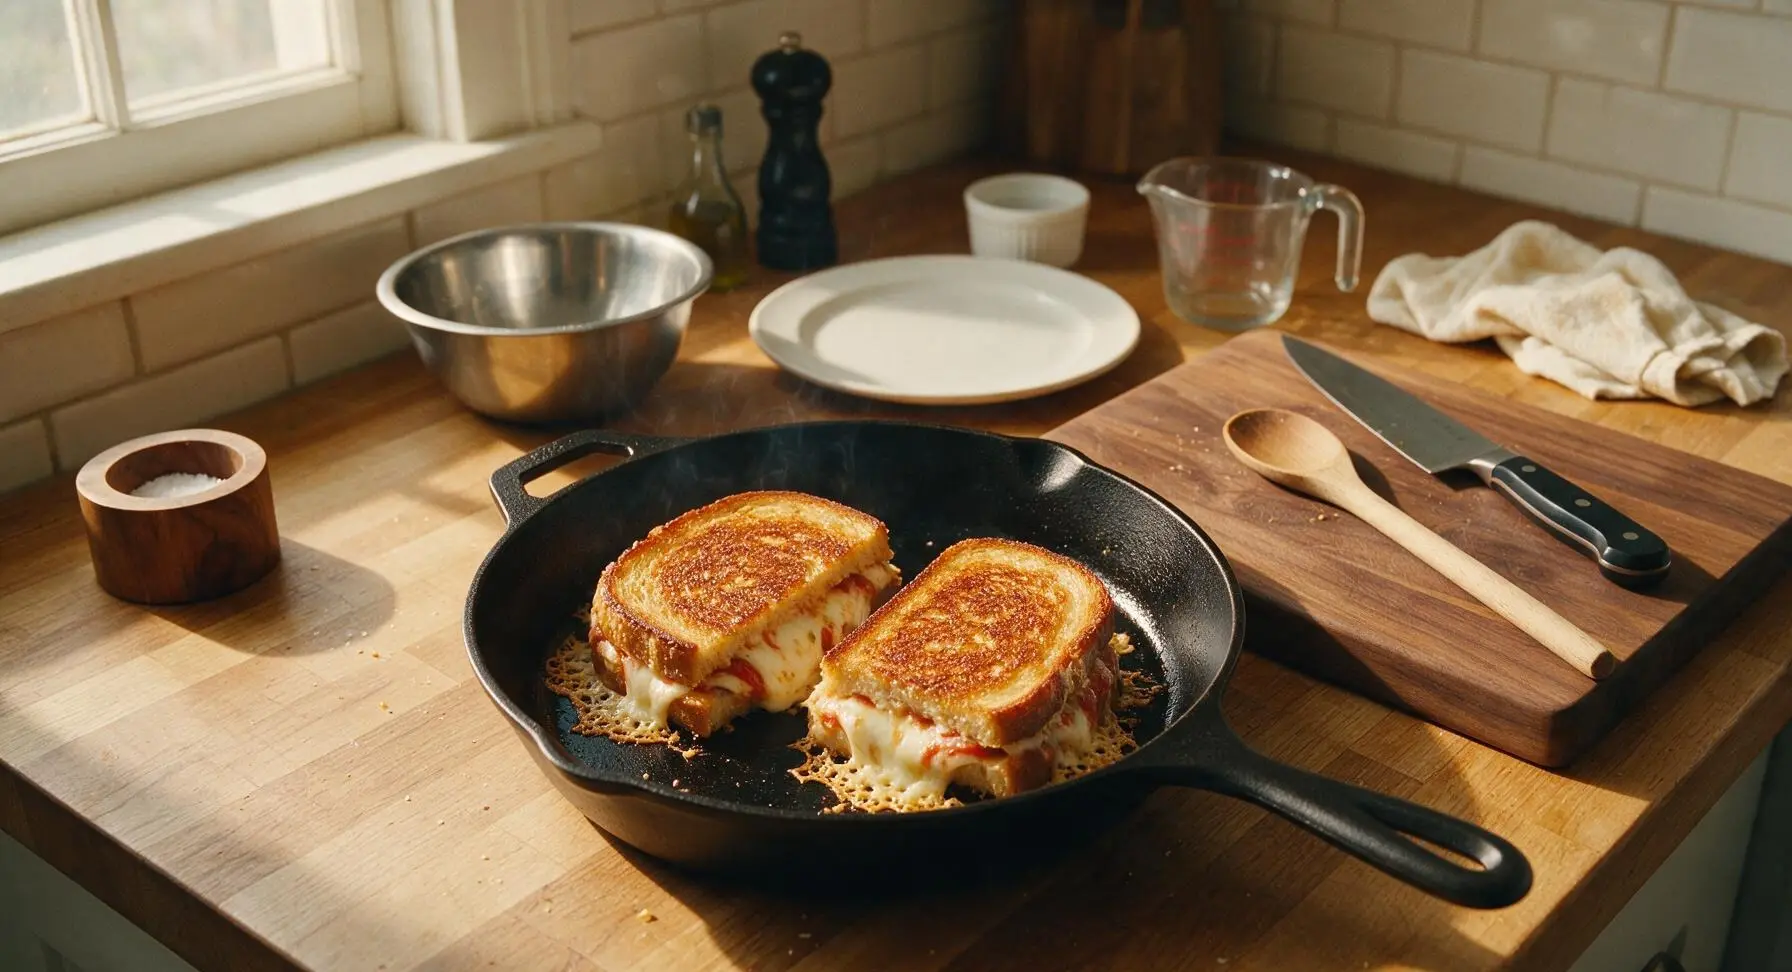
Carefully slide both assembled sandwiches into the preheated skillet using the slotted spatula. Cook for 3 to 4 minutes, watching closely, until the bottom bread slice is deep golden brown, the Parmesan on the crust is crisp and slightly lacy, and the mozzarella closest to the pan starts to turn translucent and melt. Resist the urge to press down hard on the sandwiches with the spatula while cooking, as this squeezes out melted cheese and compacts the bread into a dry, tough crust.
Flip Sandwiches Gently
Slide the slotted spatula fully under each sandwich, supporting the entire bottom crust to prevent fillings from sliding out, and flip each sandwich in one smooth, quick motion. If any mozzarella oozes out onto the pan surface, let it crisp into a lacy golden cheese frico—this is a delicious, crispy bonus. Cook the second side for 3 to 4 minutes, until equally deep golden and crisp, and all the mozzarella in the center of the sandwich is fully melted and stretchy when pressed gently.
Rest and Plate Sandwiches
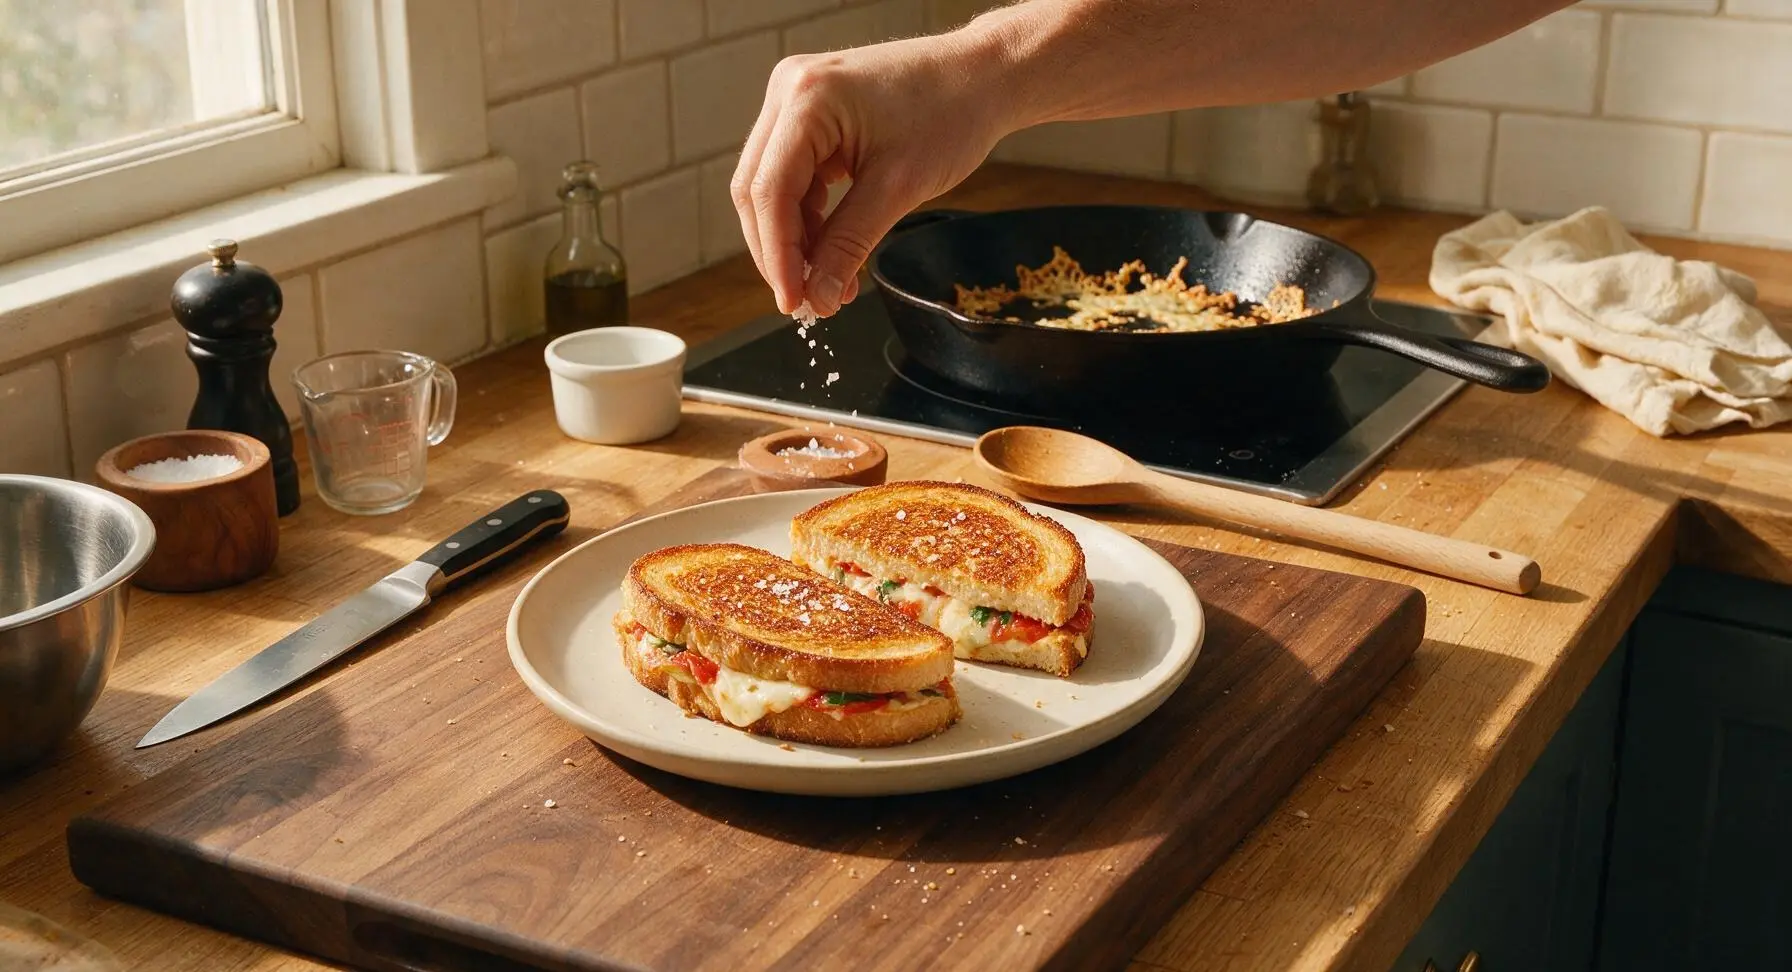
Use the slotted spatula to transfer the cooked sandwiches from the skillet to the off-white ceramic lunch plate. Let the sandwiches rest for 1 full minute—this short rest allows the melted cheese to set slightly so it does not all run out when cut. Sprinkle the top crusts with a tiny pinch of flaky sea salt from the salt cellar.
Cut and Garnish to Serve
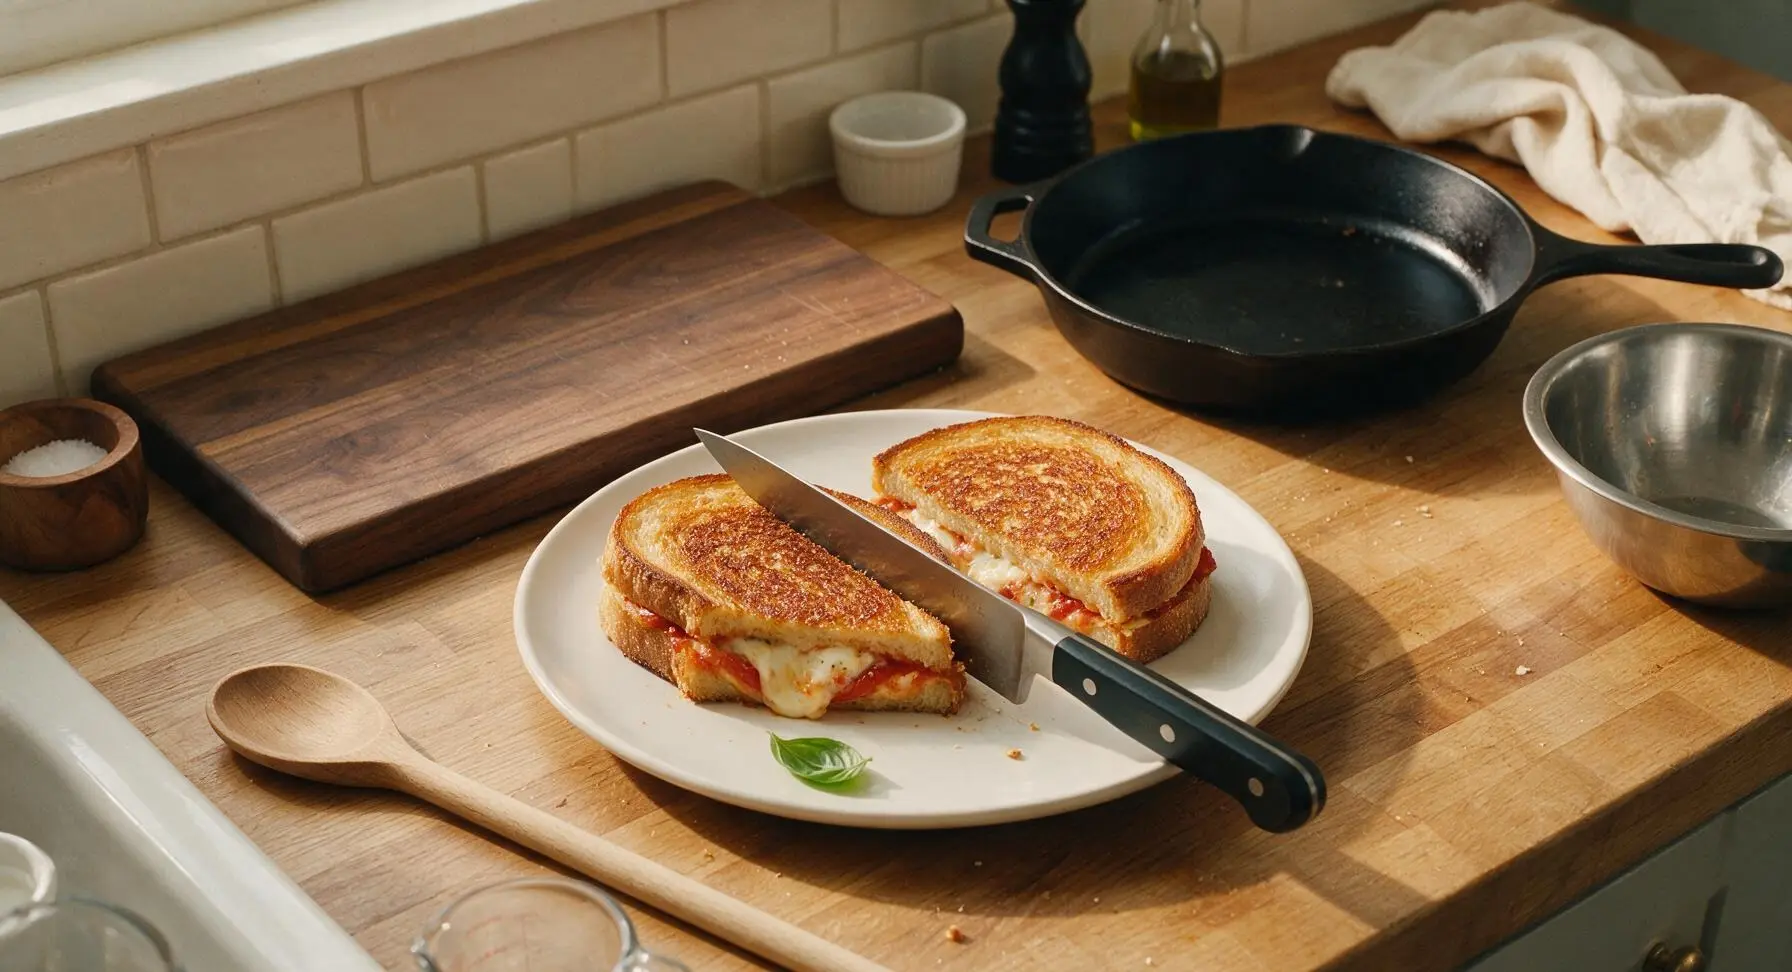
Using the chef knife, cut each sandwich diagonally into two equal triangles, pressing straight down through the crisp crust instead of sawing to avoid squeezing out fillings. Tuck a single fresh basil leaf next to the sandwiches on the plate for garnish. Serve immediately, while the cheese is hot and stretchy.
Tips
2.Cook over steady medium heat, not high heat: high temperatures will burn the buttered Parmesan crust before the cheese in the center of the sandwich has time to fully melt, leading to a bitter, burnt outside and cold, un-melted filling.
3.Let cooked sandwiches rest for 1 full minute before cutting: this short pause lets the melted cheese thicken slightly, so it stretches beautifully when you take a bite instead of running out the sides of the sandwich immediately after slicing.






OMG this is such a game changer! I’ve been making boring plain grilled cheese for years and never thought to add fresh basil and tomato like a margherita pizza. Took literally 8 minutes exactly like the recipe said, perfect quick weeknight dinner. My kids devoured two each!!
Wait, do you use low moisture mozz for this? I tried making a tomato grilled cheese once and it got so soggy I had to throw half of it out. Don’t want that mess again 😂
Made these for my kids’ after school snack yesterday and they went crazy for them! I used sourdough bread instead of white because that’s what I had on hand, and it worked perfectly. SO good, will be adding this to our regular rotation.
This is so easy to make between classes! Cook time is actually 8 minutes, I timed it. Meal prepped the tomato and cheese slices ahead of time so I can just assemble and grill when I’m hungry. Total game changer for my dorm meal plan.
I made these cut into little bite-sized squares for my neighborhood potluck last weekend and people were asking me for the recipe left and right! Only thing is I added a little sprinkle of garlic powder to the butter on the bread, would that mess up the classic flavor next time?
Used dairy-free mozzarella and vegan butter for this and it still came out so tasty! I was worried it wouldn’t melt right but the cook time was spot on, no issues at all. 10/10 would make again for my lactose free friends.
Made this for a casual date night in with my partner last night and we both agreed it’s better than the fancy grilled cheese we get at the downtown bistro! Paired it with tomato soup and it was the perfect cozy meal.
Wait, can I make this on my outdoor griddle instead of a stovetop pan? We’re doing a big family cookout this weekend and I want to make a batch for everyone without being stuck inside at the stove.
8 minute cook time is no joke! I got home late from work last night, threw this together while my kid set the table, and we were eating in 10 minutes total. No fancy ingredients, no fuss, exactly what I needed for a chaotic weeknight.
I have a huge basil plant on my windowsill that I never know what to do with, so this recipe was perfect! Fresh homegrown basil made this taste so bright and fresh, way better than the dried stuff. Will be making this all summer long.
I’m literally just learning how to cook for myself and this was the first recipe I didn’t mess up! The steps were so simple to follow, no confusing techniques. I felt like a real chef making it 😂
Made these for brunch today alongside some crispy bacon and fresh fruit, and my whole family raved. I used a little Italian seasoning in the butter for extra flavor and it was chef’s kiss. 10/10 brunch upgrade.
I was so tired of frozen pizza for Friday movie nights, so I swapped it for these margherita grilled cheeses last week and my roommate said it’s the new official movie night meal. So much cheaper than takeout too!
I used a mix of fresh mozzarella and a little provolone for extra depth of flavor and oh my gosh, it was unreal. The pull on that cheese was insane, my roommate took a video of it because it looked so good. Has anyone else tried mixing cheeses?
Wait, do these hold up well if I make them ahead for work lunches? I usually pack sandwiches for the week and need something that doesn’t get soggy by Wednesday.
My 7 year old refuses to eat tomatoes normally, but he ate this entire sandwich without picking a single thing out. I didn’t even tell him there was tomato in it until he was done, he was so shocked 😂
SO good! I’ve made this three times in the last two weeks, it’s become my go-to quick meal when I don’t feel like putting a lot of effort in. The fresh basil really makes it taste like summer no matter what time of year it is.