
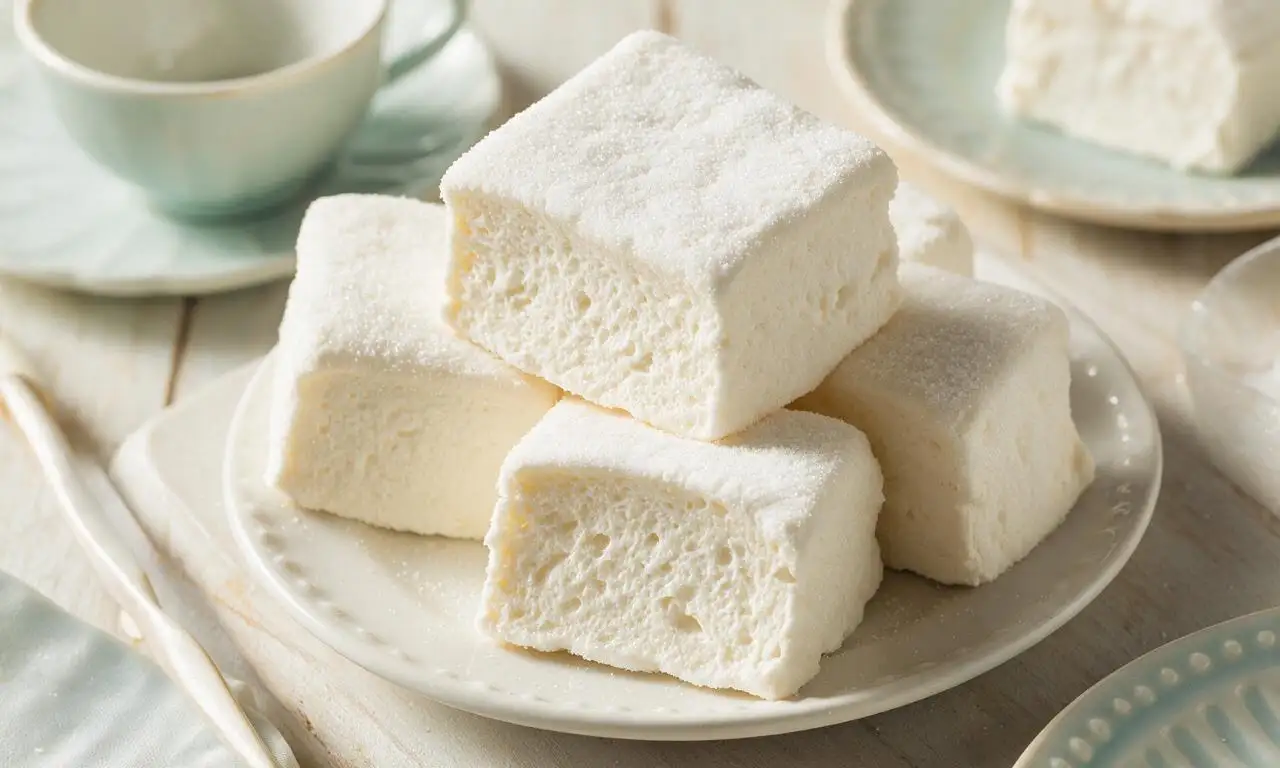
Marshmallow

title 1
Marshmallow
⏱️ cook time 25 minutes active, 4 hours setting time
🍽️ servings 12
⚡ Difficulty medium

intro

Light, pillowy vanilla marshmallows perfect for hot cocoa, s'mores, or holiday gifting, with a melt-in-your-mouth texture far better than store-bought.

Ingredients

Unflavored powdered gelatin 21g (3 tablespoons / 3 standard envelopes)
Granulated white sugar 400g (2 cups)
Light corn syrup 120ml (1/2 cup)
Cold filtered water, divided 240ml (1 cup, split into two 120ml portions)
Fine sea salt 1g (1/4 teaspoon)
Pure vanilla extract 15ml (1 tablespoon)
Powdered sugar 65g (1/2 cup)
Cornstarch 32g (1/4 cup)
Nonstick cooking spray 1 short spray (approx 1g)

Steps

1

Prep pan and bloom gelatin

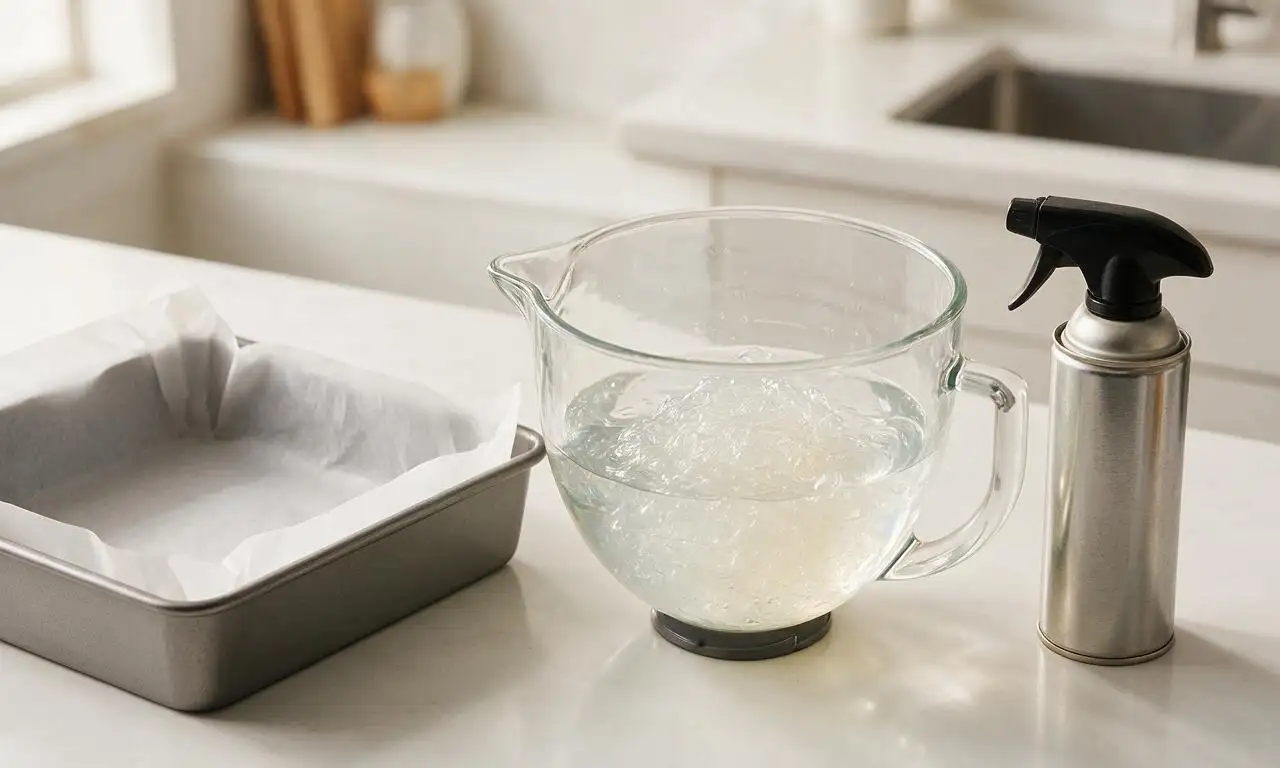
Line a 23cm (9x9 inch) square baking pan with parchment paper, leaving 5cm (2 inch) overhang on two opposite sides for easy removal, then coat lightly with nonstick cooking spray. Add 120ml (1/2 cup) cold water to the bowl of a stand mixer fitted with a whisk attachment, sprinkle all 21g of unflavored gelatin evenly over the water surface, and let rest 10 minutes at room temperature to bloom into a thick, jiggly jelly layer.
Step 1
step1:Prep pan and bloom gelatin
2

Cook sugar syrup

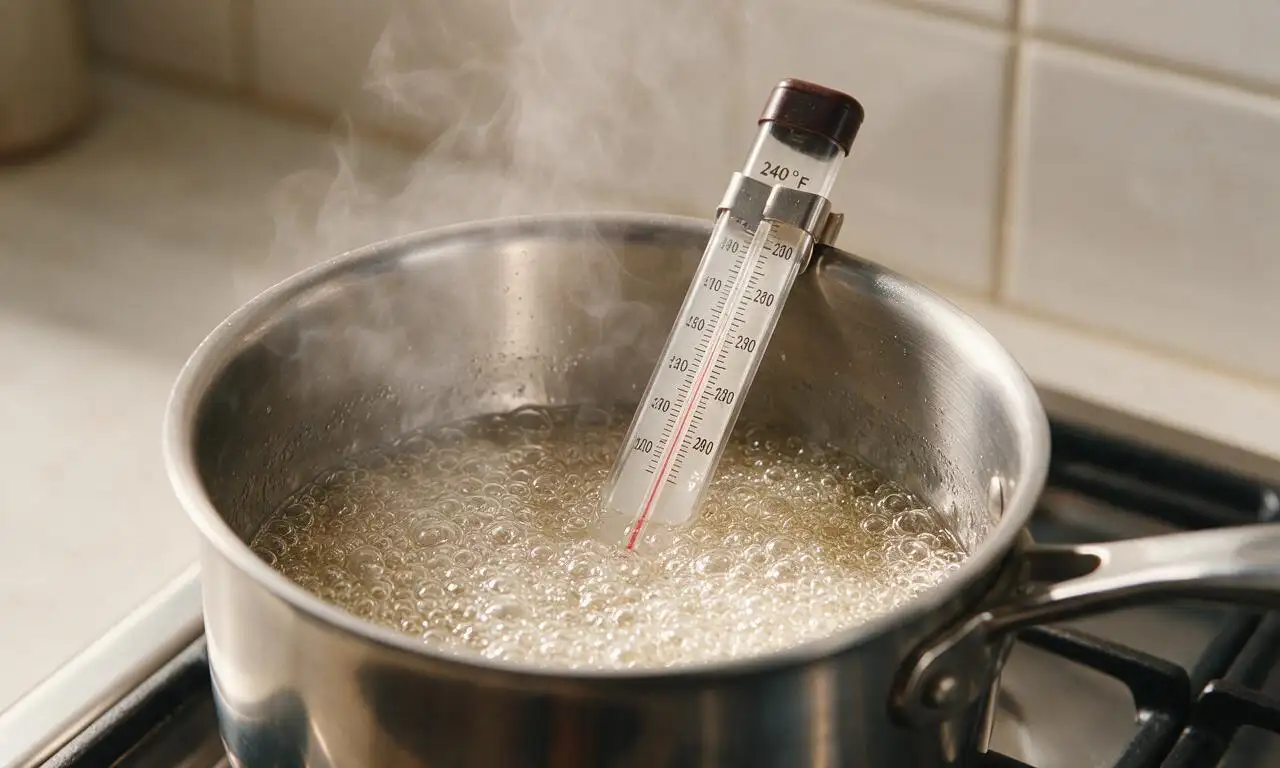
In a heavy-bottomed 1.5L (1.5 quart) saucepan, combine the remaining 120ml (1/2 cup) cold water, 400g granulated sugar, 120ml light corn syrup, and 1/4 teaspoon fine sea salt. Stir over medium heat until sugar fully dissolves (3-4 minutes), then stop stirring, clip a candy thermometer to the pan side, and boil undisturbed until the syrup reaches 115°C (240°F), approximately 8-10 minutes. Do not stir during boiling to avoid grainy sugar crystals.
Step 2
step2:Cook sugar syrup
3

Whip marshmallow base

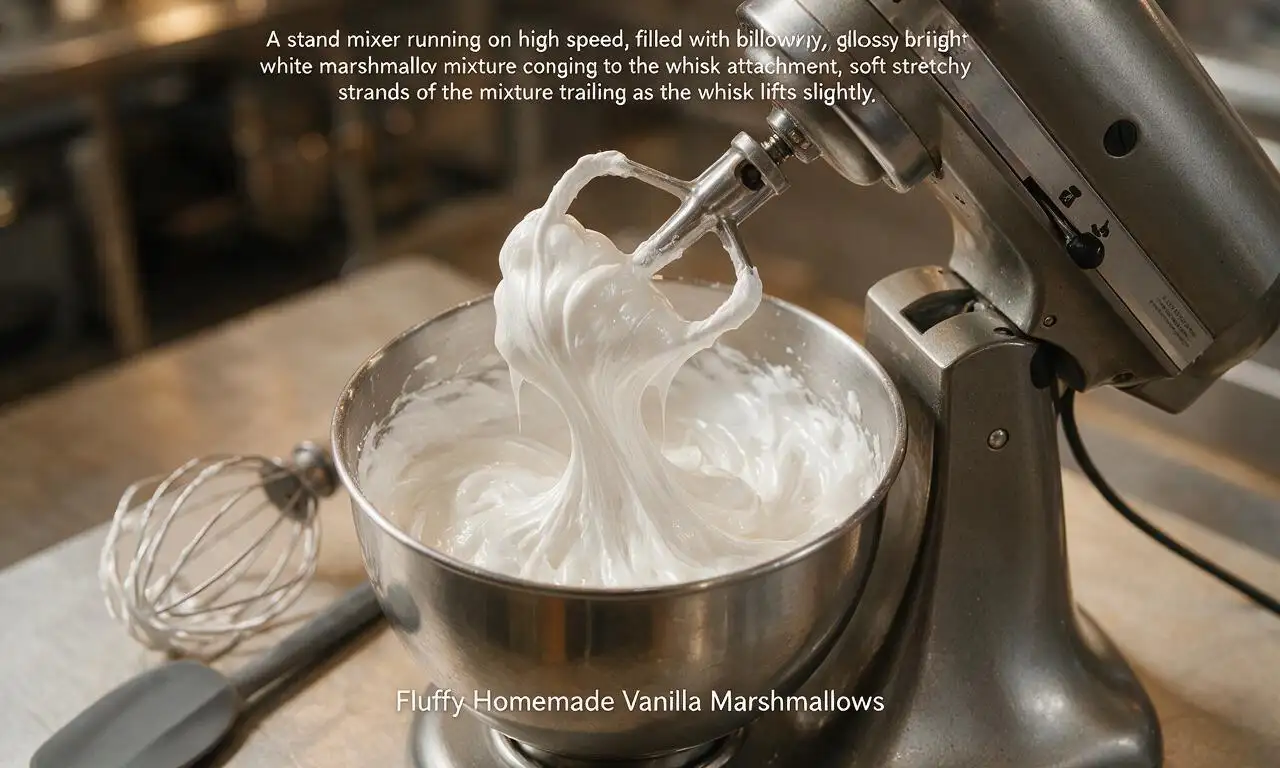
Turn the stand mixer to the lowest speed, and slowly pour the hot sugar syrup down the inner side of the mixer bowl (avoid pouring directly onto the whisk to prevent hot splatters) onto the bloomed gelatin. Once all syrup is added, gradually increase mixer speed to high, and whip for 10-12 minutes until the mixture is thick, glossy, bright white, and tripled in volume. Add 1 tablespoon vanilla extract during the final 30 seconds of whipping to incorporate evenly.
Step 3
step3:Whip marshmallow base
4

Pour and set mixture

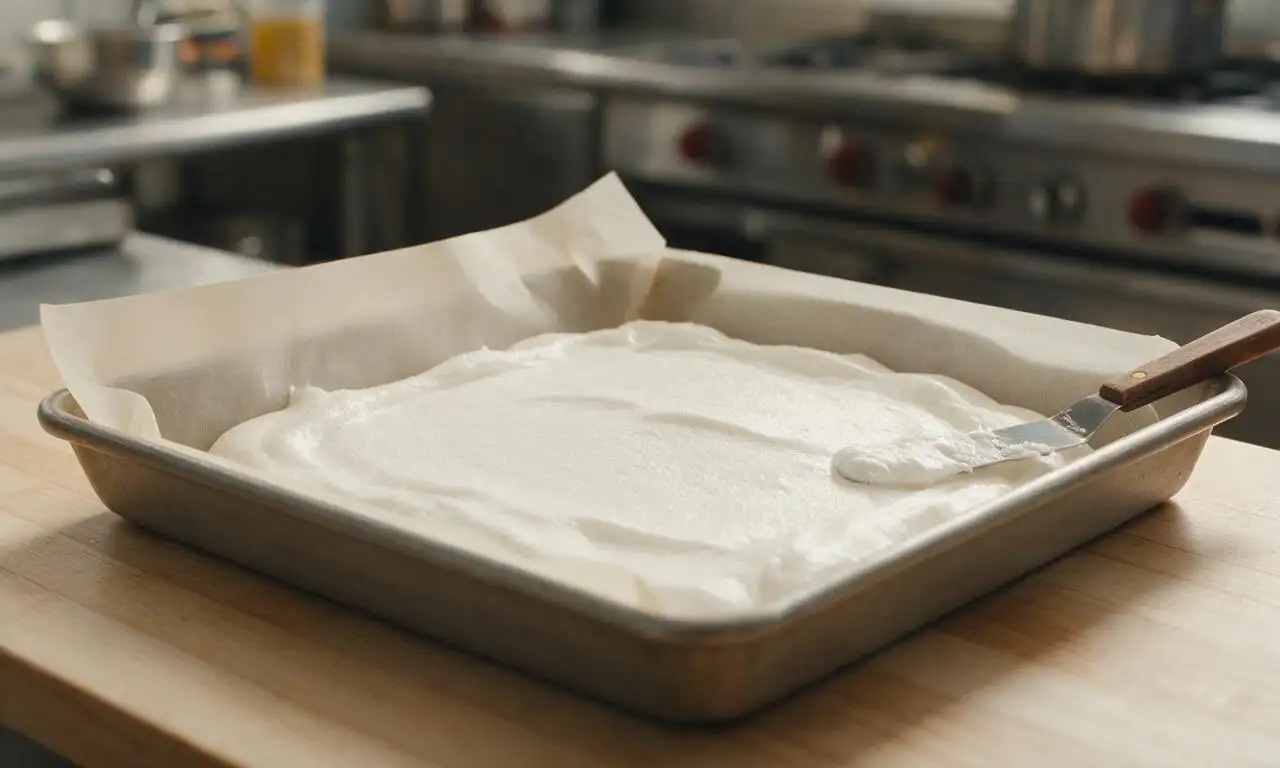
Working quickly (the mixture will begin to set as it cools), scrape all whipped marshmallow into the prepared baking pan. Use a lightly oiled offset spatula to spread the top into a smooth, even layer, taking care not to press down firmly to preserve the light, airy texture. Let the pan sit uncovered at cool room temperature (18-21°C / 65-70°F) for 4 hours, until the marshmallow is firm to the touch and no longer tacky on the surface.
Step 4
step4:Pour and set mixture
5

Make anti-stick coating

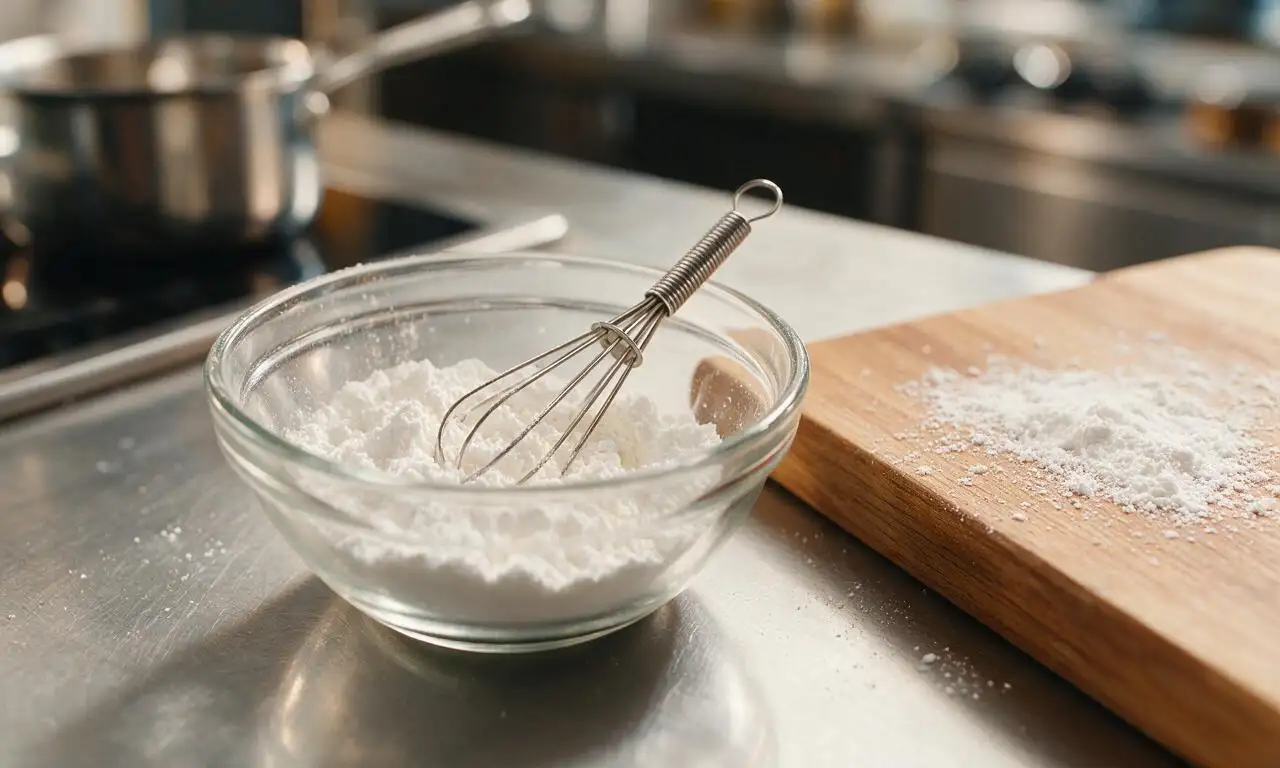
While the marshmallow sets, whisk 65g (1/2 cup) powdered sugar and 32g (1/4 cup) cornstarch together in a small bowl until fully combined. Once the marshmallow is fully firm, sift a 3mm (1/8 inch) thick even layer of the coating mix over a clean wooden cutting board.
Step 5
step5:Make anti-stick coating
6

Cut and coat pieces

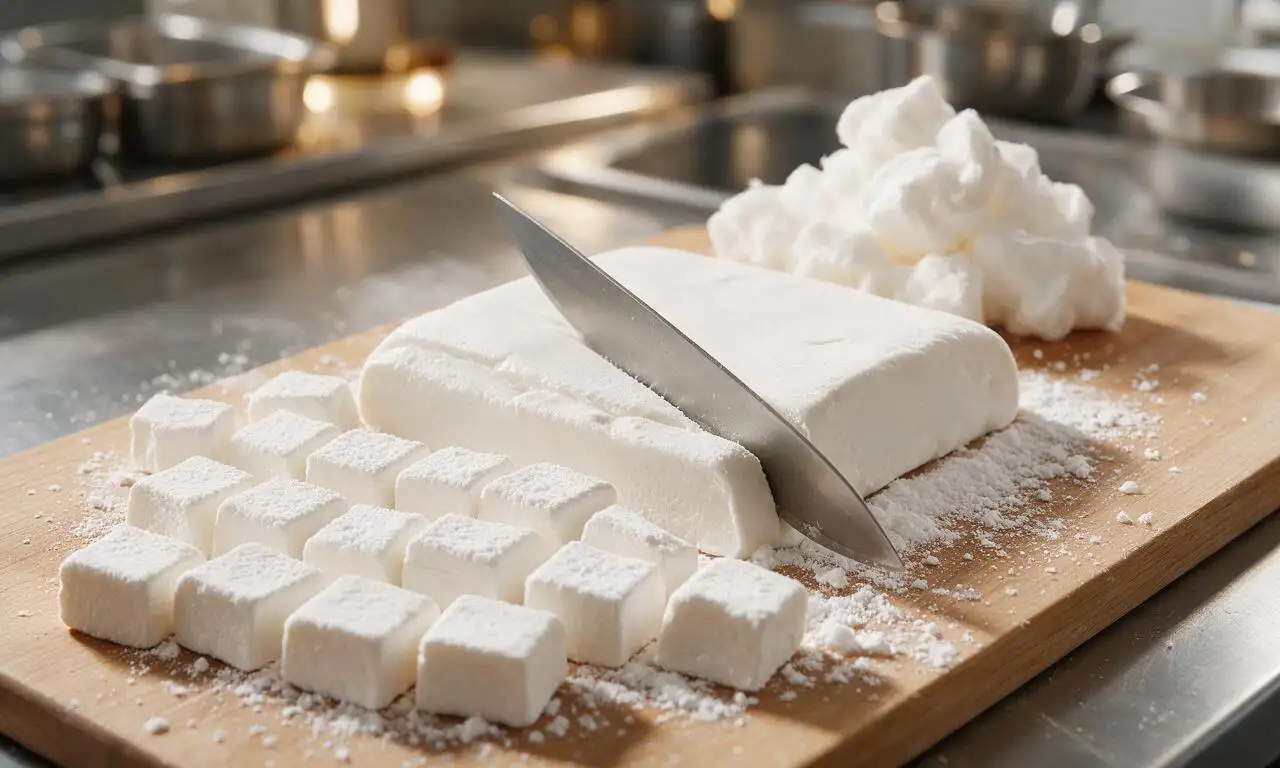
Lift the set marshmallow block out of the pan using the parchment paper overhang, and place it on the dusted cutting board. Sift a light layer of coating mix over the top surface of the marshmallow block. Use a sharp, lightly oiled chef’s knife to cut the block into 24 equal 4cm (1.5 inch) squares. Toss each cut marshmallow in the remaining coating mix to cover all sticky cut edges, then shake off excess coating before serving or storing.
Step 6
step6:Cut and coat pieces

Tips

1.If sugar crystals form on the inner sides of the saucepan while boiling the syrup, brush the sides with a wet pastry brush to dissolve crystals, which prevents a grainy final marshmallow texture.
2.Do not refrigerate marshmallows while they set, as cold, moist refrigerator air will make the surface sticky and prevent the coating from adhering properly.
3.Store finished marshmallows in an airtight container at room temperature for up to 2 weeks; do not freeze, as thawing will make them soggy.


✨ You May Also Like

Desserts & Baking
🍜 Italy

Creamy, coffee-kissed classic Northern Italian no-bake dessert, with layers of rum-spiked mascarpone cream, soft ladyfingers, and a rich cocoa dusting.

⏱️ 4 hours 3Desserts & Baking ★ 4.7
Desserts & Baking
🍜 France

Flaky, shatteringly crisp, buttery French croissants with golden exteriors and soft, airy layered interiors, perfect for pairing with coffee for a special morning treat.

⏱️ 12 hours Desserts & Baking ★ 4.5
Desserts & Baking
🍜 United States

Warm, spiced baked apples topped with a fluffy golden biscuit crust, this cozy dessert pairs perfectly with vanilla ice cream for cool-weather comfort.

⏱️ 55 minuteDesserts & Baking ★ 4.6
Desserts & Baking
🍜 United States

A star-spangled classic American blueberry pie with buttery flaky crust and bright sweet-tart filling, perfect for summer patriotic gatherings.

⏱️ 1 hour 25Desserts & Baking ★ 4.7
Desserts & Baking
🍜 United States

A beloved no-bake regional Maine candy with a chewy coconut-potato center coated in rich dark chocolate, a New England holiday staple since the 1870s.

⏱️ 2 hours 3Desserts & Baking ★ 4.8
Desserts & Baking
🍜 France

Luxuriously creamy, floral frozen custard made with aromatic Tahitian vanilla beans, boasting a smooth, rich texture that melts slowly on the tongue.

⏱️ 3 hours 3Desserts & Baking ★ 4.5

Marshmallow:Frequently Asked Questions

1.Why did my homemade marshmallows turn out dense instead of light and pillowy? ▾
Dense marshmallows almost always come from under-whipping the base, or adding hot sugar syrup too fast so it cools prematurely. Whip on medium-high speed for a full 10–12 minutes after adding syrup, until the mixture is thick, glossy, and holds soft peaks. Don’t skip the 5-minute gelatin bloom time in cold water, either—proper activation is key for lift.
2.Can I skip the light corn syrup in this recipe? ▾
I don’t recommend skipping it entirely, because corn syrup prevents sugar crystallization that leads to grainy marshmallows. If you need a substitute, use equal weight of glucose syrup or homemade invert sugar. Avoid honey or maple syrup here—they add strong, competing flavors and can still cause grainy texture if you don’t cook sugar to exactly 240°F.
3.How do I keep marshmallows from sticking to the setting pan? ▾
First, line your pan completely with overhanging parchment paper, then dust it heavily with a 50/50 mix of powdered sugar and cornstarch before pouring in the marshmallow base. Don’t rely on cooking spray alone—it leaves a greasy residue and won’t prevent sticking long-term as the marshmallows set. Let them cure uncovered at room temperature, never in the fridge.
4.How long do these homemade vanilla marshmallows stay fresh? ▾
Stored in an airtight container at cool room temperature, layered between sheets of the powdered sugar-cornstarch mix to prevent sticking, they’ll stay perfectly fluffy for 2–3 weeks. Never refrigerate or freeze them—excess trapped moisture will make them soggy, sticky, and cause them to weep when they come back to room temperature.
5.What exact temperature do I need to cook the sugar syrup to? ▾
Cook the sugar, corn syrup, water, and salt mixture to exactly 240°F, known as the soft-ball candy stage, using a clip-on candy thermometer for accuracy. If you go too high, your marshmallows will be tough and overly chewy; too low, and they won’t set properly, turning out soft and oozing instead of firm enough to cut.
6.Can I make these marshmallows without a stand mixer? ▾
You can, but it’s a bit of a workout! Use a heavy-duty electric hand mixer set to high speed, and plan to whip for 12–14 minutes total, since hand mixers are less powerful than stand models. Don’t try to whip by hand—you won’t incorporate enough air to get that signature fluffy texture, and you’ll end up with dense, gummy results.
7.Why is my finished marshmallow base grainy? ▾
Grainy texture almost always traces back to undissolved sugar crystals forming as the syrup cooks. Prevent this by brushing down the sides of your saucepan with a wet pastry brush as the syrup boils, to wash stray sugar crystals back into the pan. Don’t stir the boiling syrup—swirl the pan gently if you need to distribute heat evenly.
8.How do I correctly bloom the gelatin for this recipe? ▾
Blooming softens gelatin to activate it without clumping. Sprinkle the full amount of unflavored powdered gelatin evenly over half the cold filtered water in your mixer bowl (don’t dump it all in one clump). Let it sit for 5–7 minutes, until it looks thick and spongy, before pouring hot sugar syrup over it to melt it fully.
9.Can I add other flavors besides vanilla to these marshmallows? ▾
Absolutely! Once the marshmallow base is finished whipping, you can fold in 1–2 teaspoons of other extracts (peppermint, almond, orange), a pinch of flaky sea salt, ¼ cup mini chocolate chips, or crushed candy canes. Add mix-ins at the very end so you don’t deflate the air you whipped in, which would make the marshmallows dense.
10.Why do my marshmallows melt too fast when I add them to hot cocoa? ▾
That usually happens if you undercooked the sugar syrup below 240°F, so the gelatin-sugar matrix isn’t stable enough to hold its shape when exposed to heat. Next time, calibrate your candy thermometer first (boiling water should read 212°F) to make sure you hit the exact soft-ball stage before pulling the syrup off heat.
11.Do I really need to use filtered water for this recipe? ▾
It’s a small tweak that makes a noticeable difference! Tap water often has trace minerals, chlorine, or off-flavors that come through in the mild, delicate vanilla marshmallow taste. If you don’t have filtered water, use boiled and fully cooled tap water, but skip strongly chlorinated tap water entirely—it leaves a weird, chemical aftertaste.
12.How do I get clean, smooth cuts when slicing set marshmallows? ▾
First, dust a sharp chef’s knife generously with the same powdered sugar-cornstarch mix you used for the pan between every single cut. You can lightly oil the blade, but the sugar-starch mix works far better to prevent sticking. Skip serrated knives—they tear soft marshmallow instead of creating clean, even, smooth-edged squares.
13.Can I use sheet gelatin instead of powdered unflavored gelatin? ▾
Yes, you can swap it at a ratio of 3 standard sheet gelatin leaves (each ~2.5g) for every 1 tablespoon of powdered gelatin called for. Bloom the sheets in a bowl of cold filtered water for 5 minutes, then squeeze out all excess water thoroughly before melting it with the hot sugar syrup, just like you would bloomed powdered gelatin.
14.Are these marshmallows good for making s’mores? ▾
They’re perfect for s’mores! Their high moisture content means they melt into that ideal oozing, gooey consistency over a campfire or kitchen torch way better than dry store-bought marshmallows. For extra-sturdy s’mores marshmallows that hold up on a roasting stick, cook the sugar syrup to 245°F instead of 240°F for a slightly firmer set.
15.Can I make these marshmallows ahead for holiday gifting? ▾
They’re ideal for make-ahead gifting! Make them up to 1 week before you plan to give them away, toss the cut marshmallows fully in the powdered sugar-cornstarch mix to prevent sticking, and pack them in cellophane bags or airtight tins. Add a small note telling recipients to store them at room temp, not in the fridge, to keep their fluffy texture.

Comments (12)

1 week ago

Game changer! I’ve been scared to try homemade marshmallows for years because I thought they’d be way too fussy, but the active time was totally manageable even on a weeknight. I will say I almost panicked when my first pour looked lumpy, but I kept beating it like the recipe said and it turned into that perfect fluffy cloud texture. Used these for s’mores at our neighborhood potluck last weekend and people were begging for the recipe!

5 days ago

Wait did you use a stand mixer or a hand mixer? I only have a hand mixer and I’m worried it won’t get fluffy enough!

3 days ago

Great question! A hand mixer works totally fine, you’ll just want to beat it on high for 10-12 minutes instead of the 8 minutes noted for a stand mixer to get that same pillowy texture. Just make sure you don’t skimp on the beating time!

3 days ago

Made these with my daughter over the weekend for our annual fall campout, and they were a massive hit. The only issue I had was that my batch stuck a little to the pan even after I greased it with butter—did I not use enough powdered sugar when dusting? Otherwise, flavor and texture were spot on, way better than any store brand I’ve ever had.

2 days ago

So glad you and your daughter enjoyed them! The sticking issue is almost always from skimping on the powdered sugar/cornstarch dusting—make sure you coat every surface of the pan generously, and dust the top of the marshmallow slab right before you turn it out to cut too, that eliminates 99% of sticking!

yesterday

OMG my kids loved it!!! I cut these into little star shapes and dipped half in dark chocolate for our after-school snack bin this week, and they keep asking when we can make another batch. The vanilla flavor is so much richer than I expected, I’ll never buy bagged marshmallows again tbh. SO good.

2 hours ago

Tried this recipe last night for a hot cocoa date night with my partner, and wow. I was worried I’d mess up the sugar syrup stage since I don’t make candy often, but the instructions were super clear and easy to follow. Do you think I could add a little matcha powder to the mix next time for a matcha vanilla swirl?

30 minutes ago

That sounds absolutely delicious! You can whisk 1-2 tbsp of sifted matcha powder into the gelatin mixture before you pour in the hot sugar syrup for an even matcha flavor, or dust the top with matcha mixed into your powdered sugar coating for a more subtle vibe. Let us know how it turns out!

5 days ago

Wait a second, these taste exactly like the fancy gourmet marshmallows I paid $12 a bag for at the farmers market last month!!! For a fraction of the cost? Total no-brainer. I did add an extra teaspoon of vanilla bean paste because I’m extra, and it was chef’s kiss. Taking a batch to my book club potluck next week.

3 days ago

Oh girl I’m in your book club and I NEED you to bring these!!! I had a homemade marshmallow once at a holiday party and I’ve been chasing that high ever since

2 days ago

Bev I’m already making a double batch, don’t worry! I’m even bringing little individual hot cocoa jars to pair with them for everyone 😊

2 weeks ago

I was skeptical these would turn out at 5000ft elevation since candy recipes can be so finicky, but I adjusted the sugar syrup temp by 2 degrees lower like I usually do for high altitude and they set perfectly! So fluffy, not too sweet, perfect for topping sweet potato casserole at our family Thanksgiving dinner next month.

1 week ago

Oh thank you for the high altitude tip! I’m in the Rockies and I always have such a hard time with candy recipes setting up right, I can’t wait to try this temp adjustment when I make these next week

5 days ago

Thanks for sharing that high altitude tip! I get so many questions about high altitude adjustments, I’m going to add this note to the recipe card for other mountain bakers to reference!

2 days ago

Ugh I messed up my first batch because I got impatient and pulled them out of the pan after 2 hours instead of waiting the full 4 hours. They were goopy and impossible to cut, total bummer. Second time around I set a timer and left them alone, and they came out perfect! Pro tip for fellow impatient people: don’t skip the full setting time, it’s non-negotiable lol

yesterday

Oh I did the exact same thing my first try! I tried to rush the set because I wanted to bring them to a tailgate, and I ended up with a sticky mess. Worth the wait the second time though, right?

2 hours ago

These look so light and fluffy, I’ve been dying to try homemade marshmallows for ages! Quick question though—does anyone know if I can make these without corn syrup? I try to avoid it when I can, and I’d love to find a swap that works without ruining the texture.

30 minutes ago

I swapped light corn syrup for honey in equal measure last time I made these and it worked great! It adds a tiny little floral note that’s so good, especially with the vanilla

5 minutes ago

Great question! You can absolutely swap corn syrup for equal parts light honey or golden syrup, just note that honey will add a subtle floral flavor like the commenter above mentioned, while golden syrup will keep the flavor almost identical to the original recipe. Just make sure you still cook the syrup to the exact temp noted!

1 week ago

Made these for my partner’s birthday s’mores bar last weekend, and people were raving so much I had to hide a few for myself for later. The texture is insane, like biting into a vanilla cloud. I tossed some of the cut marshmallows in crushed graham cracker crumbs instead of plain powdered sugar for an extra little s’mores twist, 10/10 would recommend.

5 days ago

That graham cracker crumb coating hack is genius! I’m totally stealing that for my next s’mores night, that sounds like the perfect extra touch. So glad everyone loved them!

5 minutes ago

I’ve made a lot of fancy dessert recipes over the years, and these marshmallows are easily top 5. They’re so much less complicated than I thought they’d be, and the payoff is huge. I used homemade vanilla extract from my pantry and it made the flavor so deep and cozy. Been putting one in my morning latte all week and it’s the best little treat to start the day.

30 minutes ago

Quick question before I make these this weekend—do I need a special candy thermometer to get the sugar syrup to the right temp, or will a regular instant read thermometer work? I don’t make candy super often so I don’t want to buy a whole new tool if I don’t have to!

just now

I used my regular instant read thermometer when I made these last week and it worked totally fine! Just make sure you don’t let the thermometer tip touch the bottom of the hot pot when you’re checking the temp, that’ll give you an inaccurate reading. These are so worth making, you’re gonna love them!

2 weeks ago

My three boys devoured an entire batch of these in two days flat. I cut them into extra big cubes for hot cocoa after our soccer practices this week, and all the other parents were asking where I bought them. When I said I made them from scratch no one believed me! Will absolutely be making these on repeat all fall and winter.



