1.Do I really need to use pasteurized egg whites for this recipe?
▾
Yes, this fluff is not cooked to a high enough temperature on its own to kill potential salmonella in raw eggs, so pasteurized egg whites are non-negotiable for food safety, especially when serving kids, pregnant people, or immunocompromised guests. Room-temperature pasteurized whites also whip up lighter and more stable than cold ones.
2.Can I swap light corn syrup for honey or maple syrup to make this fluff?
▾
I don’t recommend it! Light corn syrup is a neutral-tasting invert sugar that prevents sugar crystal formation for that signature smooth, velvety texture. Honey or maple syrup have strong, distinct flavors, lead to grainy, dense final results, and can make the fluff overly dark or unbalanced in sweetness.
3.Why do I need cream of tartar in this recipe?
▾
Cream of tartar is a mild acidic ingredient that stabilizes whipped egg whites, helping them hold their light, airy structure instead of deflating as you mix in hot sugar syrup. If you don’t have it on hand, swap 1/4 teaspoon of fresh lemon juice for every 1/8 teaspoon of cream of tartar for the same stabilizing effect.
4.How do I know when my sugar syrup is the right temperature for fluff?
▾
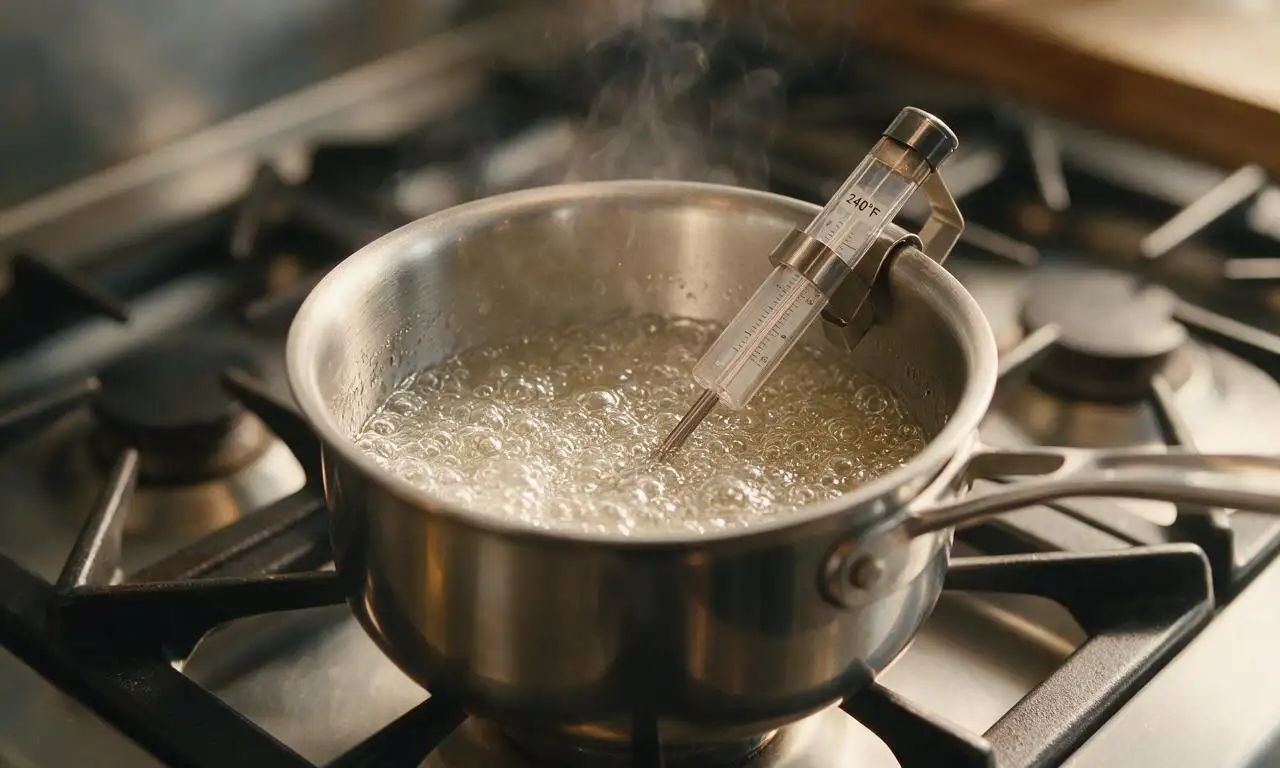
Heat the sugar, corn syrup, and water until it hits 240°F (soft-ball candy stage) on a clip-on candy thermometer for best results. If you don’t have a thermometer, drop a tiny bit of hot syrup into cold water: it should form a soft, malleable ball that flattens easily when you pick it up between your fingers.
5.My fluff turned out grainy—what did I do wrong?
▾
Grainy fluff almost always stems from sugar crystals forming while you heat the syrup, usually from stirring the boiling syrup too much, or failing to brush down the pot sides with a wet pastry brush to dissolve stray sugar crystals as it cooks. Even one tiny undissolved crystal can seed the whole batch and turn it gritty as it cools.
6.Can I make this marshmallow fluff without a stand mixer?
▾
You can, but it will take some extra effort! Use a hand mixer set to high speed, and plan to whip continuously for 7 to 10 minutes as you slowly stream in the hot sugar syrup. Never try to mix it by hand with a whisk—you won’t incorporate enough air to get that signature light, cloud-like texture.
7.Is homemade marshmallow fluff the same as the store-bought version in the jar?
▾
It matches the texture and sweet, mellow marshmallow flavor of jarred store-bought fluff, but your homemade version skips the artificial preservatives, stabilizers, and fake vanilla flavor found in most commercial brands. It tastes fresher, lighter, and has a silkier melt-in-your-mouth feel than most store-bought options, in my experience.
8.Can I add flavorings or color to my marshmallow fluff?
▾
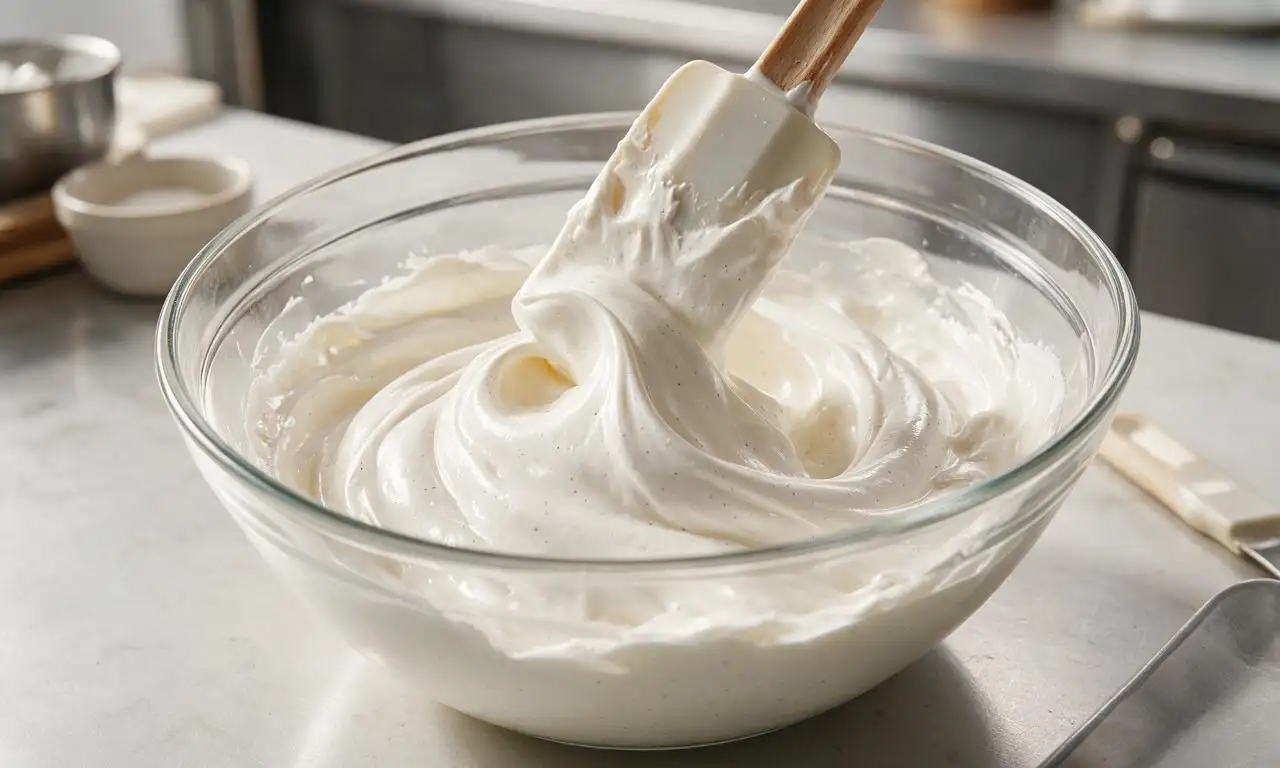
Absolutely! Once the fluff is fully whipped, fold in 1/2 to 1 teaspoon of pure vanilla extract, a dash of peppermint or almond extract, a pinch of fine sea salt, or a couple drops of gel food coloring to customize it. Skip watery liquid flavorings, as those will break down the airy structure and make the fluff runny.
9.Why did my egg whites not whip up to stiff peaks?
▾
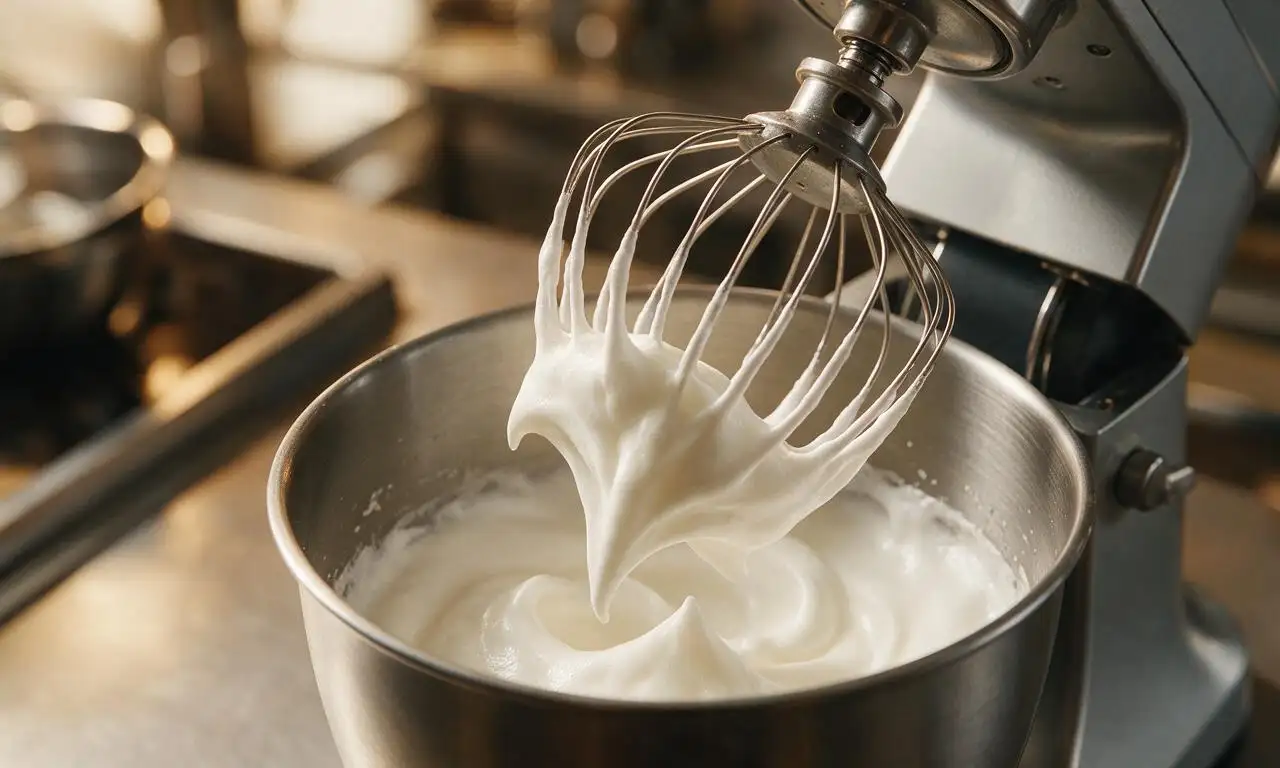
The most common culprits are cold egg whites (they don’t trap air as well as room-temperature ones), even a tiny speck of egg yolk in the whites (fat breaks down egg white foam), or a mixing bowl with leftover grease or soap residue. Make sure your bowl is completely clean, dry, and grease-free before you start whipping.
10.Can I use this homemade fluff to make fluffernutter sandwiches?
▾
Of course! That’s one of its most classic uses. Slather it on soft white bread with creamy peanut butter for the iconic New England-style fluffernutter, just note your homemade version is softer than store-bought right after mixing, so chill it for 30 minutes first if you want a firmer, less oozy spread.
11.Is it safe to eat this fluff if I’m pregnant?
▾
As long as you use properly pasteurized large egg whites as the recipe specifies, yes, it is safe for pregnant people to eat. The 240°F sugar syrup also heats the egg whites slightly as you stream it in, adding an extra safety layer, but skip the recipe entirely if you only have unpasteurized eggs to avoid foodborne illness risk.
12.Can I freeze leftover marshmallow fluff for later use?
▾
I don’t recommend freezing it, because the drastic temperature change will cause the fluffy emulsion to break, leaving you with a runny, separated, grainy mess when it thaws. It keeps perfectly in the fridge for 2 weeks, so you won’t need to freeze it—just portion it into small jars for easy snacking or baking use.
13.How do I prevent the hot sugar syrup from splattering when I pour it into the egg whites?
▾
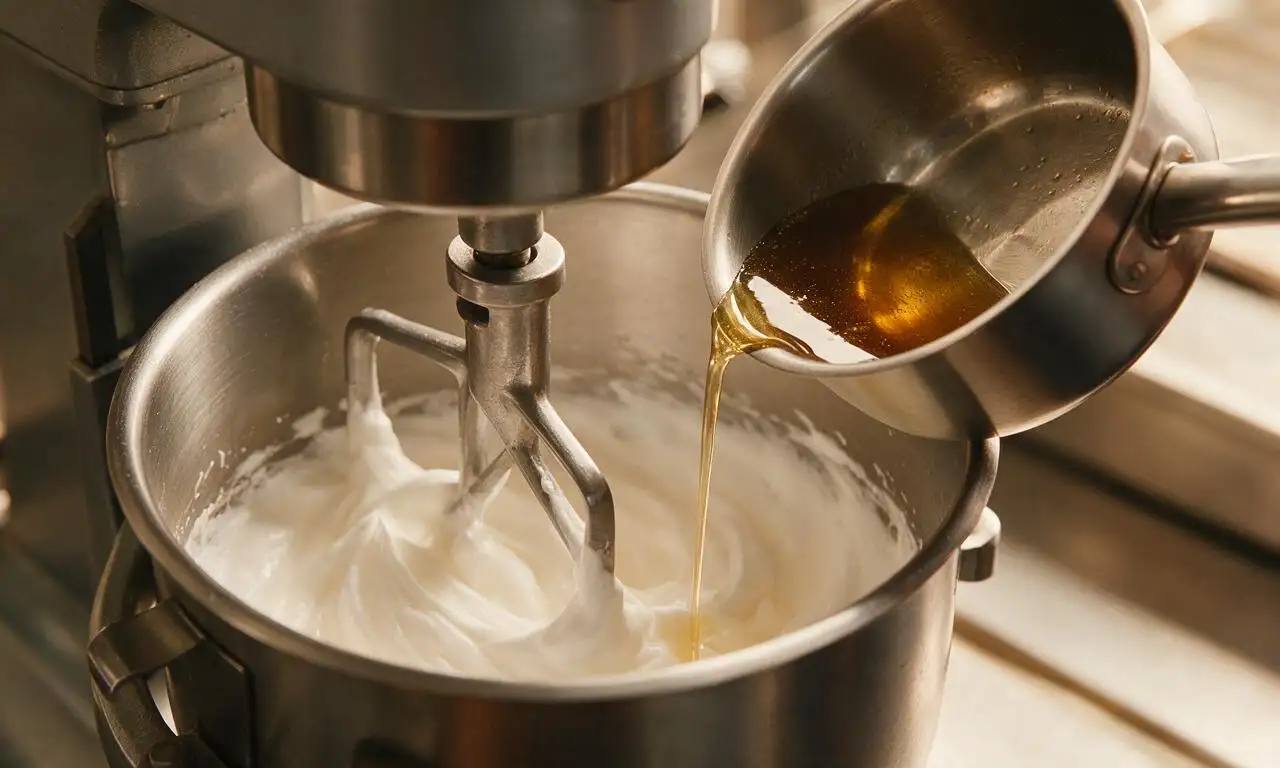
Pour the syrup very slowly in a thin, steady stream down the inside edge of the mixing bowl, rather than dumping it straight into the center onto the spinning whisk. This keeps hot syrup from splattering up (which can cause bad burns) and lets it mix in gradually instead of cooking clumps of egg white into hard lumps.
14.Can I use this fluff as a frosting for cakes or cupcakes?
▾
It works beautifully as a light, fluffy topping, but note it is softer and stickier than traditional buttercream. It will hold its shape for 4 to 6 hours at cool room temperature, but if you’re serving in hot weather, keep frosted treats chilled until right before serving to prevent the fluff from sliding or melting too much.
15.My fluff turned out runny and wouldn’t set up—what went wrong?
▾
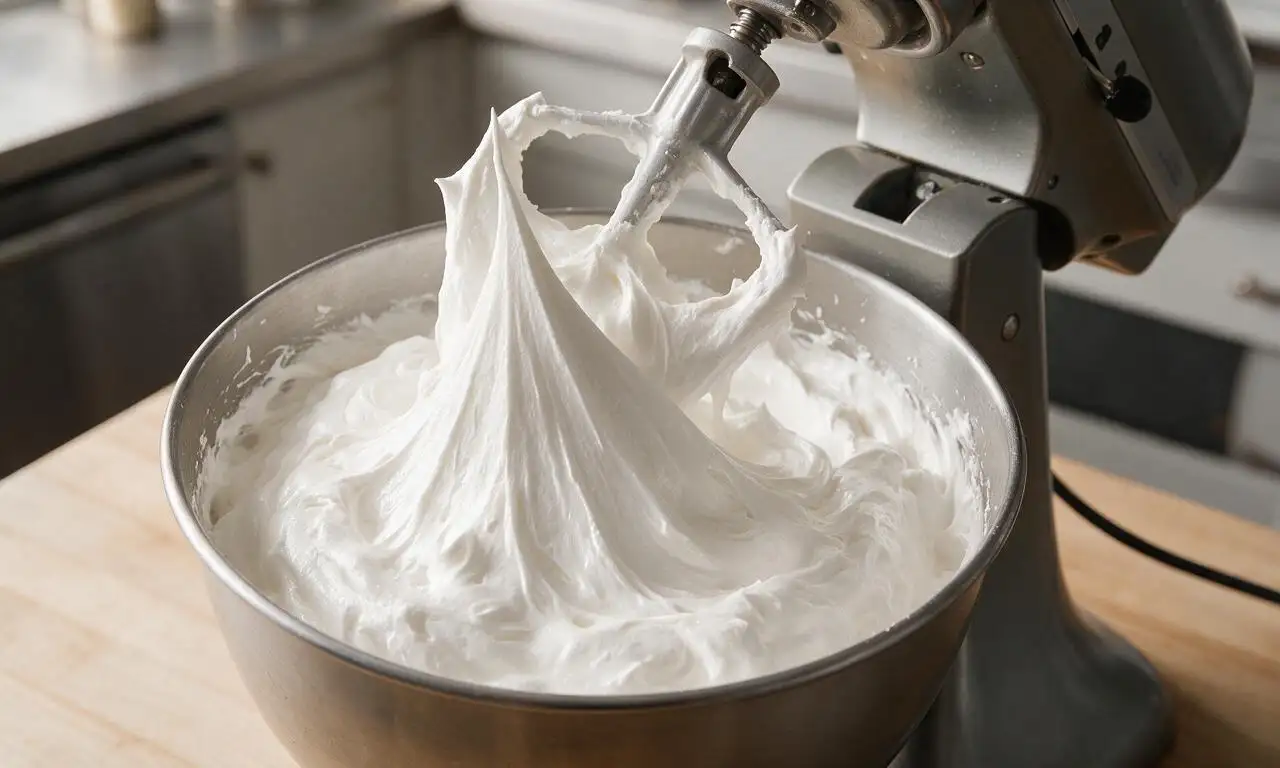
Runny fluff usually happens if you didn’t heat the sugar syrup to the full 240°F soft-ball stage, so it didn’t have enough sugar concentration to set the structure as it cooled. It can also happen if you didn’t whip the mixture long enough after adding syrup—keep whipping on high for 7 to 9 minutes until it’s thick, glossy, and holds soft peaks.
16.Do I need to add vanilla extract to this recipe? It’s not listed in the key ingredients.
▾
It’s totally optional! The base recipe has a mild, sweet marshmallow flavor even without added vanilla, but 1 teaspoon of pure vanilla extract stirred in at the end of mixing adds that familiar classic marshmallow taste most people recognize. Leave it out if you prefer a plain, neutral sweet fluff for baking projects.
17.Can I make this recipe without corn syrup for a corn-free version?
▾
If you need a corn-free version, use a neutral store-bought invert sugar made from beet sugar, or homemade invert sugar, as plain granulated sugar alone will crystallize and create a grainy, unpleasantly gritty texture. Skip dark corn syrup as a swap—it has a strong molasses flavor that will overpower the fluff’s delicate, mild sweet taste.
18.What are easy ways to use homemade marshmallow fluff besides spreading it on sandwiches?
▾
You can dip fresh fruit or salty pretzels in it, swirl it into brownies or fudge before baking, top hot cocoa or ice cream sundaes with it, use it as a filling for whoopie pies or homemade moon pies, or toast it lightly with a kitchen torch for a quick s’mores-style treat without a campfire. It’s endlessly versatile!
19.Do I need to grease my storage container before putting the fluff in it?
▾
It’s not required, but a very light coating of neutral nonstick spray on the inside of your airtight glass jar will make it much easier to scoop the sticky fluff out later without it clinging to the sides. Don’t use too much spray, though—you don’t want it to leave an oily residue on the surface of your stored fluff.

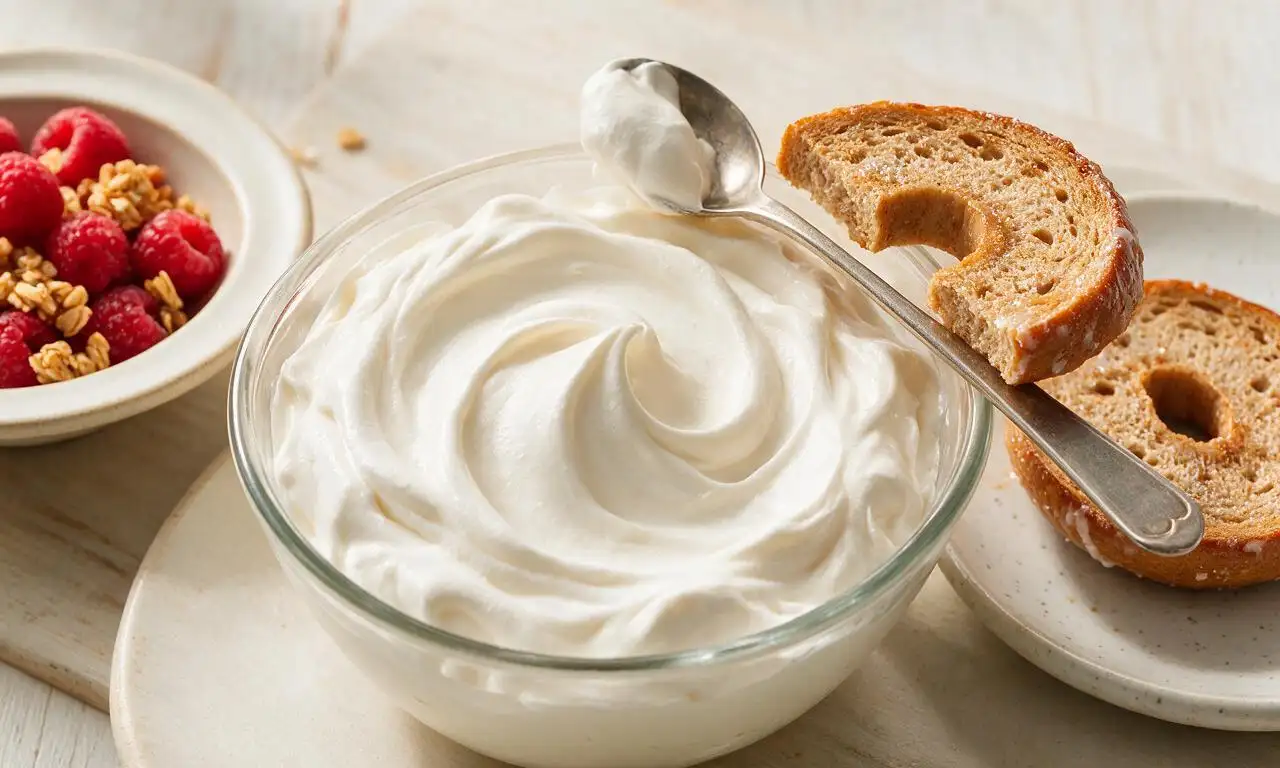
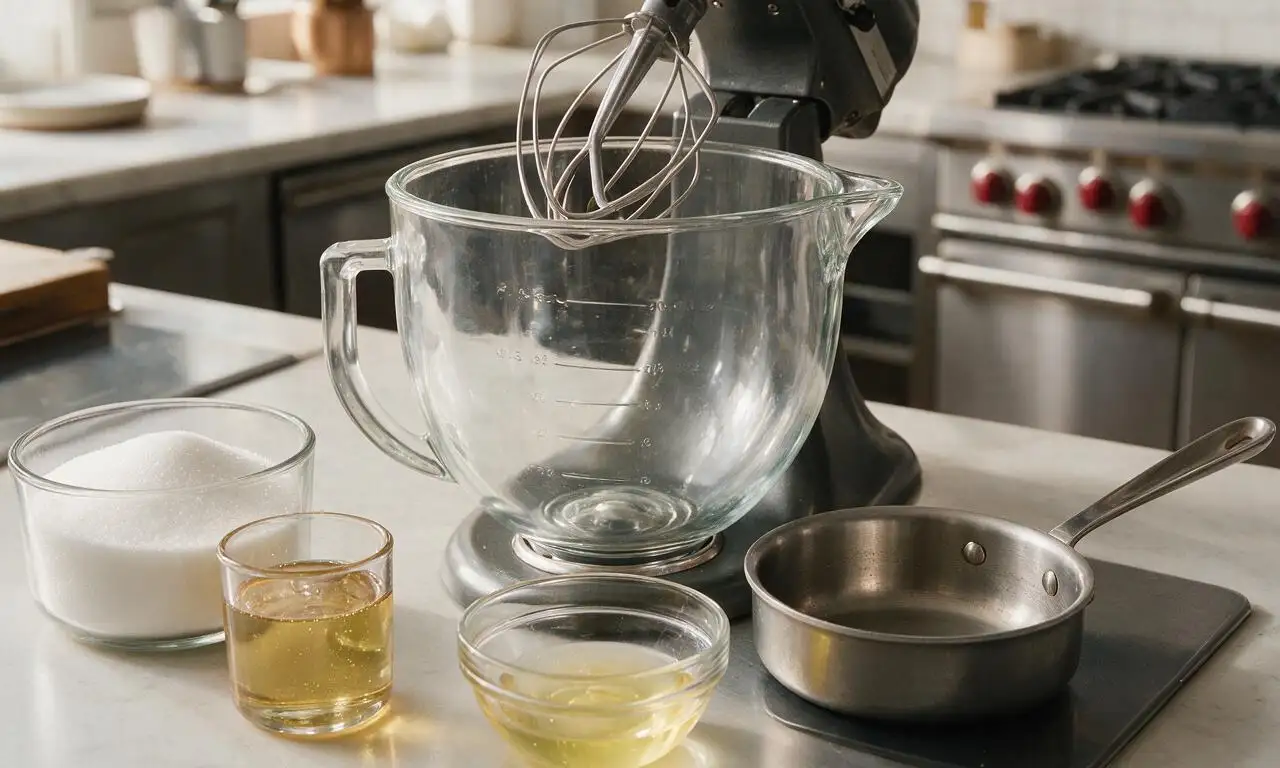






OMG this homemade marshmallow fluff is a total game changer!!! I’ve been buying the jarred stuff for years for my kids’ after-school s’mores dip and this is SO much better — no weird preservatives, it’s so light and fluffy, and it only took 20 minutes total? My 7 year old asked if we can make it every weekend from now on. 10/10, already sent the recipe to my whole mom group for our fall potluck next month!
Wait, super excited to try this but I have a quick question — can I use a hand mixer instead of a stand mixer? I don’t have a stand mixer at my apartment and I don’t want to mess this up! It looks way easier than I thought marshmallow fluff would be to make, so fingers crossed it turns out.
Made this last night to top my hot cocoa bar for our annual neighborhood bonfire and it was chef’s kiss. Way less cloyingly sweet than the store-bought version, and it held up really well even when we set the bowl out for a couple hours in the cool fall air. Already added this to my regular weekend treat rotation — it’s so quick to throw together, even after a long work day!
No way, this is so easy?? I made this in my dorm kitchen between midterm study sessions and it came out perfect first try. I’ve been slathering it on toast with peanut butter for quick breakfasts all week, total game changer for my lazy meal prep. Only mistake I made was doing a half batch first — I ran out in like two days lmao.
My kids went absolutely crazy for this! I made it for our family movie night last weekend to go with our candy and popcorn spread, and they kept asking for seconds (and thirds). It’s so much softer and fresher than the store-bought stuff, I don’t think I’ll ever go back to the jarred version. Worth every minute of the 20 minute cook time!