
Max Cookies
intro
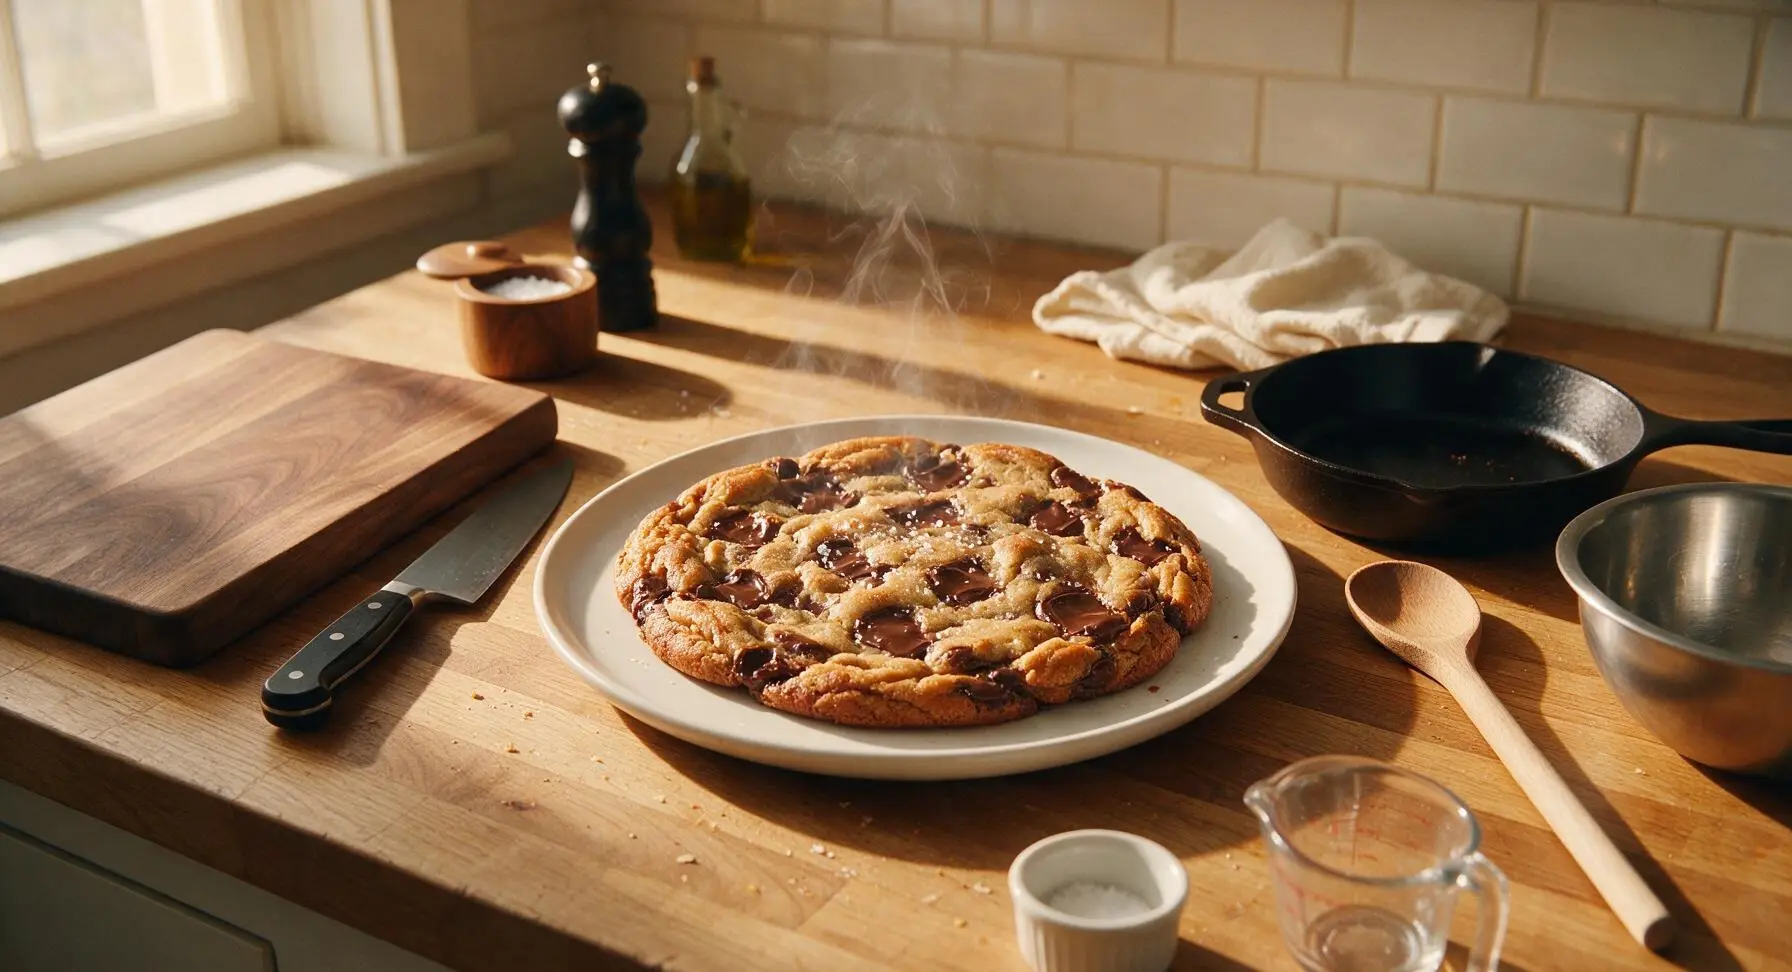
Thick, chewy, caramel-edged Max Cookies loaded with melty chocolate chunks, nutty brown butter, and a flaky salt finish— the ultimate cozy, crowd-pleasing homemade bake.
Ingredients
Steps
Brown the Butter
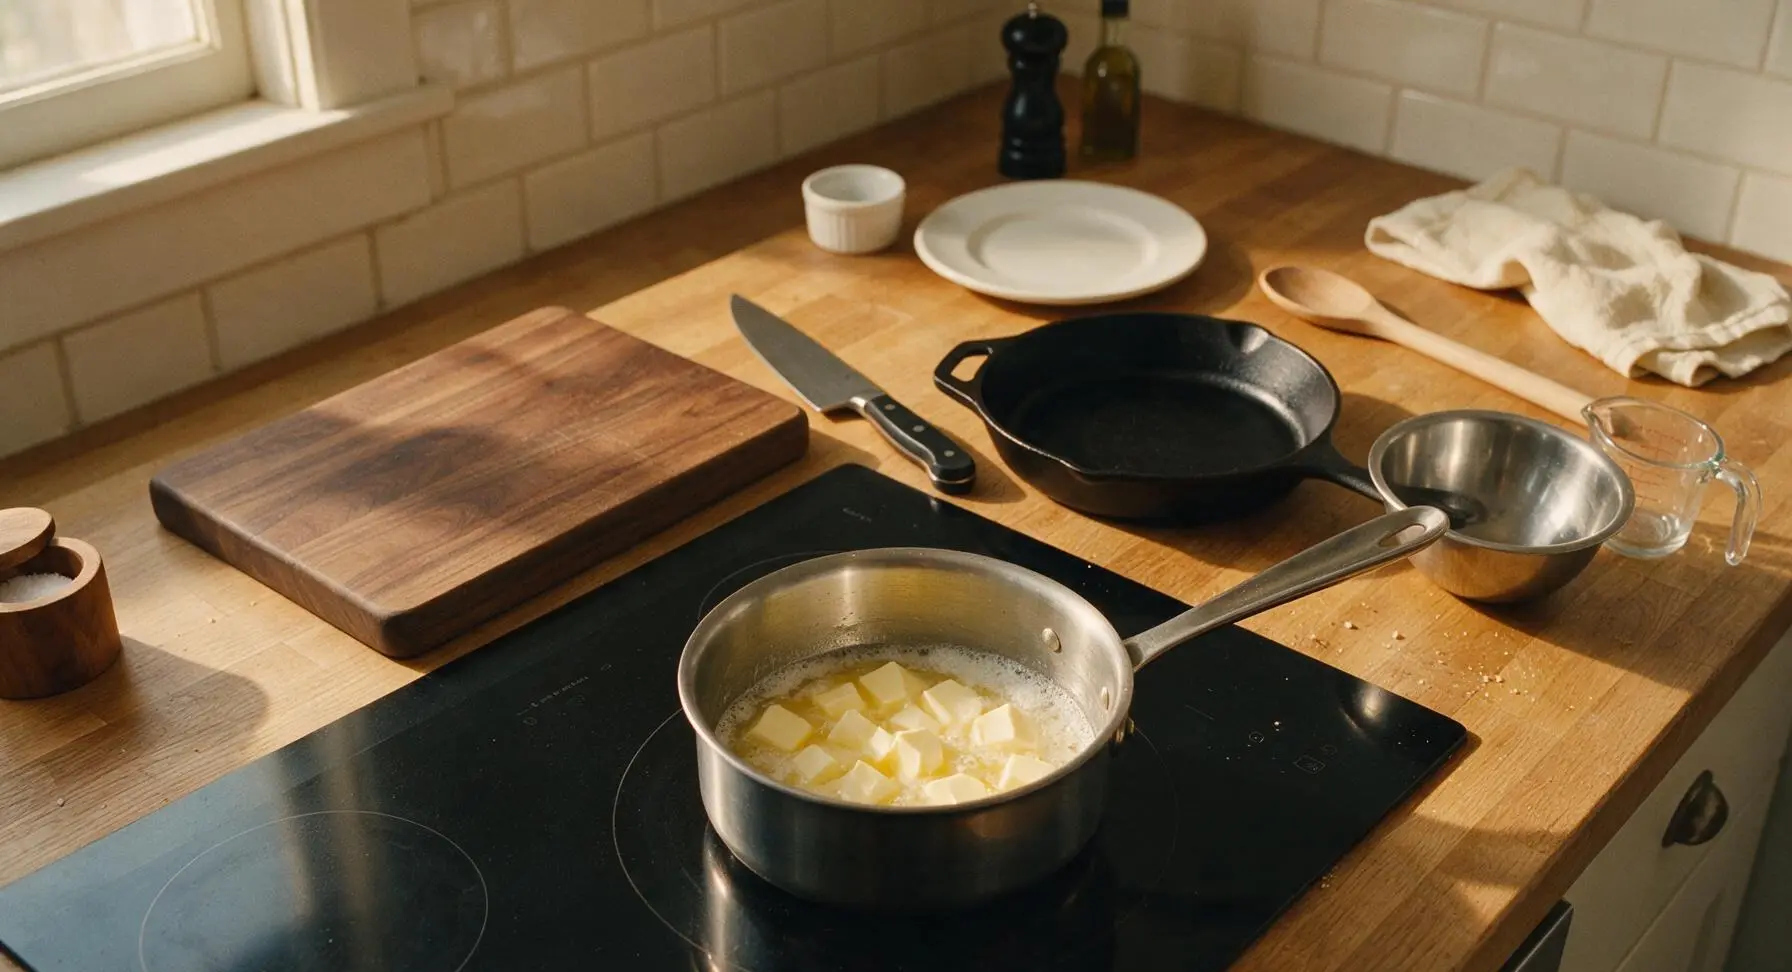
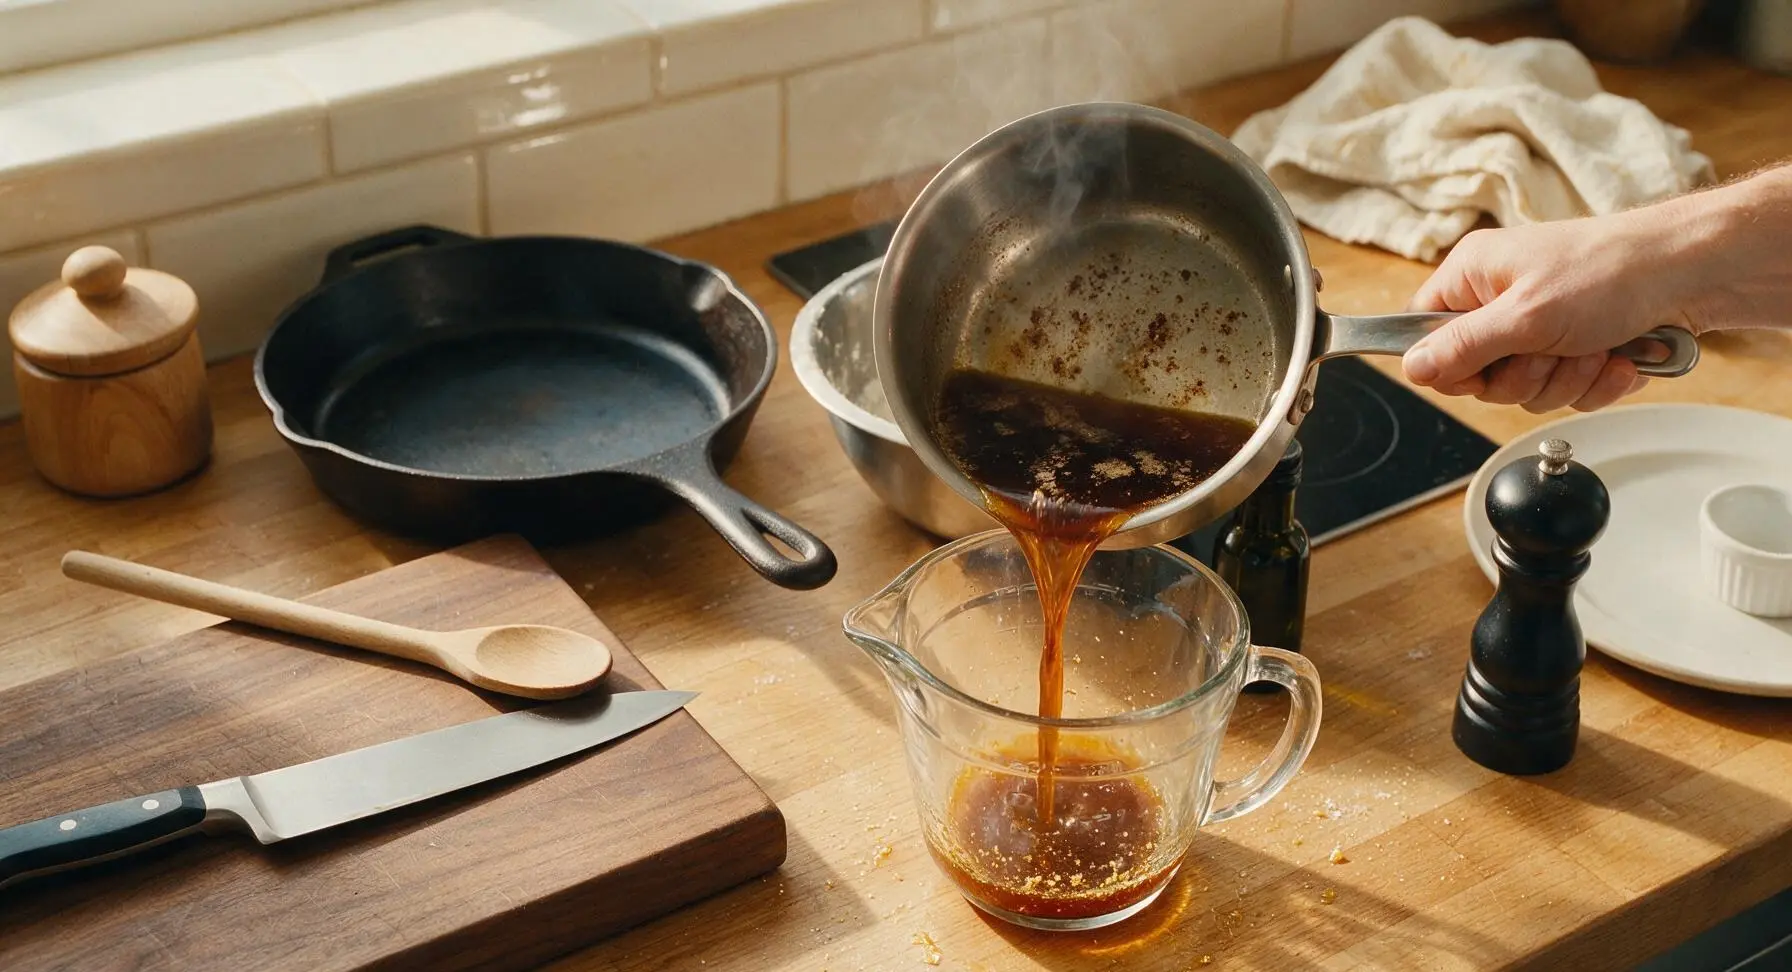
Place the small stainless steel saucepan over medium-low heat on the induction cooktop. Add all 226g of cubed unsalted butter, melting it slowly while swirling the pan occasionally. Cook for 5-7 minutes, until the butter foams, turns deep golden amber, and smells richly nutty, with tiny brown milk solids settling at the pan bottom. Immediately pour the browned butter (including all flavorful browned solids) into the clear glass measuring cup to cool for 10 minutes, until it reaches 45°C/113°F (warm, not hot to the touch).
Whisk Dry Ingredients
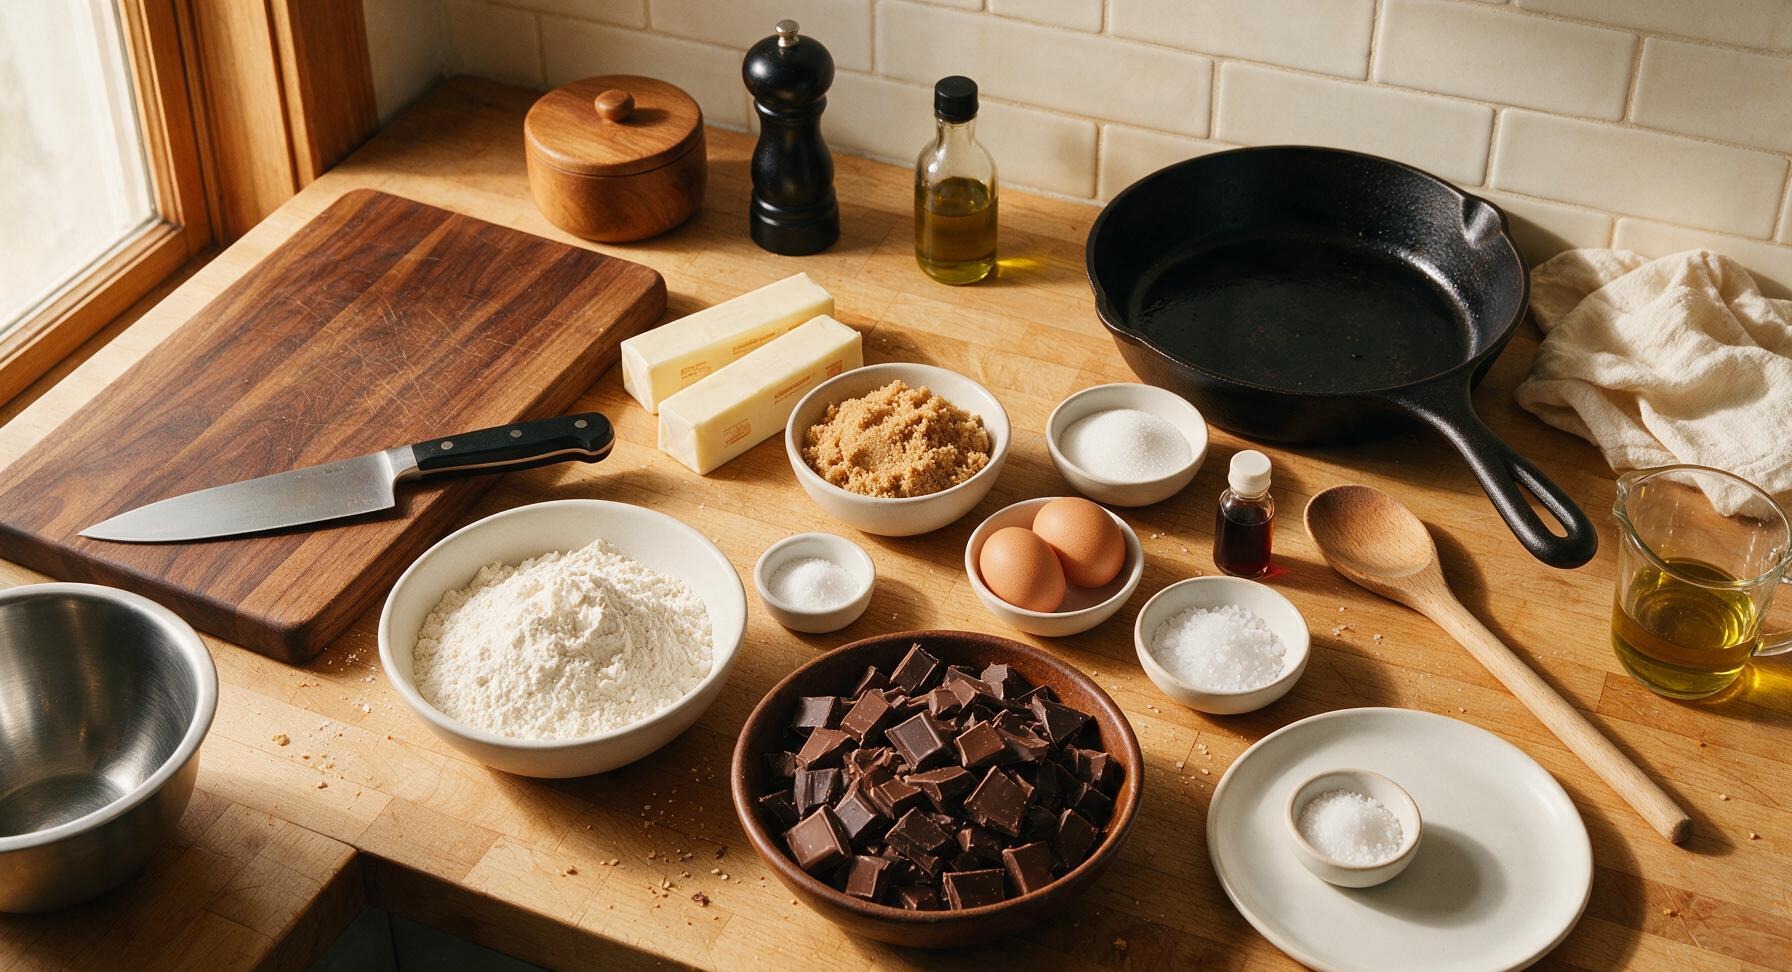
In the medium glass mixing bowl, combine 280g all-purpose flour, 1 tsp baking soda, and 1 tsp fine sea salt. Use the stainless steel whisk to stir the mixture for 30 seconds, until all ingredients are evenly distributed with no visible clumps of baking soda. Set the bowl aside.
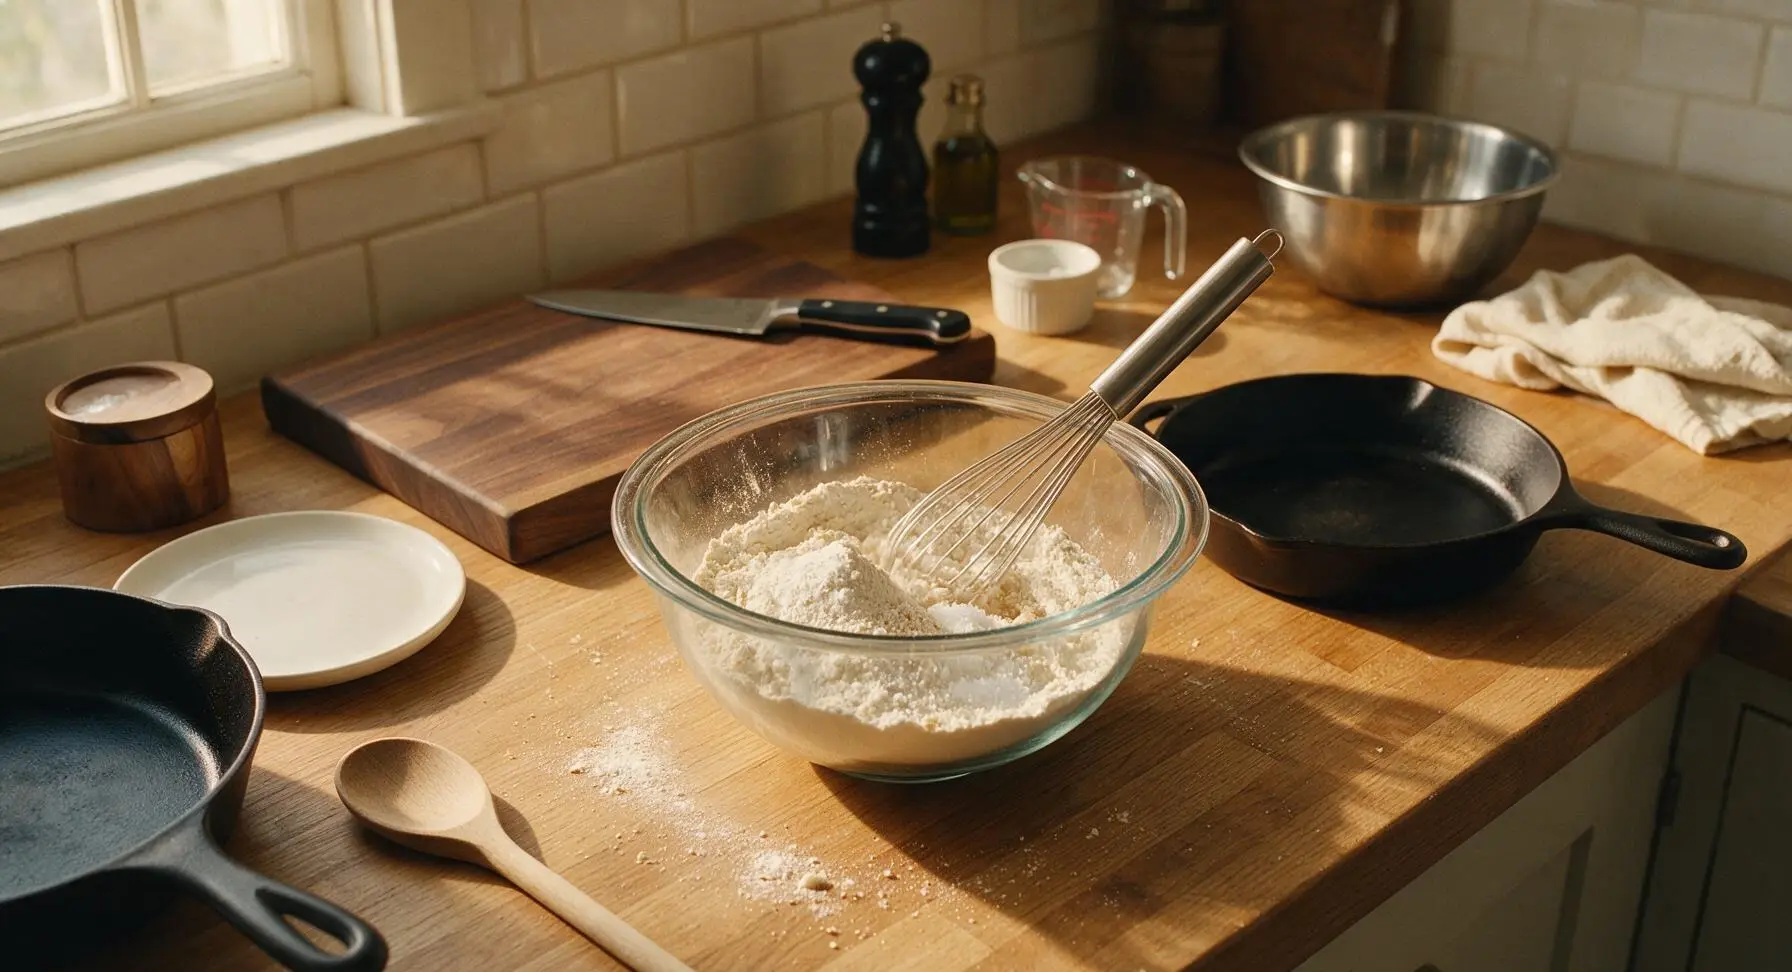
Mix Wet Ingredients
Once the brown butter has cooled, pour it from the measuring cup into the large glass mixing bowl. Add 180g packed light brown sugar and 100g granulated white sugar, stirring with the silicone spatula until fully combined and smooth, about 1 minute. Add the two room-temperature eggs one at a time, stirring vigorously for 30 seconds after each addition, until the mixture is thick, glossy, and pulls away from the bowl sides in slow ribbons when the spatula is lifted. Stir in 1 tsp pure vanilla extract.
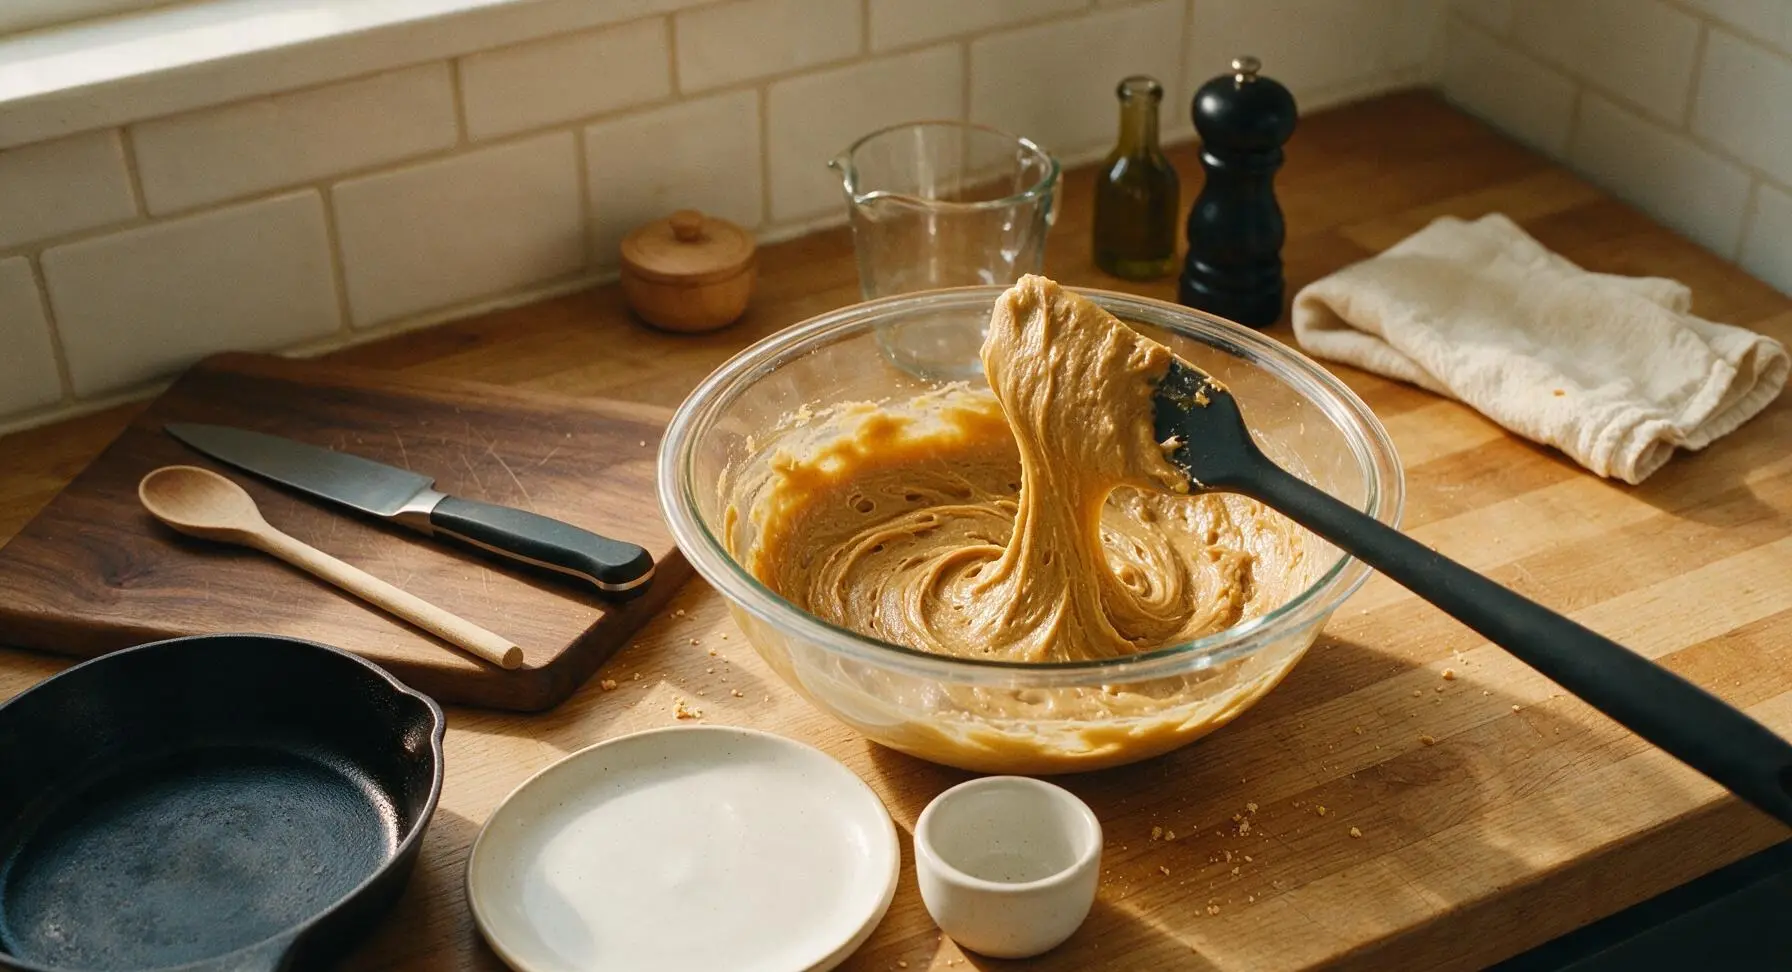
Combine Dough Base
Pour the entire dry ingredient mixture from the medium mixing bowl into the large bowl of wet ingredients. Use the silicone spatula to fold the mixture together gently, scraping the bottom and sides of the bowl, until just combined. Stop mixing as soon as no dry flour streaks remain to avoid overworking the dough, which creates tough cookies.
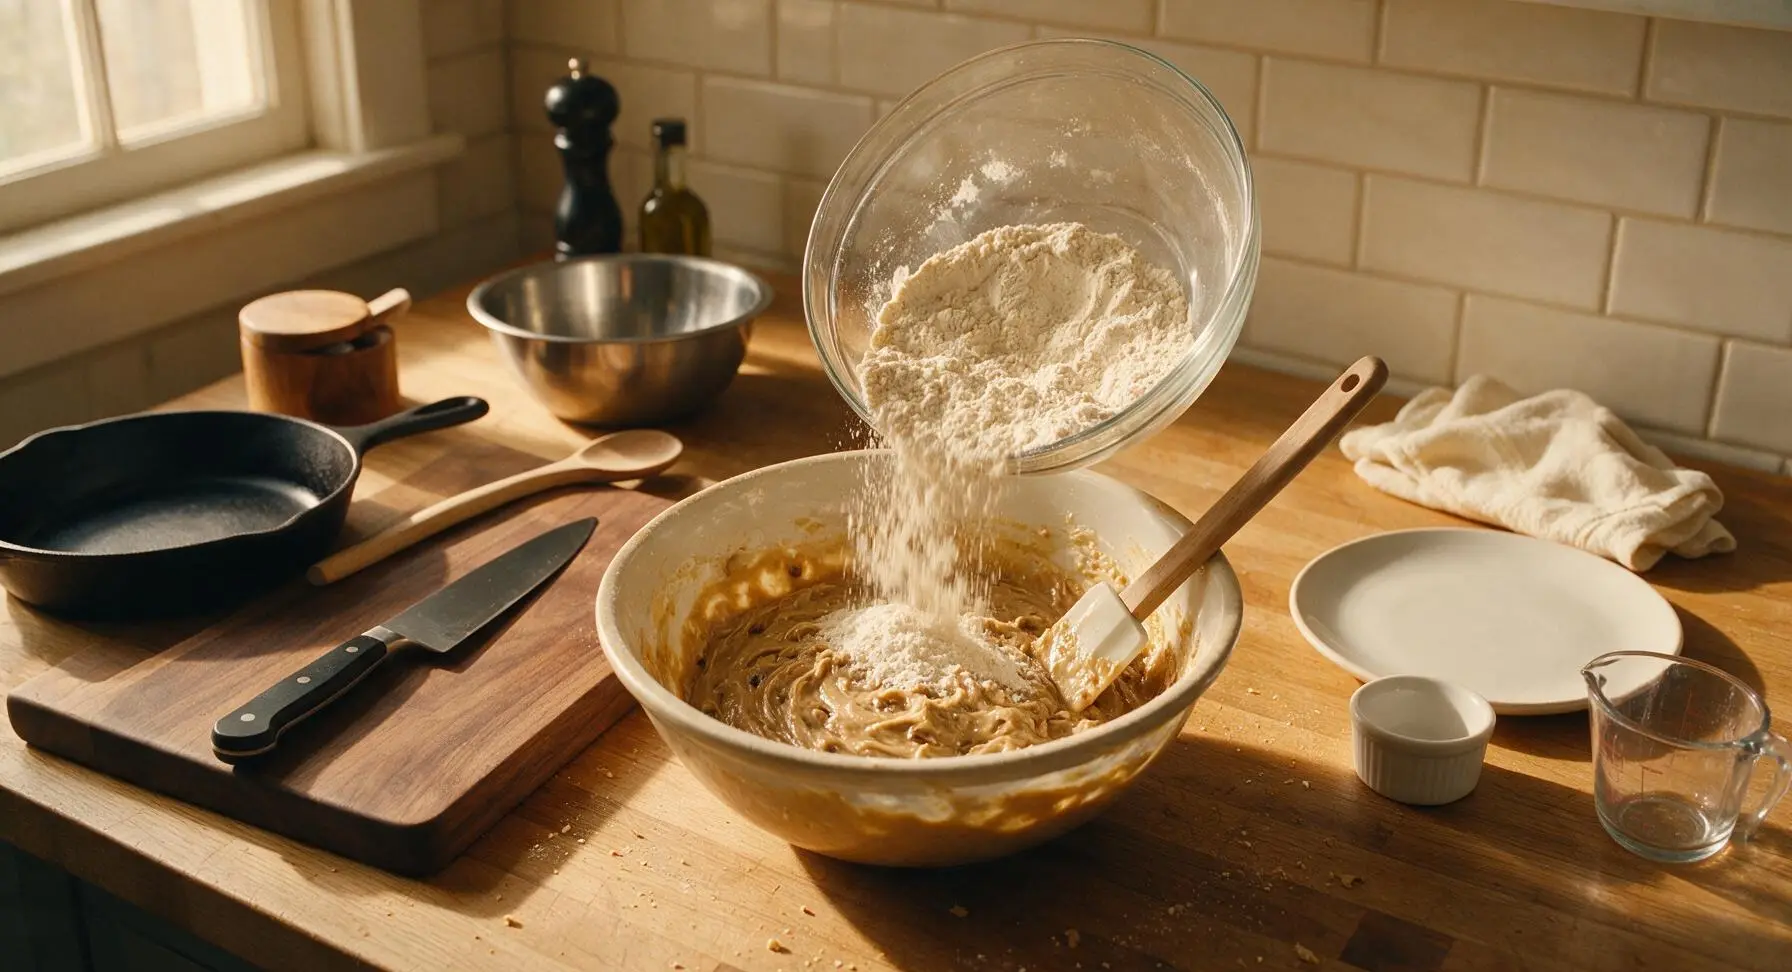
Fold in Chocolate Chunks
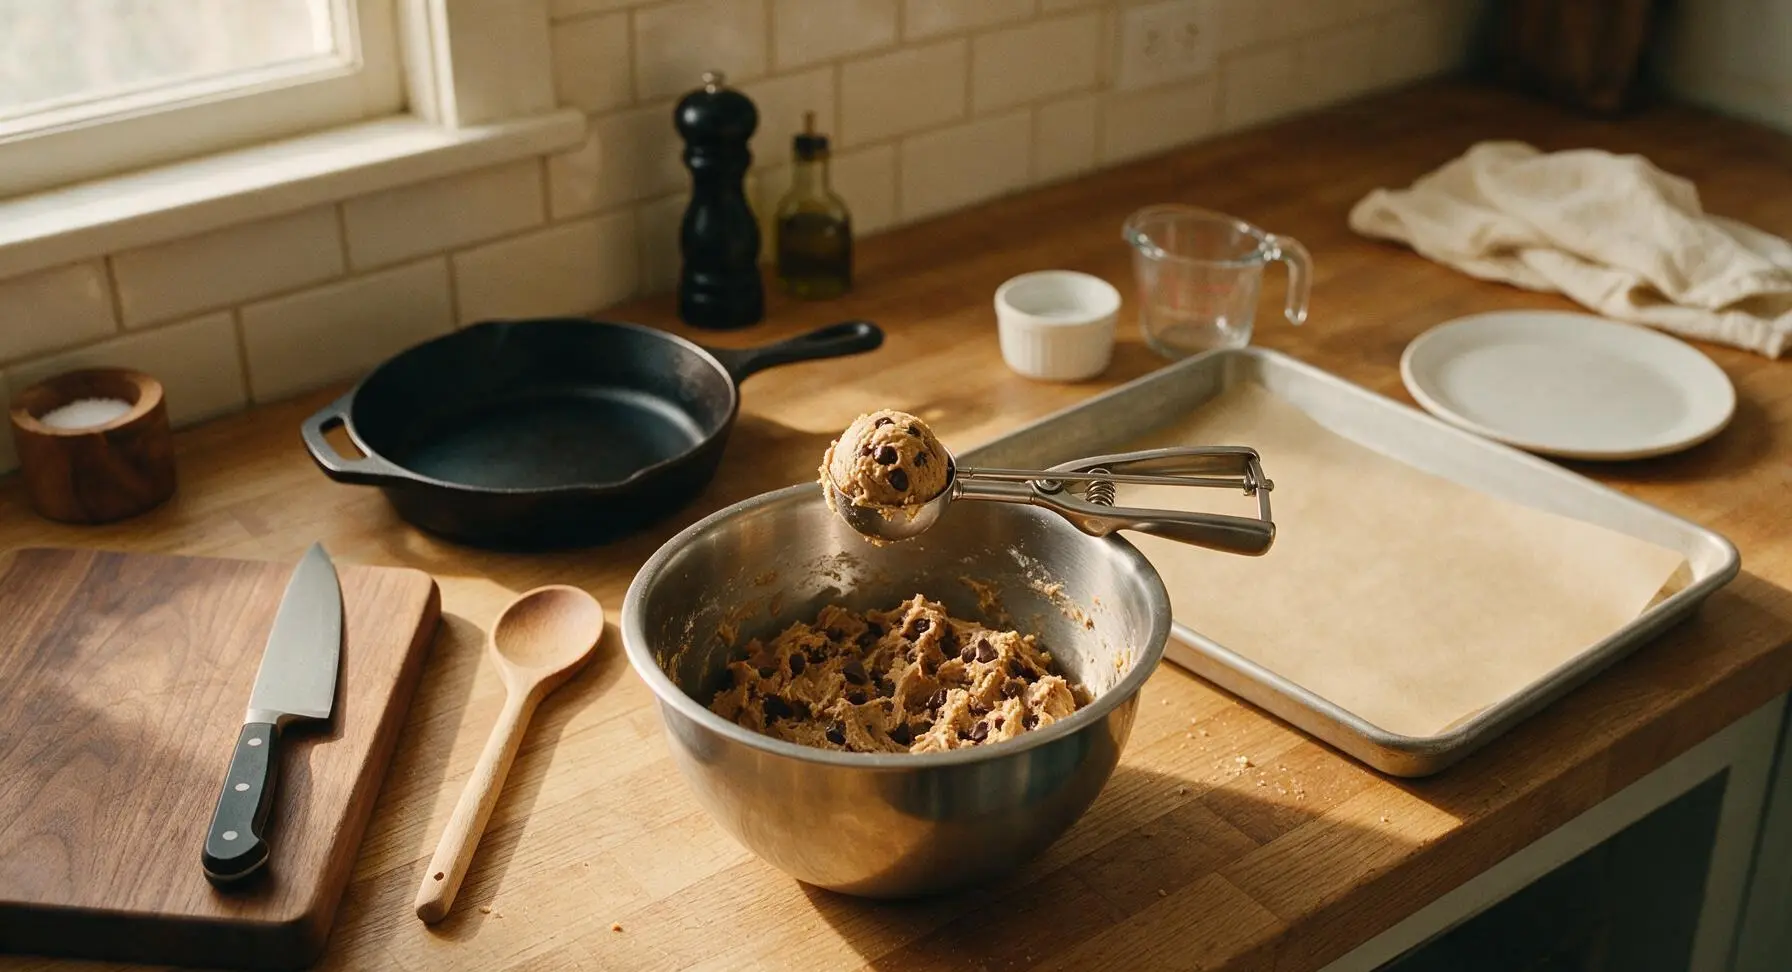
Reserve 50g of the mixed dark and milk chocolate chunks to top the cookies later. Add the remaining 250g of chocolate chunks to the dough, folding gently with the silicone spatula for 15 seconds until chunks are evenly distributed throughout the thick, sticky dough. Do not overmix.
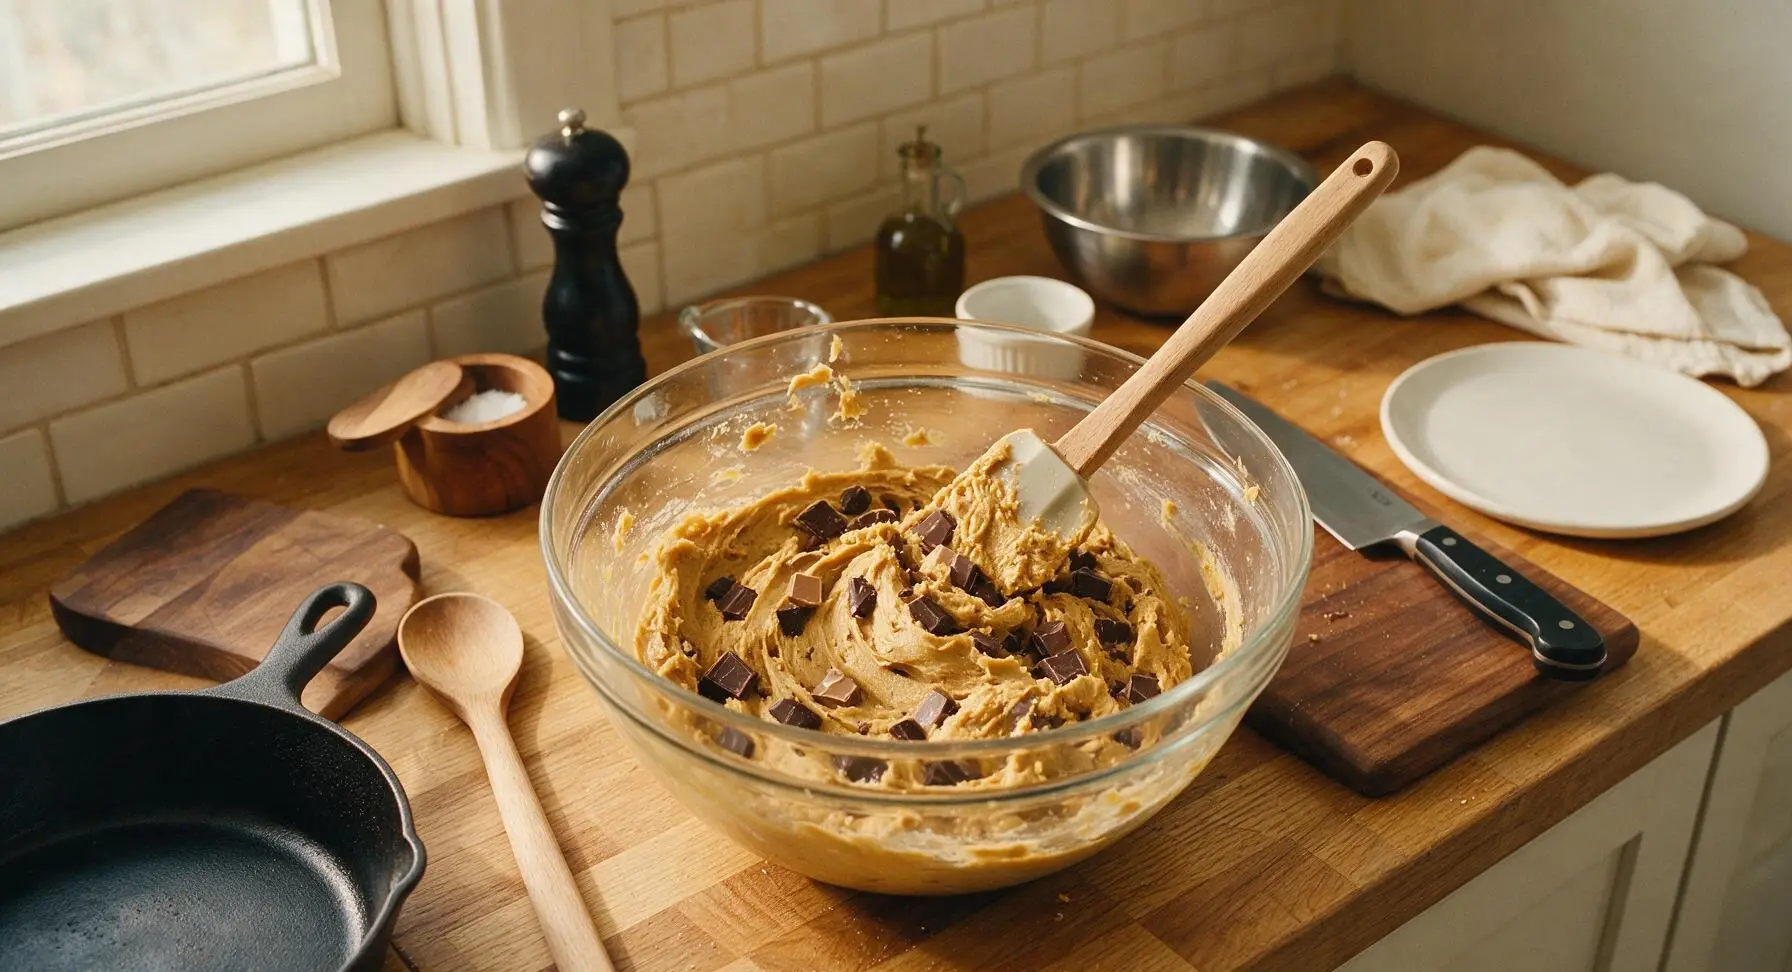
Portion Dough Scoops
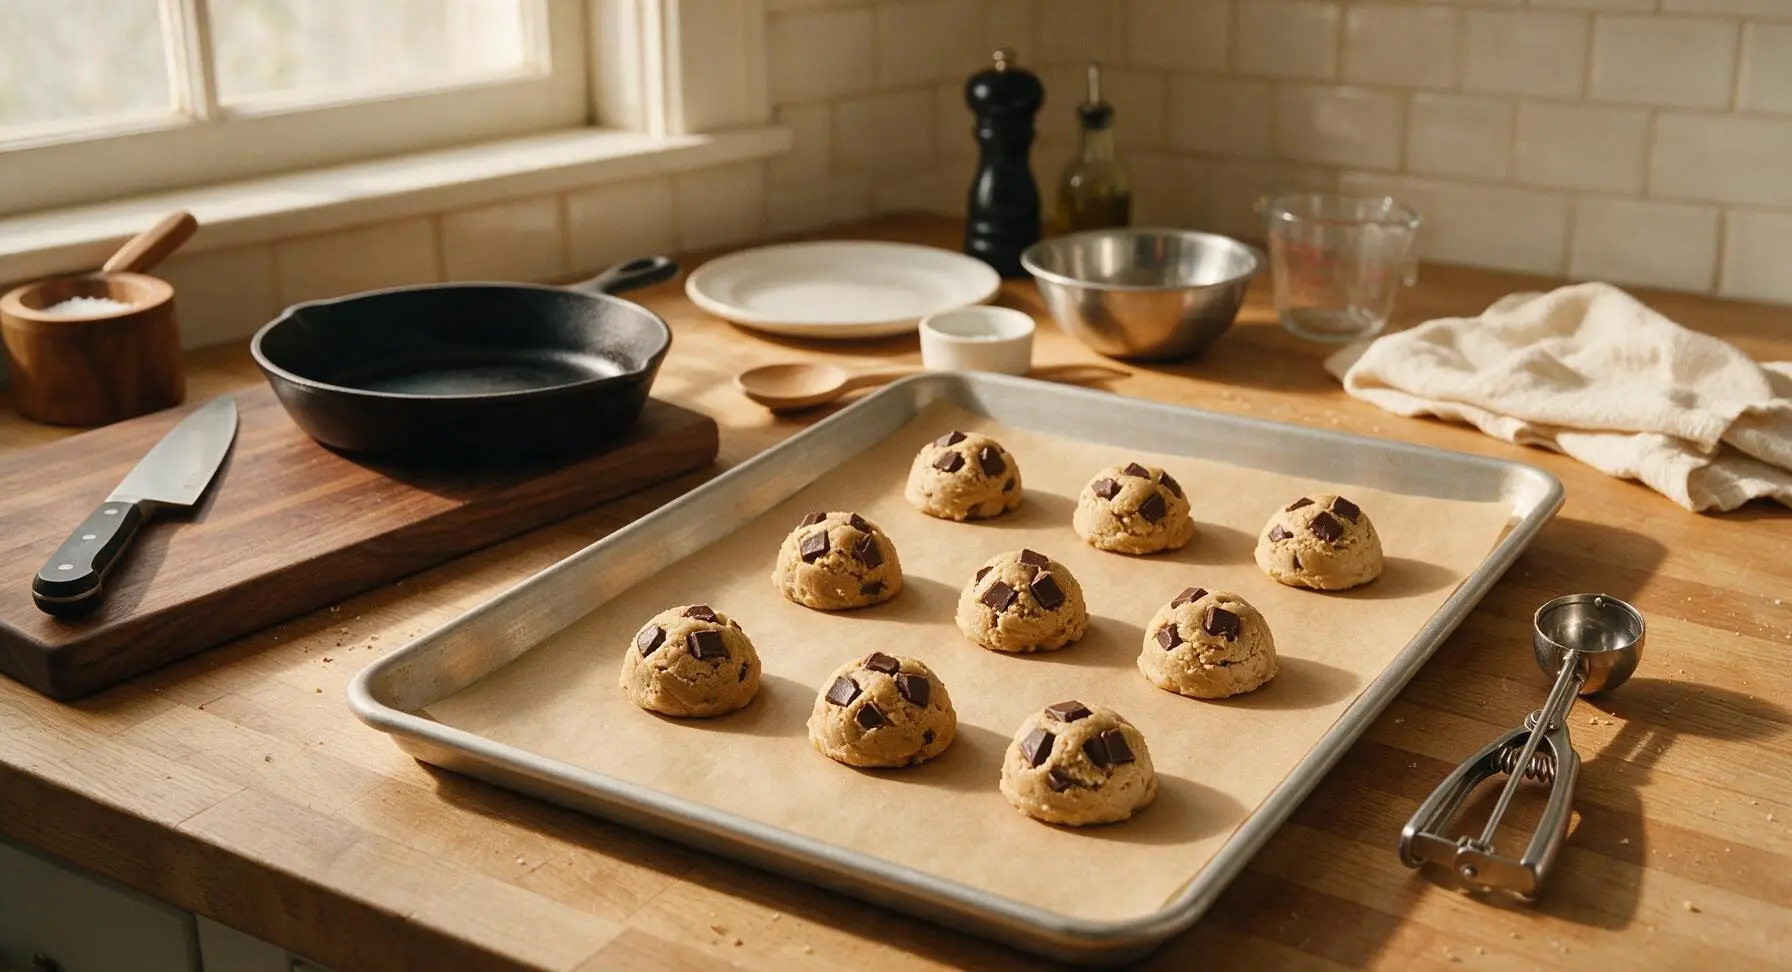
Tear a sheet of unbleached parchment paper from the fixed roll to line the matte aluminum half-sheet baking pan. Use the spring-loaded stainless steel cookie scoop to portion 3-tbsp sized dough balls, placing them 5cm apart on the parchment-lined pan (9 dough balls per batch). Press the reserved chocolate chunks into the top of each dough ball for a polished, chocolate-heavy finish. Do not flatten the dough balls, as they will spread naturally during baking.
Chill Dough Briefly
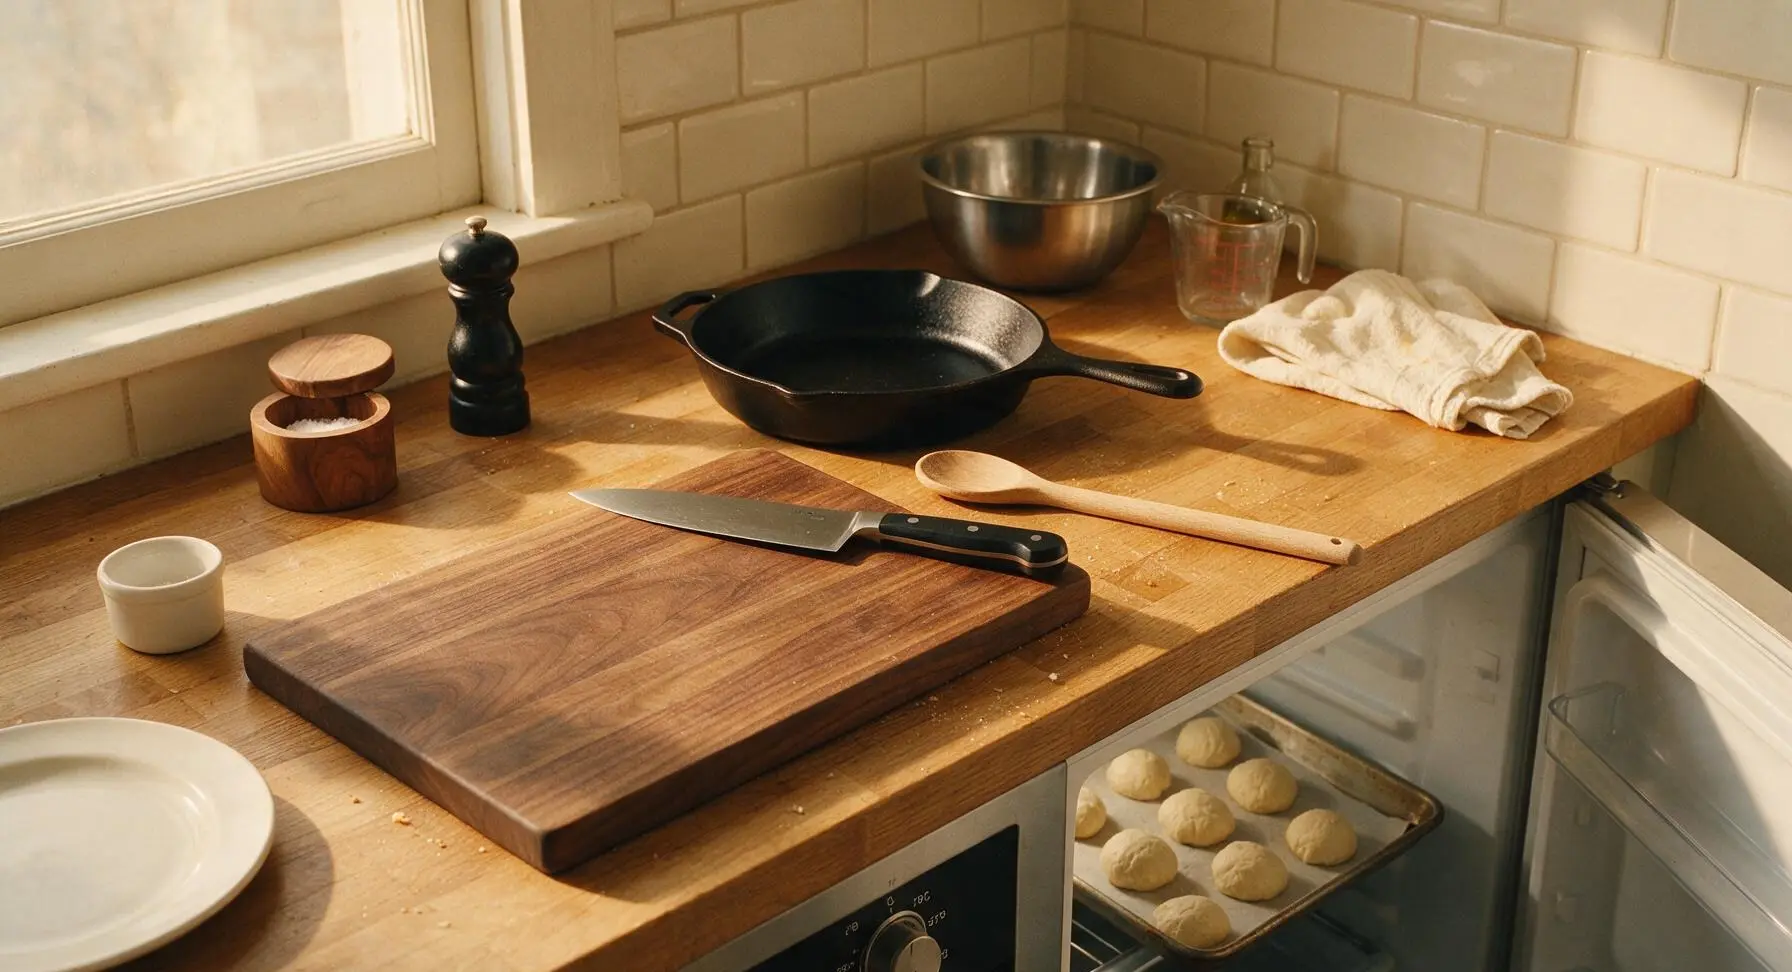
Place the sheet pan of portioned dough balls in the refrigerator to chill for 15 minutes while the oven preheats. Preheat the oven to 190°C (375°F), with the rack positioned in the middle. Chilling solidifies the butter in the dough, preventing excessive spread and creating a thicker, chewier cookie with deeper caramel flavor.
Bake to Perfection
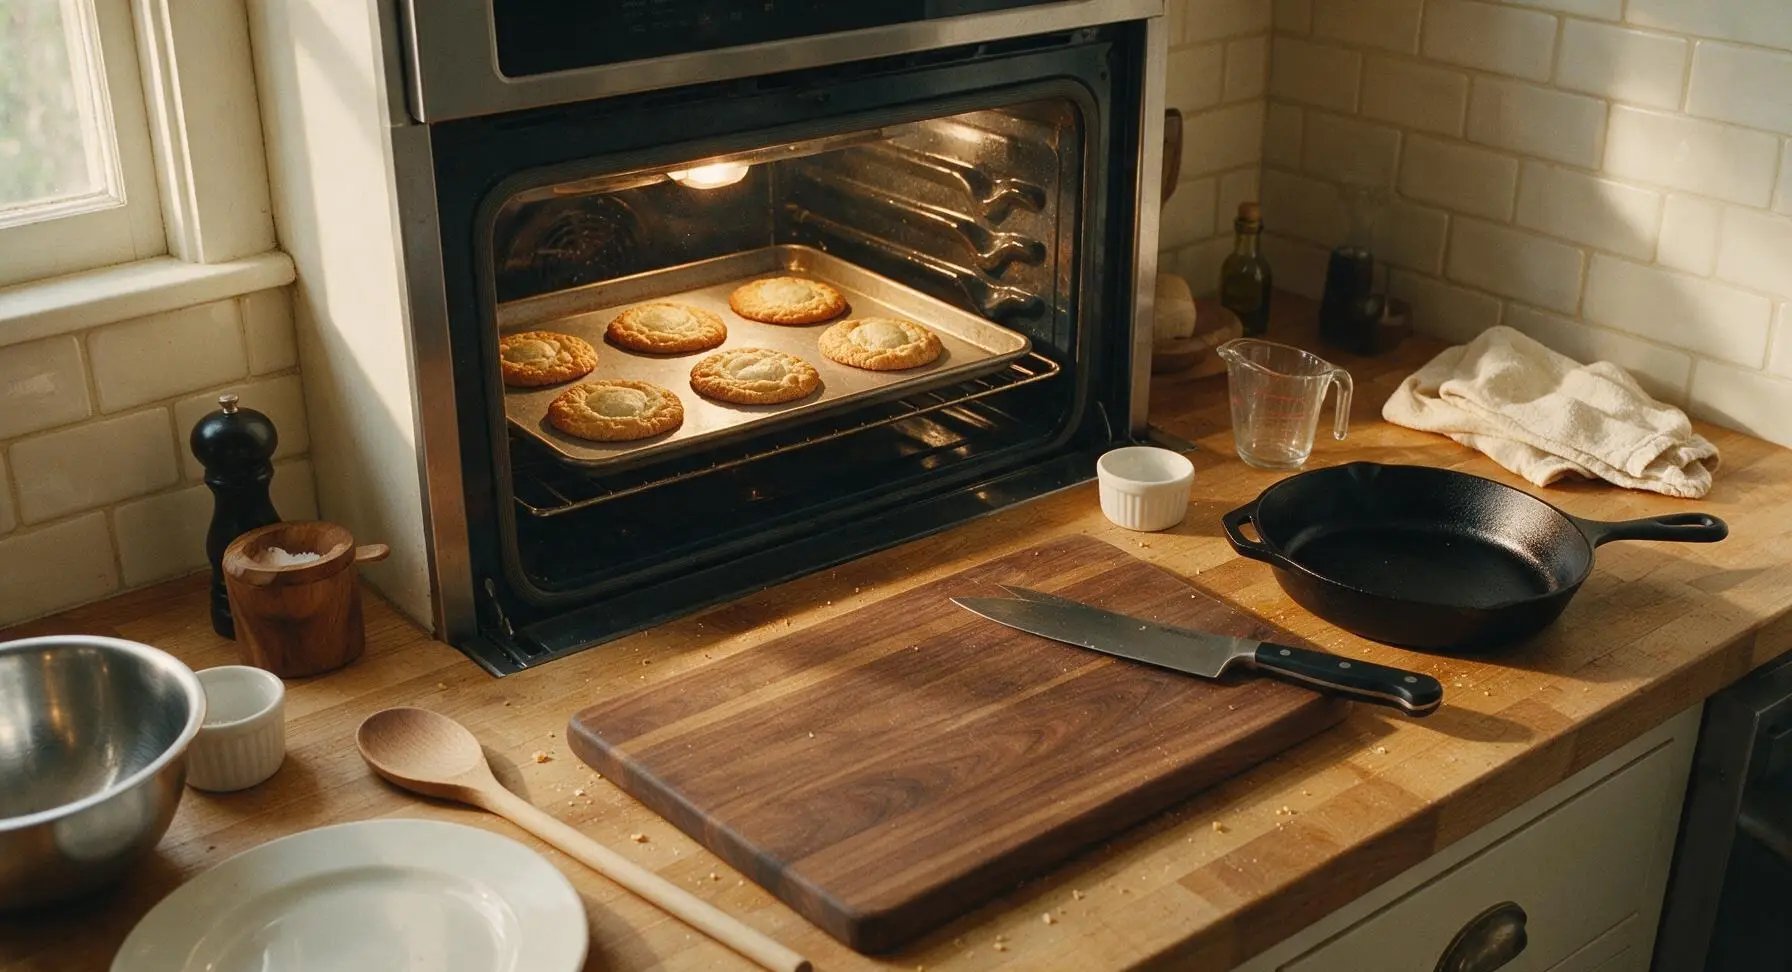
Once the oven is fully preheated and dough has chilled, remove the pan from the fridge and place it on the middle oven rack. Bake for 10-12 minutes, until cookie edges are deep golden brown and set, but centers look slightly underbaked, pale, and puffy. Overbaking will result in dry, crumbly cookies.
Cool and Finish
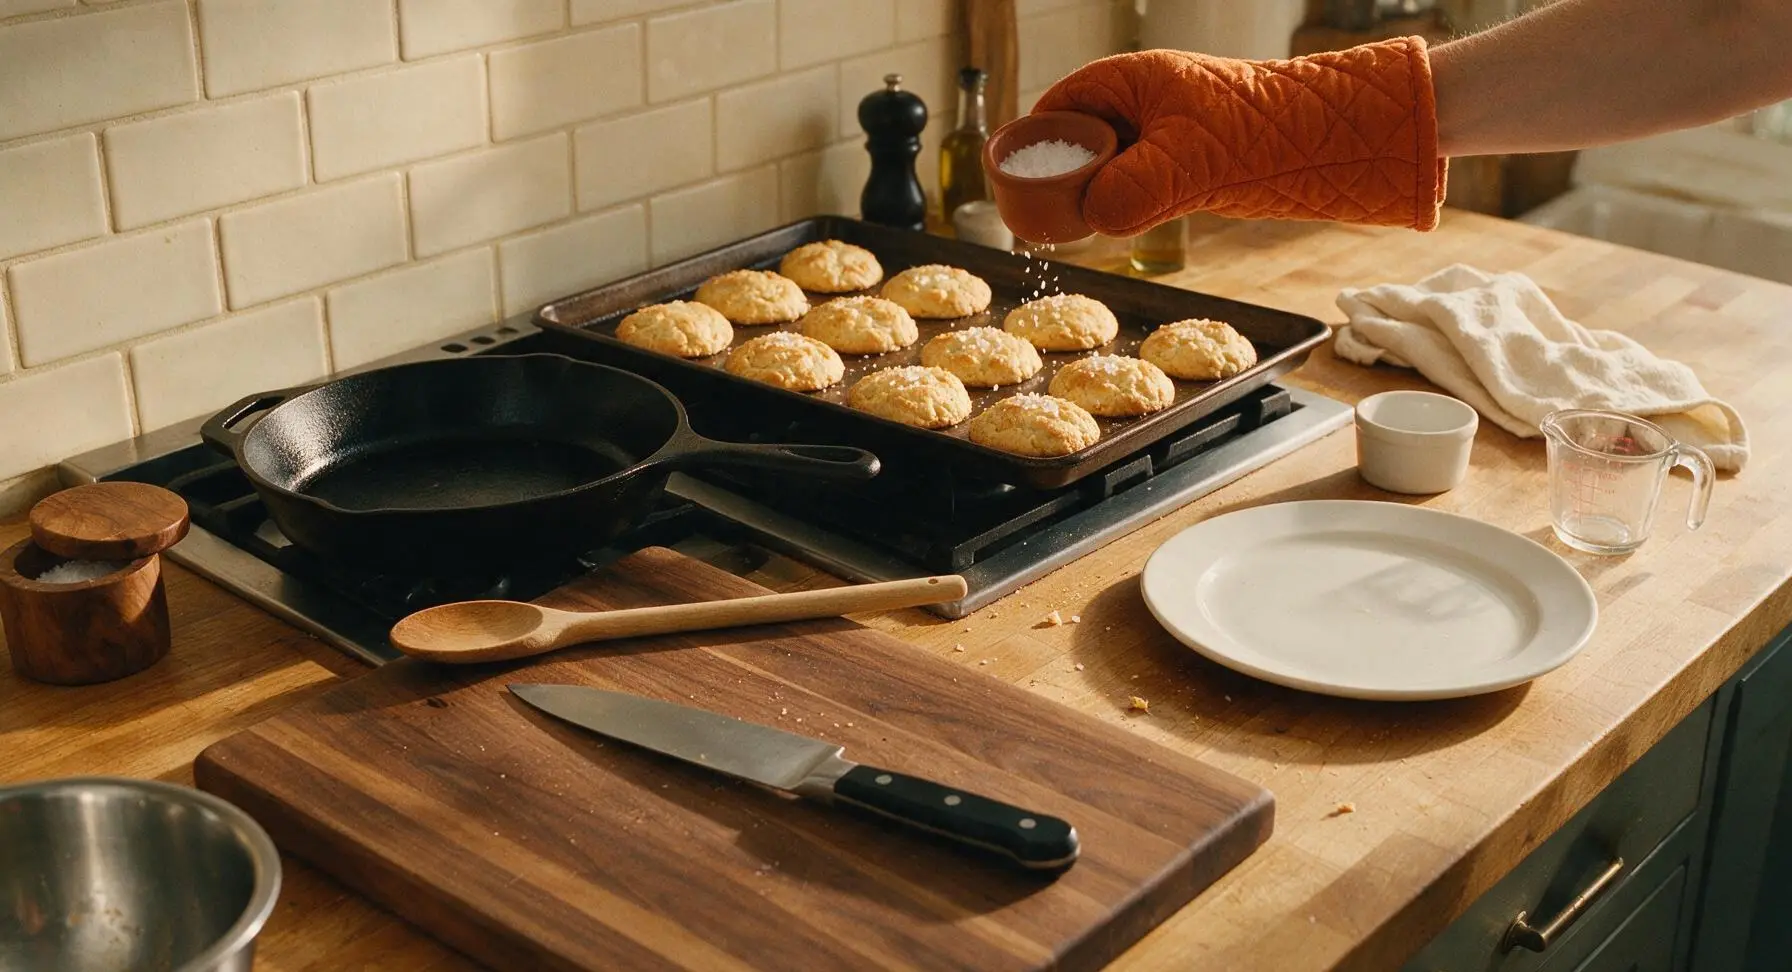
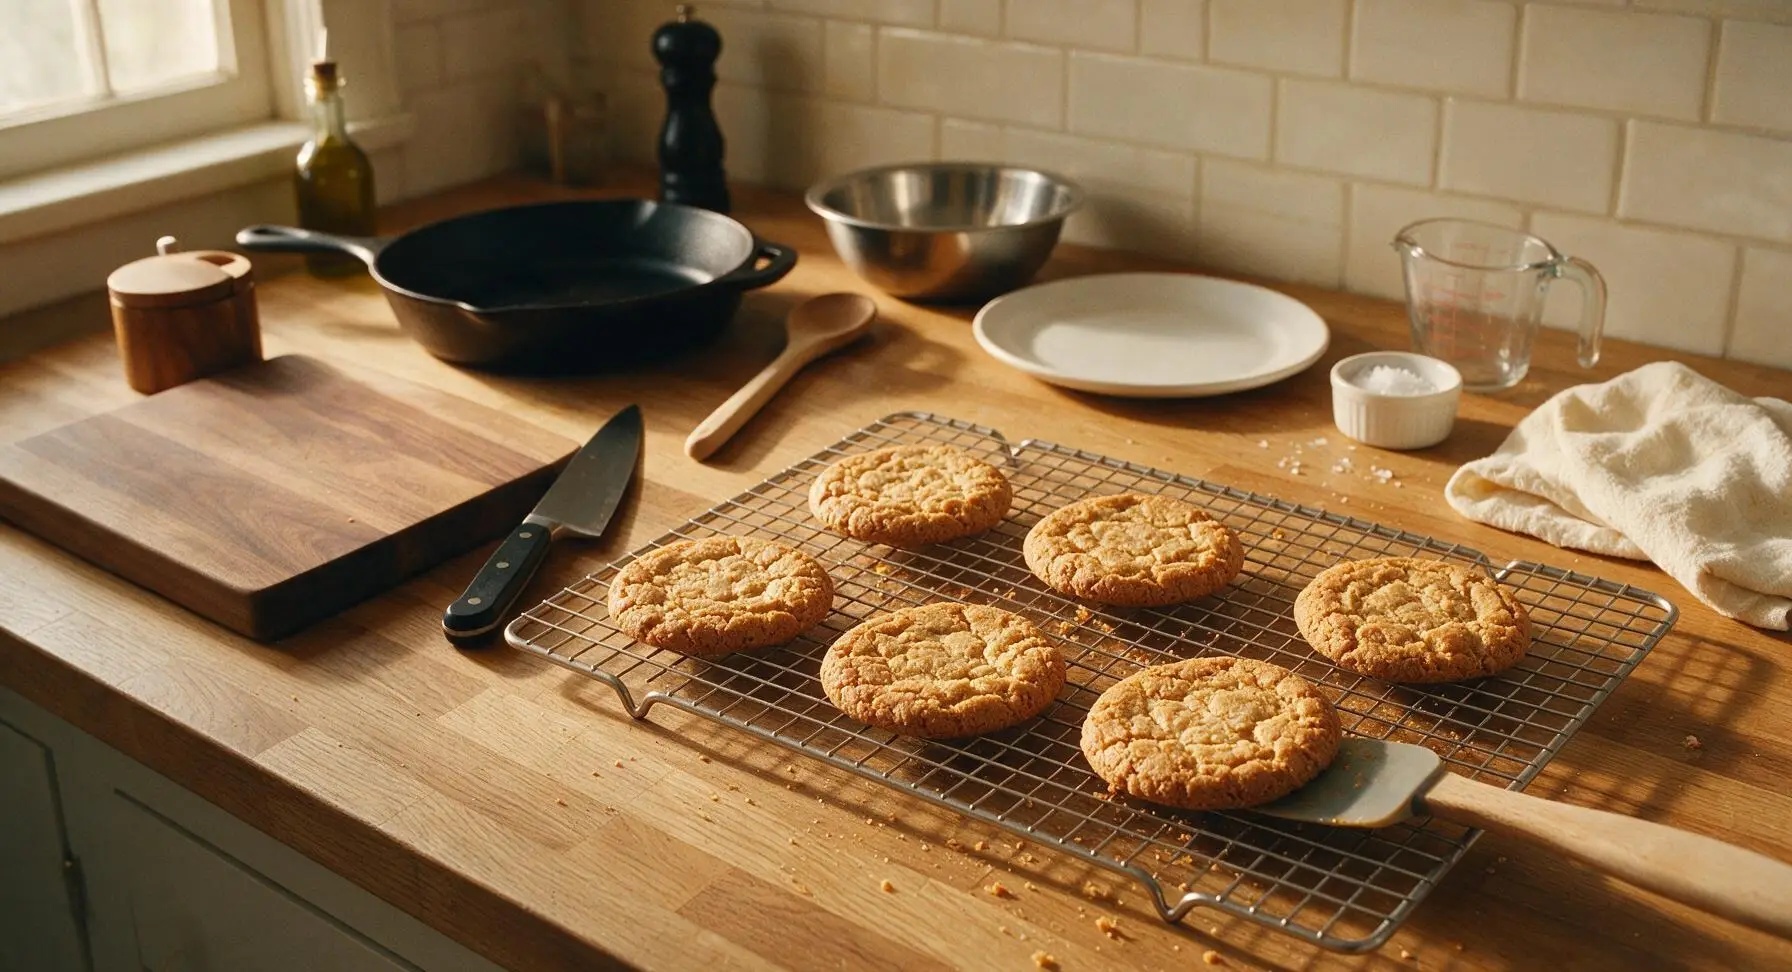
Use the burnt orange quilted oven mitt to remove the hot baking pan from the oven. Let cookies rest on the hot pan for 5 full minutes to set—do not move them immediately, as they will be too soft. While still warm, sprinkle each cookie top with a pinch of flaky sea salt from the terracotta ramekin. After 5 minutes, use the silicone spatula to transfer cookies to the matte chrome wire cooling rack to cool for an additional 5 minutes before serving. Repeat baking process with the second batch of dough.
Tips
2.Stop mixing the dough as soon as dry flour streaks disappear: Overmixing develops gluten in the all-purpose flour, which results in tough, dense cookies rather than the tender, chewy texture Max Cookies are known for.
3.Let cookies rest on the hot baking sheet for 5 full minutes after removing from the oven: The centers will look underbaked when you first pull them out, but residual pan heat will finish setting them, creating a soft, gooey center instead of a dry, crumbly texture.






OMG these Max Cookies are a total game changer! I baked them for my kid’s after-school soccer snack and the whole team devoured them in 10 minutes. So chewy, perfectly sweet, and the recipe was so easy even someone who burns toast like me could nail it on the first try. 10/10 will be making these every week for meal prep!
Made these for our neighborhood potluck last weekend and everyone was asking for the recipe! Only note: I baked mine for 22 minutes instead of 24 because my oven runs hot, and they came out perfectly gooey in the middle. SO good, will absolutely be adding these to my regular rotation.
I was skeptical because easy cookie recipes usually turn out flat and crunchy for me, but these were perfect! My picky 7 year old said they’re better than the store-bought ones we get at the grocery store, which is the highest compliment possible in my house. Already sent the link to my mom and my sister so they can make them too.
Super quick to throw together when I forgot I signed up to bring treats for my office meeting this morning. Had all the ingredients in my pantry already, no fancy stuff needed, baked in exactly 24 minutes like the recipe said. My coworkers ate every last crumb, nobody even guessed I threw them together last minute! Only reason for 4 stars instead of 5 is I wish there was a note about how long to let them cool on the tray before moving them, mine almost fell apart when I tried to pick them up too early.