
meat patties
intro
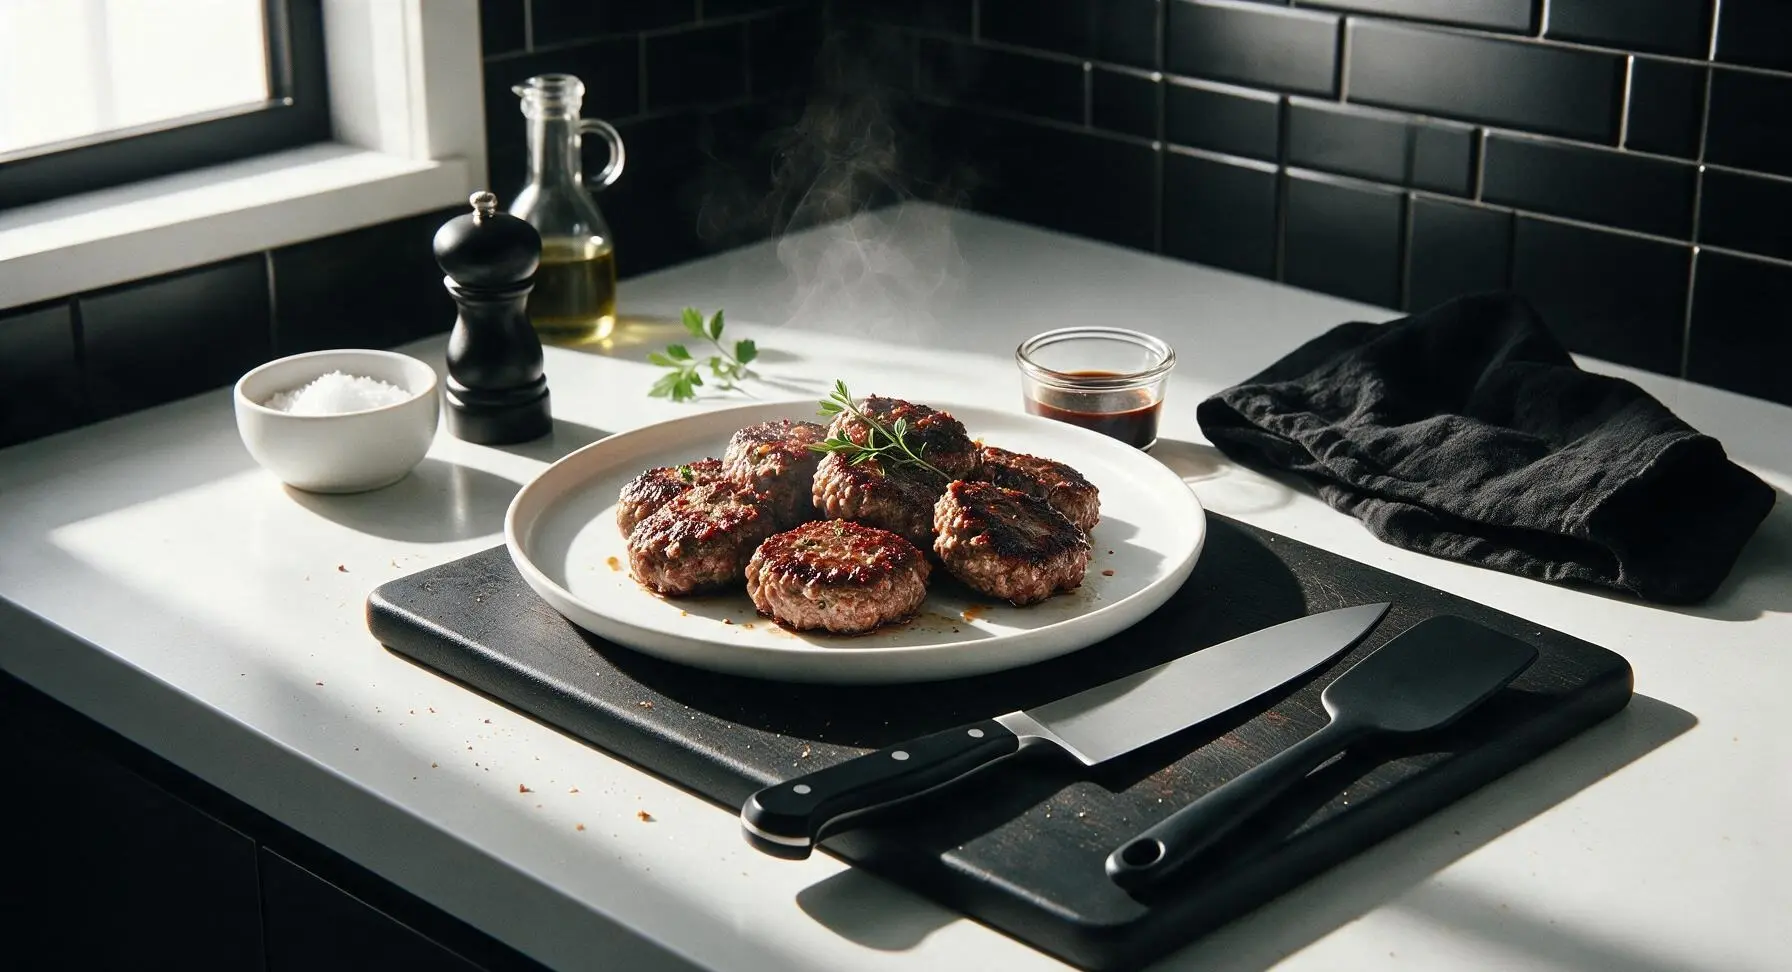
Juicy, well-seared beef patties with crisp caramelized edges and tender, flavorful centers—perfect for piling on buns or serving alongside classic summer BBQ sides.
Ingredients
Steps
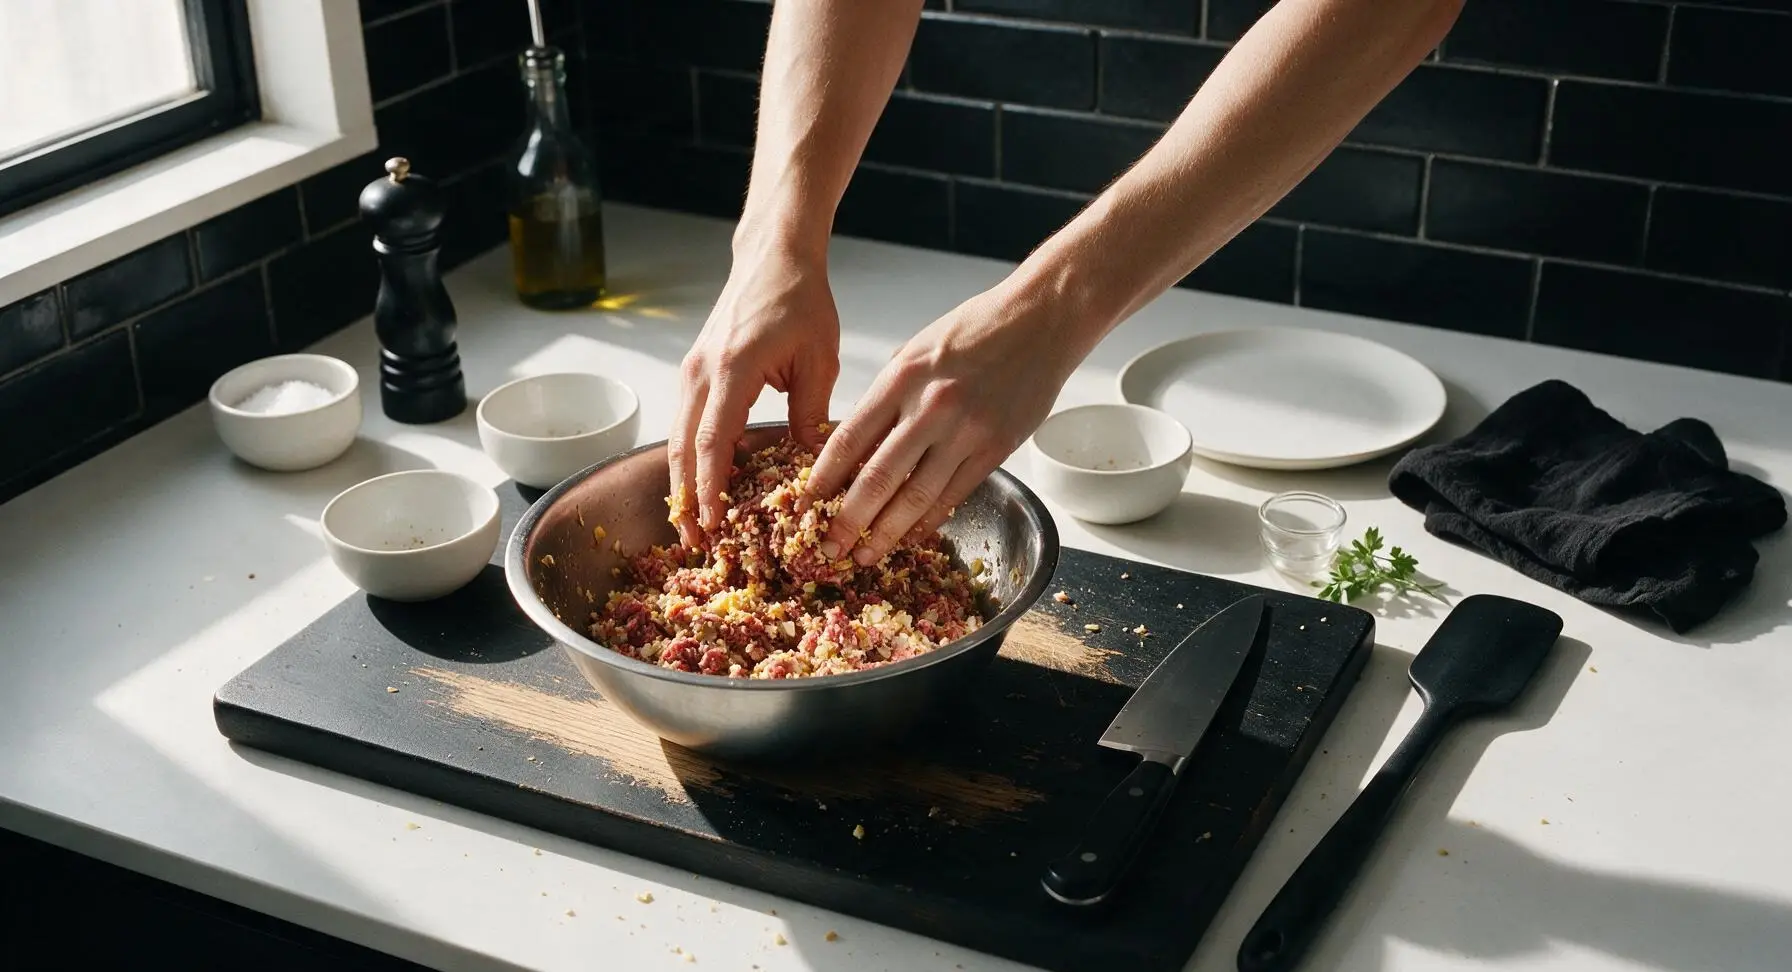
Combine patty ingredients
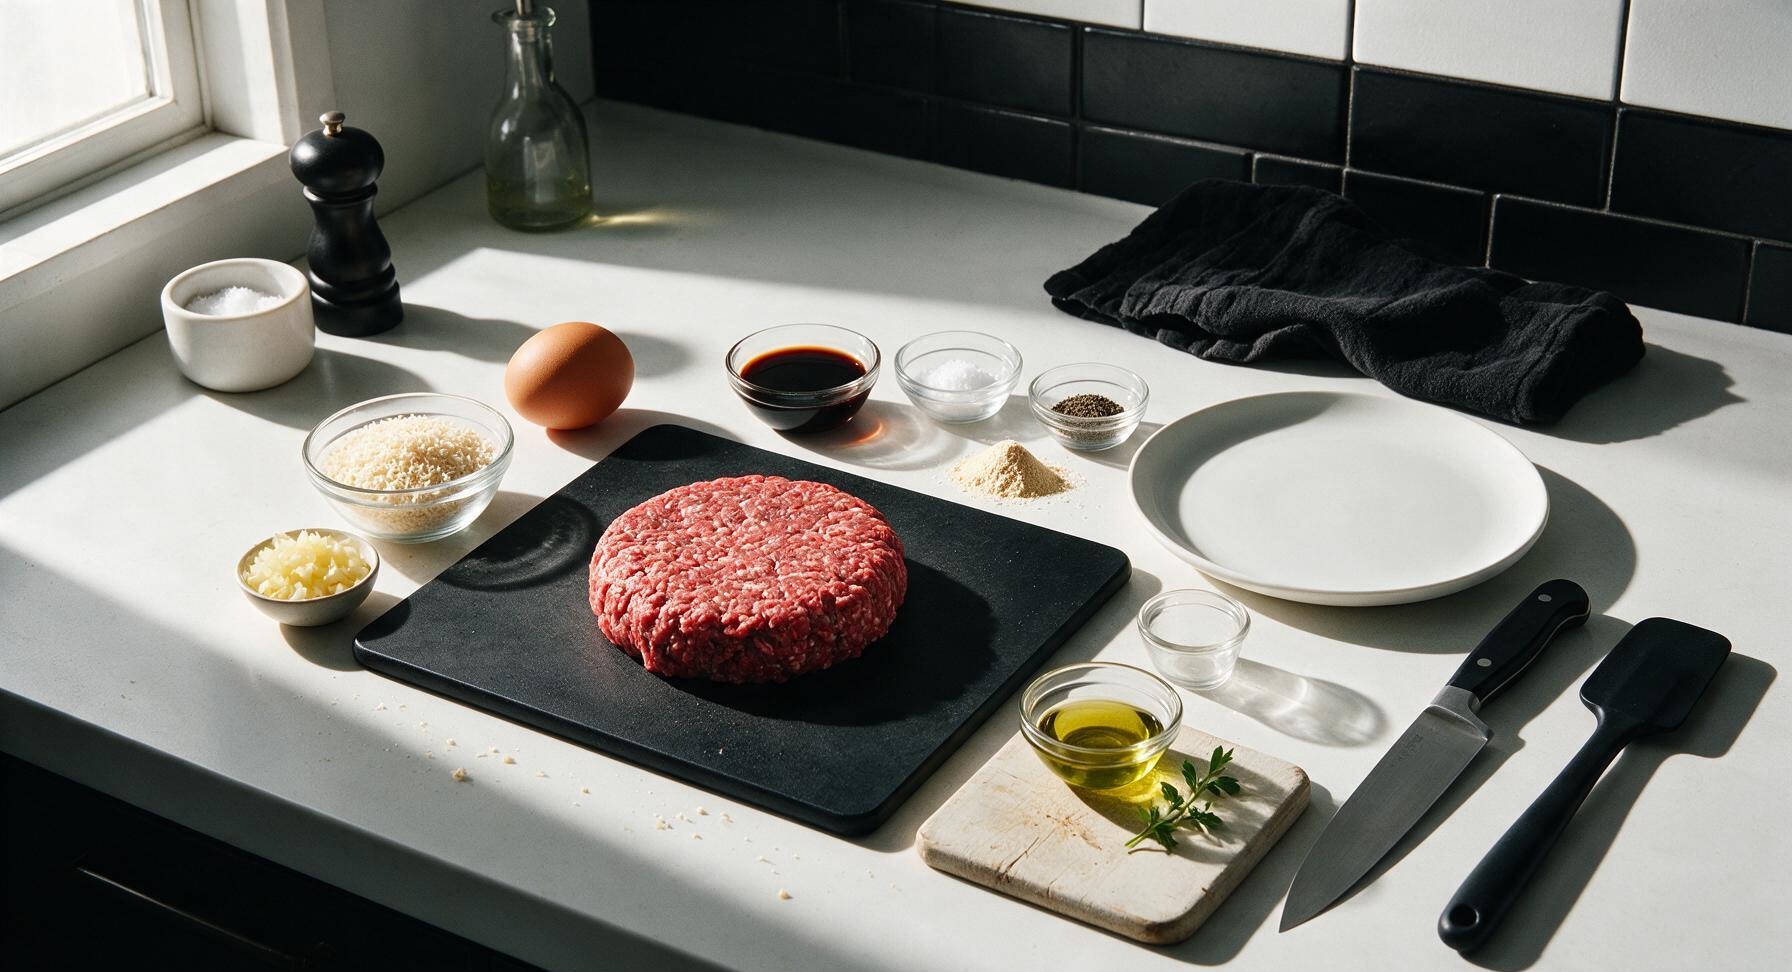
Place the ground beef, panko breadcrumbs, lightly beaten egg, finely diced yellow onion, Worcestershire sauce, kosher salt, black pepper, and garlic powder in the small brushed stainless steel mixing bowl. Use clean, cold hands to gently fold the ingredients together until just evenly combined. Stop mixing as soon as no dry breadcrumbs are visible—overmixing will compress the meat and create tough, dense patties. The final mixture should be loose, with visible small clumps of ground beef.
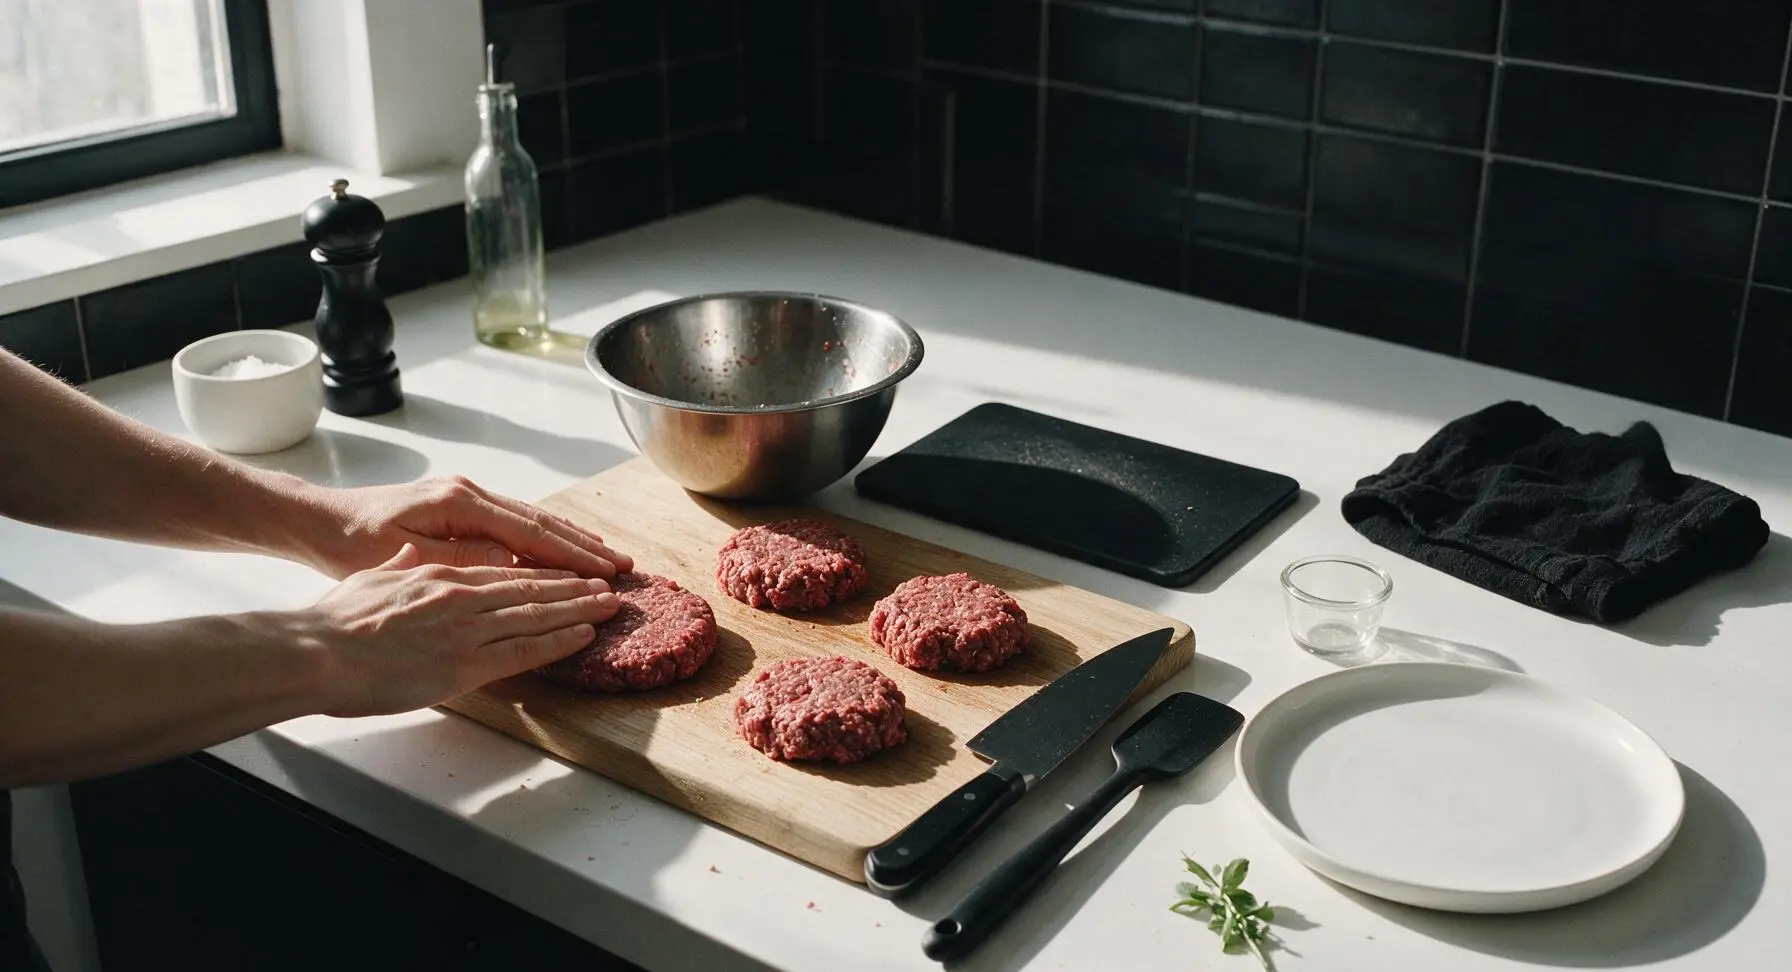
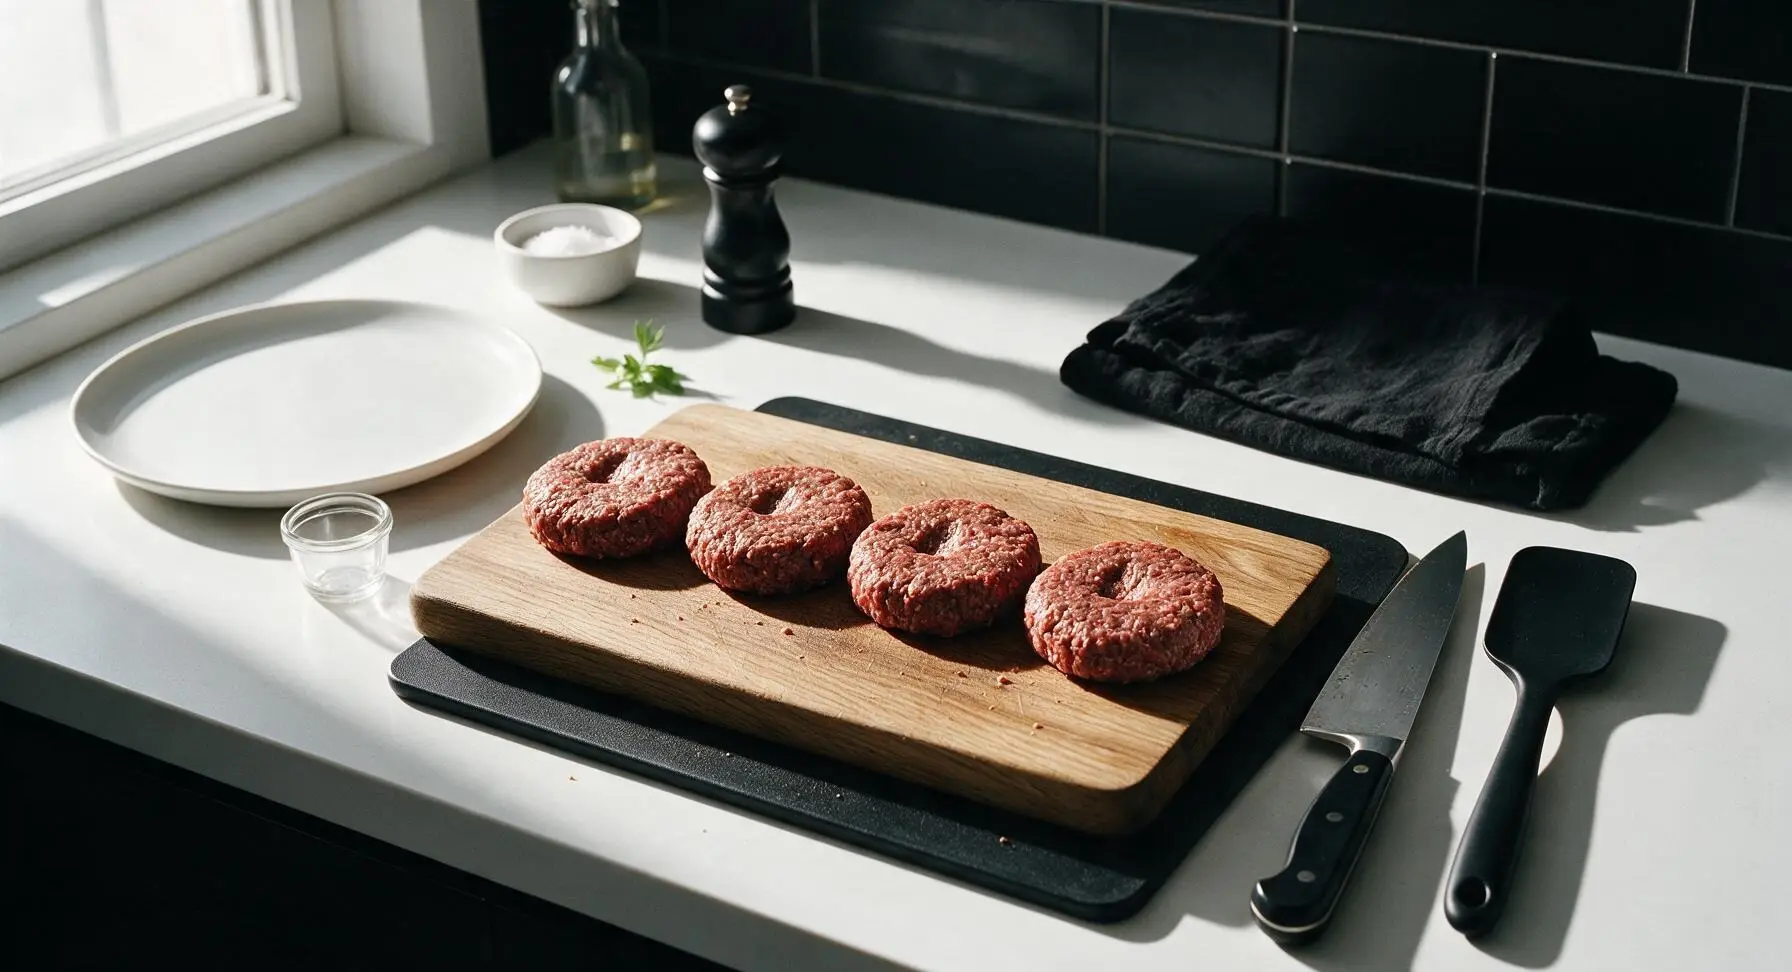
Form uniform patties
Lightly dampen your hands with cold water to prevent the meat from sticking. Divide the mixed patty mixture into four equal 135g portions. Gently shape each portion into a 10cm (4-inch) wide round patty, approximately 2cm (3/4 inch) thick. Press a shallow 1cm dimple into the center of each patty with your thumb to prevent bulging during cooking. Keep shaping light and loose—do not pack the meat tightly, as this creates tough patties.
Preheat cast iron skillet
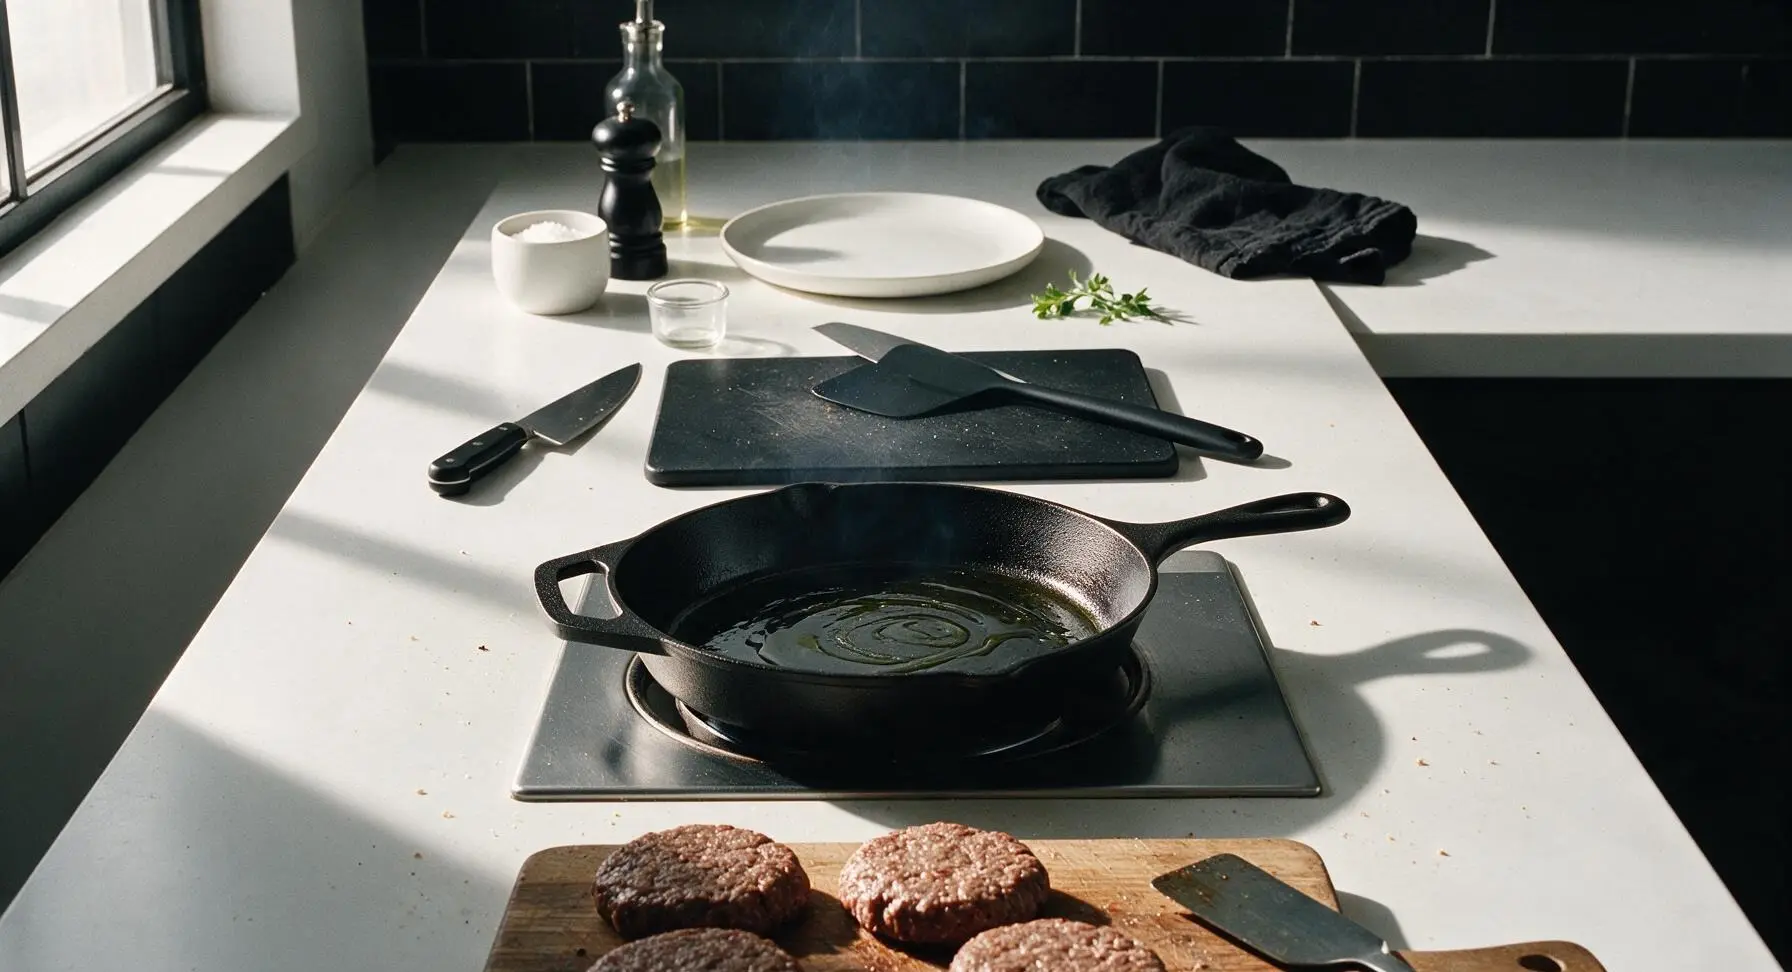
Retrieve the 12-inch matte black cast iron skillet from storage and place it on the central stovetop burner. Heat over medium-high heat for 3 minutes, then add 2 teaspoons of neutral avocado oil, swirling to coat the pan bottom evenly. Continue heating until the oil just starts to shimmer and release faint, thin wisps of smoke—this temperature ensures a crisp sear without the patties sticking to the pan.
Sear first patty side
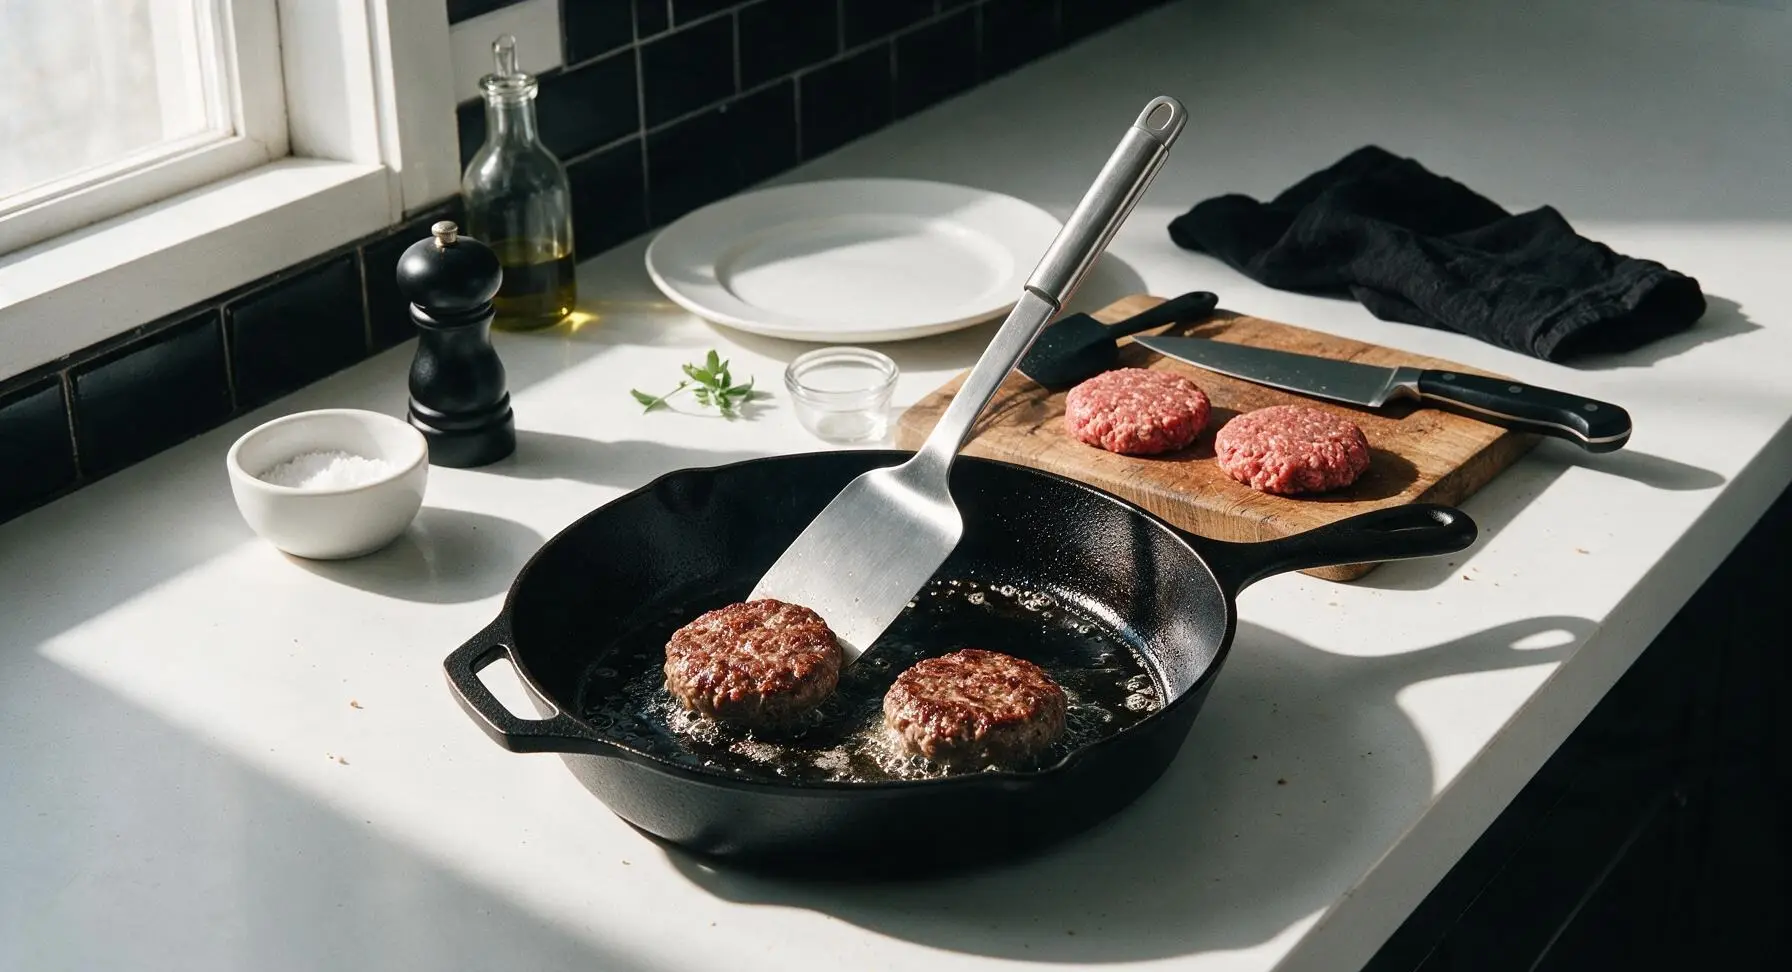
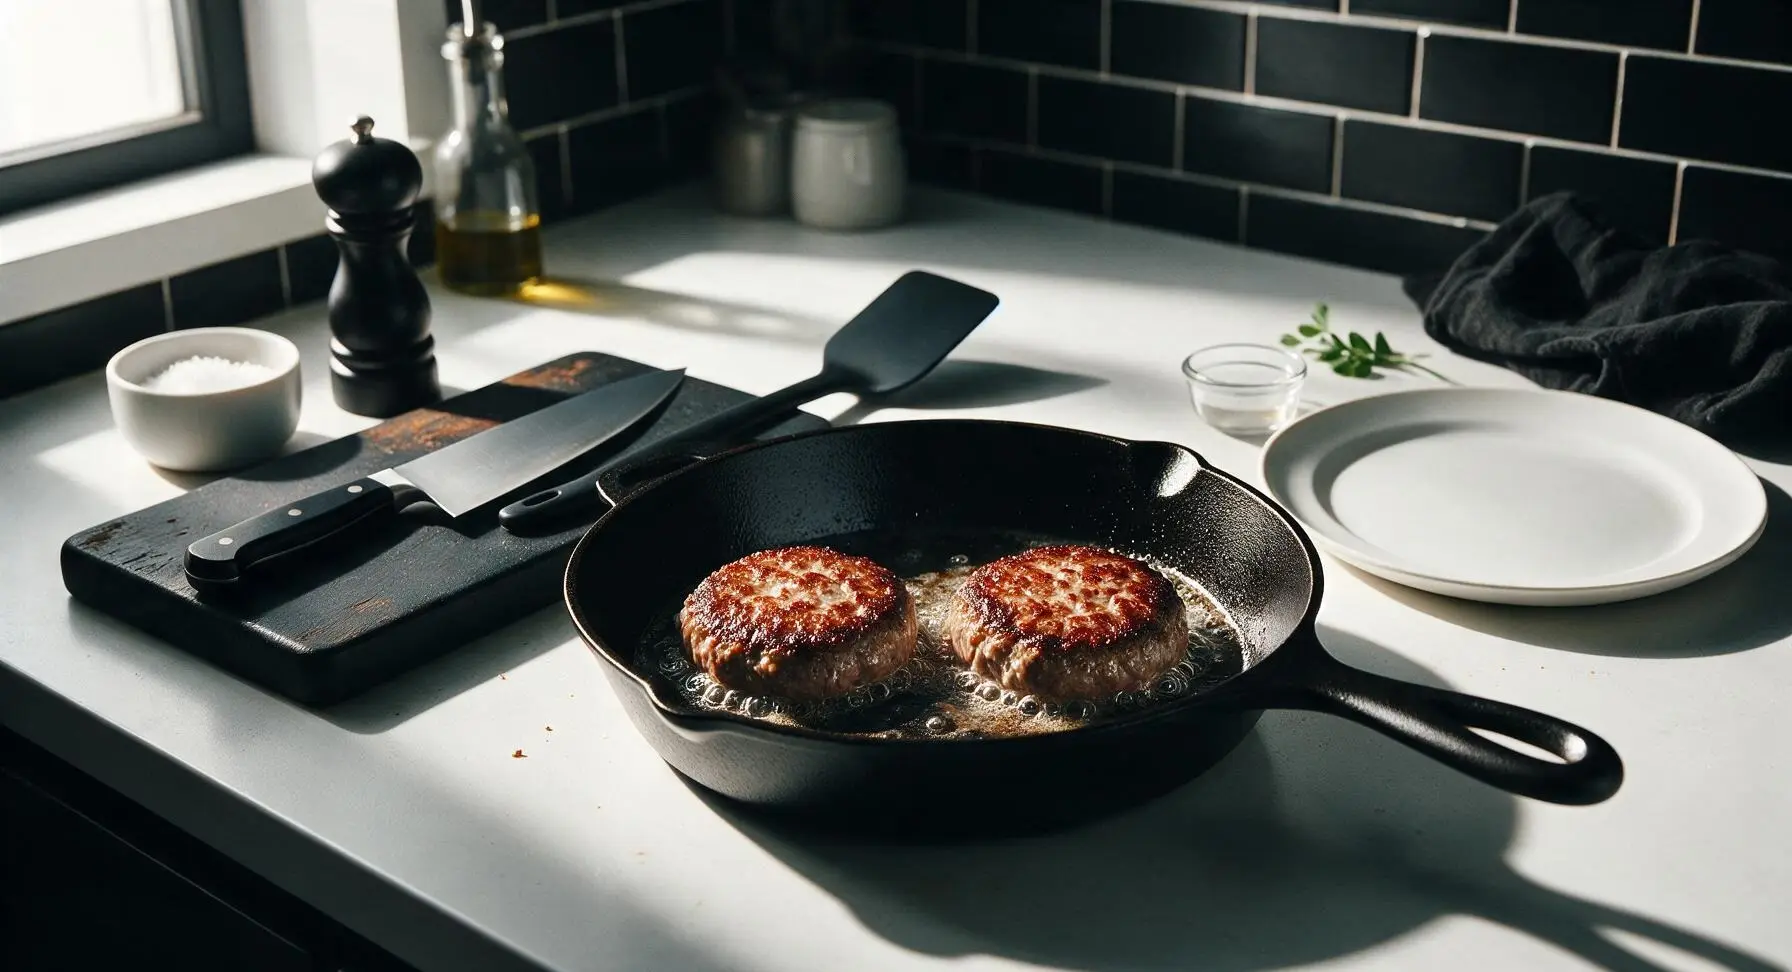
Carefully place the patties in the hot skillet, cooking two at a time if needed to avoid overcrowding the pan (overcrowding lowers pan temperature and causes steaming instead of searing). Cook completely undisturbed for 4 minutes, without moving, pressing, or flipping the patties. The side in contact with the pan will develop a deep, crisp, caramelized brown crust during this time.
Flip and finish cooking
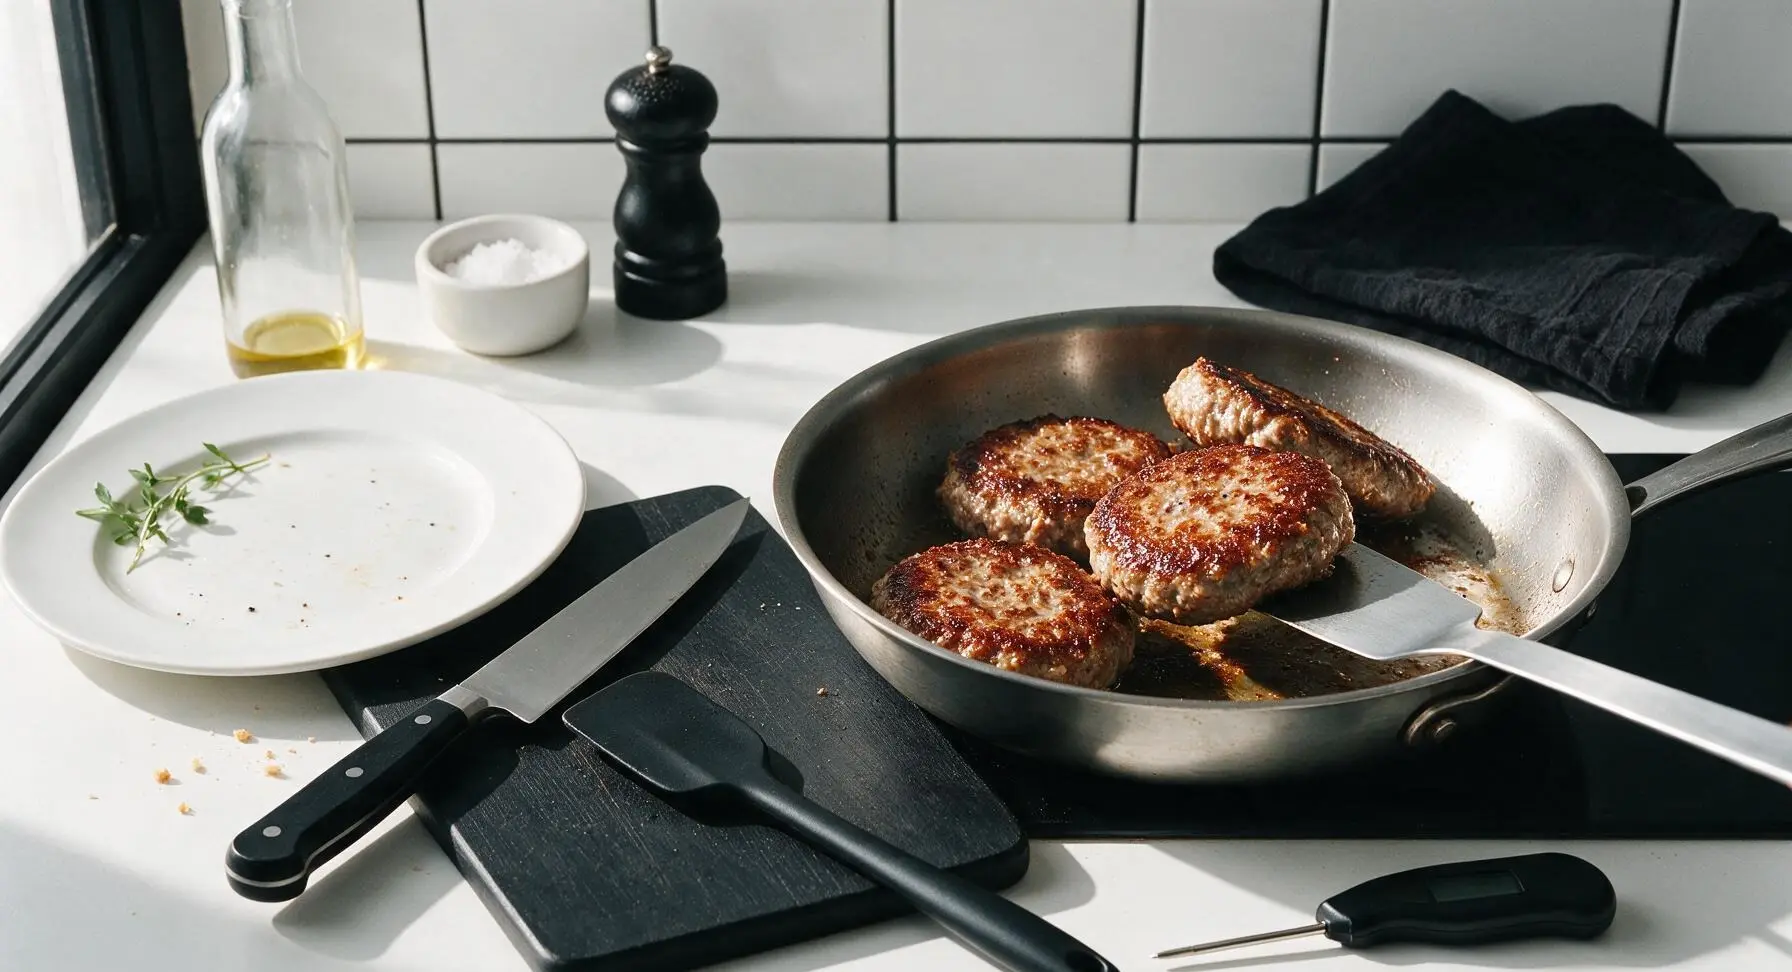
Slide the stiff metal spatula under each patty in one smooth, steady motion to flip them, taking care not to tear the delicate seared crust. Cook for an additional 3–5 minutes, depending on desired doneness: 3 minutes for medium-rare (63°C/145°F internal temperature), 4 minutes for medium (71°C/160°F), 5 minutes for well-done (77°C/170°F). Use the digital instant-read thermometer to check temperature at the thickest part of each patty for accuracy; never press down on the patties while cooking, as this squeezes out flavorful juice.
Rest patties before serving
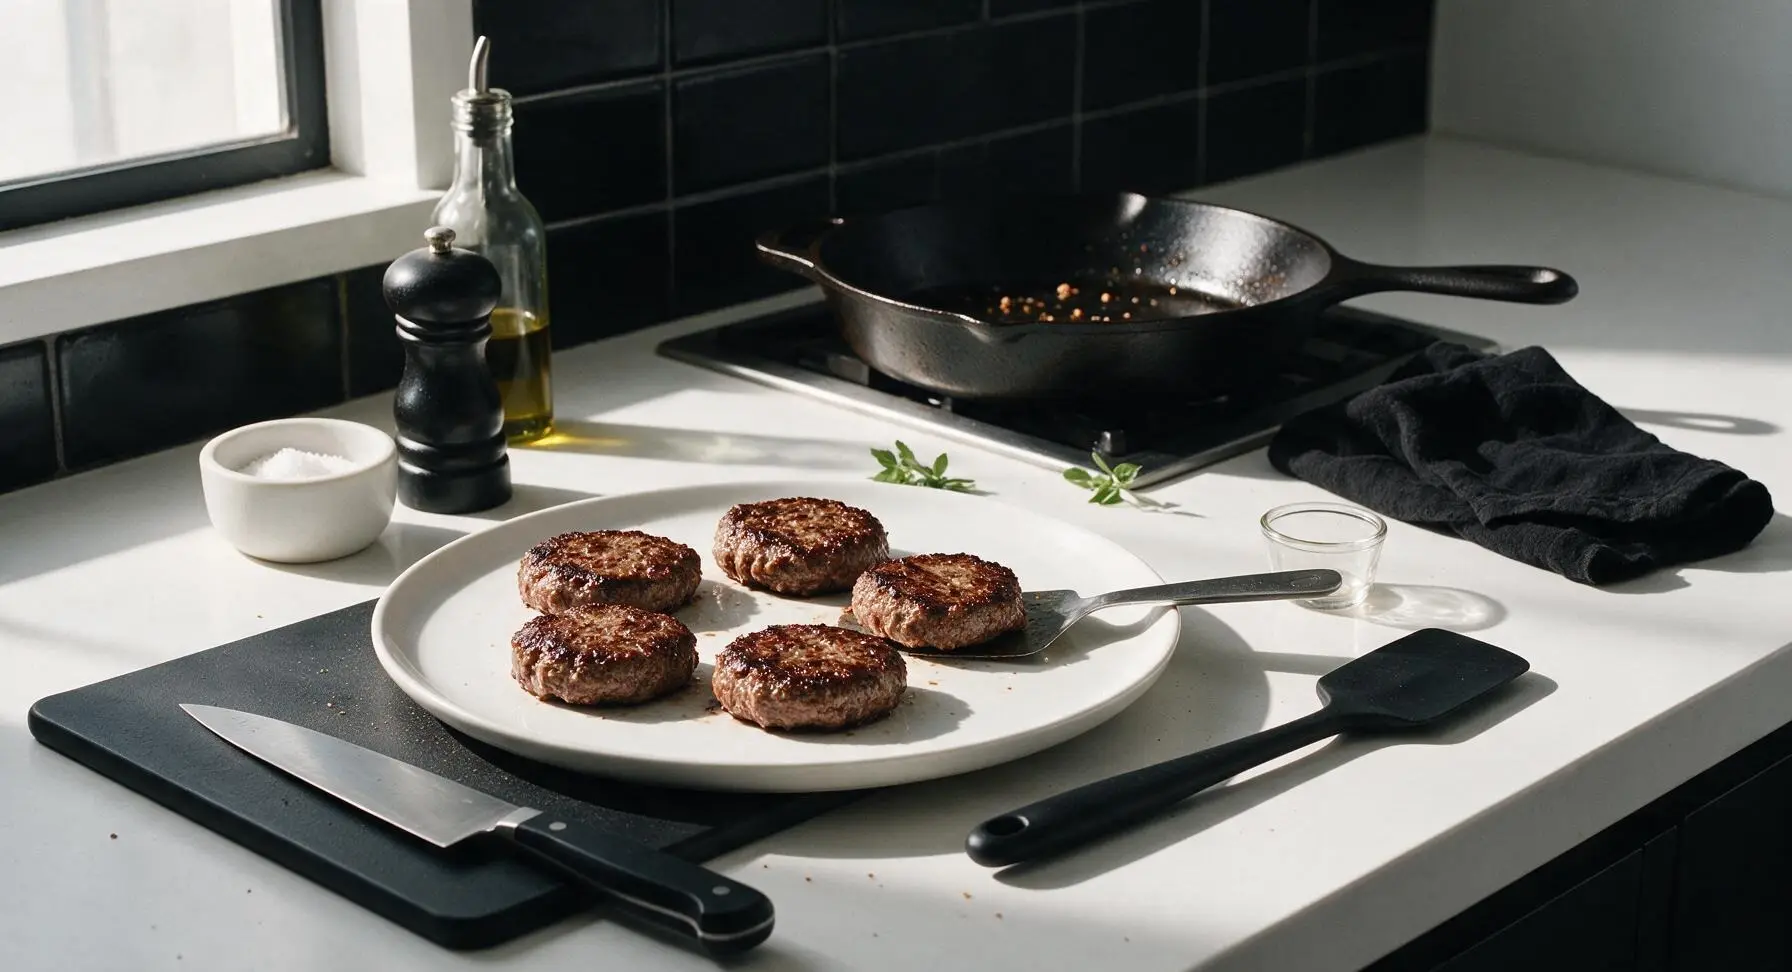
Transfer the fully cooked patties to the matte cream ceramic dinner plate once they reach your target internal temperature. Let the patties rest for 3 minutes at room temperature to allow the muscle fibers to relax and juices to redistribute evenly throughout the meat. Tent loosely with a small piece of aluminum foil if desired to retain heat during resting.
Tips
2.Avoid overmixing or overpacking the meat: squeezing and compressing the beef causes muscle proteins to bind tightly, creating a dense, rubbery texture instead of a tender, crumbly patty that holds together gently.
3.Press a thumb dimple into the center of each patty: as meat cooks and contracts, it naturally bulges in the middle; the dimple compensates for this shape change, creating a flat, even patty that sits perfectly on a bun.
4.Never press patties with a spatula while cooking: this squeezes out rendered fat and flavorful meat juice, leaving patties dry and removing the fat needed to maintain a crisp, caramelized sear.






OMG these came out SO juicy! I’ve tried so many homemade patty recipes that turn out dry as a hockey puck, but this one was a total game changer for our Sunday family dinner. My kids devoured theirs and asked for seconds before I even sat down to eat! I added a tiny pinch of smoked paprika like my grandma used to and it was chef’s kiss. 10/10 will make again for our next potluck too.
Perfect easy recipe for weekly meal prep! 12 minute cook time is no joke, I whipped up a batch on Sunday after my grocery run and they’ve held up so well all week for quick lunch salads and sandwich wraps. Didn’t dry out even when I reheated them in the air fryer, which is usually where homemade patties go wrong for me. Saved this to my permanent recipe folder!
Super easy for a total beginner like me! Mine came out a little less juicy than I expected but I think I overworked the meat when I was mixing it, oops. Flavor was still spot on though, even my picky roommate said it was better than the fast food burgers we usually get on weeknights. Will definitely go easier on mixing next time!
Brought these to our neighborhood block party last weekend and people were begging me for the recipe! I made sliders with them and they were gone in 15 minutes flat. The trick of making a little dimple in the middle of the patty so they don’t puff up? Total lifesaver, no weird rounded burgers sliding off the buns here.
I swapped half the beef for ground turkey to lighten it up a little and it was still SO juicy! I was worried it would be bland or dry but the seasoning ratios are perfect, I didn’t even have to add extra salt. Served mine with a side of roasted sweet potato fries and it was the perfect post-gym dinner.
Just made these for lunch and wow, way better than the frozen patties I usually buy! I topped mine with melted cheddar, dill pickles and a little special sauce and it tasted exactly like the diner burger I pay $15 for on weekends. Why did I wait so long to make homemade patties?!
Super quick to make in my tiny dorm kitchen! I don’t have a fancy grill or anything, just cooked them in a nonstick pan on my stovetop and they turned out great. Only thing is I didn’t have any Worcestershire sauce so I subbed a little low-sodium soy sauce, hope that’s not cheating lol.