
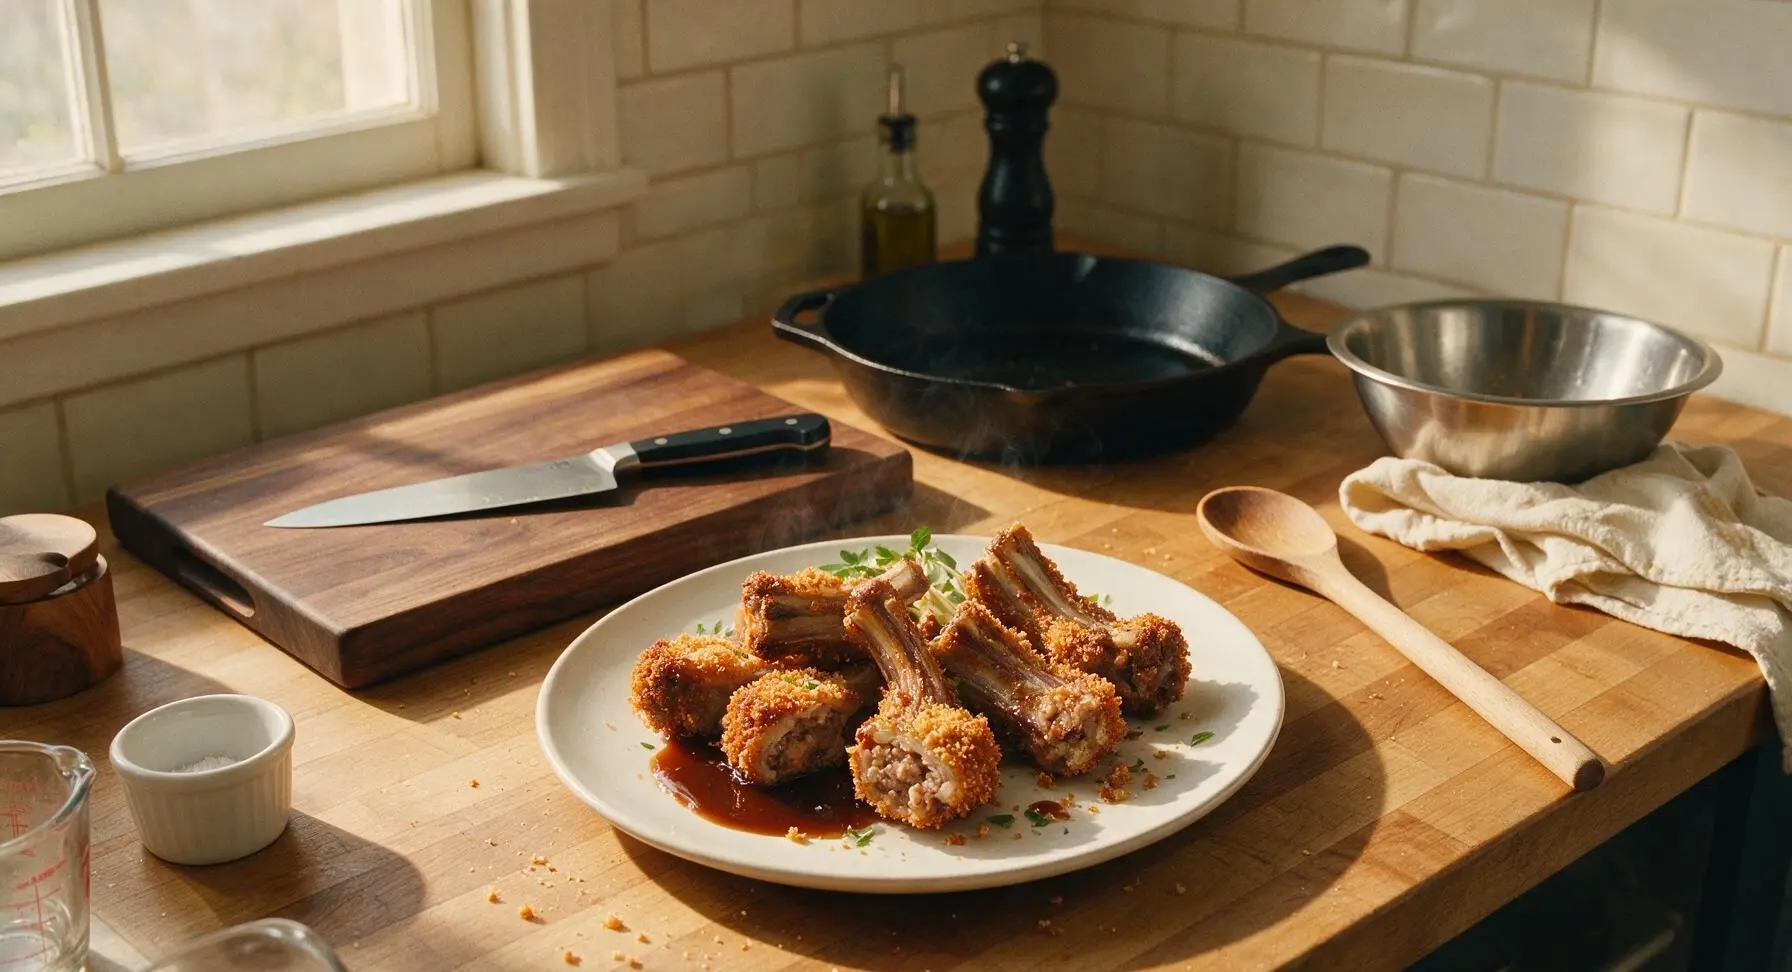
Menchi-katsu Ribs

title 1
Menchi-katsu Ribs
⏱️ cook time 20 minutes
🍽️ servings 4
⚡ Difficulty medium

intro

Juicy bone-in ribs stuffed with savory ground pork, coated in crunchy panko, fried golden, and served with tangy tonkatsu sauce: a cozy, crispy twist on classic Japanese menchi-katsu.

Ingredients
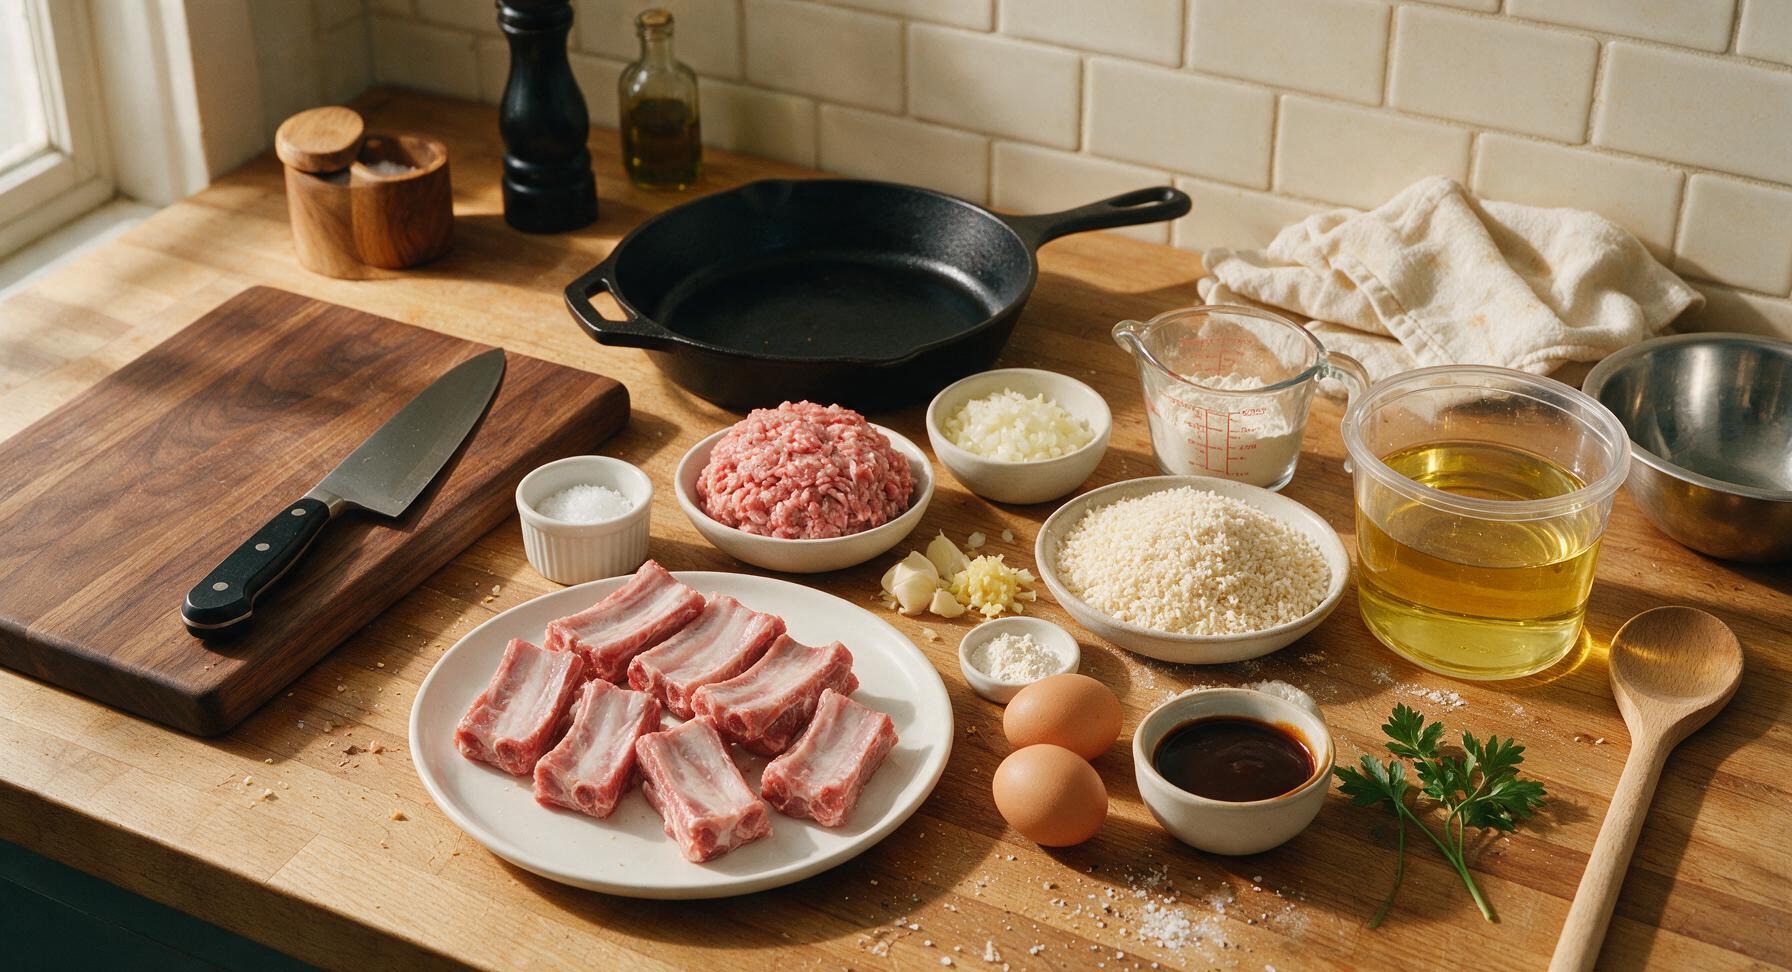
Thin-cut bone-in pork spare riblets (5cm length) 600g (8 pieces)
Ground pork (20% fat content) 200g
Yellow onion, finely diced 50g
Garlic cloves, grated 2 cloves (6g)
Fresh ginger, grated 1 tsp (3g)
Japanese-style panko breadcrumbs 150g
All-purpose flour 60g
Large eggs 2
Japanese tonkatsu sauce 80ml
Coarse sea salt 1 tsp (5g)
Freshly ground black pepper 1/2 tsp (2g)
Neutral canola oil (for frying) 1L
Fresh flat-leaf parsley (for garnish) 2 sprigs

Steps

1

Prep Rib Pockets

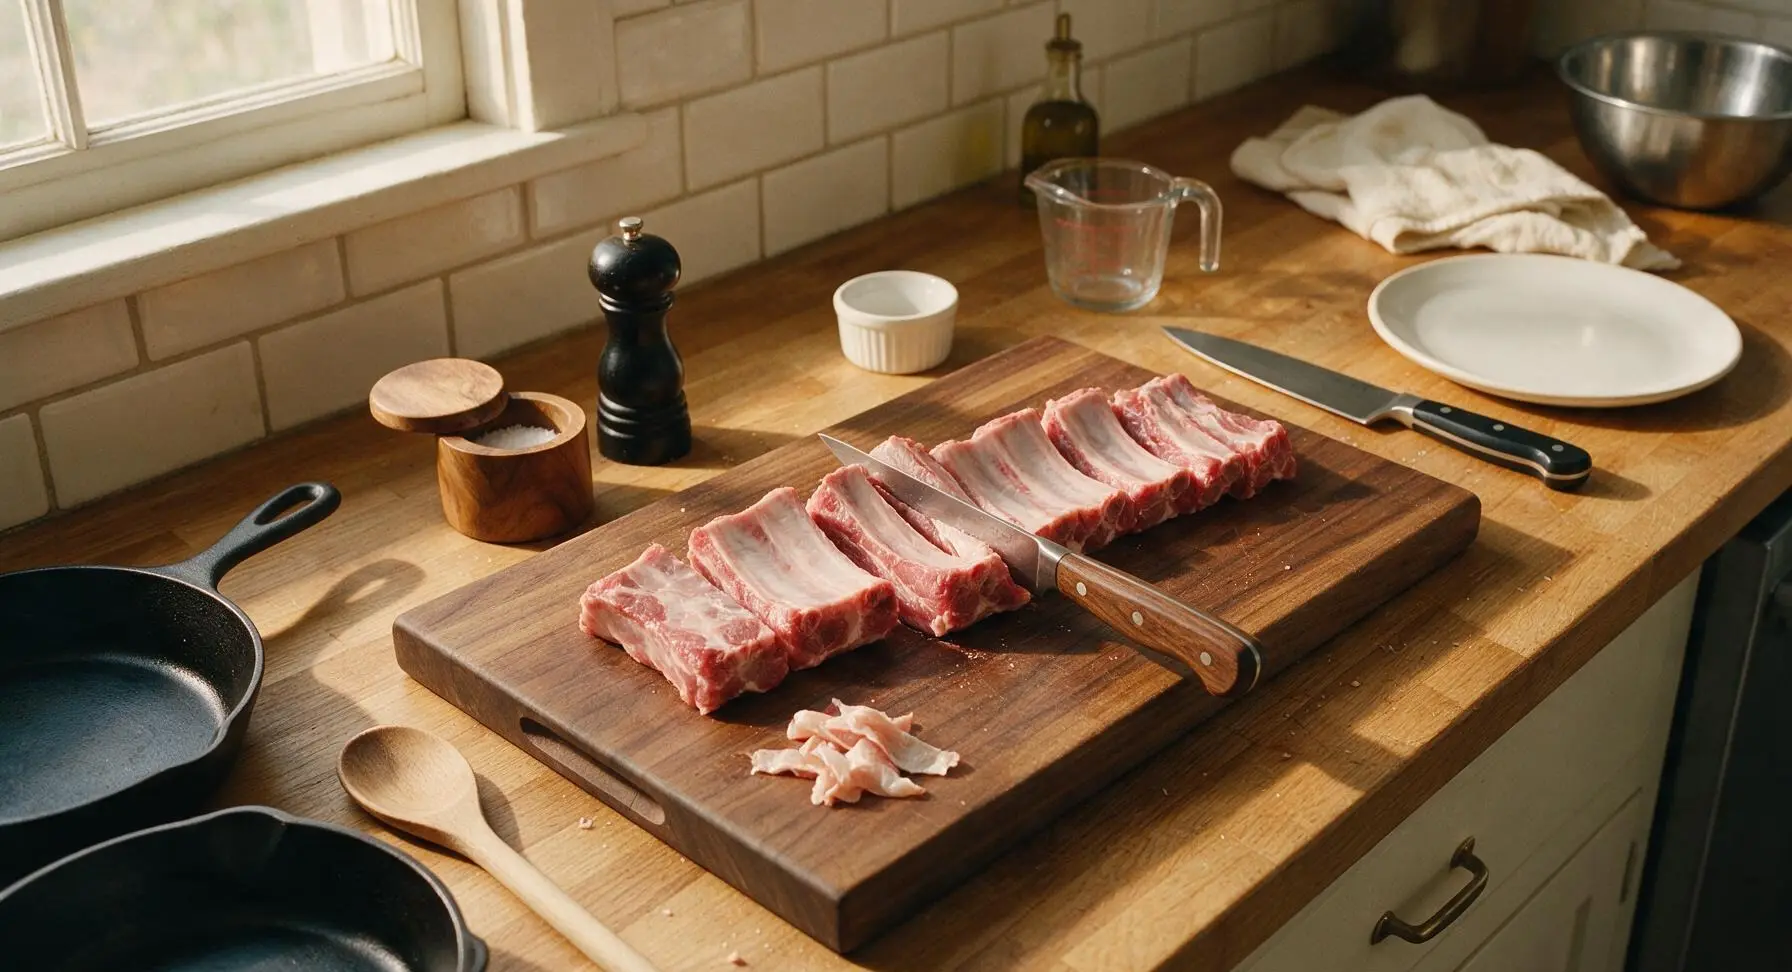
Lay the bone-in pork riblets flat on the maple cutting board. Use the walnut-handled boning knife to carefully cut a 4cm deep pocket into the thick, meaty side of each rib, keeping the bone attached and the outer edges of the meat intact (do not cut all the way through). Pat all ribs dry with a corner of the linen towel, then season lightly with 1/2 tsp salt and 1/4 tsp black pepper. The pockets should be wide enough to hold 1 tbsp of filling without splitting open when pressed.
Step 1
step1:Prep Rib Pockets
2

Mix Menchi Filling

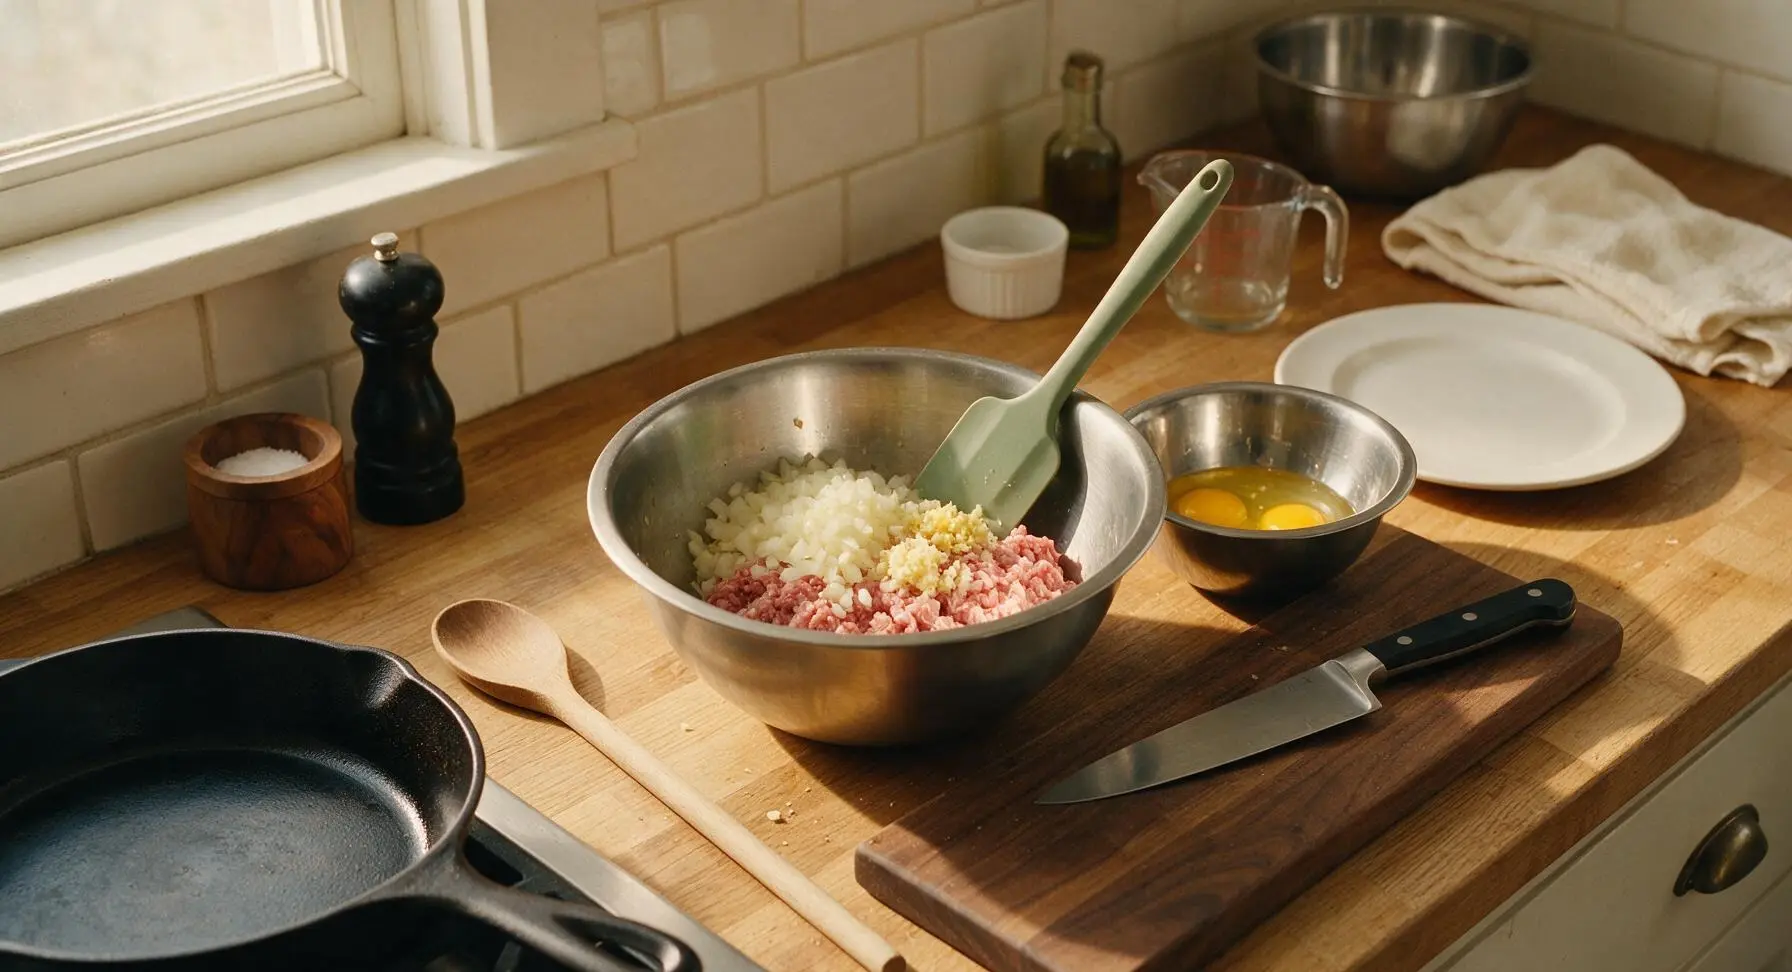
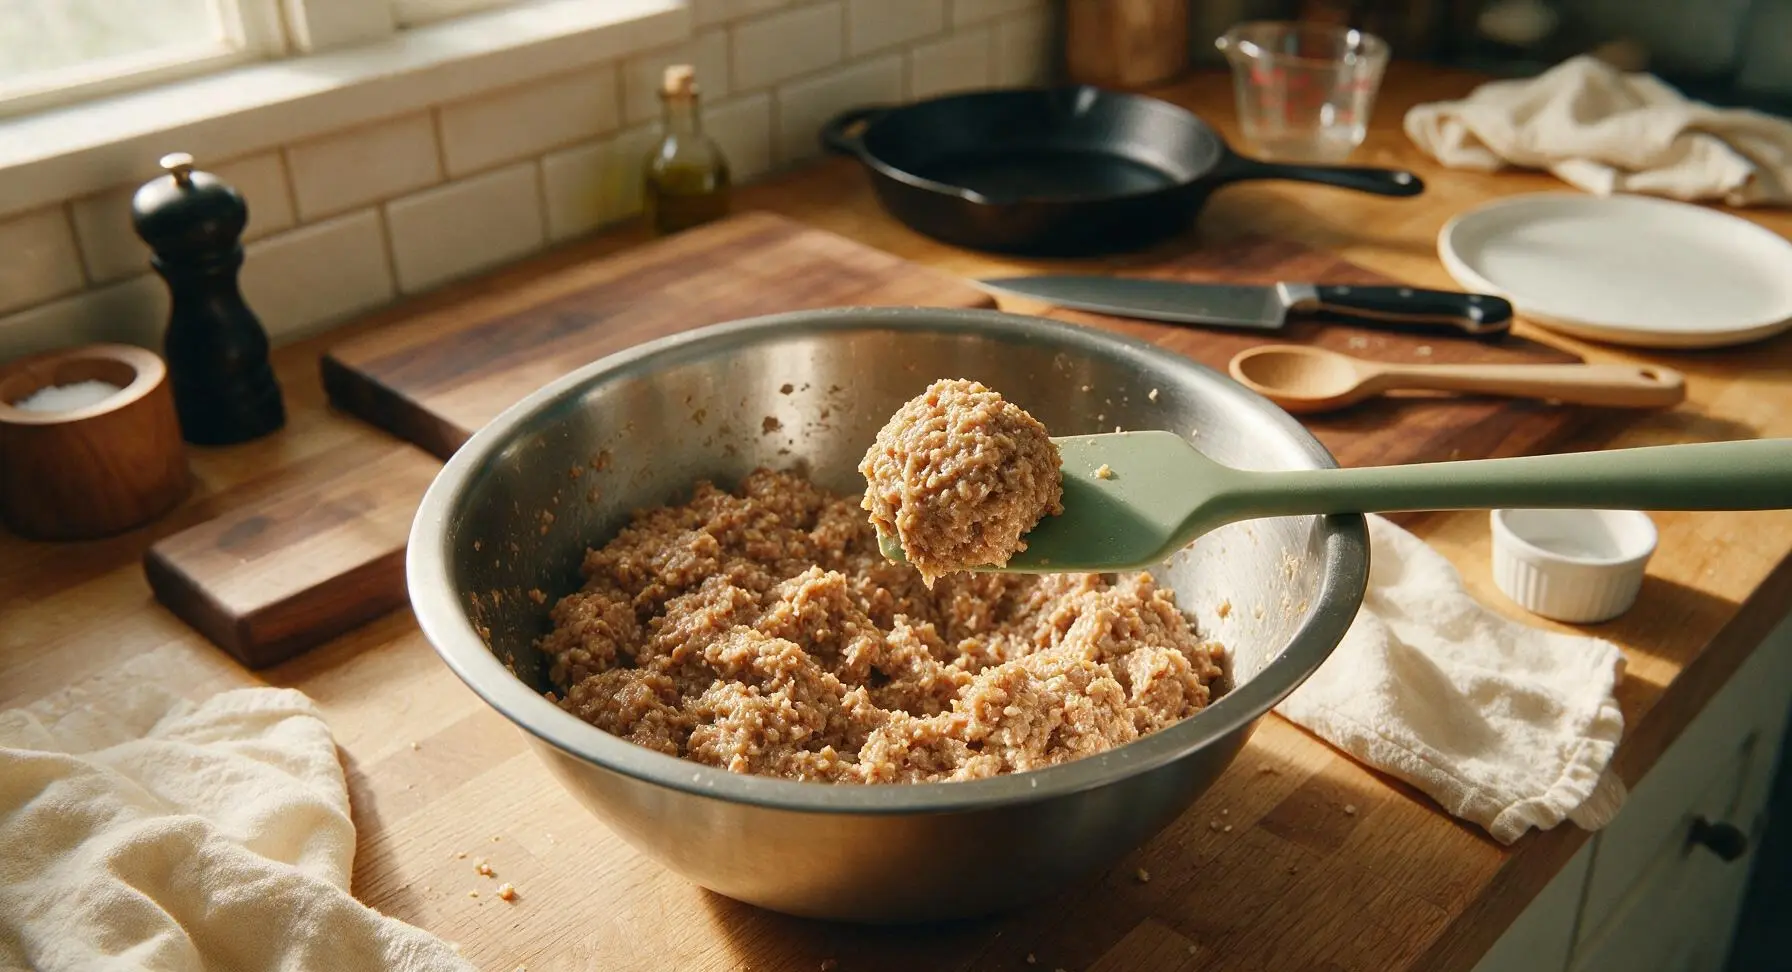
Crack the two eggs into the small polished stainless steel mixing bowl and set aside for the breading station. In the medium brushed stainless steel mixing bowl, combine the ground pork, finely diced yellow onion, grated garlic, grated ginger, remaining 1/2 tsp salt, and 1/4 tsp black pepper. Use the sage green silicone spatula to mix vigorously for 2 minutes until the mixture becomes sticky and uniform in texture. Do not overmix to avoid tough filling; the mixture should hold its shape when squeezed lightly between your fingers.
Step 2
step2:Mix Menchi Filling
Step 2
step2:Mix Menchi Filling
3

Stuff Rib Pockets

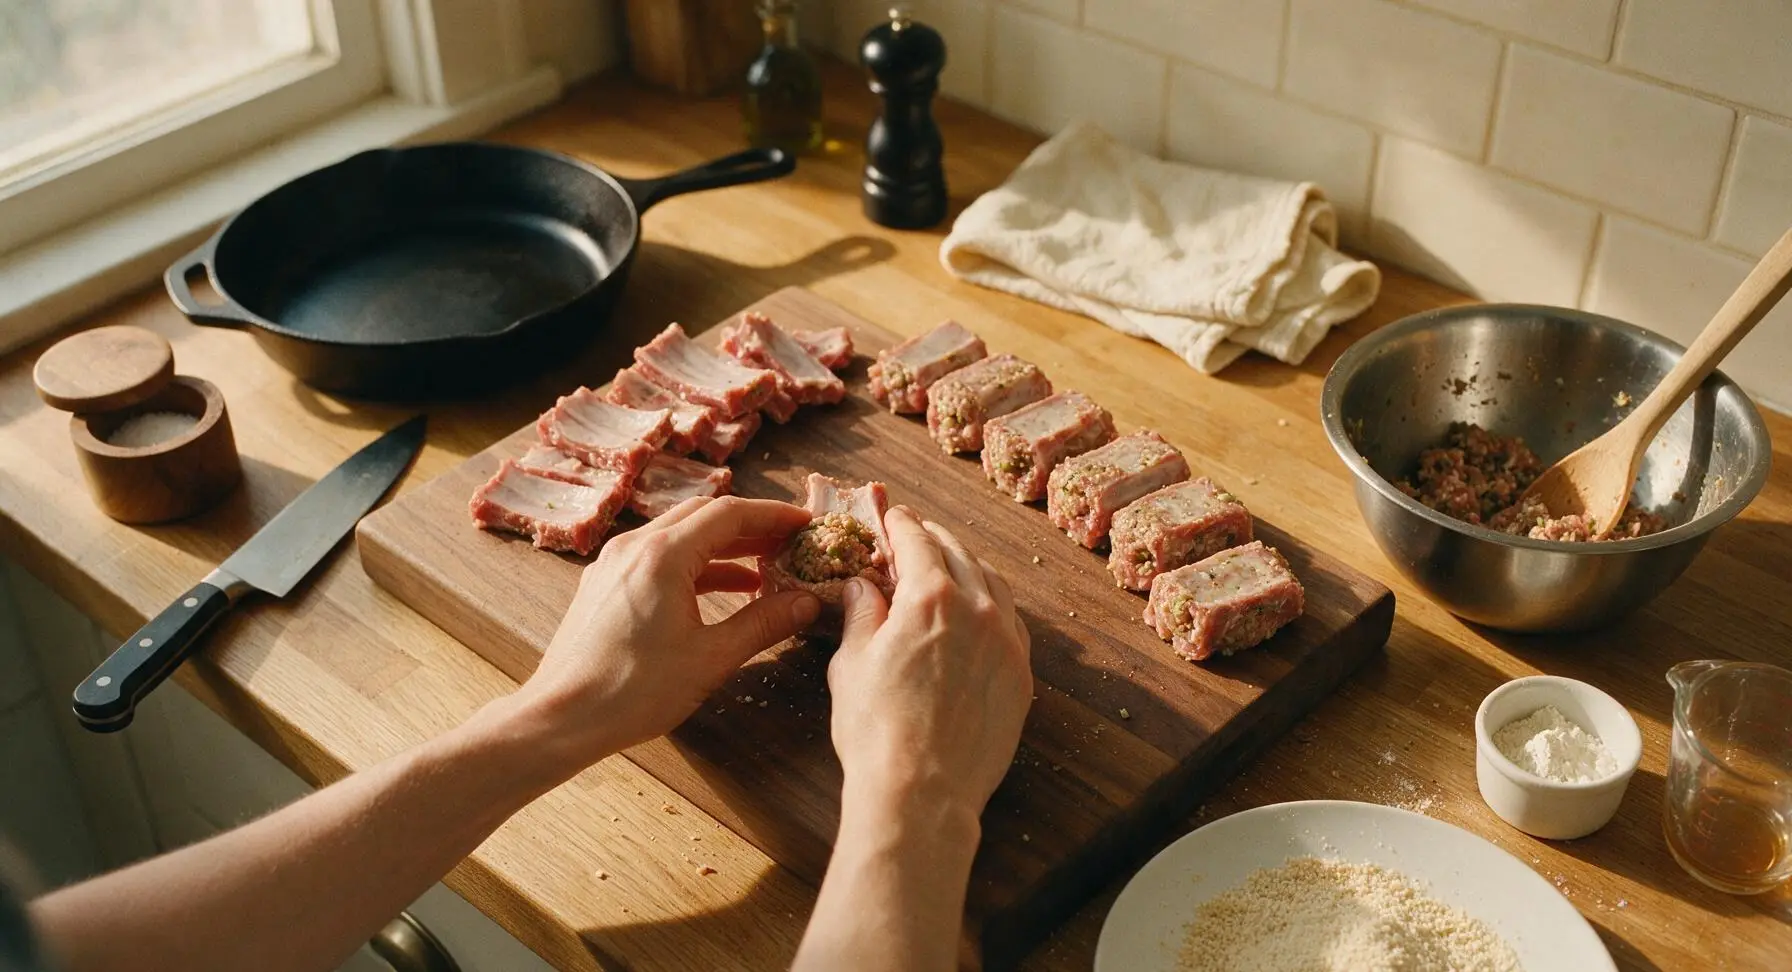
Scoop 1 tbsp (about 25g) of the menchi filling into each cut pocket in the prepped riblets. Press the edges of the rib meat firmly together to seal the filling inside, patting the entire rib into a uniform, flat 2cm thick shape so it cooks evenly. Ensure no filling is oozing out of the sealed edges to prevent it from leaking during frying and causing oil splatters.
Step 3
step3:Stuff Rib Pockets
4

Set Breading Station

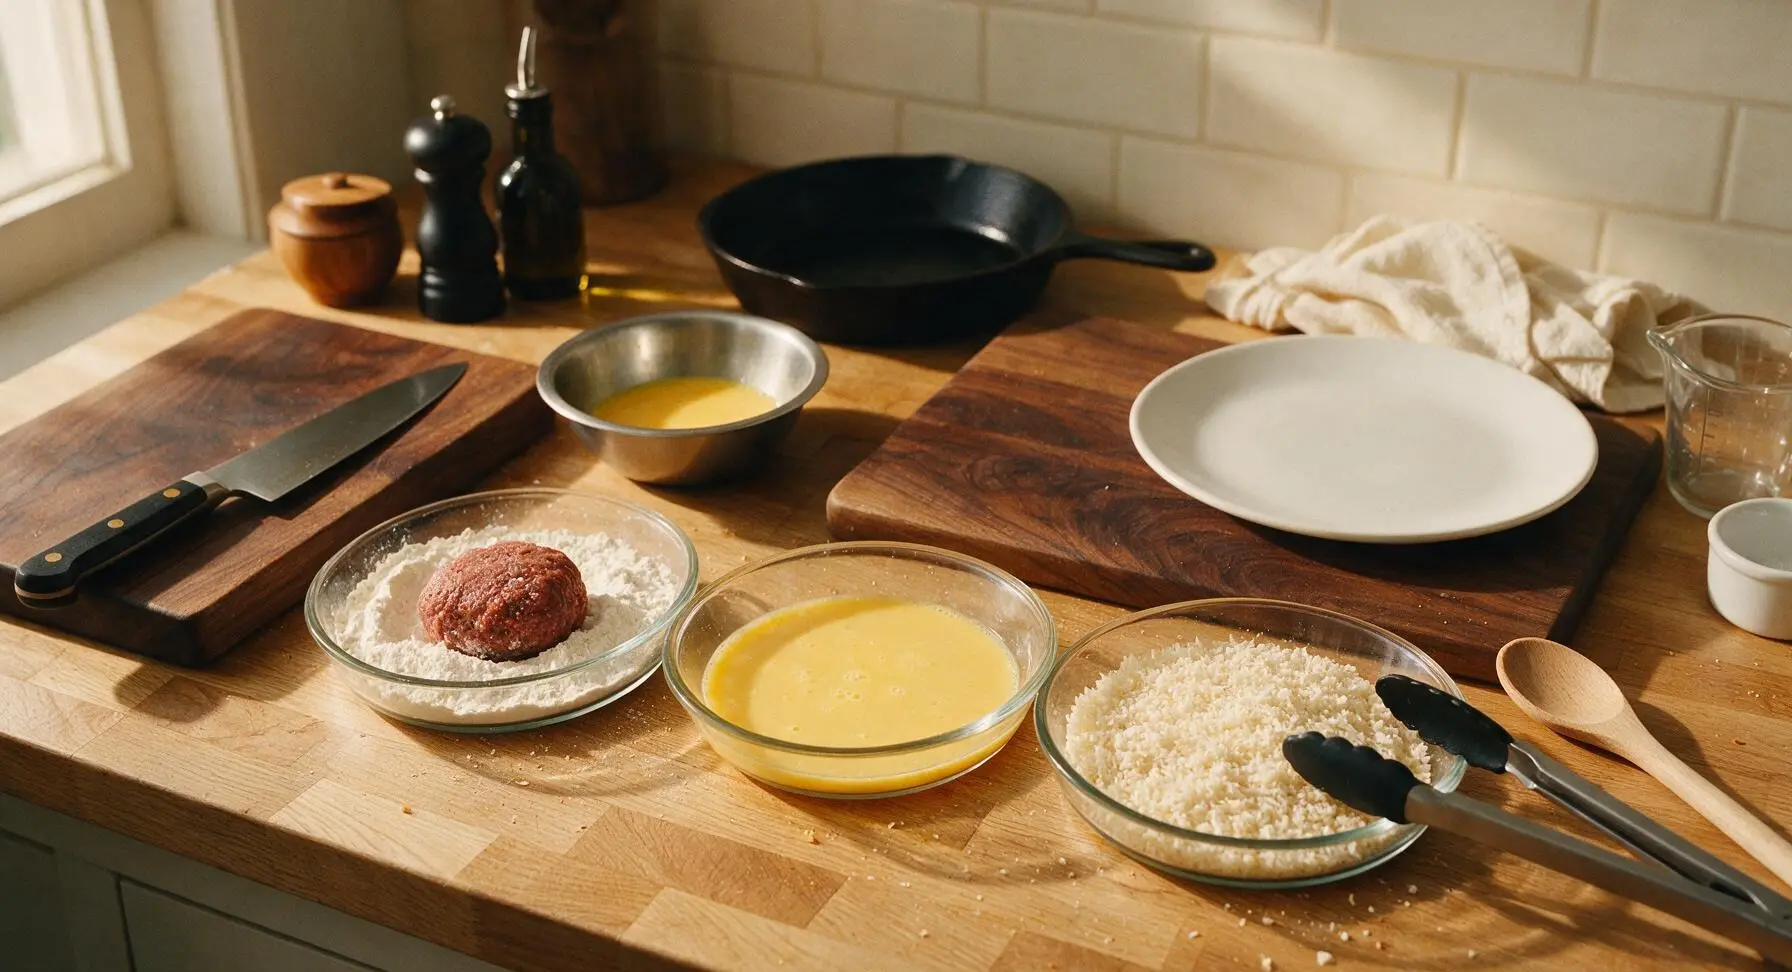
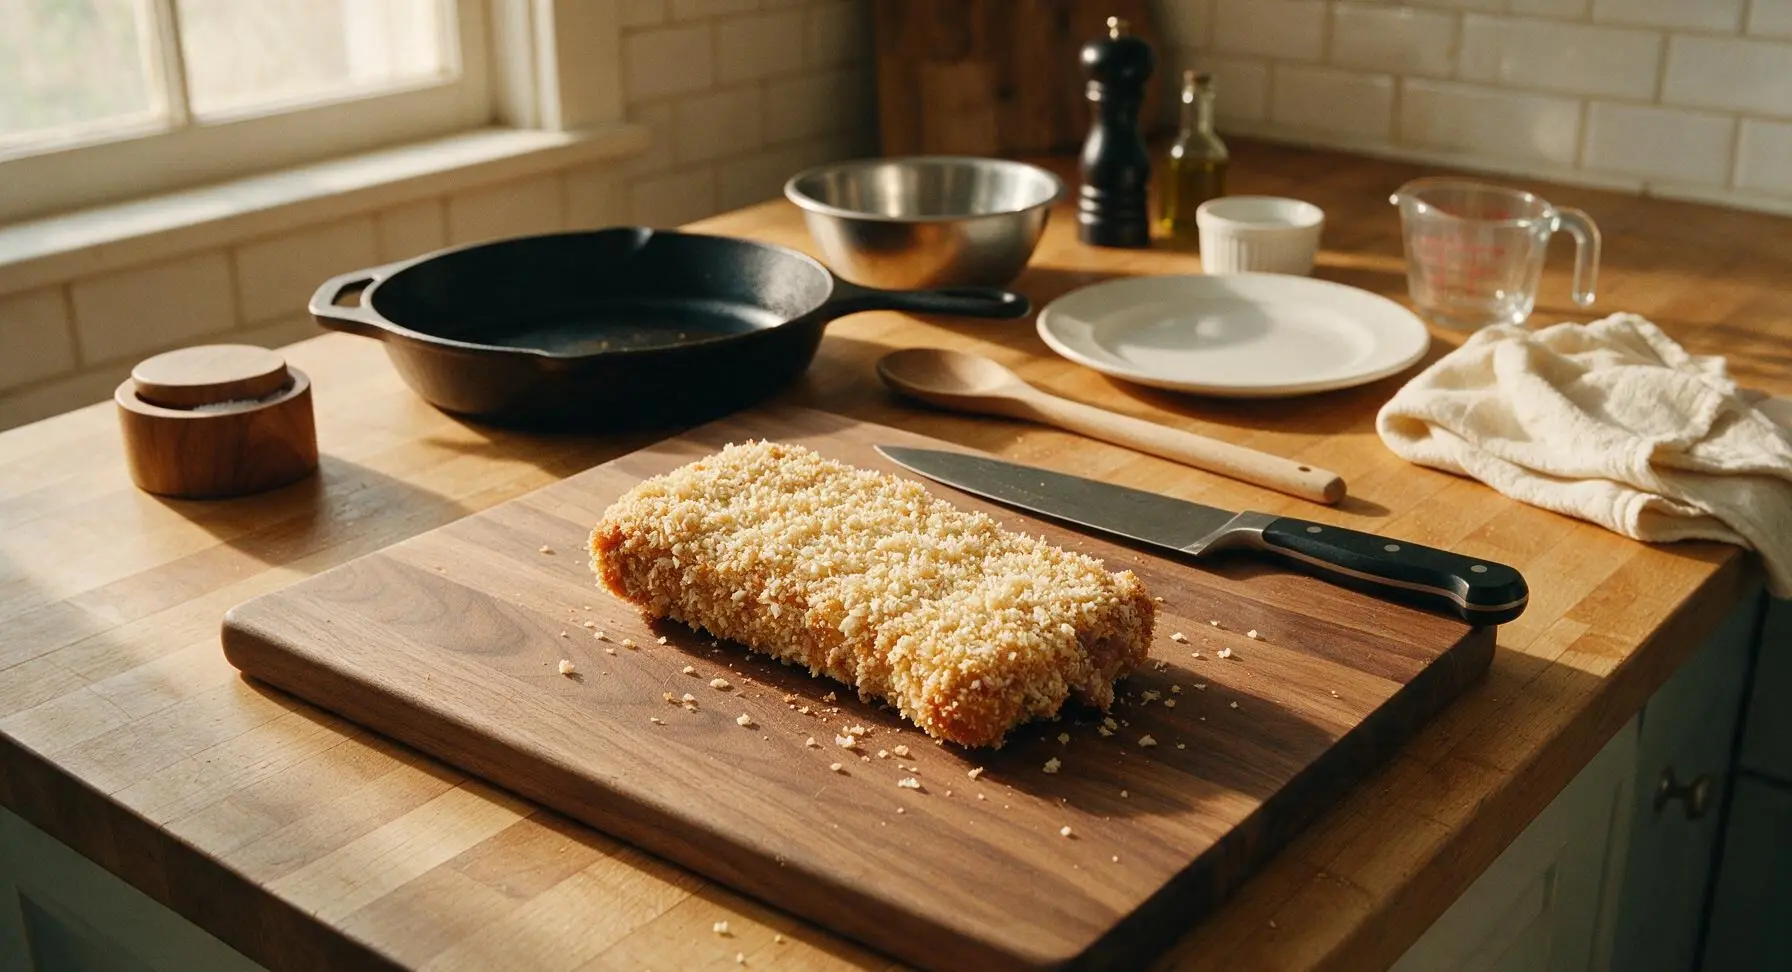
Beat the eggs in the small stainless steel bowl until completely smooth. Line up the three clear shallow glass dishes in a row on the counter next to the cutting board: fill the first dish with all-purpose flour, the second with the beaten eggs, and the third with panko breadcrumbs. Working one stuffed rib at a time, coat each fully in flour (shaking off all excess), dip fully in beaten egg to cover every surface, then press firmly into panko breadcrumbs to create a thick, even coating. Set breaded ribs on a clean section of the cutting board for 5 minutes to let the coating set before frying.
Step 4
step4:Set Breading Station
Step 4
step4:Set Breading Station
5

Heat Frying Oil

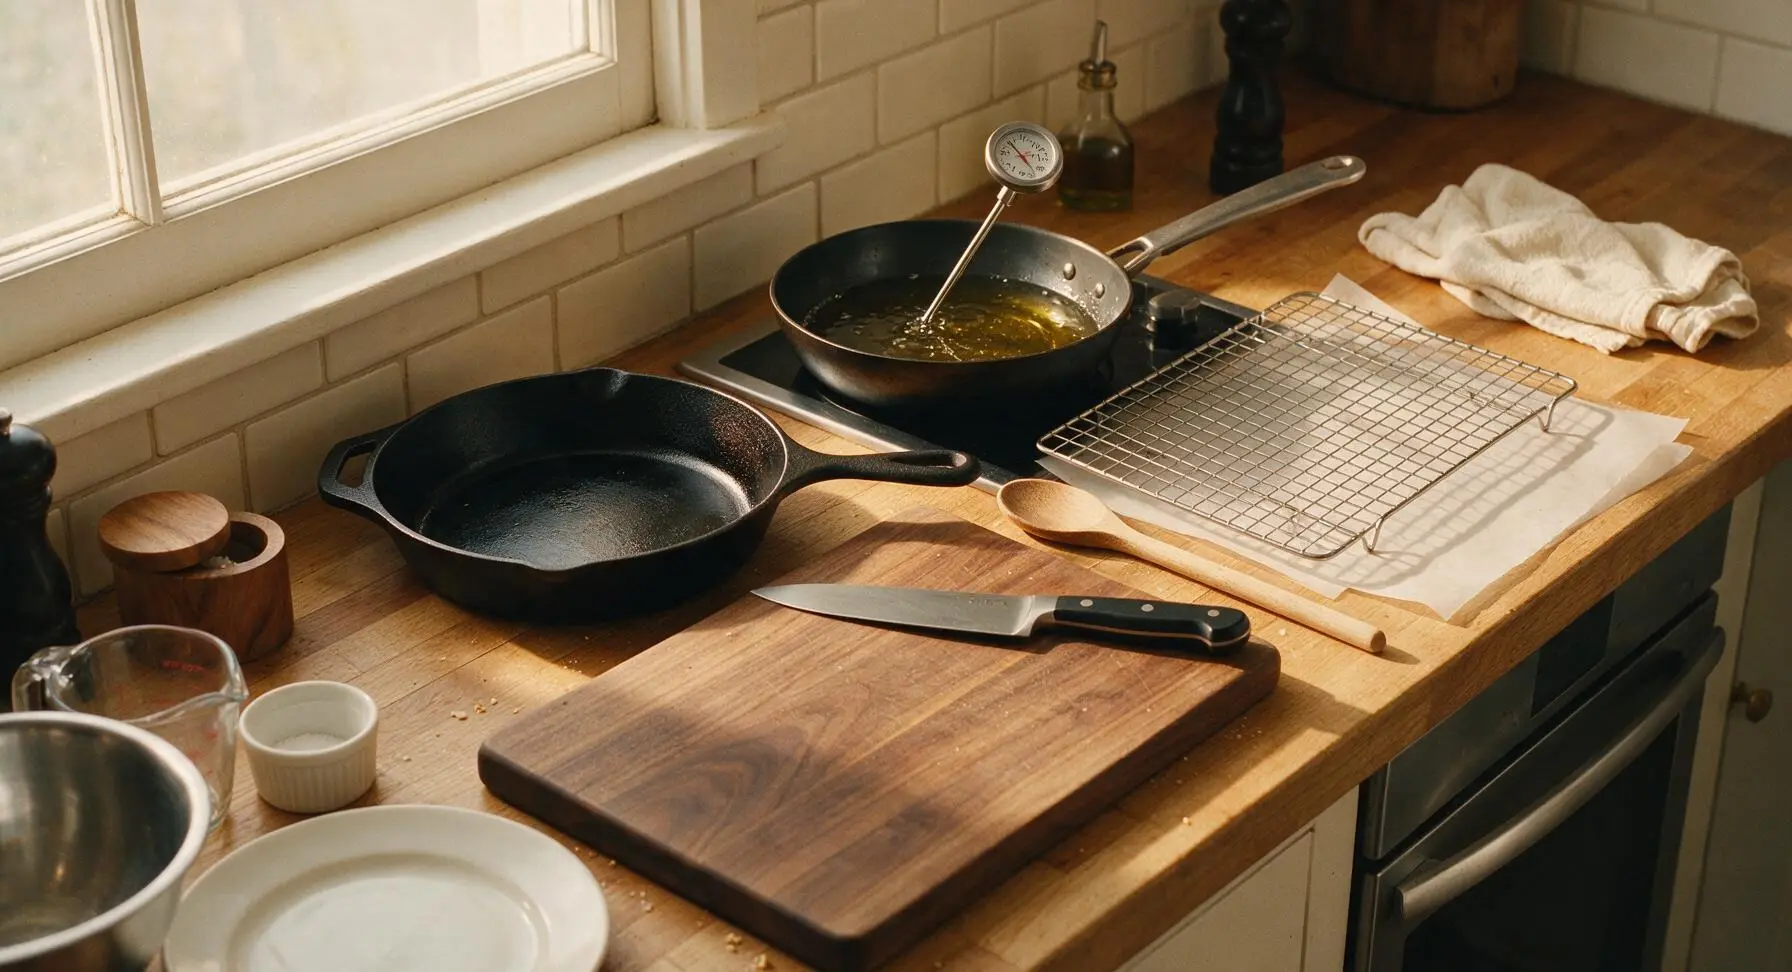
Pour 1L of canola oil into the 10-inch matte black carbon steel frying pan, set over medium heat until the oil reaches 170C (340F), verified with the instant-read thermometer. Do not heat the oil above 180C, as this will burn the panko coating before the pork filling and rib meat cook through. Place the chrome wire cooling rack over the crumpled parchment paper on the counter next to the stovetop to hold cooked ribs as they finish frying.
Step 5
step5:Heat Frying Oil
6

Fry Ribs Golden Crisp

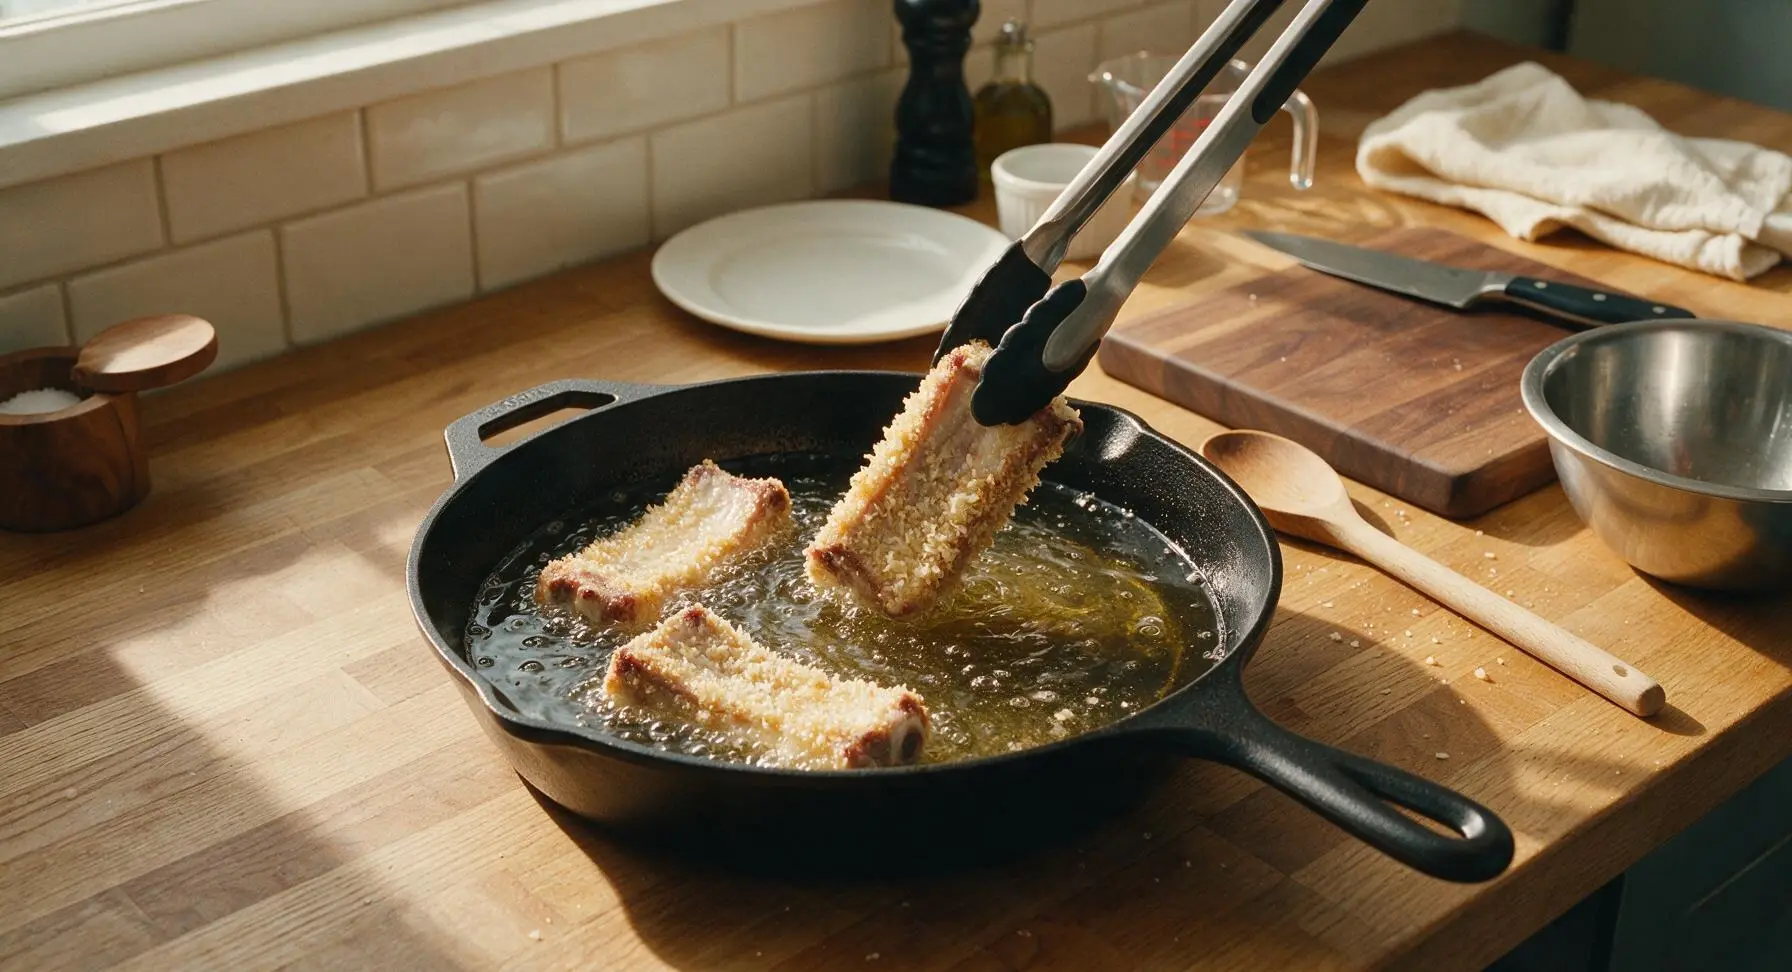
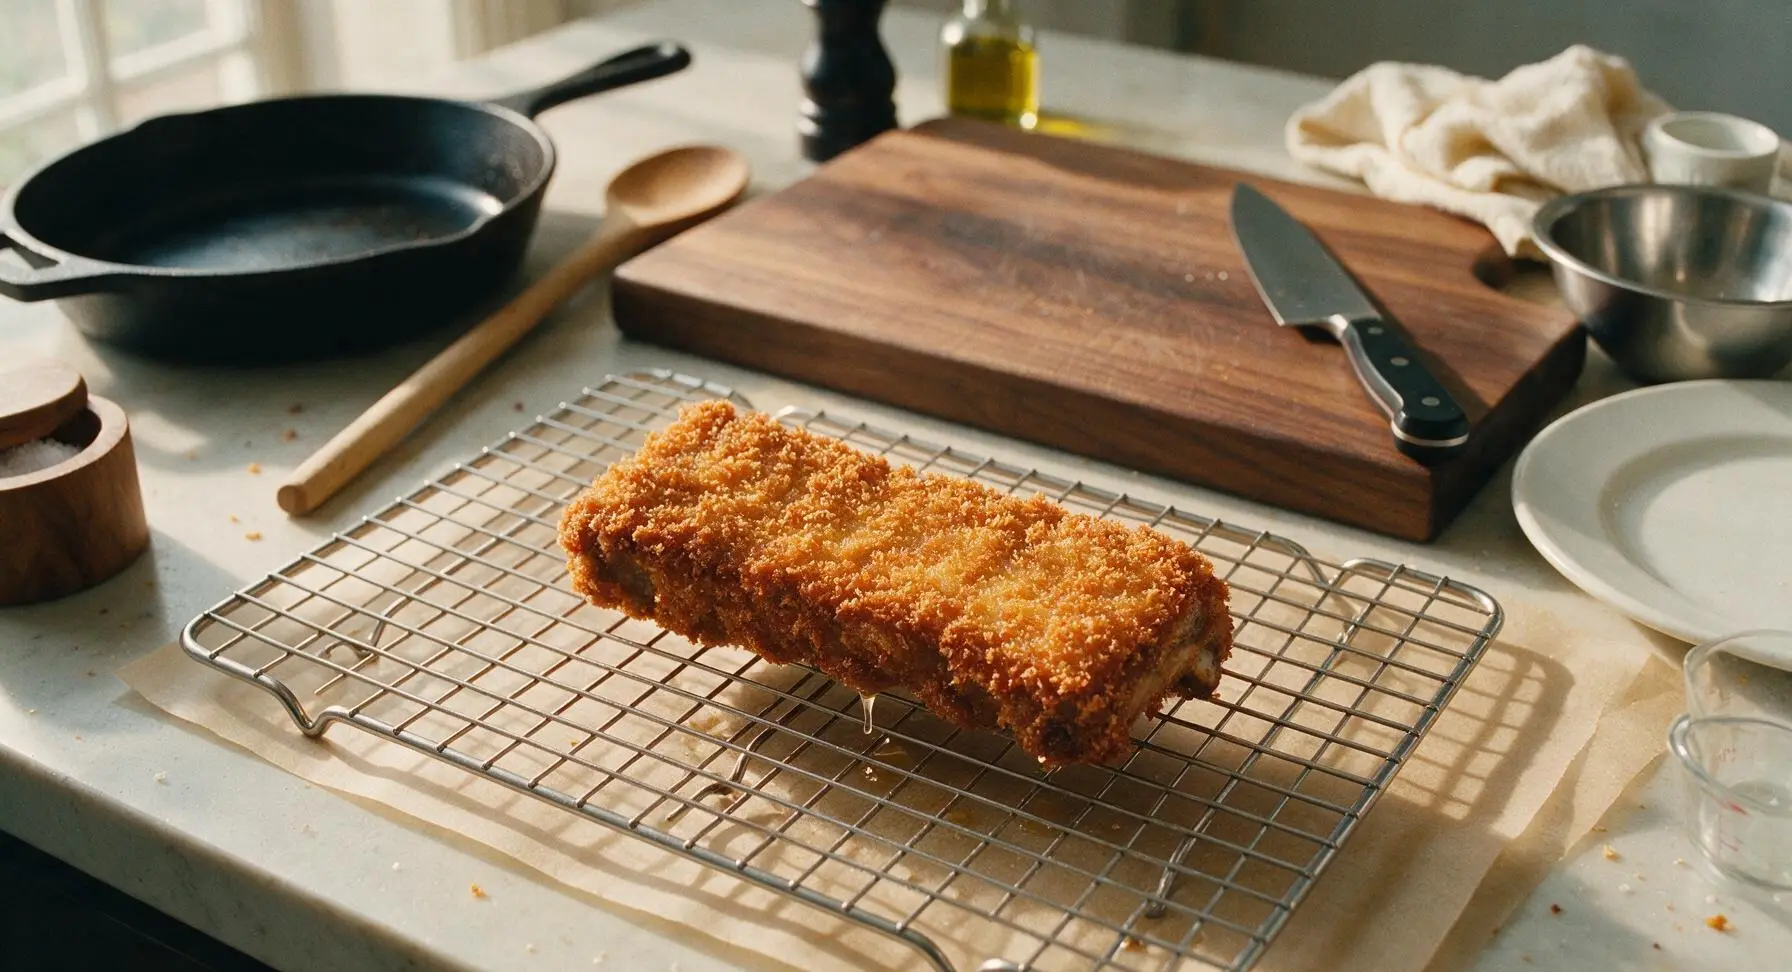
Use the stainless steel silicone-tipped tongs to carefully lower 3-4 breaded ribs into the hot oil at a time, taking care not to overcrowd the pan (which drops oil temperature and makes coating soggy). Fry for 6-7 minutes total, flipping once halfway through cooking, until the panko coating is a deep, even golden brown and the internal temperature of the pork filling reaches 71C (160F). Transfer cooked ribs to the wire cooling rack to drain excess oil for 2 minutes, do not stack ribs to keep the coating crispy.
Step 6
step6:Fry Ribs Golden Crisp
Step 6
step6:Fry Ribs Golden Crisp
7

Plate and Serve

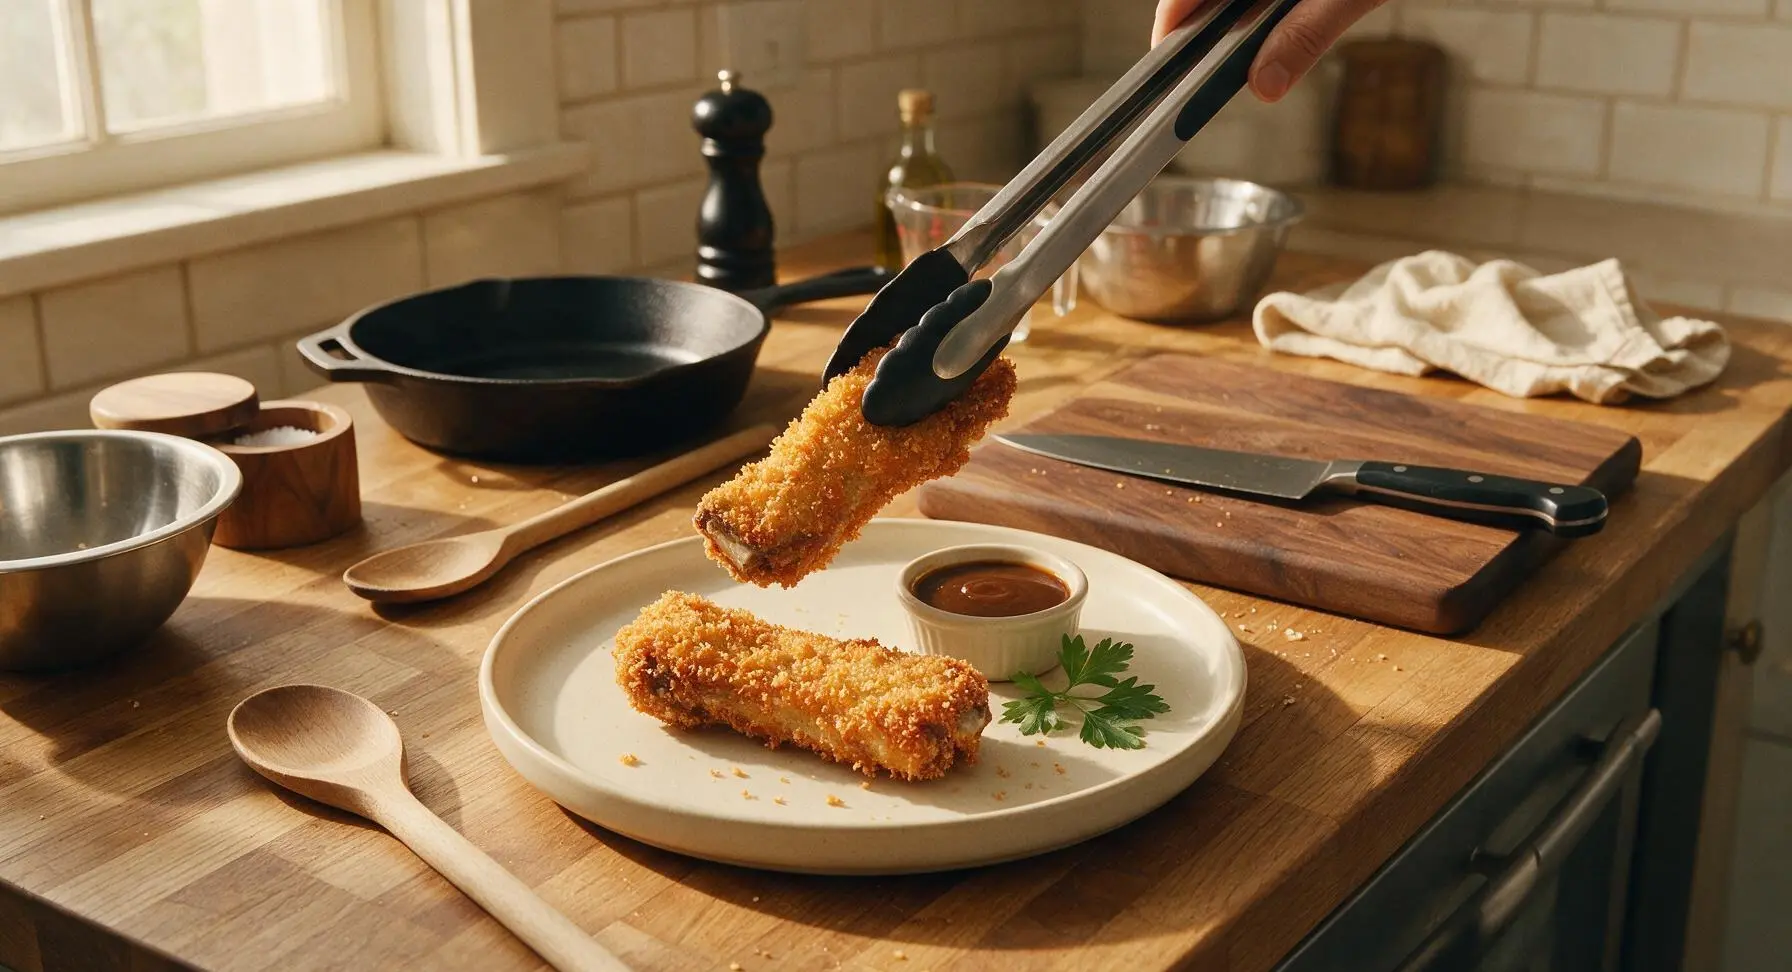
Arrange two drained menchi-katsu ribs per person on the matte cream off-white dinner plates. Use the clear glass condiment bottle to drizzle tonkatsu sauce in a thin zigzag pattern 10cm above the ribs, tuck a small sprig of flat-leaf parsley next to the ribs for garnish, and place a small matching off-white ramekin of extra tonkatsu sauce on each plate for dipping. Serve immediately while the coating is hot and crisp.
Step 7
step7:Plate and Serve

Tips

1.Choose 20% fat ground pork for the menchi filling: the higher fat content keeps the stuffing juicy and tender during frying, while lean ground pork will dry out, become crumbly, and leak out of the rib pockets as it cooks.
2.Let breaded ribs rest for 5 minutes at room temperature before frying: this resting period lets the panko and egg layer adhere firmly to the ribs, preventing the coating from blowing off in hot oil, which causes messy splatters and bare, uncoated spots on the finished ribs.
3.Avoid stacking fried ribs on the cooling rack: stacking traps hot steam between the crispy panko layers, which will make the coating turn soft and soggy in 1-2 minutes; leaving space between ribs lets air circulate and keeps the crust light and crisp for serving.


✨ You May Also Like

Main Course
🍜 United Kingdom

A showstopping classic of tender seared beef, savory mushroom duxelles, and crisp prosciutto wrapped in flaky golden puff pastry, baked to juicy perfection.

⏱️ 2 hours 1Main Course ★ 4.7
Main Course
🍜 India

Tender charred marinated chicken simmered in a rich, spiced creamy tomato sauce, this iconic Anglo-Indian curry pairs perfectly with basmati rice or warm naan.

⏱️ 50 minuteMain Course ★ 4.6
Main Course
🍜 Thailand

Classic tangy, sweet, and savory Thai stir-fried rice noodles with shrimp, tofu, and crunchy garnishes, balancing all five core Thai flavor profiles.

⏱️ 30 minuteMain Course ★ 4.5
Main Course
🍜 United Kingdom

Crispy golden beer-battered cod and fluffy double-fried chips, served with tangy tartar sauce and malt vinegar: the timeless, beloved British pub comfort classic.

⏱️ 45 minuteMain Course ★ 4.7
Main Course
🍜 Mexico

Smoky, chile-marinated pork tacos with caramelized pineapple, fresh cilantro, and lime: a beloved classic Mexican street food perfect for casual summer gatherings.

⏱️ 1 hour 45Main Course ★ 4.8
Main Course
🍜 United States

Crunchy Fritos corn chips layered with savory beef chili and melted cheddar, topped with cool, zesty fixings for a beloved, cozy Tex-Mex comfort food.

⏱️ 35 minuteMain Course ★ 4.8

Menchi-katsu Ribs:Frequently Asked Questions

1.What cut of ribs works best for crispy menchi-katsu ribs, and can I use thicker-cut ribs as a substitute? ▾
Stick to 5cm (2-inch) thin-cut bone-in pork spare riblets for the best results—they cook fast enough to match the fried panko coating without burning. Thicker ribs will undercook before the crust turns golden; if that’s all you have, pre-braise them for 20 minutes first, then pat fully dry before stuffing and coating to avoid sogginess.
2.Why do you recommend 20% fat content ground pork for the stuffing? ▾
20% fat ground pork strikes the perfect balance of juicy, rich flavor without being greasy. Leaner ground pork (10% fat or less) will dry out and turn crumbly during frying, leaving a tough, bland stuffing. If you only have lean ground pork, mix in 2 tablespoons of softened pork fatback or unsalted butter per pound to match that ideal fat ratio.
3.How do I stuff the riblets without the ground pork falling out while frying? ▾
First, cut a small 1-inch deep pocket into the meaty side of each riblet, taking care not to cut all the way through to the bone. Pack the ground pork stuffing firmly into the pocket, pressing the edges of the rib meat to seal around the filling. Chill stuffed ribs for 20 minutes before breading to help the stuffing set so it doesn’t leak in hot oil.
4.Can I prep the stuffed ribs ahead of time before I plan to fry them? ▾
Absolutely! You can stuff and bread the riblets up to 24 hours in advance. Arrange them in a single layer on a wire rack set over a baking sheet, cover loosely with plastic wrap, and store in the fridge. Don’t stack them, as that will make the panko coating soggy. Fry straight from the fridge—no need to bring them to room temp first to keep the crust crisp.
5.What type of oil is best for frying these ribs to get a crispy, non-greasy crust? ▾
Use a neutral, high-smoke-point oil like canola, peanut, or refined avocado oil for frying. Heat it to a steady 350°F (175°C) — if the oil is too cool, the panko will soak up excess oil and turn soggy, while oil that’s too hot will burn the crust before the pork stuffing and rib meat cook all the way through.
6.Do I have to use panko breadcrumbs, or can I substitute regular fine breadcrumbs? ▾
Panko is highly recommended for that signature light, shatteringly crisp crust that defines this dish. Regular fine breadcrumbs will create a denser, tougher coating that gets soggy faster. If you’re in a pinch, crush plain croutons into coarse, flaky pieces to mimic panko’s texture, and skip seasoned breadcrumbs that clash with the savory pork flavor.
7.How do I know when the menchi-katsu ribs are fully cooked and safe to eat? ▾
The safest, most reliable method is to insert an instant-read thermometer into the thickest part of the stuffing, away from the bone. It should read 145°F (63°C) for the rib meat, and 160°F (71°C) for the ground pork stuffing. At 350°F, this usually takes 4 to 5 minutes per batch, when the crust is a deep, even golden brown.
8.My panko coating always falls off when I fry—what am I doing wrong? ▾
This almost always stems from excess moisture on the ribs, or skipping the standard breading station order. Pat ribs completely dry first, then dredge in all-purpose flour, dip in beaten egg (let excess drip off), then press panko firmly to every surface so it adheres. Let breaded ribs rest 10 minutes before frying so the coating sets.
9.Can I make these in an air fryer instead of deep frying to cut down on oil? ▾
Yes! Spray the breaded ribs generously with oil on all sides, arrange in a single layer in your air fryer basket (don’t overcrowd), and cook at 375°F (190°C) for 12 to 14 minutes, flipping halfway, until the crust is golden and the pork reaches safe internal temp. The crust won’t be quite as shatteringly crisp as deep-fried, but it will still be crunchy and delicious.
10.What’s the best way to keep the ribs crispy if I’m cooking for a crowd? ▾
Don’t stack fried ribs on a paper towel-lined plate—that traps steam and turns the crust soggy fast. Instead, set fried ribs on a wire rack placed over a baking sheet, and keep them in a 200°F (93°C) oven while you cook remaining batches. They’ll stay perfectly crisp for up to 30 minutes this way, with no unwanted sogginess.
11.Do I need to pre-cook the diced onion, grated garlic, and grated ginger for the stuffing, or can I add them raw? ▾
For the best flavor and texture, sauté the finely diced onion for 3 to 4 minutes over medium heat until soft, then add grated garlic and ginger for the final 30 seconds before letting the mix cool fully. Adding all three raw releases excess moisture that makes stuffing watery and breading slip, plus raw garlic and ginger have an unpleasantly sharp, harsh bite.
12.Do I need to remove the silver skin from the riblets before making this dish? ▾
Yes, take 2 minutes to peel the tough, chewy silver skin off the bone side of the riblets before you cut pockets for stuffing. Silver skin doesn’t break down during the short fry time, so it will leave an unpleasantly tough, rubbery bite in the finished dish. Use a paper towel to grip the edge of the silver skin to pull it off in one smooth piece.
13.Can I add extra seasonings or mix-ins to the ground pork stuffing? ▾
Absolutely! The base recipe is simple, so you can mix in 1 tablespoon of soy sauce, a teaspoon of toasted sesame oil, a pinch of white pepper, or even 2 tablespoons of finely shredded cabbage to the stuffing for extra texture. Just avoid adding too many wet mix-ins, as that will make the stuffing loose and likely to leak out during frying.
14.I don’t have tonkatsu sauce—what can I serve with these ribs instead? ▾
If you don’t have store-bought tonkatsu sauce, you can make a quick dupe by mixing 3 parts ketchup, 2 parts Worcestershire sauce, 1 part soy sauce, 1 part sugar, and a pinch of garlic powder. You can also serve them with Japanese karashi hot mustard, a side of shredded cabbage, or sweet chili sauce for a fun, non-traditional twist.
15.Can I freeze these menchi-katsu ribs for quick later meals? ▾
Yes! Freeze the uncooked, breaded ribs in a single layer on a baking sheet until solid, then transfer to a sealed freezer bag for up to 3 months. Don’t thaw them before cooking—fry directly from frozen at 340°F (170°C) for 7 to 8 minutes, until the pork reaches a safe internal temp, to avoid a soggy crust.
16.Why does my panko crust turn dark brown before the stuffing is cooked through? ▾
This happens when your frying oil is too hot, which burns the panko fast before the inner meat has time to cook. Turn the heat down to bring the oil back to a steady 350°F, and don’t overcrowd the pot, which drops oil temperature dramatically. If browning is still too fast, your ribs may be thicker than the recommended 5cm cut.
17.Can I use a different ground meat instead of pork for the stuffing? ▾
You can, but stick to ground meats with a similar fat content to keep the stuffing juicy. Ground chicken thighs (15-20% fat) work well, as does a 50/50 mix of ground beef and ground pork for a richer, heartier flavor. Avoid extra-lean ground turkey or chicken breast, which turns dry and crumbly even with careful cooking.

Comments (5)

2 days ago

OMG these crispy menchi-katsu ribs were an absolute game changer for our Sunday family dinner! My 3 kids devoured every single bite, even my picky 7 year old who usually turns his nose up at anything that’s not chicken nuggets. The crunch was perfect, and the meat was so juicy inside. I paired it with that tangy katsu sauce you recommended and some steamed rice, total hit. 10/10 will be making these for our next neighborhood potluck too!

yesterday

Wait did you make any tweaks to get them extra crispy? Mine came out a little soggy last time I tried a similar recipe 😅

2 hours ago

So glad your whole family loved them! For extra crunch, make sure your oil is holding steady at 350°F before you add the ribs, and don’t overcrowd the pan — that’s the #1 culprit for soggy katsu! A quick double dip in panko also helps lock in that crisp.

3 days ago

Medium difficulty was totally accurate here! I was a little intimidated at first since I’ve never made menchi-katsu of any kind before, but the steps were super straightforward. 20 minute cook time was spot on too — perfect for a quick weeknight meal when I don’t have hours to spend in the kitchen. I did meal prep a batch for my lunches this week and it reheated way better than I expected in the air fryer. SO good. Only tiny note is I wish I’d made extra sauce, I ran out halfway through the week lol.

2 days ago

Great call reheating in the air fryer! That’s our go-to trick for keeping katsu crispy for leftovers too. Next time, whip up a double batch of that tangy katsu sauce — it keeps for up to 2 weeks in the fridge so you’ll never run out!

5 days ago

I was so excited to test this recipe last weekend for my roommate’s birthday dinner, but I have celiac and needed to make it gluten free! I swapped regular panko for gluten free panko and used tamari instead of soy sauce in the meat mix, and it came out incredible. My roommate (who has zero dietary restrictions) said it was the best katsu he’s ever had. Only issue was my gluten free panko didn’t stick as well as I wanted in a few spots — any tips?

3 days ago

So happy you were able to adapt this for your gluten free needs! For better panko stickage, try dipping the ribs in a thin layer of rice flour before the egg wash — it creates a perfect grippy base so the panko stays put even when frying, and works great for gluten free or regular preparations. Hope your roommate loved his birthday dinner!

1 week ago

Made these in my tiny dorm kitchen last night with a couple roommates, and holy cow they turned out way better than I expected. I don’t have a deep fryer so I just used a deep cast iron skillet on my hot plate, and it worked like a charm. We ate the whole batch in like 10 minutes flat, no leftovers. 10/10 would make again, even if I did set off the smoke alarm for a minute oops

yesterday

Brought these to my office potluck yesterday and people were literally coming up to me asking for the recipe before they even finished their first bite! I cut the ribs into smaller bite-sized pieces so they were easy to grab as an appetizer, and set out a little bowl of katsu sauce and some tonkatsu sauce for dipping. Even the guy in accounting who only eats plain grilled chicken went back for thirds. Absolute crowd pleaser, will be adding this to my regular potluck rotation for sure.



