
Mexican Calaveras de Azúcar (Sugar Skulls)
intro
Bright, decorative molded sugar confections from Mexican Día de los Muertos traditions, decorated with colorful icing, perfect for festive autumn Halloween celebrations.
Ingredients
Steps
Mix sugar skull base
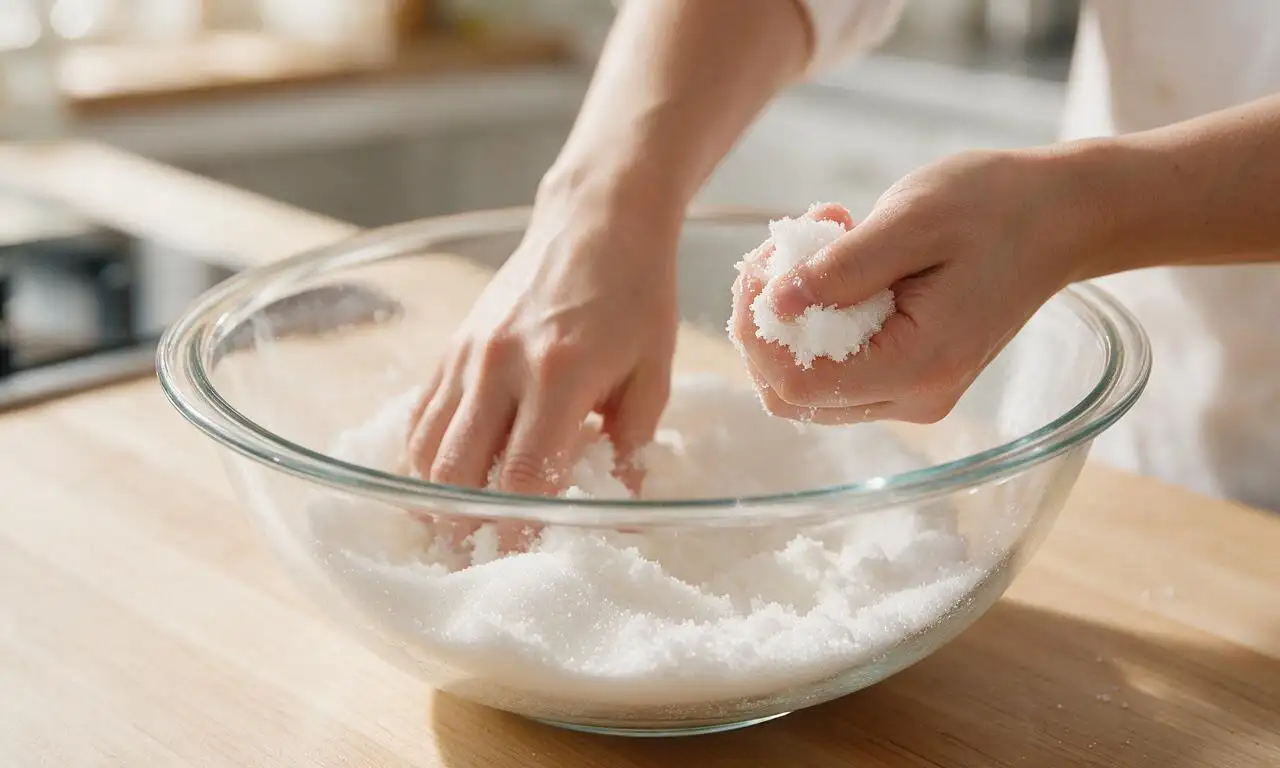
In a large mixing bowl, combine 907g (4 cups) granulated sugar and 3 tablespoons (21g) meringue powder. Whisk for 1 minute to fully incorporate the dry ingredients. Slowly drizzle in 30ml (2 tbsp) warm water, mixing continuously with clean hands for 2-3 minutes until the mixture holds a firm clump when squeezed in your fist, with no crumbly falloff, matching the consistency of damp sandcastle sand.
Pack sugar into molds
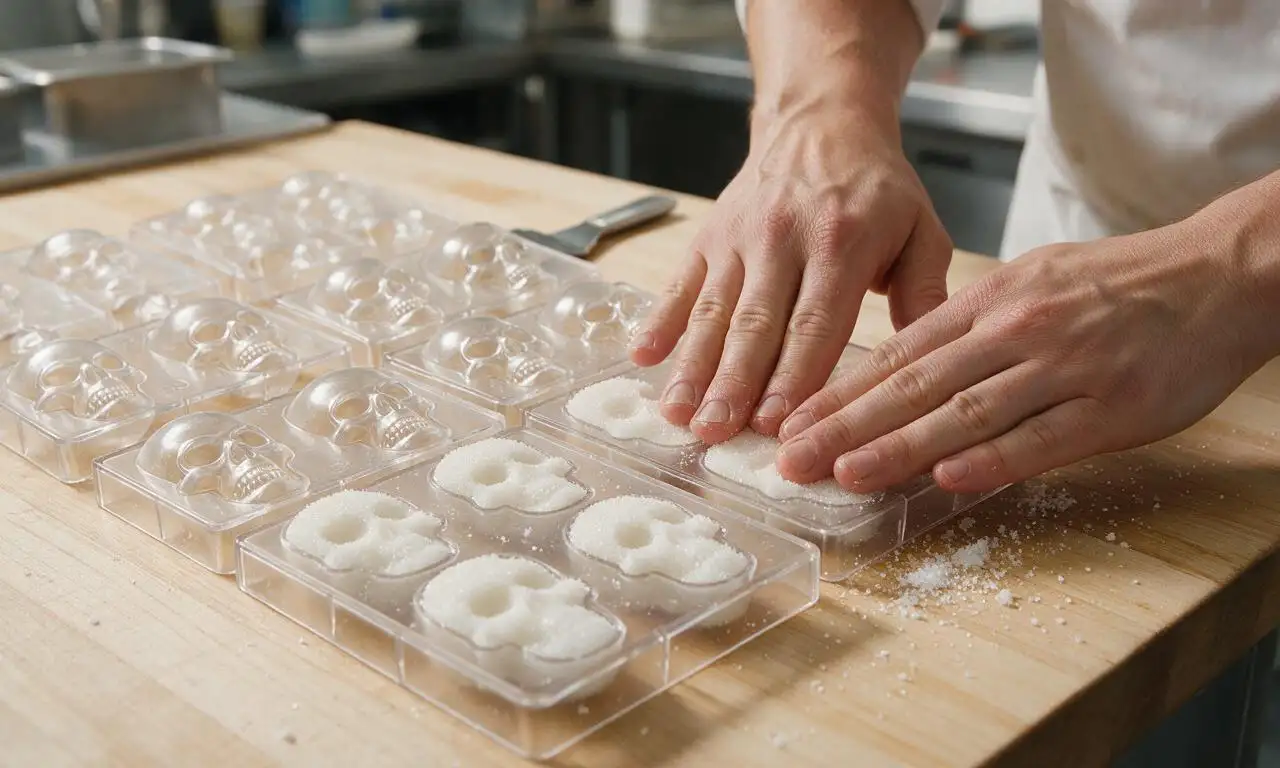
Lightly wipe the inside of 12 small (5cm / 2 inch) plastic sugar skull molds with a dry paper towel to remove residual dust. Scoop the sugar mixture into each mold cavity, pressing firmly and evenly with your thumb and the back of a spoon for 10 seconds per cavity, packing as tightly as possible to eliminate trapped air gaps. Scrape a flat metal bench scraper across the top of each mold to create a smooth, level back for each skull.
Unmold and dry skulls
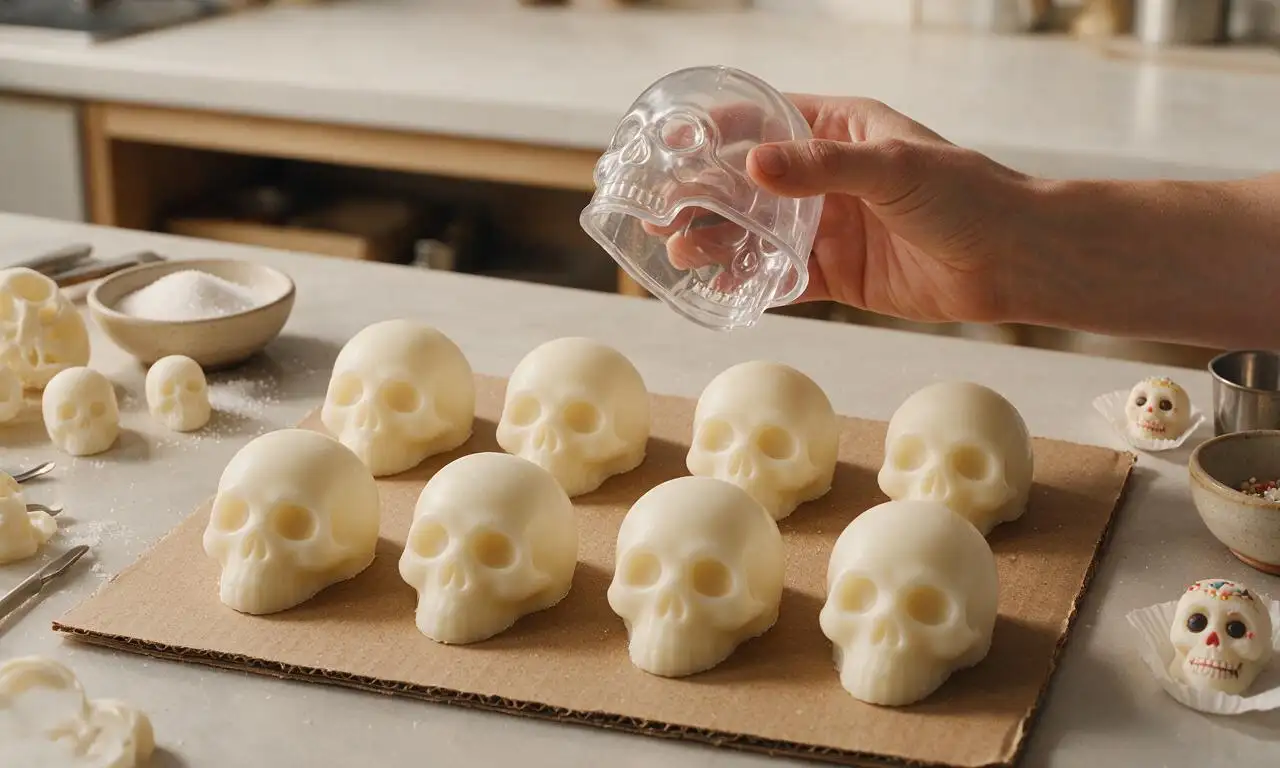
Hold a stiff piece of cardboard flat against the open top of each packed mold. In one smooth, quick motion, flip the mold and cardboard over so the mold rests squarely on the cardboard. Gently lift the mold straight up without wiggling, leaving the formed sugar skull sitting intact on the cardboard. Leave the skulls undisturbed in a cool, dry area (20-22°C / 68-72°F, <50% humidity) for 24 hours to fully harden; do not touch or move them for the first 6 hours to avoid surface dents.
Make royal icing
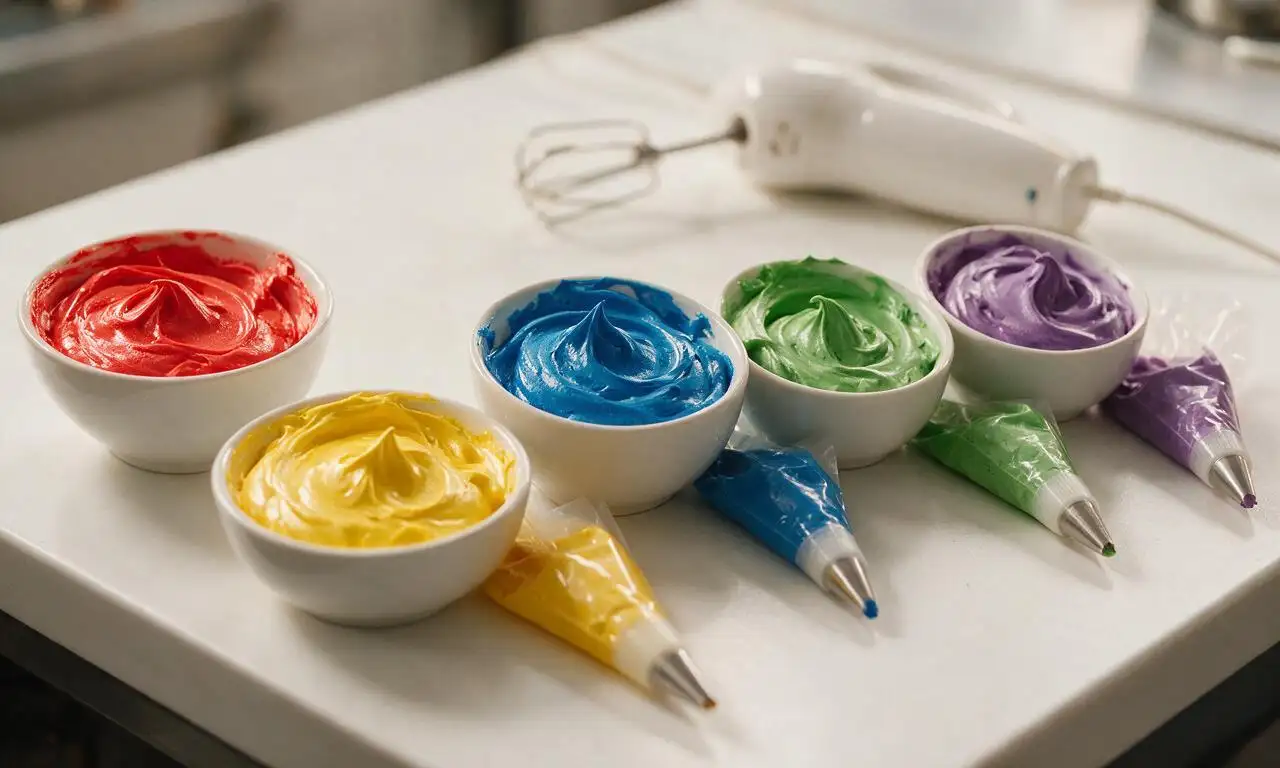
While skulls dry, in a medium mixing bowl, combine 240g (2 cups) powdered sugar, 1 tablespoon (7g) meringue powder, and 30ml (2 tbsp) warm water. Beat with an electric hand mixer on medium speed for 4 minutes until the icing forms stiff, sharp peaks when the mixer beaters are lifted. Divide the icing evenly into 5 small bowls, stirring 1 drop of different gel food coloring into each bowl to create bright red, yellow, blue, green, and purple icing. Transfer each color to a small piping bag fitted with a 1mm (1/32 inch) round writing tip.
Decorate dried skulls
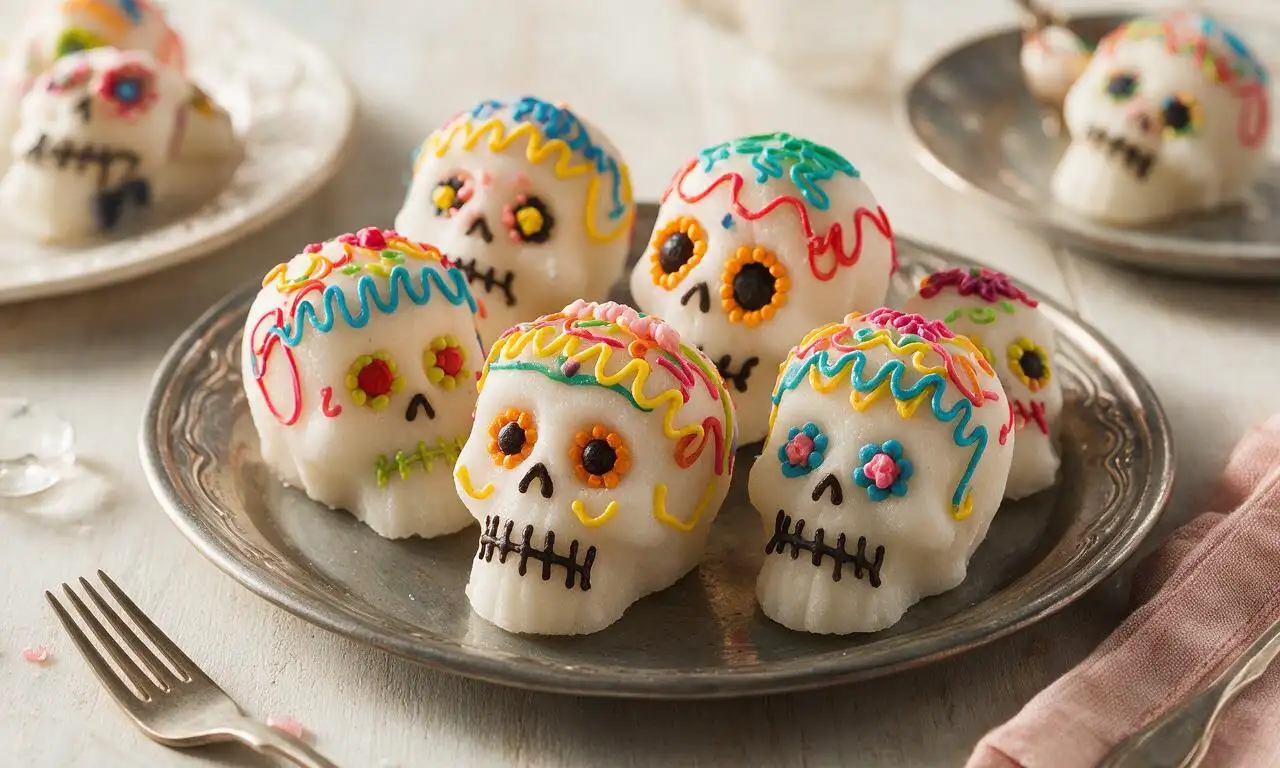
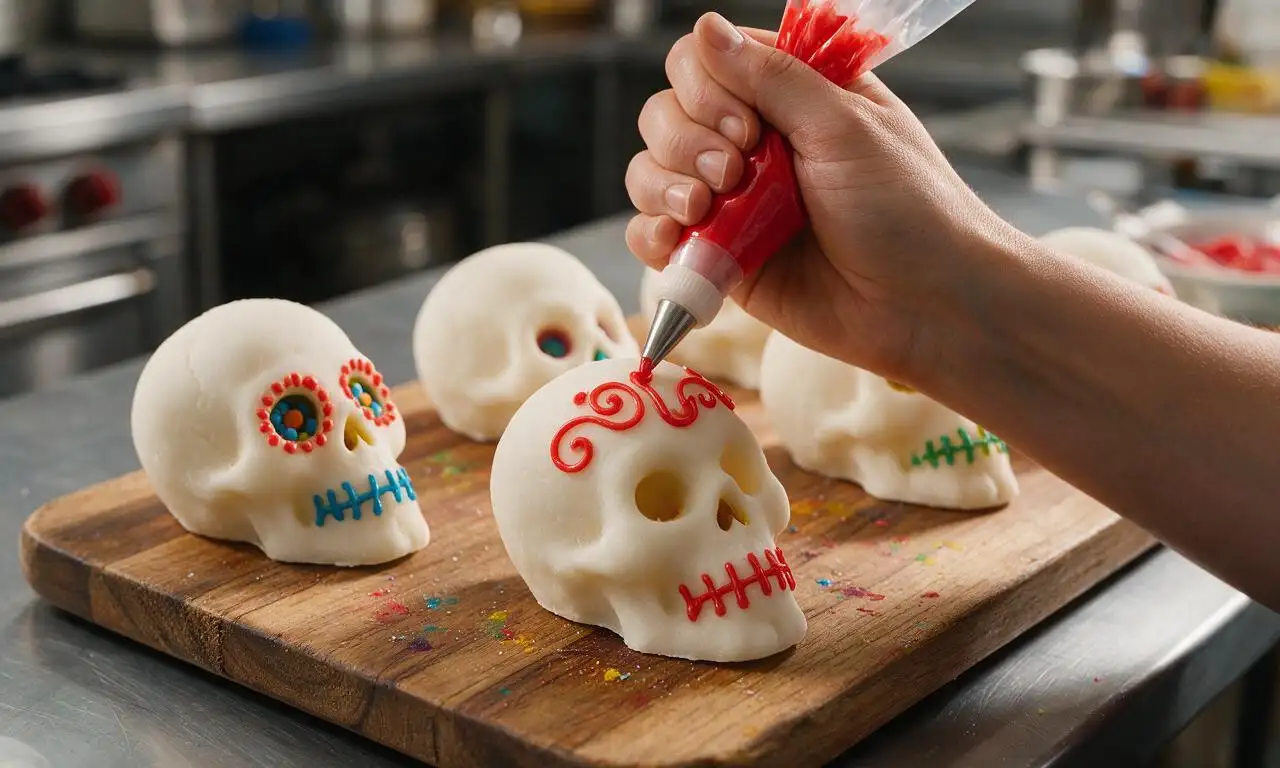
Once skulls are fully dry (they will feel rock-hard and sound hollow when tapped lightly with a fingernail), use the colored royal icing to pipe traditional decorative details: large round eye sockets, grinning tooth lines, swirling scrollwork on the forehead, small flower shapes on the chin, and names of honored loved ones across the forehead if desired. Let the piped icing set completely for 2 hours at room temperature before handling the decorated skulls.
Store or display skulls
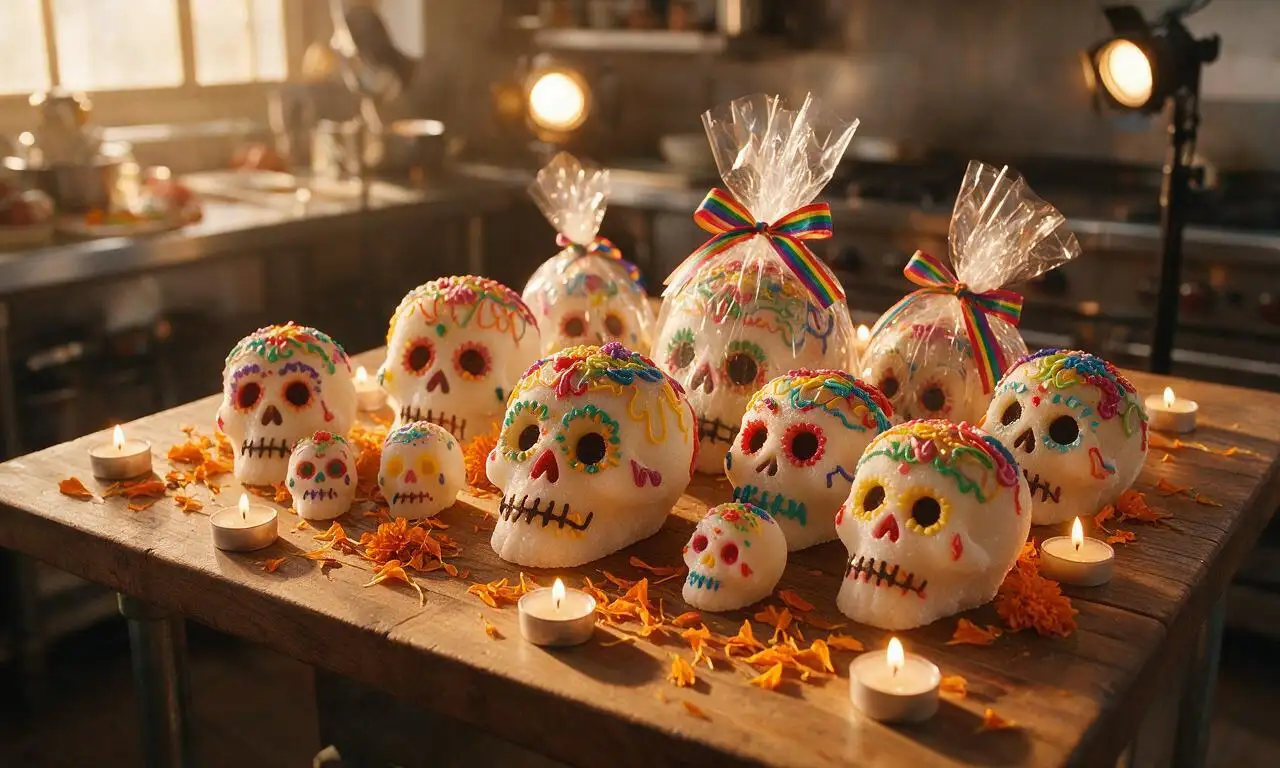
Once icing is fully set and dry to the touch, place finished sugar skulls on a Día de los Muertos ofrenda altar, Halloween party display table, or wrap individually in clear cellophane tied with colorful satin ribbon for gifting. Stored in an airtight container in a cool, dry area away from direct moisture, the skulls will keep for up to 1 year.
Tips
2.Avoid making sugar skulls on days with over 50% relative humidity, as the porous sugar will absorb moisture from the air and remain soft, even after the full 24-hour drying period.
3.Use gel food coloring instead of liquid food coloring for royal icing, as liquid coloring thins the icing consistency and prevents it from holding crisp, clean decorative lines on the smooth sugar skull surface.






OMG I made these for our Día de los Muertos altar last year and they turned out SO good! I was so nervous the meringue powder ratio would be off but it was perfect. My tia even asked for the recipe to make for her school event! Only heads up is don’t skip the full drying time, I tried to rush one batch and they caved in on themselves lol
Wait how hard is this for someone who’s never made any kind of decorated candy before? I want to make these with my 8 and 10 year old for our neighborhood Halloween trunk or treat but I don’t want it to turn into a giant sticky mess
Game changer! I used these as place card holders for my Día de los Muertos dinner party last weekend – I piped each guest’s name on the forehead of a skull and they went crazy for it. Way more personal than a paper place card, and everyone took theirs home as a little favor
Tried to make these last night and followed the recipe exactly but my sugar mixture was way too crumbly to pack into the molds? Did I somehow mismeasure the meringue powder and water? I used regular granulated sugar like it said, not powdered, so I’m stumped
This recipe tastes exactly like the sugar skulls my abuela used to make when I was a kid in San Antonio! I’ve tried 3 other recipes over the years and they all tasted too much like plain hard sugar, but the tiny touch of vanilla in this one hits just right. My kids loved it
Wait can I use plastic skull molds from the craft store for this? I don’t have the traditional plaster ones and I’m on a super tight college student budget, don’t really want to drop $20 on specialty supplies
SO good! I made a test batch last week to get ready for my big Halloween party and decorated them with neon food coloring, edible glitter, and those little candy googly eyes and they look insane. People are gonna lose their minds when they see these on the dessert table
Quick question for anyone who’s made these – are these totally gluten free? I have celiac and I want to bring them to my friend’s ofrenda potluck but I need to make sure there’s no cross contamination risk or hidden gluten ingredients
I run a little Mexican panaderia out of my home kitchen and I tested this recipe for our pop up last weekend and we sold out of 60 skulls in 2 hours! The drying time means you have to plan ahead, but it’s so worth it for how smooth and easy they are to decorate. Already added these to our permanent Día de los Muertos menu
I grew up making these with my grandma every year but I moved across the country for work and haven’t had anyone to make them with since. This recipe was exactly the ratios I remembered, I facetimed my grandma while I decorated and she said they looked just like the ones we used to make together. Cried a little, not gonna lie
Made these for our office potluck last week and so many people asked for the recipe! I will say I thought the 25 hour dry time was overkill until I tried to move one at the 20 hour mark and it smooshed a little on the side. Wait the full time, people! It’s not a suggestion
I did these with my high school Spanish club last week and it was such a hit! We talked about the history of calaveras de azúcar while we waited for the batches to dry, and then the kids got to go wild decorating them to put on the school ofrenda. Super easy to scale up for a big group too, we tripled the recipe no problem
Pro tip if you live in a super humid climate like I do in southern Arizona during monsoon season: run a small dehumidifier in the room where you’re drying the skulls! Last year I tried to make these without it and they stayed sticky for days, this year with the dehumidifier they were perfectly set right at the 25 hour mark
Wait is there a vegan swap for the meringue powder? My daughter is vegan and she’s been begging to make these for our ofrenda this year but all the traditional recipes use meringue powder which has egg whites
I was worried this would be way too hard (medium difficulty scared me ngl) but it was actually way simpler than I thought! The only tricky part was getting the two halves of the skull to stick together, but a little bit of the extra sugar paste worked like glue. My whole family was impressed, they thought I bought them from the panaderia downtown
Made a batch this weekend to decorate with my niece and nephew when they come to visit next week, I already tested one skull with some royal icing and it came out so cute. I love that the active time is only an hour, it fits perfectly into my busy work week schedule even with the long dry time
Wait a second, are these supposed to be eaten or are they just decorative? I made a batch and they’re rock hard, I feel like I’d break a tooth if I tried to take a bite out of one lmao