
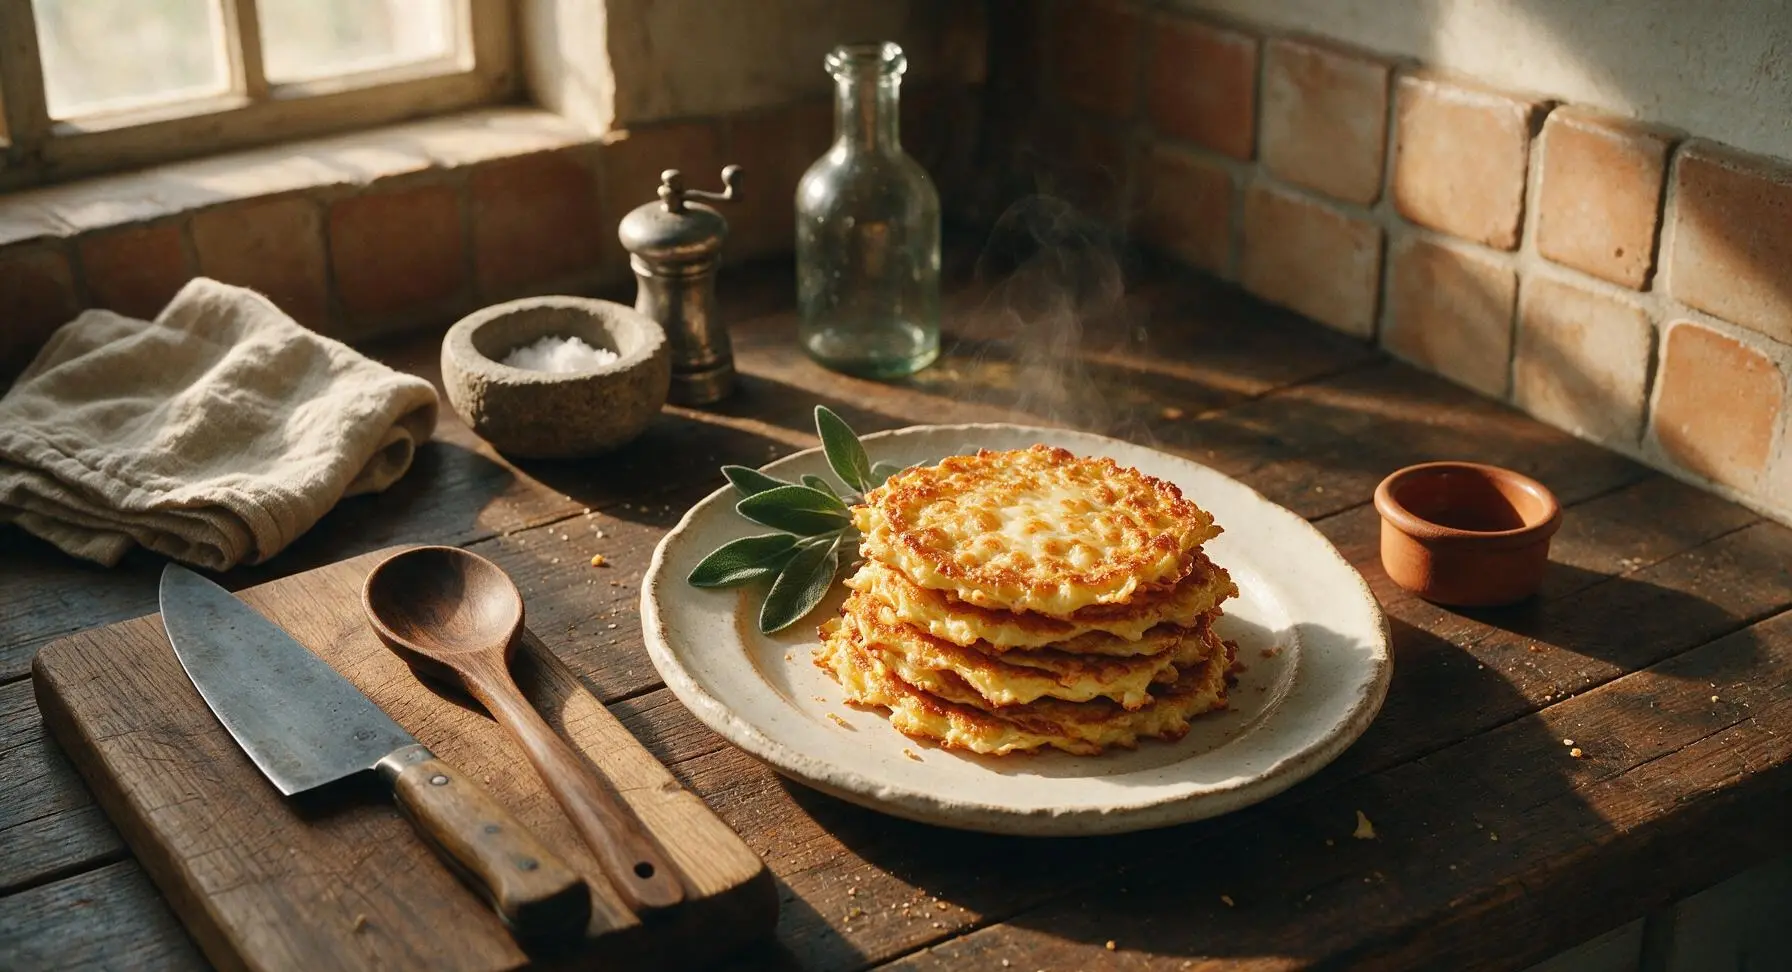
mini chaffle maker

title 1
mini chaffle maker
⏱️ cook time 16 minutes
🍽️ servings 4
⚡ Difficulty easy

intro

Crispy, cheesy, golden mini chaffles made in a countertop mini chaffle maker—gluten-free, low-carb, and ready in under 25 minutes, perfect for quick breakfasts, breakfast-for-dinner nights, or mini sandwich sliders.

Ingredients
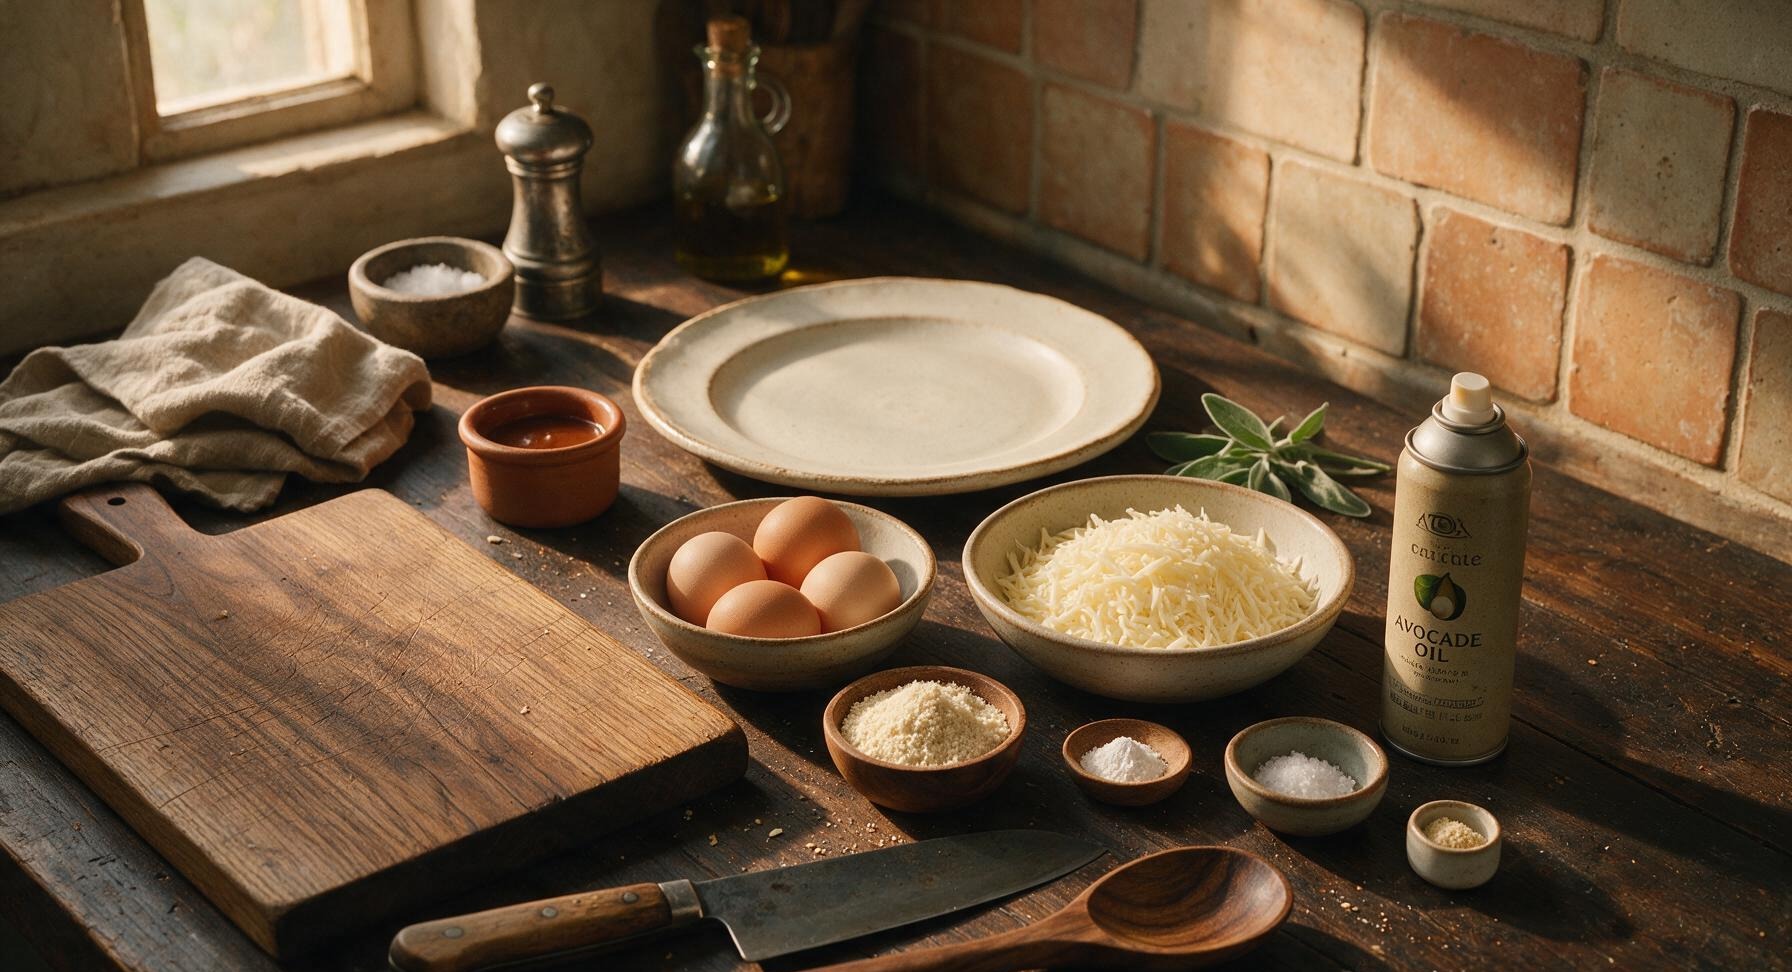
Large eggs 4 each (about 200g)
Shredded low-moisture part-skim mozzarella cheese 2 cups (226g)
Blanched superfine almond flour 4 tbsp (28g)
Baking powder 1/2 tsp
Fine sea salt 1/4 tsp
Garlic powder 1/2 tsp
Avocado oil non-stick spray as needed (about 10 sprays)

Steps

1

Preheat the Chaffle Maker

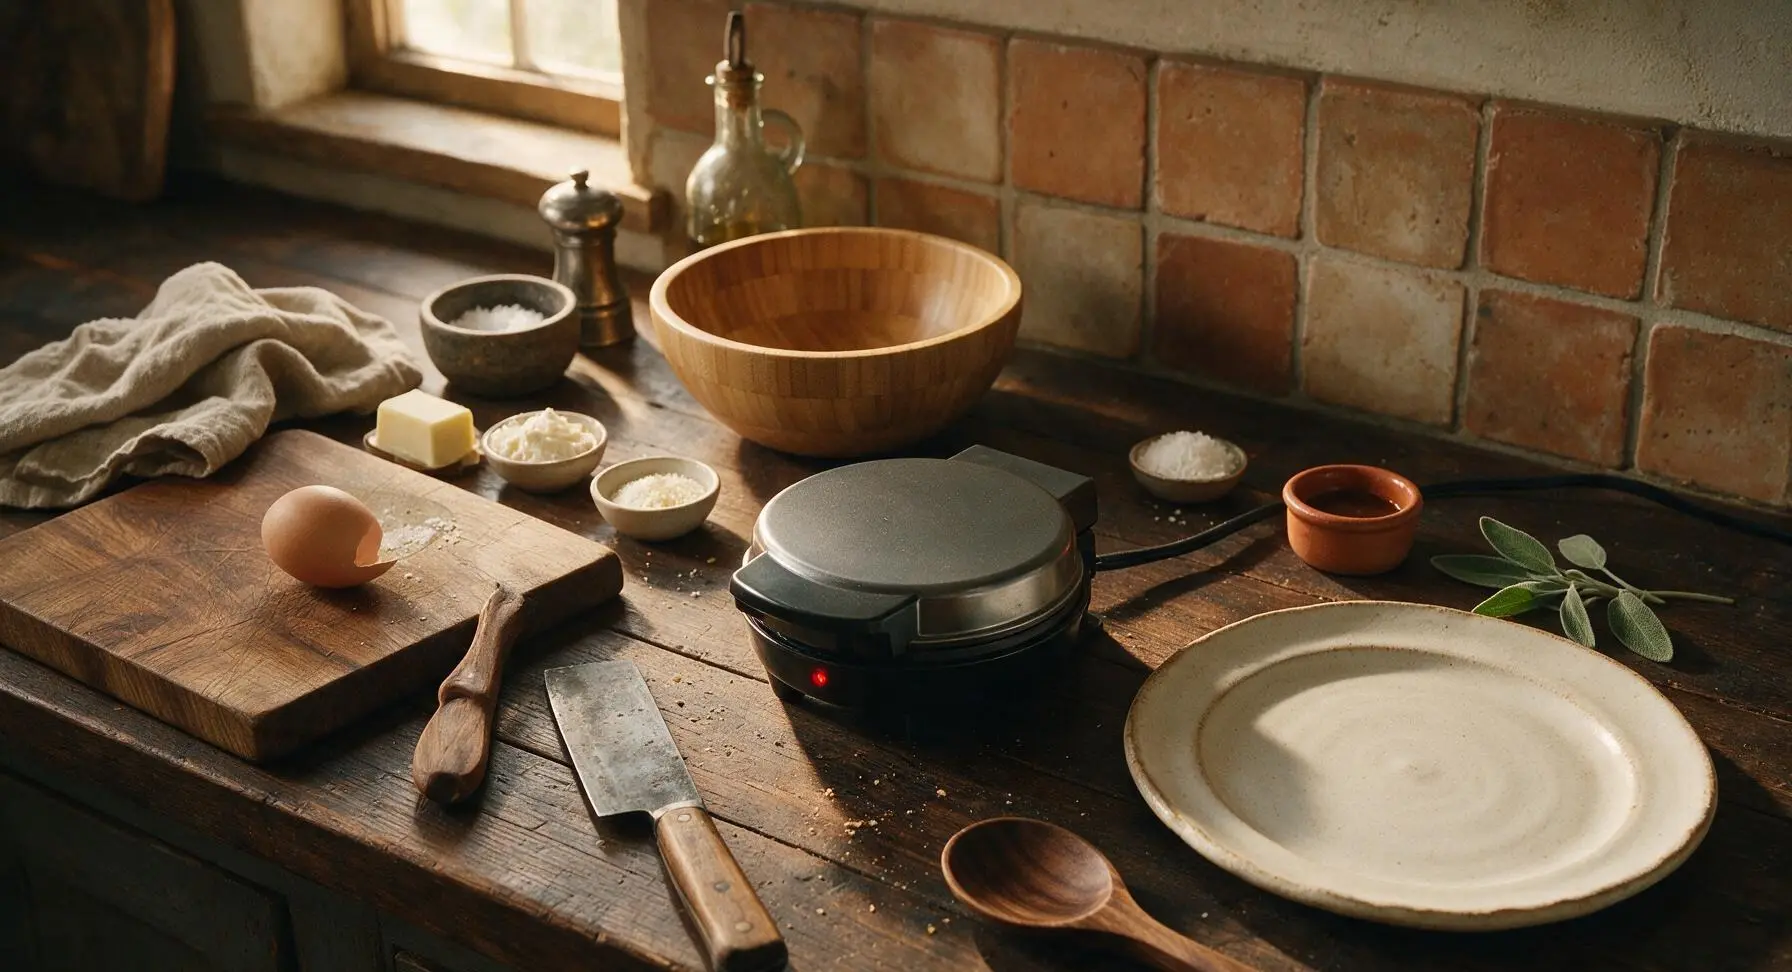
Plug in the 4-inch mini chaffle maker at its center counter position before you start mixing batter, close the lid, and allow it to preheat for 2 full minutes, until the indicator light shows it has reached cooking temperature (about 375°F/190°C). Do not spray the plates yet. The exterior will feel slightly warm to the touch when ready.
Step 1
step1:Preheat the Chaffle Maker
2

Whisk Chaffle Batter

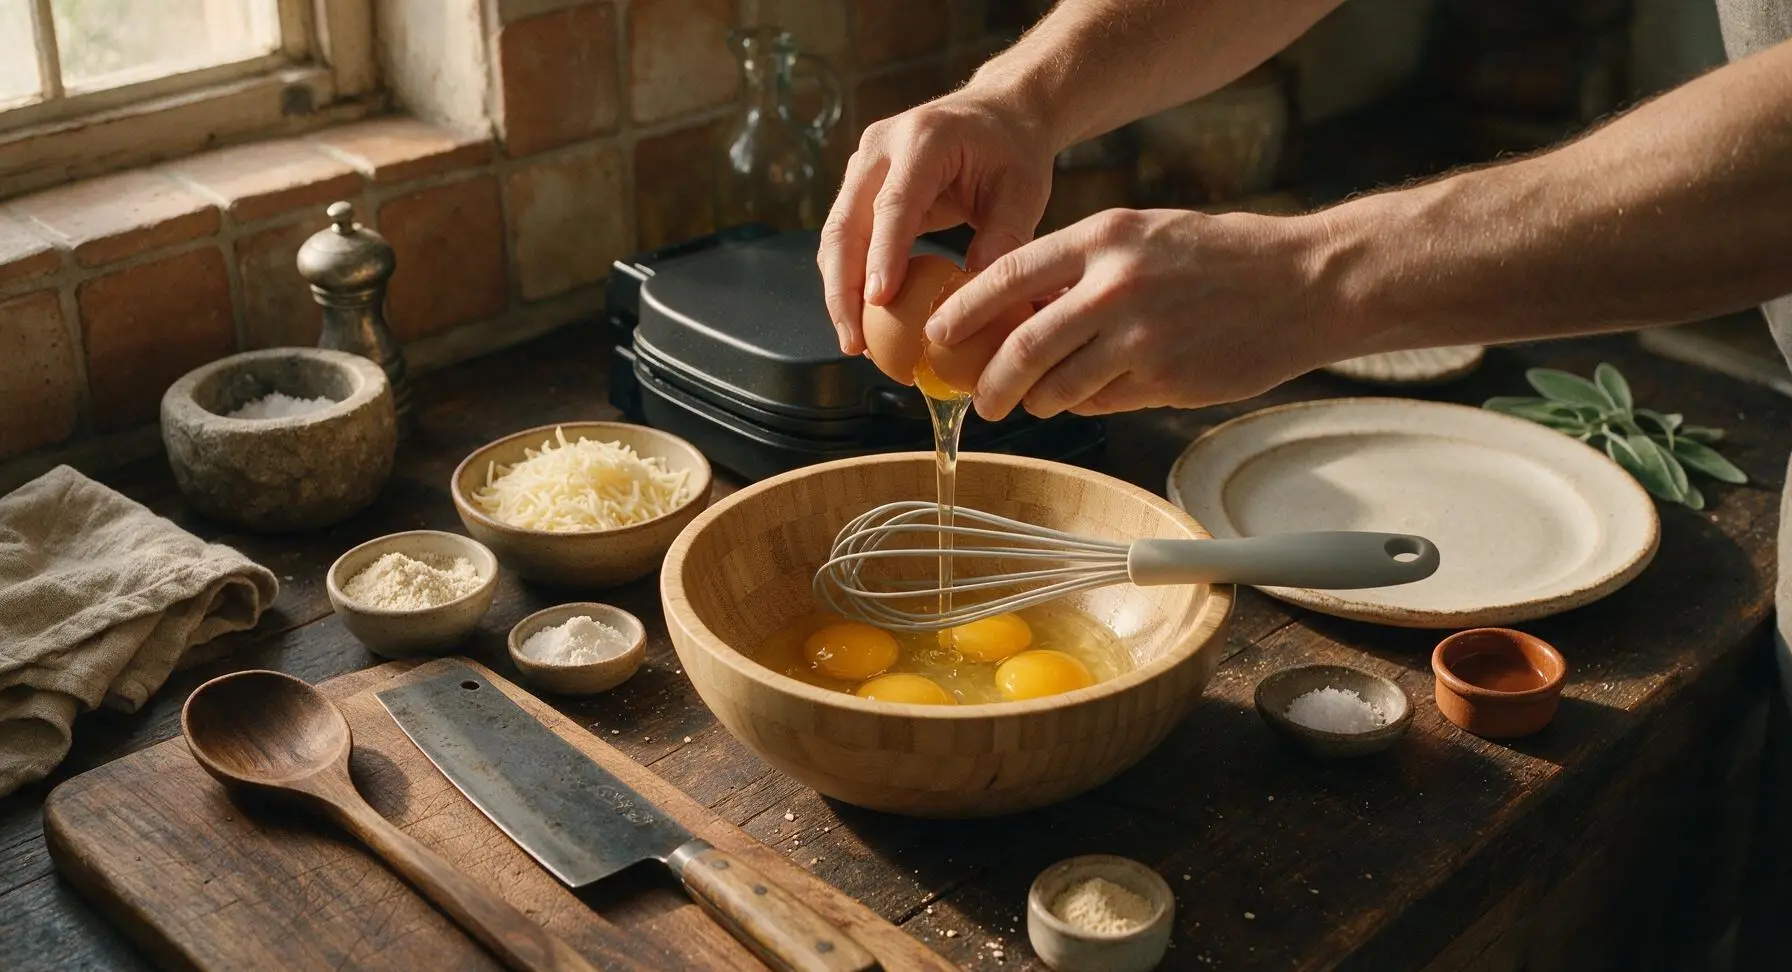
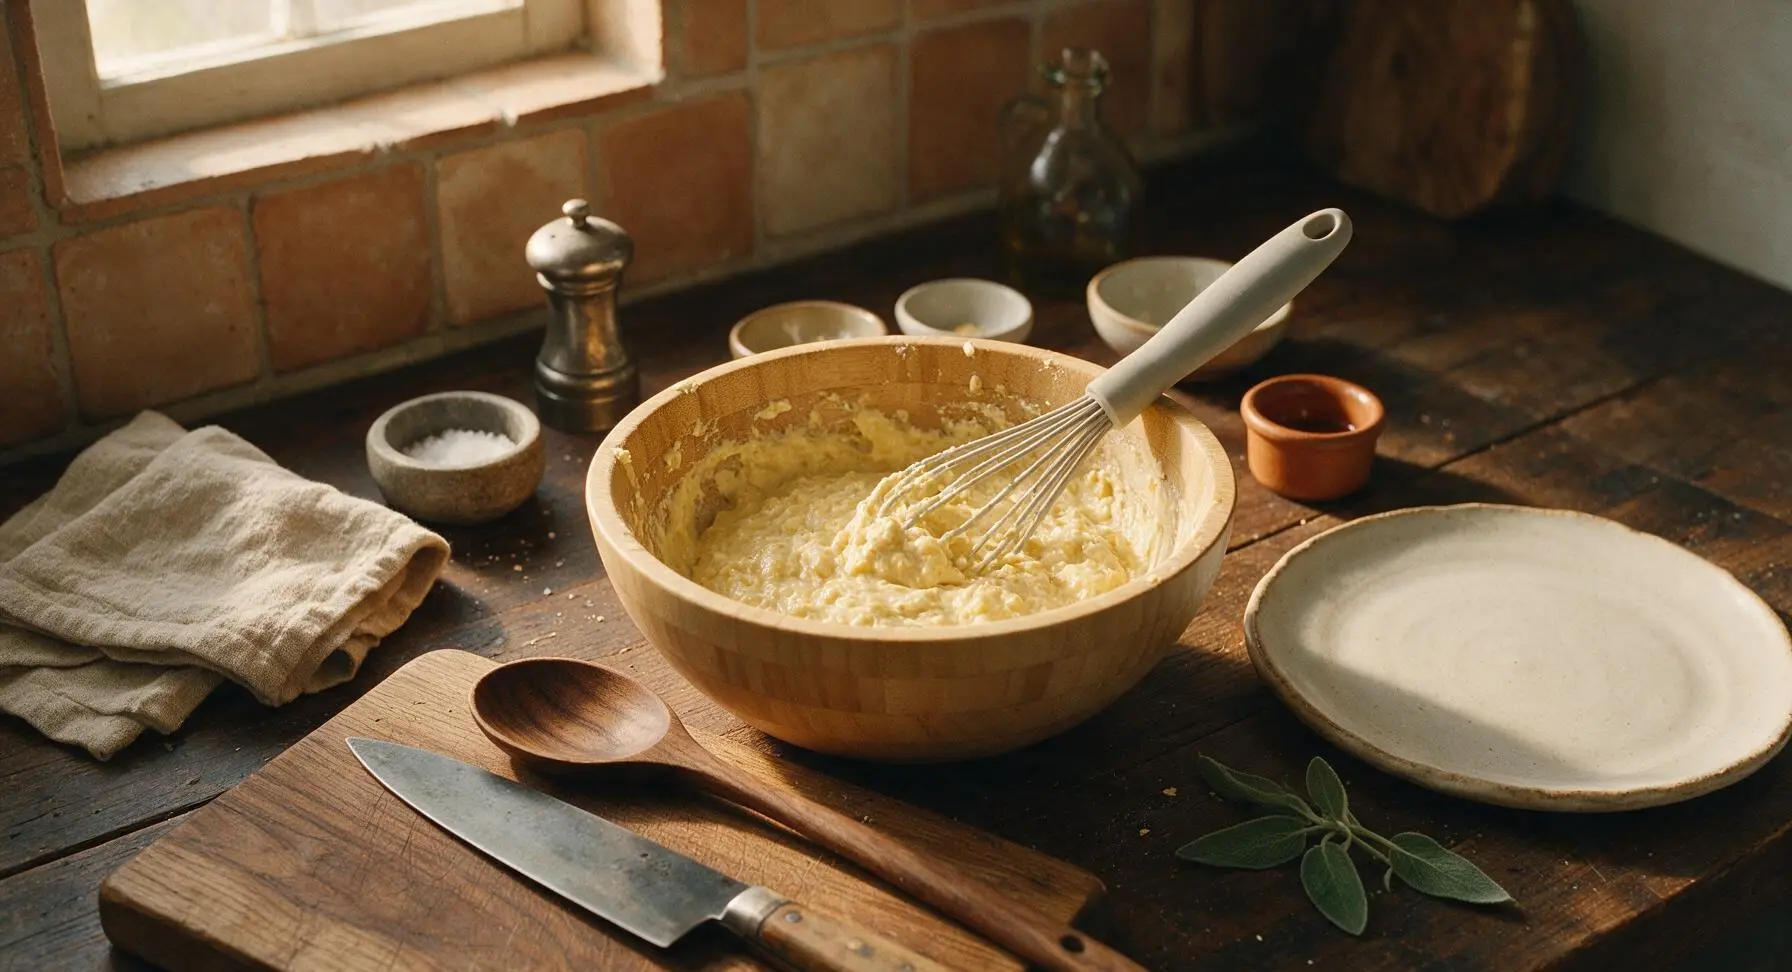
Crack the 4 large eggs into the light bamboo mixing bowl. Use the light grey silicone whisk to beat the eggs until fully smooth, with no visible streaks of egg white. Add the shredded mozzarella, blanched almond flour, baking powder, fine sea salt, and garlic powder to the bowl, stirring with the whisk until all ingredients are evenly combined into a thick, lumpy batter, with cheese shreds evenly distributed throughout. Do not overmix, as this will make the chaffles tough.
Step 2
step2:Whisk Chaffle Batter
Step 2
step2:Whisk Chaffle Batter
3

Spray Cooking Plates

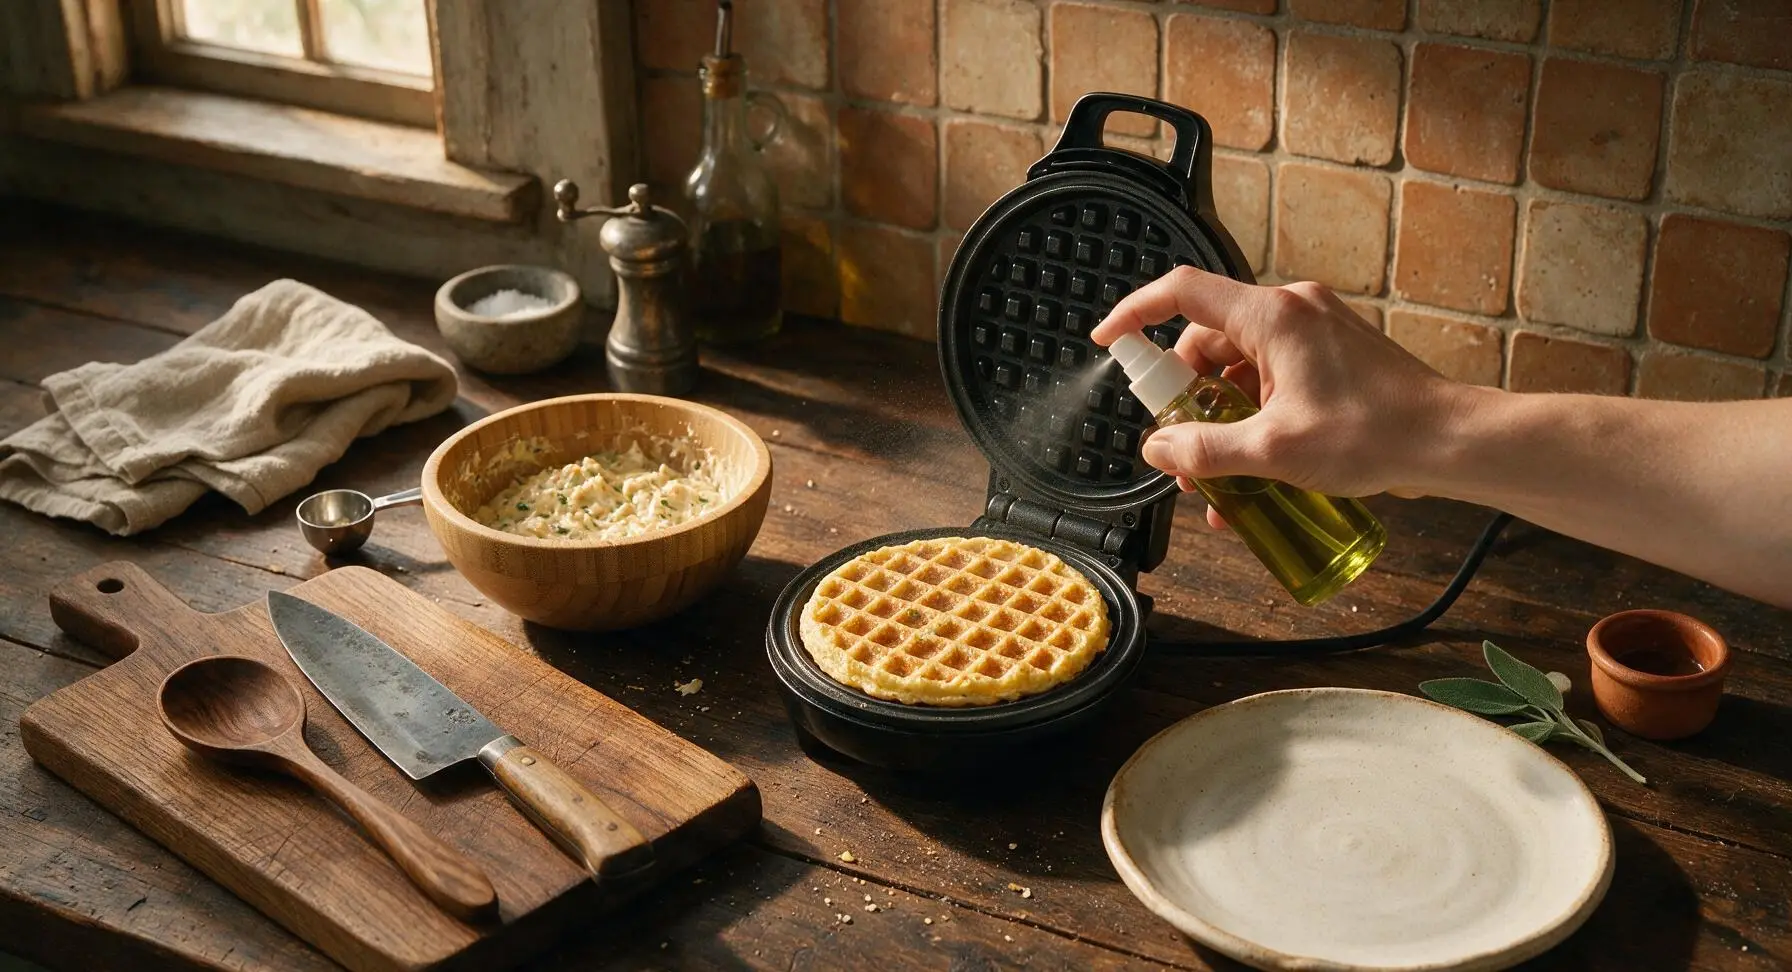
Once the chaffle maker is fully preheated, carefully lift the lid. Spray both the top and bottom non-stick cooking plates lightly with avocado oil spray, using about 2-3 quick sprays total. Avoid over-spraying, as excess oil will cause the chaffles to be greasy instead of crisp. Close the lid for 10 seconds to let the oil heat slightly.
Step 3
step3:Spray Cooking Plates
4

Add Batter to Plates

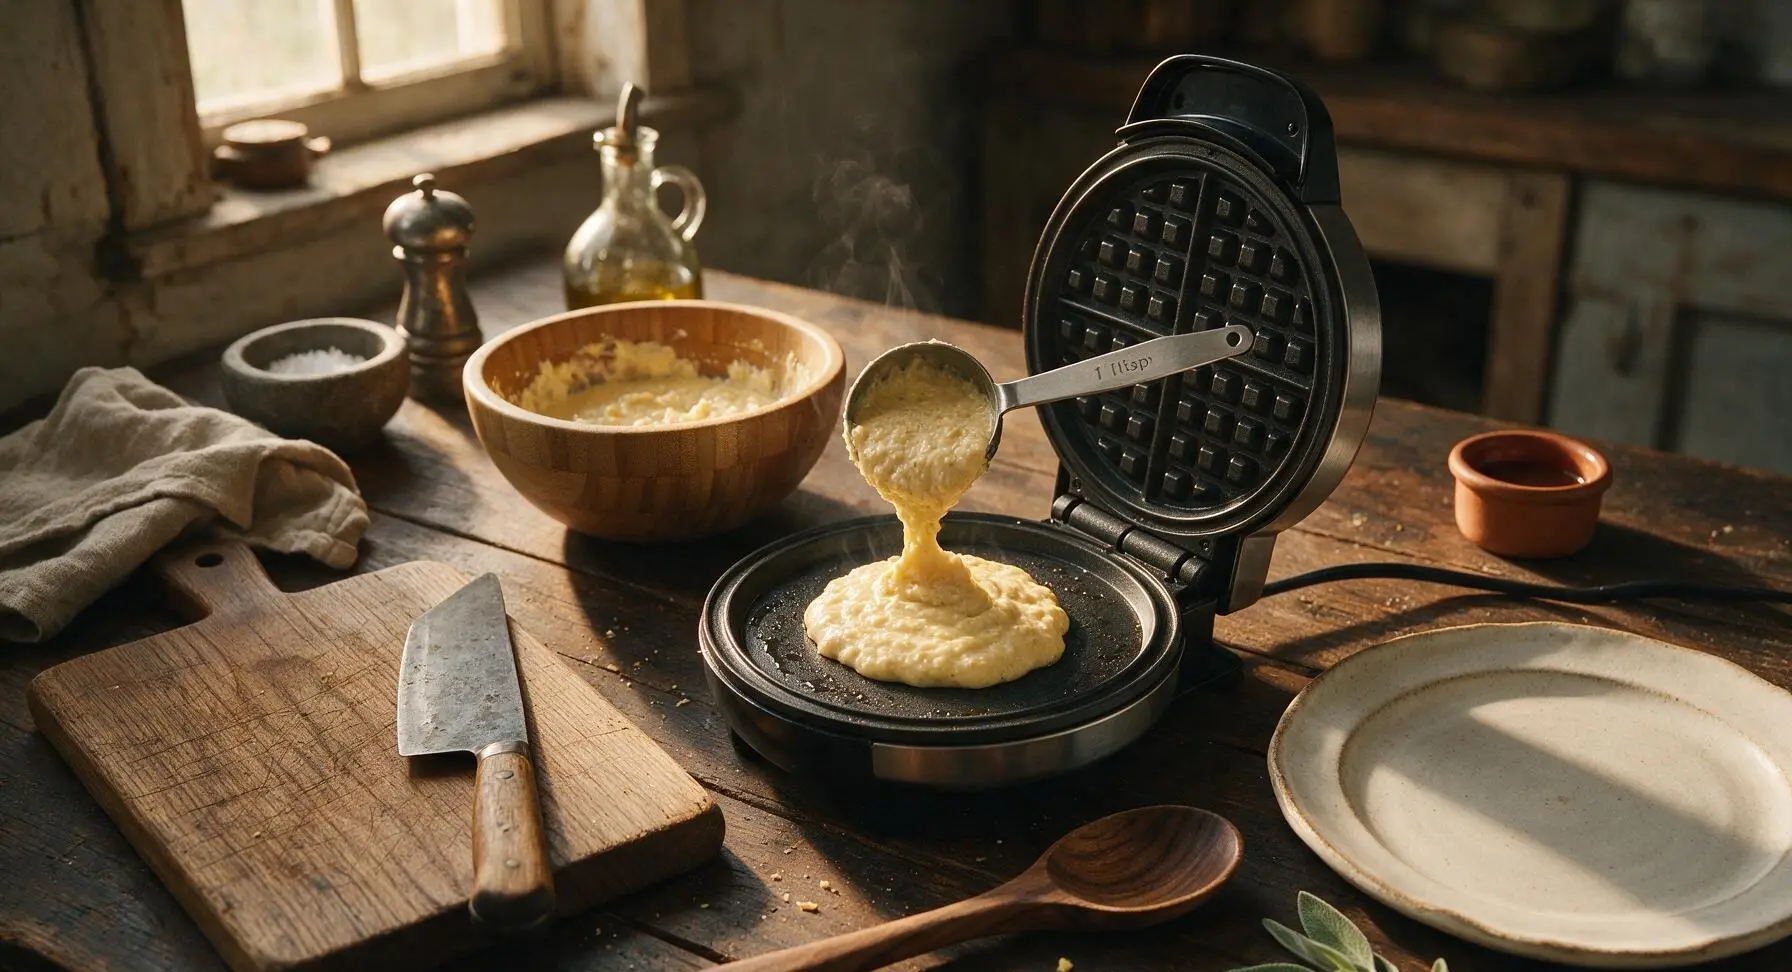
Use the 1 tbsp stainless steel measuring scoop to pour exactly 4 level tablespoons (1/4 cup) of batter onto the center of the bottom preheated, oiled chaffle plate. Do not spread the batter—it will spread naturally as you close the lid. Avoid overfilling, as excess batter will leak out the sides of the mini maker and burn.
Step 4
step4:Add Batter to Plates
5

Cook to Crispy Golden

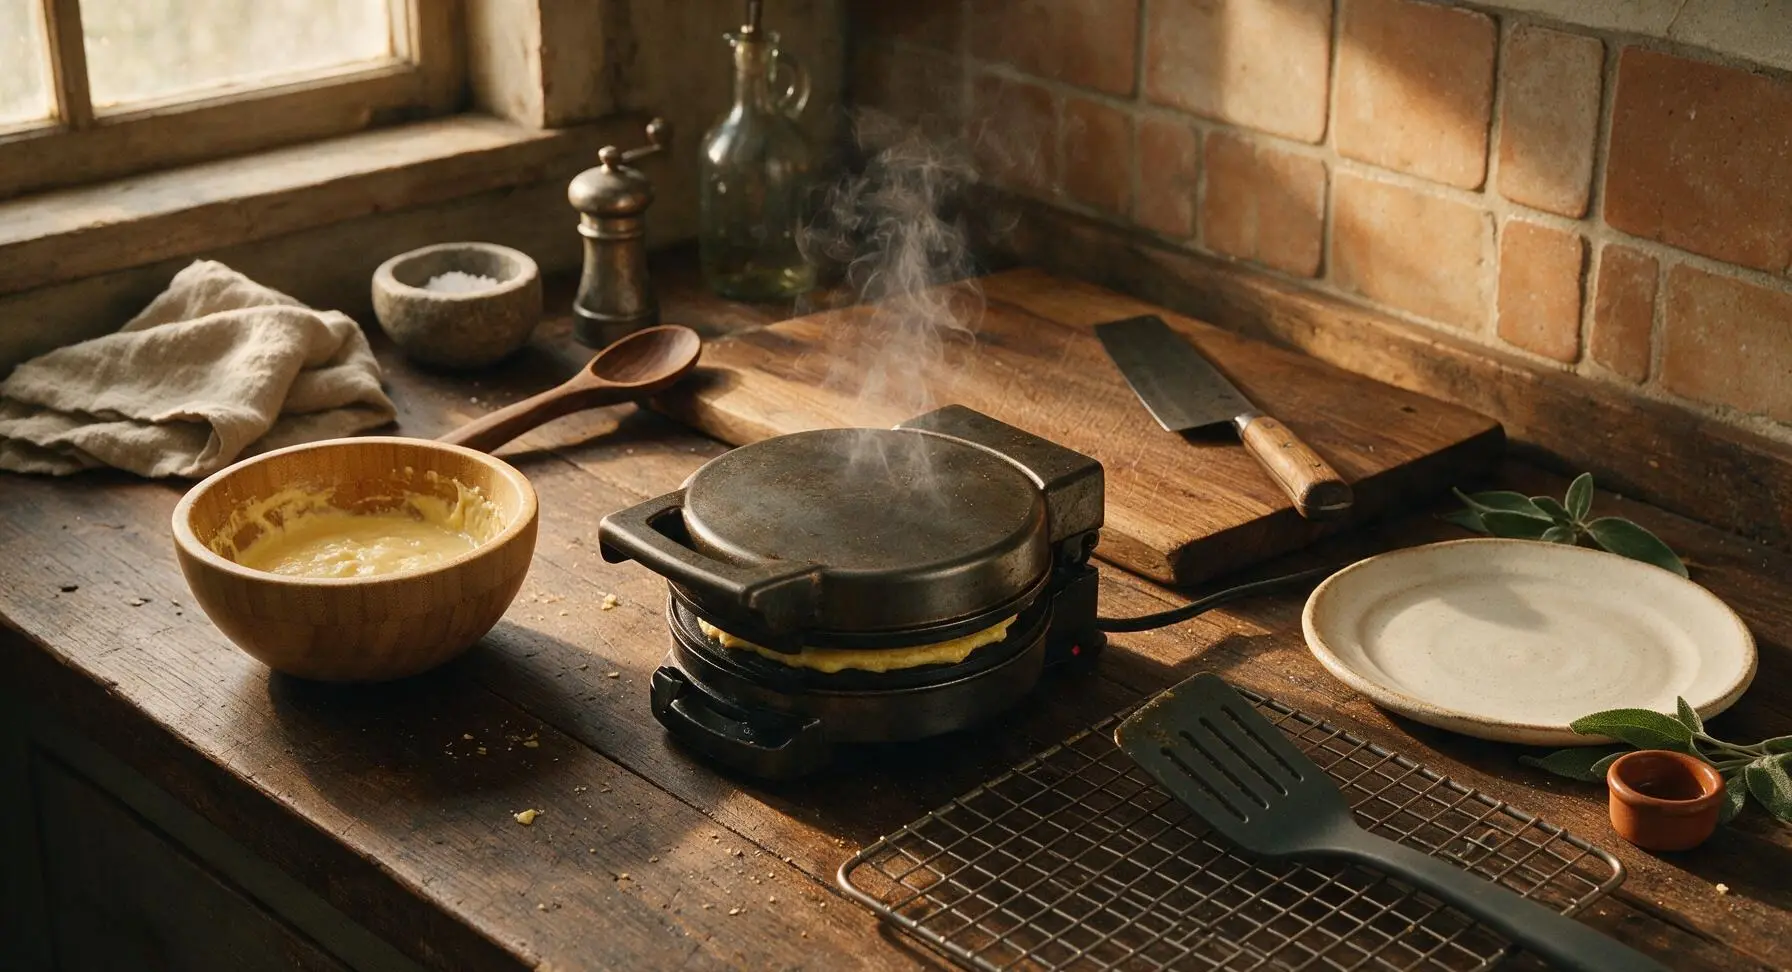
Close the chaffle maker lid and cook for 2 to 2 1/2 minutes, until the chaffle is deep golden brown and crispy around the edges, and no more steam escapes from the sides of the maker. Do not open the lid early, as this will cause the chaffle to split and stick. Cooked chaffles will release easily from the non-stick plates when done.
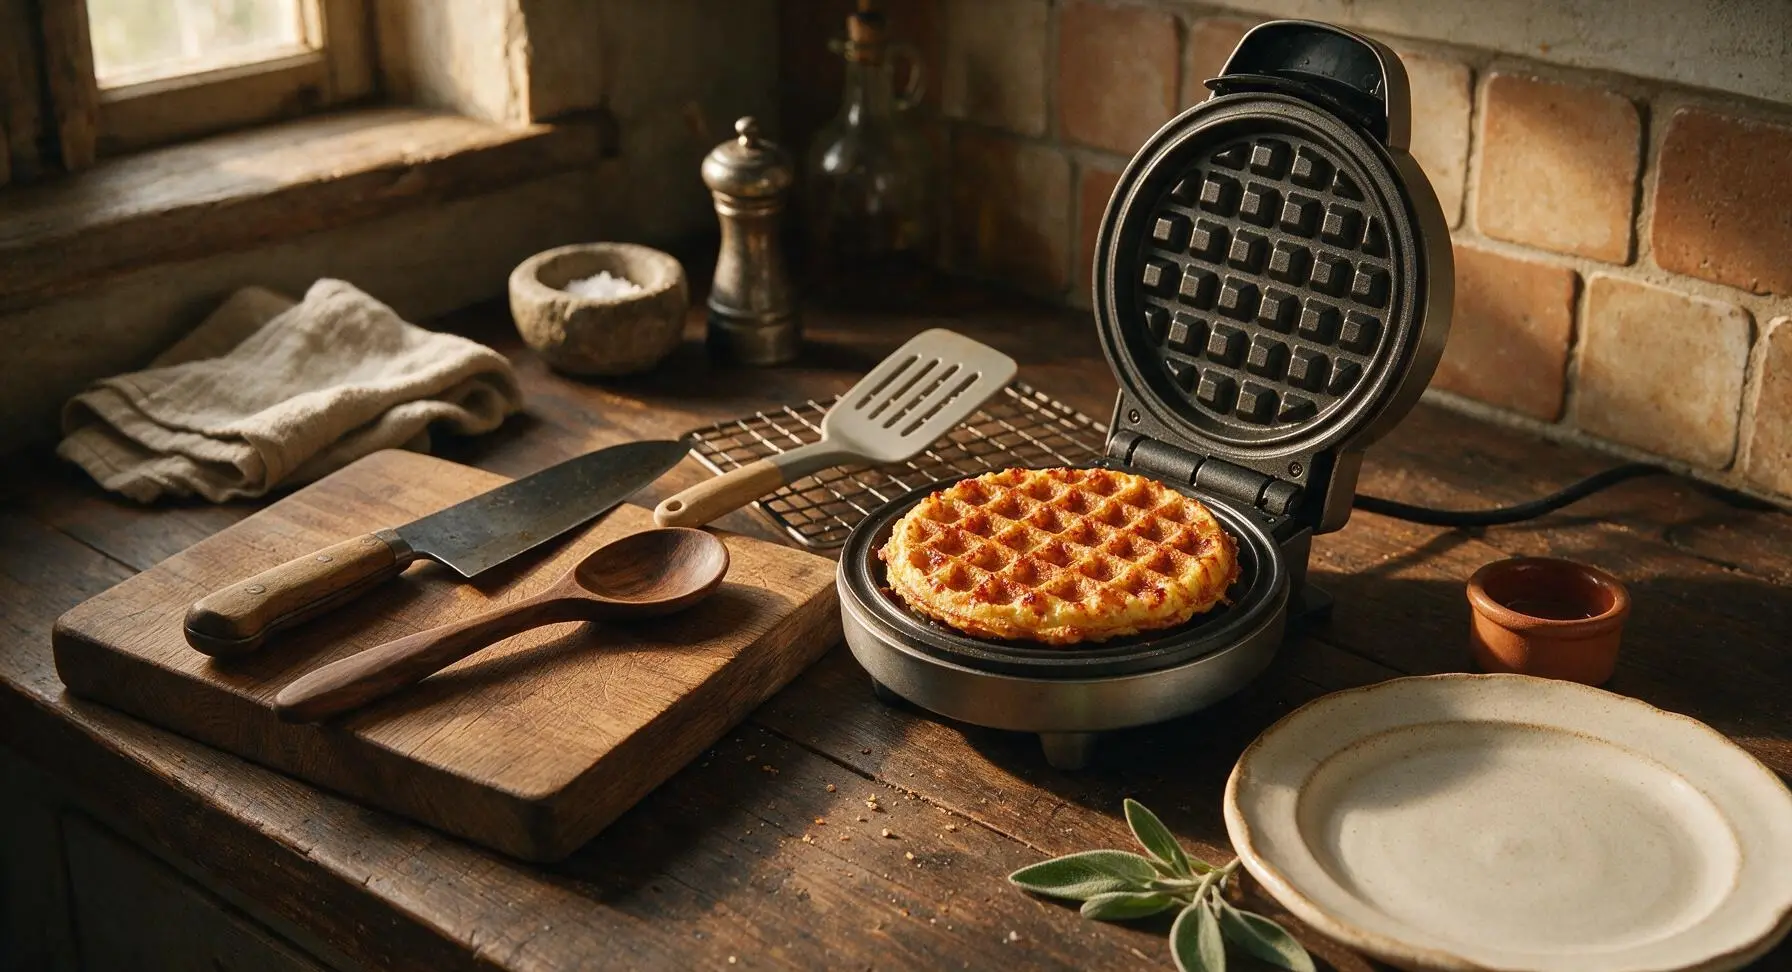
Step 5
step5:Cook to Crispy Golden
Step 5
step5:Cook to Crispy Golden
6

Cool and Repeat Cooking

Use the light grey slotted silicone turner to carefully lift the finished chaffle from the maker, transferring it to the matte silver wire cooling rack to rest for 30 seconds (this keeps the edges crisp instead of soggy). Lightly re-spray the chaffle maker plates between every 2-3 chaffles if needed, then repeat the batter scooping and cooking process with the remaining batter, making 8 total mini chaffles. Stack finished chaffles loosely on the cooling rack as you work.
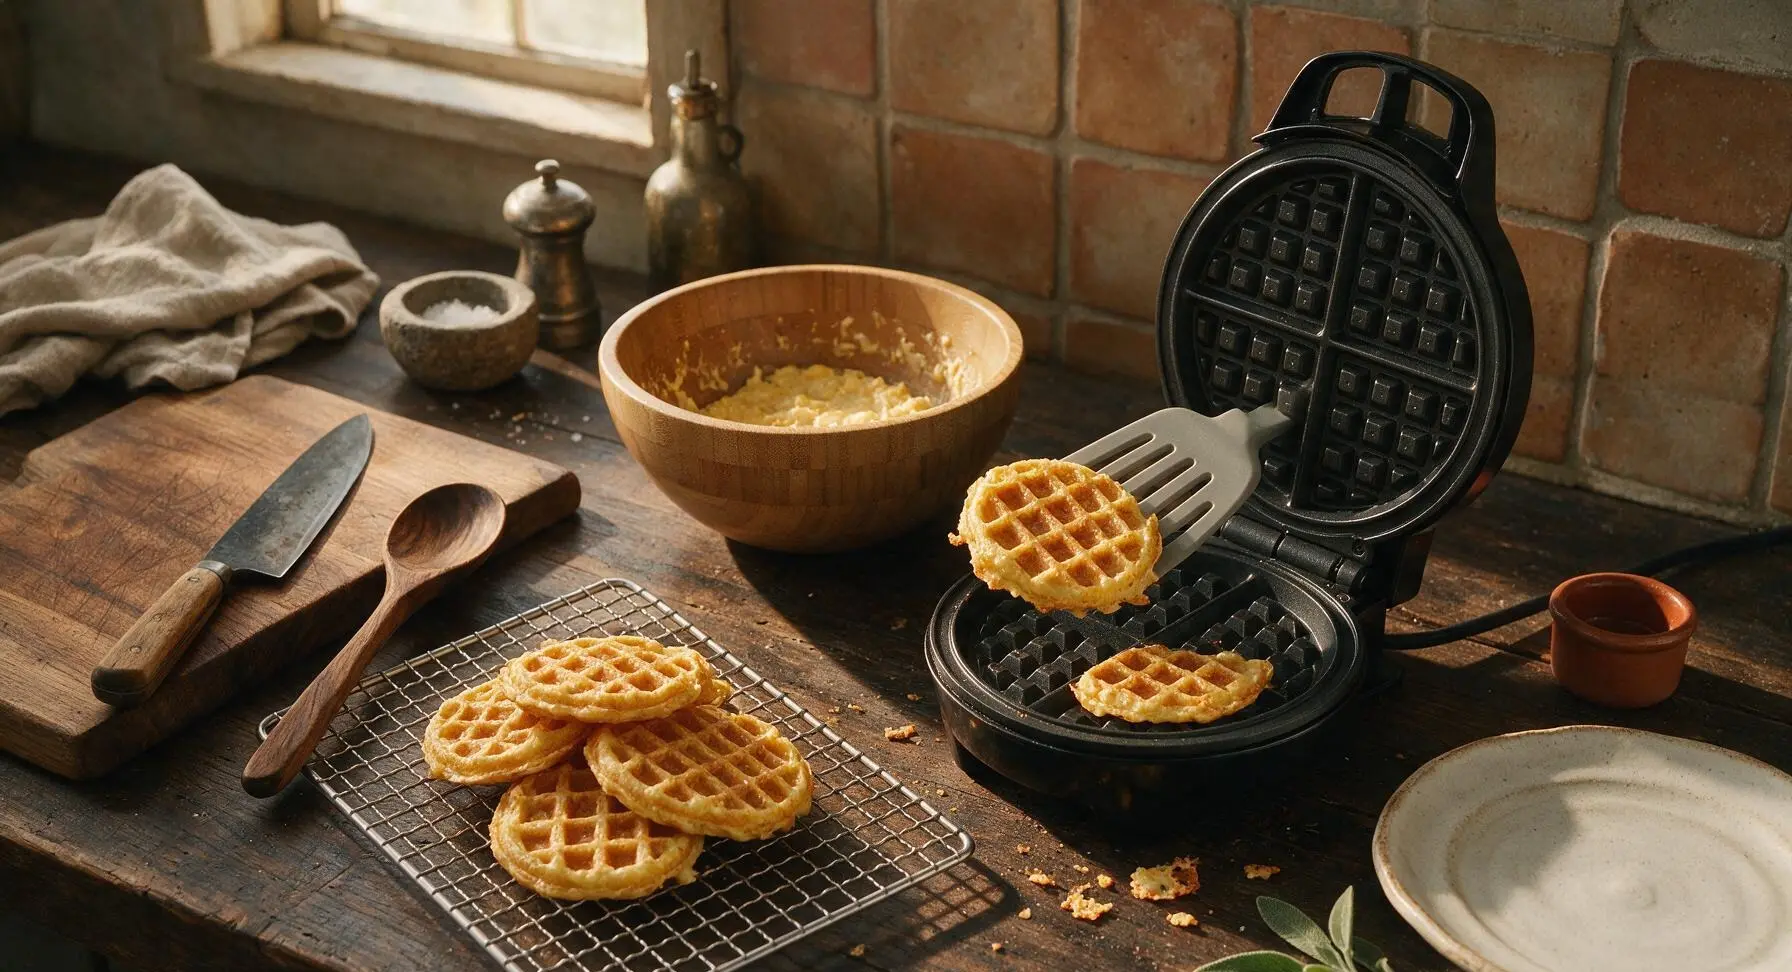
Step 6
step6:Cool and Repeat Cooking
7

Plate and Serve Warm

Transfer all cooked, slightly cooled chaffles to the matte cream ceramic serving plate. Serve warm, with the small ramekin of softened butter for spreading, or use as a low-carb bread substitute for mini breakfast sandwiches. Garnish with a small sprig of fresh basil plucked from the potted plant on the rear ledge, if desired.
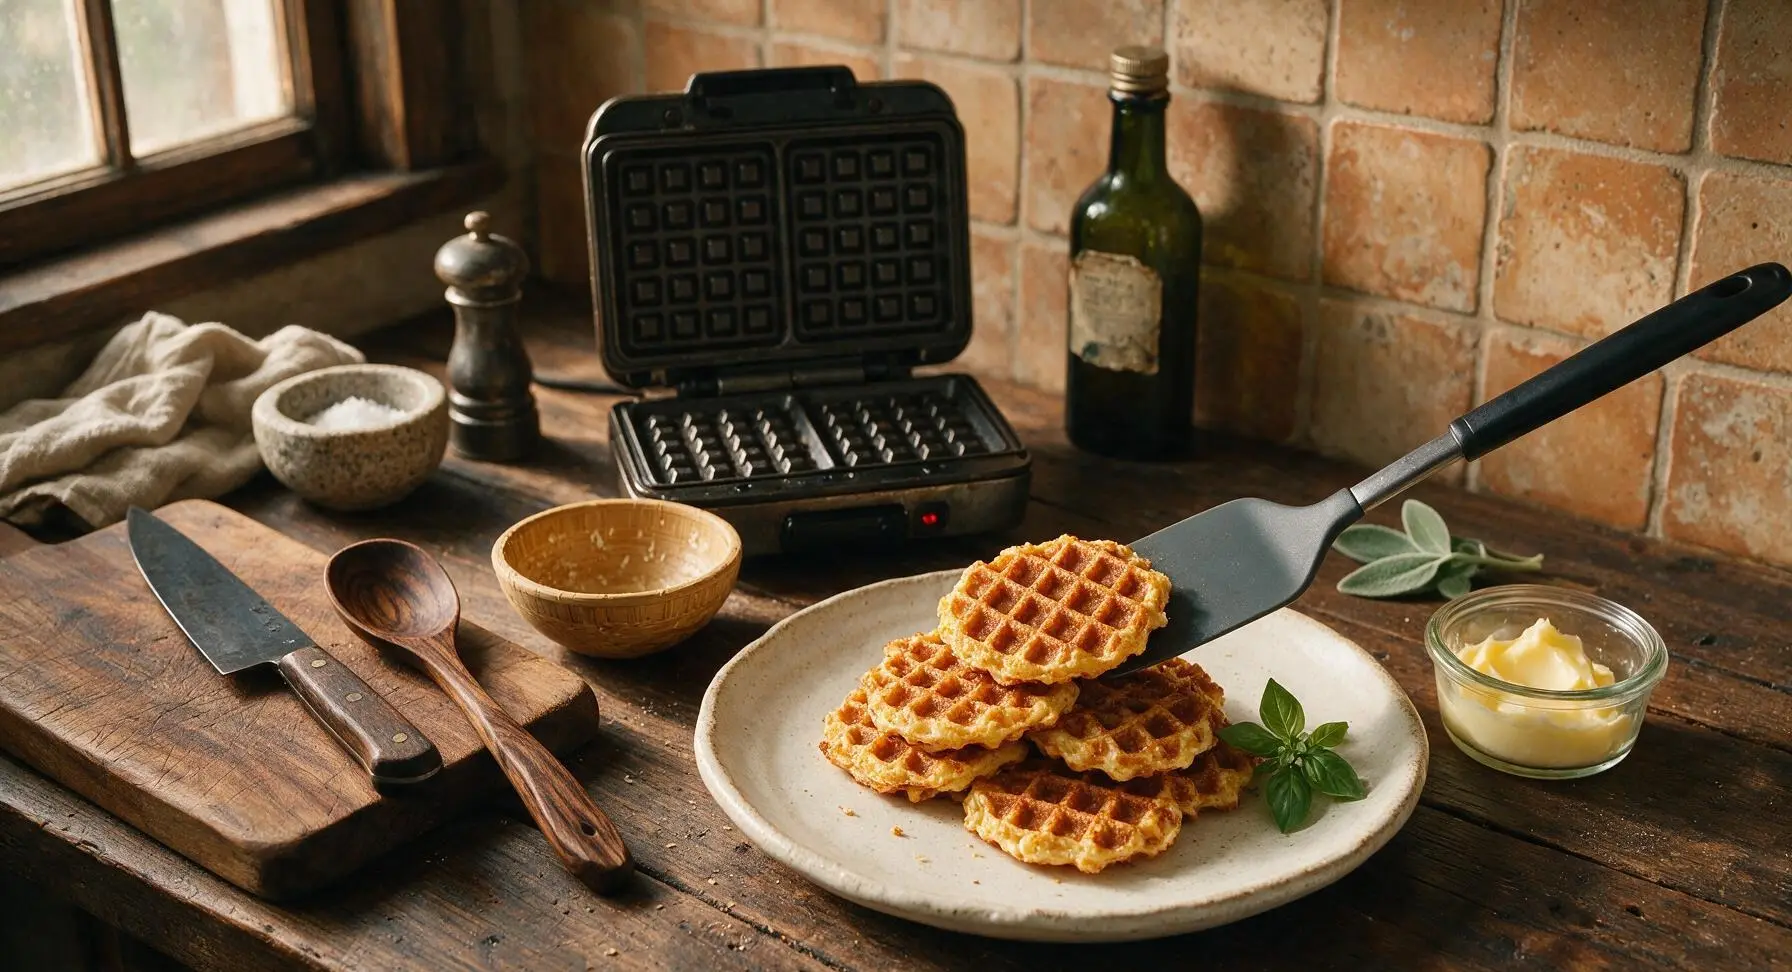
Step 7
step7:Plate and Serve Warm

Tips

1.Use only low-moisture, part-skim mozzarella for the crispiest results: high-moisture fresh mozzarella will release excess water as it cooks, leading to soggy, floppy chaffles instead of crisp, well-defined waffle-textured bites.
2.Let cooked chaffles rest on the wire cooling rack for 30 seconds before serving or stacking: this short rest lets trapped steam escape, keeping edges crisp instead of turning soft and chewy from condensed moisture.
3.Never overfill the mini chaffle maker: 1/4 cup (4 tablespoons) of batter per chaffle is the perfect amount, as the batter expands rapidly as it cooks. Overfilling causes batter to leak out the sides, burn onto the maker’s exterior, and create unevenly cooked, misshapen chaffles.


✨ You May Also Like

Breakfast
🍜 United States

Crisp-edged, fluffy lard griddle cakes are a nostalgic homestyle staple, with rich savoriness from rendered lard, perfect topped with maple syrup or savory gravy.

⏱️ 25 minuteBreakfast ★ 4.8
Breakfast
🍜 United States

Flaky, buttery homemade buttermilk biscuits smothered in creamy, peppery pork sausage gravy: a beloved, hearty Southern American comfort food classic.

⏱️ 35 minuteBreakfast ★ 4.8
Breakfast
🍜 United States

Golden, custardy brioche stuffed with sweet cream cheese and fresh berries, pan-fried to crisp perfection. An indulgent, cozy breakfast perfect for slow weekend mornings.

⏱️ 30 minuteBreakfast ★ 4.7
Breakfast
🍜 United States

Flaky, buttery Southern-style biscuits stuffed with savory salty country ham, a portable, satisfying classic perfect for casual on-the-go meals.

⏱️ 25 minuteBreakfast ★ 4.8
Breakfast
🍜 United States

Iconic puffy baked pancake popularized in Seattle, with crisp golden edges and soft custardy center, served warm with classic sweet toppings.

⏱️ 35 minuteBreakfast ★ 4.6
Breakfast
🍜 United States

Fluffy, golden pancakes studded with juicy peak-summer mixed berries, drizzled with maple syrup for a bright, comforting, crowd-pleasing family breakfast.

⏱️ 25 minuteBreakfast ★ 4.7

mini chaffle maker:Frequently Asked Questions

1.Why do my chaffles turn out soggy instead of nice and crispy? ▾
Sogginess almost always comes from excess moisture or trapped steam. First, stick to the specified low-moisture part-skim mozzarella—high-moisture cheeses release too much water as they cook. Don’t overfill the chaffle maker, cook for a full 3 to 4 minutes, and rest finished chaffles on a wire rack instead of a plate so steam can escape instead of softening the crust.
2.Can I substitute the blanched superfine almond flour with another gluten-free flour? ▾
Blanched superfine almond flour gives the lightest, least gritty texture for these chaffles, but if you have a tree nut allergy, you can swap it for an equal amount of superfine sunflower seed flour. Skip coarse almond meal, which leaves a grainy mouthfeel, and coconut flour, which absorbs too much moisture and leads to dry, crumbly chaffles.
3.How do I keep chaffles from sticking to my chaffle or waffle maker? ▾
Even with non-stick surfaces, a very light spritz of high-smoke-point avocado oil spray before adding batter helps prevent sticking, especially for your first batch. Resist the urge to open the maker before the 2-minute mark—if the melted cheese hasn’t fully set, it will tear and stick. Chaffles will release easily once they’re fully cooked and crispy.
4.Do these chaffles work for meal prep, and how should I store them? ▾
They’re perfect for meal prep! Let cooked chaffles cool completely on a wire rack first, then store them in an airtight container in the fridge for up to 5 days, or freeze for up to 3 months. Reheat in a toaster oven or air fryer at 350°F for 2 to 3 minutes to restore crispness—skip the microwave, which turns them rubbery.
5.Can I use a different type of cheese instead of low-moisture part-skim mozzarella? ▾
Low-moisture part-skim mozzarella is ideal because it melts evenly, crisps beautifully, and doesn’t release excess grease, but you can swap up to half the cheese for shredded sharp cheddar, pepper jack, or provolone to add extra flavor. Avoid high-moisture options like fresh mozzarella or brie, which will make chaffles soggy and greasy.
6.Why do my chaffles have a strong, unpleasant eggy flavor? ▾
That off-putting eggy taste usually comes from two mistakes: using too much egg relative to the cheese and flour, or undercooking the chaffles. Stick to the recipe’s measured ratios, and cook for the full 3 to 4 minutes until fully set. If you’re extra sensitive to egg flavor, a tiny pinch of garlic powder or dried oregano will balance those notes easily.
7.Can I make these chaffles if I don’t have a dedicated mini chaffle maker? ▾
Absolutely! A standard 4-inch mini waffle iron works exactly the same as a branded chaffle maker, with the same 3 to 4 minute cook time. If you only have a full-size waffle maker, pour 2 tablespoons of batter per grid section to make mini rounds, adding 30 seconds of cook time if needed to get that golden, crispy edge.

Comments (3)

2 days ago

OMG these are a total game changer for my low-carb meal prep! I’ve tried so many chaffle recipes that come out soggy and floppy, but these stay perfectly crispy even when I reheat them in the toaster oven during the work week. My 8-year-old even asked for them as an after-school snack with a little sugar-free syrup! The cook time was totally accurate too, super quick for busy weeknights. 10/10 will be making a big batch every Sunday from now on.

yesterday

Wait do you use a regular mini waffle maker for these? I bought a cheap drugstore one last month and I’m worried it won’t get hot enough to crisp them up right!

30 minutes ago

Hi there! A standard mini waffle iron works perfectly for this recipe — just make sure it’s fully preheated before you pour the batter in, that’s the real secret to that extra crispy exterior! If your waffle maker runs a little cool, just add 30 seconds to the cook time per chaffle and they’ll turn out great every time.

3 days ago

Made these for my neighborhood potluck over the weekend and they were gone in 10 minutes flat! I set out little topping bowls: pulled pork, tangy coleslaw, shredded cheese, so people could make tiny chaffle sliders. SO good, nobody even guessed they were low-carb! My only note is I wish I’d made a double batch — I only made enough batter for 12 minis and it was not nearly enough for the group.

2 days ago

So glad they were a hit at your potluck! Doubling (or even tripling) the batch is definitely the move for group gatherings — the batter stores really well in an airtight container in the fridge for up to 3 days if you want to prep ahead too!

2 hours ago

Super easy recipe even for someone who burns toast 90% of the time lol. I made these to use as breakfast sandwich buns with scrambled egg and turkey sausage, and they hold up way better than regular English muffins for me — no sogginess even when I wrap them up to take to my 8am lectures. Already sent the recipe to my whole dorm group chat. Only knocked off a star because I forgot to spray my waffle maker the first time and half the chaffle stuck, total user error oops.



