
Mini Pecan Hand Pies

title 1
Mini Pecan Hand Pies
⏱️ cook time 22 minutes
🍽️ servings 6
⚡ Difficulty easy

intro

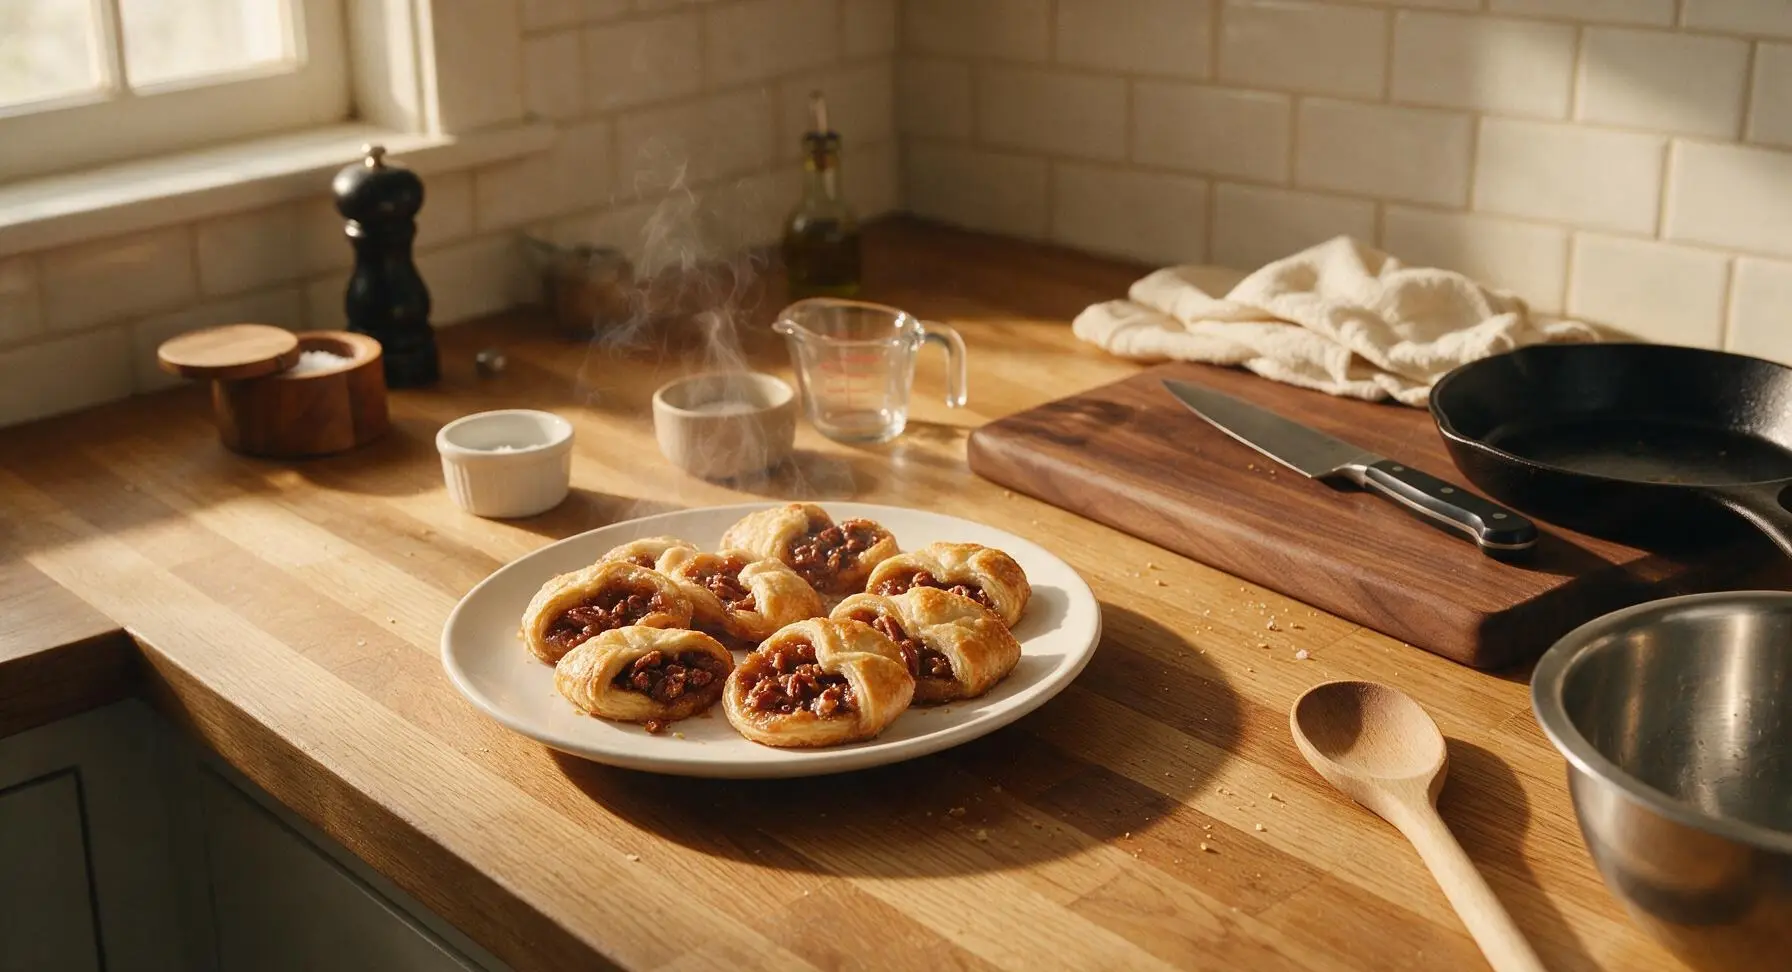
Buttery, flaky mini hand pies stuffed with gooey, spiced caramelized pecan filling—portable, perfectly sweet, and ideal for autumn gatherings, no fork required.

Ingredients
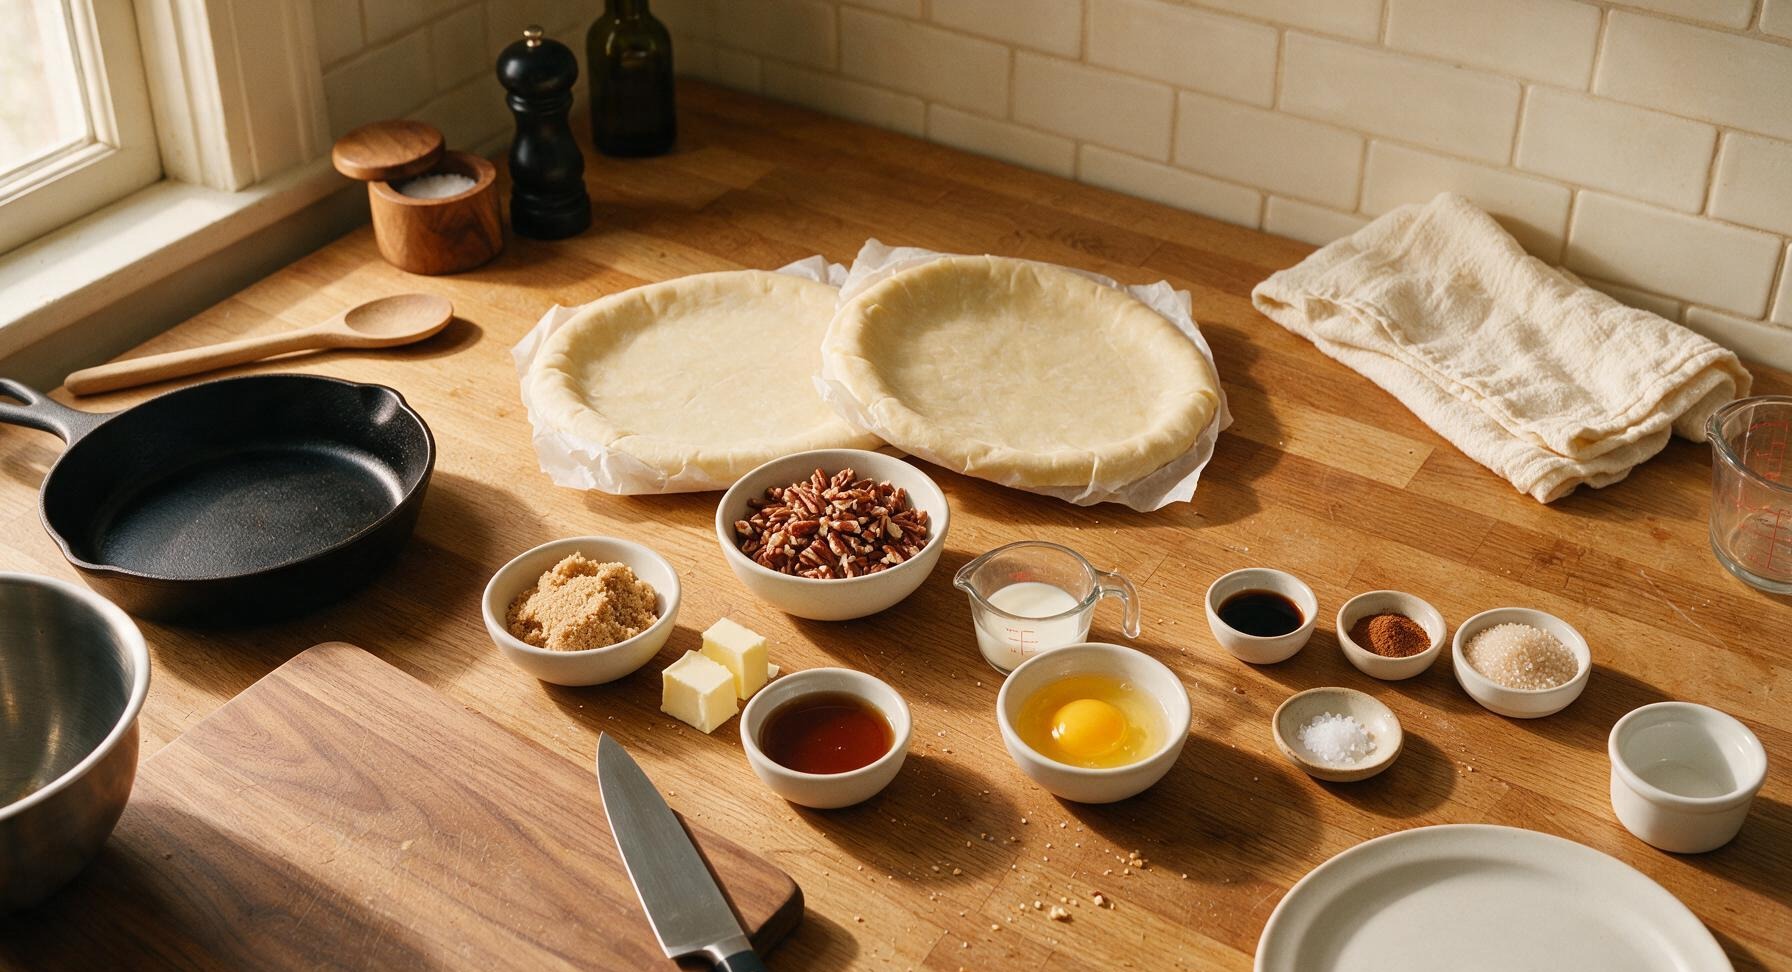
All-butter refrigerated pie crust (2 9-inch rolls) 2 rolls (490g total)
Raw pecan halves, finely chopped 1 1/2 cups (150g)
Light brown sugar, packed 1/2 cup (100g)
Unsalted butter 3 tbsp (42g)
Pure maple syrup 1/4 cup (60ml)
Large egg 1 (50g)
Whole milk 1 tbsp (15ml)
Pure vanilla extract 1 tsp (5ml)
Ground cinnamon 1/2 tsp
Coarse sparkling sugar 1 tbsp (12g)
Flaky sea salt 1/4 tsp

Steps

1

Make Pecan Filling

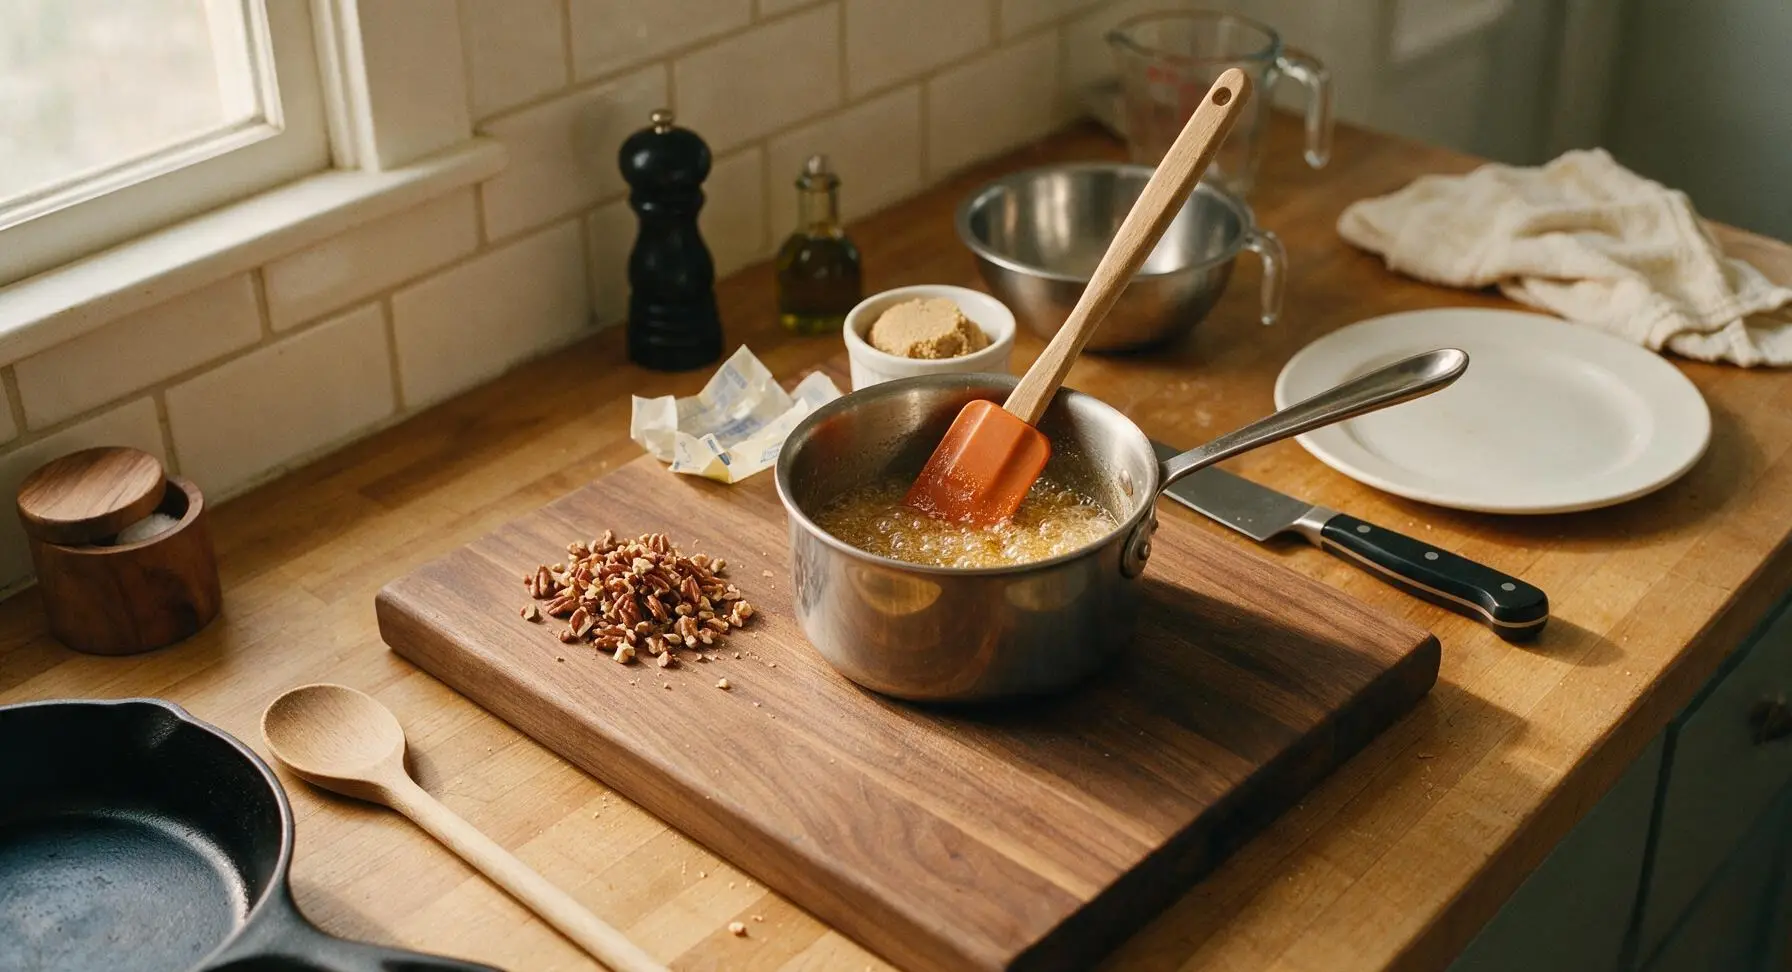
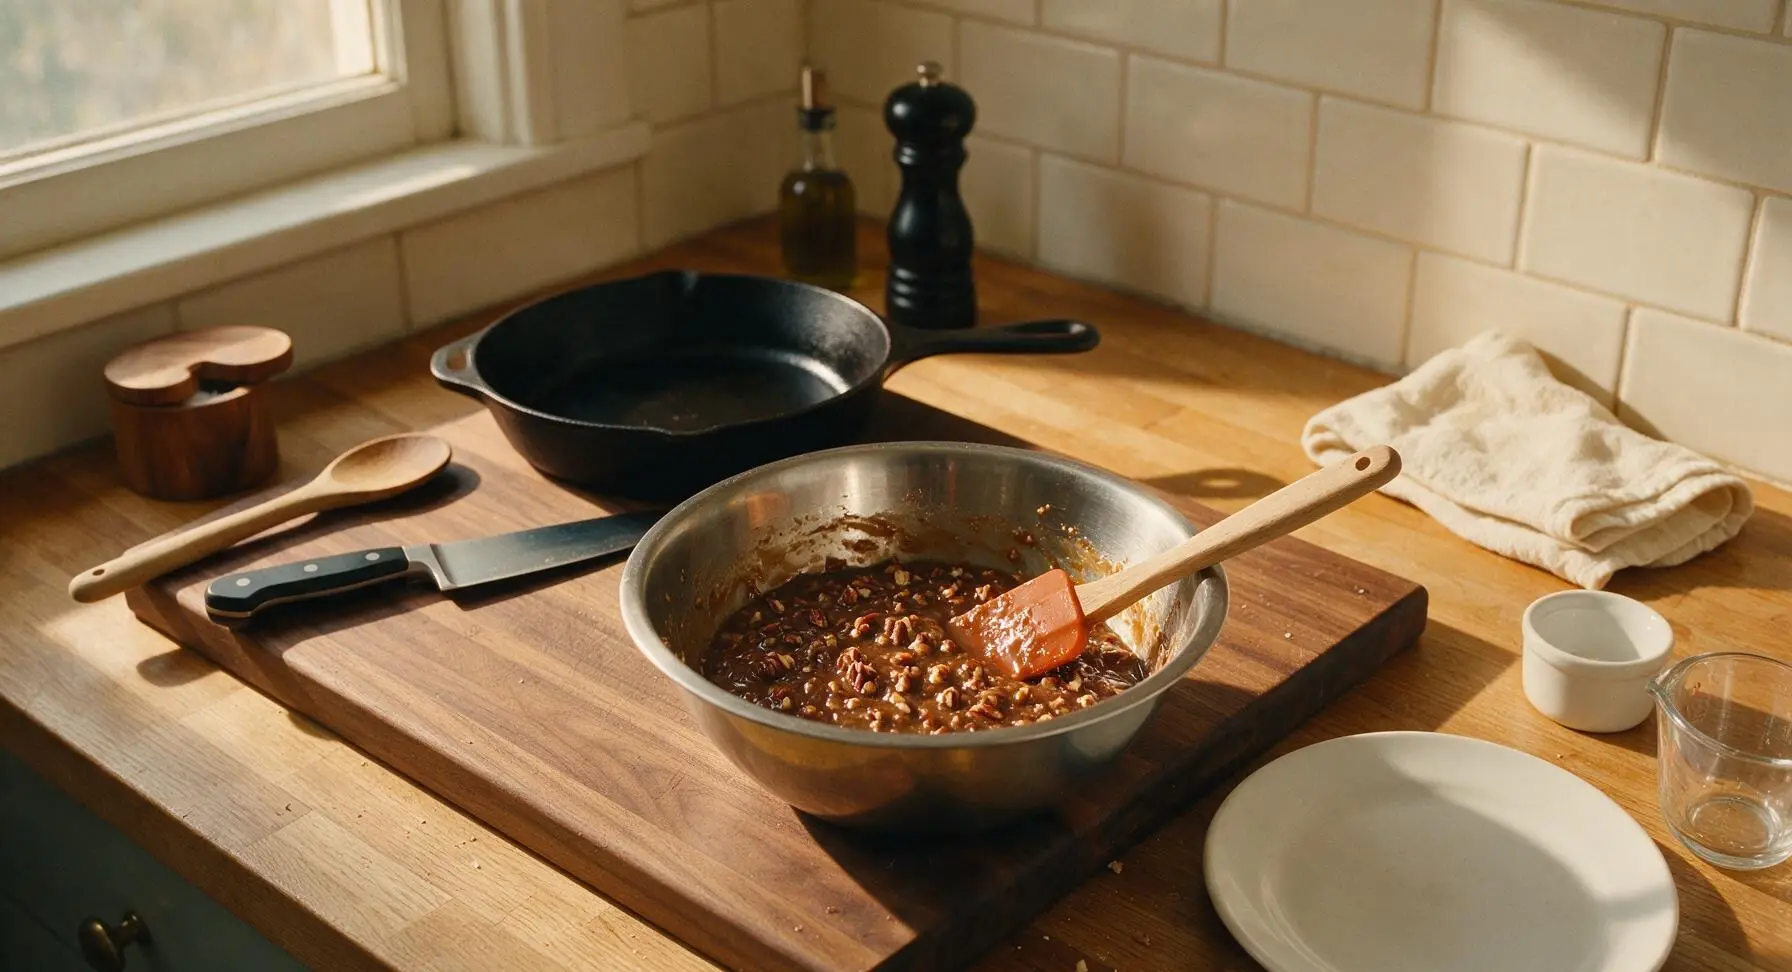
Place the 1-quart stainless steel saucepan over medium-low heat. Add unsalted butter, packed light brown sugar, maple syrup, ground cinnamon, and flaky sea salt. Stir continuously with the burnt orange silicone spatula for 3-4 minutes until butter fully melts, sugar dissolves completely, and the mixture reaches a slow, gentle bubble. Remove pan from heat, stir in vanilla extract and finely chopped pecans, then transfer filling to the medium stainless steel mixing bowl to cool for 10 minutes, until it thickens to a spreadable consistency that does not run off the spatula when lifted.
Step 1
step1:Make Pecan Filling
Step 1
step1:Make Pecan Filling
2

Roll Pie Crust

Unroll both chilled pie crusts onto the large maple cutting board. Use the wooden rolling pin to gently roll each crust to a uniform 1/8-inch thickness, smoothing out any creases or folded edges from the packaging. Avoid over-rolling, as this will overwork the gluten and make the crust tough; aim for a flat, even circle roughly 11 inches in diameter, large enough to cut 6 rounds per crust.
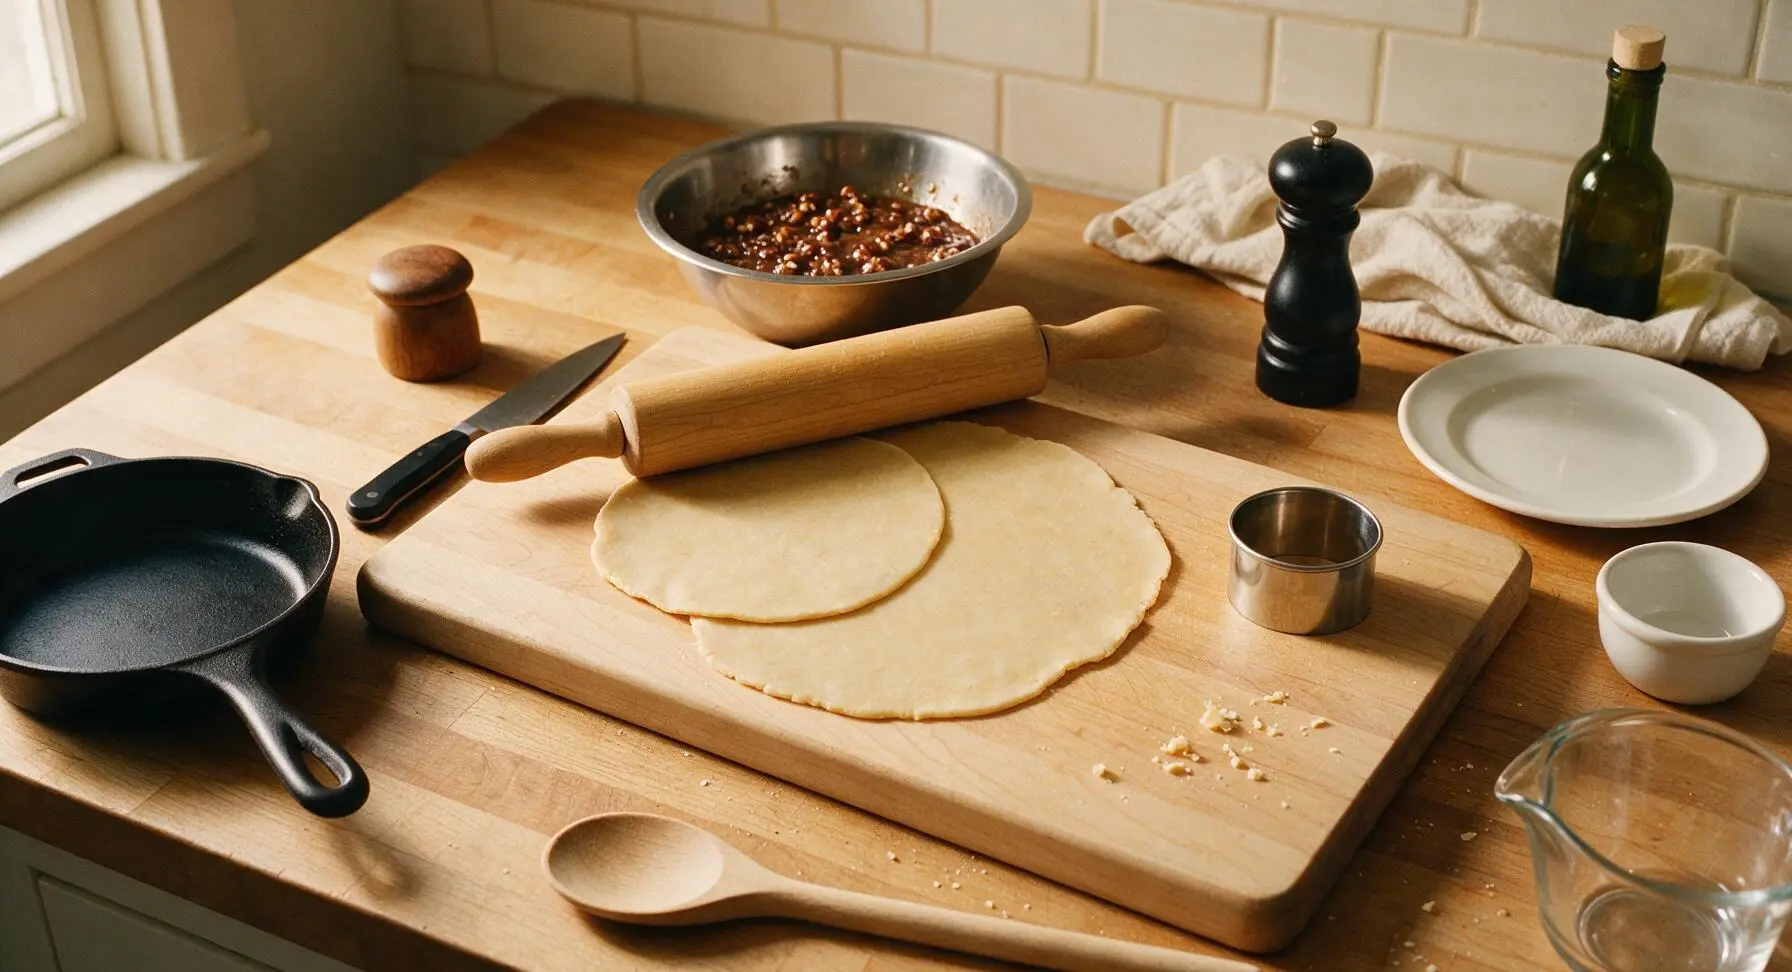
Step 2
step2:Roll Pie Crust
3

Cut Crust Rounds

Press the 3-inch stainless steel crimped cookie cutter straight down through the rolled crust to cut clean circular shapes, twisting slightly to release each round. Gather dough scraps, re-roll once to 1/8-inch thickness, and cut additional rounds until you have 24 total circles (12 for pie bottoms, 12 for pie tops). Arrange half the rounds in a single layer on the parchment-lined aluminum baking sheet, spaced 1 inch apart.
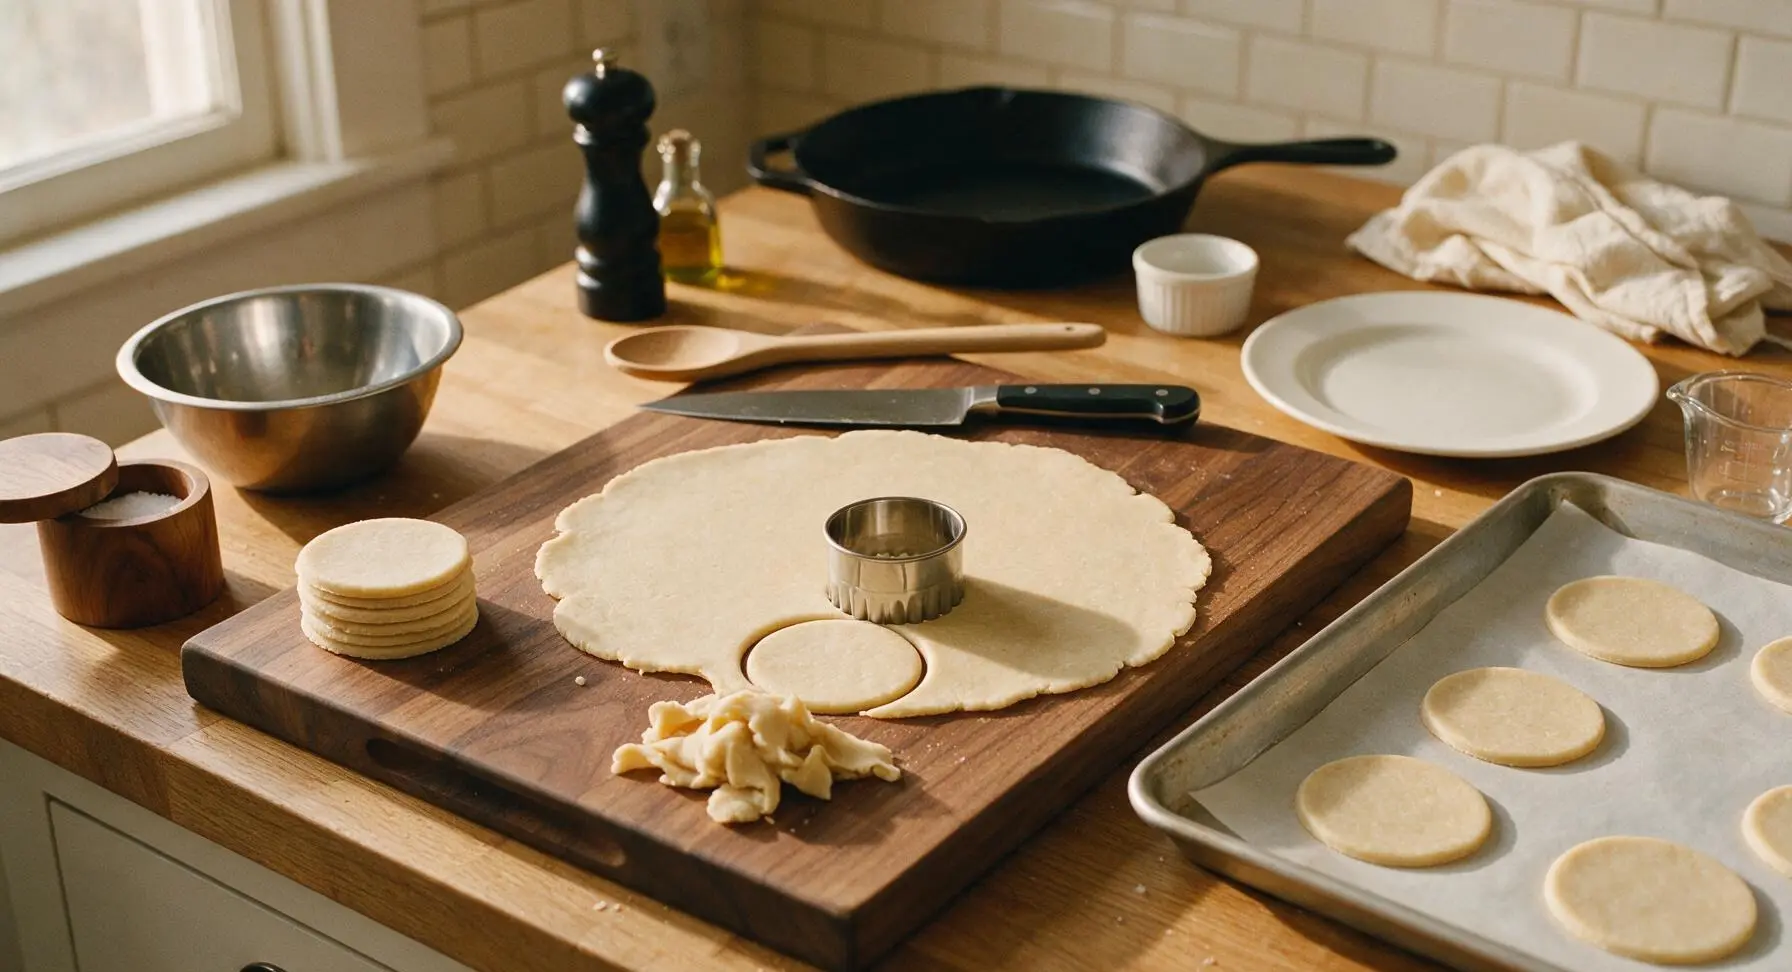
Step 3
step3:Cut Crust Rounds
4

Fill and Seal Pies

Scoop 1 heaping teaspoon of cooled pecan filling onto the center of each bottom crust round, leaving a 1/4-inch clean border around the edge. Do not overfill, as hot filling will bubble out and leak during baking. Top each filled round with a second crust circle, pressing edges firmly with your fingertips first to adhere, then crimp the entire edge tightly with the tines of the stainless steel dinner fork to create an airtight seal.
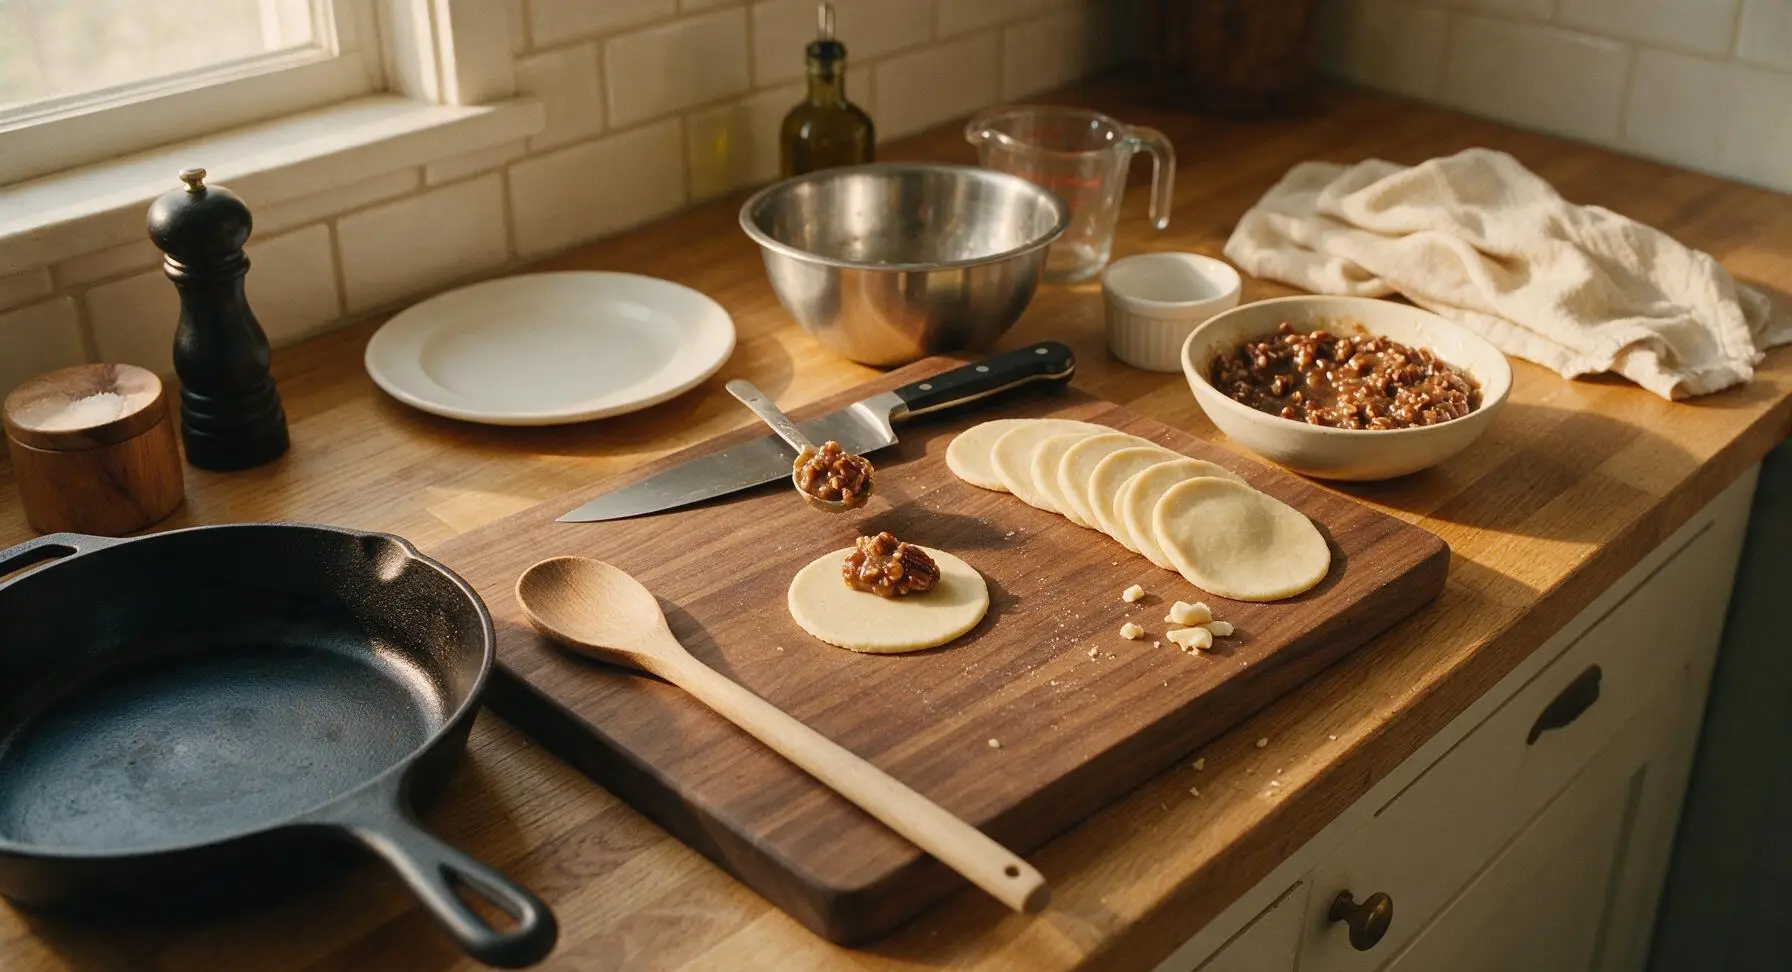
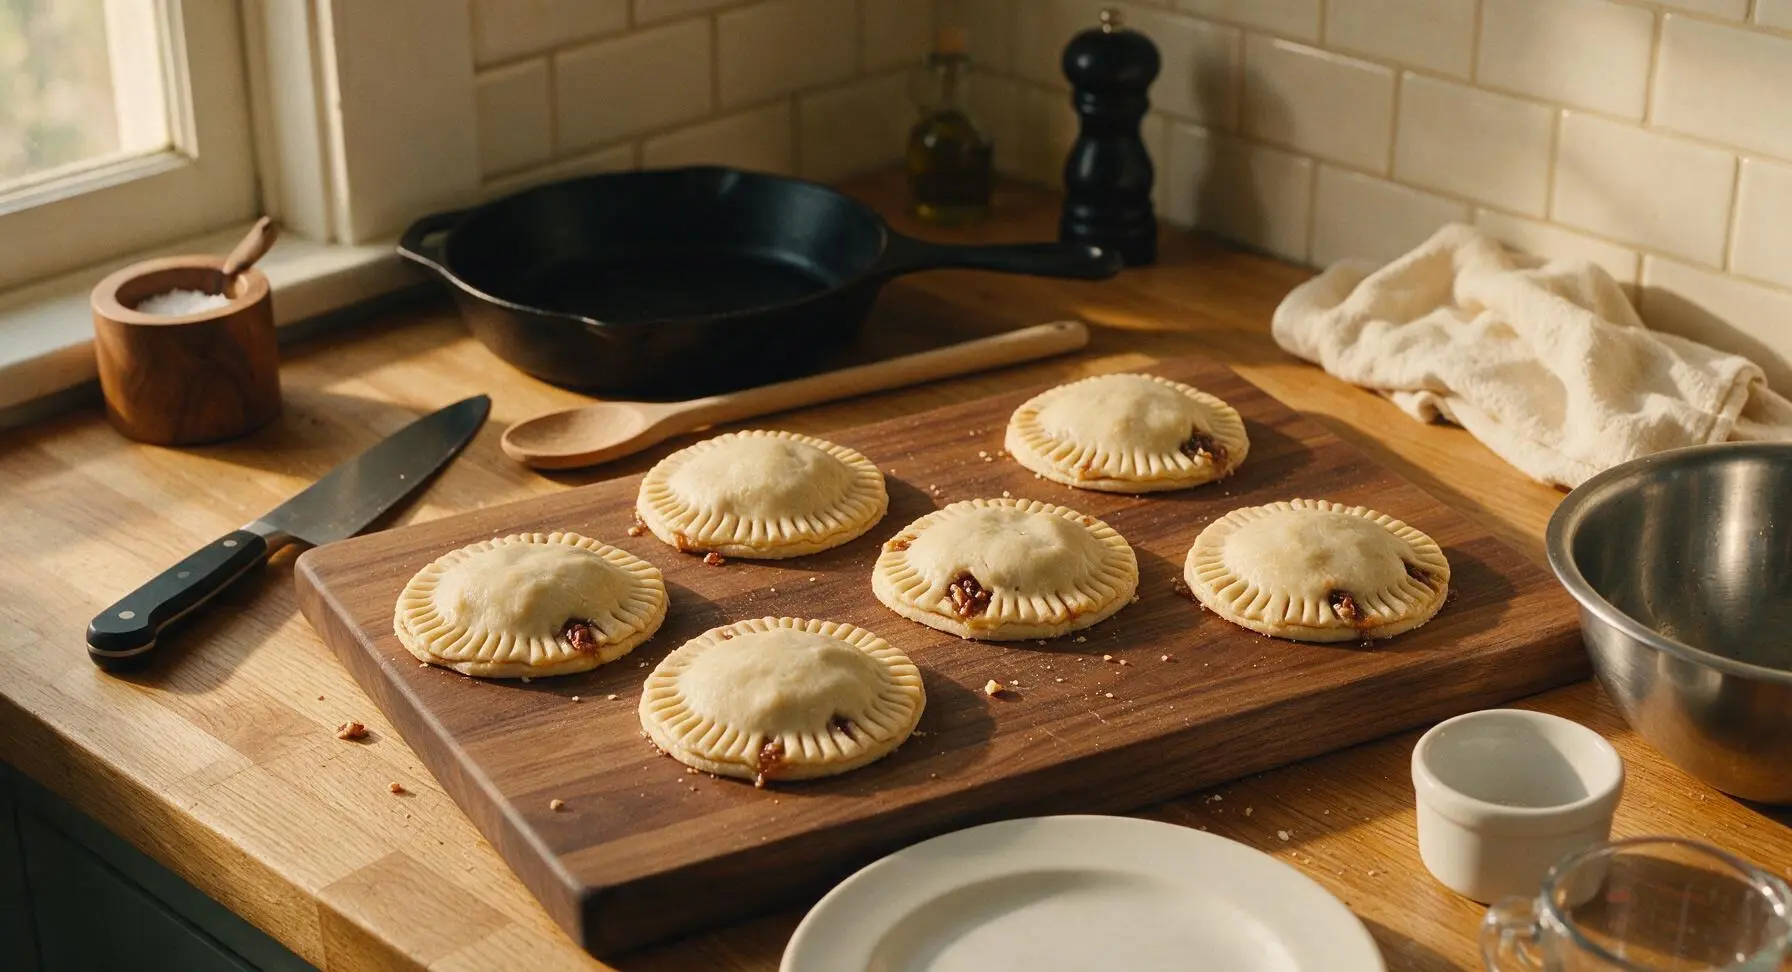
Step 4
step4:Fill and Seal Pies
Step 4
step4:Fill and Seal Pies
5

Add Egg Wash

Whisk the large egg and 1 tablespoon whole milk together in the small cream ceramic ramekin until smooth to make egg wash. Use the natural bristle pastry brush to lightly coat the entire top surface of each sealed hand pie with a thin, even layer of egg wash. Use the small paring knife to cut a 1cm X-shaped slit in the top of each pie to vent steam, then sprinkle each top lightly with coarse sparkling sugar from the small clear glass ramekin. Ensure pies remain spaced 1 inch apart on the parchment-lined baking sheet for even air flow.
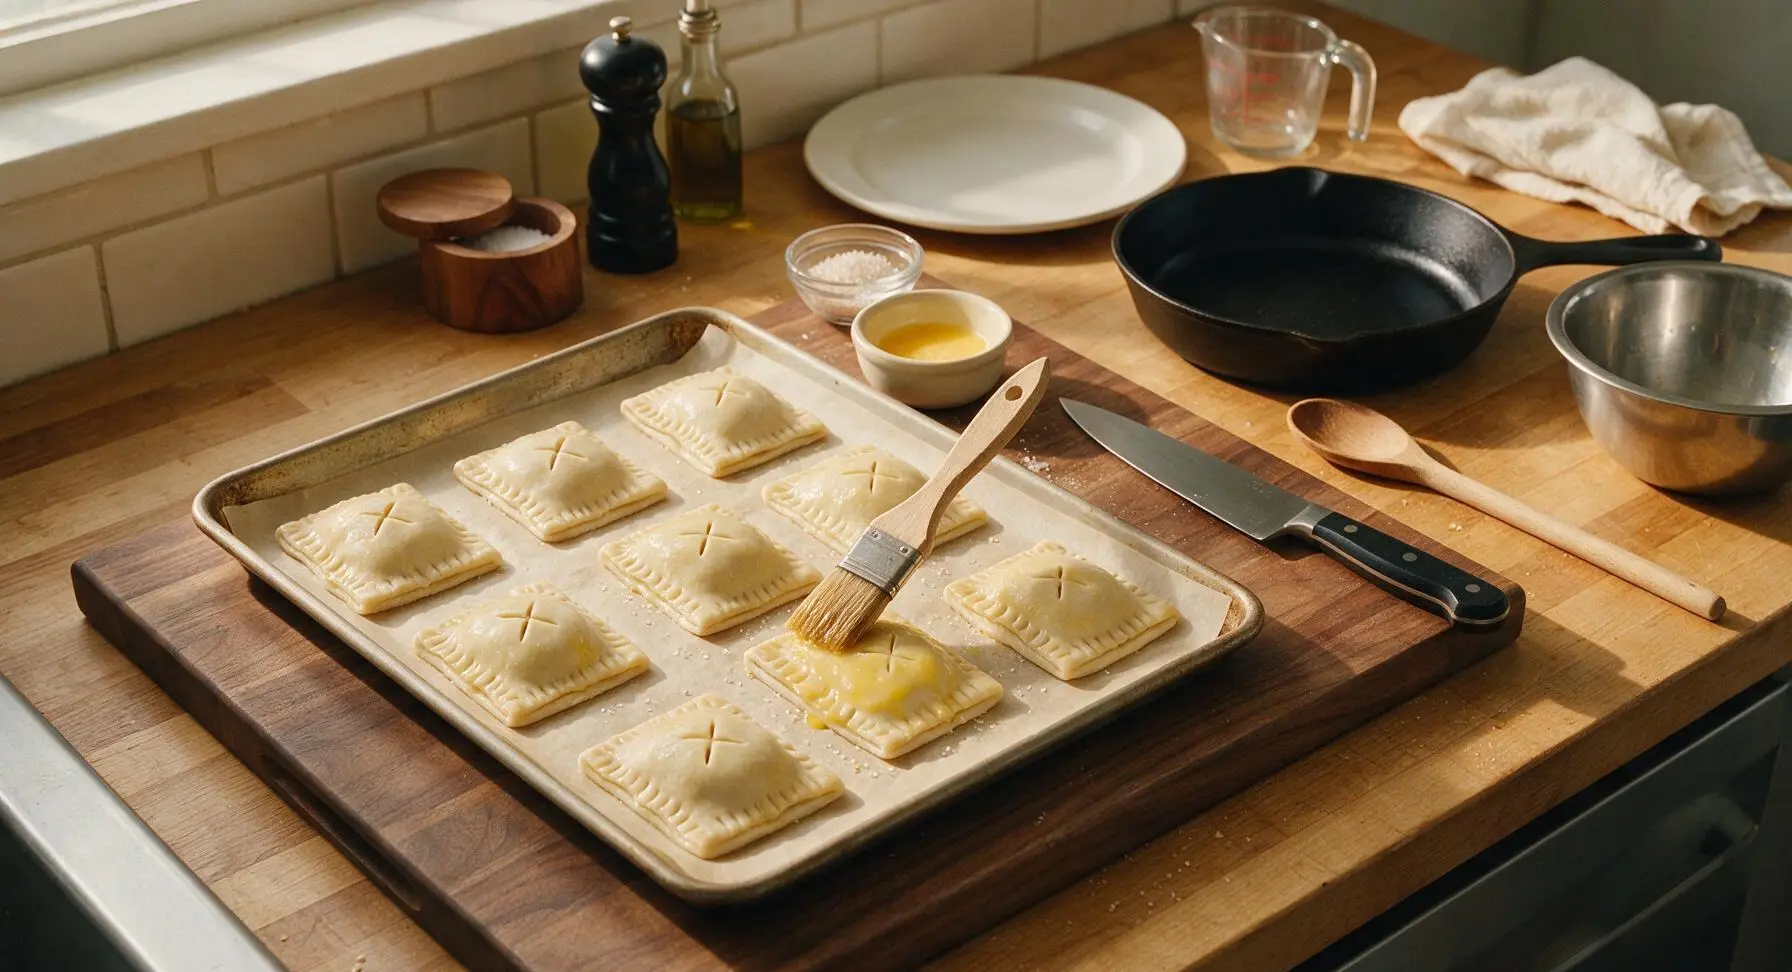
Step 5
step5:Add Egg Wash
6

Bake Until Golden

Place the baking sheet on the middle rack of a preheated 375°F (190°C) oven. Bake for 20-22 minutes, until crusts are deep golden brown all over, and small bubbles of pecan filling may seep out of the top slits. Rotate the baking sheet 180 degrees halfway through baking to ensure even browning, especially if your oven has known hot spots.
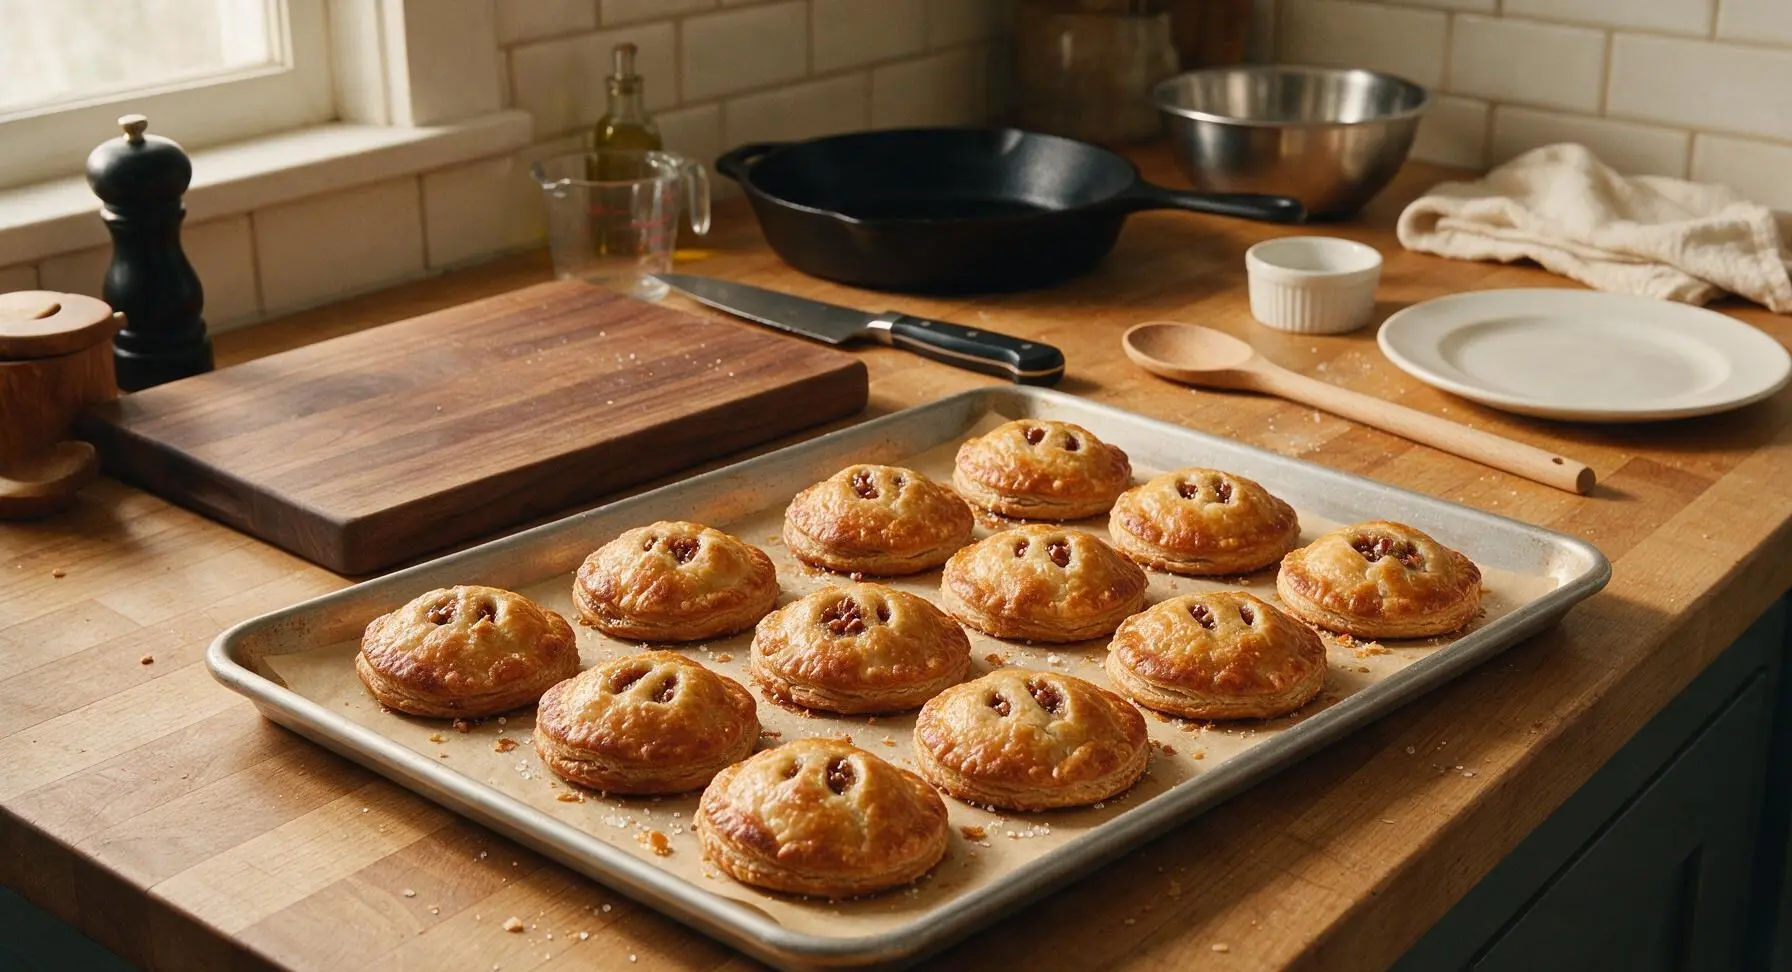
Step 6
step6:Bake Until Golden
7

Cool Pies Completely

Remove the baking sheet from the oven, and let hand pies rest on the sheet for 5 minutes, then use the silicone spatula to transfer them to the matte chrome wire cooling rack to cool for an additional 10 minutes. The crust will crisp as it cools, and the hot filling will set to a gooey (not runny) consistency. Do not serve immediately, as the molten filling can cause burns.
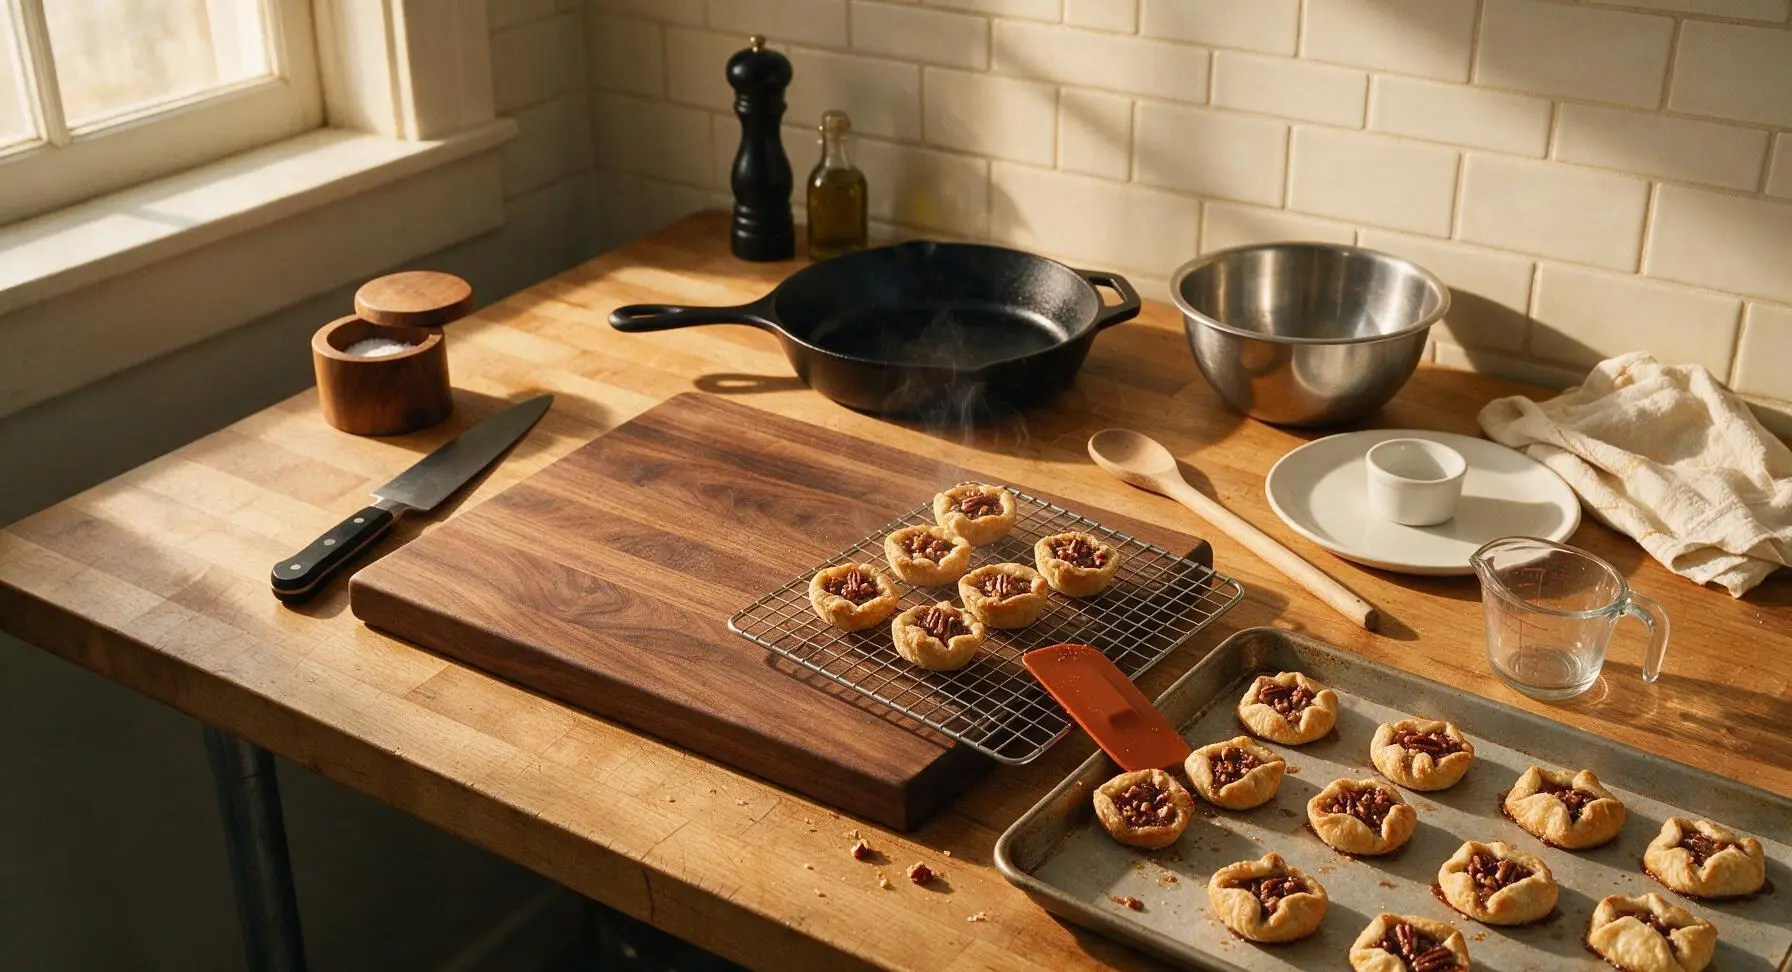
Step 7
step7:Cool Pies Completely

Tips

1.Keep pie crust chilled until ready to use: Warm crust becomes sticky, shrinks excessively during baking, and loses its flaky layers, so only unroll one crust at a time, and return scraps to the fridge for 5 minutes if they become too soft to handle.
2.Never overfill the hand pies: Even 1/4 teaspoon of extra filling will bubble out through the seams during baking, gluing pies to the parchment and leaving you with less gooey filling inside each crust.
3.Let the pecan filling cool fully before assembling: Hot filling will melt the fat in the bottom crust before baking, leading to soggy, under-baked bottom layers instead of the desired crisp, flaky texture.


✨ You May Also Like

Desserts & Baking
🍜 Italy

Creamy, coffee-kissed classic Northern Italian no-bake dessert, with layers of rum-spiked mascarpone cream, soft ladyfingers, and a rich cocoa dusting.

⏱️ 4 hours 3Desserts & Baking ★ 4.7
Desserts & Baking
🍜 France

Flaky, shatteringly crisp, buttery French croissants with golden exteriors and soft, airy layered interiors, perfect for pairing with coffee for a special morning treat.

⏱️ 12 hours Desserts & Baking ★ 4.5
Desserts & Baking
🍜 United States

Warm, spiced baked apples topped with a fluffy golden biscuit crust, this cozy dessert pairs perfectly with vanilla ice cream for cool-weather comfort.

⏱️ 55 minuteDesserts & Baking ★ 4.6
Desserts & Baking
🍜 United States

A star-spangled classic American blueberry pie with buttery flaky crust and bright sweet-tart filling, perfect for summer patriotic gatherings.

⏱️ 1 hour 25Desserts & Baking ★ 4.7
Desserts & Baking
🍜 United States

A beloved no-bake regional Maine candy with a chewy coconut-potato center coated in rich dark chocolate, a New England holiday staple since the 1870s.

⏱️ 2 hours 3Desserts & Baking ★ 4.8
Desserts & Baking
🍜 France

Luxuriously creamy, floral frozen custard made with aromatic Tahitian vanilla beans, boasting a smooth, rich texture that melts slowly on the tongue.

⏱️ 3 hours 3Desserts & Baking ★ 4.5

Mini Pecan Hand Pies:Frequently Asked Questions

1.Can I use homemade pie crust instead of the refrigerated all-butter crust called for? ▾
Of course! A homemade all-butter crust works beautifully here—just roll it to a consistent 1/8-inch thickness to match the refrigerated crust. Make sure it’s well-chilled before cutting and filling to prevent shrinkage and guarantee that signature flaky, buttery texture that makes these hand pies so irresistible.
2.How do I keep pecan filling from leaking out of the hand pies while they bake? ▾
Stick to two key tricks to avoid messy blowouts: don’t overfill each pie (use just 1 heaping teaspoon of pecan filling per mini round) and crimp edges extra tightly with a fork after brushing the rim with a thin egg wash. Cut a tiny 1/4-inch top slit to let steam escape as the filling bubbles.
3.Can I make these hand pies nut-free for a guest with a pecan allergy? ▾
While traditional pecan pie relies on pecans for that signature crunch, you can swap finely chopped raw pecans for equal amounts of toasted rolled oats, crushed pretzels, or roasted pumpkin seeds. You’ll still get that warm, spiced caramel flavor and satisfying texture, making them safe for guests with tree nut allergies.
4.What’s the easiest way to chop raw pecan halves evenly for the filling? ▾
For the most consistent texture, pulse raw pecan halves in a food processor 5 to 7 times, stopping to scrape down the sides once, until you get a mix of fine crumbs and tiny pea-sized pecan pieces. No food processor? Place pecans in a sealed zip-top bag and crush them gently with a rolling pin.
5.Do I need to toast pecans before mixing them into the filling? ▾
Toasting is optional but highly recommended for deeper, nuttier flavor. Spread chopped pecans on a dry baking sheet and toast at 350°F for 5 to 7 minutes, stirring once, until they smell fragrant. Let them cool completely before mixing into the caramel filling so they don’t melt the unsalted butter prematurely.
6.Can I substitute dark brown sugar for the light brown sugar in the recipe? ▾
Yes, you can swap light brown sugar for dark brown sugar 1:1 with no other adjustments needed. Just note dark brown sugar has a higher molasses content, so your filling will have a slightly deeper, more robust caramel flavor and darker color, which pairs wonderfully with pecans and pure maple syrup.
7.How do I get that shiny, golden-brown crust on top of the hand pies? ▾
Right before baking, brush the top of each crimped hand pie with a simple egg wash made from 1 large egg beaten with 1 tablespoon of cold water or heavy cream. For extra sparkle and crunch, sprinkle the tops with a pinch of coarse turbinado sugar before sliding the baking sheet into the oven.
8.How long do baked hand pies stay fresh at room temperature? ▾
Fully cooled baked hand pies will stay fresh for up to 3 days stored in an airtight container at cool room temperature, separated by layers of parchment paper to prevent sticking. Skip storing them in the fridge, as cold, moist air will make the buttery crust turn soggy and lose its flaky texture.
9.Can I freeze baked mini pecan hand pies to enjoy later? ▾
Absolutely! Let baked pies cool completely to room temperature, then arrange them in a single layer on a baking sheet to freeze solid for 2 hours. Transfer them to a freezer-safe zip-top bag for up to 2 months, and reheat straight from frozen at 350°F for 8 to 10 minutes until warmed through.
10.What size cutter should I use for perfectly uniform mini hand pies? ▾
A 3-inch round cookie or biscuit cutter works perfectly for bite-sized hand pies that are easy to hold and eat without a fork. If you don’t have a round cutter, use the rim of a standard 3-inch drinking glass, just dip the edge in flour first to prevent it from sticking to the pie crust.
11.My refrigerated pie crust is cracking when I unroll it—how do I fix that? ▾
That’s totally normal if the crust is extra cold! Let it sit on the counter for 5 to 10 minutes to warm slightly before unrolling, and press any small cracks together with your fingertips, dabbing with a tiny bit of cold water to help the dough seal. Don’t let it get too warm, though, or the crust will turn tough.
12.Can I add extra spices to the pecan filling for more fall flavor? ▾
Definitely! The gooey caramel pecan base pairs beautifully with warm autumn spices. Try adding 1/4 teaspoon of ground cinnamon, a tiny pinch of freshly grated nutmeg, or even a splash of bourbon extract to the filling for extra cozy, layered flavor perfect for harvest parties and Thanksgiving spreads.
13.Why is my filling runny instead of gooey after the pies finish baking? ▾
Runny filling usually happens if you underbaked the pies or didn’t let the butter-sugar-maple mixture set properly. Bake pies until the crust is deep golden and filling gently bubbles through the top slit, then let them rest 10 minutes before serving to give the caramel time to firm up to that perfect gooey texture.
14.Do I need to line my baking sheet with parchment paper for these pies? ▾
It’s not strictly required, but it’s highly recommended! Parchment paper prevents any sugary filling that bubbles out from burning onto your baking sheet, makes cleanup almost effortless, and keeps the bottom of the hand pies from getting too dark as they bake. A silicone baking mat works great as a reusable alternative.
15.Can I cut the hand pies into fun shapes instead of the standard half-moon? ▾
Absolutely! Cut the crust into squares for little pocket pies, use mini leaf-shaped cookie cutters for a festive fall-themed look, or use a small hand pie press for uniform crimped edges every time. Just use equal-sized top and bottom dough pieces, and crimp edges tightly no matter what shape you pick.
16.Can I use regular pancake syrup instead of pure maple syrup in the filling? ▾
I don’t recommend it. Pancake syrup is made with corn syrup and artificial maple flavor, which will make the filling taste overly sweet and one-note. If you don’t have pure maple syrup, swap it for equal amounts of light corn syrup or honey, though you’ll lose that subtle, earthy sweetness that pairs so well with toasted pecans.
17.How do I prevent the bottom crust of the hand pies from getting soggy? ▾
For an extra-crisp, non-soggy bottom crust, preheat your baking sheet in the oven for 5 minutes before placing assembled hand pies on it. The hot pan will immediately start crisping the bottom crust the second the pies go in, instead of letting buttery dough slowly soak up moisture from the filling as it heats.
18.Are these mini pecan hand pies a good fit for kid-friendly fall parties? ▾
They’re perfect for kid-friendly events! Their mini, handheld size means no forks or messy plates are needed, and the sweet, nutty filling is a crowd-pleaser for all ages. Just let them cool for at least 10 minutes after baking, as the caramel filling can get extremely hot and stay warm longer than you’d expect.

Comments (5)

2 days ago

OMG these mini pecan hand pies were a total game changer for our fall potluck last weekend! I made a double batch because I knew my husband and two teens would sneak a few before we left, and sure enough, half the first batch was gone before I even packed the carrier. So buttery, the pecan filling is perfectly sweet not cloying, and they were so easy to throw together even on a busy Saturday morning. 10/10 will make again for Thanksgiving!

yesterday

Wait did you use store-bought pie crust or homemade? I’m terrible at making crust from scratch and want to know if the shortcut works here!

yesterday

So glad these were a hit at your potluck! Store-bought refrigerated pie crust works perfectly here if you don’t want to make your own — it cuts down prep time even more and tastes just as delicious!

3 days ago

Perfect easy dessert for meal prep! I baked these on Sunday, stored them in an airtight container, and grabbed one each night after dinner all week. They held up so well, no sogginess at all! My 7 year old said they taste better than the pecan pie we get from our favorite bakery downtown. Will absolutely be adding these to my regular rotation.

2 days ago

Love that these worked for your weekly meal prep! Pro tip: if you want to warm them up later, 10 seconds in the microwave gives them that fresh-baked taste again.

5 minutes ago

I was so nervous to make these because I’m literally the worst at baking — I burn cookies 9 times out of 10! But these were so straightforward, only took 22 minutes in the oven like the recipe said, and they came out golden and perfect. My roommate thought I ordered them from a fancy bakery, lmao. SO good, even a total newbie can nail these.

1 week ago

Made these for my kid’s soccer team snack last Saturday and the parents were all begging for the recipe! The mini size is perfect for little hands, no messy slicing needed, and they don’t drip all over car seats like regular pecan pie slices do. Only note: I added a tiny pinch of flaky sea salt on top before baking and it *chef’s kiss* took it to the next level.

5 days ago

Oh the flaky salt idea is genius! I’m making these for our end-of-season banquet next week, I’m definitely stealing that tip!

2 weeks ago

These are the perfect little sweet treat to pair with my morning coffee! I was worried they’d be too heavy for a breakfast-adjacent snack but the mini size is just right, not too filling. My only tiny complaint is that a little bit of the filling bubbled out of the crimped edges on a few of them, but honestly that just made for a tasty crispy caramelized bit on the baking sheet, so no real loss lol.

1 week ago

I had the same bubbling issue! I started crimping the edges a little tighter and cutting a super tiny vent slit in the top of each pie and that fixed it for me!

1 week ago

So happy you’re enjoying these with your morning coffee! The tiny vent slit trick is exactly what we recommend to prevent too much filling from bubbling out while baking — and honestly, that crispy caramelized overflow is the best little baker’s treat to snack on while you wait for the pies to cool!



