
Mini Peppermint Rolls
intro
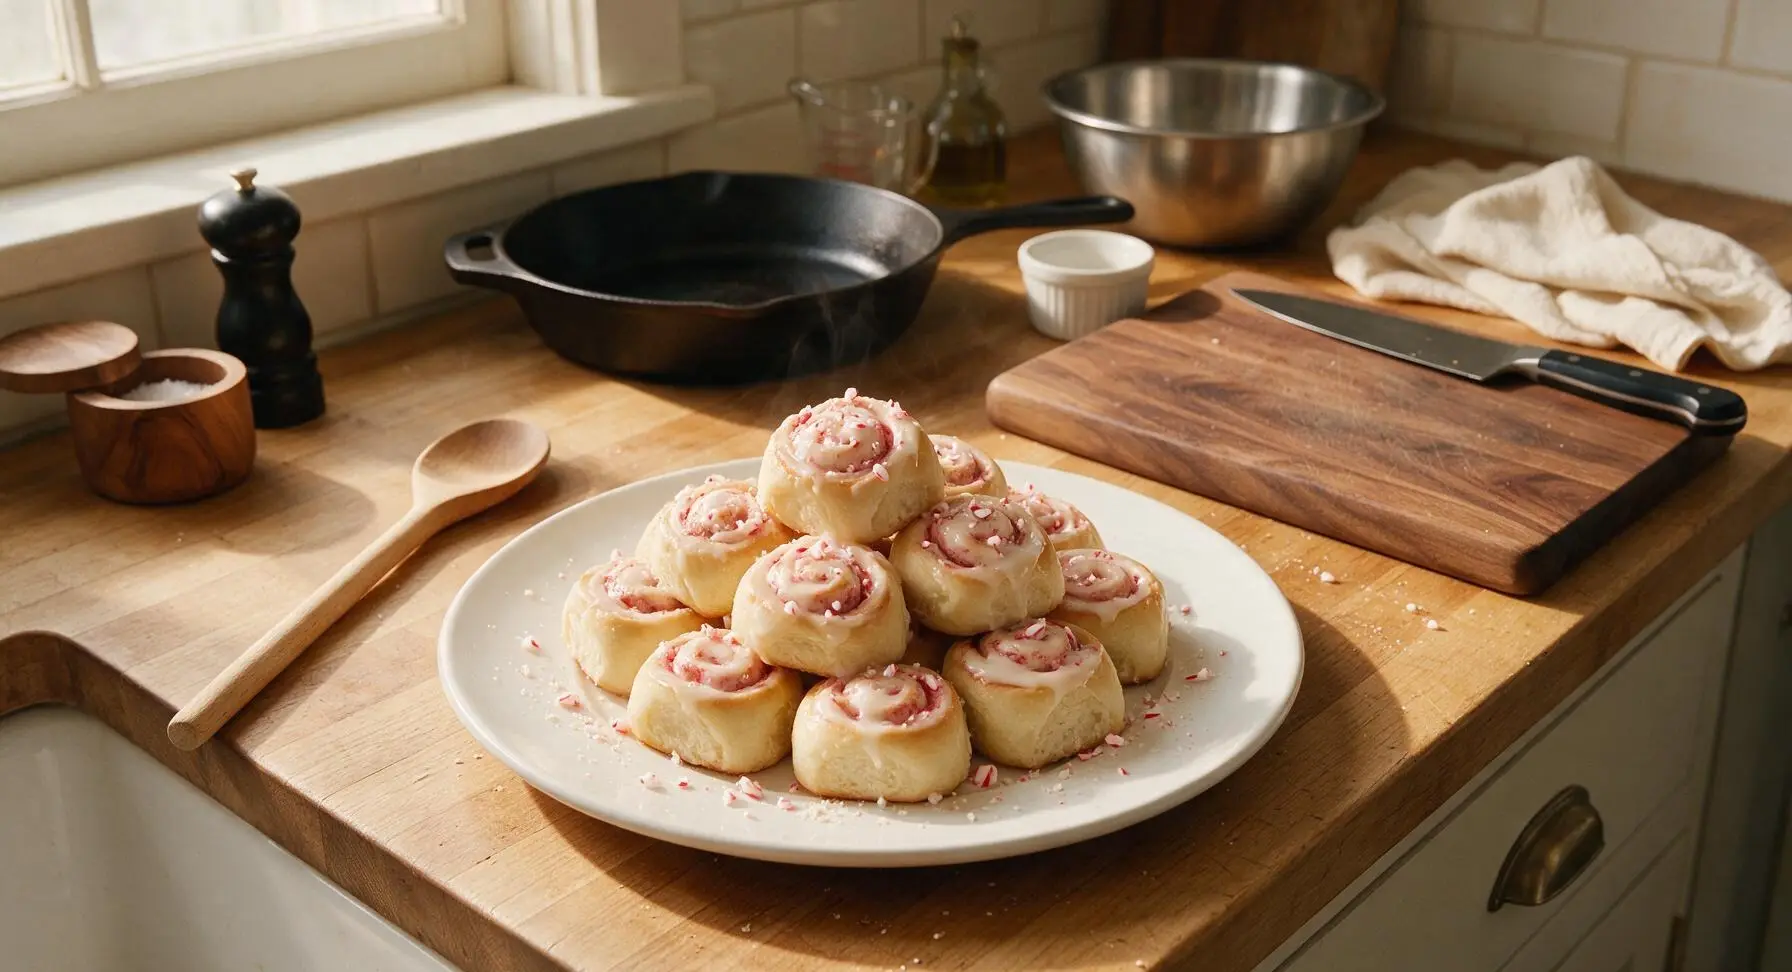
Soft, pillowy bite-sized sweet rolls swirled with peppermint butter, topped with glossy vanilla glaze and crushed candy canes—perfect festive treats for Christmas gatherings.
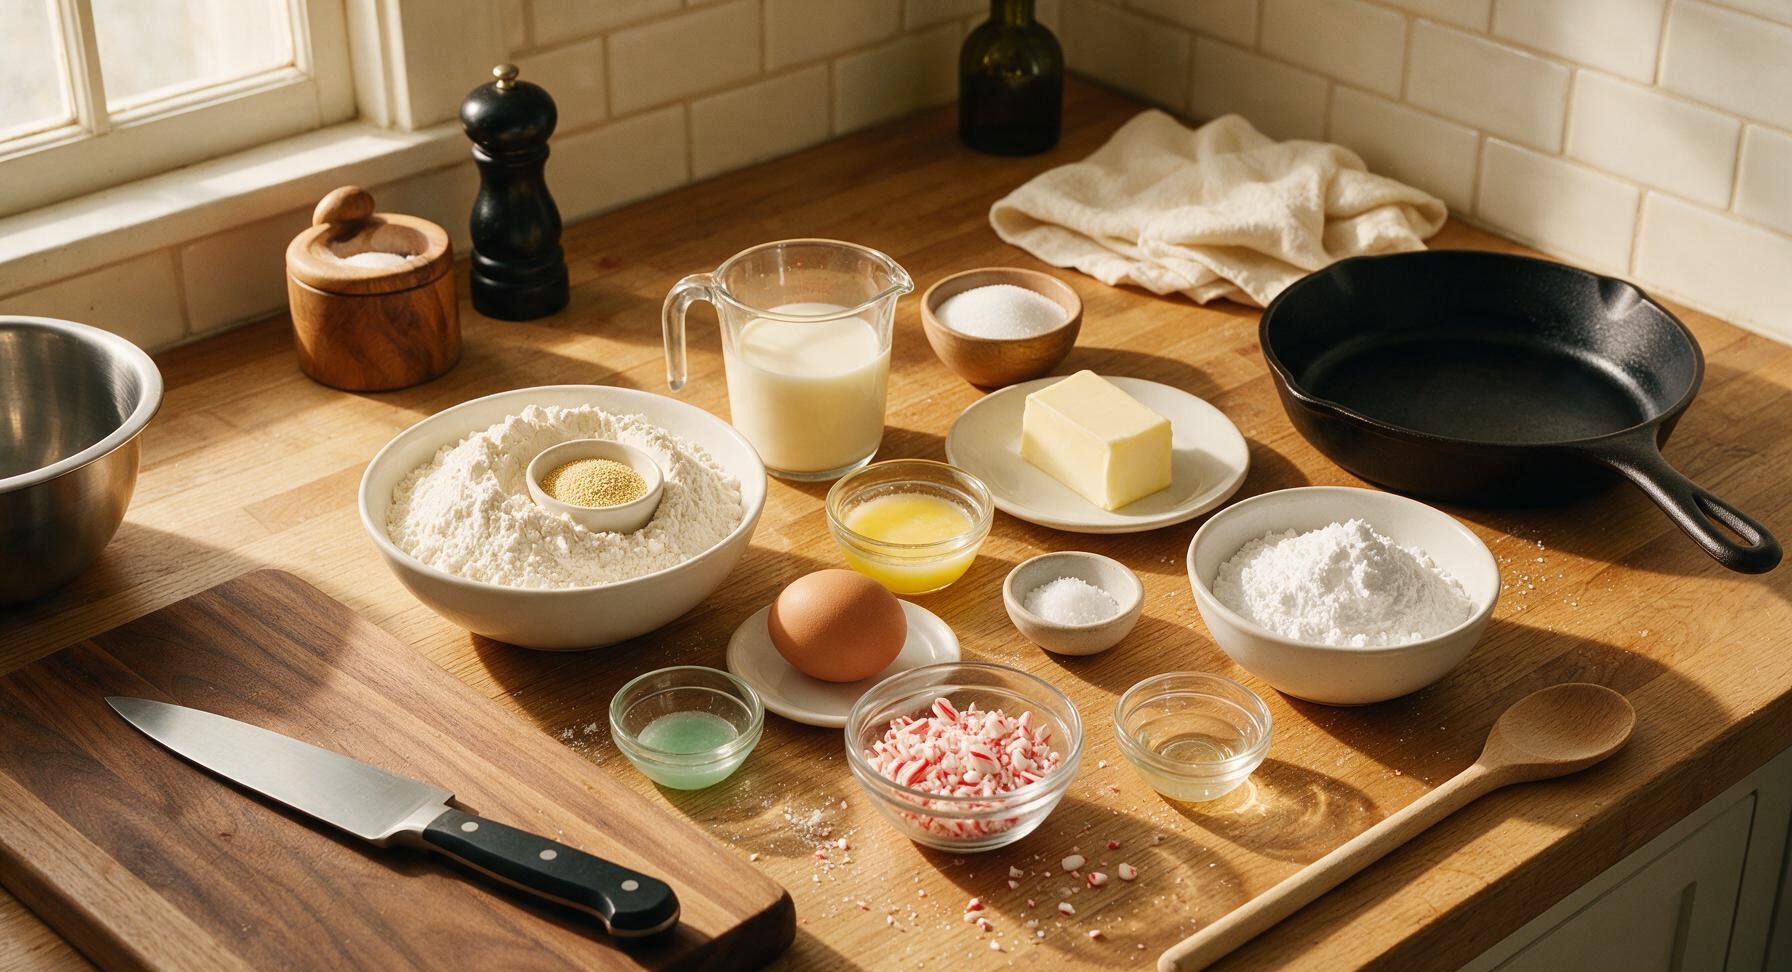
Ingredients
Steps
Mix the Yeast Dough
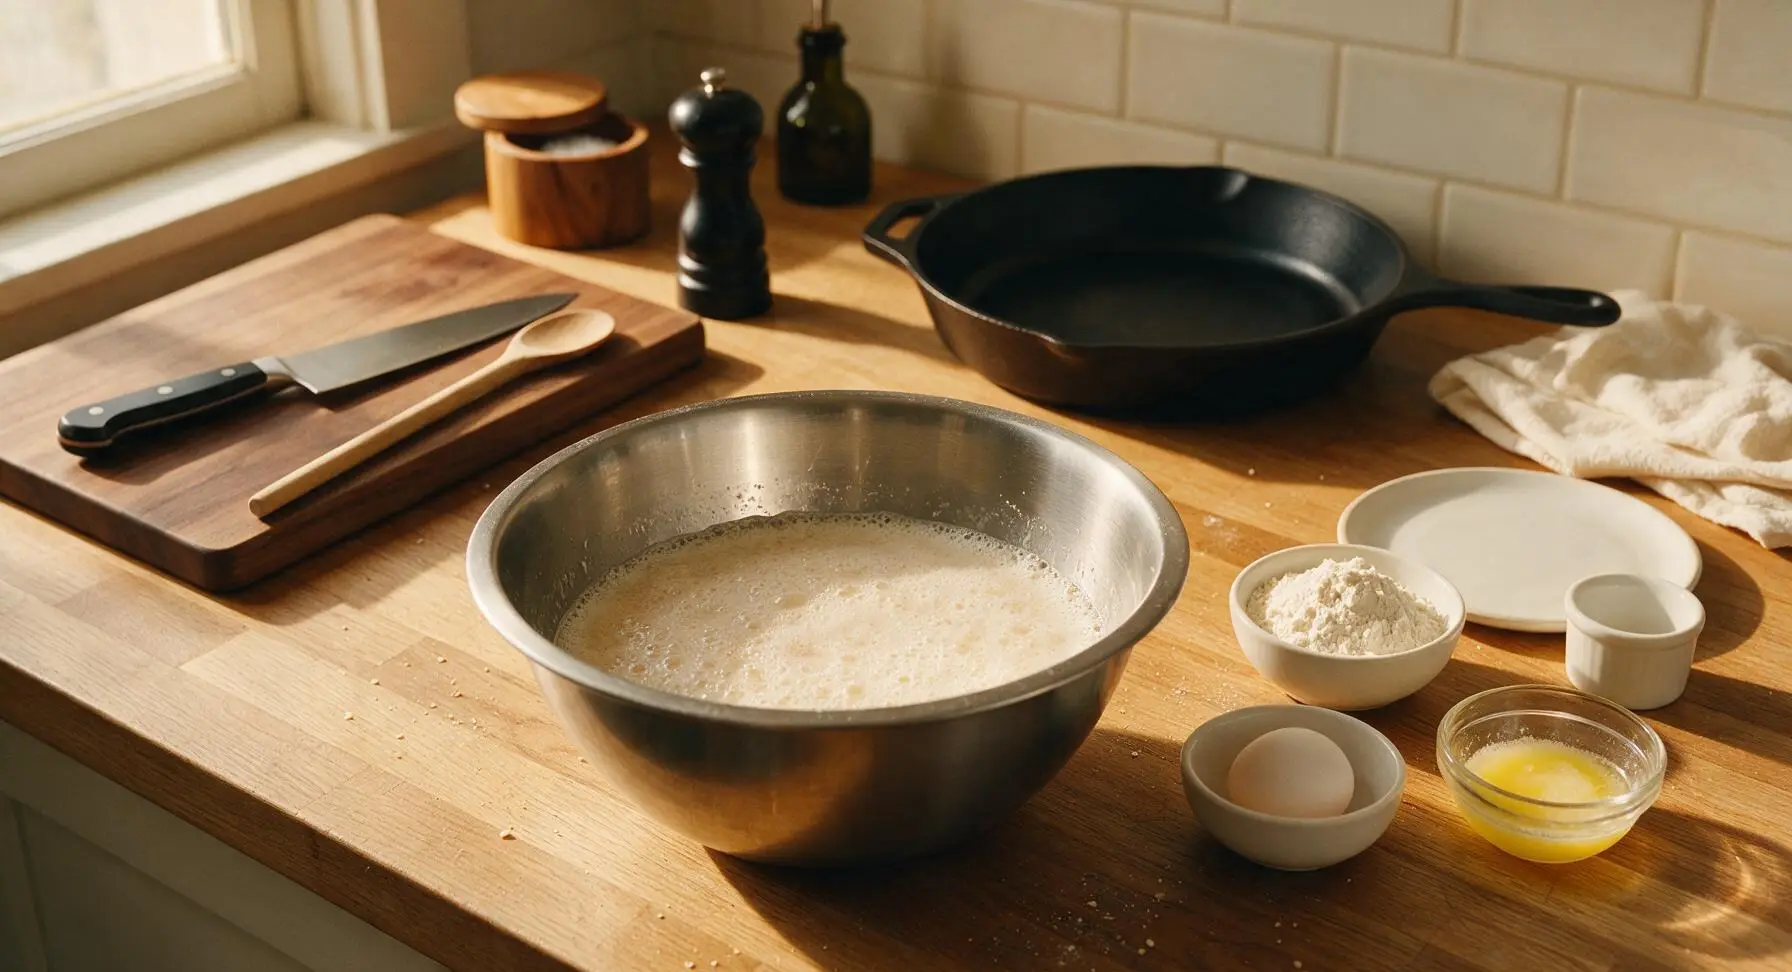
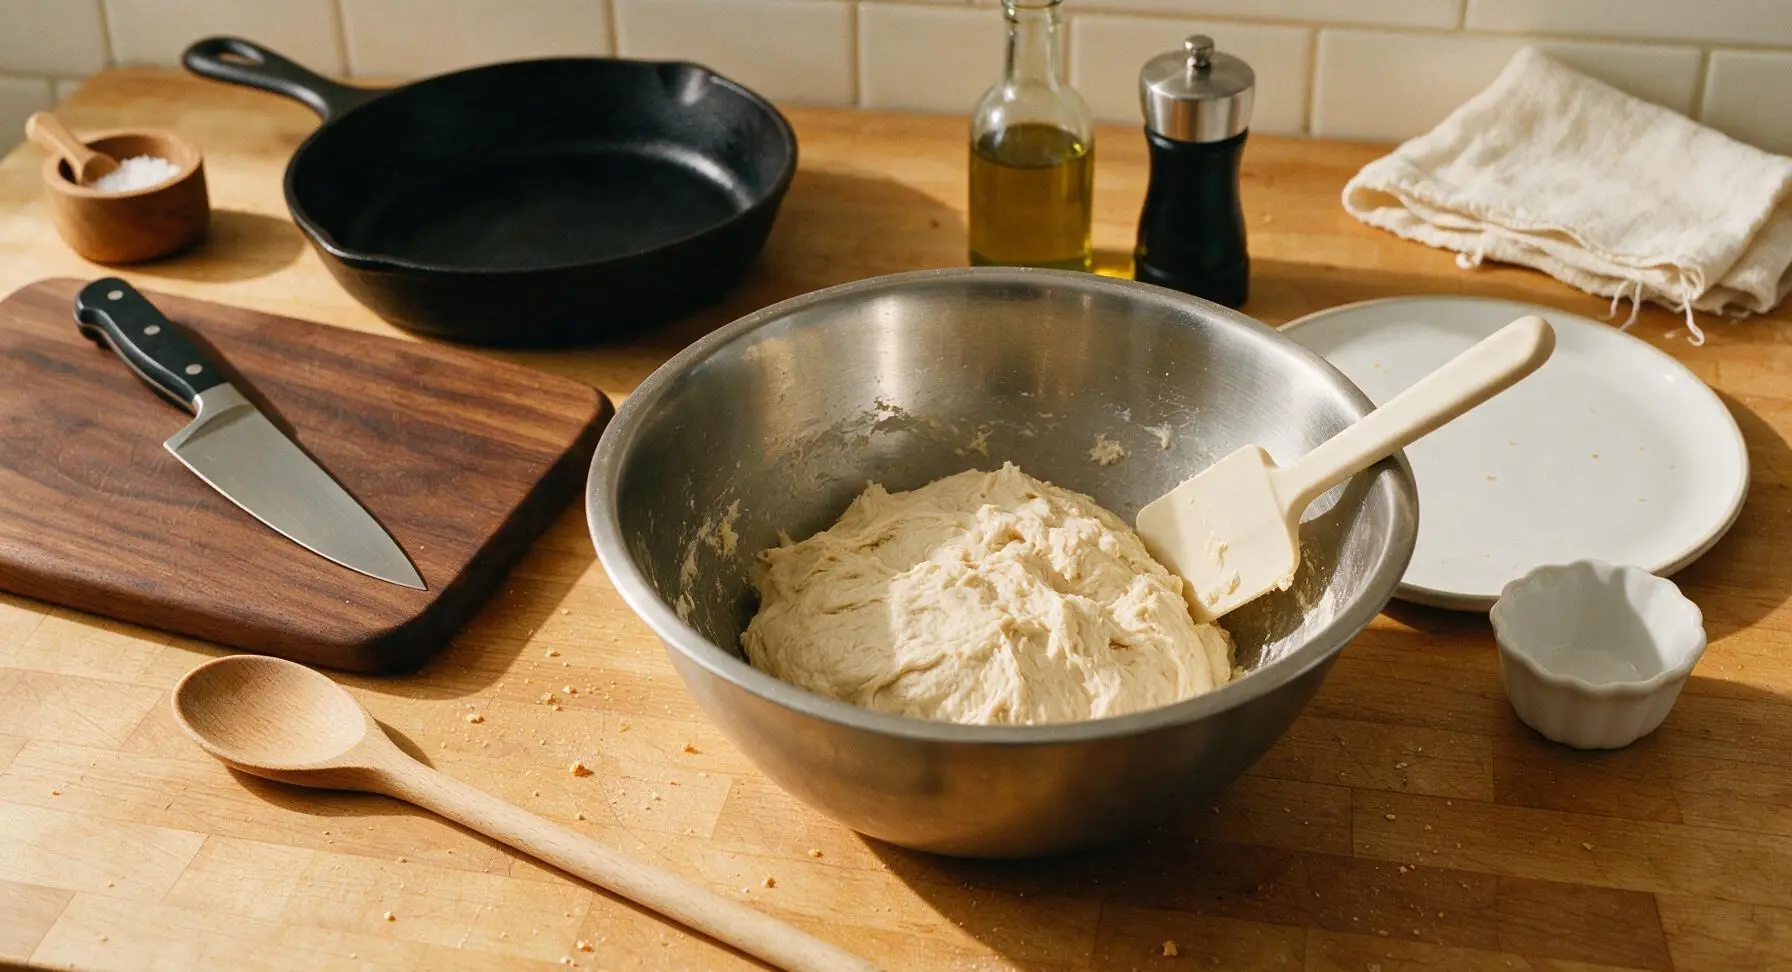
In the large brushed stainless steel mixing bowl, combine warmed whole milk (heated to 105°F/40°C, warm to the touch but not hot), granulated sugar, and active dry yeast. Stir gently with the silicone spatula, then let rest 5 minutes until the mixture develops a thin foamy layer on top, confirming the yeast is active. Add cooled melted butter, room-temperature egg, fine sea salt, and all-purpose flour. Use the silicone dough scraper to mix until a shaggy, soft dough forms that pulls away from the bowl sides, with no dry flour pockets remaining. Cover the bowl loosely with a sheet of parchment paper and let rise in a warm spot for 1 hour until doubled in volume.
Roll Dough to Rectangle
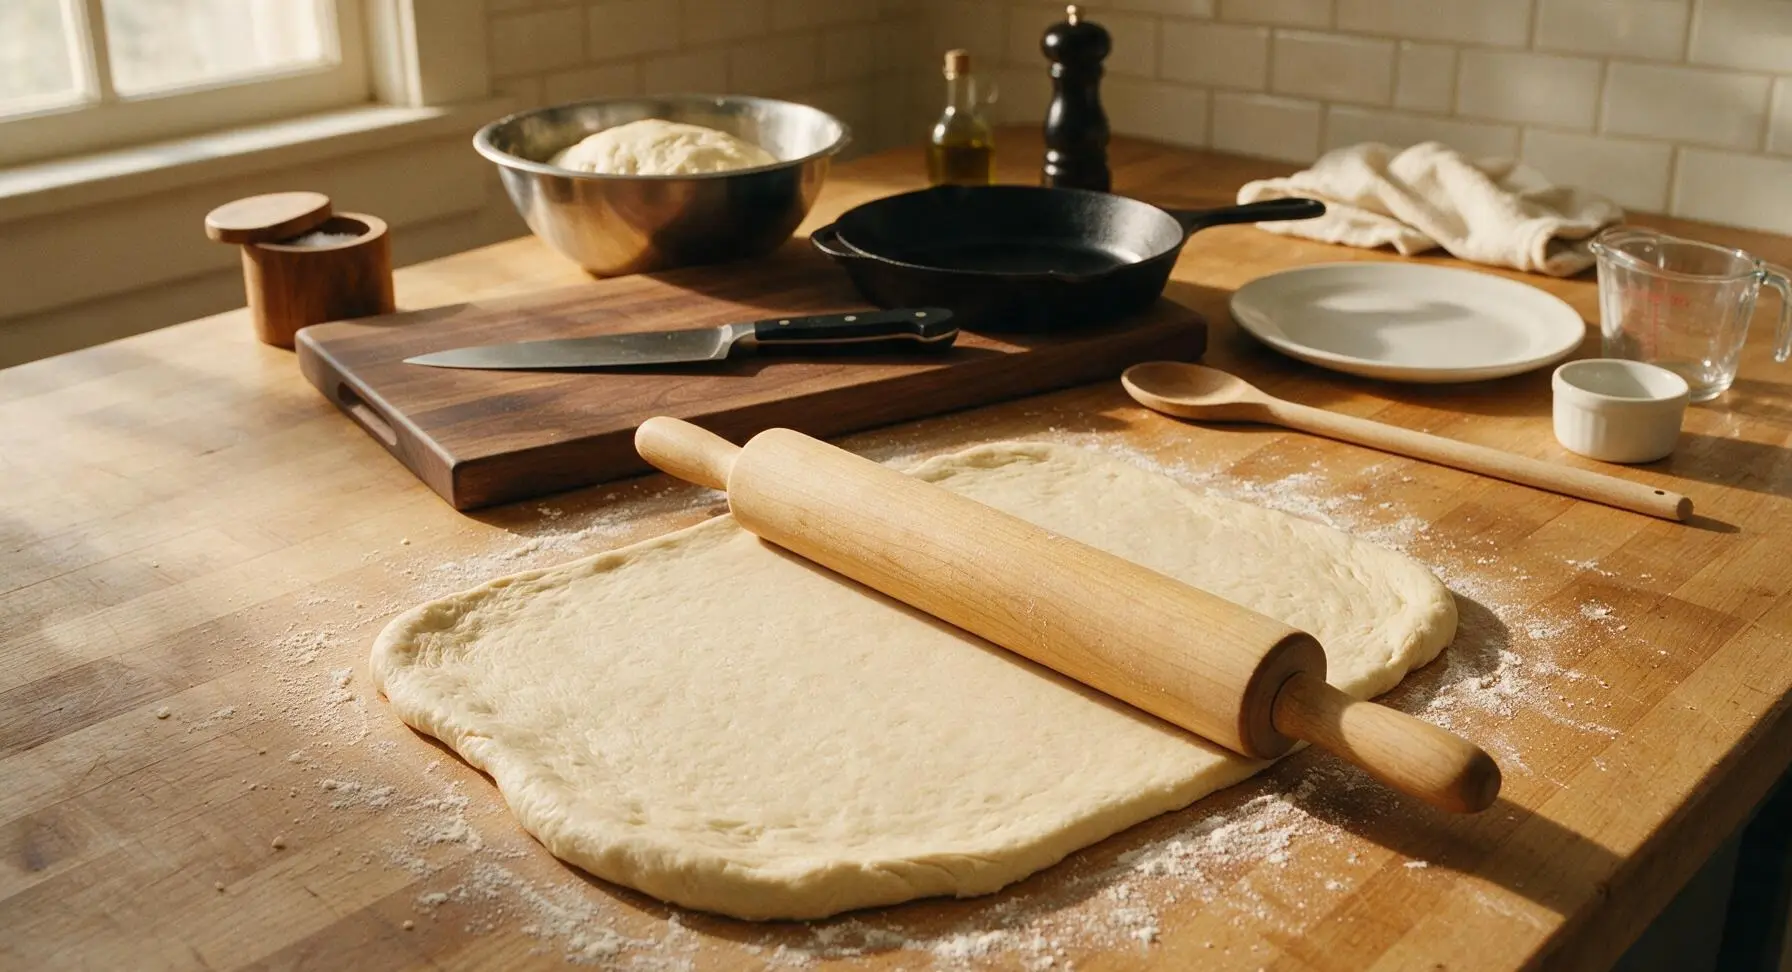
Once the dough has doubled in size, turn it out onto a lightly floured section of the maple countertop. Use the solid hard maple rolling pin to roll the dough into an even 1/4-inch thick rectangle measuring roughly 12x10 inches. Smooth out any trapped air bubbles as you roll, keeping the edges as straight as possible to ensure uniformly sized rolls. The dough will feel soft and elastic, springing back slightly when pressed gently with a fingertip.
Make Peppermint Filling
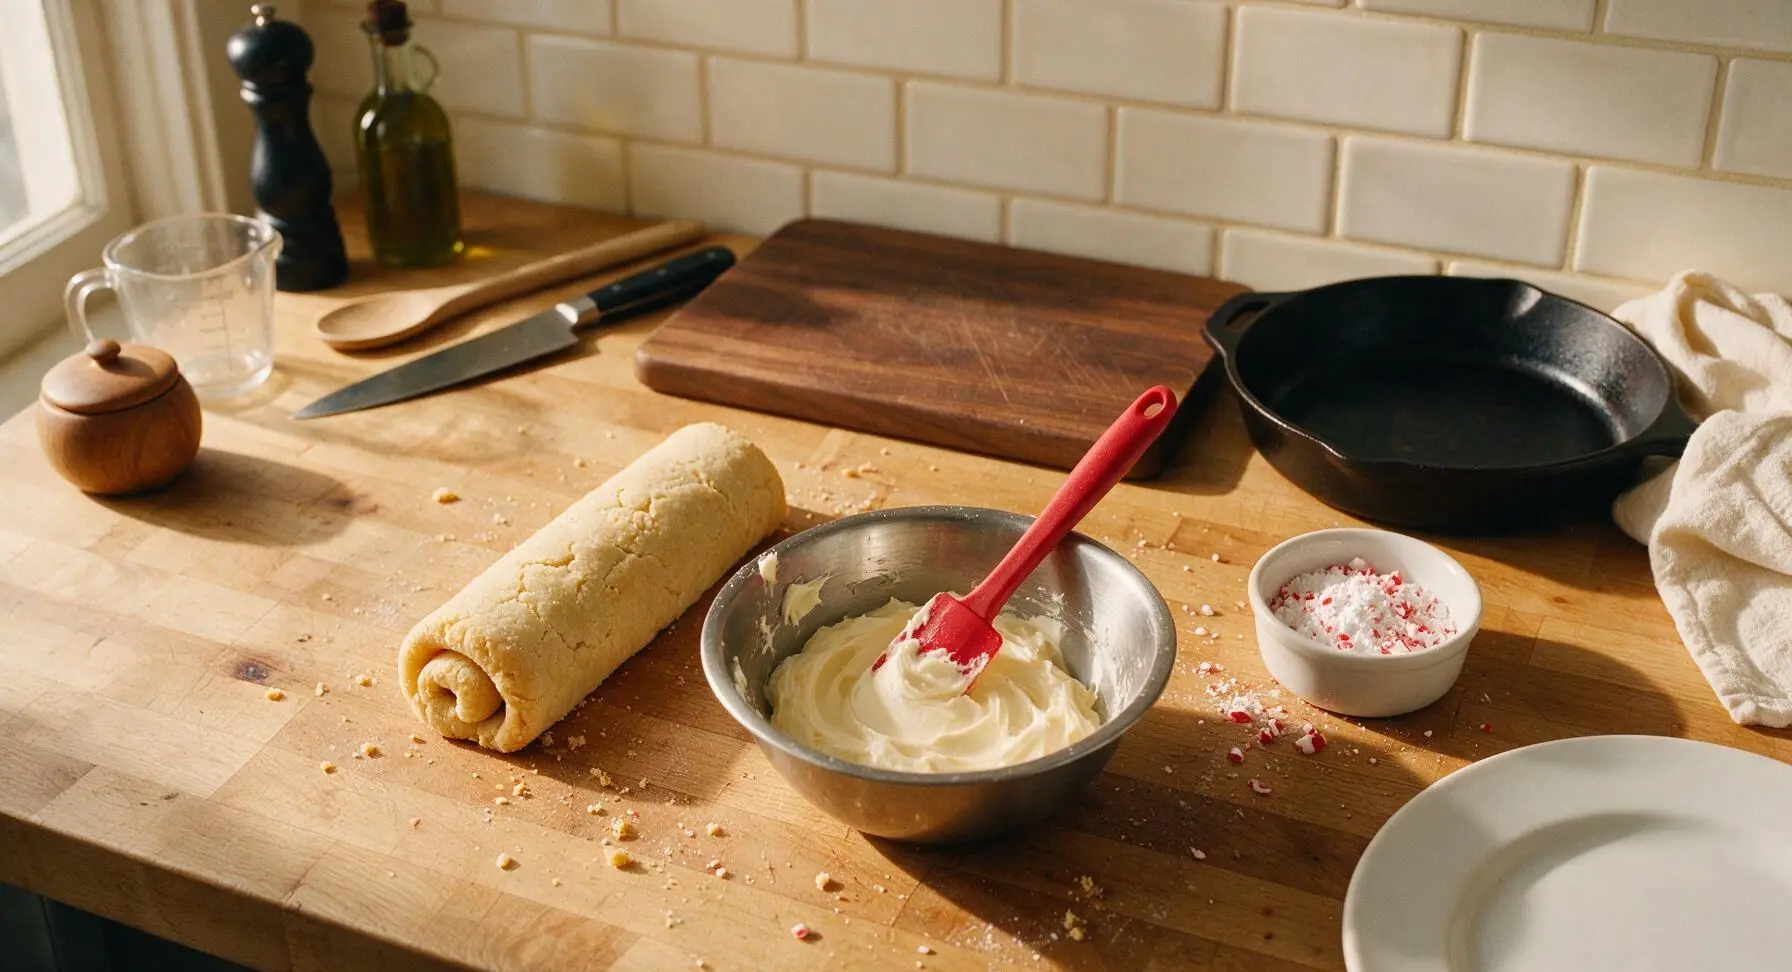
In the small brushed stainless steel mixing bowl, combine softened unsalted butter, powdered sugar, and peppermint extract. Use the silicone spatula to mix until smooth, light, and easily spreadable, with no lumps of cold butter remaining. The finished filling will be pale cream in color with a bright, fresh peppermint aroma. Set aside 2 tablespoons of crushed peppermint candy for topping, leaving 1/3 cup to layer inside the rolls.
Fill and Roll Log
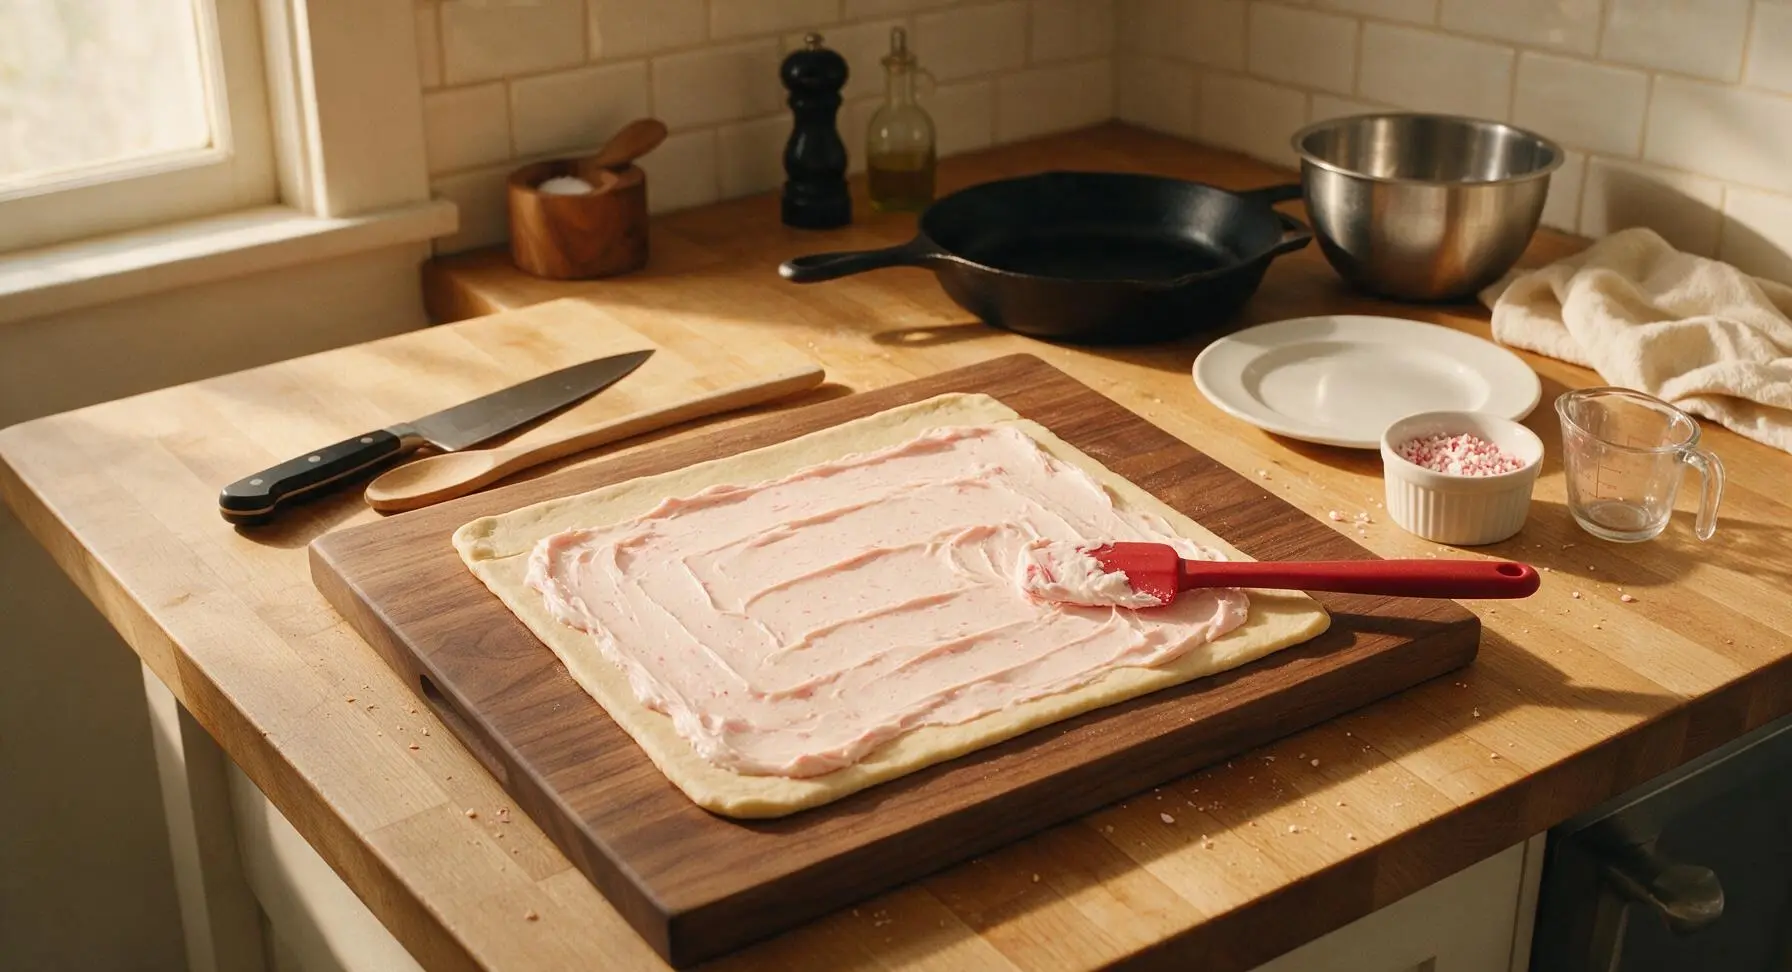
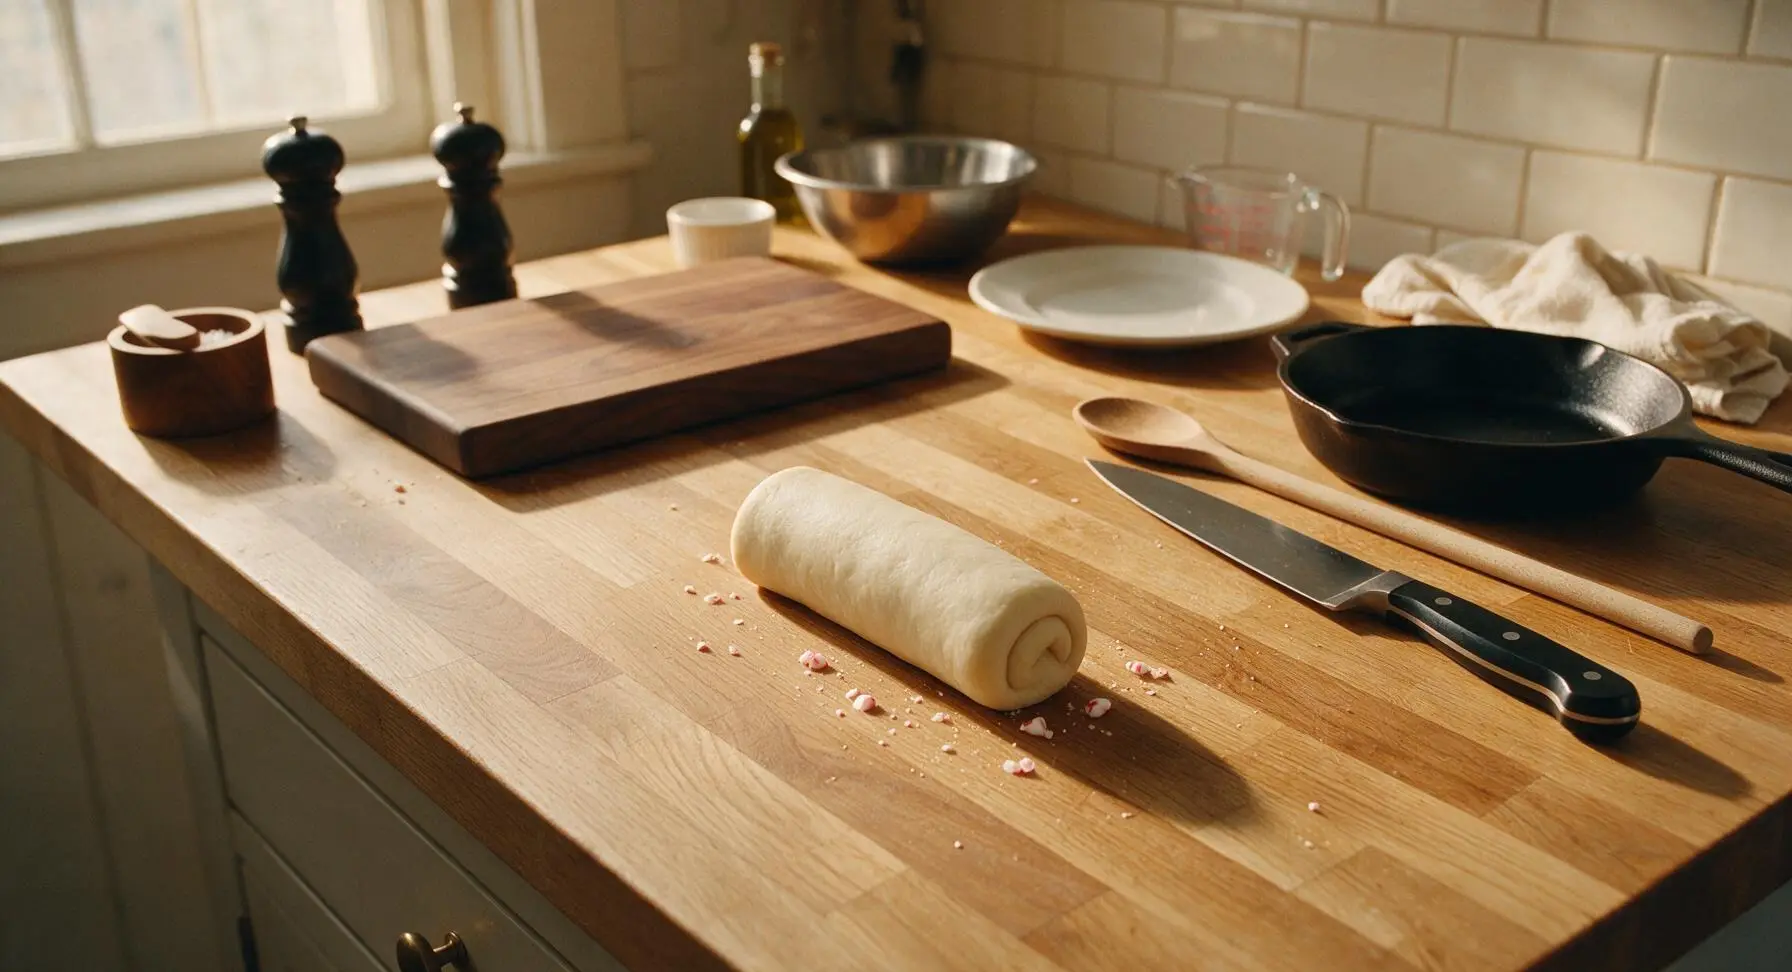
Use the silicone spatula to spread the peppermint butter filling evenly across the entire surface of the rolled dough rectangle, leaving a 1/4-inch bare border along the top long edge to create a tight seal. Sprinkle the 1/3 cup of crushed peppermint candy evenly over the butter filling, pressing gently so the candy adheres to the butter. Starting from the long edge opposite the bare border, roll the dough tightly into a uniform log, pinching the bare border to seal the seam closed. The finished log will be even in thickness along its 12-inch length.
Cut into Mini Rolls
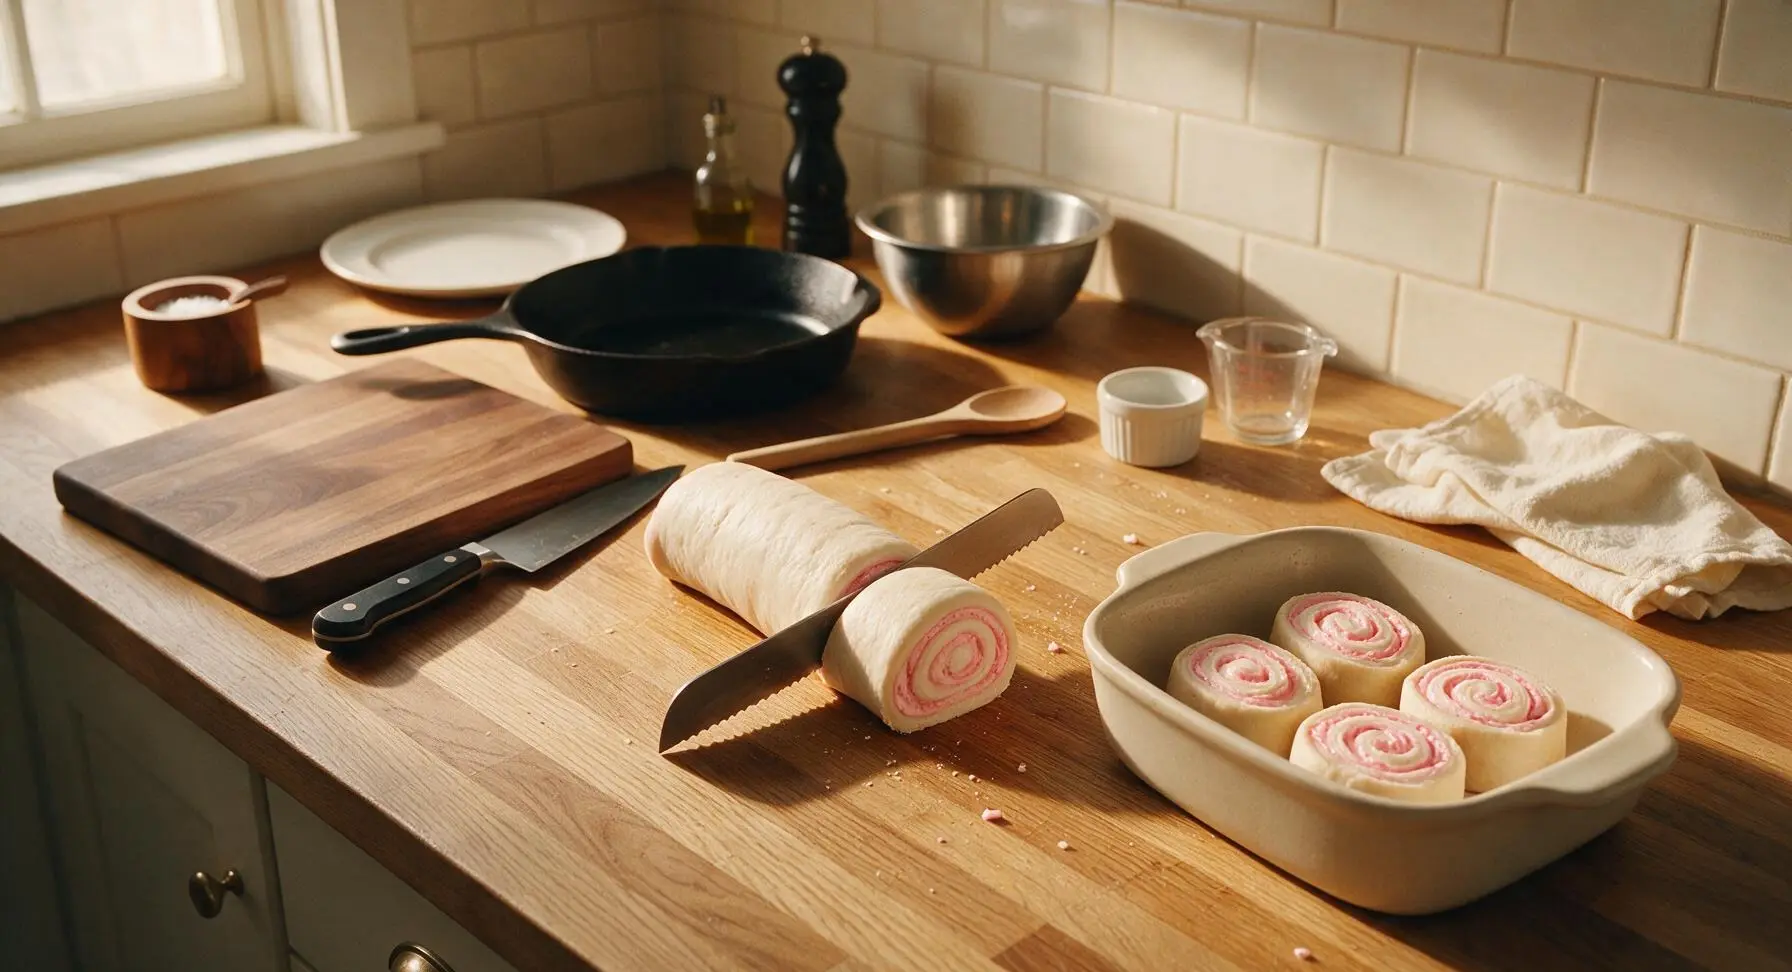
Use the serrated bread knife to cut the dough log into 12 equal 1-inch thick mini rolls, using a gentle sawing motion to avoid squishing the soft dough. Wipe the knife blade between cuts if it becomes coated in filling to ensure clean, even edges. Arrange the cut rolls cut-side up in the matte cream ceramic baking dish, leaving 1/2 inch of space between each roll to allow room for the final rise.
Bake to Golden Brown
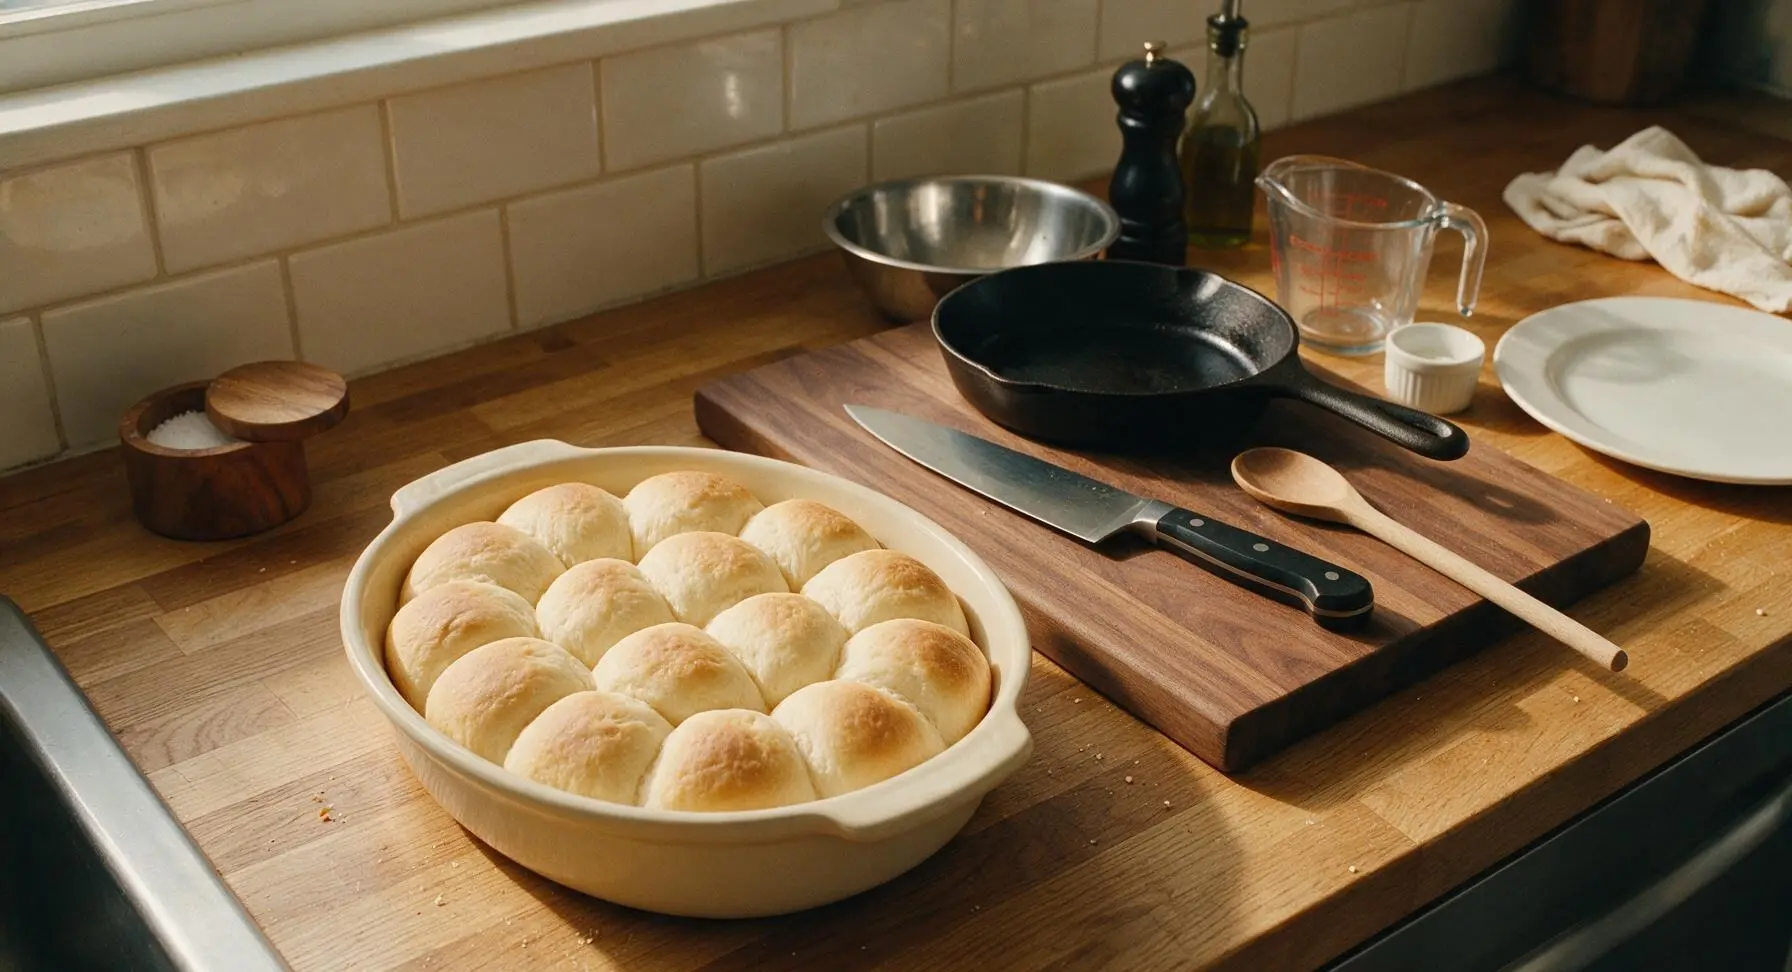
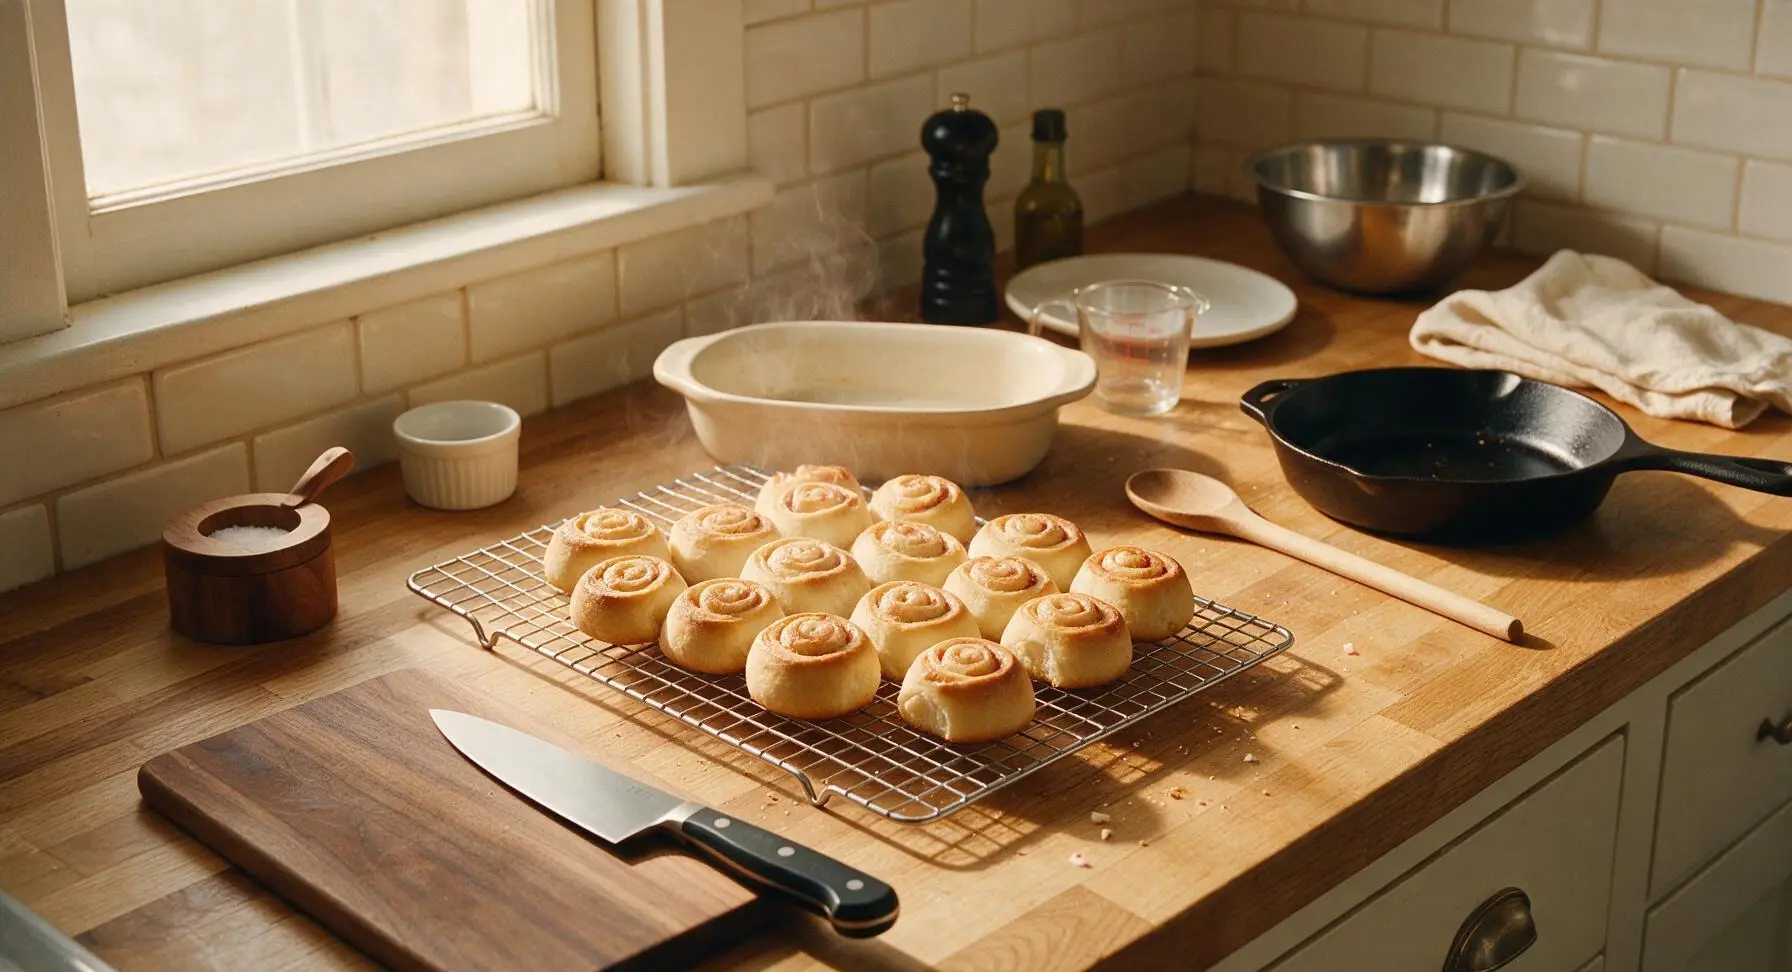
Cover the baking dish of cut rolls loosely with parchment paper, and let rise in a warm spot for 20 minutes until the rolls are puffed and touching each other at the edges. Preheat the oven to 375°F (190°C) while the rolls rise. Remove the parchment cover, then bake for 12-15 minutes until the roll tops are light golden brown, and the internal temperature reaches 190°F (88°C). Do not overbake, as this will lead to dry, tough rolls. Remove from the oven and let cool in the dish for 5 minutes, then transfer rolls to the wire cooling rack.
Glaze and Garnish Rolls
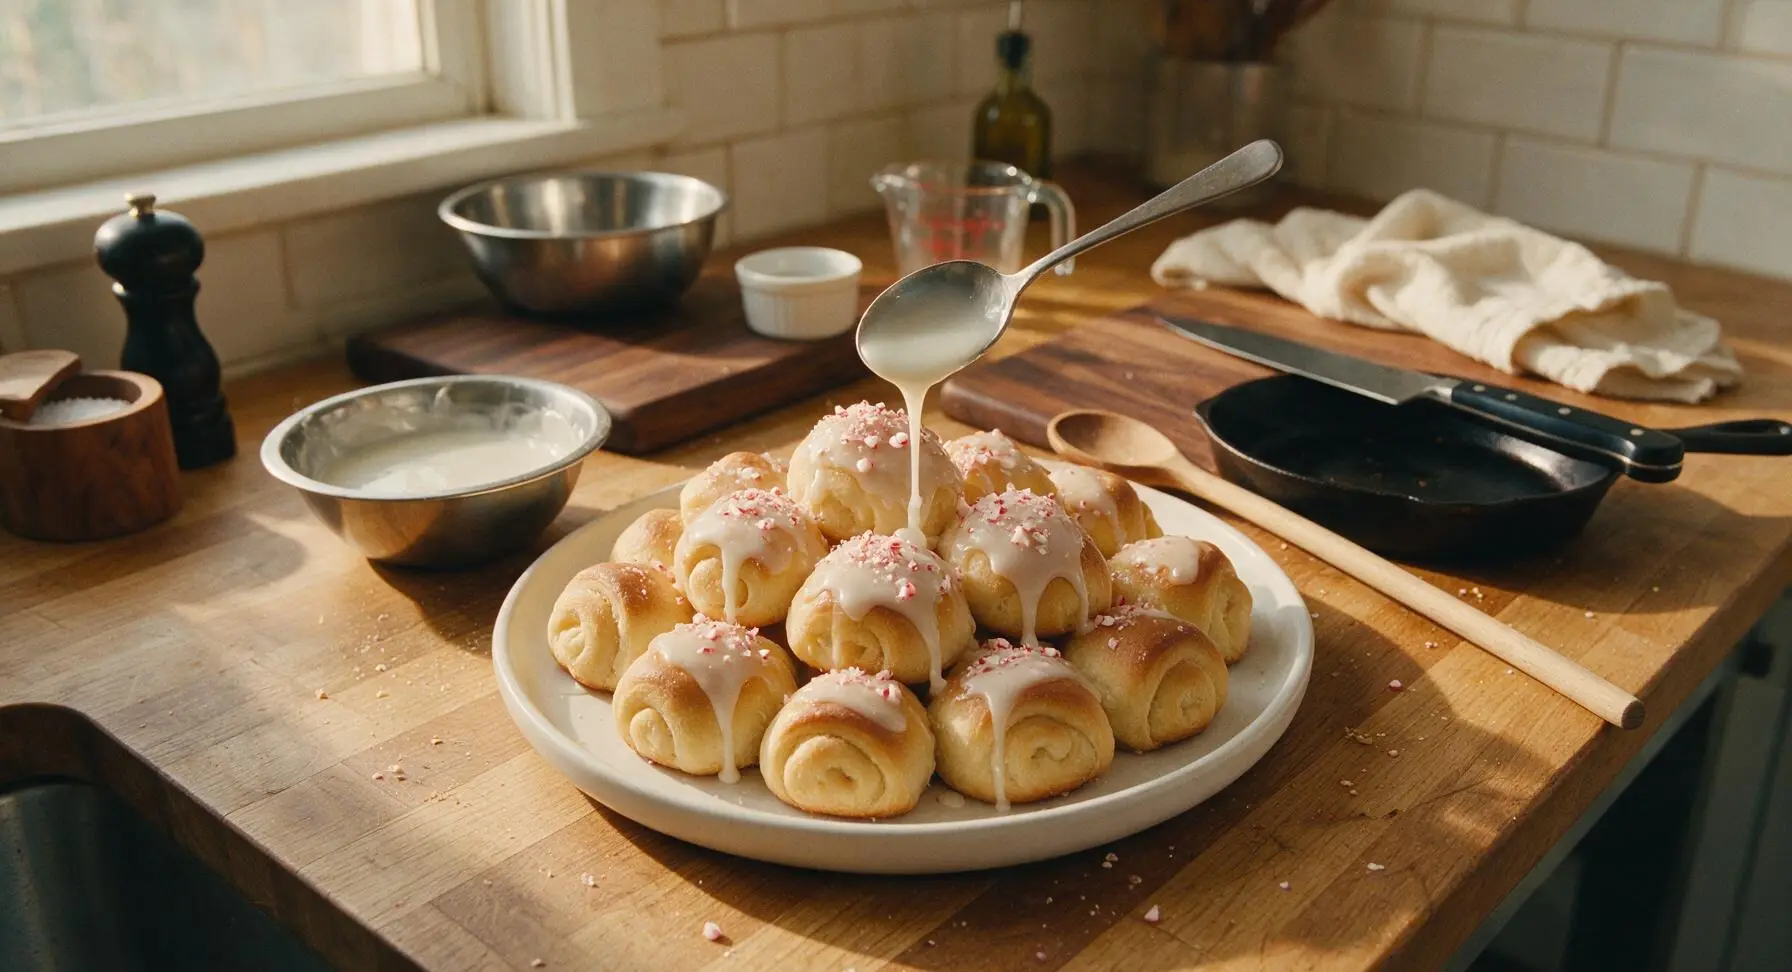
While the rolls cool slightly, make the vanilla glaze in the small stainless steel mixing bowl: stir together powdered sugar, remaining 2 tablespoons whole milk, and vanilla extract until smooth, with a thick, pourable consistency (add 1 teaspoon more milk if too thick, or 1 tablespoon more powdered sugar if too thin). Drizzle the glaze evenly over the warm rolls, letting it drip down the sides between the swirled layers. Sprinkle the reserved 2 tablespoons of crushed peppermint candy over the wet glaze immediately, so the candy adheres as the glaze sets. Transfer glazed rolls to the serving platter.
Tips
2.Use a gentle sawing motion with the serrated bread knife when cutting the dough log: pressing straight down with a smooth-bladed knife will squish the soft dough and push peppermint filling out the sides, leading to misshapen rolls with uneven, messy layers.
3.Glaze the rolls while they are warm (not piping hot, 5-10 minutes out of the oven): warm rolls help the glaze spread smoothly and stick to the surface rather than sliding off, but rolls that are too hot will melt the glaze into a thin, runny coating that does not hold the crushed peppermint topping.






These taste just like the peppermint rolls my mom used to make every Christmas when I was a kid! I added a little extra cream cheese to the glaze because that’s how we always made it, and it turned out perfect. Thank you so much for sharing this recipe, it brought back so many happy memories.
Made these for meal prep to snack on throughout the week and they hold up so well! I stored them in an airtight container on the counter and they were still soft and flavorful 4 days later. Perfect little sweet treat to grab between work meetings.
Wait the difficulty says medium? I’ve been baking for years and I thought these were pretty easy! The only thing I messed up was adding too much milk to the glaze at first, so it was super runny, but I just added a little extra powdered sugar to thicken it up and it was fine. The peppermint flavor is chef’s kiss, will be making these for New Years too!
These are SO good but warning: if you leave a plate of them out on your counter at a party, they will be gone in 10 minutes flat. I made a double batch for my friend’s ugly sweater party and there were zero leftovers. I’m not even mad about it tbh.
Is it just me or is the folding/rolling part way trickier than the difficulty level makes it sound? I’ve made regular cinnamon rolls a million times but the mini size had my dough tearing every time I tried to cut the rolls. Ended up with some very lumpy looking rolls but they still tasted great lmao
OMG these mini peppermint rolls were a total game changer for our Christmas morning breakfast! My kids devoured them before I even got a second one, they kept begging for more. The peppermint flavor isn’t too overpowering, which is perfect because my youngest hates super minty stuff. 10/10 will be making these for every holiday brunch from now on!
The cook time listed says 15 minutes but mine took almost 22 minutes to get golden on top? Maybe my oven runs cold, just a heads up for other bakers! Other than that, these were absolutely delicious, I loved how soft the rolls turned out.
Wait, has anyone tried making these without the peppermint extract? I realized halfway through prepping that I ran out, and I’m panicking a little because I promised to bring these to my friend’s holiday dinner tonight. Would vanilla work as a substitute?
Wait, can I make these gluten free? My sister has celiac and I want to make something she can eat for our family dinner next week, these look so good I don’t want her to miss out!
Made these in my tiny dorm oven last night for my floor’s holiday party and everyone went crazy for them! I didn’t have a rolling pin so I used a tall water bottle to flatten the dough and it worked perfectly. Super easy even with my limited kitchen supplies, 10/10.
Took these to my office holiday potluck yesterday and people would NOT stop asking me for the recipe. They’re the perfect bite size so you don’t feel like you’re overdoing it on sweets, and the peppermint glaze is *chef’s kiss*. SO good, will definitely be a repeat for next year’s party.