
mini sandwich cakes
intro
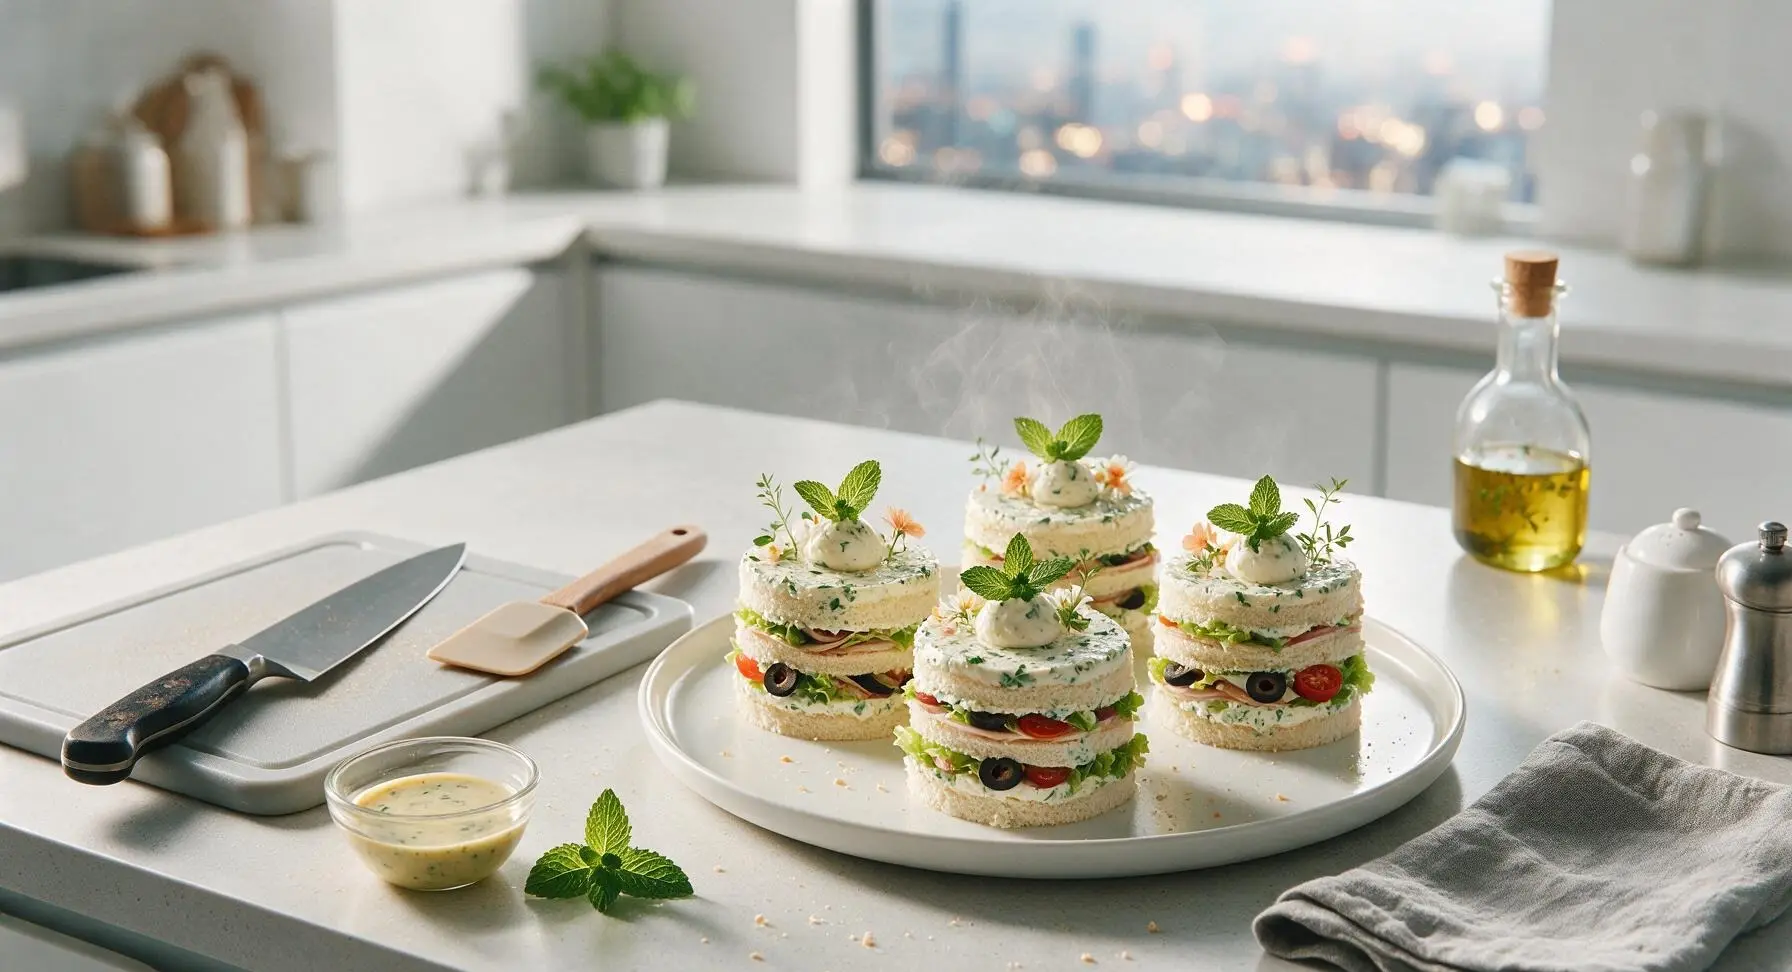
Adorable individual savory sandwich “cakes” layered with fresh fillings, frosted in herby cream cheese, and decorated like tiny layer cakes—perfect for birthday parties and spring afternoon tea spreads.
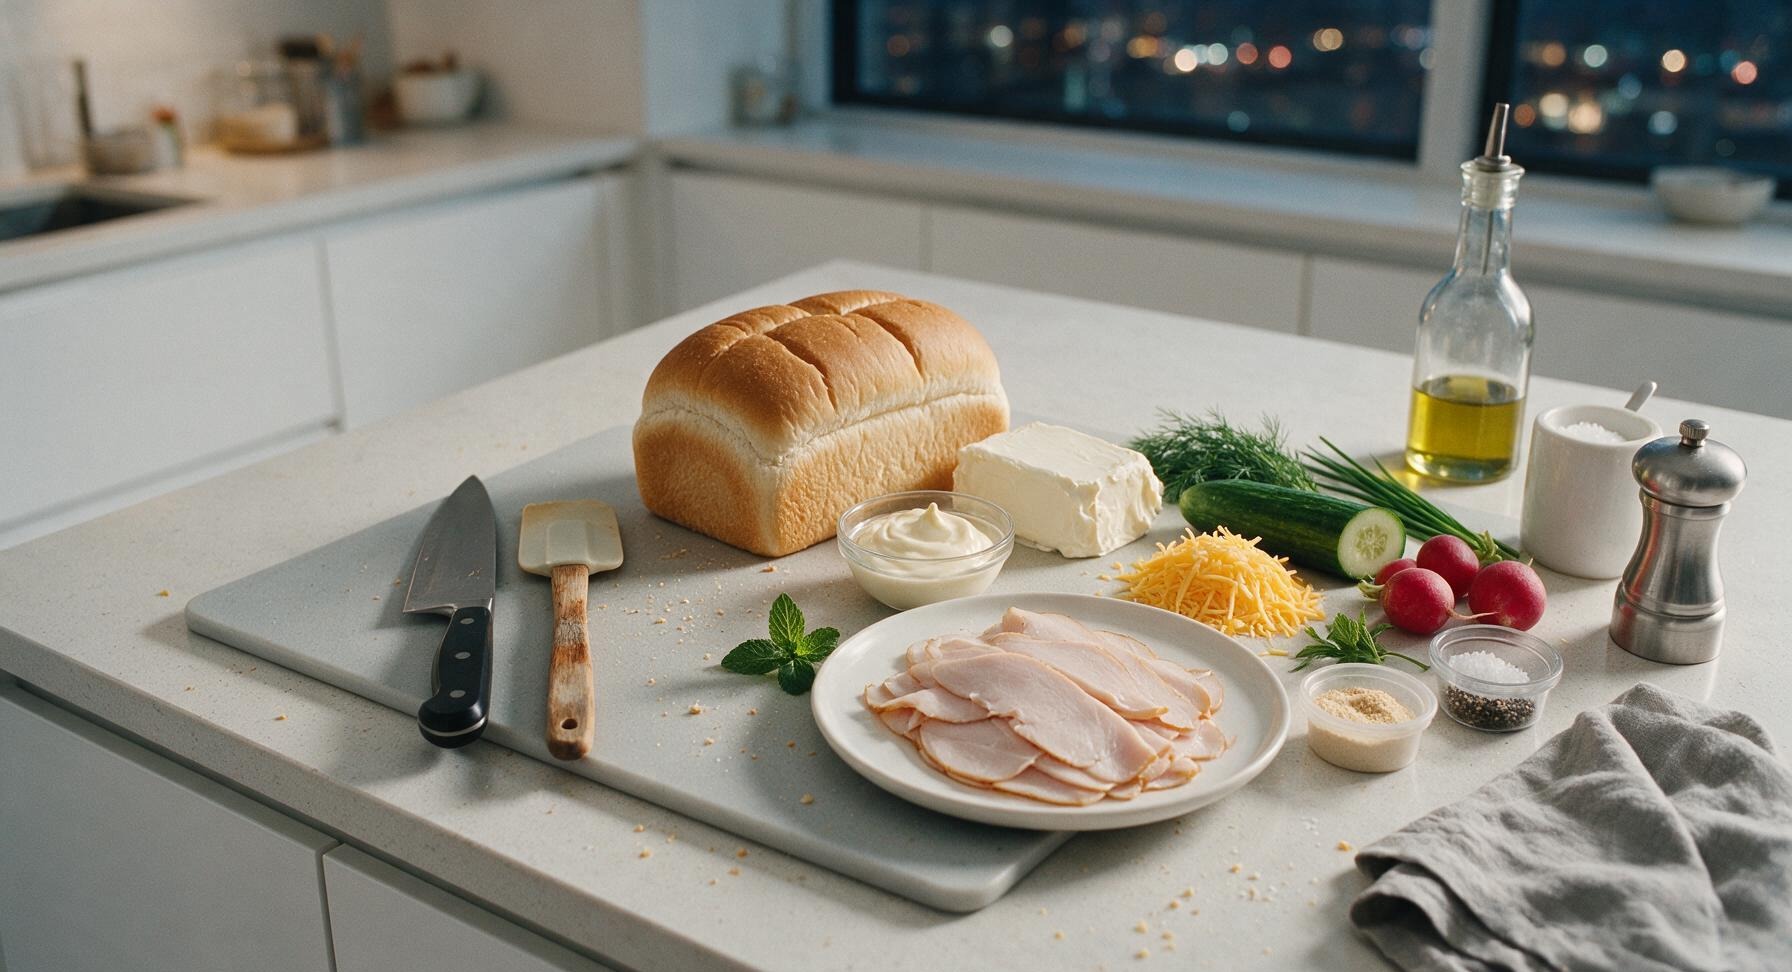
Ingredients
Steps
Cut uniform bread rounds
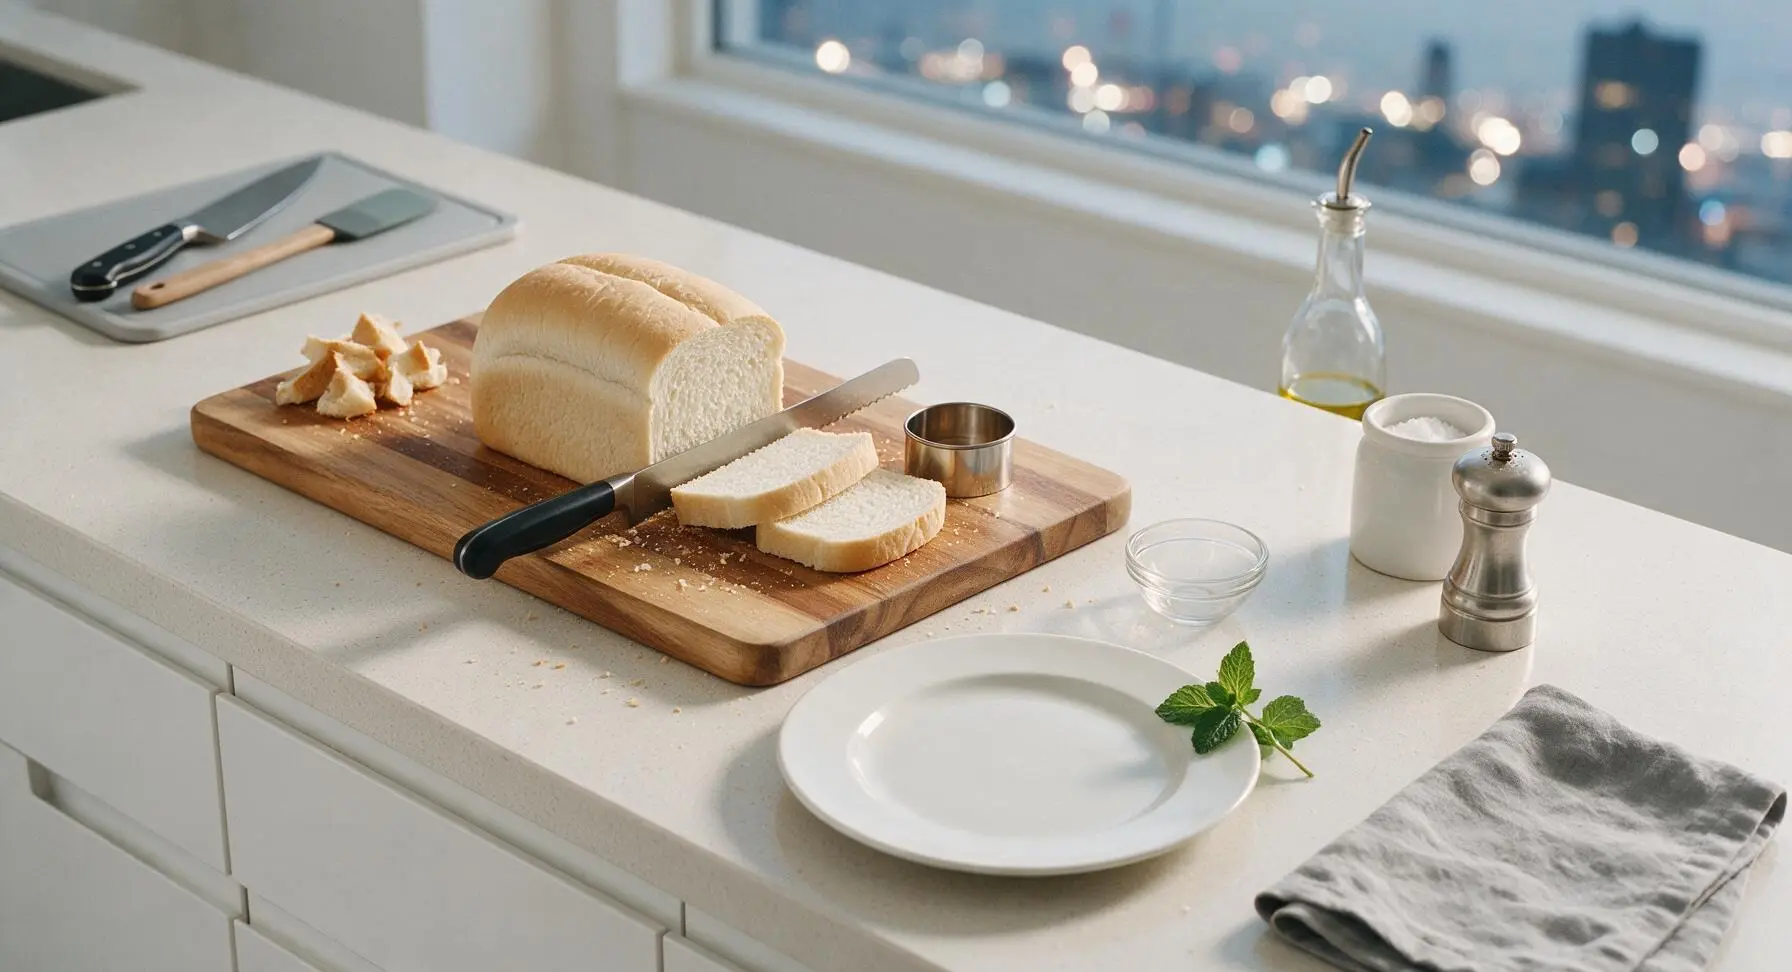
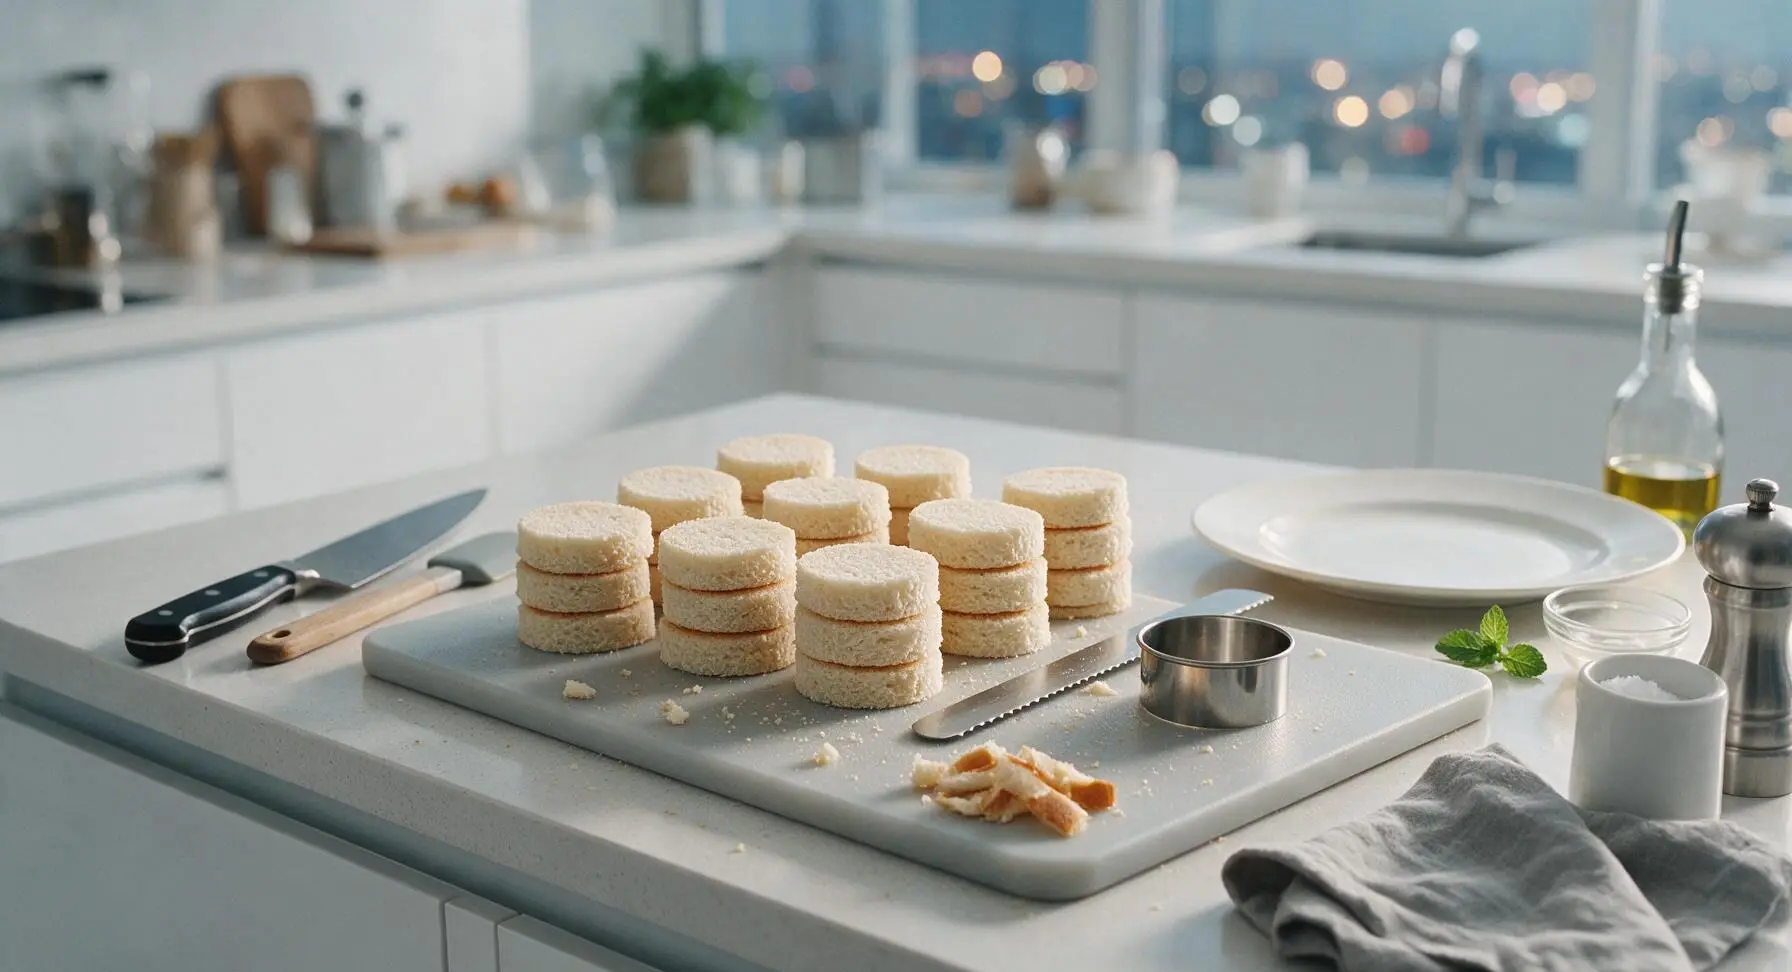
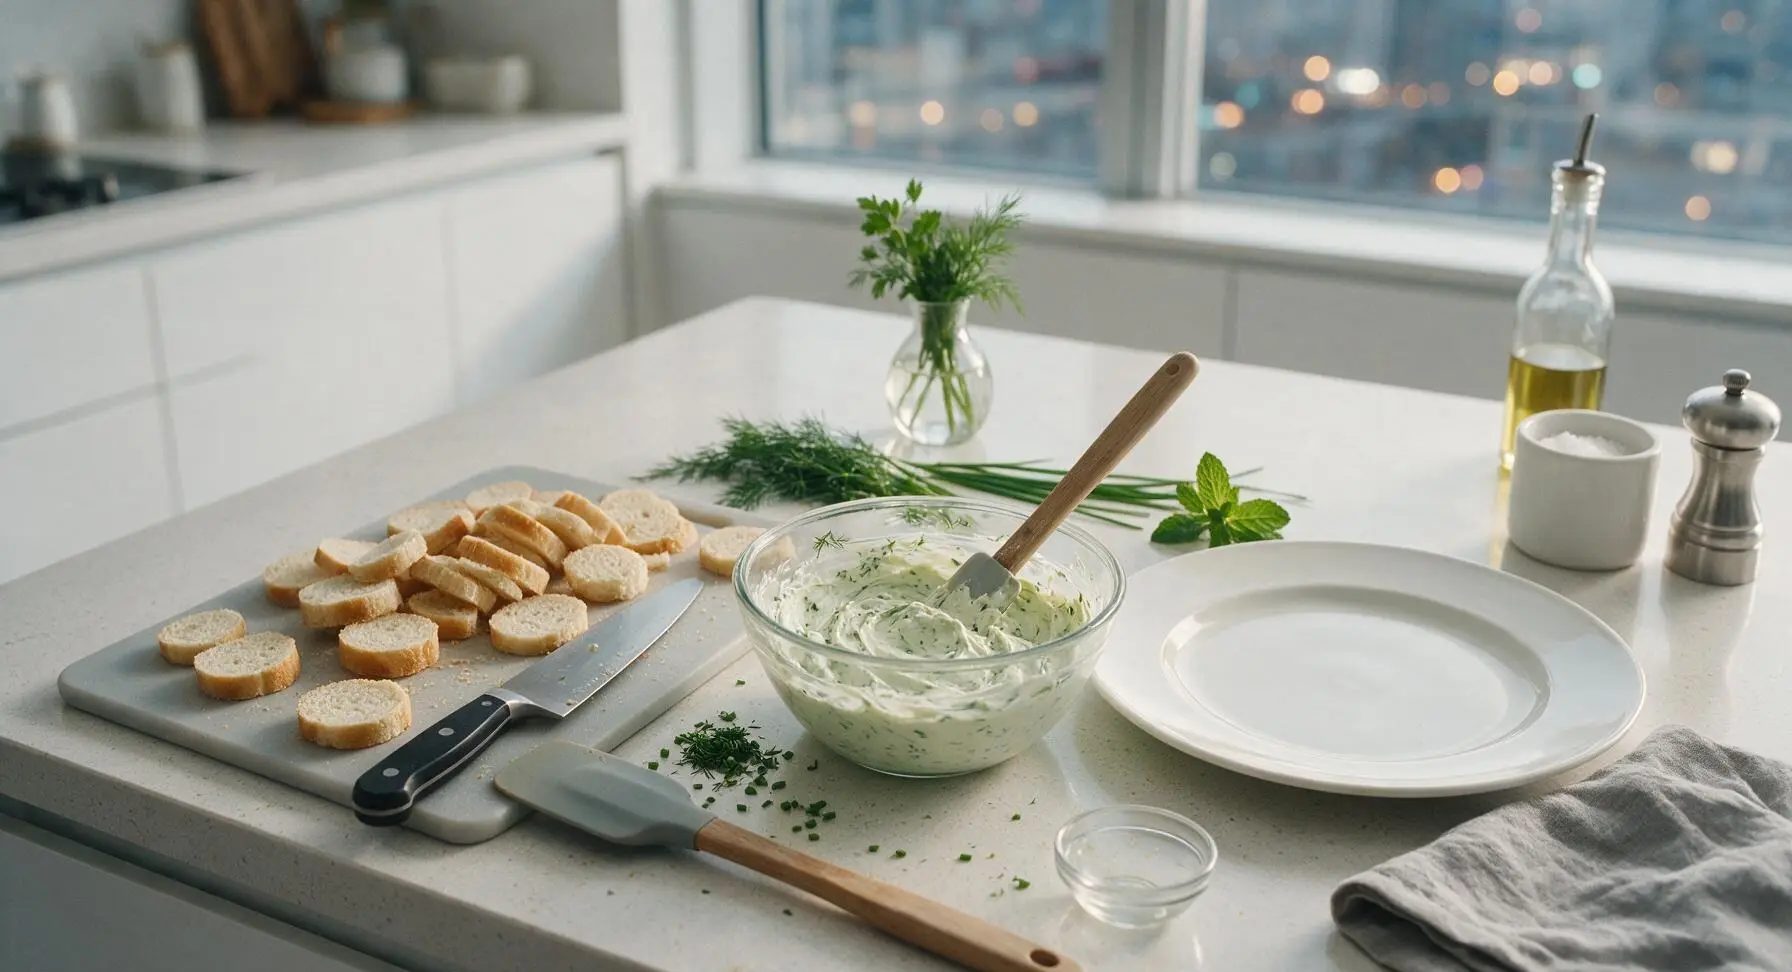
Place the unsliced white bread loaf on the acacia wood cutting board. Use the serrated bread knife to cut 24 even 1/2-inch thick slices, discarding the crusty end pieces. Press the 3-inch stainless steel round biscuit cutter straight down through each bread slice to cut 24 perfect uniform rounds, gathering scraps in a small pile at the corner of the board. You will need 3 rounds per mini sandwich cake. Do not twist the cutter, as this will tear the soft bread crumb.
Mix herbed cream cheese
In the clear glass mixing bowl, combine the softened room-temperature cream cheese, mayonnaise, garlic powder, salt, and pepper. Use the offset spatula to stir the mixture until completely smooth, with no lumps remaining. Finely chop 2/3 of the dill and chives, then stir the chopped herbs into the cream cheese mixture until evenly distributed, creating a pale green-flecked “frosting”. Reserve the remaining whole dill fronds and chive lengths for decoration later.
Prep layered fillings
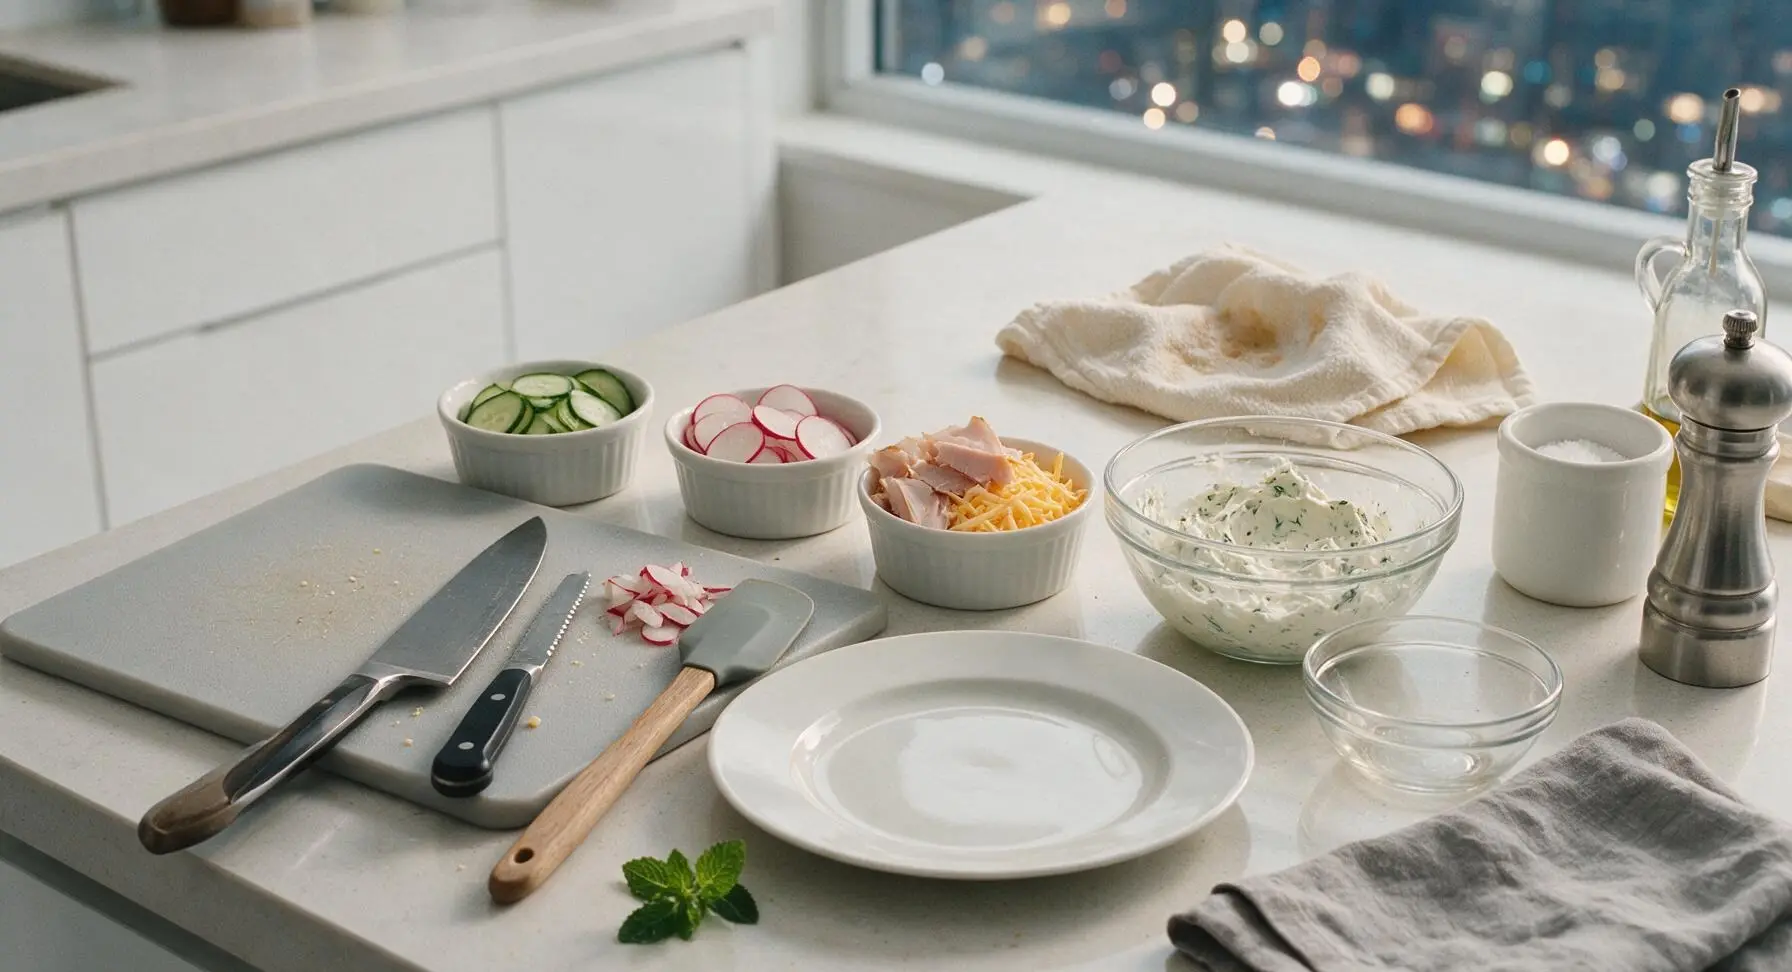
Use the serrated knife to slice the half seedless cucumber into paper-thin rounds, then pat the slices very dry with a corner of the linen towel to remove excess moisture. Thinly slice 3 of the radishes into paper-thin rounds, and cut the fourth radish into tiny flower shapes for decoration. Pat the sliced smoked turkey dry, then tear or cut into 3-inch pieces to match the size of the bread rounds. Place the cucumber, radish slices, and mixed turkey and shredded cheddar into the three small white ramekins for easy assembly.
Stack sandwich layers
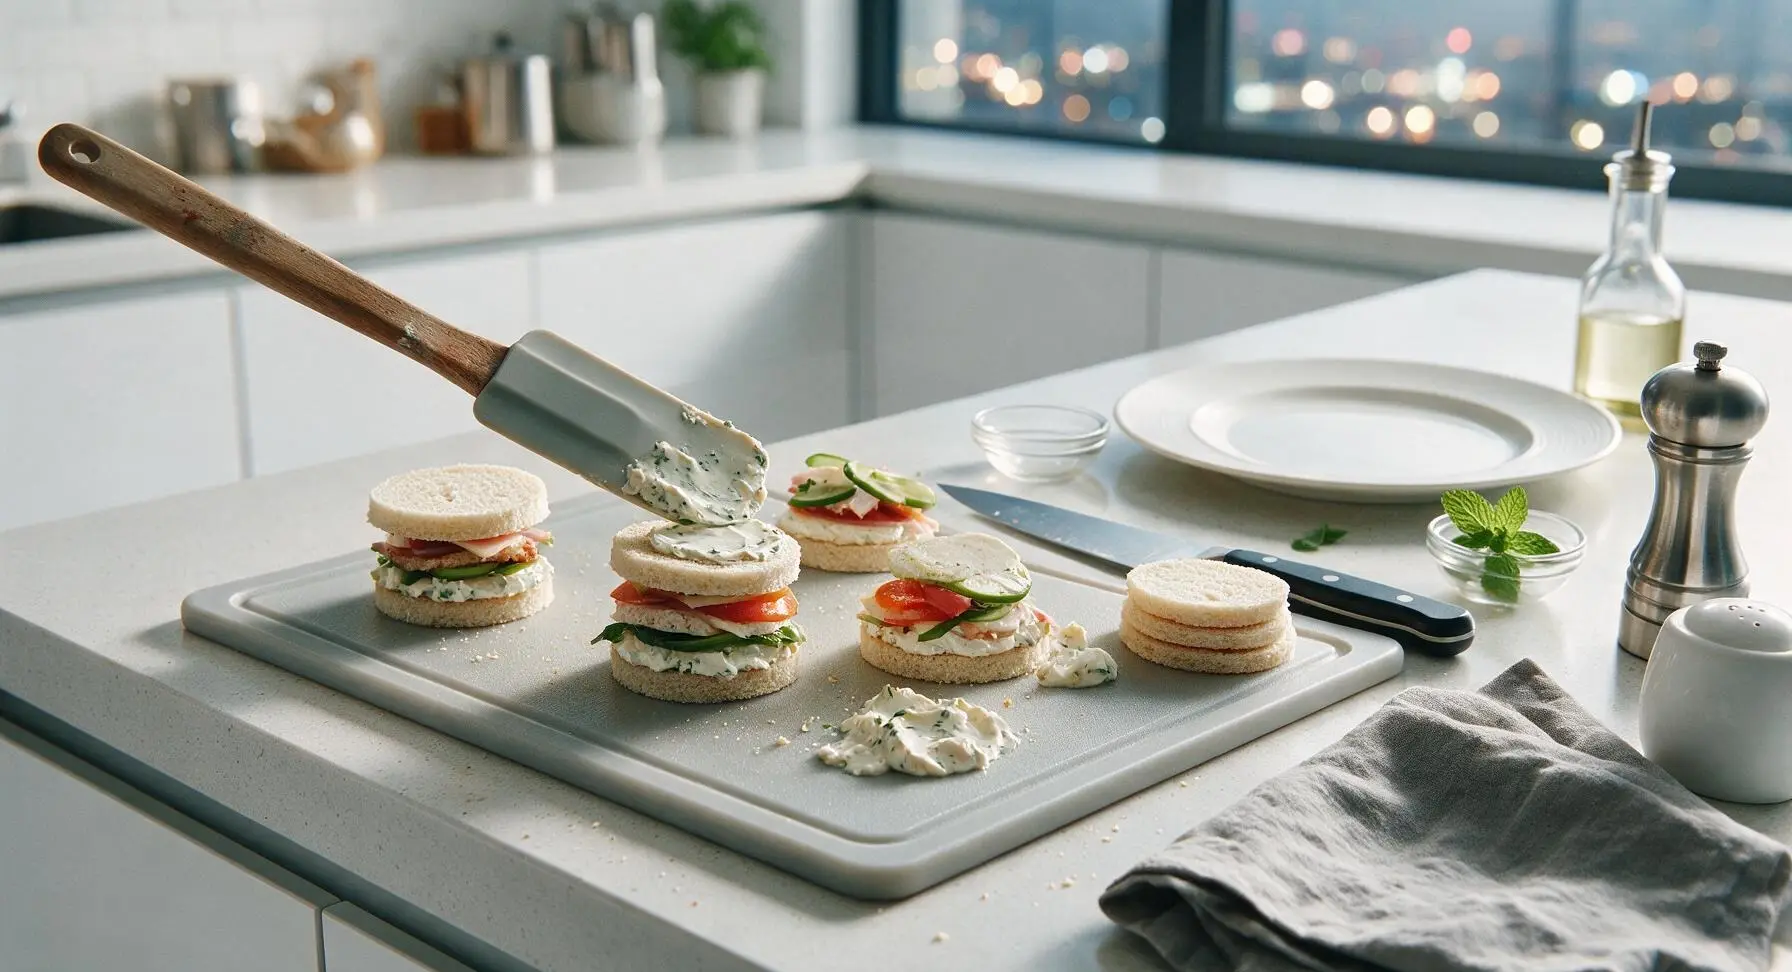
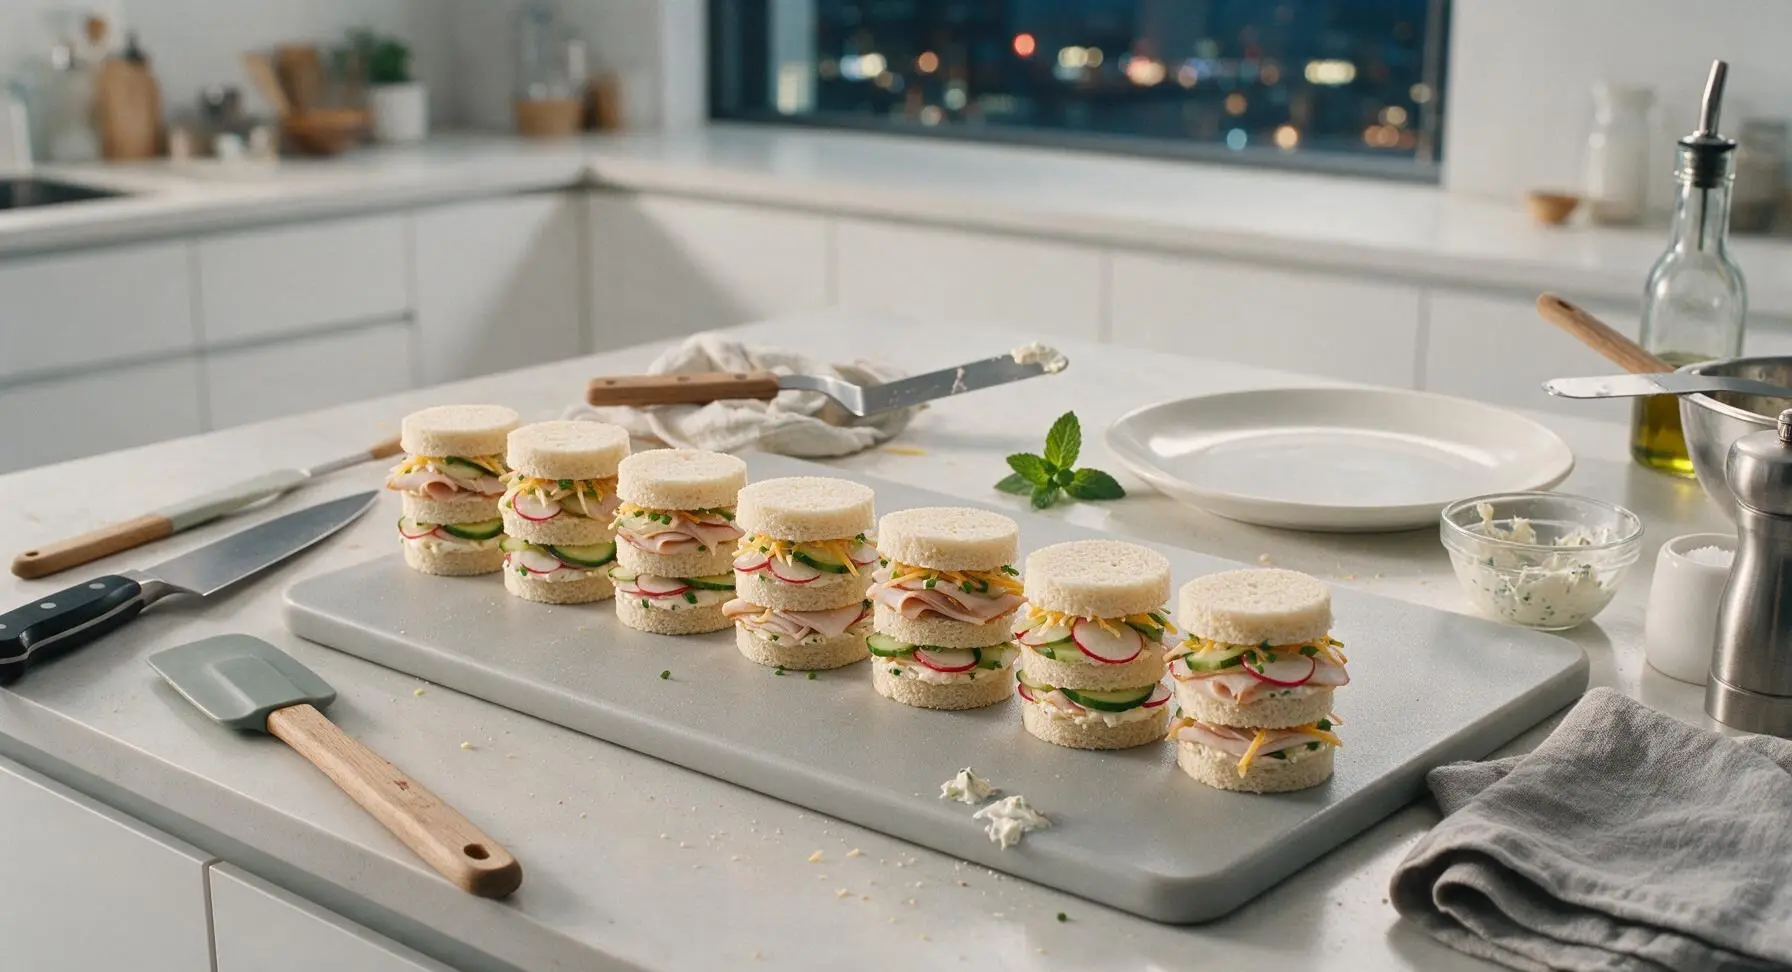
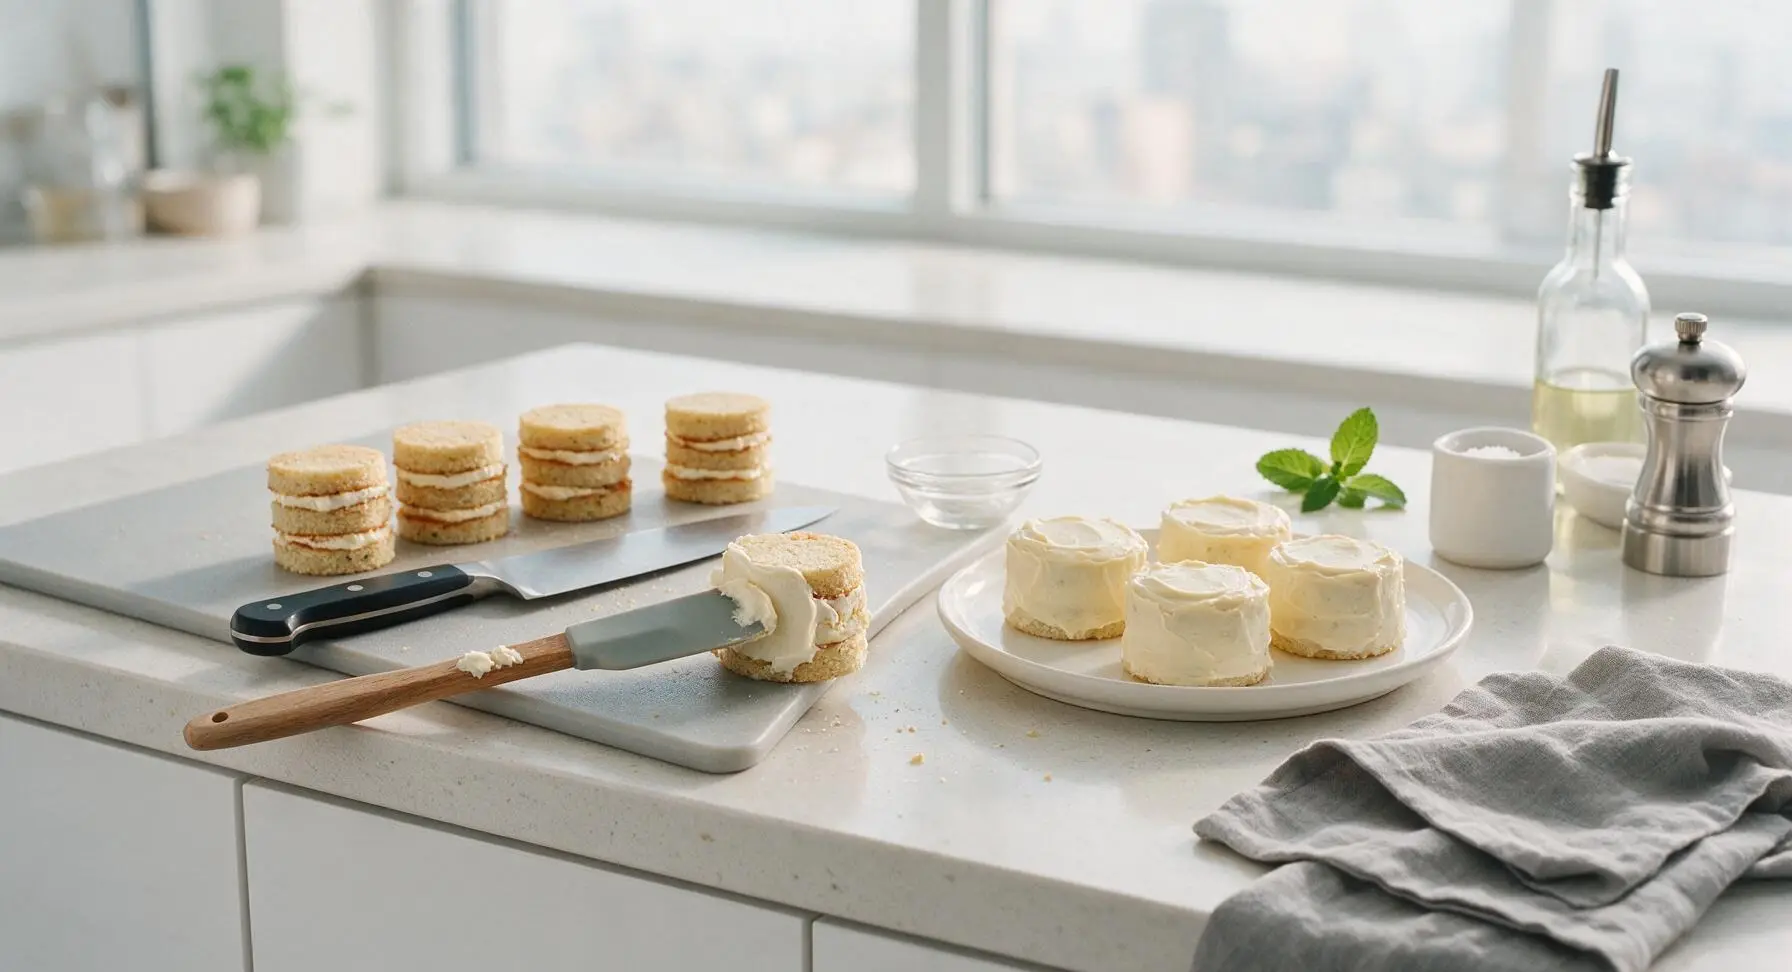
Working on the acacia cutting board, take one bread round and spread a thin 1/8-inch layer of herbed cream cheese evenly across the top using the offset spatula. Top with a layer of smoked turkey, a light sprinkle of shredded cheddar, and 2-3 thin cucumber slices. Place a second bread round on top, press gently to adhere, then spread with another thin 1/8-inch layer of cream cheese, top with overlapping radish slices and a light sprinkle of finely chopped chives. Place the third bread round on top, press gently with the palm of your hand to create a neat, even 2-inch tall mini stack. Repeat this process to make 8 total identical mini stacks, setting each finished un-frosted stack in a row on the edge of the cutting board.
Frost cake exteriors
Use the offset spatula to spread a thin, even 1/8-inch layer of the remaining herbed cream cheese around the sides and top of each mini stack, covering the bread edges completely to create a smooth “frosted” surface, just like a miniature layer cake. Hold the spatula at a 45-degree angle against the cake sides as you slowly turn the cake to create an even, smooth finish. Don’t worry about minor imperfections or slight texture—these look homemade and inviting, rather than overly polished. As you finish frosting each cake, lift it gently with the spatula and transfer it to the large rectangular matte white serving platter, spacing the cakes 1 inch apart.
Decorate mini cakes
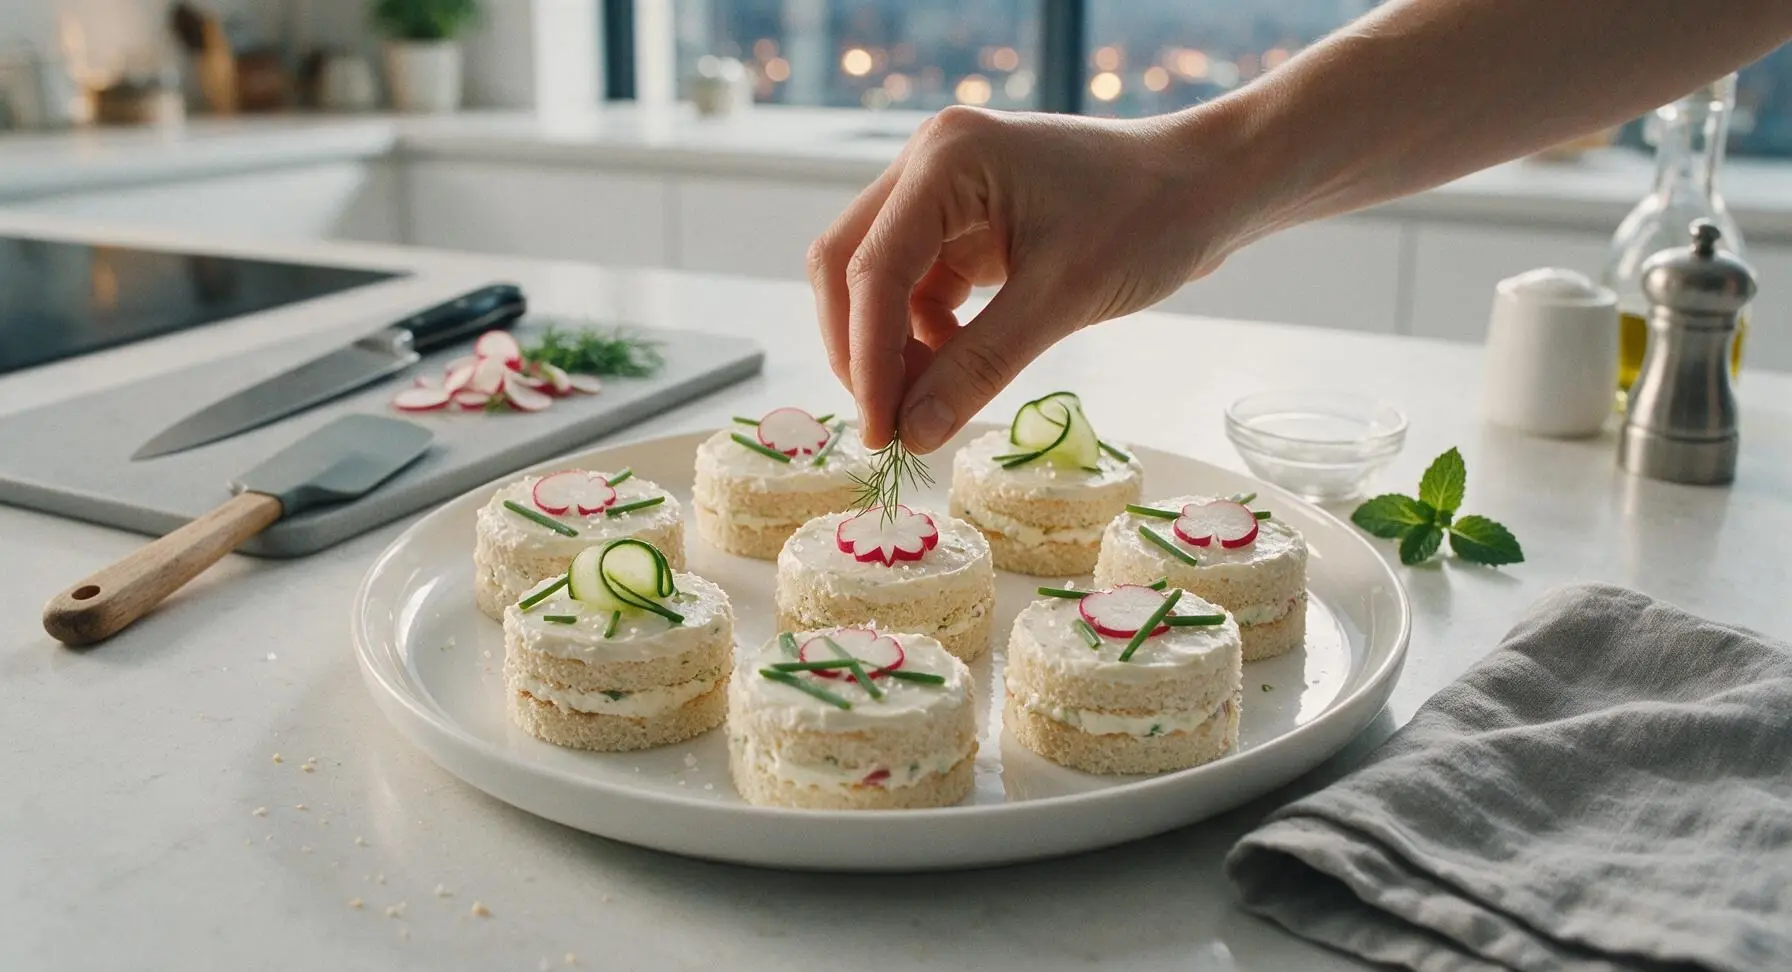
Top each frosted mini cake with simple decorative garnishes: place one tiny radish flower cutout at the exact center of each cake top, tuck a small fresh dill frond next to the radish, and arrange 2-3 1-inch long chive pieces to mimic decorative piped icing details. Add a single curled thin cucumber slice to half of the cakes for subtle visual variety. Lightly sprinkle a tiny pinch of flaky sea salt over the top of each cake to brighten the flavors.
Chill to set
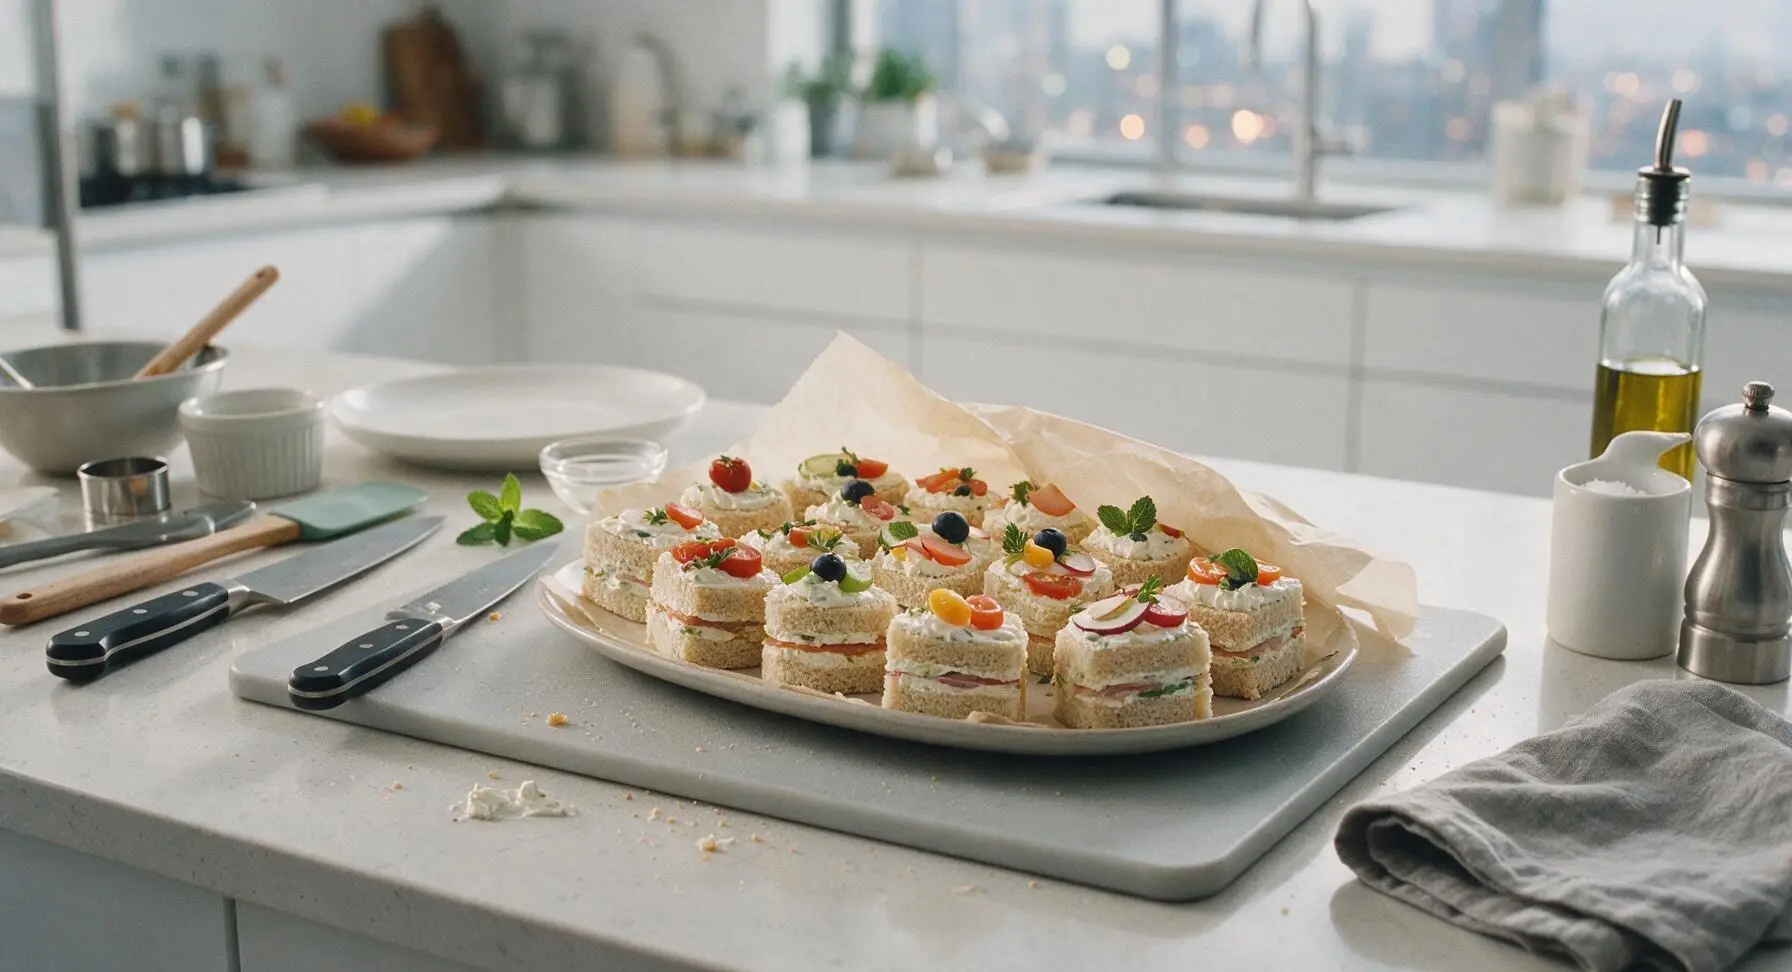
Transfer the platter of decorated mini sandwich cakes to the refrigerator to chill for exactly 1 hour at 4°C (39°F), which allows the cream cheese frosting to firm up slightly and the bread and filling flavors to meld together. Do not wrap the platter tightly in plastic wrap, as trapped condensation will smudge the smooth frosting and wilt the fresh herb garnishes; loosely drape a single sheet of unbleached parchment paper over the top if chilling for longer than 1 hour. The cakes are ready to serve when the frosting is firm to a light touch and does not smear when pressed gently with a fingertip.
Tips
2.Pat all vegetable fillings completely dry with a towel before assembling: excess moisture from cucumbers and radishes will seep into the soft bread and turn the cakes soggy, even after a short chill time.
3.Wait to add fresh herb garnishes until right before serving if making more than 4 hours ahead: tender dill and chives will wilt and darken after prolonged exposure to cold refrigerator air, losing their bright fresh appearance.






OMG these were such a game changer for my kid’s soccer team snack day! No baking required, I prepped them the night before, let them chill overnight instead of just an hour and they held together perfectly. All the parents asked for the recipe!!
Brought these to my office potluck last week and they were gone in 10 minutes flat! I did a layer of pimento cheese, a layer of ham and pickles, and they tasted like fancy little tea sandwiches but way less fussy. 10/10
Wait, zero cook time? Sign me up. I added these to my Sunday meal prep rotation for quick work lunches, they hold up great in the fridge for 3 days right? I don’t want them getting soggy.
I made these for my bridge club luncheon and everyone raved! I used cream cheese and cucumber filling with a sprinkle of dill, just like the tea sandwiches my mom used to make. So easy even my 8 year old granddaughter helped assemble them.
Quick question — has anyone made these with gluten free bread? I have a family member with celiac coming to our backyard BBQ and I want to make sure they don’t turn out weird with GF bread.
SO good. I made these in my dorm with just a mini fridge, no kitchen access at all. Used pre-sliced turkey, cheddar, and a little spicy mayo, let them chill in my fridge for an hour while I studied, and it felt like a fancy meal instead of sad dorm food. Will be making these every week.
Made these for a little picnic date with my partner and they were perfect! We sat by the lake, snacked on these with some sparkling lemonade, and it felt way more impressive than the effort it took. I added a layer of roasted red pepper for extra flavor, chef’s kiss.
Wait has anyone tried making these ahead and freezing them? I have a huge family reunion next month and want to get as much prep done ahead of time as possible.
My kids are SO picky and they devoured these! I cut them into little star shapes with a cookie cutter, added their favorite ham and cheese, and they thought they were getting a special treat instead of regular old sandwiches. Total mom win, will be making these for school lunches all semester.
I added a layer of pepper jack and a little sriracha cream cheese to these and wow, the kick was perfect! I was worried no-cook would mean boring flavor but you can really customize these to any taste preference. 10/10, easy enough for a weeknight snack.
Served these at my weekend brunch instead of regular bagels and sandwiches and everyone was obsessed. I did a few different fillings: lox and cream cheese with capers, egg salad, and avocado turkey, so there was something for everyone. The chill time made them so neat and easy to grab, no messy crumbs or fillings falling out!
Total newbie cook here — how tightly do I need to wrap these before chilling? I don’t want them to fall apart when I cut them, this is the first thing I’m making for my roommate’s birthday get together 😅
Made a fully vegan version of these with dairy free cream cheese, roasted veggies, and hummus for my book club and even the non-vegan guests were going back for seconds! So easy to adapt for different diets, I love a flexible recipe.
Brought these to the tailgate last weekend and they were way easier to eat than regular sloppy sandwiches while we were standing around watching the pre-game show. No dripping, no falling apart, I even made a buffalo chicken filling version that was a total hit with the guys. Will be a staple for every game day from now on!
This is such an affordable recipe! I used leftover sandwich fillings I already had in the fridge, didn’t have to buy any special ingredients, and it made enough for 4 days of lunches for me and my partner. Total money saver compared to buying takeout every day.
Wait, is it better to remove the crusts before chilling or after? I want them to look nice and neat for my sister’s baby shower, but I don’t want to waste bread if I don’t have to.
I was skeptical about no-cook appetizers being filling enough, but these are so substantial! I ate three for lunch yesterday and was full until dinner, no mid-afternoon slump. The chill time really helps all the flavors meld together too, they don’t taste like just a regular sandwich.
Packed these for our family road trip last weekend and they were the perfect travel snack! No need to heat them up, no mess, they stayed cold in our cooler for hours, and even my toddler ate them without complaining. Way better than stopping for fast food on the drive.