
Mint Chocolate Chip Cookies

title 1
Mint Chocolate Chip Cookies
⏱️ cook time 12 minutes
🍽️ servings 24
⚡ Difficulty easy

intro

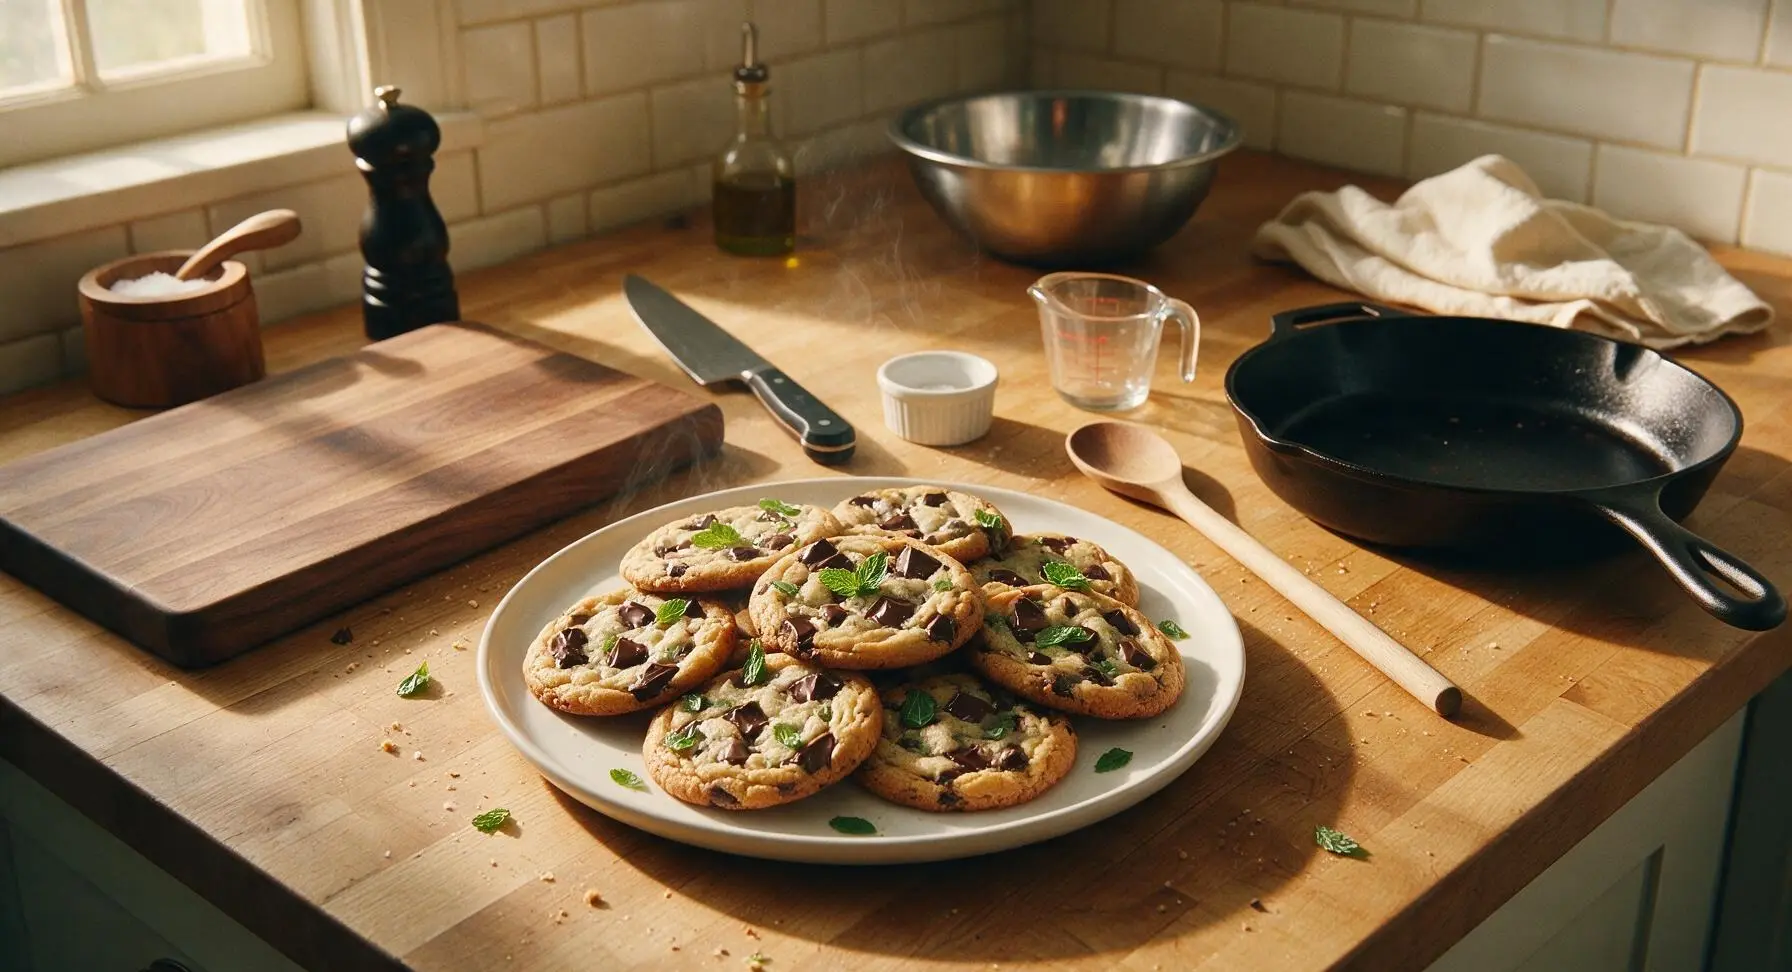
Buttery, crisp-edged, chewy-centered cookies brightened with cool fresh mint and studded with melty dark chocolate chunks— a nostalgic, festive bake perfect for holiday cookie trays.

Ingredients
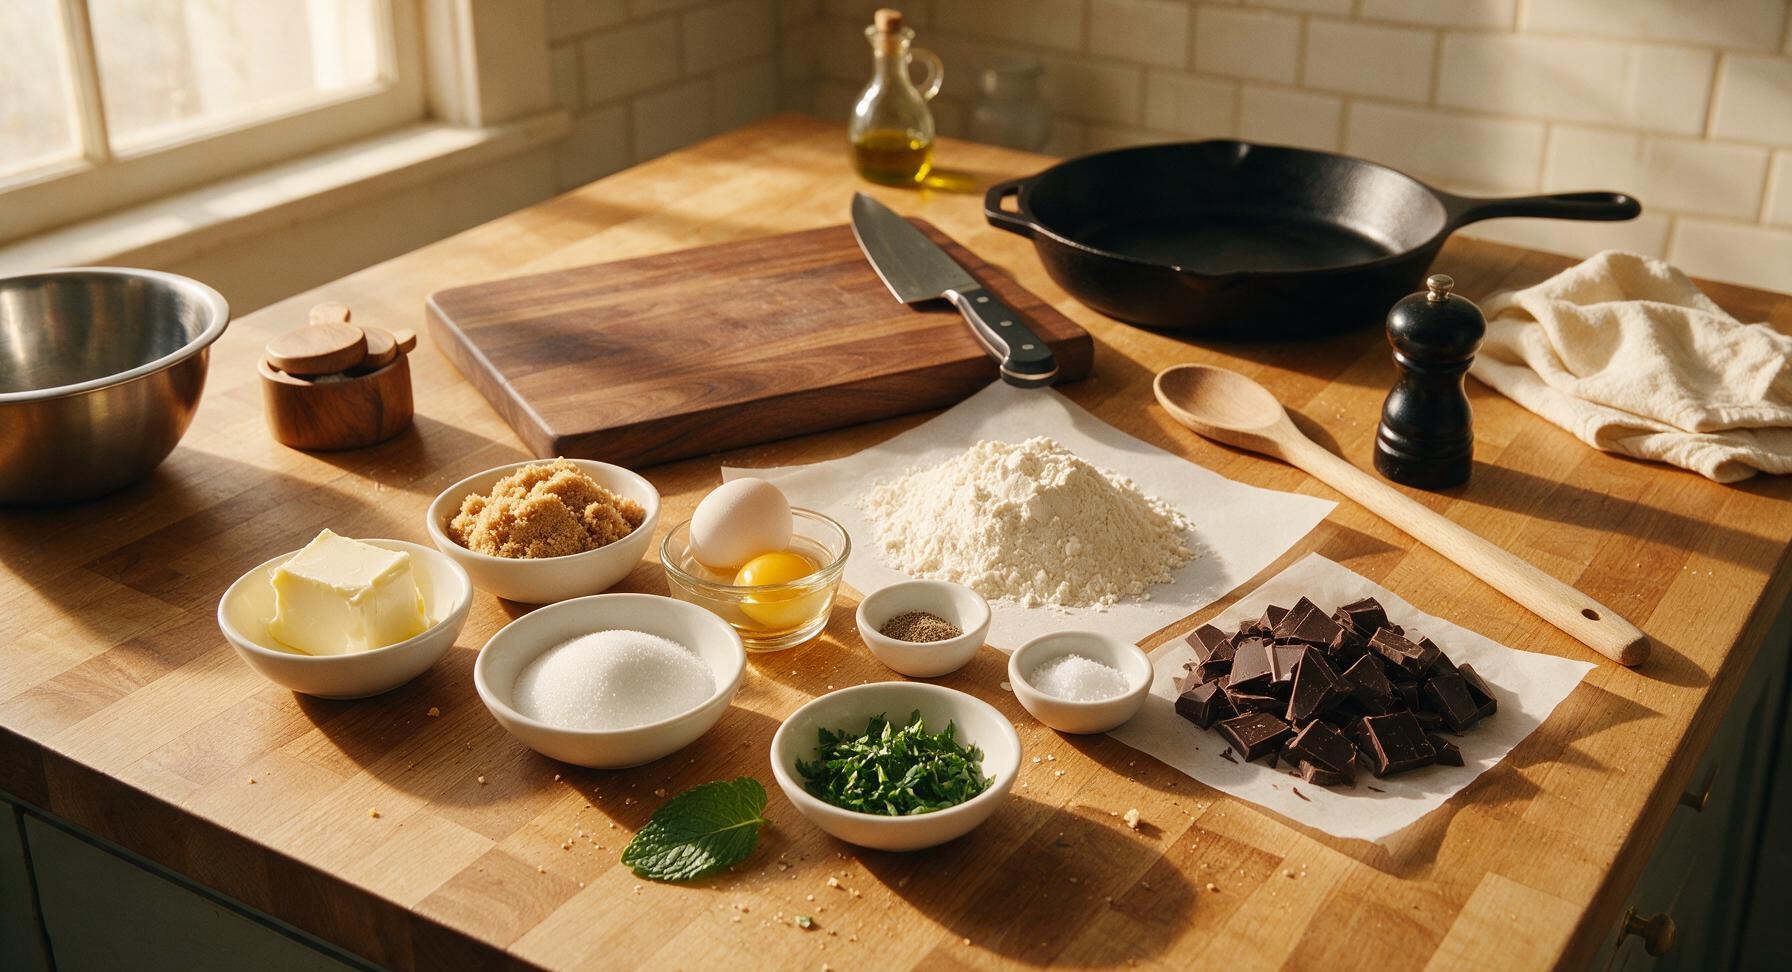
Unsalted butter (softened to room temperature) 113g (1 stick)
Packed light brown sugar 150g
Granulated sugar 50g
Large eggs (room temperature) 1 whole egg + 1 egg yolk
Pure peppermint extract 1 tsp
All-purpose flour 190g
Baking soda ½ tsp
Fine sea salt ½ tsp
Dark chocolate chunks (70% cacao) 170g
Fresh mint leaves (finely chopped) 2 tbsp (~10 leaves)

Steps

1

Preheat Oven and Prep Pans

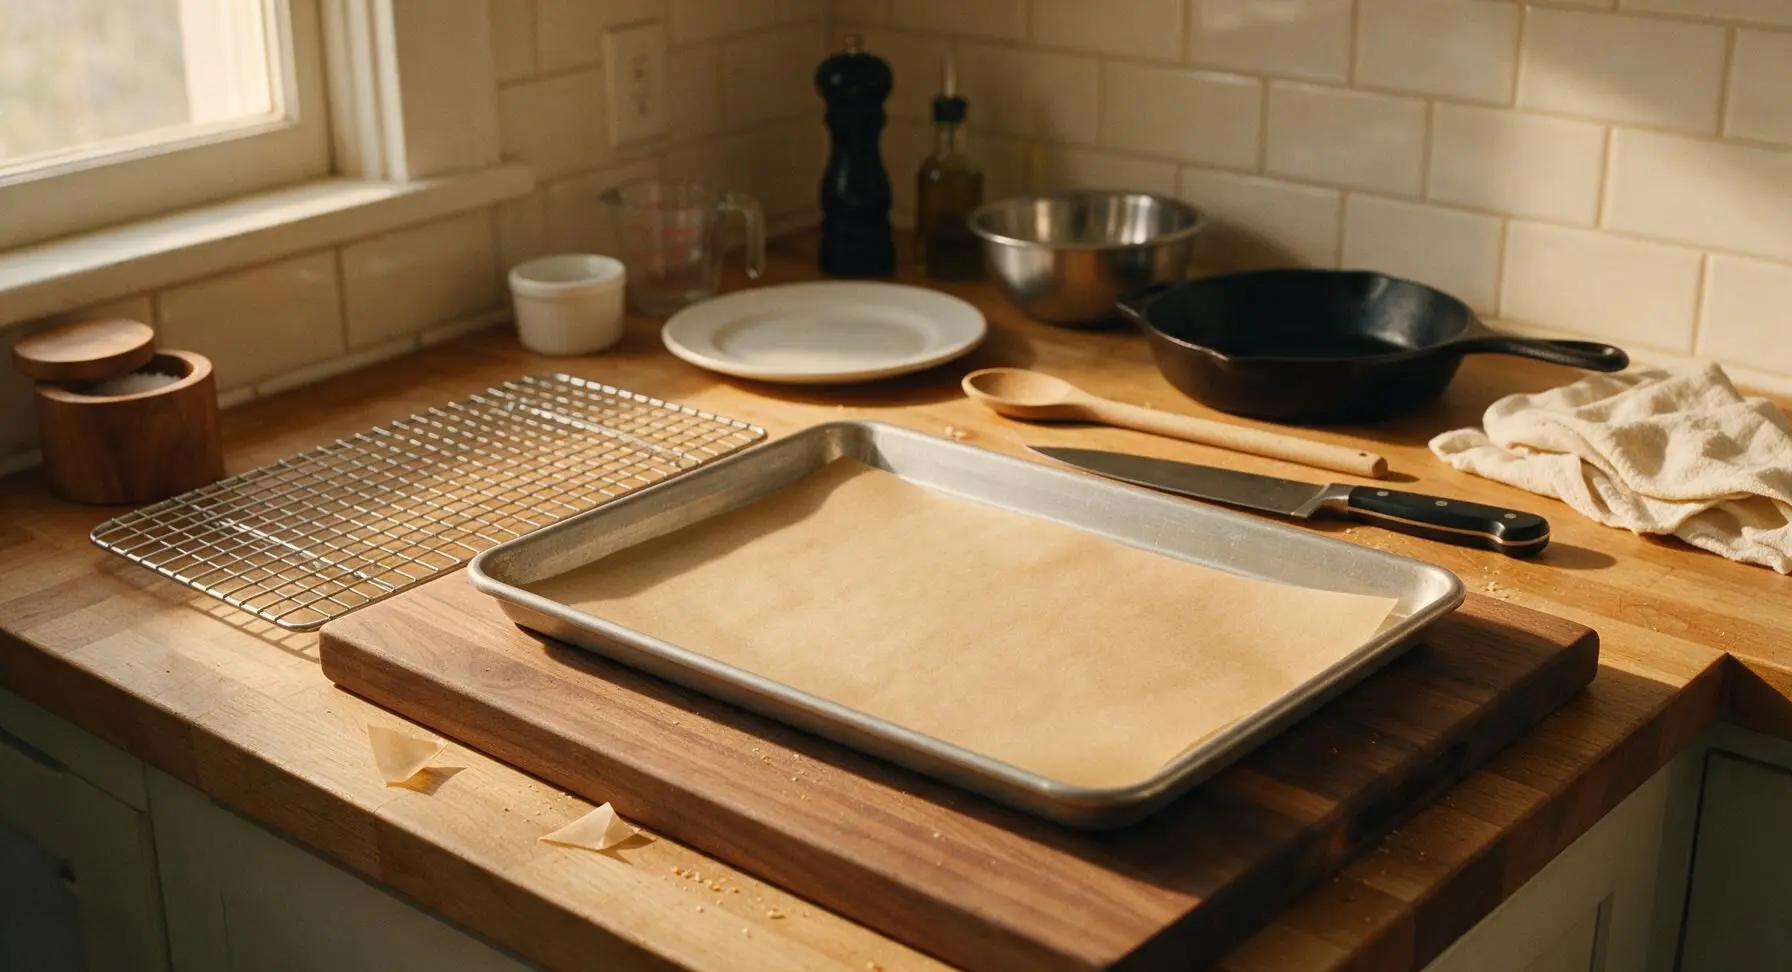
Adjust your oven rack to the middle position and preheat the oven to 175°C (350°F). Line the heavy-gauge aluminum half-sheet baking pan with a sheet of unbleached parchment paper, smoothing the paper flat to eliminate wrinkles that would create uneven cookie bottoms. Set the matte chrome wire cooling rack to the left of the central work zone for post-bake cooling.
Step 1
step1:Preheat Oven and Prep Pans
2

Cream Butter and Sugars

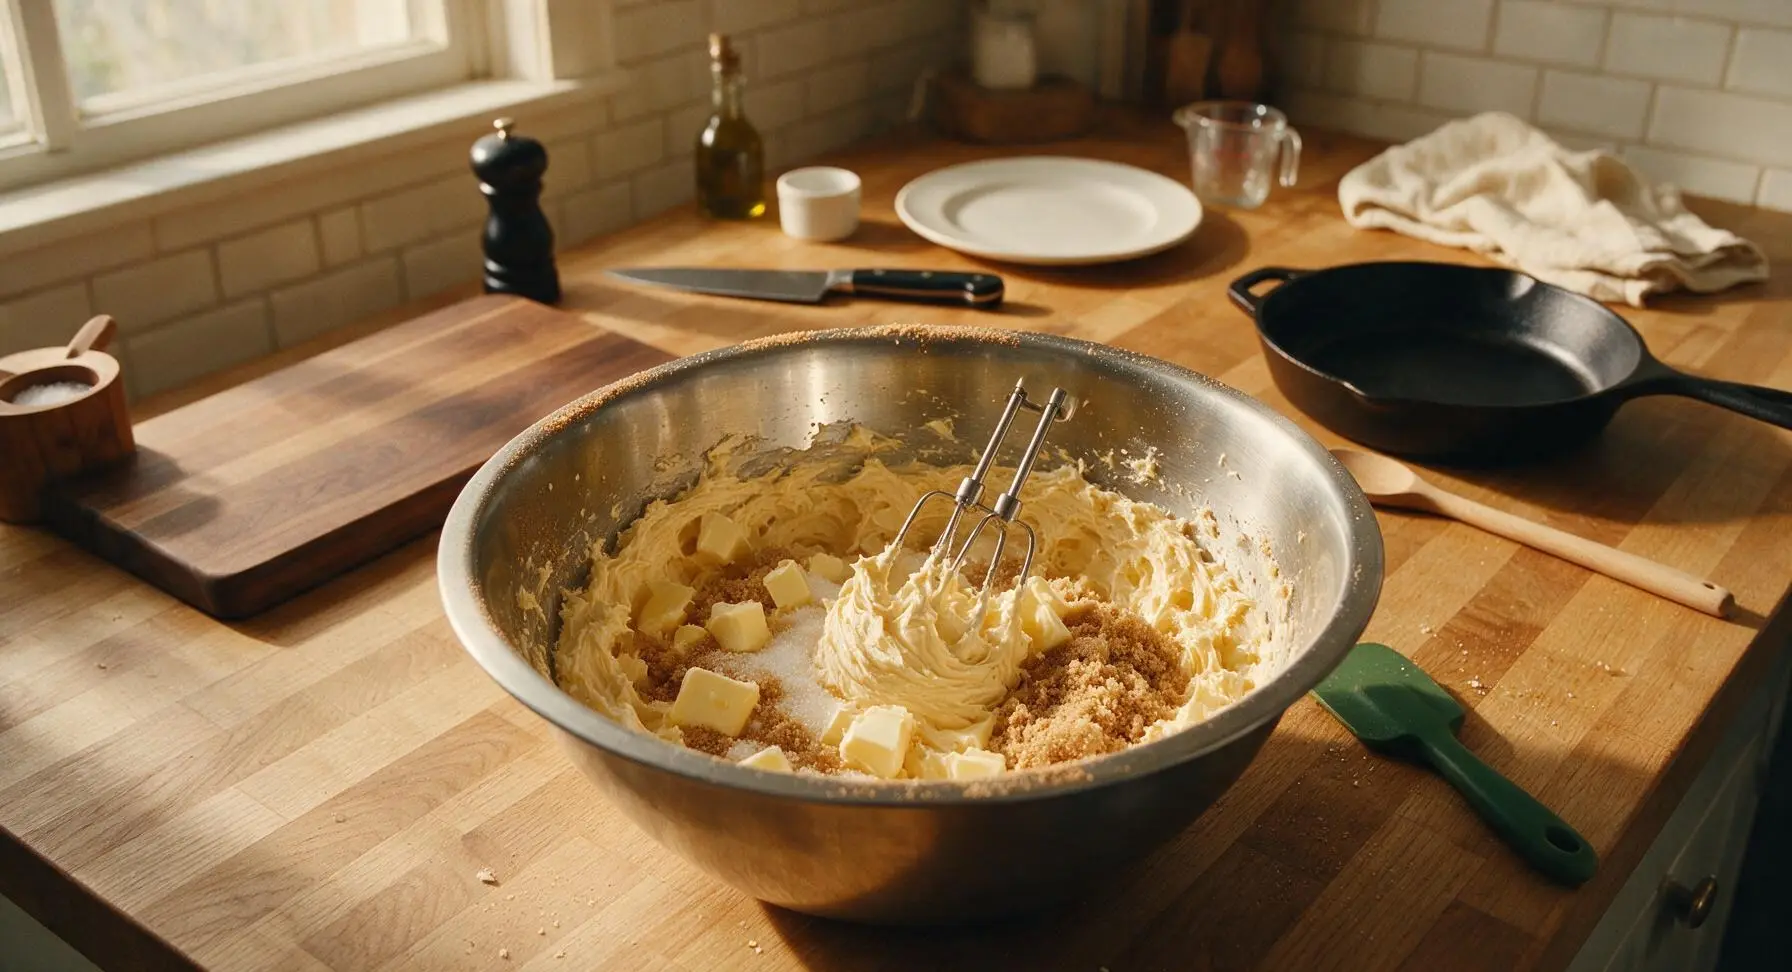
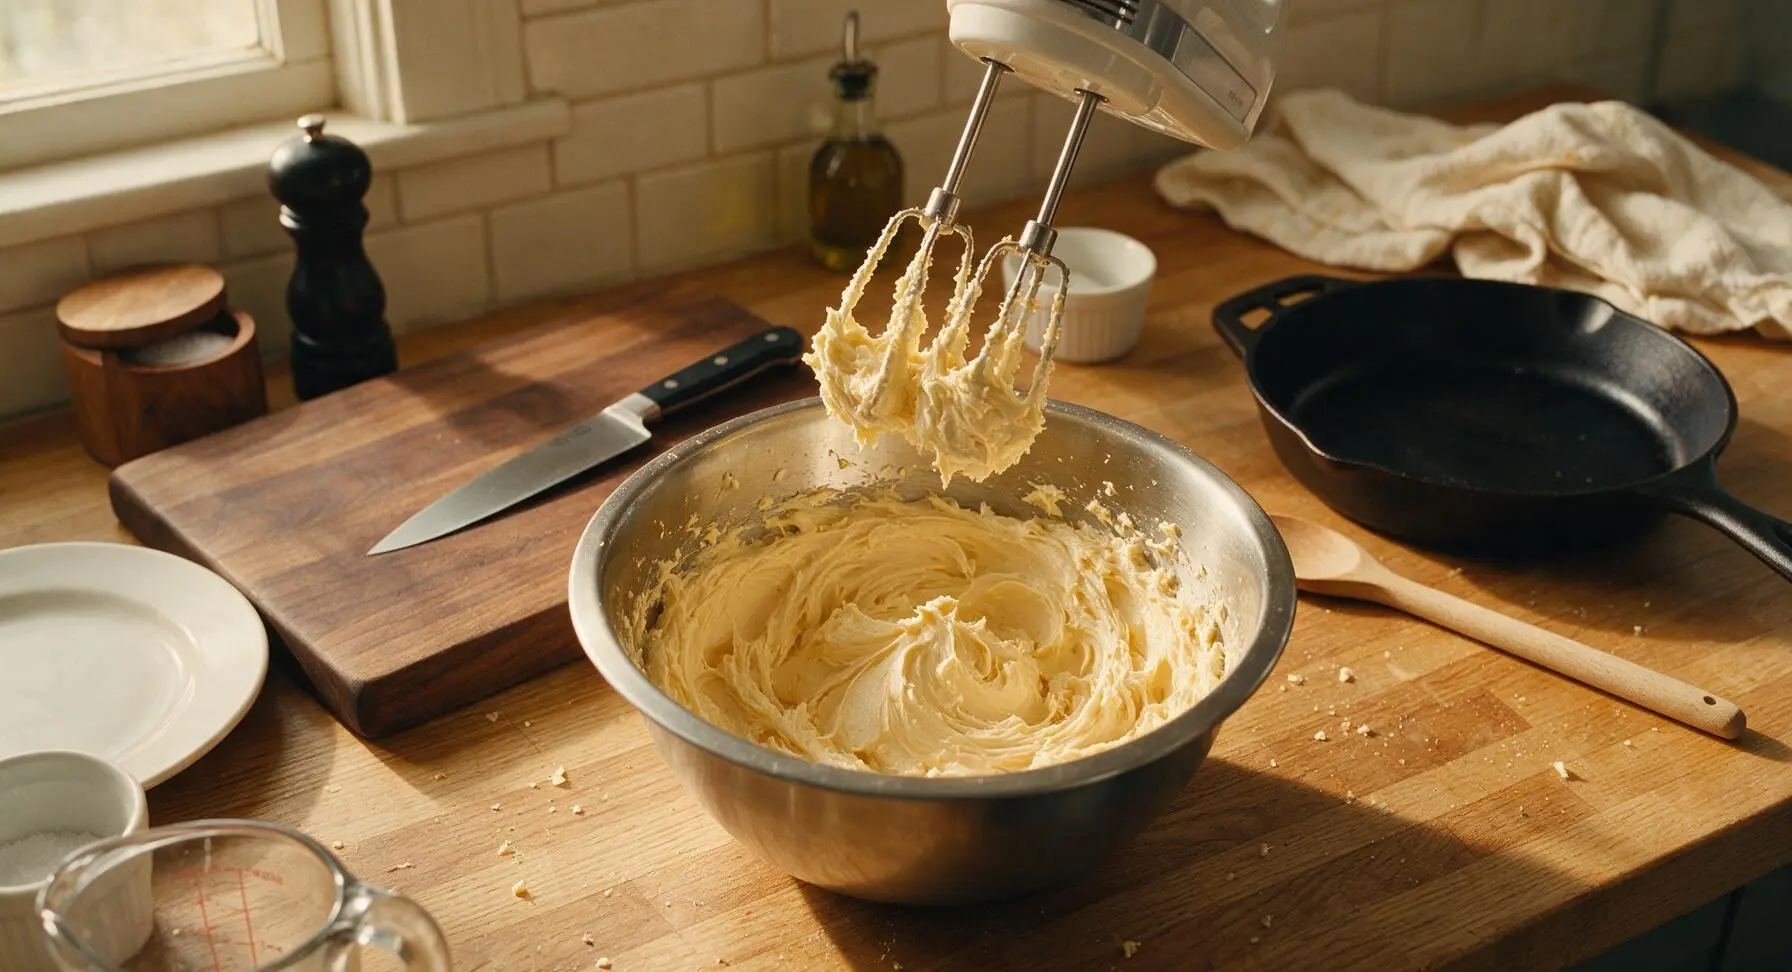
Place the softened 113g unsalted butter, 150g packed light brown sugar, and 50g granulated sugar into the large stainless steel mixing bowl. Using the electric hand mixer on medium speed, beat the mixture for 2-3 minutes until it turns pale golden, fluffy, and lightened in texture. Pause halfway through to scrape down the bowl sides with the forest green silicone spatula to ensure even mixing. The finished creamed base should hold soft peaks when the beaters are lifted.
Step 2
step2:Cream Butter and Sugars
Step 2
step2:Cream Butter and Sugars
3

Add Eggs and Extract

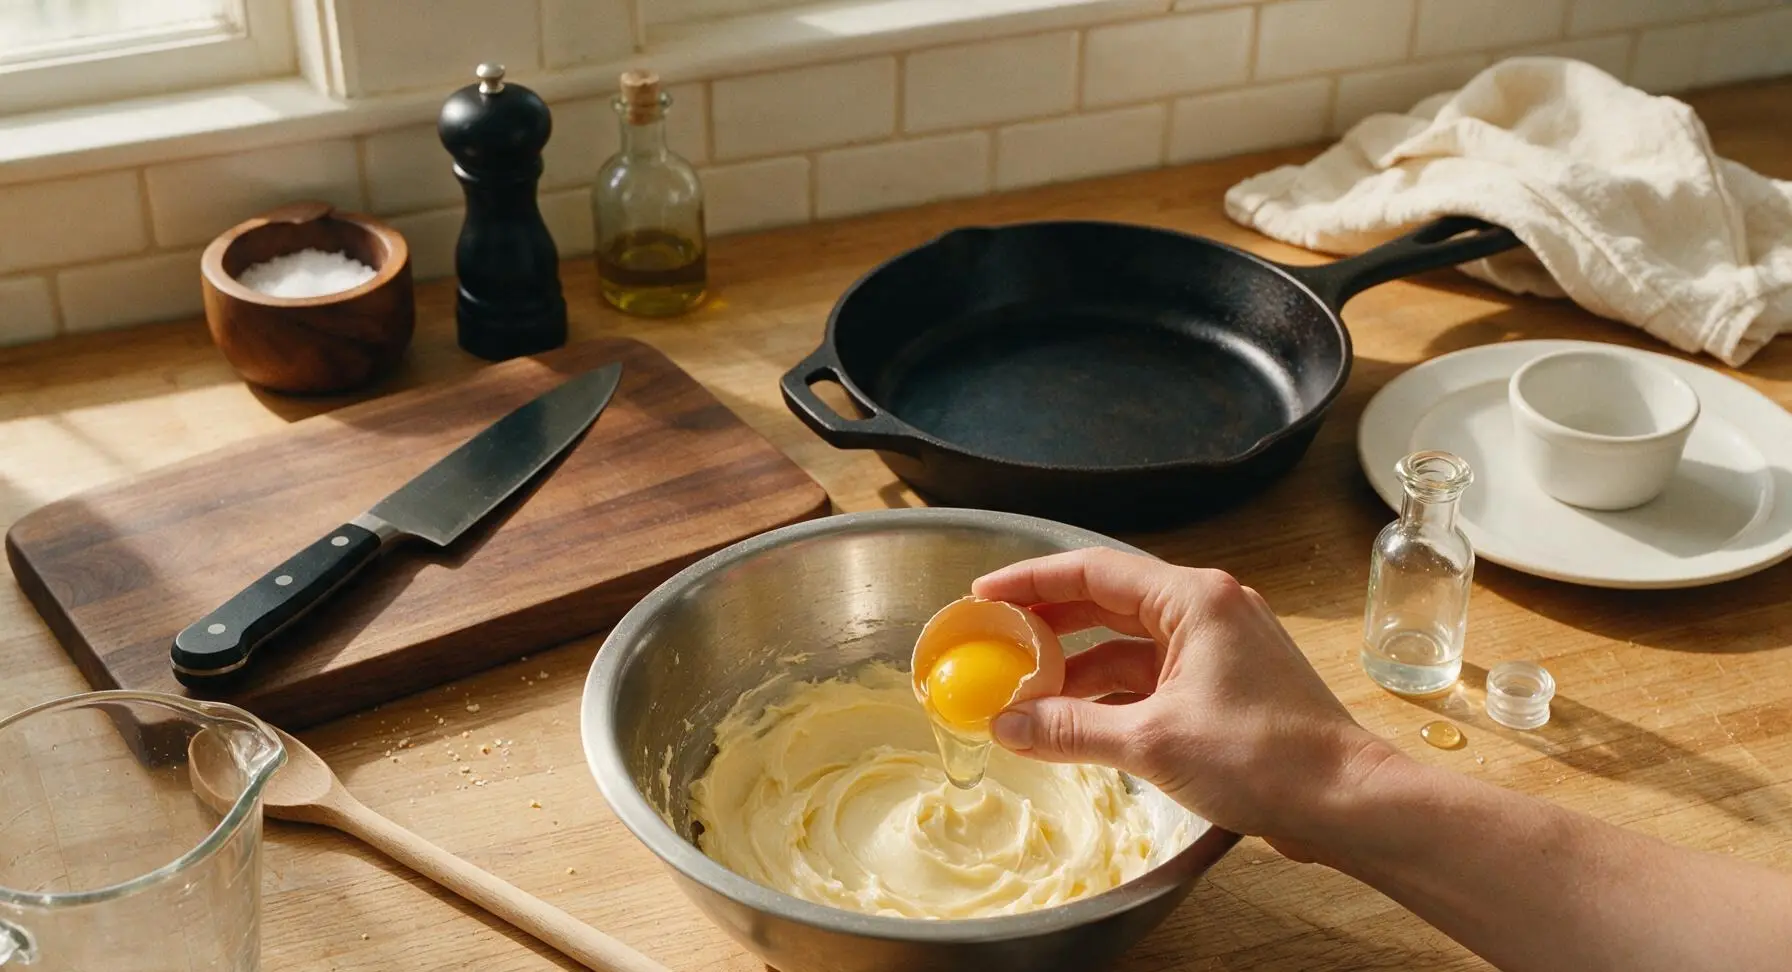
Reduce the mixer speed to low to avoid splashing. Add the whole room-temperature egg first, beating for 30 seconds until fully incorporated into the creamed base, then add the extra egg yolk and 1 tsp pure peppermint extract, beating for another 30 seconds until smooth. Scrape down the bowl sides again with the silicone spatula to catch any unincorporated butter trapped at the bowl bottom. Do not overmix at this stage, as this can develop gluten and lead to tough cookies.
Step 3
step3:Add Eggs and Extract
4

Mix Dry Ingredients

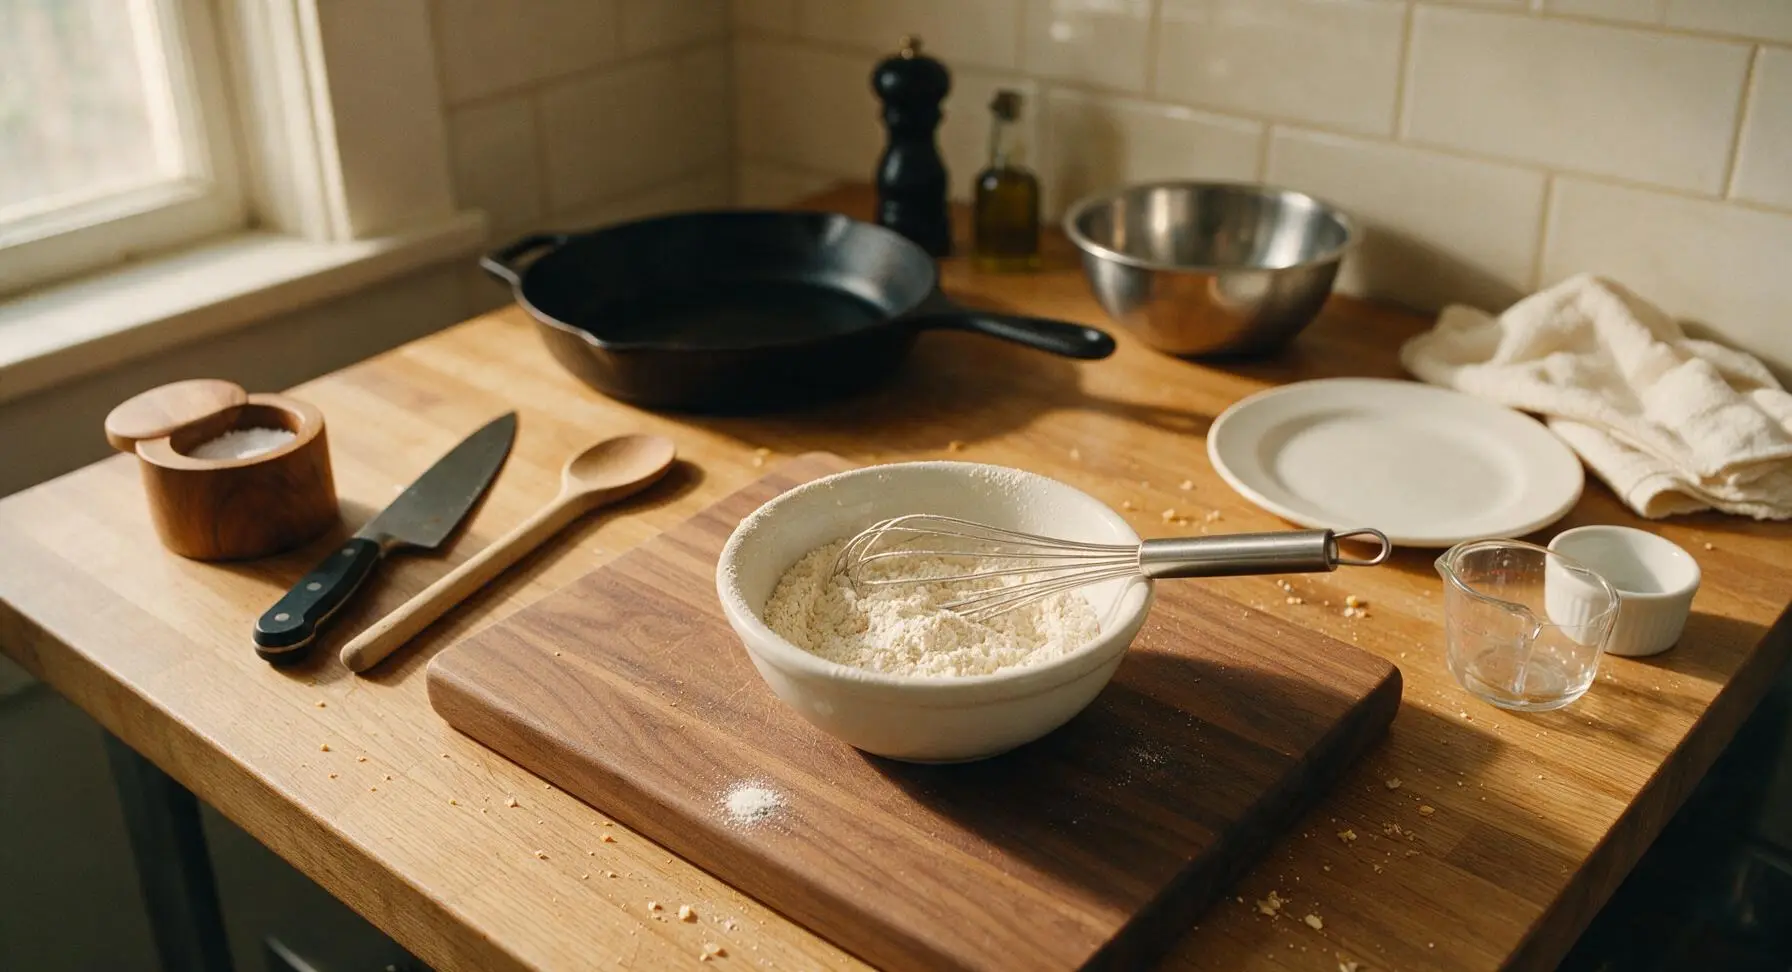
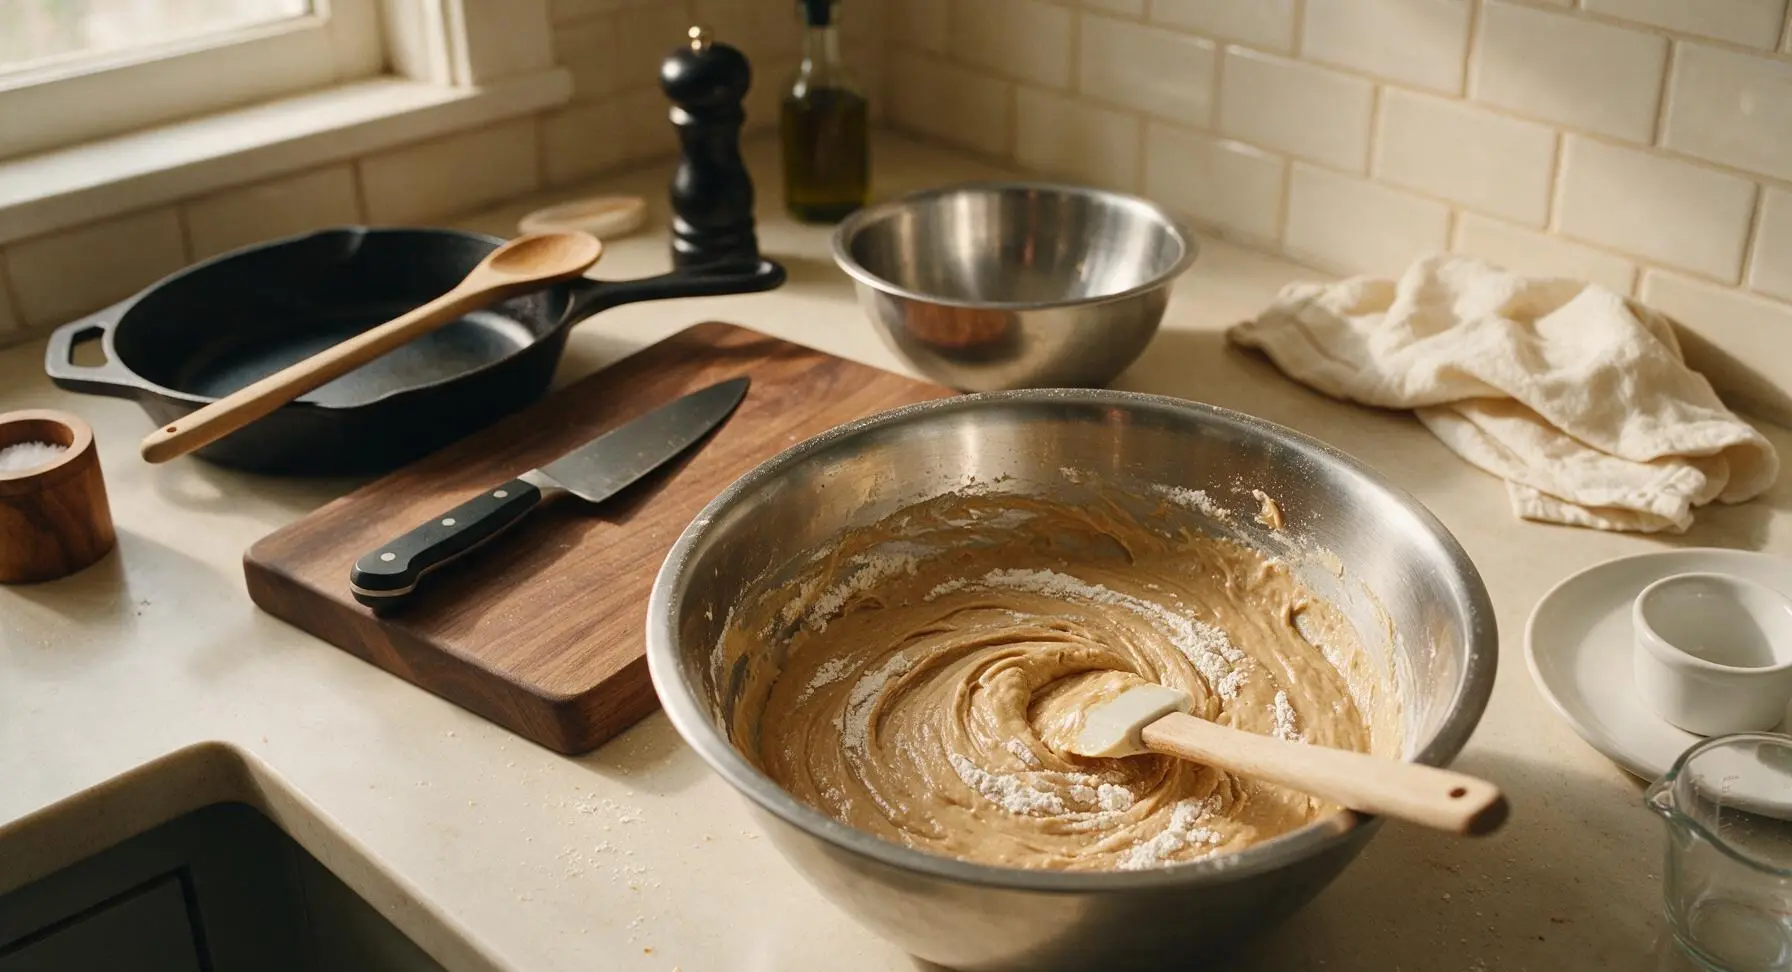
In the small matte white ceramic mixing bowl, use the stainless steel whisk to stir together the 190g all-purpose flour, ½ tsp baking soda, and ½ tsp fine sea salt until evenly blended. Gradually add the dry ingredient mix to the wet batter, mixing on the lowest mixer speed only until no dry flour streaks remain. Stop mixing as soon as the last trace of flour disappears to keep the cookie crumb tender.
Step 4
step4:Mix Dry Ingredients
Step 4
step4:Mix Dry Ingredients
5

Fold Chocolate and Mint

Detach the beaters from the hand mixer, and use the silicone spatula to fold in the 170g dark chocolate chunks and 2 tbsp finely chopped fresh mint leaves, distributing them evenly throughout the thick dough. Stop folding once the add-ins are spread evenly, so every dough portion contains multiple chocolate pieces. Cover the bowl loosely with plastic wrap and chill the dough in the refrigerator for 10 minutes to prevent excessive spreading during baking.
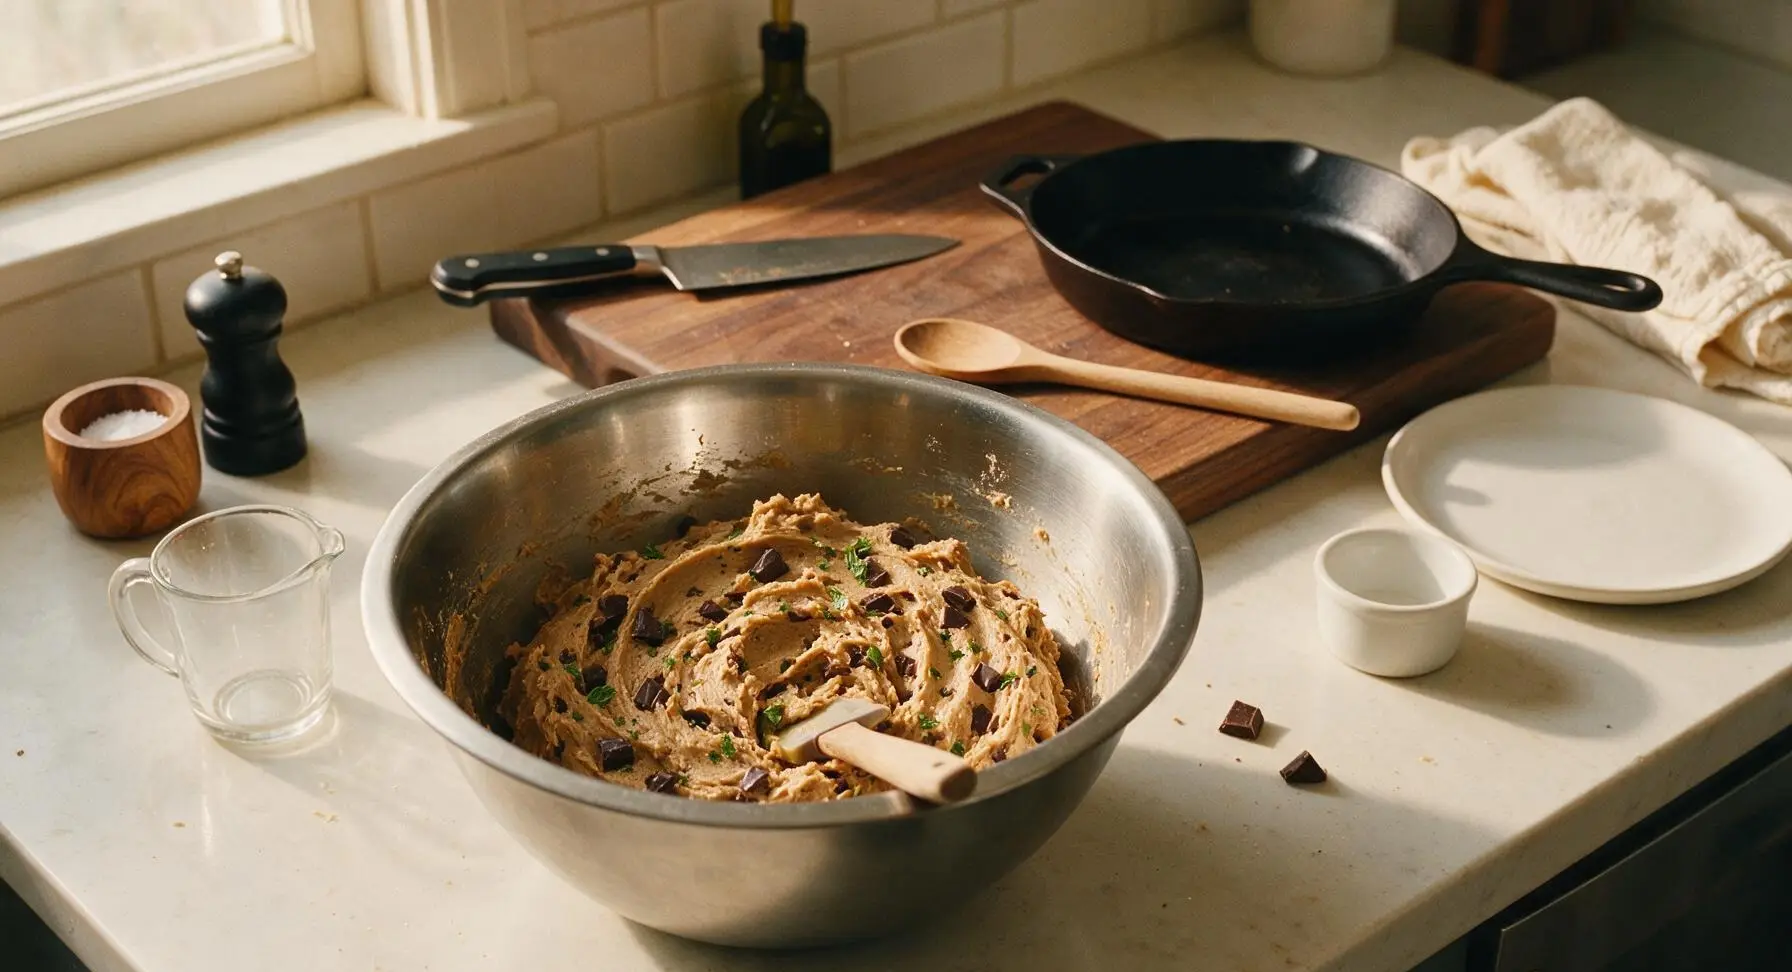
Step 5
step5:Fold Chocolate and Mint
6

Scoop Dough onto Pan

Once chilled, remove the dough from the refrigerator. Use the 1-tablespoon spring-loaded cookie scoop to portion the dough into uniform 3cm (1.25 inch) balls, placing them 5cm (2 inches) apart on the parchment-lined baking pan to allow room for spreading. You will fit 12 dough balls per batch; do not flatten the balls, as they will spread naturally in the oven.
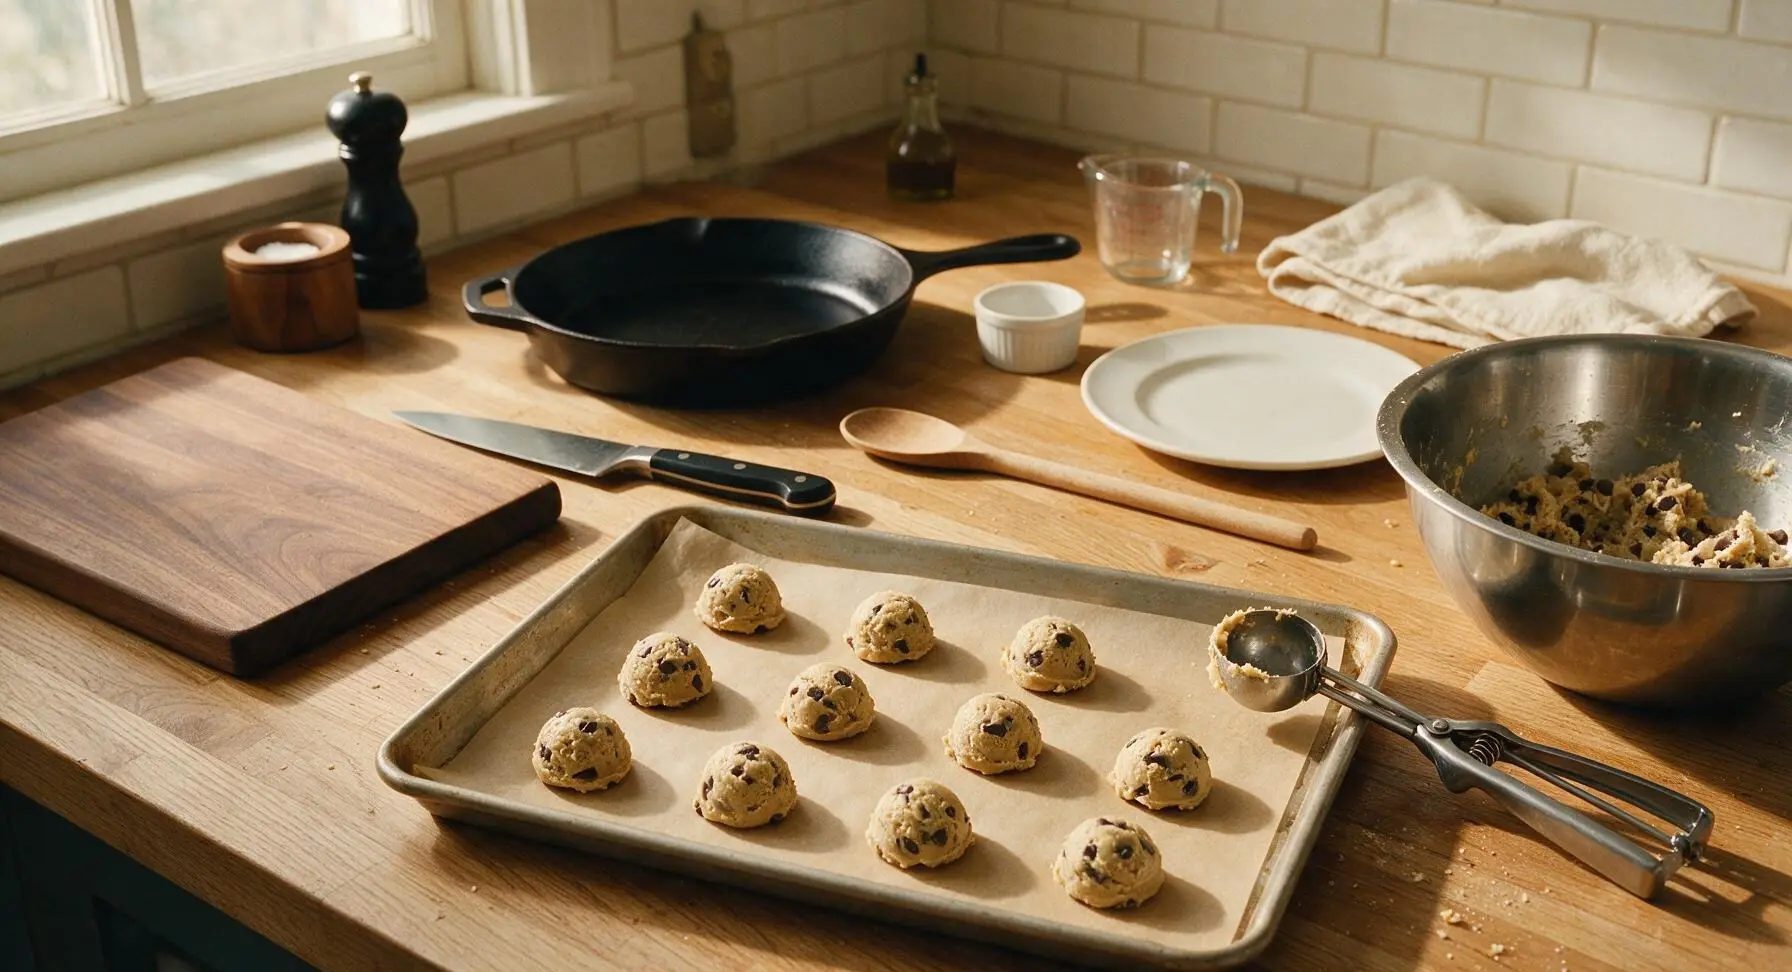
Step 6
step6:Scoop Dough onto Pan
7

Bake to Golden Perfection

Place the baking pan on the middle oven rack, and bake for 10-12 minutes at 175°C (350°F). Cookies are done when their edges are deep golden brown, but their centers look slightly puffy and underbaked; they will continue to set on the hot pan after removal from the oven. Resist the urge to bake longer, as overbaking produces hard, crunchy cookies instead of chewy ones.
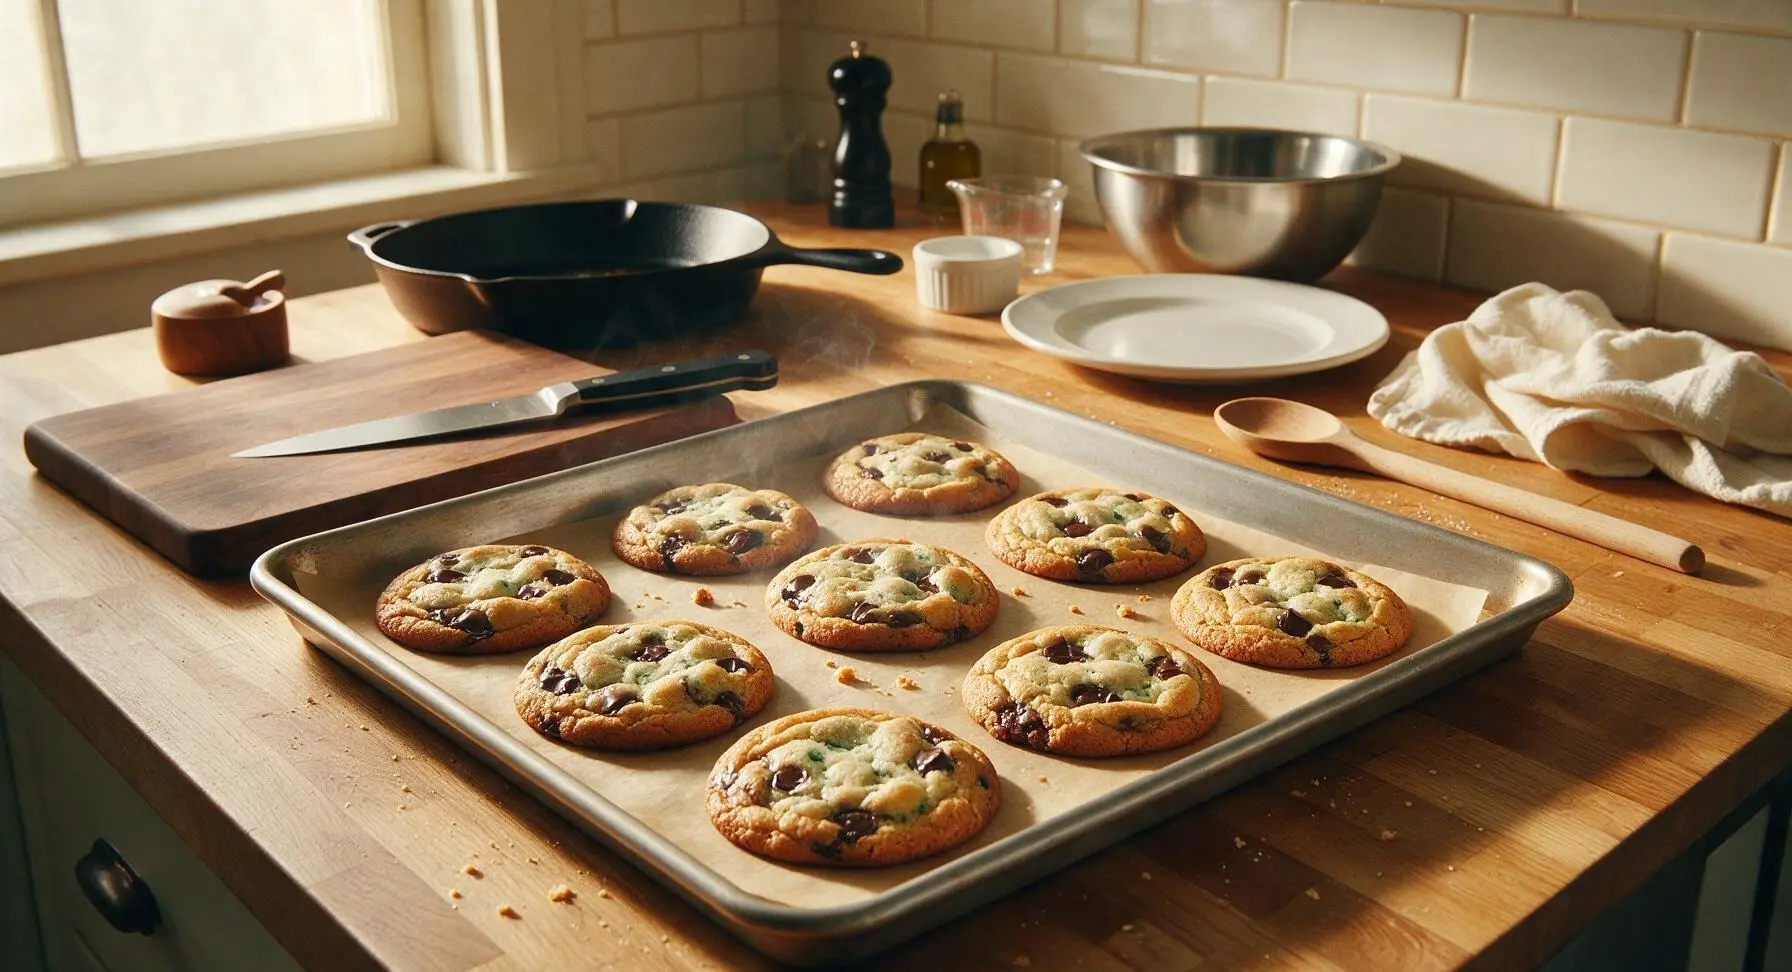
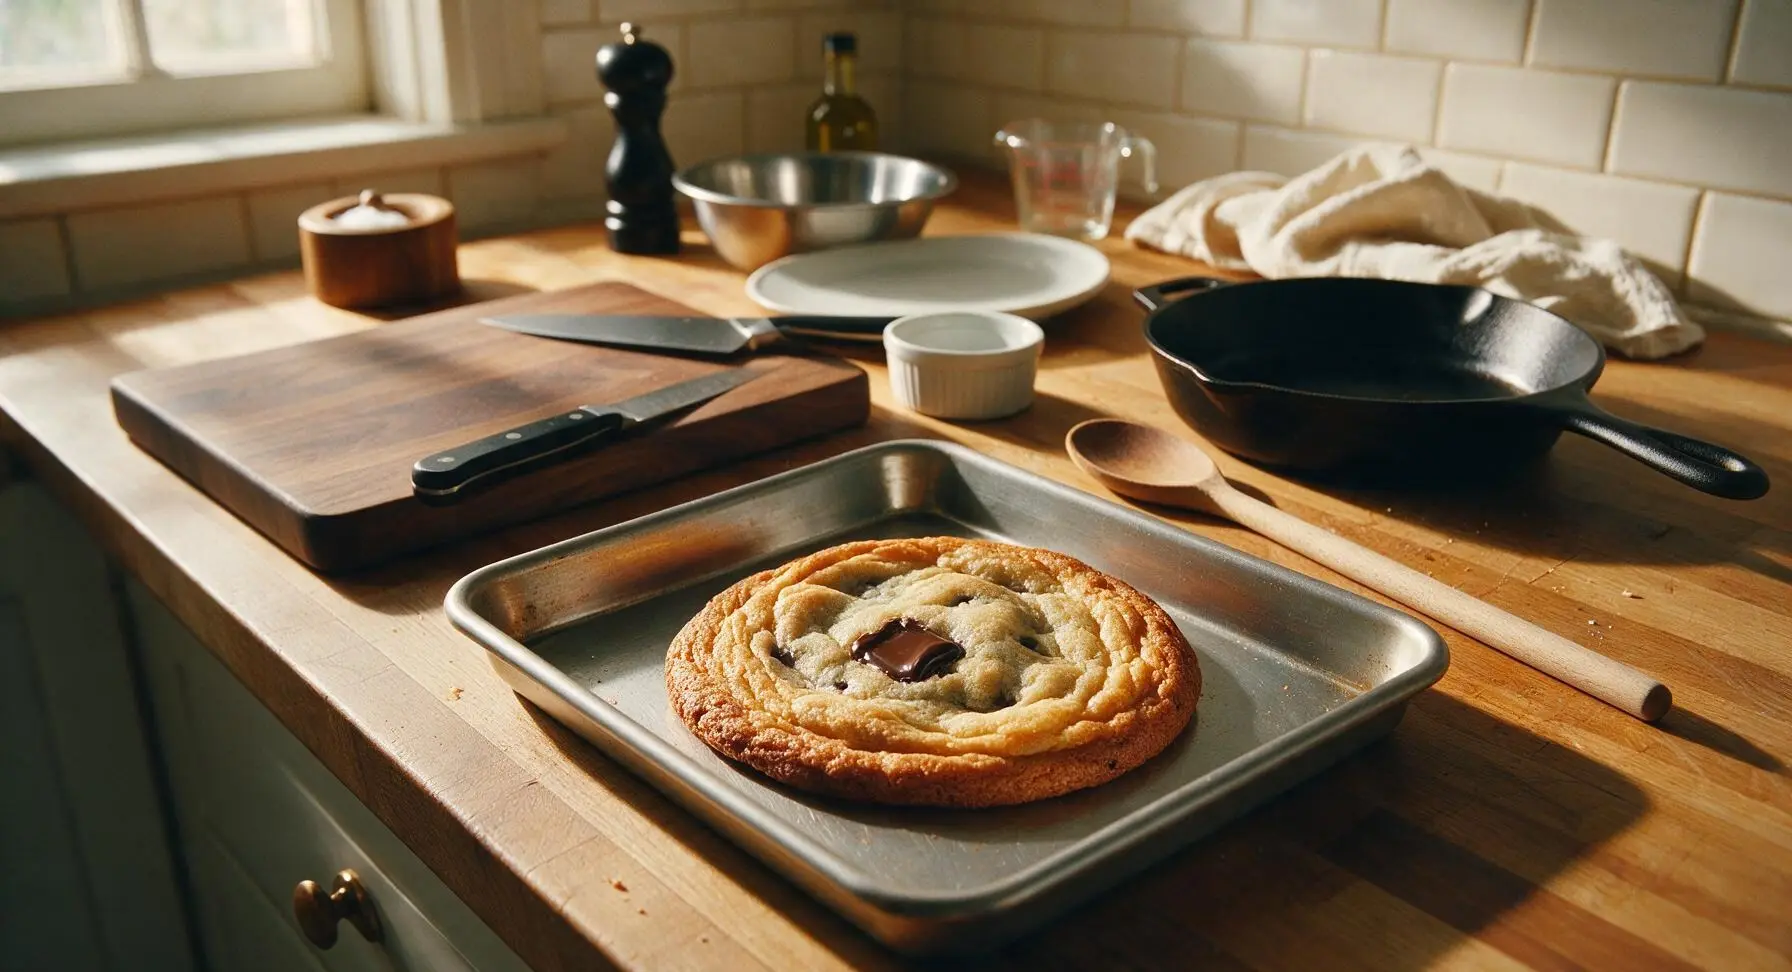
Step 7
step7:Bake to Golden Perfection
Step 7
step7:Bake to Golden Perfection
8

Cool and Serve

Let the cookies rest on the hot baking pan for 5 minutes to set, then use the silicone spatula to transfer them to the wire cooling rack for an additional 5 minutes of cooling. Serve slightly warm for gooey, melty chocolate, or cool completely before storing in an airtight container at room temperature for up to 5 days.
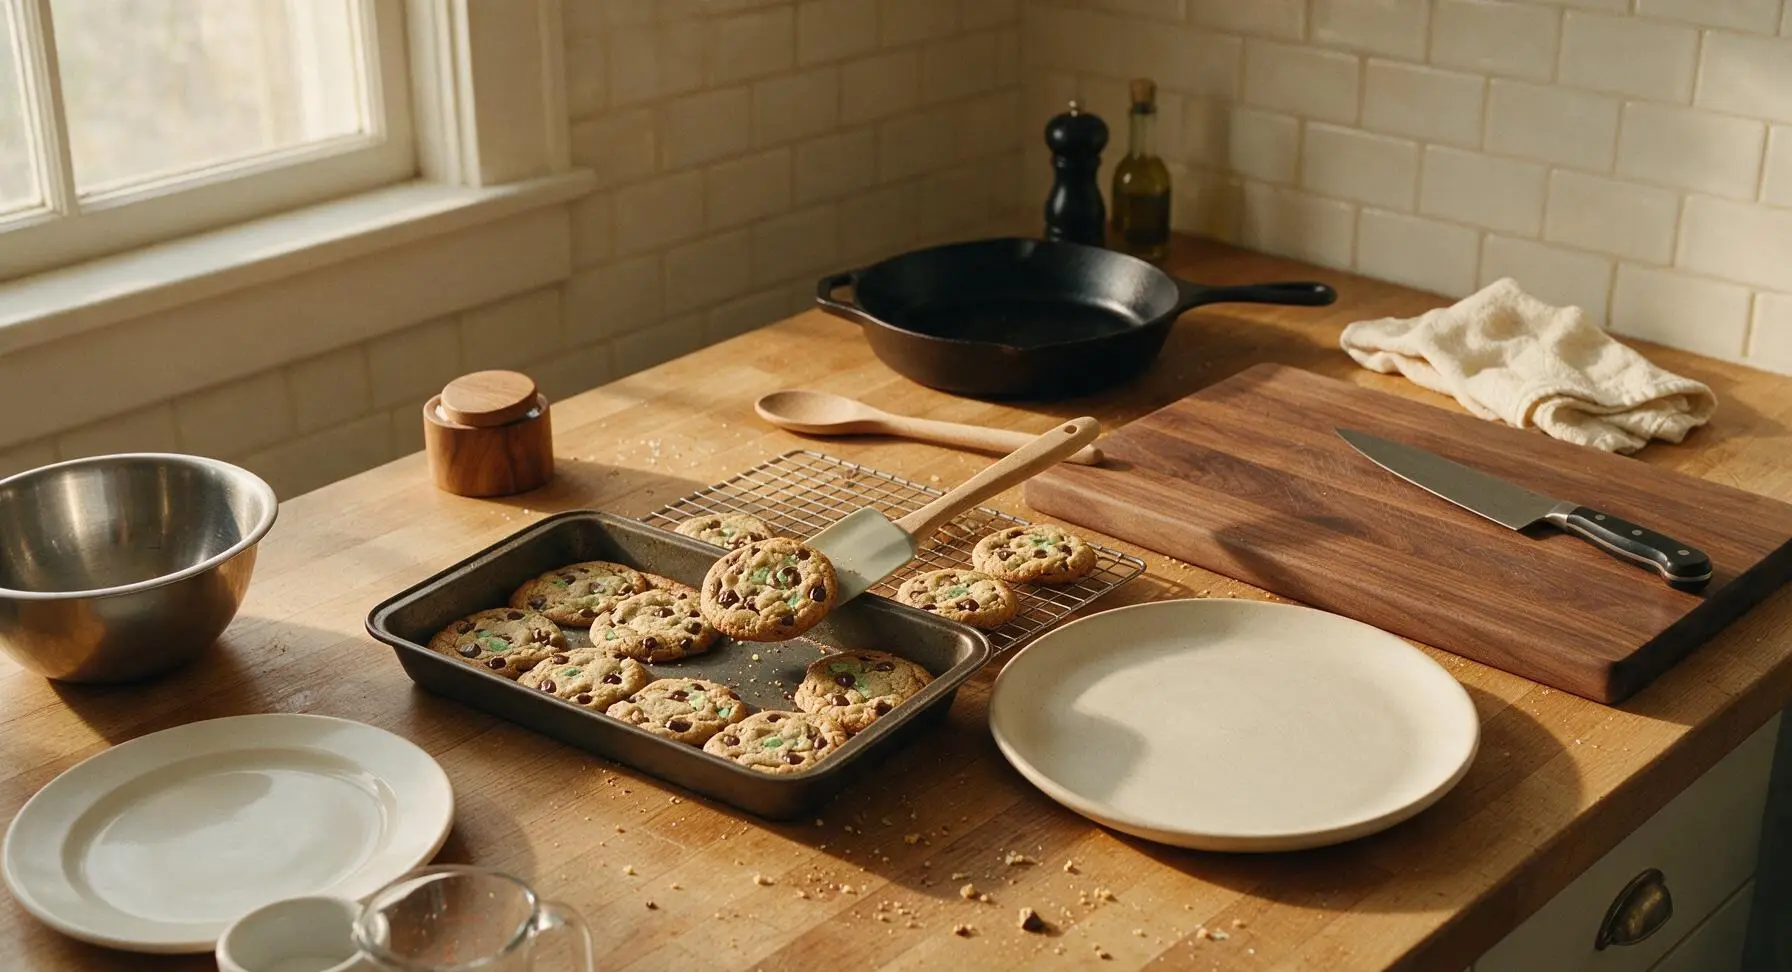
Step 8
step8:Cool and Serve

Tips

1.Use room temperature butter and eggs: Cold ingredients will not cream properly to create the light, aerated base needed for tender, chewy cookies. Remove butter and eggs from the refrigerator 1 hour before baking for the best texture.
2.Do not overbake: Cookies will look slightly underbaked and puffy in the center when you pull them from the oven, but residual heat from the hot pan will finish setting them as they cool. Overbaking leads to hard, crunchy cookies instead of the desired soft, chewy crumb.
3.Chop your own dark chocolate instead of using pre-made chips: Chopped chocolate creates irregular, oozing melted pockets throughout the dough, and has a richer, smoother flavor than commercially produced chocolate chips formulated to hold their shape.


✨ You May Also Like

Desserts & Baking
🍜 Italy

Creamy, coffee-kissed classic Northern Italian no-bake dessert, with layers of rum-spiked mascarpone cream, soft ladyfingers, and a rich cocoa dusting.

⏱️ 4 hours 3Desserts & Baking ★ 4.7
Desserts & Baking
🍜 France

Flaky, shatteringly crisp, buttery French croissants with golden exteriors and soft, airy layered interiors, perfect for pairing with coffee for a special morning treat.

⏱️ 12 hours Desserts & Baking ★ 4.5
Desserts & Baking
🍜 United States

Warm, spiced baked apples topped with a fluffy golden biscuit crust, this cozy dessert pairs perfectly with vanilla ice cream for cool-weather comfort.

⏱️ 55 minuteDesserts & Baking ★ 4.6
Desserts & Baking
🍜 United States

A star-spangled classic American blueberry pie with buttery flaky crust and bright sweet-tart filling, perfect for summer patriotic gatherings.

⏱️ 1 hour 25Desserts & Baking ★ 4.7
Desserts & Baking
🍜 United States

A beloved no-bake regional Maine candy with a chewy coconut-potato center coated in rich dark chocolate, a New England holiday staple since the 1870s.

⏱️ 2 hours 3Desserts & Baking ★ 4.8
Desserts & Baking
🍜 France

Luxuriously creamy, floral frozen custard made with aromatic Tahitian vanilla beans, boasting a smooth, rich texture that melts slowly on the tongue.

⏱️ 3 hours 3Desserts & Baking ★ 4.5

Mint Chocolate Chip Cookies:Frequently Asked Questions

1.Why do I need to use room temperature butter and eggs for these cookies? ▾
Room temperature butter creams smoothly with sugars to trap tiny air pockets, which builds that signature crisp-edged, chewy-center texture we want—cold butter won’t incorporate evenly for that light lift. Room temp eggs mix seamlessly into the dough without seizing softened butter, preventing lumpy, uneven batter that spreads erratically while baking.
2.Can I use fresh mint leaves instead of peppermint extract for a brighter mint flavor? ▾
You absolutely can! Finely mince 2 tablespoons of tender fresh spearmint leaves (discard tough, woody stems) and fold them into the dough with the chocolate chunks. Fresh mint gives a softer, herbier cool note than extract, so add 1/4 teaspoon of peppermint extract too if you want that bold, nostalgic mint chocolate kick.
3.Why do my cookies spread too thin and turn flat when I bake them? ▾
Flat, over-spread cookies usually stem from a few easy-to-fix missteps: your butter was too warm (almost melted instead of soft enough to hold a light thumbprint), you skipped chilling the dough, your oven runs cooler than its dial says, or you packed flour into your measuring cup. Chilling scooped dough for 30 minutes before baking almost always eliminates excess spread here.
4.What kind of chocolate works best for these mint chocolate chip cookies? ▾
Skip waxy pre-made mint chocolate chips for the best results. Chop 8 ounces of 60-70% cacao dark chocolate into rough, varied chunks instead. The irregular sizes create melty, gooey chocolate pockets throughout each cookie, and the deep, slightly bitter dark chocolate balances the sweet, cool mint flavor perfectly without tasting cloying.
5.How long do I need to chill the cookie dough, and can I chill it overnight? ▾
Chilling the dough for a minimum of 30 minutes helps the flour hydrate, deepens the rich butter and sugar flavor, and prevents excess spread in the oven. You can absolutely chill the dough for up to 3 days in an airtight container in the fridge! Just let scooped dough rounds sit at room temp for 10 minutes before baking so centers don’t stay underbaked.
6.Can I make these cookies gluten-free for friends with dietary restrictions? ▾
Yes, this recipe swaps really well for gluten-free baking! Replace the all-purpose flour with a 1:1 gluten-free baking flour blend that contains xanthan gum—skip blends made only with rice flour, which create a gritty, crumbly texture. Add 1 extra tablespoon of softened butter to account for GF flour’s extra absorbency, then bake as directed.
7.How do I get that perfect chewy center and crisp edge every time? ▾
The key relies on two non-negotiables: the built-in sugar ratio and precise bake time. The blend of moisture-rich light brown sugar (for chewy centers from its molasses content) and granulated sugar (for crisp, caramelized edges) does most of the work. Pull cookies when edges are golden but centers look slightly underbaked; they’ll set as they cool 5 minutes on the hot sheet.
8.Is there a way to make these cookies without peppermint extract if I run out? ▾
If you don’t have peppermint extract, swap in 3 tablespoons of finely crushed soft peppermint candies (like unwrapped candy canes) folded into the dough, paired with 2 tablespoons of minced fresh mint leaves for bright flavor. Skip mint essential oils unless they’re explicitly labeled food-grade, as non-culinary mint oils can taste bitter or soapy even in tiny amounts.
9.How should I store baked mint chocolate chip cookies to keep them fresh? ▾
Store fully cooled cookies in an airtight container at room temperature for up to 5 days. Tuck a single slice of plain white sandwich bread into the container with them—the bread releases just enough gentle moisture to keep centers chewy and prevent cookies from drying out. Skip storing them in the fridge, which makes cookies go stale faster and dulls the bright mint flavor.
10.Can I freeze these cookies, either as dough or baked, for later? ▾
You can freeze both baked cookies and raw dough for up to 3 months, perfect for prepping holiday cookie trays ahead! For raw dough, scoop individual portions onto a sheet pan, freeze solid, then transfer to a labeled freezer bag—bake straight from frozen, adding 2-3 minutes to total bake time. For baked cookies, thaw 15 minutes at room temp before serving.
11.Why does my peppermint flavor taste bitter or soapy instead of cool and bright? ▾
That bitter, soapy mint taste almost always comes from using too much peppermint extract, or using an old, expired bottle that’s oxidized and gone off. Pure peppermint extract is extremely potent—stick to the measured amount in the recipe, and don’t add extra just for good measure. If your extract is more than 2 years old, swap it for a fresh bottle for clean, cool flavor.
12.Can I add green food coloring to these cookies for a festive look? ▾
Absolutely! If you want that classic pastel mint green hue reminiscent of mint chocolate chip ice cream, add 2-3 drops of gel food coloring to the butter and sugar mixture during the creaming step, before adding eggs and flour. Skip liquid food coloring, which adds extra unplanned moisture that can throw off dough texture and cause excess spread while baking.
13.What size cookie scoop should I use for evenly baked, uniform cookies? ▾
A 2-tablespoon (1-ounce) spring-loaded cookie scoop is perfect for this recipe—it creates uniformly sized dough rounds that bake at the exact same rate, so you won’t end up with a mix of burnt-edge cookies and raw-centered ones. Scoop dough so it’s mounded slightly (don’t pack it tight) and space scoops 2 inches apart on parchment-lined sheets to give them room to spread.
14.My cookies came out hard and crunchy all the way through—what did I do wrong? ▾
All-crunchy, no-chew cookies usually happen because you baked them too long, used too high a ratio of granulated sugar, or measured too much flour by packing it tightly into your measuring cup. Remember, cookies keep cooking on the hot baking sheet after you pull them from the oven. For next time, spoon flour into cups and level with a knife, and pull when centers still look soft.
15.Can I mix in other add-ins with the chocolate chunks for extra texture? ▾
Go for it! Great complementary add-ins include crushed candy canes for extra minty crunch, toasted chopped walnuts or pecans for nutty depth, or even a handful of dehydrated mini marshmallow bits for a mint chocolate s’mores twist. Just keep total add-ins to 1.5 cups max so you don’t overload the dough and prevent cookies from holding their shape as they bake.
16.Do I need to use parchment paper or a silicone mat on my baking sheets? ▾
It’s highly recommended! Parchment paper or silicone baking mats create a non-stick surface that keeps delicate cookie edges from burning, makes cleanup a total breeze, and prevents excess bottom browning that happens when baking directly on bare metal. If you don’t have either, lightly grease your sheet, but check cookie bottoms 1-2 minutes early to avoid overbrowning.
17.If I only have salted butter on hand, can I use that instead of unsalted? ▾
You absolutely can, just adjust the added salt in the recipe to compensate. For every 1 cup (2 sticks) of salted butter you use in place of unsalted, cut 1/2 teaspoon of added salt from your dry ingredient mix. This keeps the cookies from tasting overly salty, while still delivering that rich, buttery base that makes the cool mint and deep chocolate flavors shine.

Comments (12)

2 hours ago

OMG these mint chocolate chip cookies are a GAME CHANGER for my kid’s after school snacks! I was worried the mint would be too strong for my picky 7 year old but he begged for seconds before he even finished his first. So easy to throw together too, perfect for busy weeknights when I don’t have time for a fussy bake. Cook time was exactly 12 minutes like the recipe said, no burnt edges at all! 10/10 will be making these for the next soccer team potluck.

30 minutes ago

So happy these were a hit with your kids! Love that you’re planning to bring them to the soccer potluck – pro tip: add a tiny extra drizzle of melted Andes mints on top for a fun, fancy touch if you want to impress the other parents. Enjoy!

3 days ago

Wait, has anyone tried swapping the regular chocolate chips for dark chocolate mint chunks? I’m a huge dark chocolate fan and wondering if that would throw off the sweetness level at all? Also, can I chill the dough for 24 hours ahead of time if I’m prepping for a party this weekend? I feel like chilled cookie dough always tastes better but don’t want to mess up the texture.

2 days ago

I did the dark chocolate mint swap last week! It was SO good, just cut the chunks a little smaller so they don’t sink to the bottom. I chilled my dough for 18 hours and the cookies came out perfectly chewy, so 24 should be totally fine!

2 days ago

Great question! The dark chocolate swap works beautifully – as Mike mentioned, just keep the chunks on the smaller side. Chilling the dough for 24 hours is absolutely encouraged, it deepens the mint flavor and gives the cookies that perfect chewy center. Just add 1-2 minutes to the cook time if you’re baking straight from chilled dough!

1 week ago

Made these in my tiny dorm oven last night and they turned out insane! I didn’t even have a mixer, just stirred everything by hand in a big bowl I stole from the dining hall. My whole floor came knocking when they smelled them baking. Only thing I changed was adding a handful of crushed Oreos because I had some lying around, chef’s kiss. 12 minute cook time was perfect for my janky oven that runs super hot, too.

1 week ago

Brought these to my neighborhood block party this past weekend and people were asking for the recipe before I even set the plate down! I used green food coloring to make them extra festive for St. Patrick’s day (even though it was a little early, who cares) and everyone thought they were so fun. The only note I have is that mine spread a little more than I expected – I think I forgot to soften the butter properly first? Wait no, actually I used margarine instead because I ran out of butter, oops.

5 days ago

Oh girl I made the margarine swap once too and mine spread like crazy! Stick to real butter for these, I made them again last week with butter and they held their shape perfectly, no flat cookie disasters. The green food coloring idea is genius, stealing that for my office potluck next month!

2 weeks ago

Made these with a 1:1 gluten free all purpose flour blend and they came out exactly like the regular version! My husband who swears he can “taste the gluten free difference” had three and didn’t even notice I swapped the flour. Perfect for our weekly family dinner with my celiac niece. Will absolutely be adding this to our regular dessert rotation.

2 days ago

Full transparency: I have hated mint chocolate everything my whole life, my roommate made these and forced me to try one and I am a convert. The mint is so subtle, not like toothpaste at all (which is what I always hated)! The chocolate to mint ratio is perfect, not overpowering at all. I ate four in one sitting no shame. Wait, does anyone know if these freeze well? I want to make a big batch to keep for late night snack attacks.

yesterday

I froze a batch last month! Let them cool completely then pop them in a freezer bag with parchment paper between layers, they stay good for up to 3 months. Just thaw them for 10 seconds in the microwave when you want one, they taste just as fresh as the day you baked them!

yesterday

So thrilled you gave these a shot even as a mint skeptic! That’s exactly why we designed the recipe to have a gentle mint flavor instead of that super strong toothpaste vibe. Mia’s freezing tip is spot on – these freeze beautifully, perfect for quick sweet treats whenever the craving hits.

30 minutes ago

Uh, total baking newbie here, this was the first cookie recipe I’ve ever tried that didn’t turn out like a weird burnt hockey puck? The instructions were so straightforward, I didn’t get confused at all, even when I had to look up what “creaming butter and sugar” meant halfway through. My girlfriend thought I bought them from the fancy bakery down the street, win for me. Only question: can I use peppermint extract instead of mint extract? That’s all the grocery store had when I went.

5 minutes ago

Yay, so proud of you for nailing your first batch of cookies! That’s such a win. Peppermint extract works perfectly as a swap, just use a tiny bit less (about 3/4 of the amount the recipe calls for) since peppermint is a little stronger than regular mint extract. Can’t wait to hear how your next batch turns out!

2 days ago

These were good, just a little too chewy for my taste personally? I love a super crispy, crunchy cookie so I left them in for an extra 3 minutes and they were perfect for me. The mint flavor was great, chocolate chips were melty, just wish the recipe had a note for crispy cookie lovers! Otherwise super easy, will make again with the adjusted cook time.

1 week ago

Made these for my book club meetup last night and everyone went wild! I added a tiny bit of sea salt on top right when they came out of the oven and it took them to a whole new level, that sweet salty combo is unbeatable. My dog even tried to steal one off the counter when I turned my back, little troublemaker. 10/10, zero leftovers by the end of the night.

5 days ago

The sea salt topping hack is genius! I never would have thought to add that to mint chocolate cookies, I’m definitely trying that on my next batch. Thanks for the tip!

1 week ago

Has anyone tried making these vegan? I want to make them for my cousin’s birthday but she’s dairy free, so I’d need to swap the butter for vegan butter and use dairy free chocolate chips. Would that mess up the texture at all? I’ve had bad luck with vegan cookie swaps turning out super greasy in the past.

5 days ago

I made them vegan last week! Use stick vegan butter (not the spreadable kind in the tub) and they turn out exactly the same. I used dairy free dark chocolate mint chips and they were so good, even my non-vegan roommates ate half the batch!

3 days ago

Great question! The vegan swap works perfectly as long as you use stick-style vegan butter like Patty mentioned – the tub spread has too high of a water content and will make your cookies spread too much. Dairy free chocolate chips work seamlessly here, no other adjustments needed! Hope your cousin loves them.

2 weeks ago

These are my new go-to cookie for Sunday meal prep! I make a batch every week now, they stay soft in the cookie jar for almost a full week which is perfect for grabbing on my way out to work in the morning. I love that they only take 12 minutes to bake, I don’t have to spend half my Sunday in the kitchen. SO good, even better than the mint chocolate chip cookies my grandma used to make (don’t tell her I said that).

5 minutes ago

Testing cookie recipes early for our annual Christmas cookie exchange and these are definitely making the list! They’re so easy to make, the flavor is perfect, and they look so cute with a little mint leaf garnish on the platter. I was worried they’d be too similar to the basic chocolate chip cookies everyone else brings, but the mint twist makes them stand out so much. Already got three texts from neighbors who got a test batch asking when I’m making more.

just now

Love that these are making your Christmas cookie lineup! The mint twist is such a fun change of pace from standard cookie exchange fare. If you want to make them extra festive, stir in a handful of crushed candy canes during the last 30 seconds of mixing for a fun, crunchy pop of peppermint flavor. Happy baking!



