1.Is this mint chocolate pie actually fully no-bake, or do I need to cook any part of it?
▾
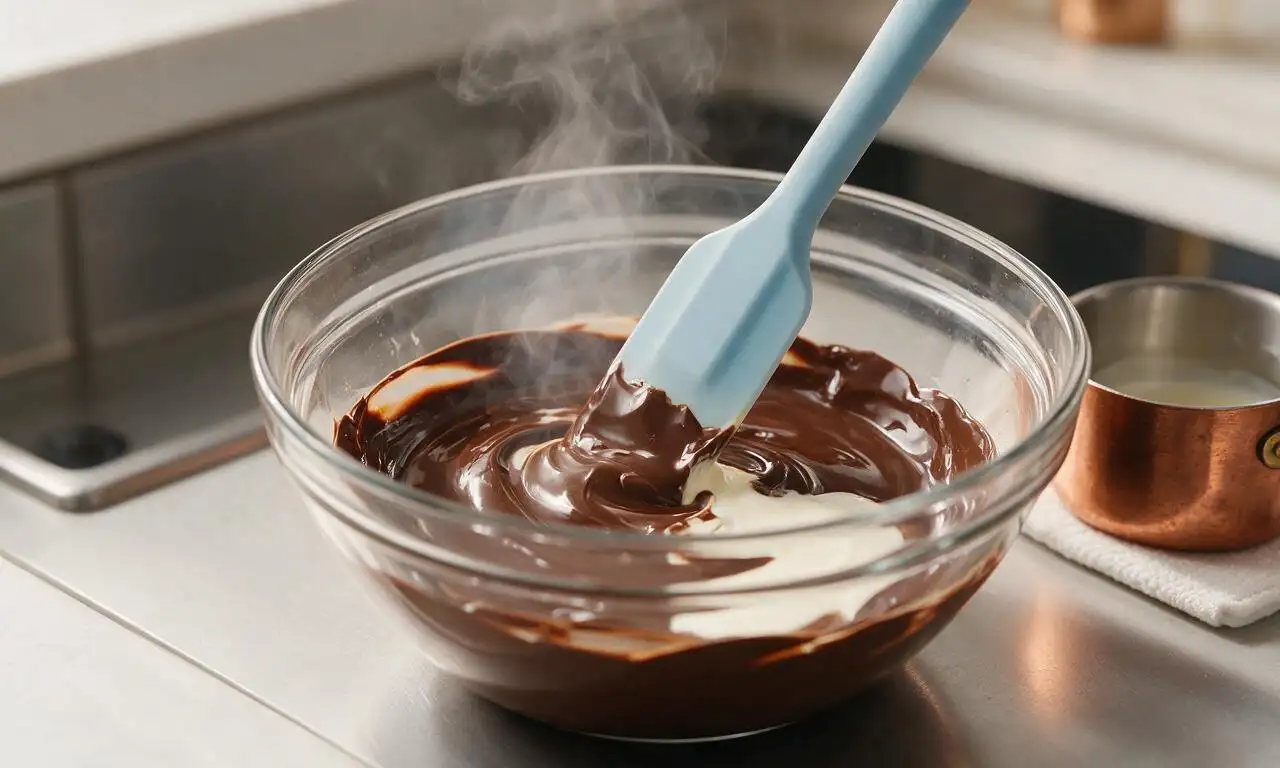
Great question! This pie is 100% no-bake, so no oven time is required at all. The only gentle heat you’ll use is to melt the semi-sweet chocolate for the filling, which you can do easily in the microwave or a double boiler. All other steps just involve mixing, assembling, and chilling until set, making it perfect for hot summer days.
2.Can I use regular mint extract instead of pure peppermint extract for this recipe?
▾
I strongly recommend sticking to pure peppermint extract for the best, brightest mint flavor. Regular mint extract often has a muted, slightly grassy spearmint note that doesn’t pair as cleanly with rich chocolate. If you only have mint extract on hand, use 25% less than the recipe calls for to avoid odd, overpowering flavor.
3.Do I need to remove the cream filling from chocolate sandwich cookies before making the crust?
▾
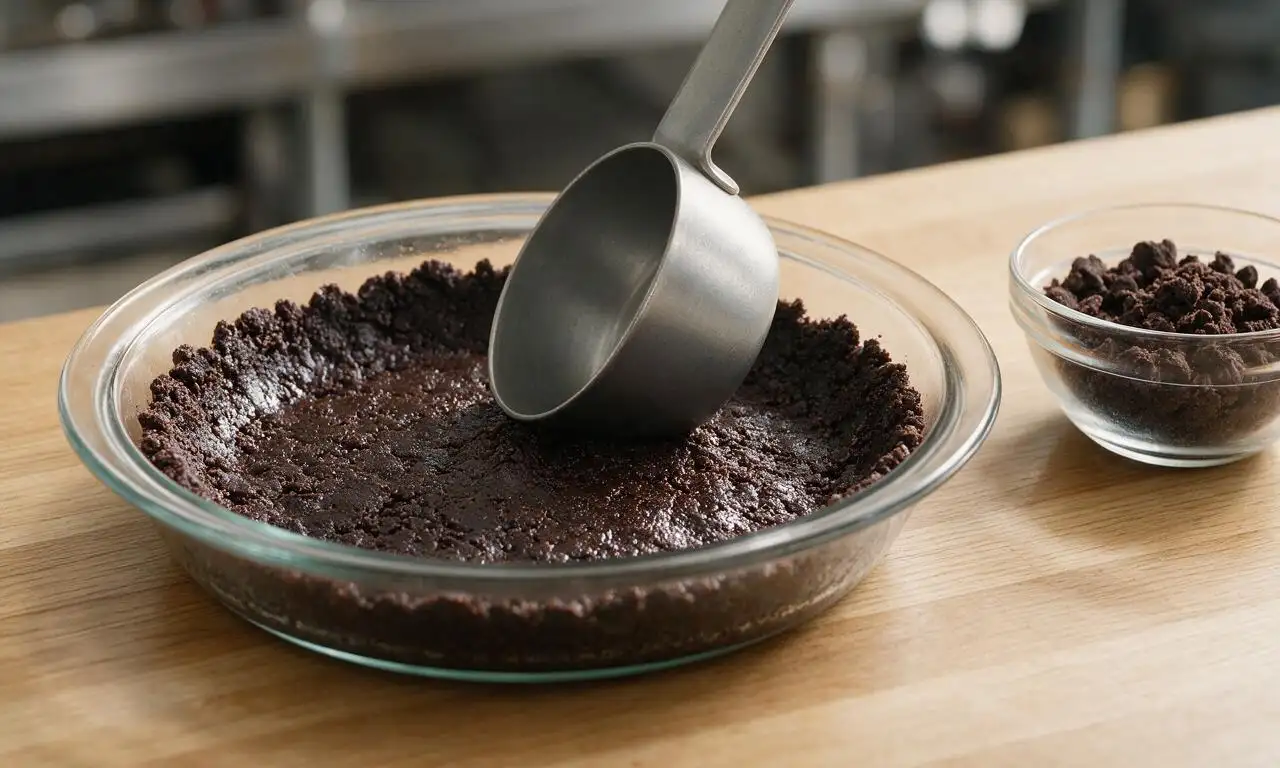
Nope, you don’t! Keep that sweet, creamy filling intact when you crush the cookies—it helps bind the crumbs with the melted butter to create a crisp, sturdy crust that holds together perfectly when sliced. Removing the filling will leave you with a dry, crumbly crust that falls apart as you serve it.
4.How long do I need to chill this pie before it’s ready to serve?
▾
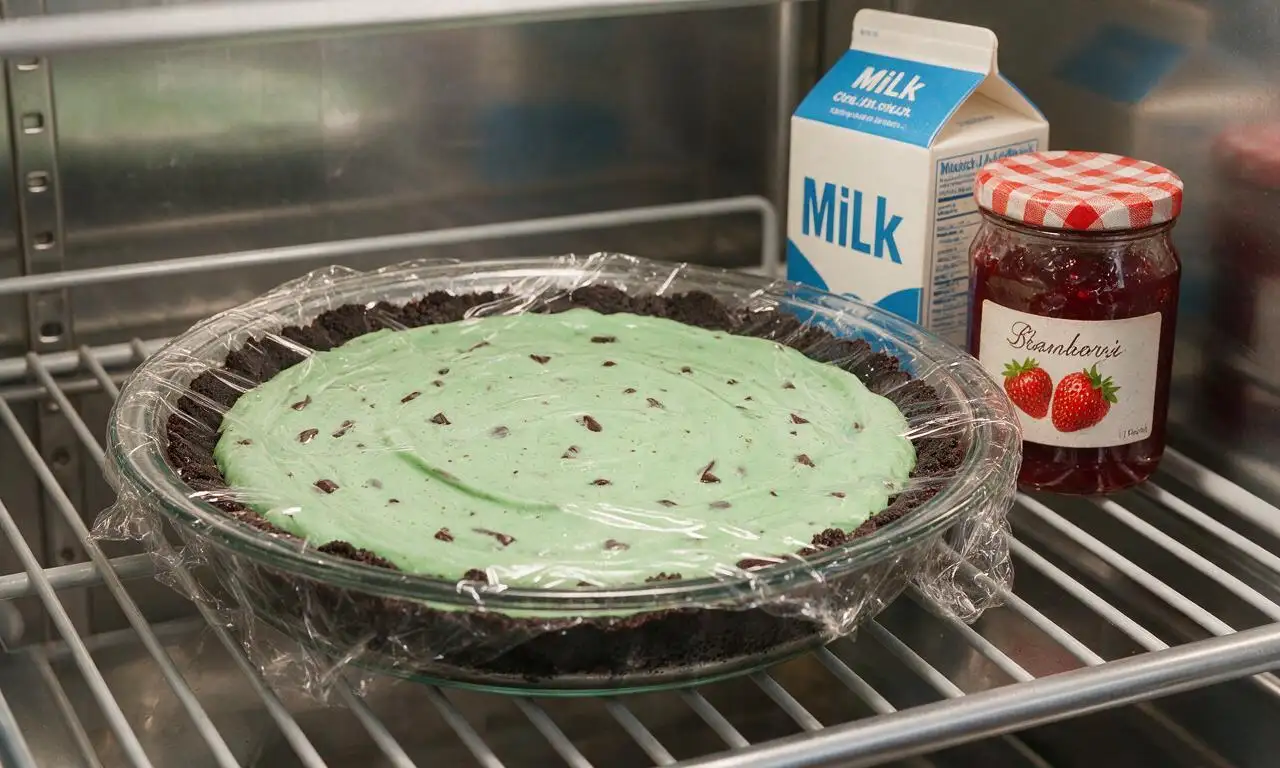
For the cleanest slices and perfectly set, creamy filling, plan to chill the pie for a minimum of 4 hours in the refrigerator, ideally overnight if you have the time. If you’re short on time, you can pop it in the freezer for 1.5 hours—just don’t leave it long enough to freeze solid.
5.Can I make this pie ahead of time for a party or potluck?
▾
Absolutely! This is one of my go-to make-ahead party desserts because it actually tastes better after a day of chilling. You can assemble the full pie (hold off on adding whipped cream topping until 1-2 hours before serving) and keep it covered in the fridge for up to 3 days with no texture or flavor loss.
6.Why does the recipe say to divide the heavy whipping cream?
▾
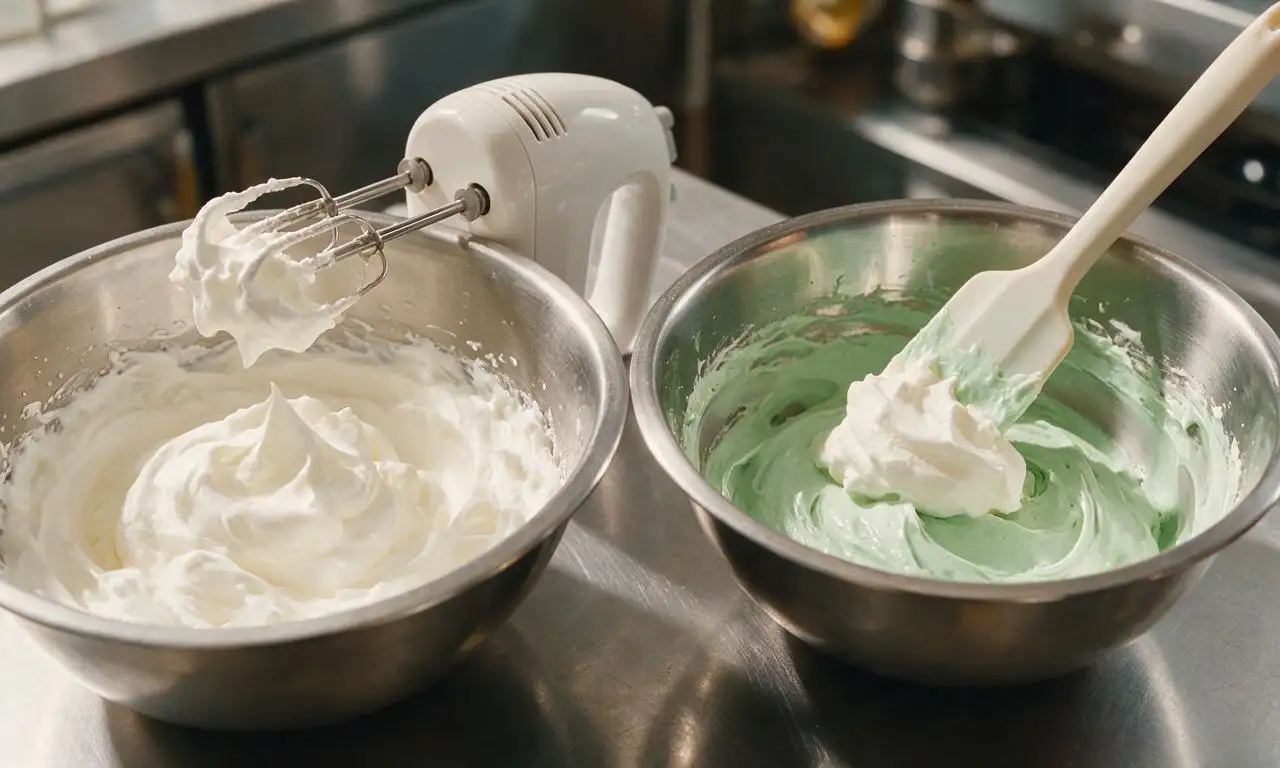
Good catch! You’ll use part of the heavy cream to mix with melted semi-sweet chocolate and peppermint extract to create that silky, rich mint chocolate filling. The remaining cream gets whipped into light, fluffy peaks to use as the fresh, creamy topping that balances the dense, rich filling perfectly.
7.Can I use milk chocolate or dark chocolate instead of semi-sweet chocolate chips?
▾
You absolutely can, just adjust for sweetness! Milk chocolate will make the filling sweeter and milder, while 60-70% dark chocolate creates a deeper, less sweet flavor with a subtle bitter edge. I don’t recommend using chocolate over 72% cacao, as it can make the filling too firm and overly bitter.
8.How do I get my chocolate cookie crust to stay crisp instead of getting soggy?
▾
The trick to a crisp, non-soggy crust is two-fold: first, press the crumb and melted butter mixture very firmly into the bottom and up the sides of your pie plate, then chill it for 15 minutes before adding filling. Make sure your filling is slightly warm (not hot) when poured in to avoid melting the crust.
9.Can I use a store-bought pre-made chocolate cookie crust instead of making my own?
▾
Of course! A store-bought 9-inch chocolate cookie crust works perfectly here if you’re short on time, no judgment. Just note that a homemade crust made with crushed sandwich cookies and melted butter will have a richer, sturdier texture and deeper chocolate flavor than most pre-made options.
10.How do I keep my whipped cream topping from deflating on the pie?
▾
For long-lasting, fluffy whipped cream that doesn’t deflate, make sure your heavy cream is ice cold when you whip it, and whip it just to soft, billowy peaks instead of over-whipping it into stiff, grainy peaks. For extra stability, add 1/4 teaspoon of cream of tartar per cup of cream as you whip.
11.Can I add green food coloring to the filling to make it look more classically minty?
▾
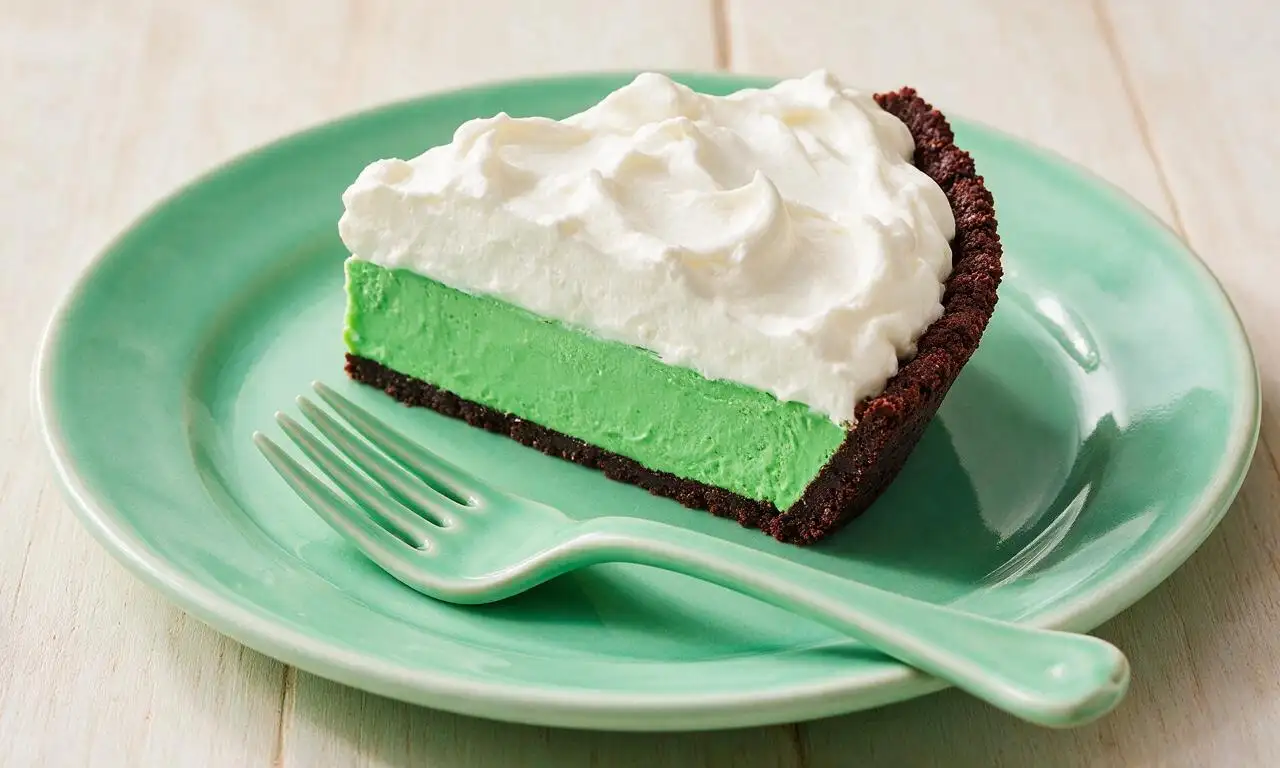
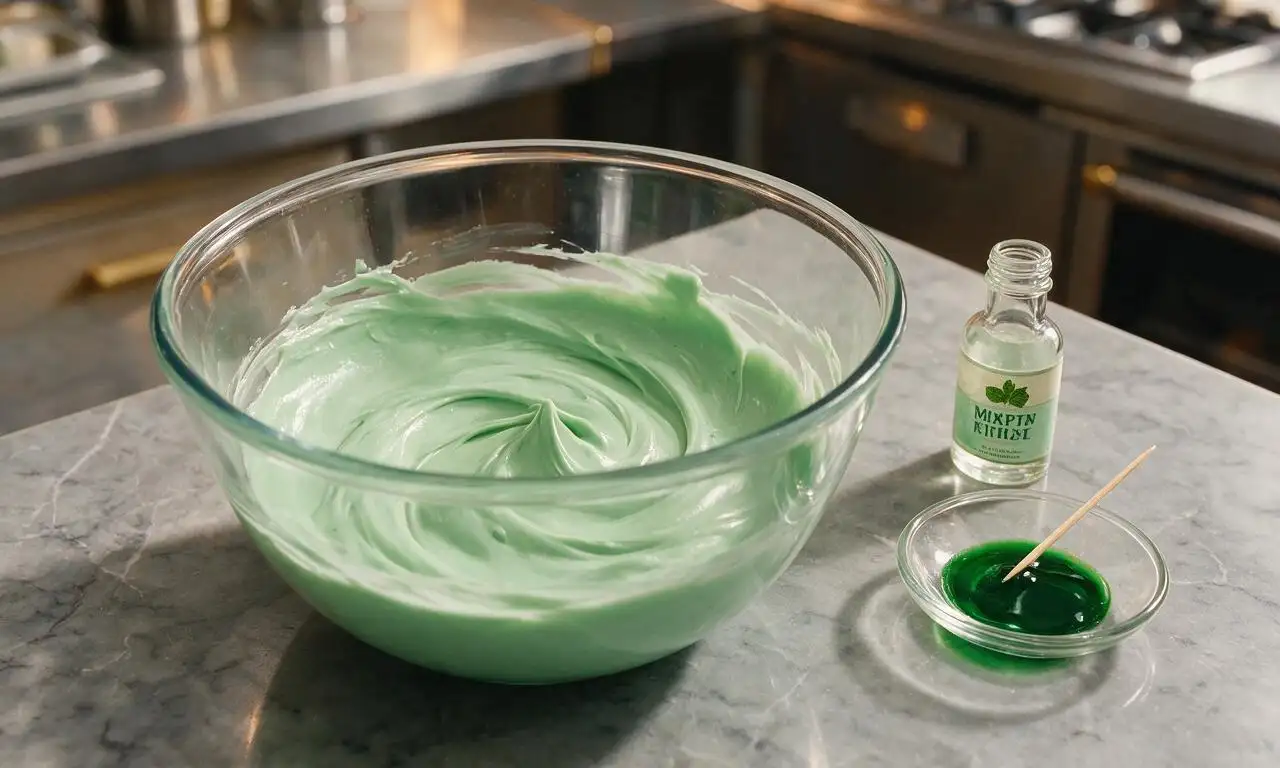
Totally! This filling is naturally a deep chocolate brown, so if you want that iconic pastel mint green look, stir in 1-2 drops of green gel food coloring (avoid liquid food coloring, which can make the filling seize or turn runny) once the filling is fully mixed, before pouring it into the crust.
12.What’s the best way to crush the chocolate sandwich cookies for the crust?
▾
The easiest, least messy method is to seal the whole cookies in a heavy-duty zip-top bag, squeeze out excess air, and roll over them with a rolling pin until you have fine, even crumbs. You can also pulse them in a food processor for 10-15 seconds—just don’t over-process them into a paste.
13.Can I add mix-ins to the filling, like mint chips or chocolate chunks?
▾
You bet! Stir in up to 1/2 cup of mini mint chocolate chips, crushed peppermint candies, or chopped dark chocolate chunks into the cooled filling right before pouring it into the crust for extra texture. Just avoid adding too many mix-ins, or they’ll make the filling hard to slice cleanly.
14.How should I store leftover mint chocolate pie?
▾
Store leftover slices tightly covered with plastic wrap or in an airtight container in the refrigerator for up to 4 days. I don’t recommend leaving it at room temperature for more than 2 hours, as the creamy filling and whipped cream will soften too much and become unsafe to eat in warm temperatures.
15.My filling turned out lumpy when I mixed it with the cream—what did I do wrong?
▾
Lumps usually happen if your melted chocolate was too hot when you added cold cream, causing the chocolate to seize slightly. Fix it by stirring the mixture gently over a double boiler on very low heat for 30-60 seconds, whisking constantly, until lumps melt out and the filling is perfectly smooth.
16.Can I make this pie dairy-free for friends with dietary restrictions?
▾
You can easily adapt it! Swap regular butter for melted dairy-free butter, use dairy-free semi-sweet chocolate chips, and replace heavy whipping cream with full-fat chilled coconut cream (scooped from the top of a chilled can) for both the filling and whipped topping. It will still turn out rich, creamy, and totally delicious.
17.Do I need a special pie plate to make this no-bake pie?
▾
Not at all! A standard 9-inch glass or metal pie plate works perfectly here. If you want extra easy serving, you can use a 9-inch springform pan, which lets you remove the outer ring to slice clean, picture-perfect pieces without fighting to get slices out of a standard pie dish.
18.Why is my peppermint flavor so weak even after I added the called-for amount of extract?
▾
Peppermint extract can lose potency quickly once opened, especially if stored in a warm cabinet near the stove. If you’re using an older bottle, you may need to add an extra 1/8 to 1/4 teaspoon to get that bright, cool mint kick. Always taste the filling as you go to adjust flavor before pouring it in the crust.
19.Can I top this pie with anything other than plain whipped cream?
▾
Absolutely! While fluffy whipped cream is the classic pairing, you can top slices with extra chocolate shavings, crushed peppermint candies, a drizzle of hot fudge sauce, mini chocolate chips, or even a dollop of mint chocolate chip ice cream for an extra indulgent treat when serving.
20.My pie is too soft and won’t hold its shape when I slice it—how do I fix that?
▾
Soft, runny filling usually means the pie didn’t chill long enough, or the chocolate-to-cream ratio was off from using extra-thick cream or low-cacao chocolate. Pop it back in the fridge for another 2-3 hours to firm up, and for future batches, measure cream accurately and use standard semi-sweet chocolate chips.

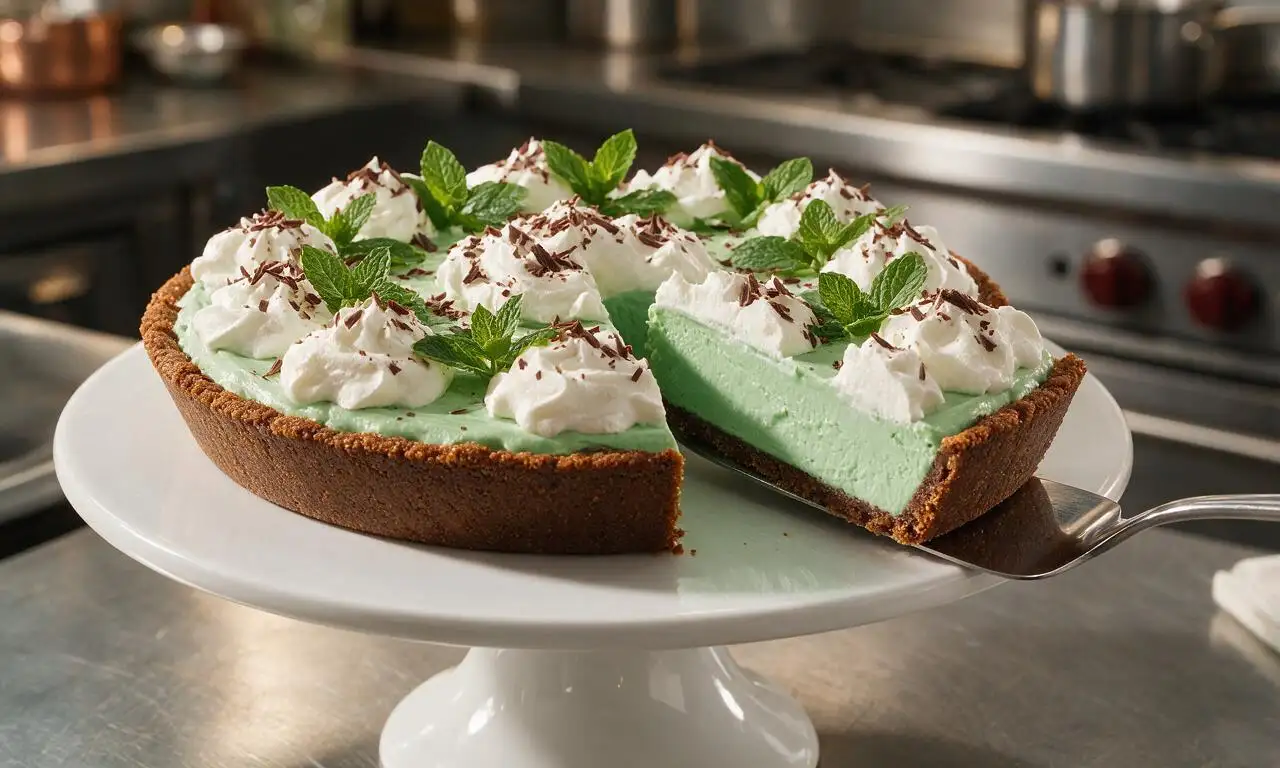






OMG this mint chocolate pie was a total game changer for our St. Patrick's Day potluck! I was worried the mint would be too overpowering but it was perfectly balanced with the rich chocolate ganache layer. My kids begged for second slices before everyone even got through the first round! Super easy to throw together too, even with my chaotic toddler hanging on my leg the whole time. 10/10 will make again for our next family dinner.
SO good. I brought this to my buddy's cookout last weekend and people were scraping the pie plate clean. Only note: I let it chill a little longer than the recipe said because my fridge runs a little warm, and it set perfectly. Took zero fancy skills, which is perfect because I can barely boil water without burning it. Will absolutely add this to my regular meal prep rotation for summer get-togethers.
Made this for my partner's birthday since mint chocolate is his favorite, and he said it's better than the bakery version we usually buy! The chocolate cookie crust is chef's kiss, I added a tiny handful of crushed Andes mints on top for extra crunch. Super straightforward recipe, even for someone who doesn't bake super often like me. Only took me about 20 minutes of actual prep before popping it in the fridge to set! Knocked a star off because I wish the filling was a little thicker, but that's probably because I skimped a tiny bit on the heavy cream oops.
Wait why did I sleep on this recipe for so long?? I made it for our office potluck yesterday and three people asked me for the recipe before they even finished their first bite. The mint flavor is so fresh, not that weird artificial toothpaste mint taste that some mint chocolate desserts have. My only regret is not making two pies because it was gone in 10 minutes flat. So easy too, perfect for when you need a last-minute dessert that looks fancy.
Made this with my 10 year old daughter for our weekend family movie night and it was a massive hit. She loved helping crush up the Oreos for the crust and stir the mint filling. We didn't have any whipped cream on hand so we topped it with a little extra chocolate syrup and it worked perfectly. Easy enough for a kid to help with, which is a huge win in my book. Will be making this all summer long.