
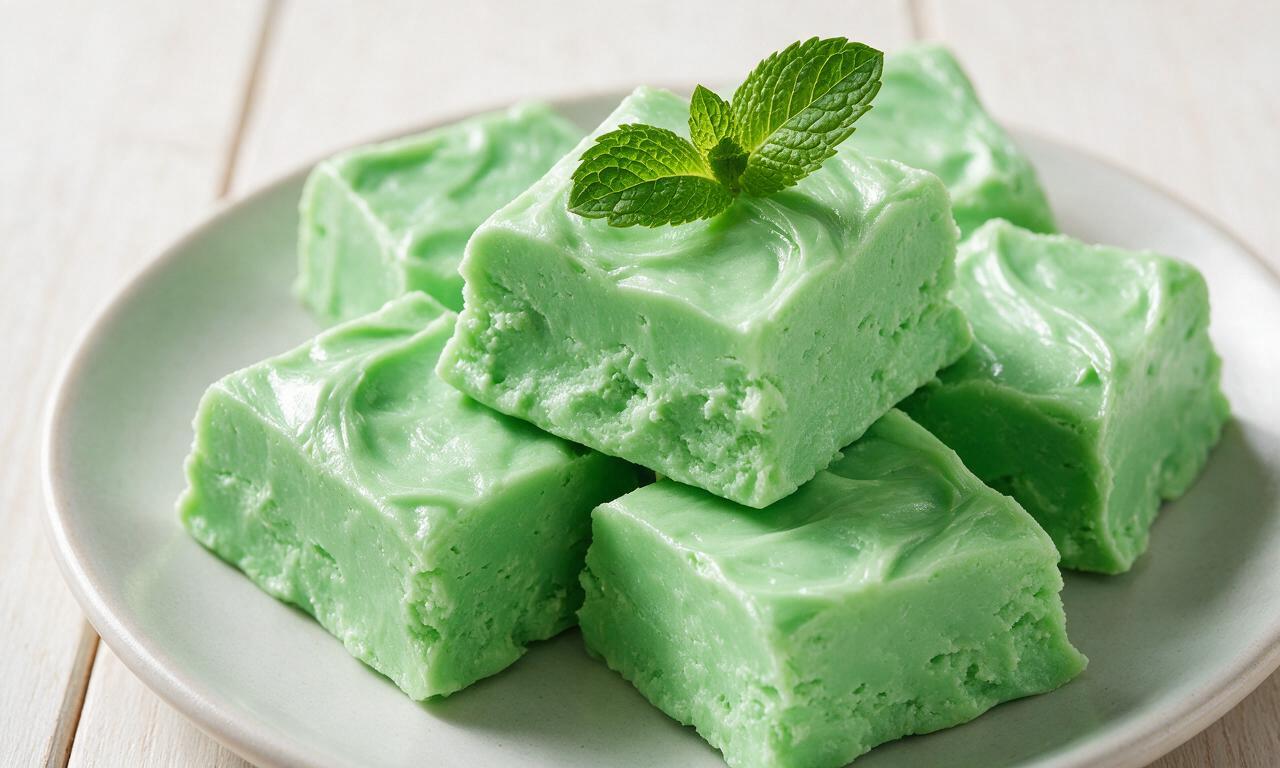
Mint Fudge

Mint Fudge
⏱️ cook time 2 hours 15 minutes (includes steeping and setting time)
🍽️ servings 24
⚡ Difficulty medium

intro

Smooth, buttery, cool mint-infused fudge with a luxe melt-in-your-mouth texture, perfect for holiday gifting and seasonal sweet platters.

Ingredients

Granulated sugar 400g (2 cups)
Heavy whipping cream (35% fat) 240ml (1 cup)
Unsalted butter 113g (½ cup / 1 stick, cut into 1cm cubes)
Fresh spearmint leaves 30g (½ cup, firmly packed)
Peppermint extract 5ml (1 teaspoon)
Fine sea salt 1g (¼ teaspoon)
Pastel green gel food coloring (optional) 2 drops

Steps

1

Prep pan and infuse cream

Line a 20cm (8 inch) square baking pan with parchment paper, leaving 5cm overhang on two sides for easy lifting. In a small saucepan over low heat, combine 240ml heavy cream and 30g packed fresh mint leaves, heat to a gentle simmer (do not boil), then remove from heat, cover, and let steep for 15 minutes to extract mint flavor. Strain out mint leaves with a fine sieve, pressing leaves to release all infused cream, then discard the spent leaves.
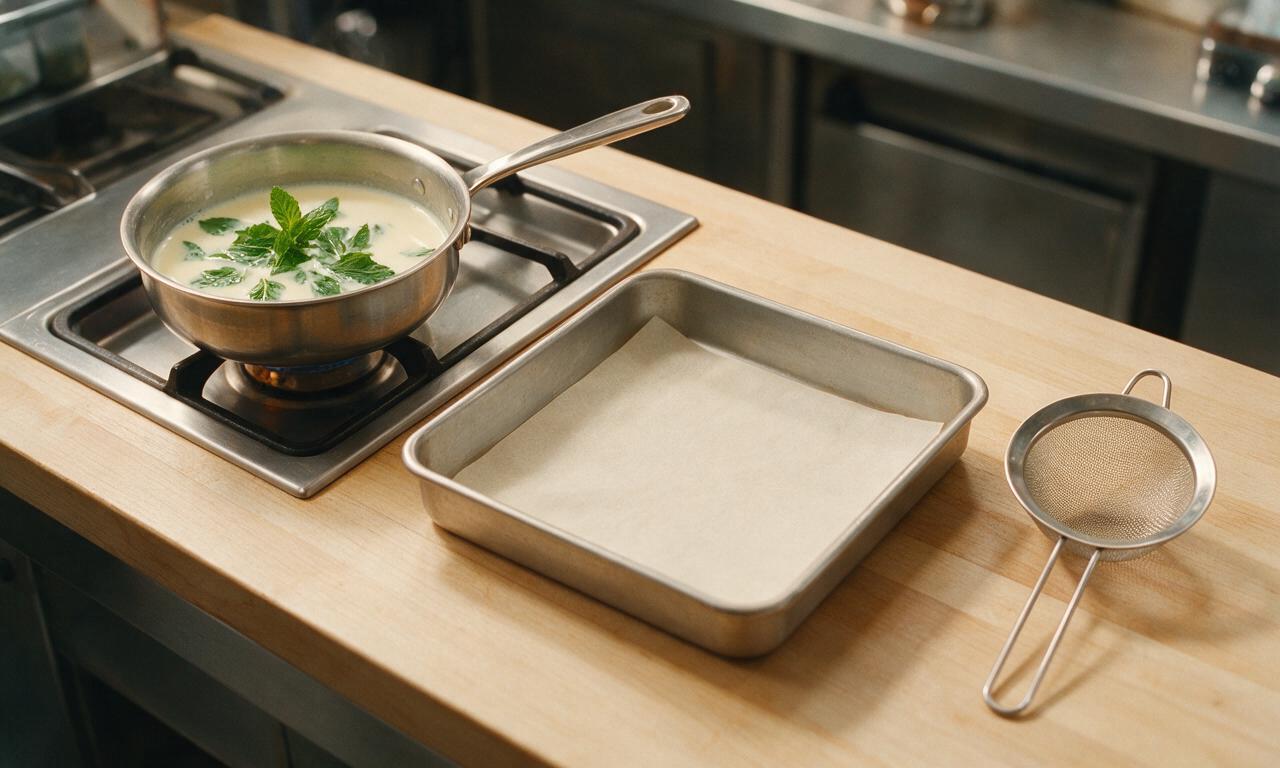
Step 1
step1:Prep pan and infuse cream
2

Combine fudge base ingredients

Pour the strained mint-infused cream back into a heavy-bottomed 3L saucepan, add 400g granulated sugar, cubed unsalted butter, and 1g fine sea salt. Stir over medium-low heat until the sugar fully dissolves and the butter melts completely, about 5 minutes, making sure no sugar grains stick to the sides of the pan.
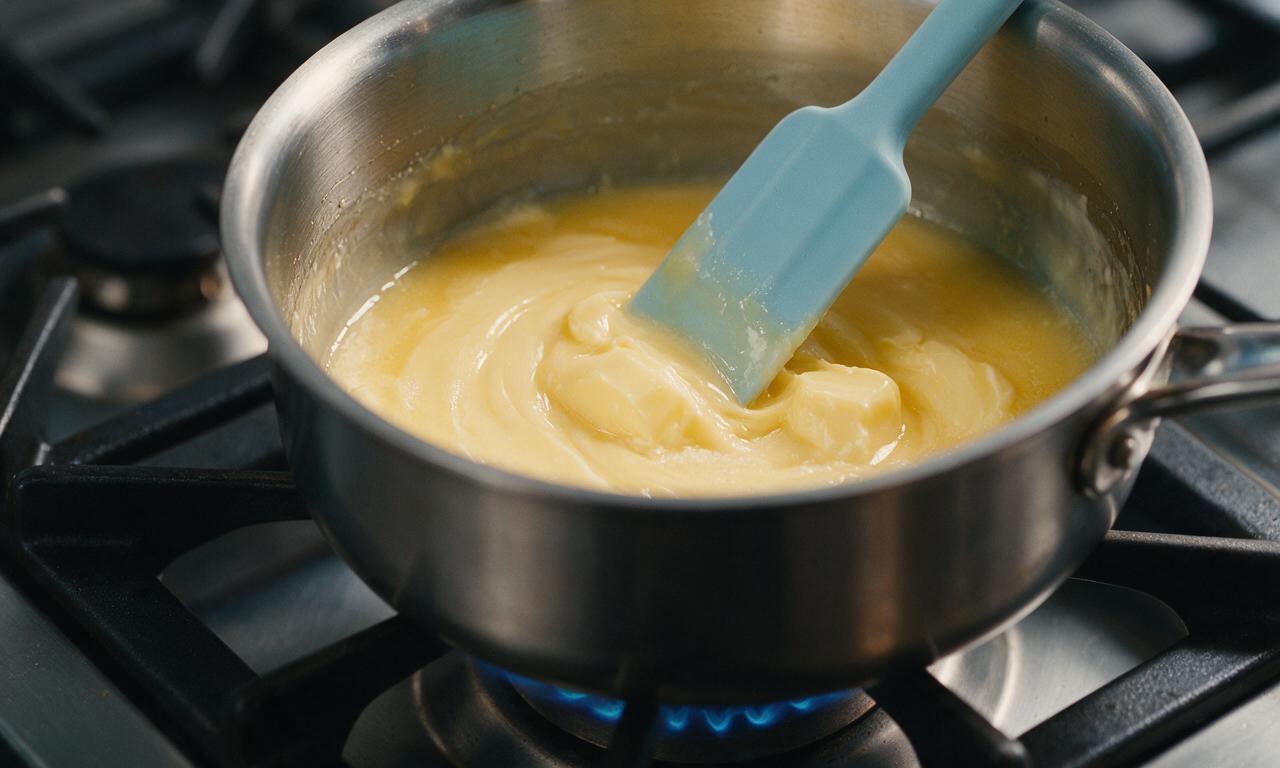
Step 2
step2:Combine fudge base ingredients
3

Cook to soft ball stage

Clip a candy thermometer to the side of the pan, making sure the tip is submerged in the liquid but not touching the pan bottom. Increase heat to medium, bring the mixture to a steady rolling boil, and cook without stirring until the thermometer reads 115°C (240°F, soft ball stage), approximately 8 to 10 minutes. Watch closely to avoid the mixture boiling over the pan edges.
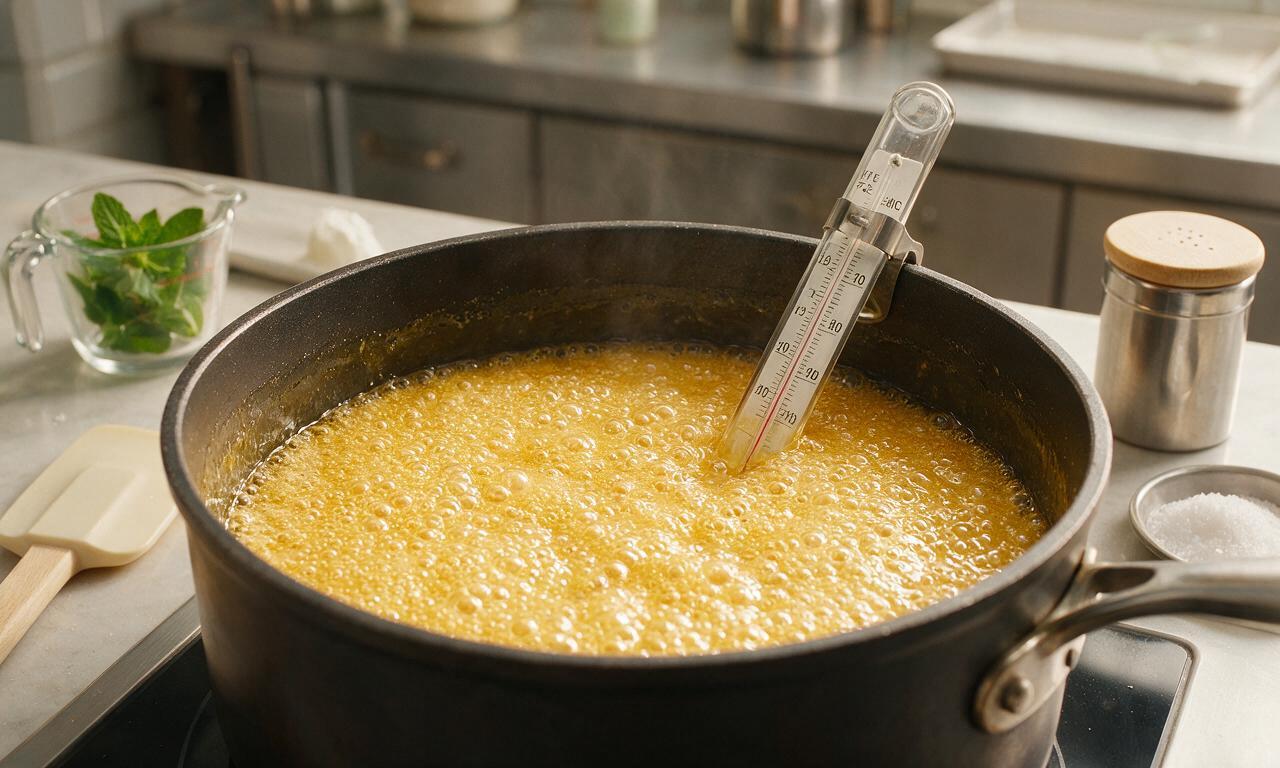
Step 3
step3:Cook to soft ball stage
4

Cool and add flavoring

Remove the pan from heat immediately once it reaches the target temperature. Let the mixture cool undisturbed in the pan until it drops to 43°C (110°F), about 15 minutes. Do not stir during this cooling period to prevent grainy fudge texture. Once cooled, add 5ml (1 teaspoon) peppermint extract and 2 drops of green gel food coloring (if using).
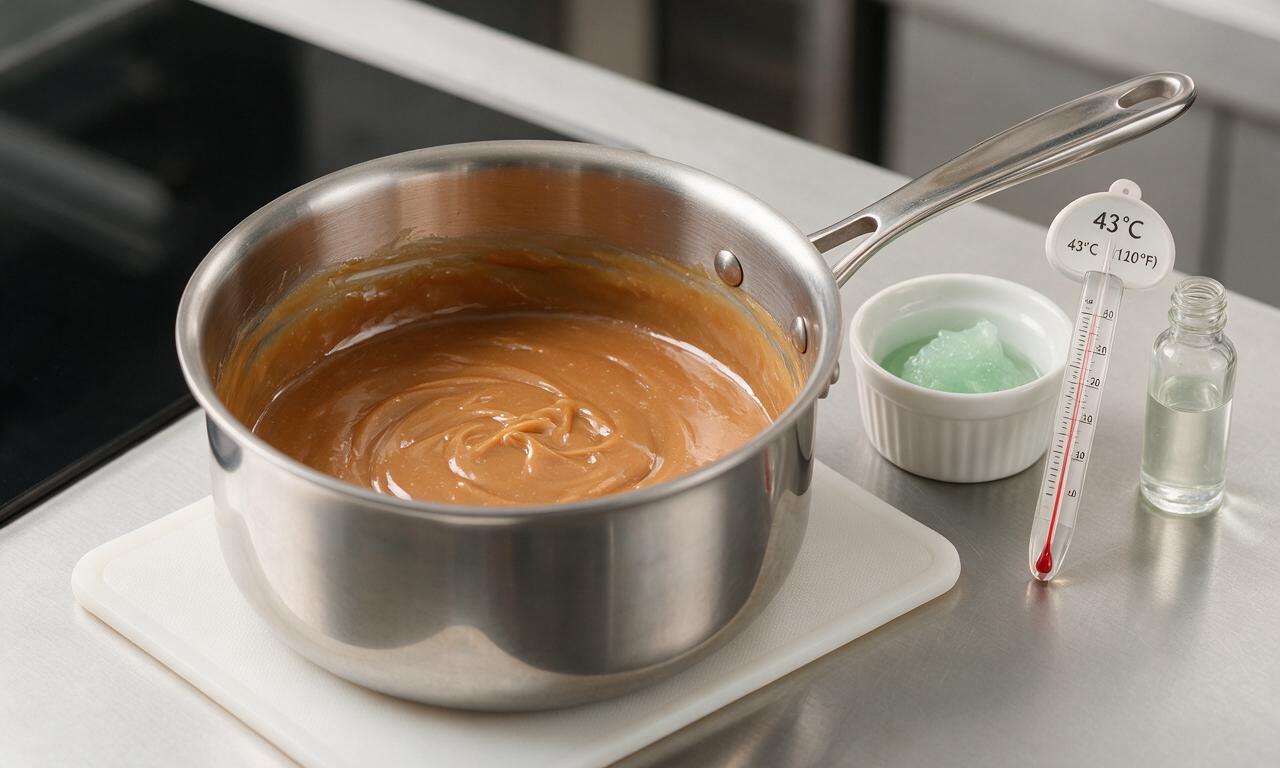
Step 4
step4:Cool and add flavoring
5

Beat fudge until thickened

Use a wooden spoon or electric hand mixer on low speed to beat the fudge mixture continuously for 3 to 4 minutes, until it loses its glossy shine, thickens noticeably, and starts to hold its shape when dripped from the spoon. Do not over-beat, as this will cause the fudge to set too hard and become crumbly in the pan.
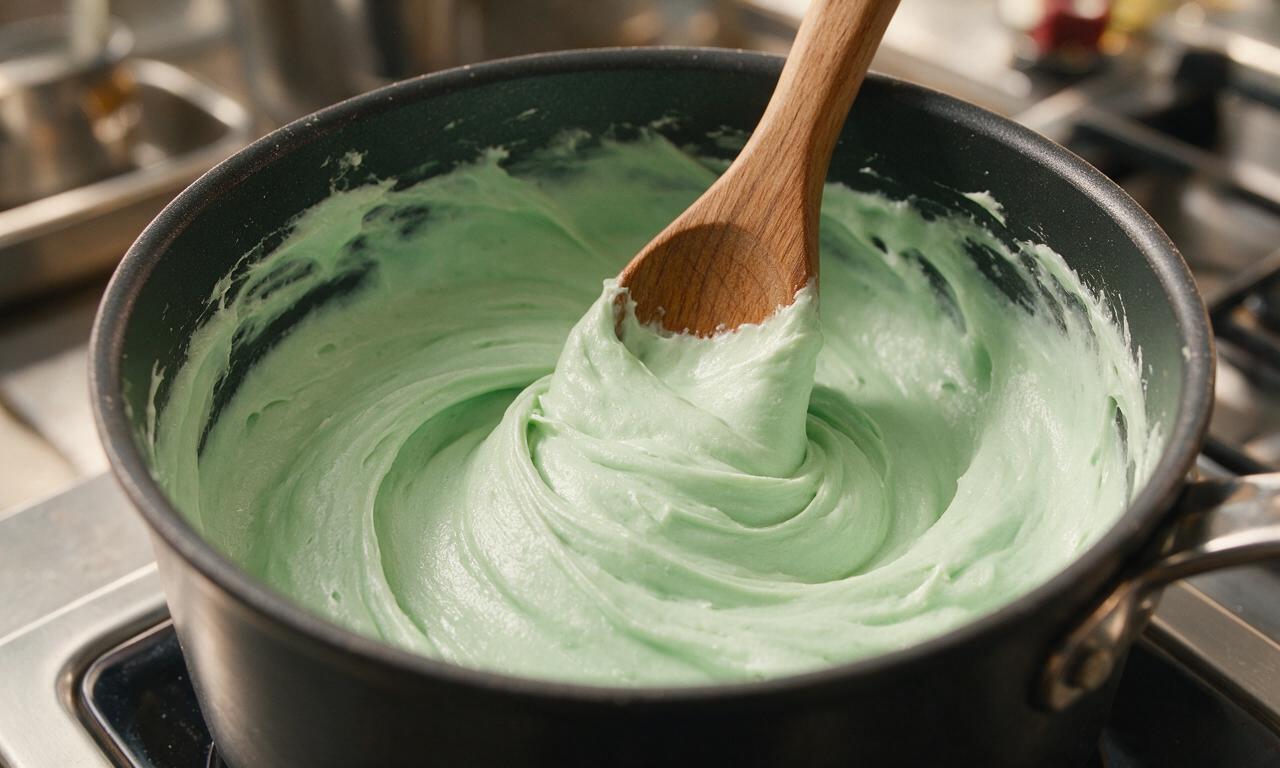
Step 5
step5:Beat fudge until thickened
6

Set and cut fudge

Pour the beaten fudge immediately into the prepared parchment-lined pan, spreading it evenly with an offset spatula to a smooth 2cm thickness. Let it set at room temperature (20°C/68°F) for 90 minutes, or chill in the refrigerator for 45 minutes, until fully firm. Lift the fudge out of the pan using the parchment overhang, then cut into 2.5cm (1 inch) squares with a sharp knife to serve.
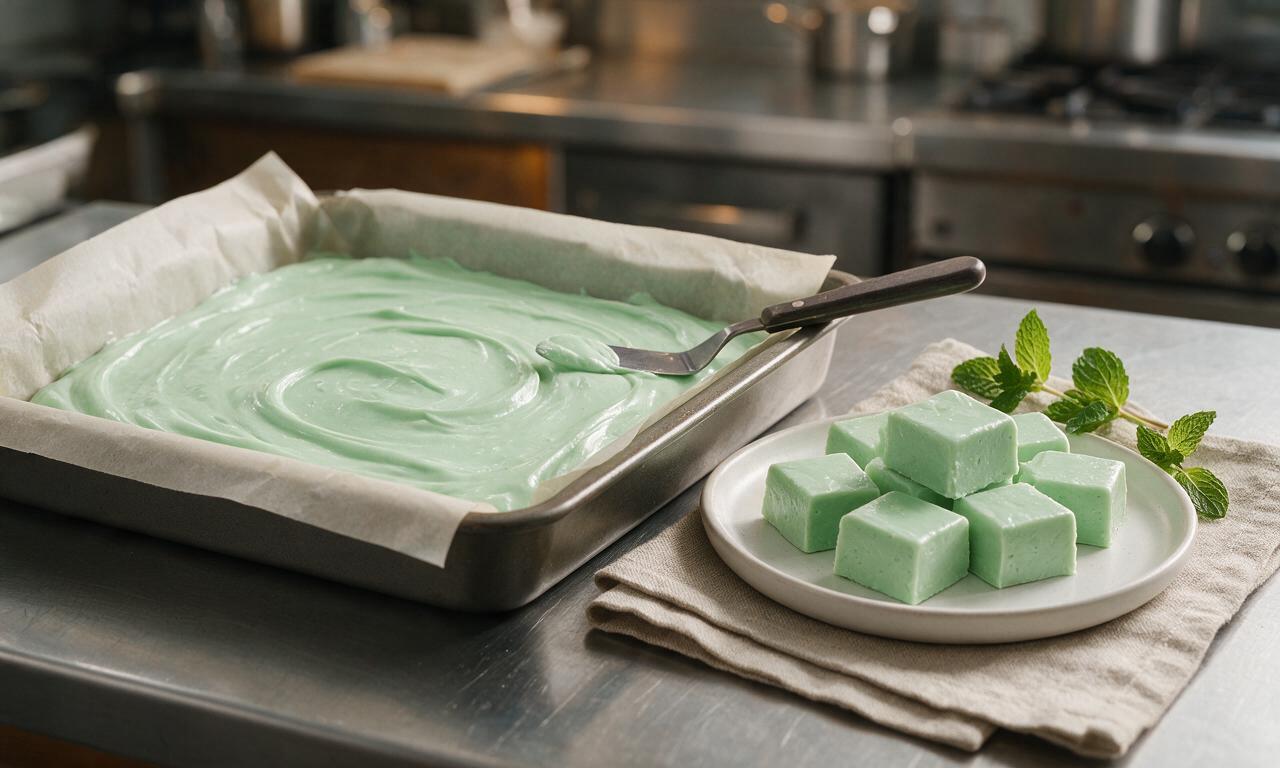
Step 6
step6:Set and cut fudge

Tips

1.Always calibrate your candy thermometer before use: boil a pot of water and check that it reads 100°C (212°F) at sea level, adjusting your target temperature if your thermometer runs hot or cold. If you don’t have a thermometer, test for soft ball stage by dropping a tiny bit of hot fudge into ice water—it should form a soft, malleable ball that flattens when pressed between your fingers.
2.Avoid stirring the fudge while it boils or cools to 43°C (110°F), and do not scrape sugar crystals from the pan sides into the mixture, as this will cause the entire batch to turn grainy instead of smooth and creamy.
3.Store cut fudge in an airtight container layered between sheets of parchment paper in the refrigerator for up to 2 weeks, or freeze for up to 3 months for make-ahead holiday gifting.


✨ You May Also Like

Desserts & Baking
🍜 Italy

Creamy, coffee-kissed classic Northern Italian no-bake dessert, with layers of rum-spiked mascarpone cream, soft ladyfingers, and a rich cocoa dusting.

⏱️ 4 hours 3Desserts & Baking ★ 4.8
Desserts & Baking
🍜 France

Flaky, shatteringly crisp, buttery French croissants with golden exteriors and soft, airy layered interiors, perfect for pairing with coffee for a special morning treat.

⏱️ 12 hours Desserts & Baking ★ 4.7
Desserts & Baking
🍜 United States

Warm, spiced baked apples topped with a fluffy golden biscuit crust, this cozy dessert pairs perfectly with vanilla ice cream for cool-weather comfort.

⏱️ 55 minuteDesserts & Baking ★ 4.7
Desserts & Baking
🍜 United States

A star-spangled classic American blueberry pie with buttery flaky crust and bright sweet-tart filling, perfect for summer patriotic gatherings.

⏱️ 1 hour 25Desserts & Baking ★ 4.8
Desserts & Baking
🍜 United States

A beloved no-bake regional Maine candy with a chewy coconut-potato center coated in rich dark chocolate, a New England holiday staple since the 1870s.

⏱️ 2 hours 3Desserts & Baking ★ 4.9
Desserts & Baking
🍜 France

Luxuriously creamy, floral frozen custard made with aromatic Tahitian vanilla beans, boasting a smooth, rich texture that melts slowly on the tongue.

⏱️ 3 hours 3Desserts & Baking ★ 4.6

Mint Fudge:Frequently Asked Questions

1.Do I need a candy thermometer to make this creamy fresh mint fudge successfully?
While a candy thermometer takes the guesswork out, you can test doneness without one using the classic soft-ball stage test: drop a tiny spoonful of the hot sugar mixture into a bowl of very cold water. It should form a soft, malleable ball that flattens easily when picked up, hitting 235–240°F, for that perfect melt-in-your-mouth texture.
2.Can I swap fresh spearmint for dried mint if I don’t have fresh on hand?
You can, but adjust ratios because dried mint is far more concentrated than fresh. Use 1 tablespoon of dried culinary spearmint for every ½ cup of fresh leaves called for, steep it in warm cream for 10 full minutes, and strain extra thoroughly to avoid gritty herb flecks that ruin the fudge’s smooth texture. Add 1/8 teaspoon extra peppermint extract to boost bright, cool flavor if needed.
3.Why did my fudge turn out grainy instead of smooth and creamy?
Grainy fudge almost always comes from stray sugar crystals forming on the pan sides during cooking that get stirred back into the mixture. Prevent this by brushing down pan sides with a wet pastry brush as sugar dissolves, and avoid stirring once the mixture hits a rolling boil. If it’s already grainy, re-melt it with a splash of extra cream and retry the cooking process.
4.How long does this fudge stay fresh, and what’s the best way to store it?
Stored in an airtight container with layers separated by parchment paper to prevent sticking, this fudge stays fresh for up to 2 weeks in the refrigerator. You can also freeze it for up to 3 months; just thaw it in the fridge overnight before serving, and let it sit 10 minutes at room temperature to bring out its signature creamy, buttery texture.
5.Can I use milk or half-and-half instead of 35% heavy whipping cream for this recipe?
I don’t recommend it—this fudge’s luxe, melt-in-your-mouth texture relies entirely on the high fat content of 35% heavy cream. Lower-fat dairy like milk or half-and-half has too much water content, which will make the fudge softer, more prone to seizing, and lacking that rich, indulgent mouthfeel that makes this treat feel special.
6.How do I get bright, natural mint flavor without the fudge tasting like toothpaste?
The key is balancing steeped fresh spearmint with small amounts of peppermint extract, rather than dumping in too much extract at once. Add extract 1/4 teaspoon at a time after taking the mixture off heat, tasting as you go, and stop when the mint flavor is bright and cool, not sharp or medicinal. The fresh spearmint adds soft, herby depth that keeps the flavor well-rounded.
7.Is this fudge sturdy enough to ship as a holiday gift to friends and family?
Absolutely! This fudge sets firm but stays creamy, so it holds up great for shipping as long as you pack it correctly. Wrap individual pieces tightly in wax paper, nestle them in an airtight tin with crumpled parchment to prevent shifting, and add a small cold pack if shipping to a warm climate to avoid melting. It’s ideal for holiday care packages.
8.Do I have to add peppermint extract, or can I rely solely on fresh mint for flavor?
You can use only fresh mint if you prefer a softer, more herb-forward mint flavor, but you’ll need to steep a full ¾ cup of fresh spearmint leaves in warm cream for 15 minutes, then strain completely, to get enough pronounced flavor. The small amount of peppermint extract just amps up that iconic cool, bright mint note that feels festive, rather than leaving the fudge tasting subtly herby.
9.Can I stir in mix-ins like chocolate chips or crushed candy canes to this fudge?
Definitely! Fold in mix-ins right after you finish beating the cooked fudge to a smooth, thick consistency, right before pouring it into the pan to set. Stick to ½ to ¾ cup total of mix-ins—think dark chocolate chips, crushed candy canes, toasted walnuts, or white chocolate chunks—so they don’t overpower the delicate fresh mint flavor or make the fudge crumbly.
10.Why is my fudge too soft and not setting properly even after hours in the fridge?
Soft, unset fudge usually means you didn’t cook the sugar mixture to the correct soft-ball stage (235–240°F), often from an inaccurate candy thermometer or under-boiling. If it hasn’t set after 4 hours, scrape the mixture back into a pot, add 2 tablespoons of heavy cream, reheat to soft-ball stage, beat again, and re-pour—it will set perfectly the second time around.
11.Should I use salted or unsalted butter for this recipe, and does it matter?
I recommend sticking to unsalted butter so you have full control over the fudge’s flavor, since salted butter has widely varying salt levels across different brands. If you only have salted butter on hand, skip any small pinch of added salt you might otherwise use, and it will work beautifully to create that rich, smooth, buttery base the recipe relies on.
12.How long do I need to let the fudge set before I can cut it into pieces to serve?
Let the poured fudge cool completely at room temperature for 2 hours first, then transfer it to the fridge to chill for another 2 to 3 hours until fully firm. Cutting it too early leads to messy, oozing, uneven edges. For the cleanest cuts, run a sharp knife under hot water, wipe it dry, and slice between wipes for perfect, smooth-edged squares every time.

Comments (3)

2 days ago

OMG this creamy fresh mint fudge is SO good! I brought a batch to my neighborhood potluck last weekend and people were begging me for the recipe before I even left. I was a little nervous about the steeping step since I’ve only ever made basic chocolate fudge before, but the fresh mint flavor is way brighter than that artificial extract junk you buy at the grocery store. My 8 year old said it tastes like a mint chocolate chip ice cream bar but fudgier — total win in our house. Only tiny heads up: I let mine set an extra 20 minutes because my kitchen was super warm from baking chocolate chip cookies all afternoon, and it set up perfectly without getting soft!

yesterday

So glad you mentioned the extra set time for warm kitchens! My apartment is always sweltering in the summer, I definitely would’ve pulled it too early and ended up with a goopy mess for my work potluck tomorrow. Can’t wait to whip this up tonight after I get home from the office!

2 hours ago

Great call adding that extra set time if your space runs warm, Molly! That steep step is totally worth the extra wait to get that bright, fresh mint flavor — I’m so happy it was a hit at your potluck. Hope it turns out perfectly for you too, Jake!

5 days ago

Really solid fudge recipe! The fresh mint makes it feel so fancy even with the medium difficulty rating — I was worried I’d mess it up since fancy desserts aren’t usually my strong suit, but it came together way easier than I expected. I made this for my daughter’s soccer team snack table and half the parents asked where I bought it, ha. The only reason I’m not giving 5 stars is I accidentally over-steeped the mint the first go-around and it got a little bitter, so word to the wise: don’t leave the mint in longer than the recipe says! I made a second batch for my book club and timed the steep perfectly, and it was absolute chef’s kiss.

3 days ago

So glad your second batch turned out perfectly for book club, Liz! That’s such an important tip about not over-steeping the mint — it can turn bitter really fast if left too long, so I’m adding a quick bolded note about that to the recipe card to help other bakers avoid that same mishap!

30 minutes ago

Game changer! I’ve been looking for a fudge recipe that doesn’t use weird artificial mint flavor for literal months, and this hits every single mark. It’s so rich and creamy, I cut mine into tiny bite-sized squares for my weekly meal prep treats so I don’t accidentally eat the whole pan in one sitting. Already texted the link to my sister who’s obsessed with all things mint chocolate, she’s planning to make a batch for our big family dinner next Sunday!



