
Mirin Ribs
intro
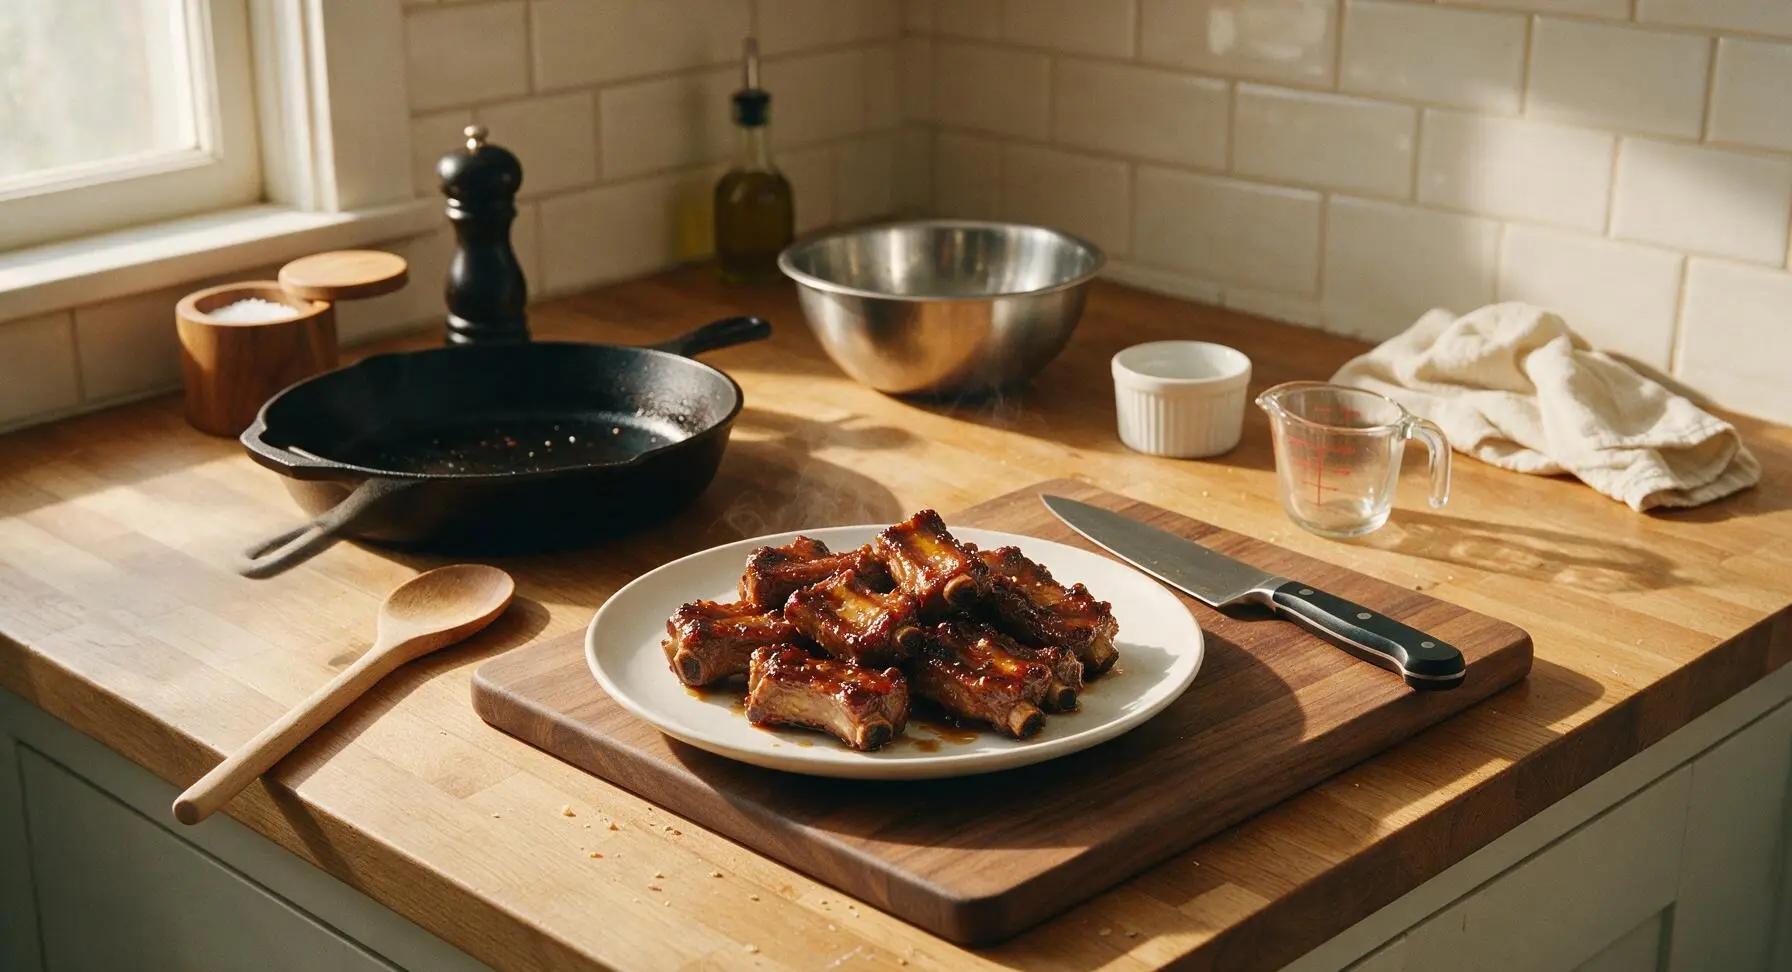
Fall-off-the-bone pork ribs coated in a glossy, sweet-savory mirin glaze, balanced with soy and ginger, ideal for sharing at cozy family gatherings.
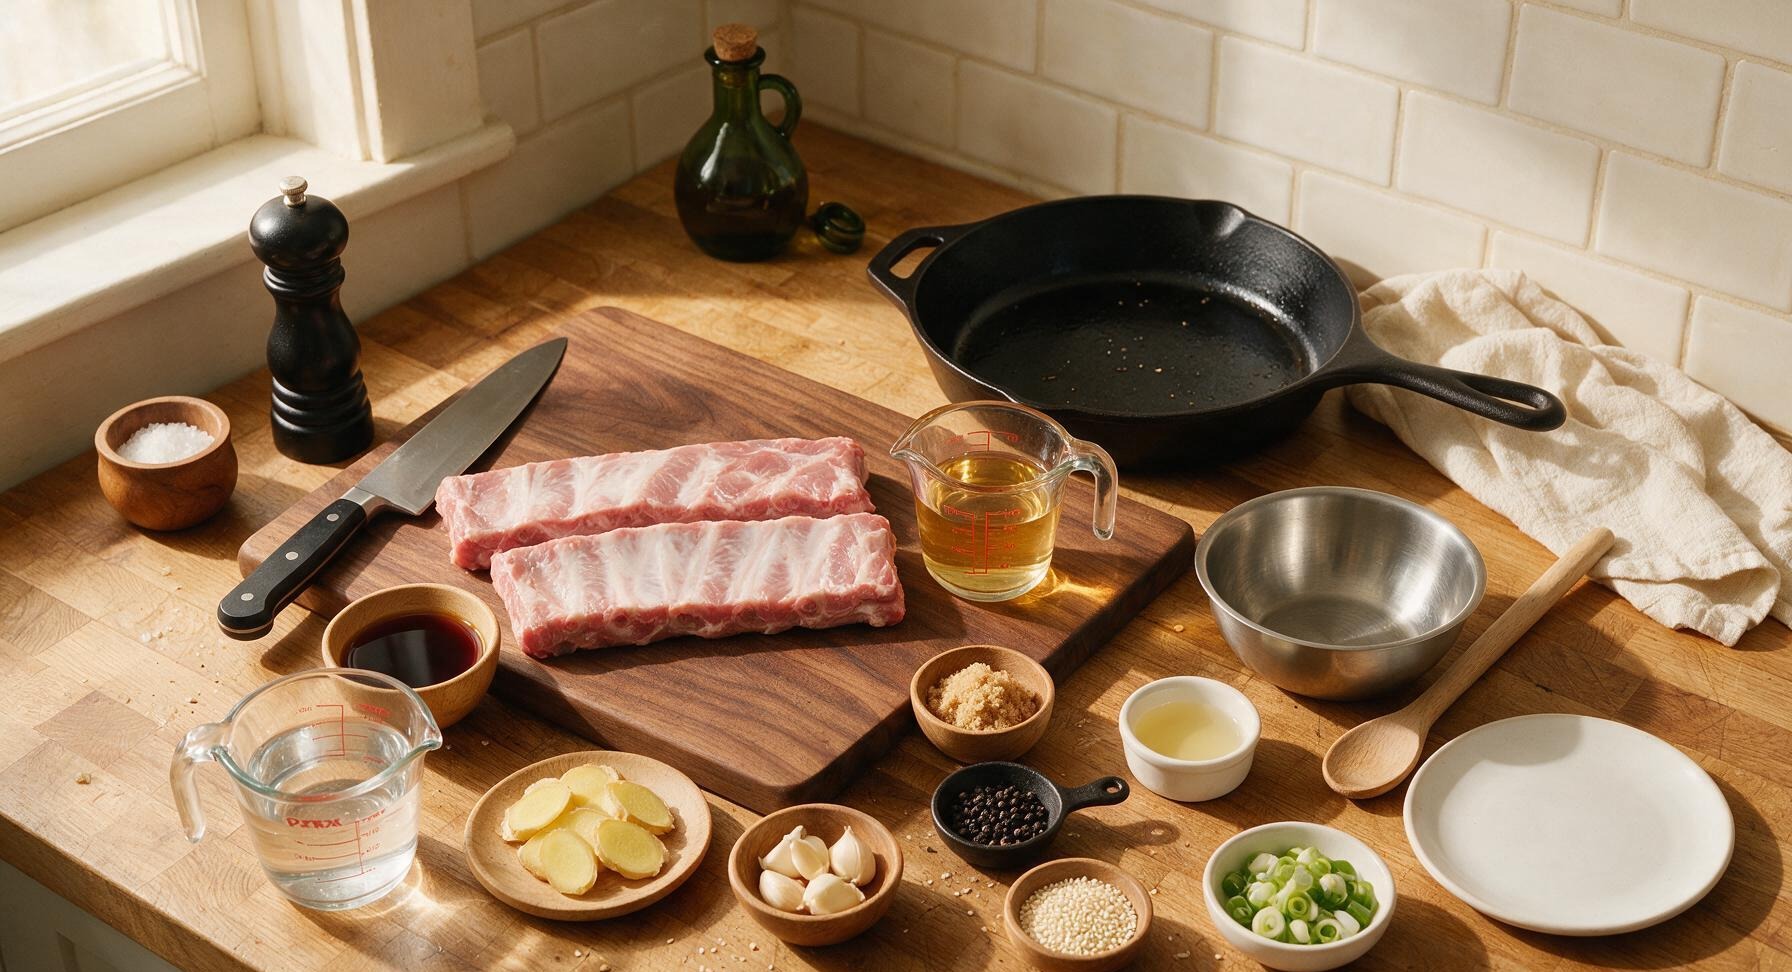
Ingredients
Steps
Trim and Prep Ribs
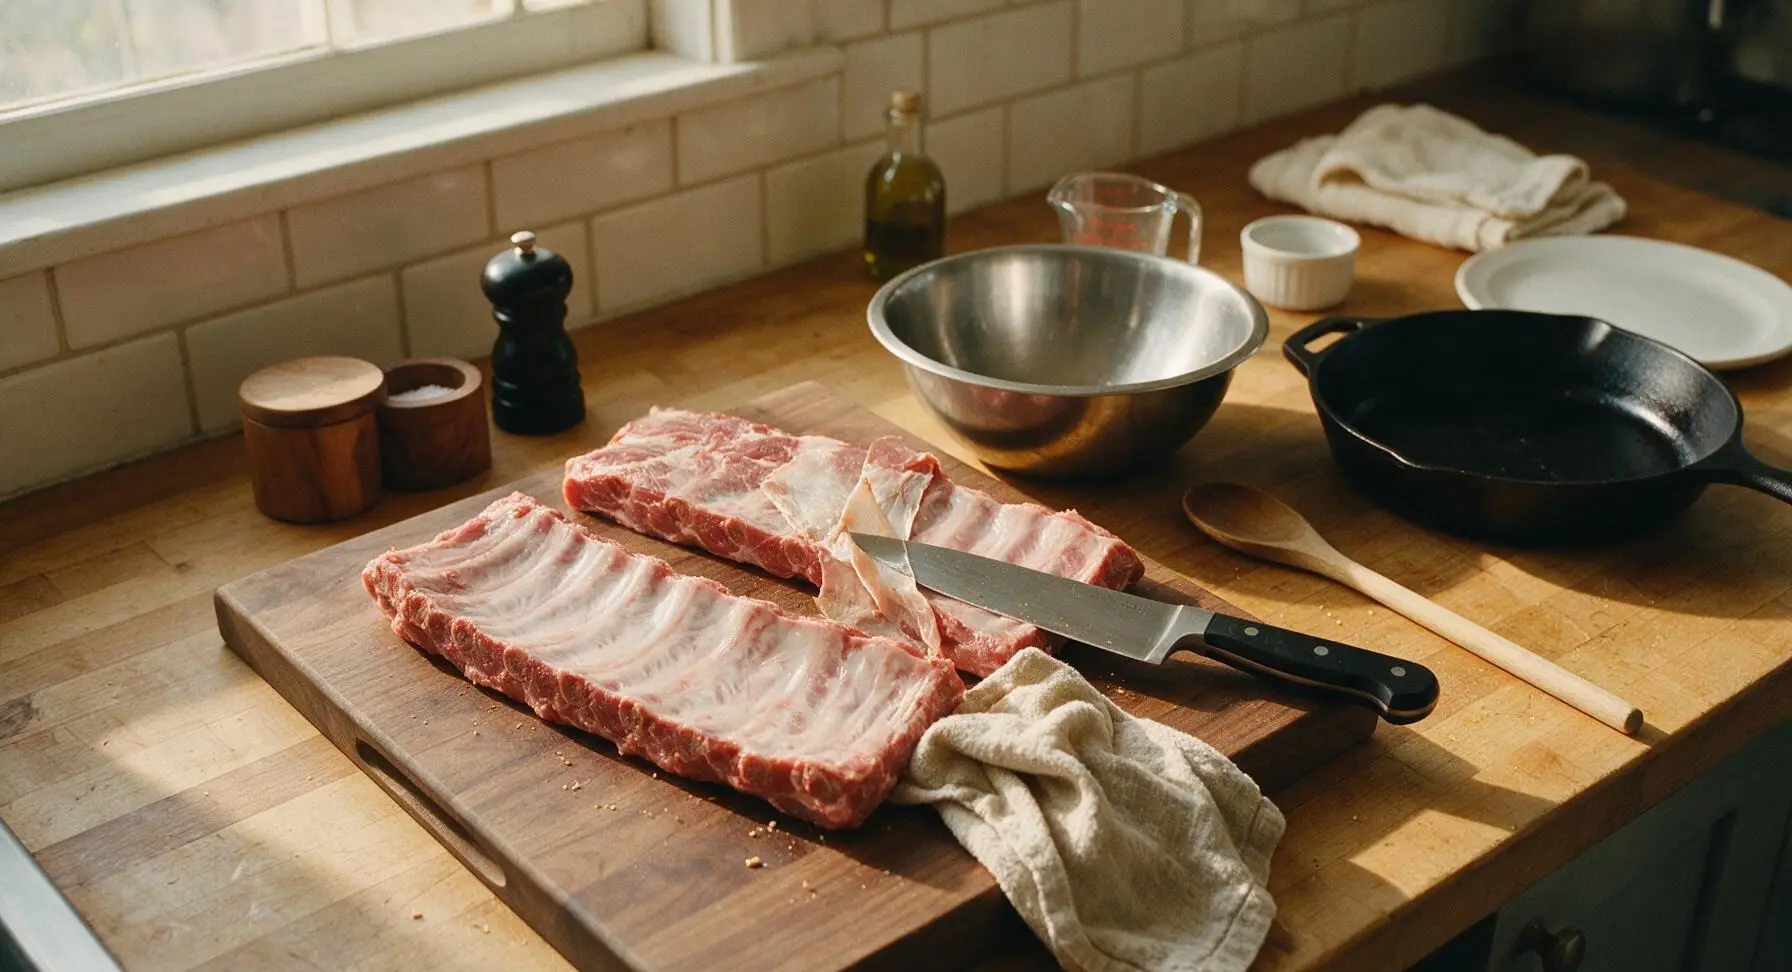
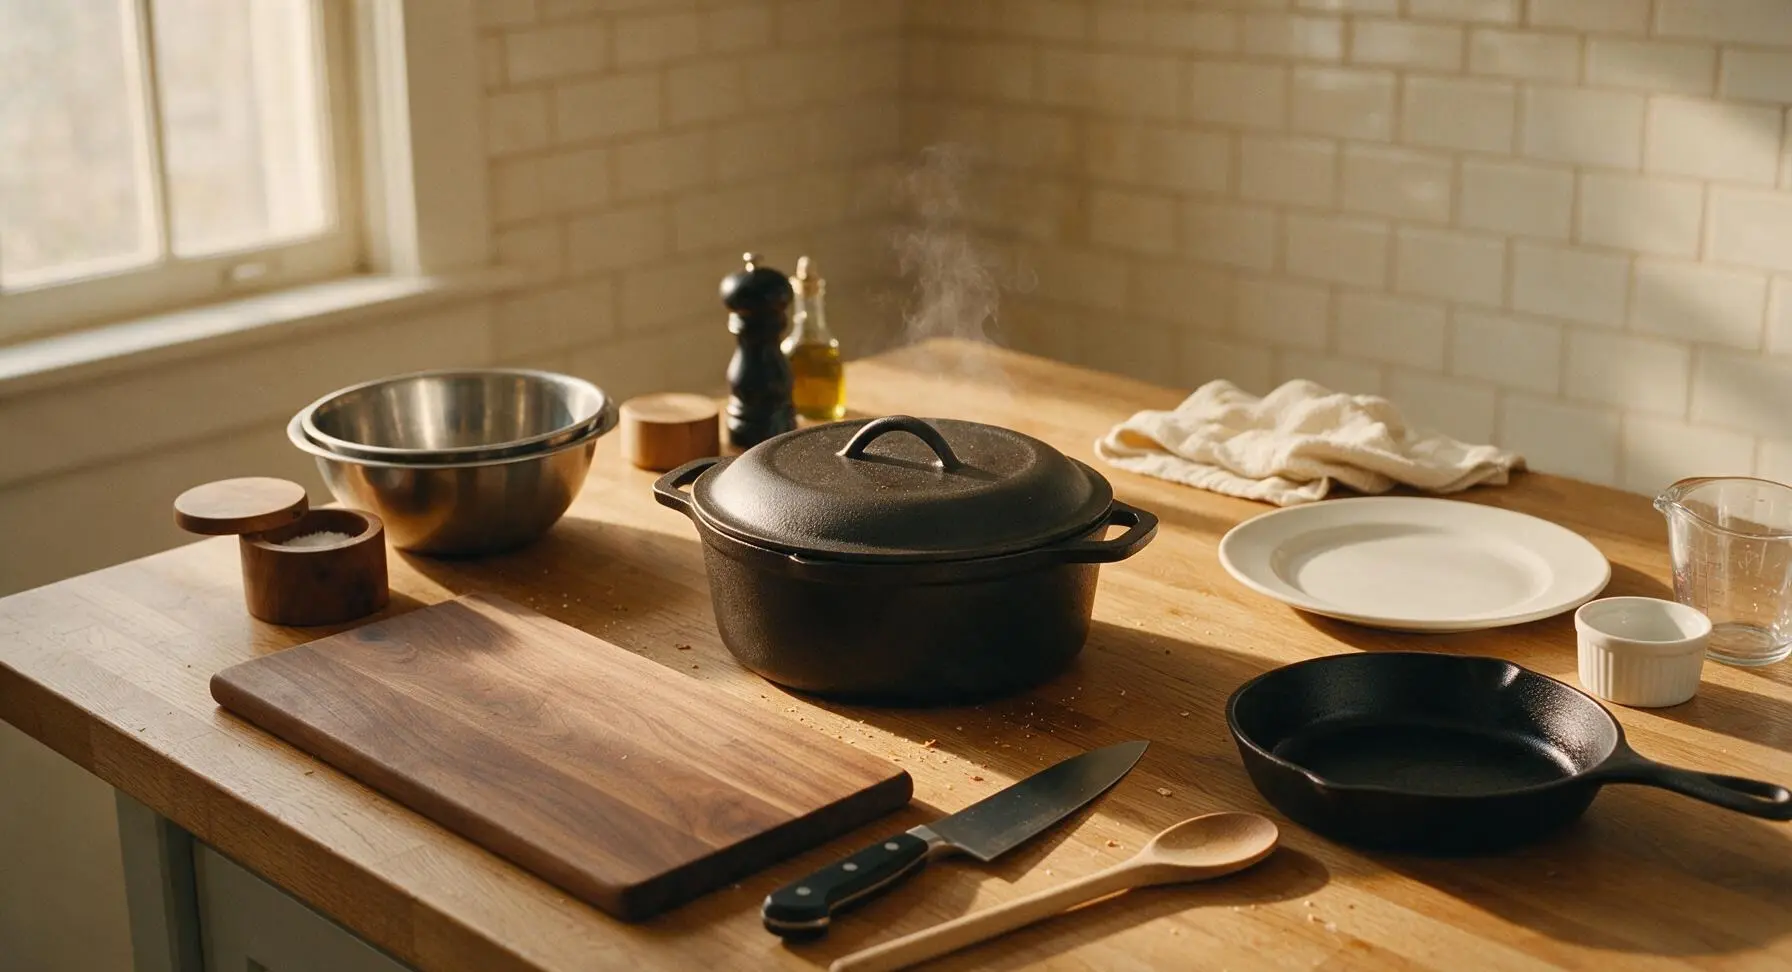
Place the 1kg pork spare ribs on the acacia wood cutting board. Use the 8-inch chef knife to trim any excess loose fat and thin silver skin from the bone side of the racks. Pat ribs completely dry on all sides using a corner of the oatmeal linen towel, then cut the racks into individual 2-rib sections for even cooking. Visual cue: rib surfaces should be matte and dry, with no wet, slick spots that would prevent browning.
Sear Ribs Until Golden
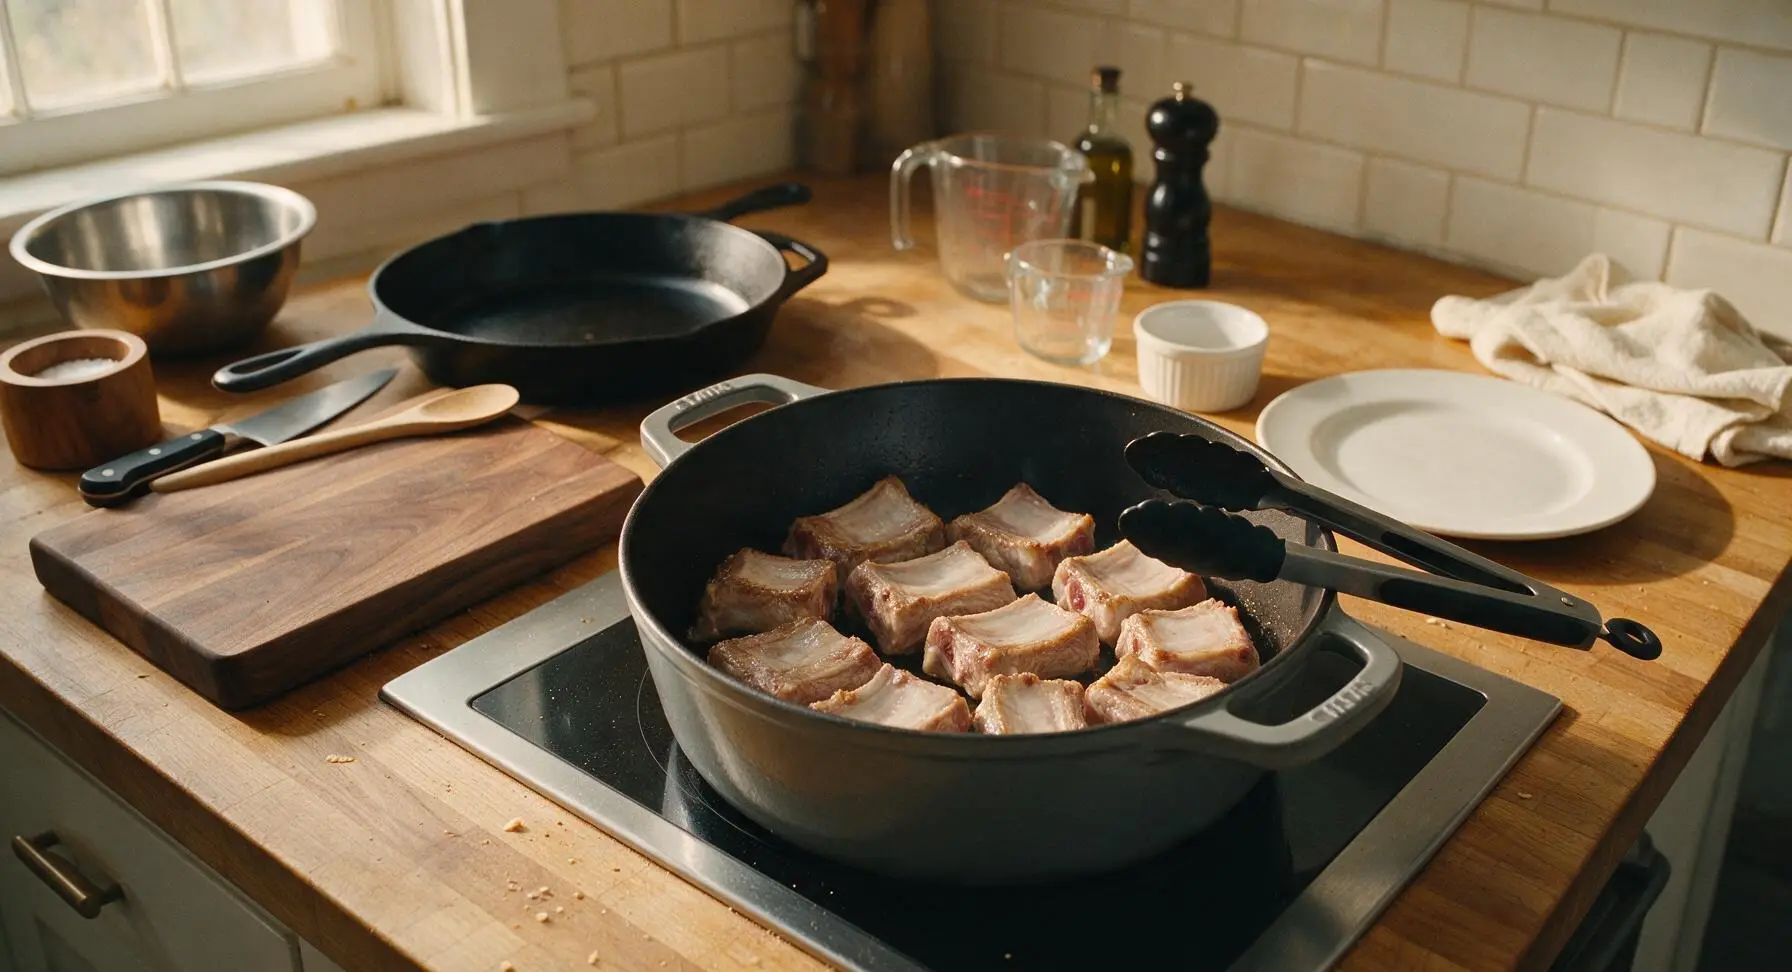
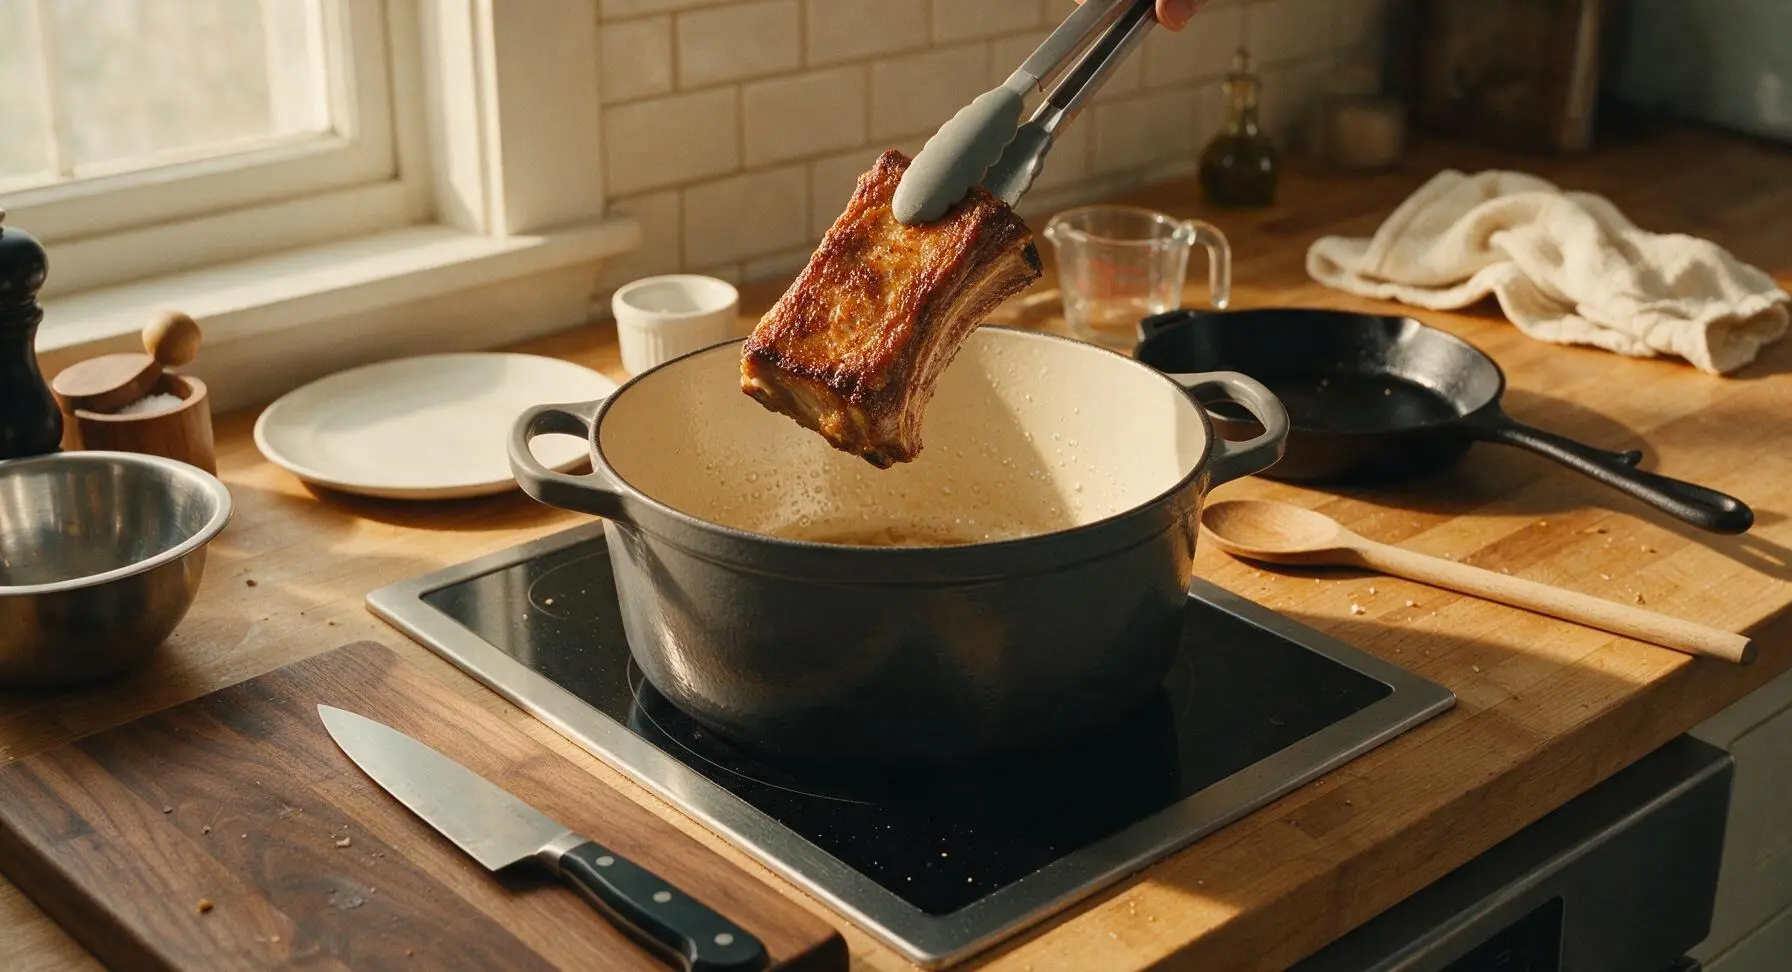
Place the charcoal gray Dutch oven on the central induction cooktop and heat over medium heat for 2 minutes. Working in 2 batches to avoid crowding the pan, add rib pieces meat-side down. Sear for 3-4 minutes per side until deep golden brown on all surfaces, using the silicone-tipped tongs to turn pieces. Transfer seared ribs to the stainless steel mixing bowl as you work. Visual cue: seared surfaces will have a crisp, caramelized crust with no pale raw patches.
Add Aromatics and Liquid
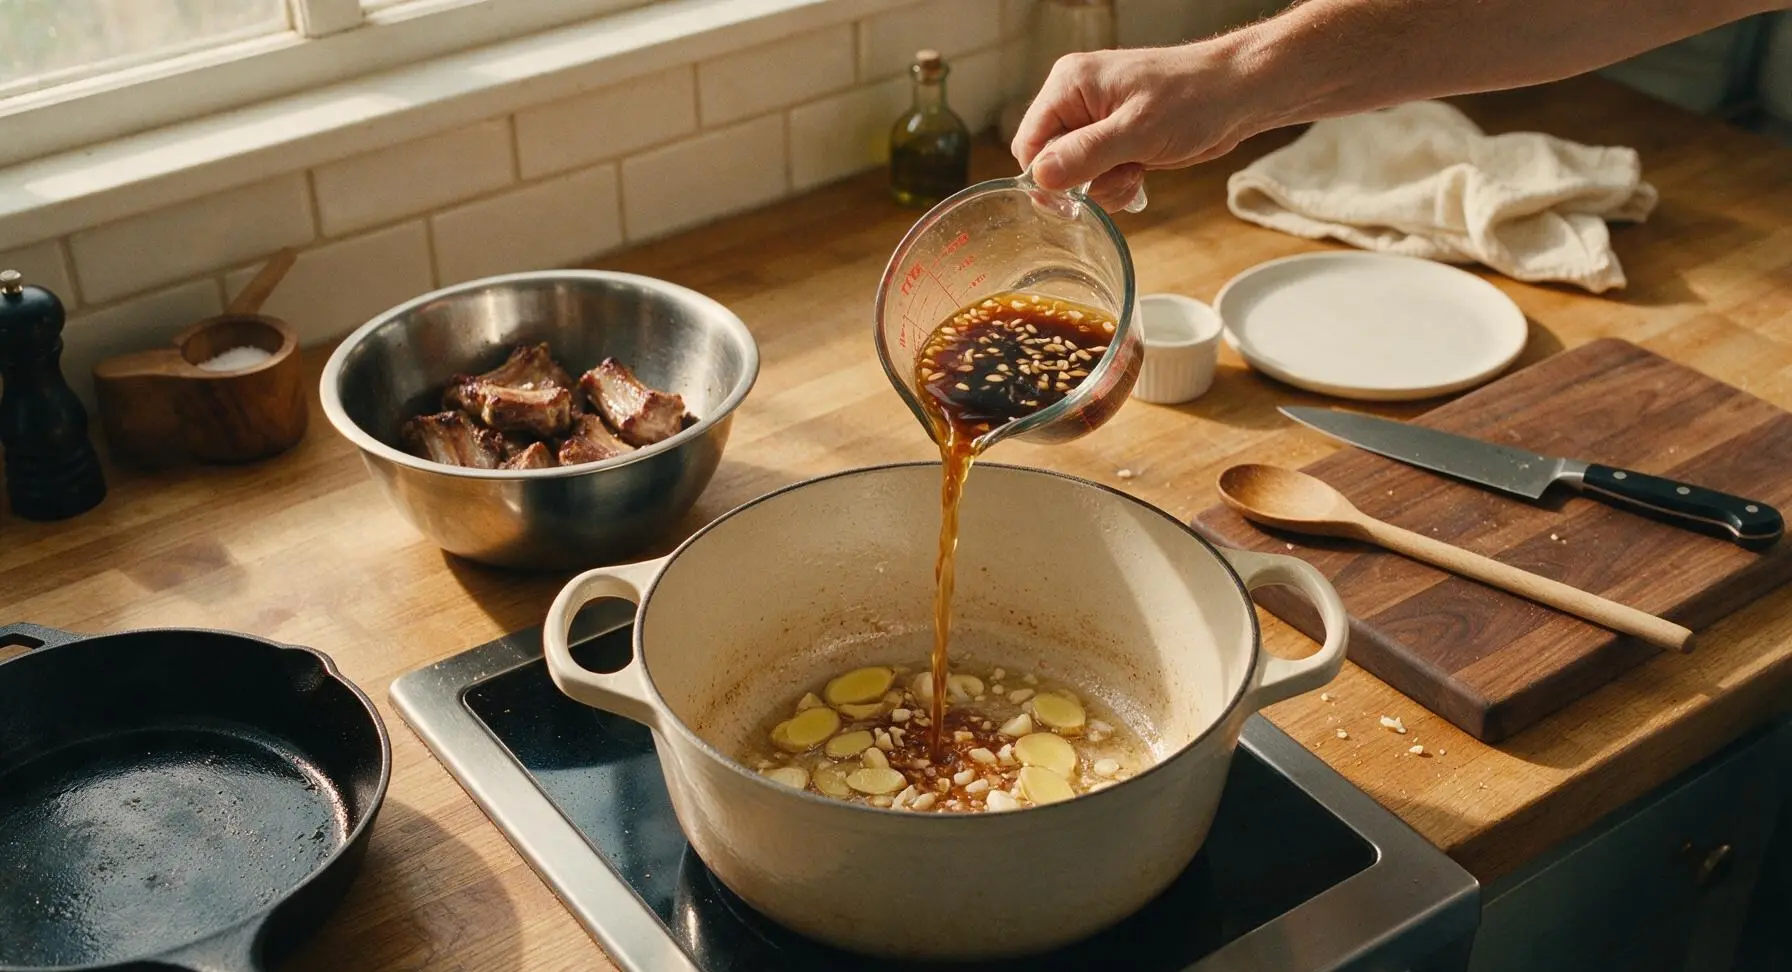
Once all ribs are seared and resting in the mixing bowl, lower heat to medium-low. Add sliced ginger, crushed garlic, and whole black peppercorns to the rendered fat in the Dutch oven. Sauté for 30 seconds until fragrant, taking care not to burn the garlic. Pour in 120ml mirin, 80ml low-sodium soy sauce, 1 tbsp rice vinegar, and 250ml water (pre-measured in the glass measuring cup), stirring with the beech wood spoon to scrape up all browned bits from the pan bottom.
Braise Until Tender
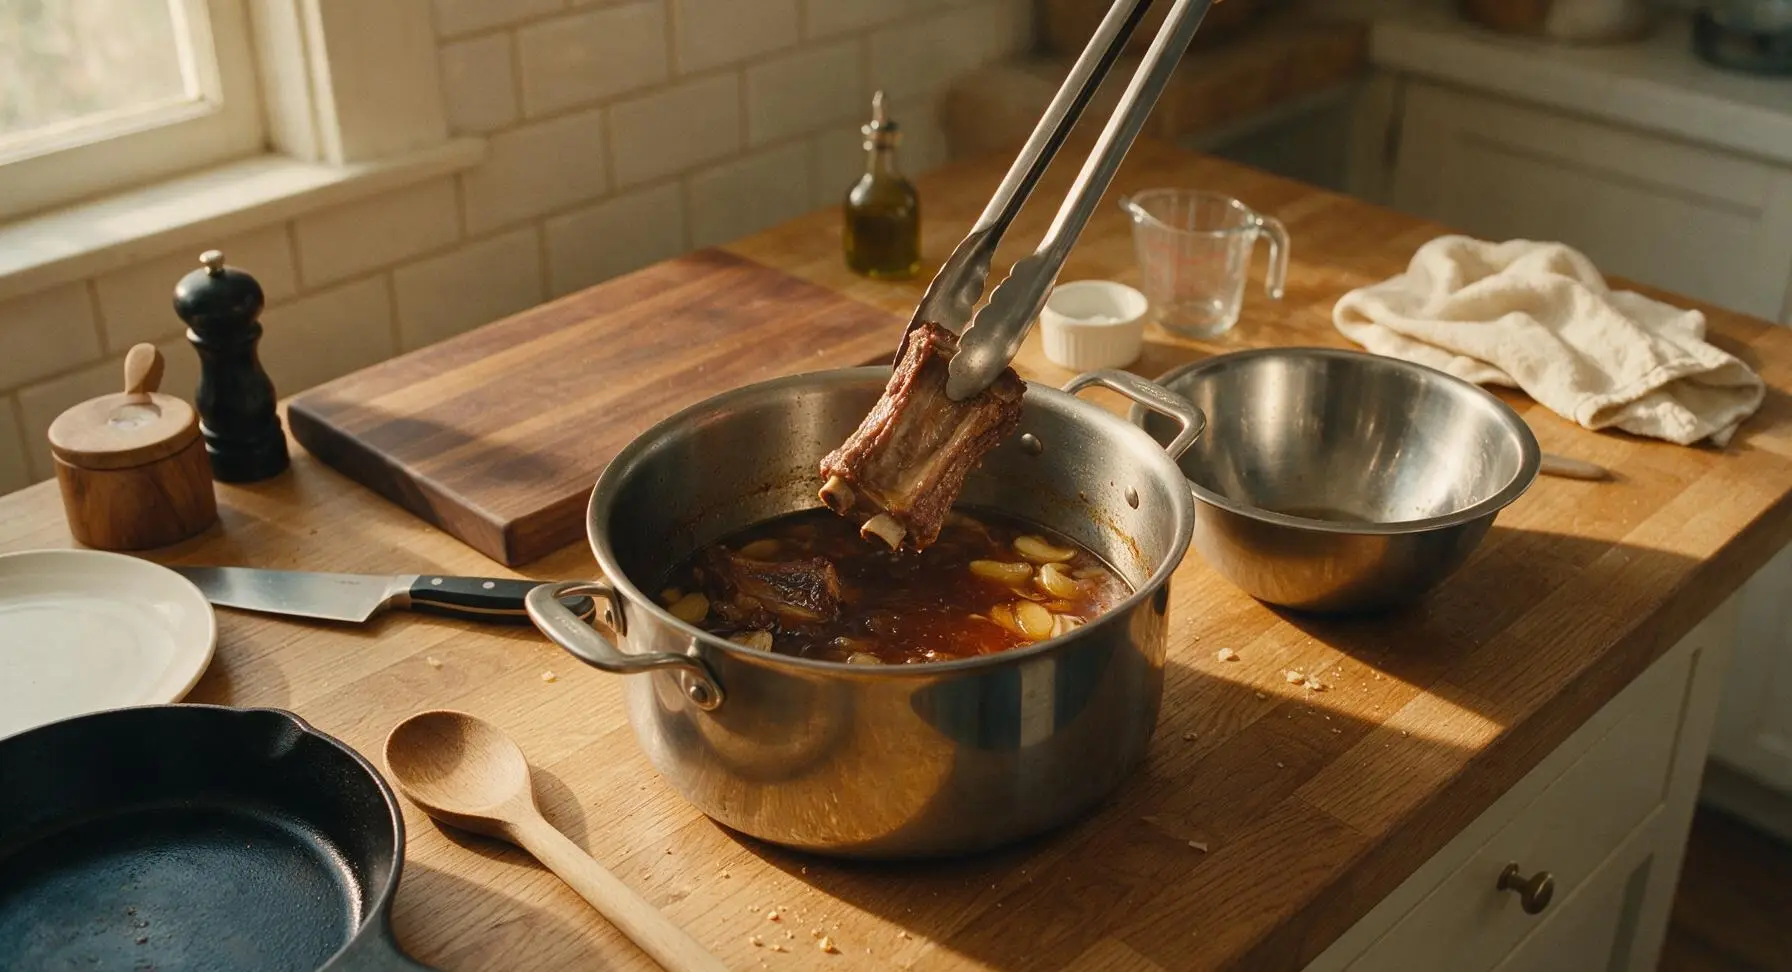
Return all seared rib pieces to the Dutch oven, nestling them into the braising liquid so they are about two-thirds submerged. Bring liquid to a gentle, low simmer, then cover with the matching charcoal Dutch oven lid. Reduce heat to low, and braise for 1 full hour. Visual cue: a knife inserted into the thickest part of a rib will slide in with very little resistance, and meat will pull easily from the bone without falling off completely.
Reduce Mirin Glaze
Use the tongs to transfer fully braised ribs from the Dutch oven back to the stainless steel mixing bowl. Pour remaining braising liquid through the fine-mesh stainless steel strainer into the clear borosilicate saucepan, discarding the cooked ginger, garlic, and peppercorns. Place the saucepan on the induction cooktop over medium heat, stir in the remaining 60ml mirin and 2 tbsp brown sugar. Simmer for 8-10 minutes, stirring occasionally with the beech wood spoon, until liquid is reduced by half and coats the back of the spoon in a thick, glossy layer.
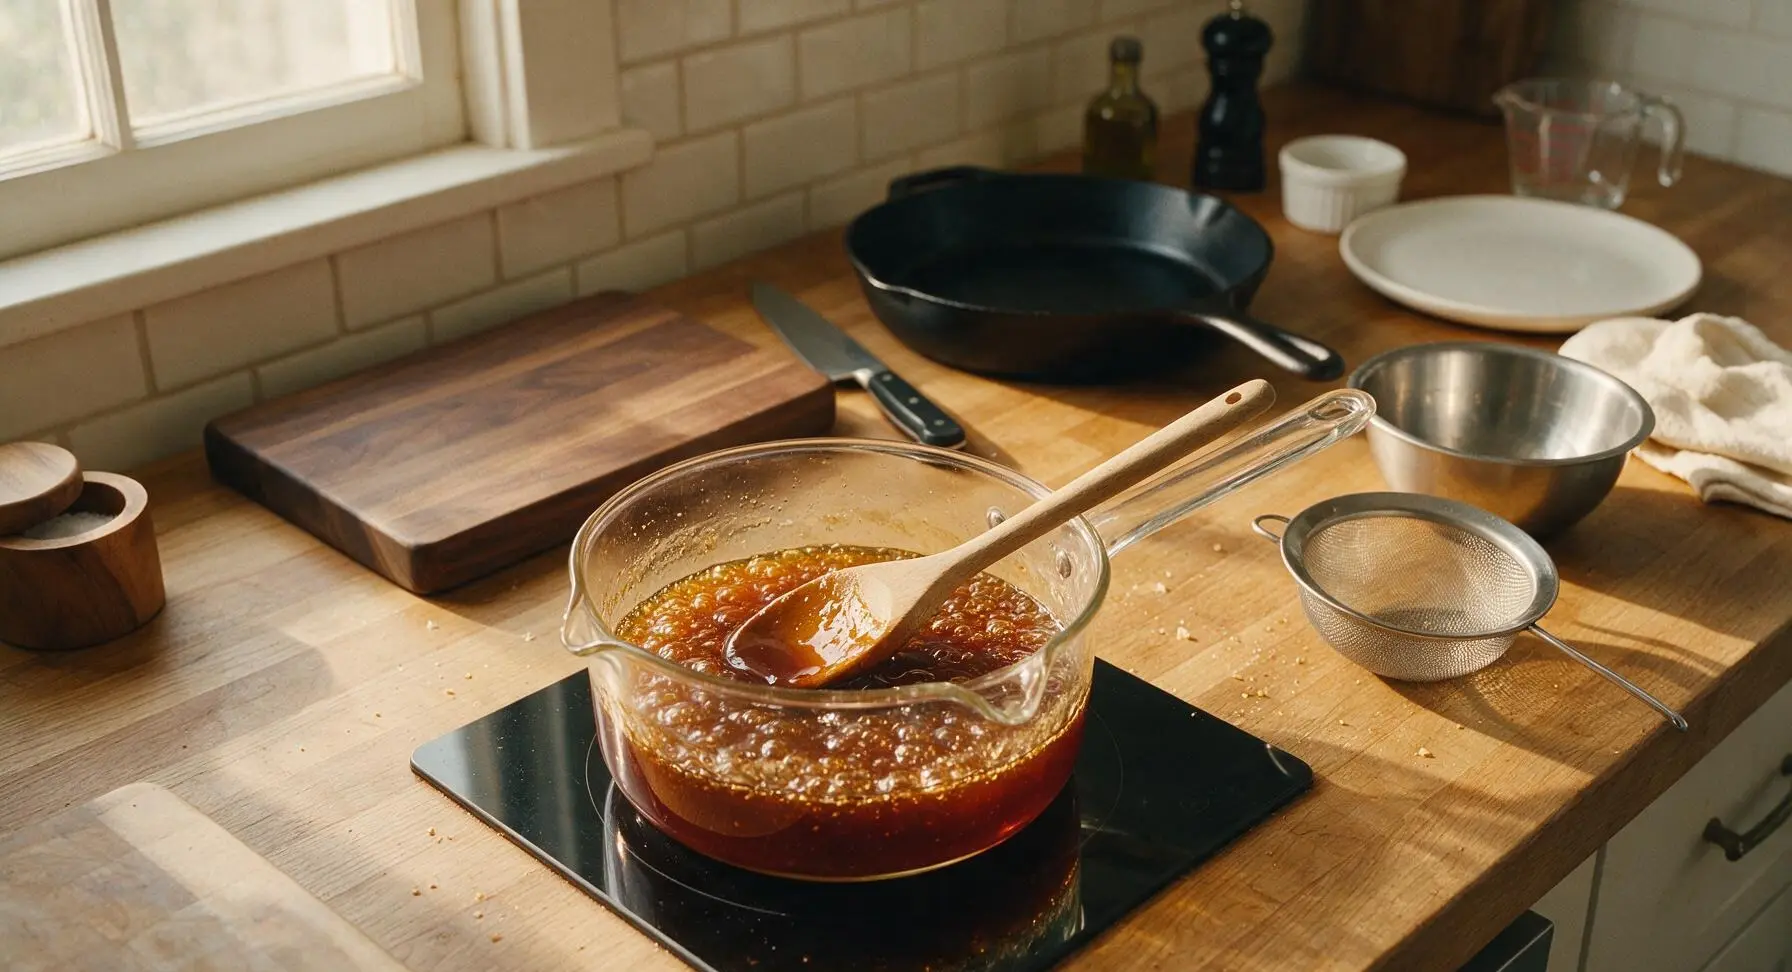
Coat Ribs in Glaze
Return the braised ribs to the Dutch oven (set the saucepan of reduced glaze aside on a cool part of the counter). Pour three-quarters of the thick mirin glaze over the ribs, turning each piece with the tongs to ensure every surface is fully coated in shiny glaze. Reserve the remaining quarter of the glaze for final plating.
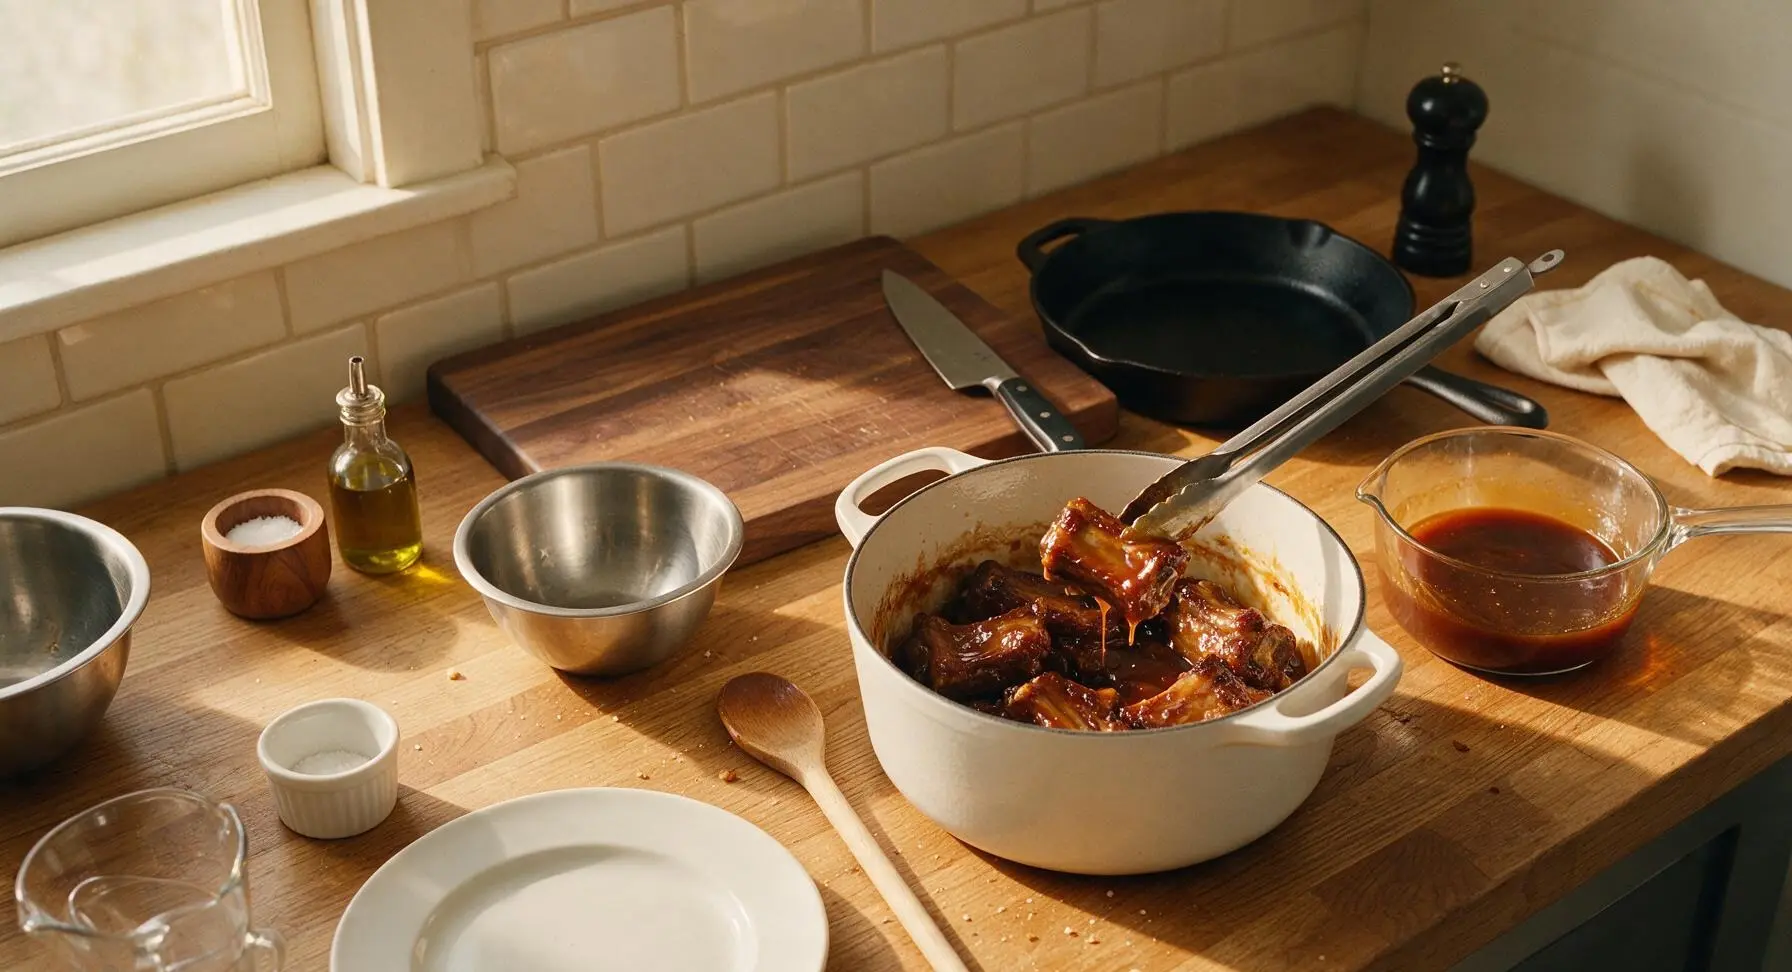
Caramelize Glaze Coating
Turn heat to medium, and cook the glazed ribs for 4-5 minutes, turning frequently with the tongs, until the glaze bubbles and caramelizes into a deep, shiny mahogany coating. Watch closely to avoid burning the sugar in the mirin. Visual cue: glaze will darken slightly, smell rich and nutty-sweet, and will not drip off the ribs when lifted.
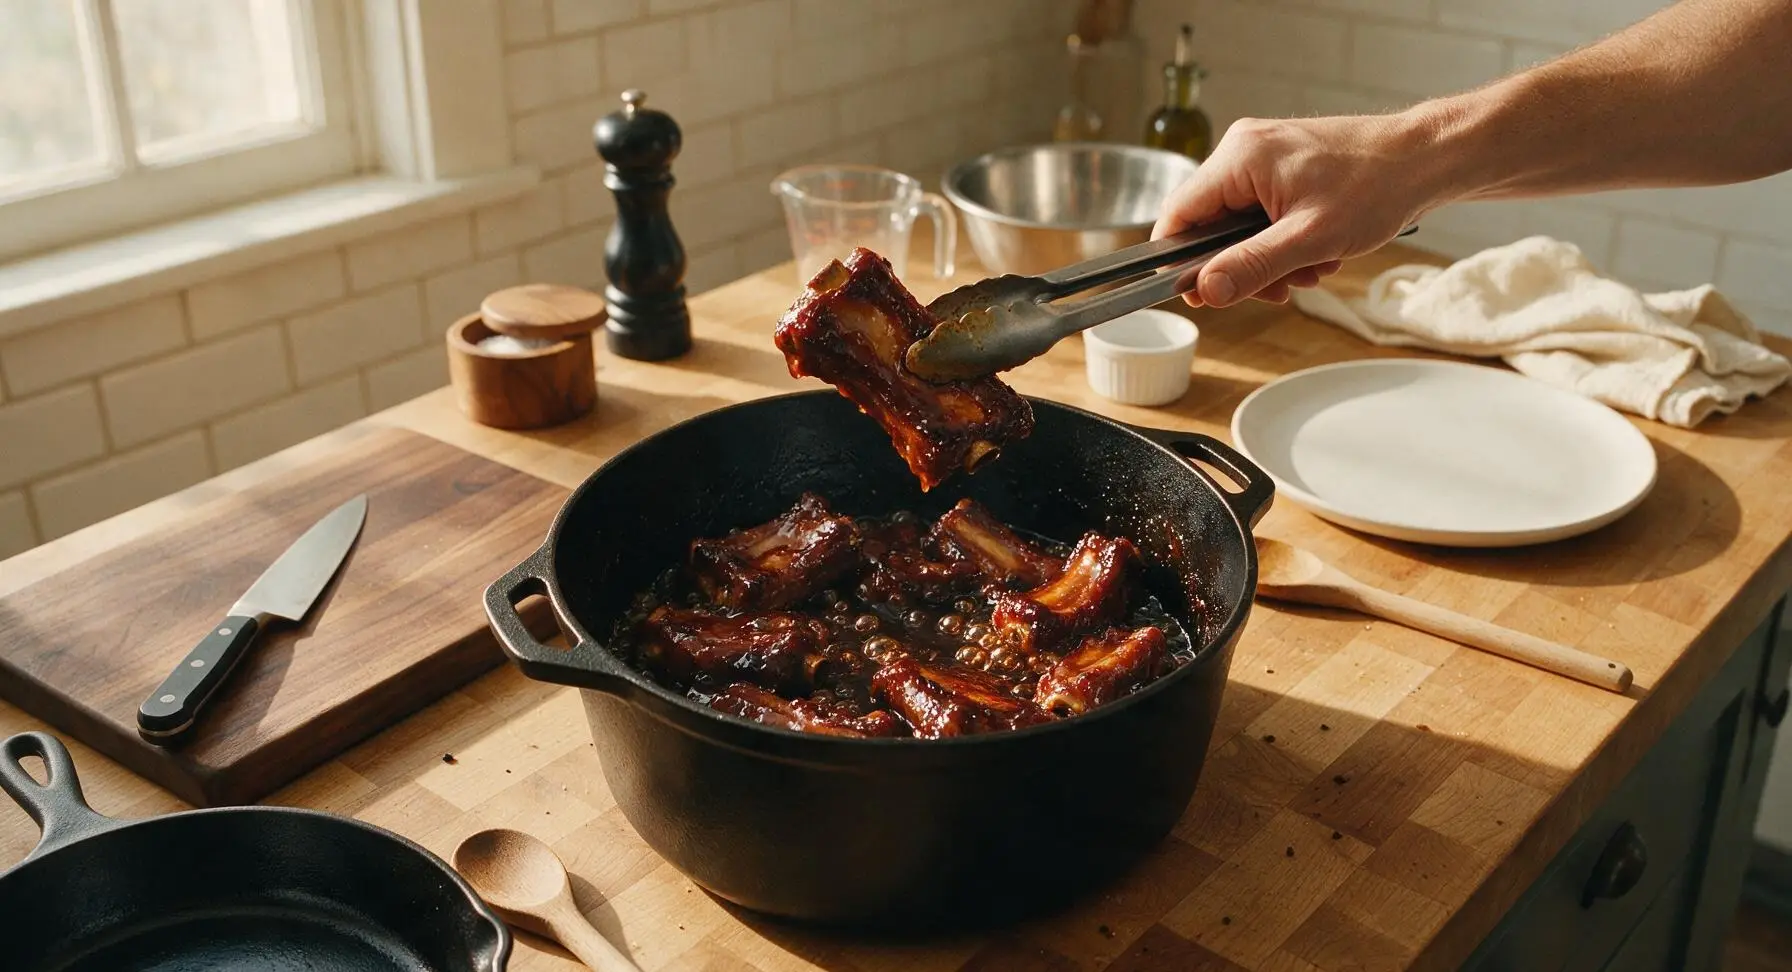
Plate and Garnish
Arrange the sticky glazed ribs on the large matte off-white oval serving platter, piling them in a casual, inviting stack. Drizzle the reserved mirin glaze over the top, then sprinkle with toasted sesame seeds and thinly sliced scallions. Let rest 3 minutes to allow the glaze to set before serving.
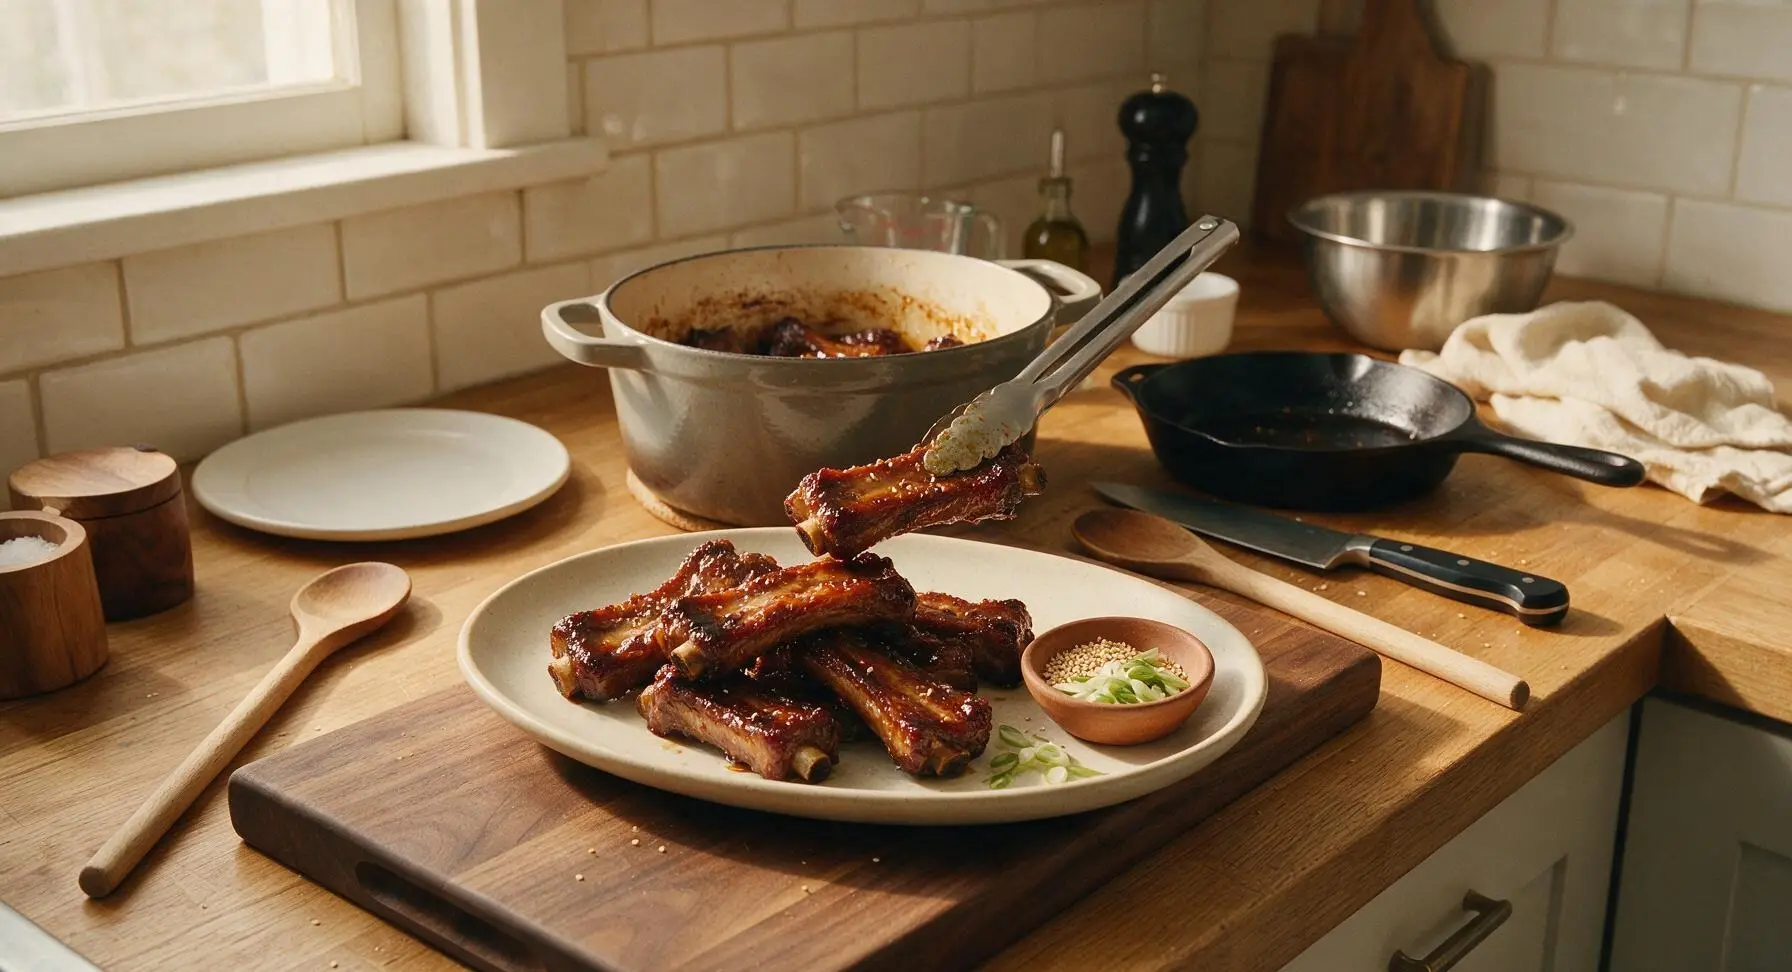
Tips
2.Keep the braise at a gentle simmer, not a rolling boil: high heat will make the rib meat tough and stringy, while low, slow heat breaks down connective tissue for tender, juicy ribs that hold their shape.
3.Watch the glaze closely during the final caramelization step: the high sugar content in mirin and brown sugar can burn in as little as 45 seconds, turning the sweet glaze bitter and ruining the dish’s flavor balance.






These reheat SO well! I made a big batch on Sunday, portioned them out for lunches all week, and the glaze didn’t get soggy or weird at all even after microwaving. Absolute game changer for my work lunch routine, I’m sick of dry chicken breast.
Tried this recipe last night for my girlfriend’s birthday dinner and she said it’s better than the ribs we get at our local Japanese spot! I did add a tiny extra dash of soy sauce because I like things a little saltier, and it worked perfectly. Only note is my glaze got a little too thick when I turned the heat up too fast, oops.
OMG these sticky mirin ribs were an absolute game changer for our Sunday family dinner! I was worried the mirin would be too sweet but the glaze balances so perfectly with the savoriness of the ribs. My 10 year old asked for seconds before he even finished his first plate. 10/10 will be making these for our next neighborhood potluck too.
I was a little intimidated by the medium difficulty rating but these came out so much easier than I expected! Total cook time was almost exactly 1 hour 20 minutes like the recipe said, no surprises. The glaze is so glossy and sticky, it sticks to your fingers in the best way. SO good.
I’ve been grilling ribs for 40 years and I was skeptical of a mirin glaze, but let me tell you — this recipe knocked my socks off. Sweet, savory, sticky, that little umami kick you don’t get from regular BBQ sauce. My golf buddies begged me for the recipe after I brought a rack to our last cookout.
Made these for dinner last night! Took me a little longer than 1 hour 20 minutes because I had to run to the store for mirin last minute, but wow, so worth the extra trip. I was worried mirin would be hard to find but my regular grocery store had it right in the Asian food aisle. The ribs were fall-off-the-bone tender, the glaze was sticky and sweet without being cloying.
Just got home from our annual block party potluck, and these ribs were the first dish gone! People were hovering by the platter before I even set it down. I doubled the recipe because I know how ribs go at potlucks, and I still only had two left to take home. 10/10, no notes.
Just pulled these out of the oven 10 minutes ago and we’re already halfway through the rack! Served with roasted broccoli and steamed rice, perfect cozy dinner. My husband kept making that “mmmmm” sound the whole meal, no words, just happy eating. The glaze caramelized so nicely on the edges of the ribs, chef’s kiss.
So happy this recipe is naturally gluten free if you swap regular soy sauce for tamari! I did that and didn’t lose any of the flavor, the sticky glaze was perfect. I’ve been looking for more rib recipes that don’t use weird processed BBQ sauce with hidden gluten, and this is a new staple.
Just popped these in the oven! The marinade smelled so good while prepping that my three kids kept hovering in the kitchen asking when ribs would be ready. I was worried the medium difficulty level would be too much for a weeknight, but prep was a breeze. Can already tell these are going to be a new family favorite!