Miso Ramen

Miso Ramen
⏱️ cook time 45 minutes
🍽️ servings 4
⚡ Difficulty medium

intro

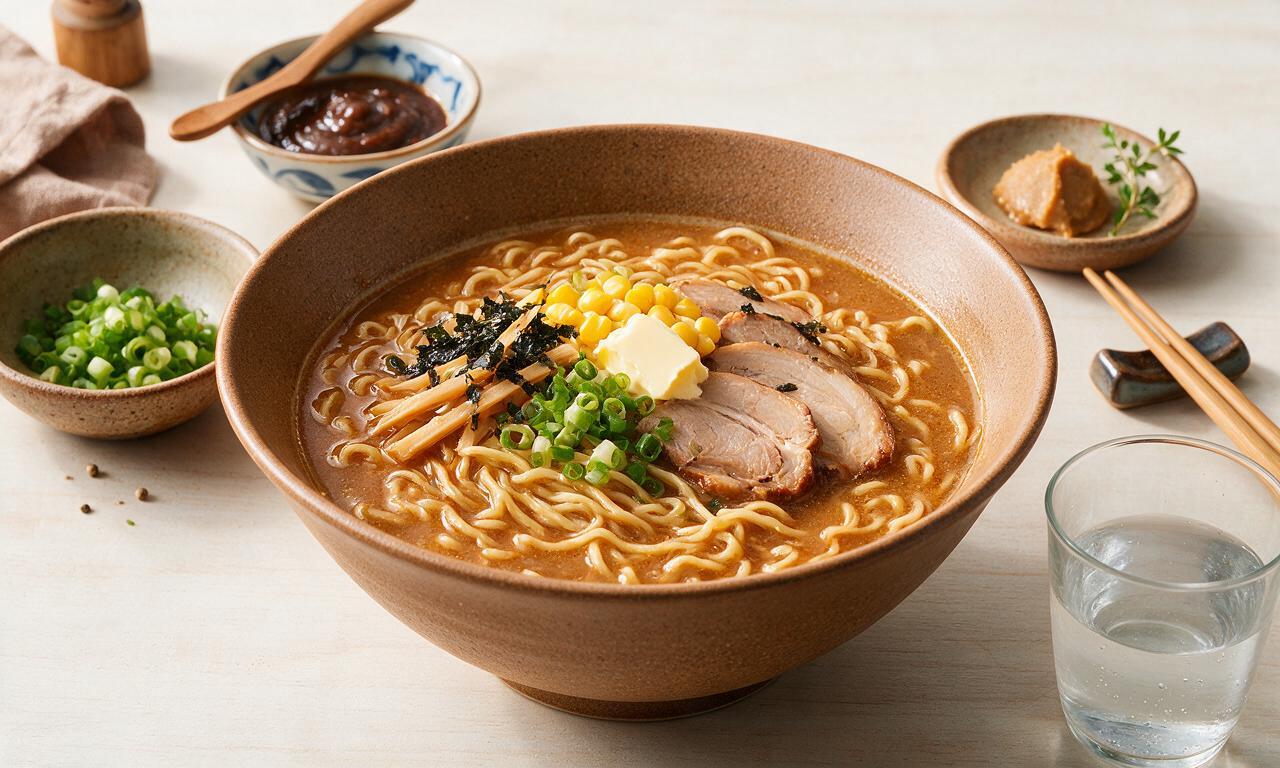
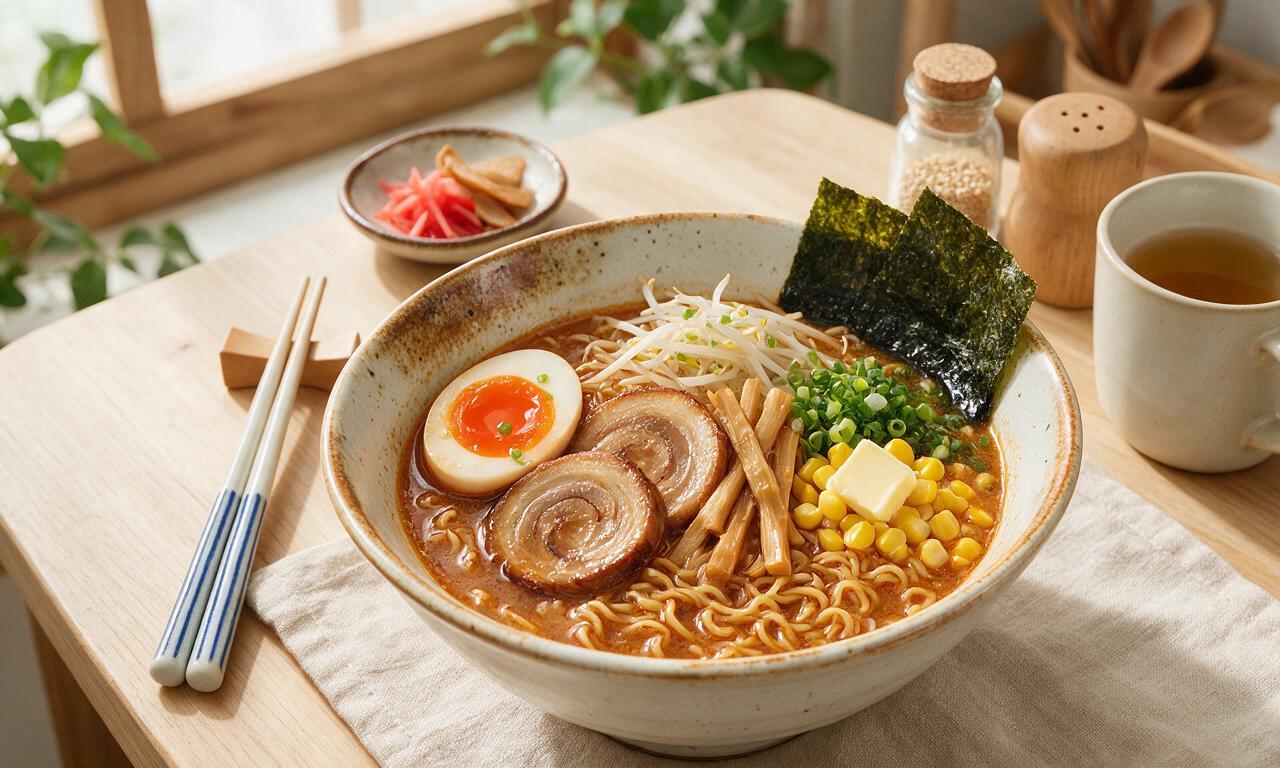
Rich, umami-packed Hokkaido-style miso ramen with springy noodles and savory toppings, a cozy, deeply satisfying warm meal.

Ingredients

Fresh ramen noodles 500 grams
Shiro (white) miso paste 120 grams
Low-sodium chicken stock 1500 ml (6 cups)
Thinly sliced pork belly 200 grams
Large eggs 4 units
Frozen sweet corn kernels 100 grams
Dried shiitake mushrooms 20 grams
Garlic cloves 4 cloves (12 grams, minced)
Fresh ginger 15 grams (grated)
Toasted sesame oil 2 tablespoons (30 ml)
Low-sodium soy sauce 2 tablespoons (30 ml)
Scallions 4 stalks (60 grams, thinly sliced)
Fresh bean sprouts 150 grams
Roasted nori sheets 4 pieces (5cm x 10cm each)
Unsalted butter 2 tablespoons (28 grams)

Steps

1

Simmer the broth base

Heat 1 tablespoon of toasted sesame oil in a large stockpot over medium heat. Add minced garlic and grated ginger, sauté for 30 seconds until fragrant, taking care not to burn the aromatics. Add dried shiitake mushrooms and 1500ml low-sodium chicken stock, bring to a gentle boil, then reduce heat to low, cover, and simmer for 15 minutes to extract deep umami flavor from the mushrooms.
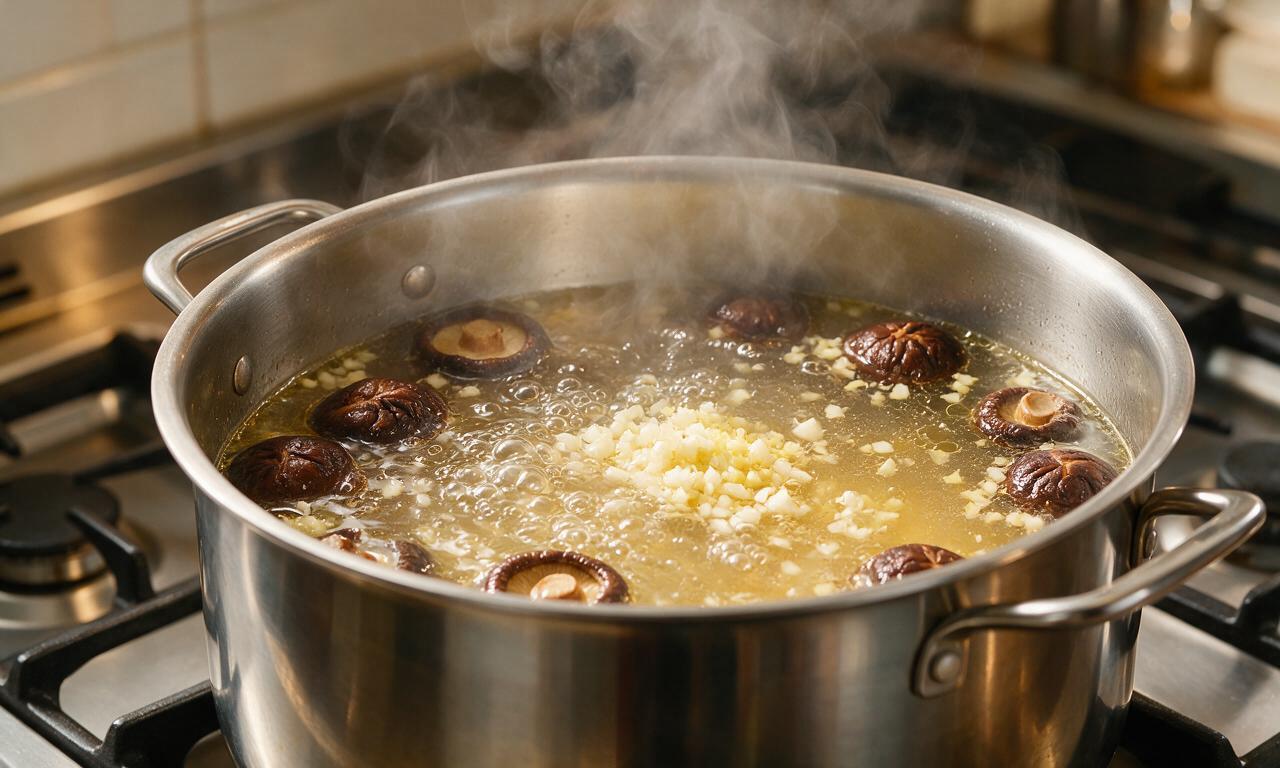
Step 1
step1:Simmer the broth base
2

Build miso broth flavor

Remove the stockpot from heat temporarily. Scoop 120ml of hot stock into a small bowl, add 120 grams of shiro miso paste, stir until completely smooth with no lumps, then pour the dissolved miso mixture back into the stockpot. Add 200 grams of thinly sliced pork belly to the pot, return to medium-low heat, simmer for 8 minutes until pork is fully cooked and tender. Stir in 2 tablespoons of low-sodium soy sauce, then keep the broth warm over the lowest heat setting; do not bring to a rolling boil, as high heat will ruin miso's delicate flavor.
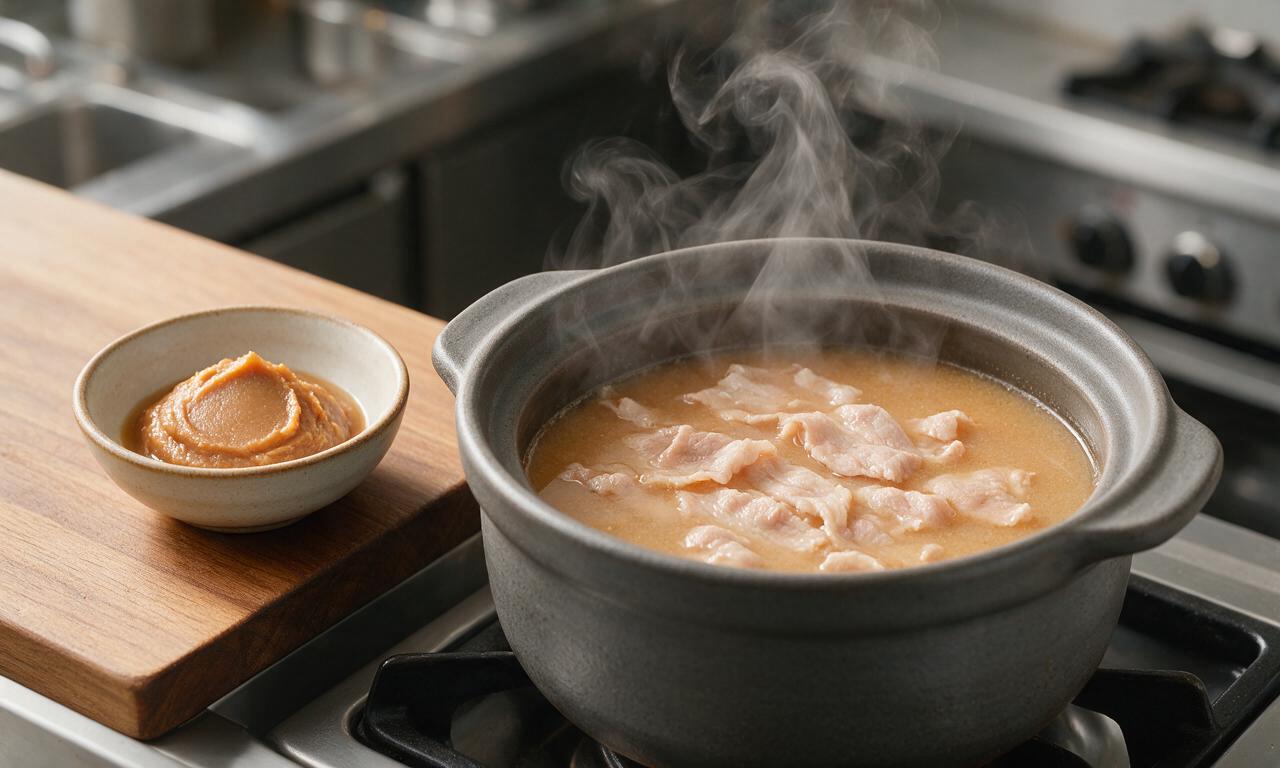
Step 2
step2:Build miso broth flavor
3

Cook soft-boiled eggs

While the broth simmers, bring a small pot of water to a rolling boil over high heat. Gently lower 4 large eggs into the water with a slotted spoon, set a timer for 6 minutes and 30 seconds for perfectly runny yolks. While eggs cook, prepare an ice bath with 500ml cold water and 200 grams of ice in a medium bowl. When the timer goes off, transfer eggs immediately to the ice bath to cool for 5 minutes, then peel and cut in half lengthwise, set aside for topping.
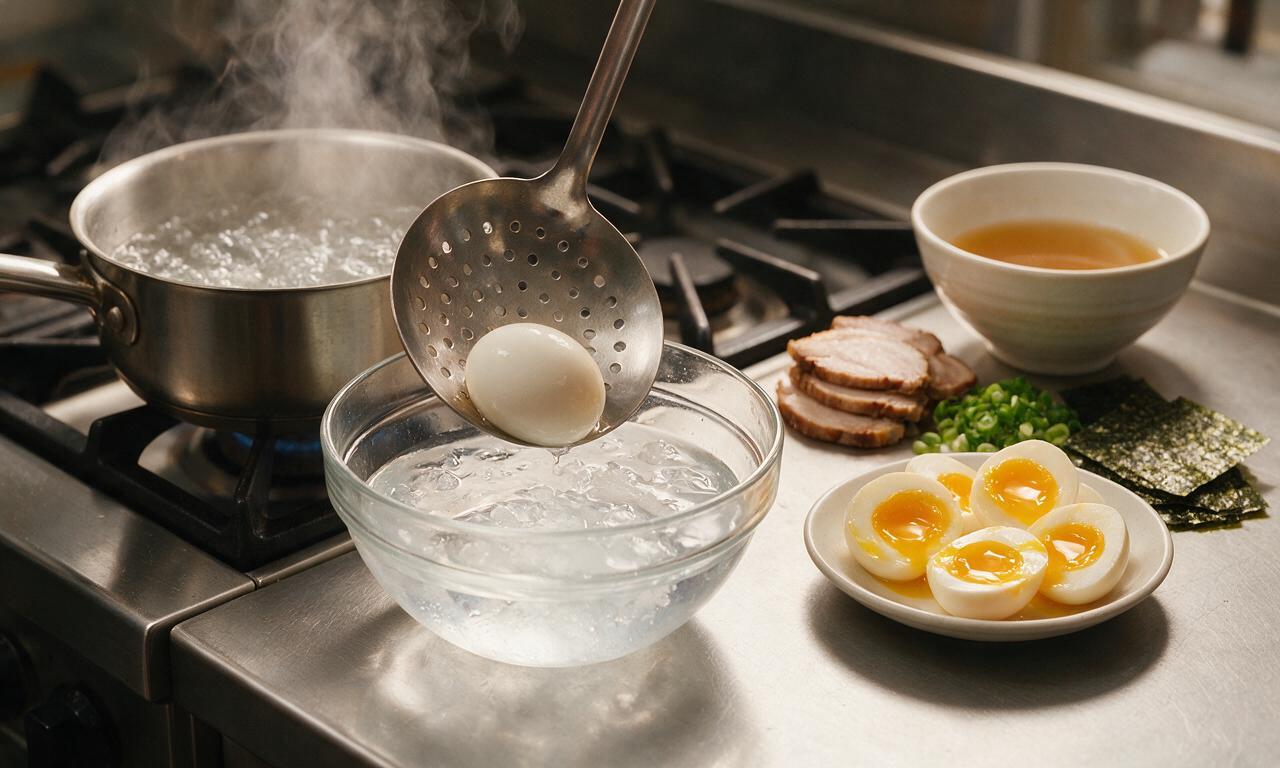
Step 3
step3:Cook soft-boiled eggs
4

Prep vegetable toppings

Bring a separate medium pot of water to a boil over high heat. Add 150 grams of fresh bean sprouts and 100 grams of frozen corn kernels, blanch for 1 minute, then scoop out with a slotted spoon and drain well. Toss the blanched vegetables with the remaining 1 tablespoon of toasted sesame oil, set aside. Reserve the boiling water in the pot to cook the ramen noodles to reduce cleanup.
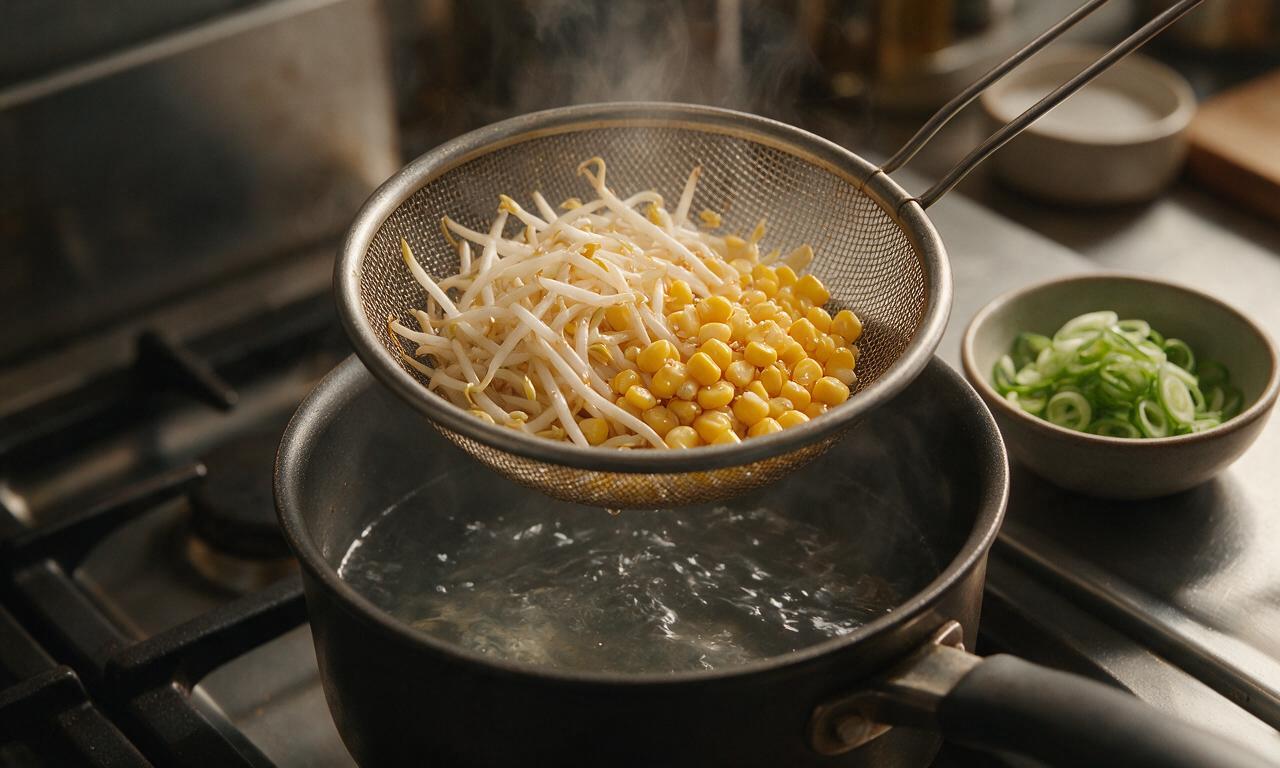
Step 4
step4:Prep vegetable toppings
5

Cook ramen noodles

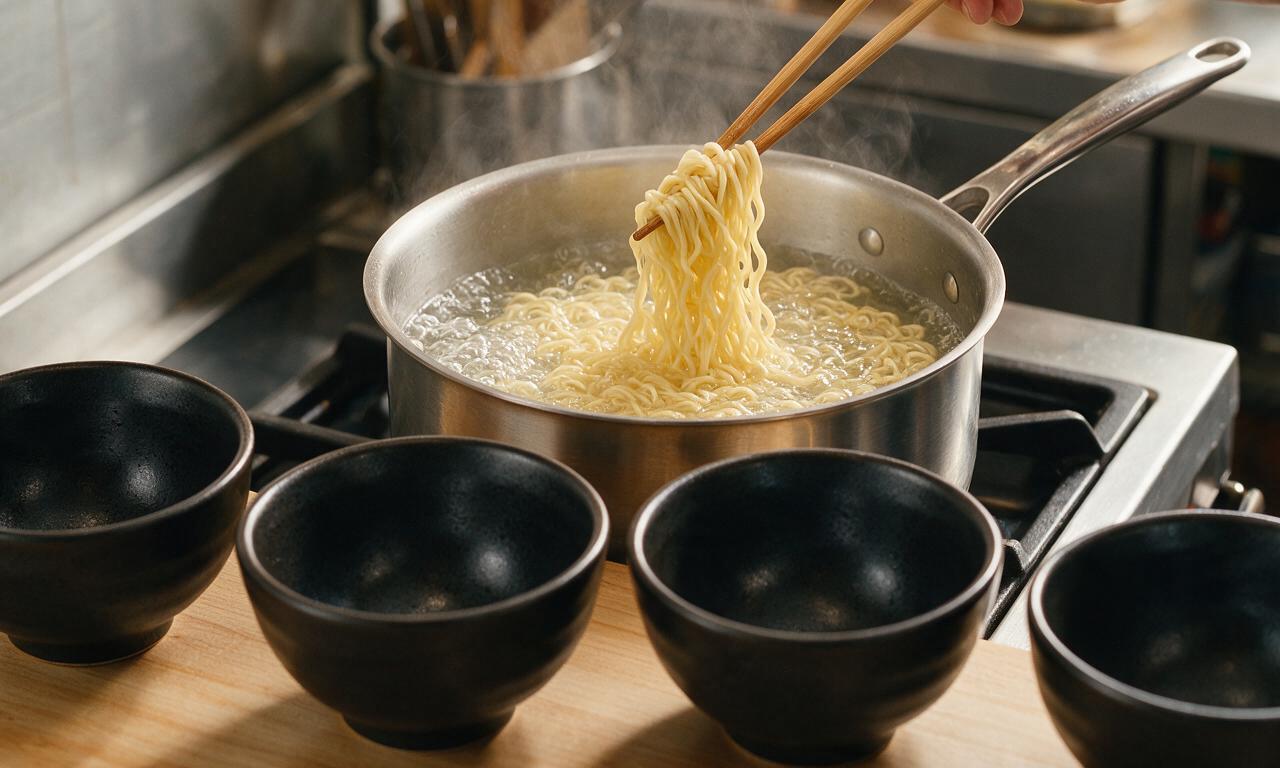
Return the pot of reserved blanching water to a rolling boil over high heat. Add 500 grams of fresh ramen noodles, stir gently with chopsticks to separate strands, cook for 2 to 3 minutes (follow package directions for al dente texture, do not overcook as noodles will soften further in hot broth). Drain noodles completely, divide evenly (125 grams per portion) between 4 deep serving bowls.
Step 5
step5:Cook ramen noodles
6

Assemble ramen bowls

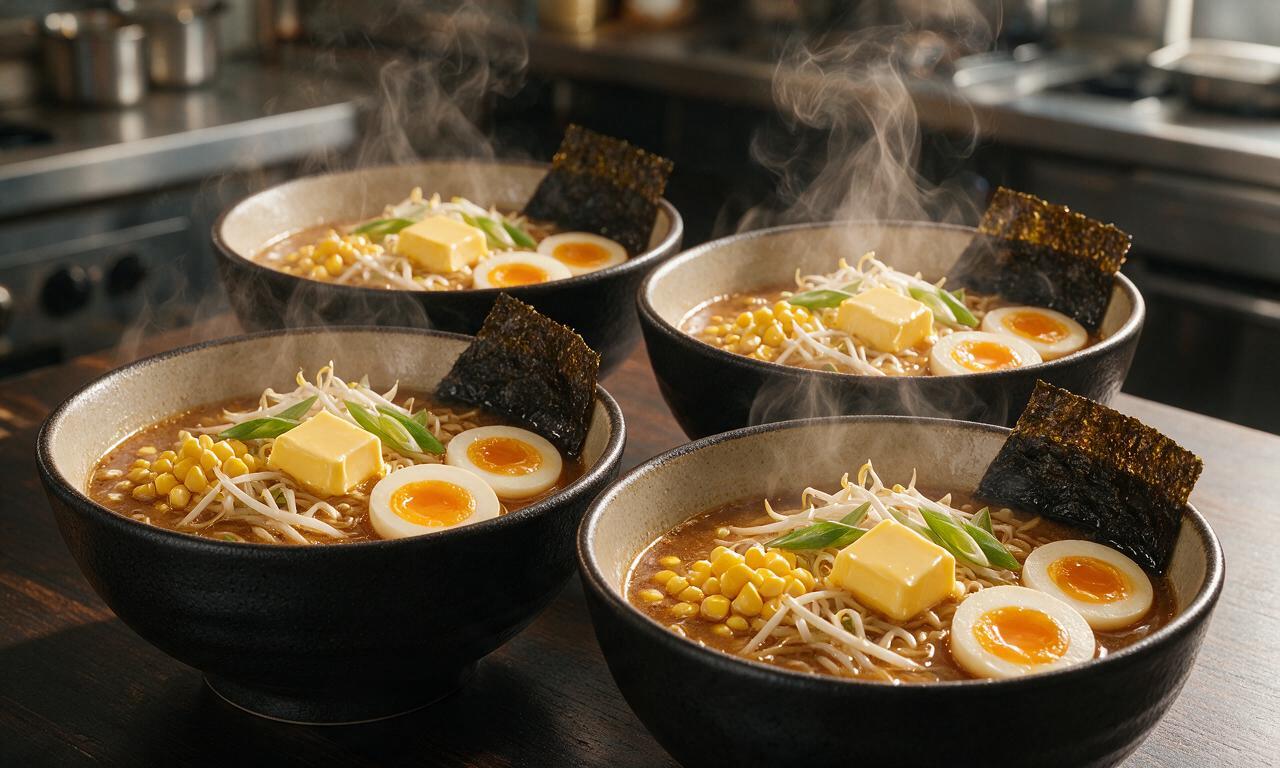
Ladle 375ml (1.5 cups) of warm miso broth with 2-3 slices of cooked pork belly into each bowl over the drained noodles. Arrange toppings in neat sections on top of the noodles: 2 egg halves per bowl, a 62g portion of the corn and bean sprout mix, a pinch of thinly sliced scallions, 1 roasted nori sheet propped against the side of the bowl, and a 7g (1/2 tablespoon) pat of unsalted butter placed in the center to melt into the broth. Serve immediately while piping hot.
Step 6
step6:Assemble ramen bowls

Tips

1.Never boil miso paste directly in hot stock, as sustained high heat will destroy its delicate umami notes and beneficial probiotics; always dissolve miso in a small portion of warm stock first before stirring it back into the pot.
2.Cook fresh ramen noodles to al dente (slightly firm to the bite) only, as they will continue to soften and absorb hot broth quickly once served; overcooked noodles will turn mushy and unappetizing.
3.For an authentic ramen egg flavor, marinate peeled cooled eggs in a mixture of 60ml soy sauce, 30ml mirin, and 60ml water for 1 hour before serving if you have extra prep time.

✨ You May Also Like

Soups & Stews
🍜 Japan

Rich, umami-dense Hokkaido-style miso ramen with chewy noodles, savory fermented broth, and classic toppings, a cozy, deeply satisfying warm meal.

⏱️ 45 minuteSoups & Stews ★ 4.8
Soups & Stews
🍜 United States

A hearty, peppery tripe and root vegetable stew with colonial Philadelphia roots, thick, warming, and packed with bold savory flavor for cold winter days.

⏱️ 2 hours 3Soups & Stews ★ 4.6
Soups & Stews
🍜 Mexico

Hearty, warming red pork posole loaded with tender hominy, slow-simmered in a rich smoky chile broth, served with zesty fresh garnishes for a deeply comforting, satisfying meal.

⏱️ 2 hours 3Soups & Stews ★ 4.8
Soups & Stews
🍜 United States

Warm, soothing classic chicken noodle soup loaded with tender chicken, soft egg noodles, and savory veggies, perfect for chasing chills and feeding the whole family.

⏱️ 40 minuteSoups & Stews ★ 4.7
Soups & Stews
🍜 France

Deeply savory caramelized onion broth topped with crusty bread and bubbly melted Gruyère, a timeless French bistro comfort food ideal for cold days.

⏱️ 1 hour 25Soups & Stews ★ 4.6
Soups & Stews
🍜 United States

Hearty, briny Maryland crab soup loaded with sweet blue crab, tender summer vegetables, and zesty Old Bay, a beloved Chesapeake Bay coastal comfort staple.

⏱️ 55 minuteSoups & Stews ★ 4.8

Miso Ramen:Frequently Asked Questions

1.Can I use dried ramen noodles if I can’t find fresh ones for this recipe?
You absolutely can, though fresh noodles deliver that signature springy Hokkaido-style chew. Opt for dried chukamen (Chinese-style ramen noodles) rather than instant ramen bricks, cook them 1 minute less than the package directs for a firm, snappy bite, and rinse briefly in warm water before adding to broth to wash away excess surface starch.
2.Is shiro (white) miso the only miso variety that works for authentic miso ramen?
Shiro miso creates the mild, sweet, balanced umami base classic to Hokkaido miso ramen, but you can mix 3 parts shiro miso with 1 part aka (red) miso for a deeper, savorier, more robust broth. Avoid using only red miso, as its strong, salty profile will overpower the delicate chicken stock and throw off the bowl’s balance.
3.Why does the recipe specify low-sodium chicken stock instead of regular?
Even mild shiro miso is naturally high in sodium, so using low-sodium chicken stock lets you fully control the final salt level of your broth without diluting its rich, savory depth. If you only have regular stock on hand, cut it with ¼ cup unsalted water per 3 cups of stock, and taste carefully before adding any extra soy sauce or salt.
4.How do I make the perfect soft-boiled ramen eggs with runny, golden yolks?
Start with room-temperature eggs, lower them gently into rolling boiling water, and cook for exactly 6 minutes 30 seconds, stirring gently for the first minute to center the yolk. Plunge immediately into an ice bath for 5 minutes to stop cooking, then peel carefully. For extra savoriness, marinate peeled eggs in soy, mirin, and water for 2–4 hours before serving.
5.Do I have to use pork belly, or can I swap in a leaner protein?
Thinly sliced pork belly is classic for Hokkaido miso ramen, as its rendered fat adds lush richness that pairs perfectly with the umami miso broth, but you can swap it for thinly sliced pork loin, boneless chicken thigh, or pan-fried pressed tofu for lighter or vegetarian versions. Add a tiny drizzle of toasted sesame oil to the broth to replace missing fat depth if using lean protein.
6.My miso paste always clumps when I add it to broth—how do I fix that?
Never dump miso paste straight into a rolling boil, as high heat will both cause clumping and break down some of its delicate umami compounds. Instead, ladle ½ cup of warm (not boiling) stock into a small bowl, add your measured miso, and whisk until completely smooth before stirring that mixture back into the pot off the heat.
7.How do I get that signature springy, chewy texture with fresh ramen noodles?
Skip overcooking them! Fresh ramen noodles only need 1.5 to 2.5 minutes in rapidly boiling water (you won’t need extra salt, since the broth is well-seasoned) to reach that ideal chewy bite. Don’t add oil to the boiling water, either—it will coat the noodles and keep the rich miso broth from clinging to every strand.
8.Can I make the miso ramen broth ahead of time for meal prep?
You can prep the plain chicken stock base 3–4 days ahead in an airtight container in the fridge, or freeze it for up to 3 months. Just hold off on mixing in the miso paste until right before you serve, since prolonged high heat and long storage will break down miso’s nuanced umami notes and leave the broth tasting flat.
9.What easy, classic toppings work well beyond pork belly and soft-boiled eggs?
Low-effort, classic Hokkaido miso ramen toppings include thin-sliced green onions, drained canned corn lightly sautéed in butter, blanched bean sprouts, nori strips, toasted sesame seeds, and a dollop of spicy chili oil if you want a little kick. Stick to 3–4 toppings per bowl so you don’t overpower the star miso broth.
10.Why does my homemade miso ramen broth taste watery compared to restaurant versions?
Restaurant ramen gets extra depth from long-simmered bones and rendered fat, but you can easily boost your home version: let the chicken stock simmer 10 extra minutes with a small piece of konbu or a handful of dried shiitake mushrooms before adding miso, and be sure to render pork belly fully so its savory fat mixes into the broth.
11.How thin should I slice the pork belly for this recipe?
Aim for slices that are ⅛-inch thick and roughly 2 inches long, so they cook in under a minute when seared or swished in hot broth. If you struggle to slice raw pork belly that thin, pop it in the freezer for 20 minutes to firm it up first—this makes clean, even slices easy even without a fancy deli slicer.
12.Can I make a spicy version of this miso ramen without ruining the classic flavor?
Absolutely! The easiest way to add heat without throwing off the broth’s umami balance is to stir 1 to 2 teaspoons of spicy doubanjiang (fermented chili bean paste) into your miso slurry before mixing it into the stock, or add a small dollop of crunchy chili crisp on top of your assembled bowl. Start small, taste, and add more to hit your preferred heat level.

Comments (5)

2 days ago

OMG this miso ramen is a total game changer! I’ve been intimidated to make ramen at home for years, but the steps were so easy to follow even on a busy weeknight. My two kids begged for second helpings, and my husband said it’s better than the takeout spot we hit every Friday. 10/10 will be adding this to our regular dinner rotation!

yesterday

Totally agree! I made this last night and added soft-boiled eggs and corn, it was chef’s kiss. My picky teen even ate all the veggies in it without complaining!

2 hours ago

So glad your whole family loved it! The soft-boiled egg and corn add-ins are such classic, delicious choices – pro tip: marinate those eggs in a little soy and mirin for 10 minutes next time for extra depth of flavor.

yesterday

Really solid miso ramen recipe! Cook time was right around 45 minutes like it said, no surprises there. I only knocked off a star because I found the broth a little too salty for my taste when I used white miso straight out of the tub – next time I’ll cut it with a little extra chicken broth and maybe a splash of mirin to balance it out. Perfect base recipe to tweak to your own tastes though!

30 minutes ago

Thanks so much for the honest feedback! Miso paste can vary pretty widely in salt content between brands, so your note about adjusting with extra broth is spot on. We recommend tasting the broth as you go and adding a tiny bit of sugar or mirin if it tastes overly briny – great call on your end!

3 days ago

SO good! I made a big batch of this on Sunday for meal prep for the work week, and it held up so much better than I thought ramen would. I stored the broth, noodles, and toppings separately so the noodles didn’t get mushy, and it was like a fresh restaurant meal every single lunch. Coworkers kept stopping by my desk asking what smelled so good! Already sent the recipe to our whole office potluck group chat.

1 week ago

Tasty end result, but this was definitely medium difficulty like the recipe says, y’all. I messed up the tare the first time because I burned the garlic, and had to restart that part. Ended up adding extra chili oil and bamboo shoots to make up for the slightly toasty garlic taste, and it turned out okay, but I think I need a couple more practice runs before I make this for guests. Worth the effort though!

5 days ago

Oh I did the exact same thing my first time! Keep the heat super low when you sauté the garlic for the tare, it goes from perfect to burnt in like 10 seconds. I promise it gets way easier the second time you make it!

2 weeks ago

As someone who’s spent way too much money at ramen shops across the country, I was skeptical a home recipe could hit that rich umami miso flavor, but wow, this delivered. I added chashu pork I braised the night before, menma, narutomaki, and a little pat of butter on top right before serving, and it tasted exactly like what I order at my favorite spot in Atlanta. Absolute banger of a recipe.

1 week ago

Wait which Atlanta spot are you talking about? I’m always on the hunt for good ramen! Also did you use red miso or white miso for the broth? I’ve got both in my fridge and can’t decide which to use.

3 days ago

It’s that tiny family spot up on Buford Highway! I used a mix of 2/3 white miso and 1/3 red miso for extra depth, that’s my go-to ratio. Also don’t sleep on the little pat of butter – it makes the broth so silky and rich, you won’t regret it.