
mochi bubble waffle
intro
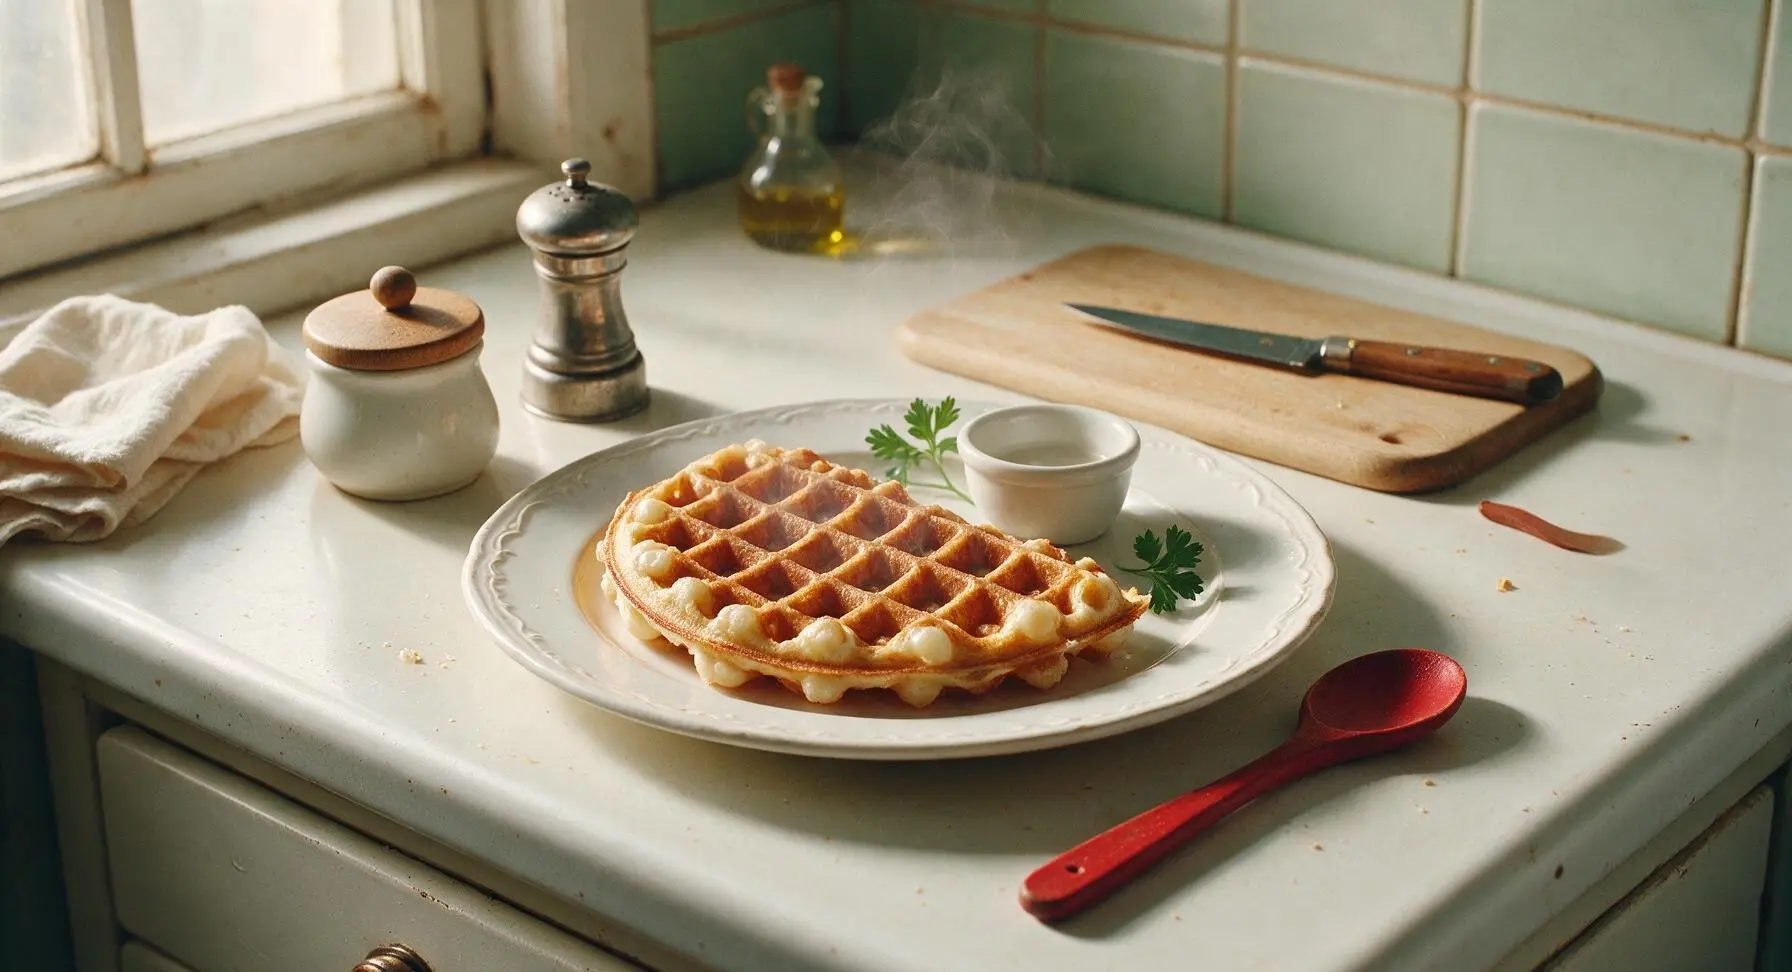
Chewy, mochi-studded bubble waffles with crisp golden edges and soft, stretchy centers, perfect for loading with ice cream and sweet toppings for a fun, shareable treat.
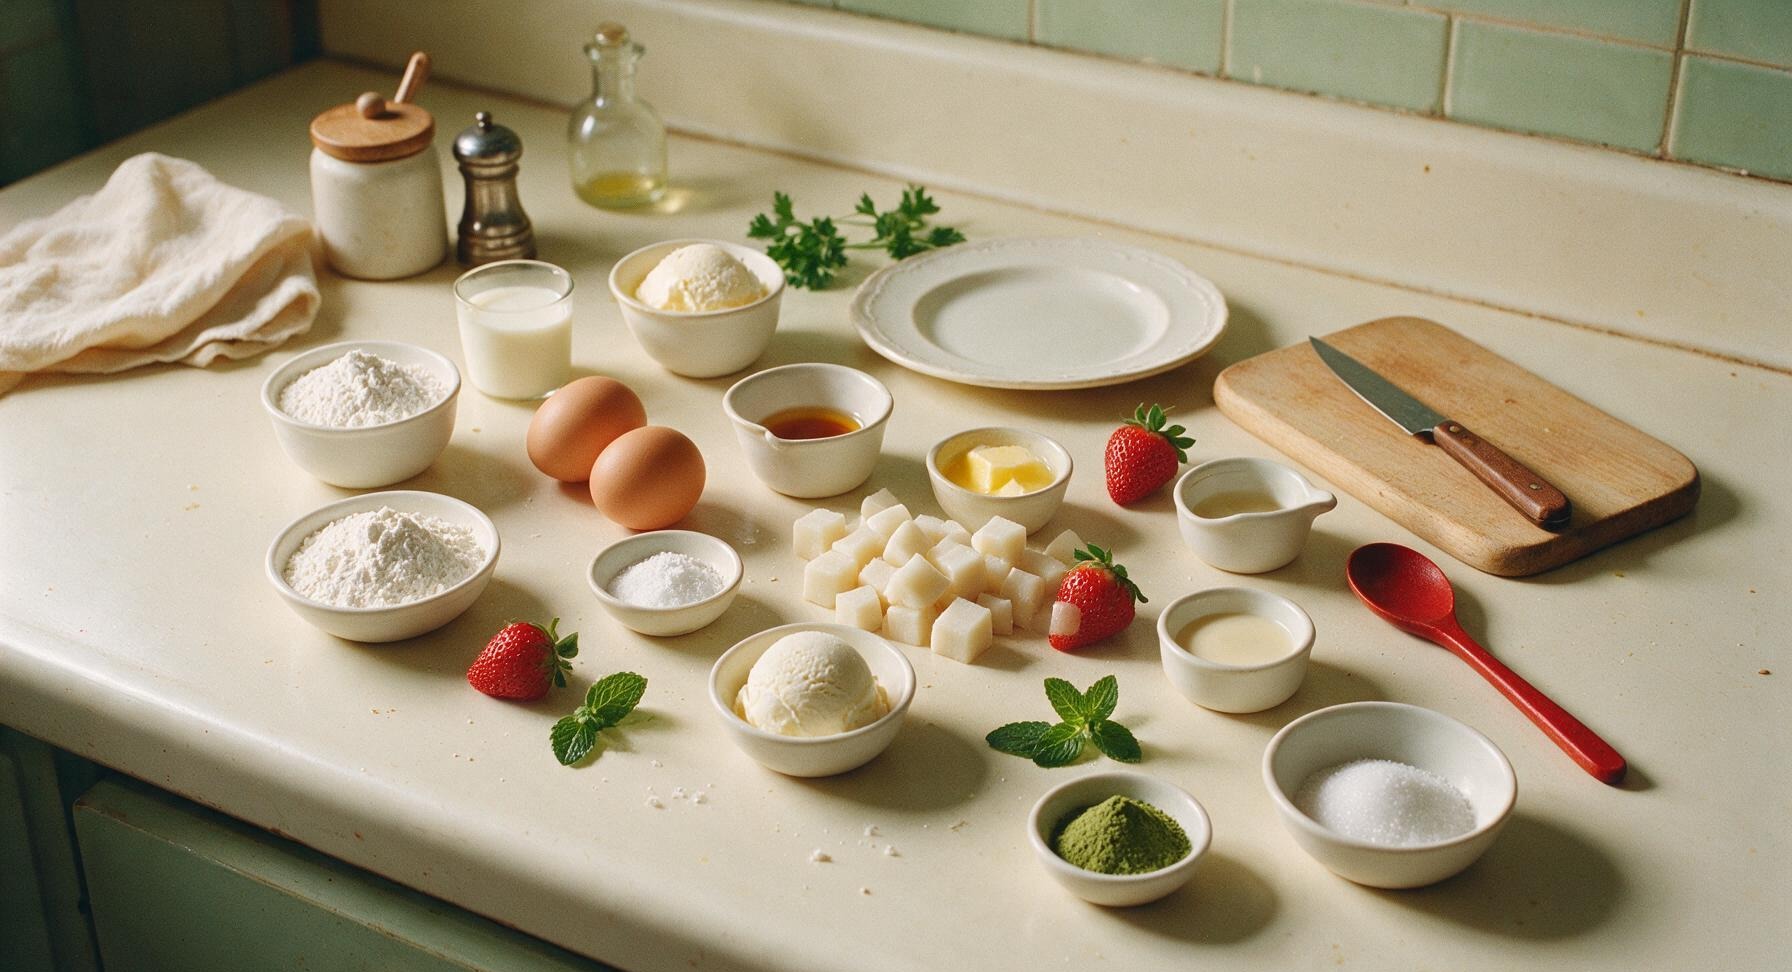
Ingredients
Steps
Cut mochi into cubes
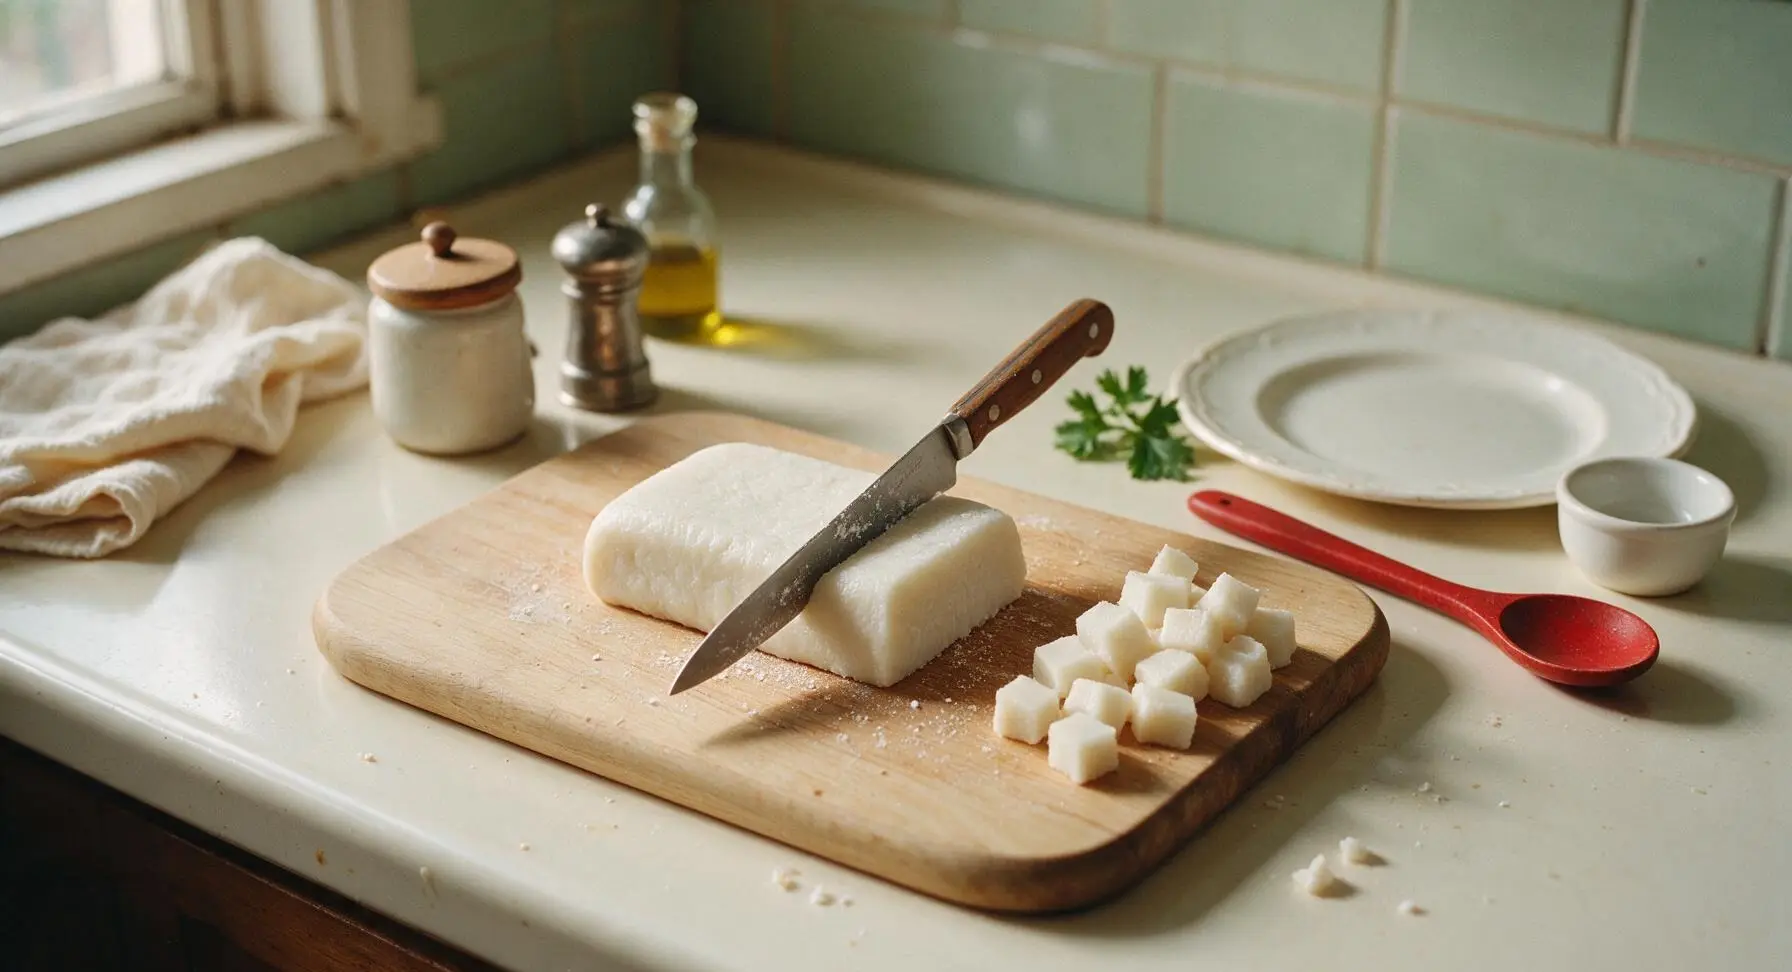
Place the block of soft sweet white mochi on the small light bamboo cutting board. Use the 4-inch stainless steel paring knife to cut the mochi into uniform 1cm (1/2 inch) cubes, dusting the knife blade lightly with a pinch of glutinous rice flour if it sticks to prevent tearing. Gather the cut cubes into a small pile on the edge of the cutting board and set aside. This prep takes approximately 2 minutes.
Mix dry ingredients
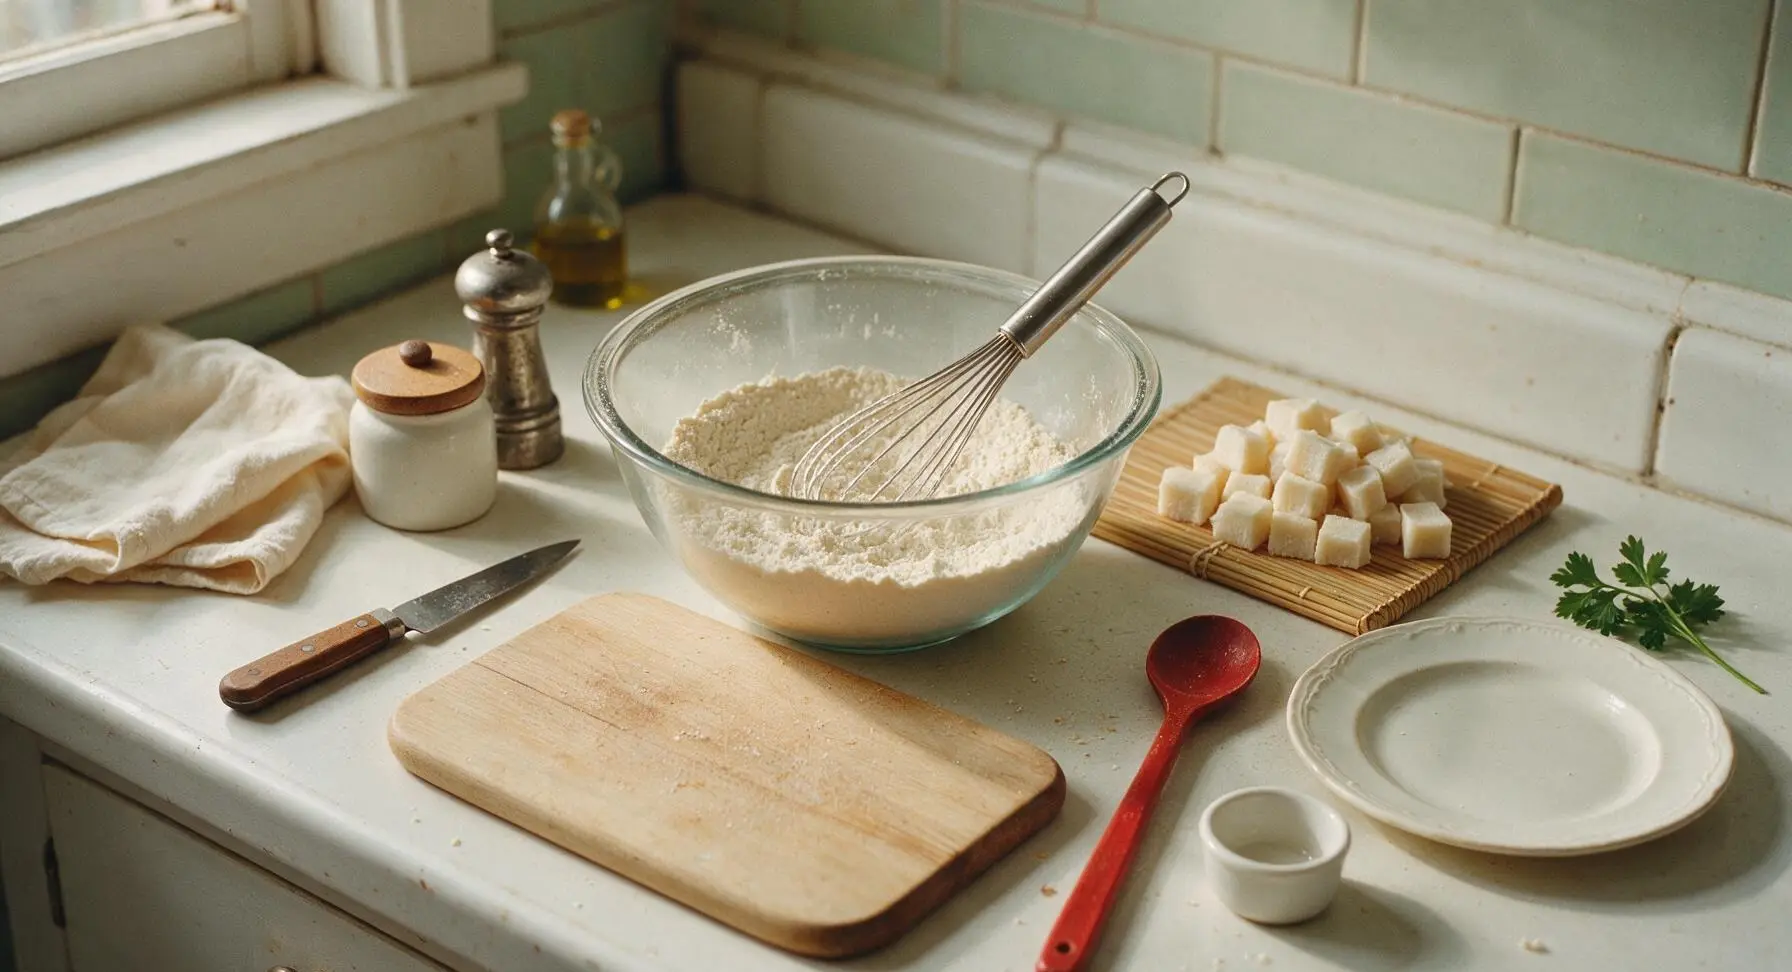
In the medium clear glass mixing bowl, combine the measured 100g glutinous rice flour, 60g all-purpose flour, 40g granulated sugar, 1 tsp baking powder, and 1/4 tsp fine sea salt. Use the stainless steel wire whisk to stir the dry ingredients for 30 seconds until fully combined, with no visible clumps of flour or baking powder. The finished dry mixture should be a uniform pale off-white powder.
Whisk in wet ingredients
Make a small well in the center of the dry flour mixture. Crack the 2 large eggs into the well, then pour in 120ml whole milk, 30g cooled melted unsalted butter, and 1 tsp vanilla extract. Whisk slowly at first to incorporate the wet ingredients without splashing, then increase speed to whisk for 1 full minute until the batter is completely smooth, with no lumps. The finished batter should have the consistency of thin pancake batter, thick enough to coat the back of a spoon lightly.
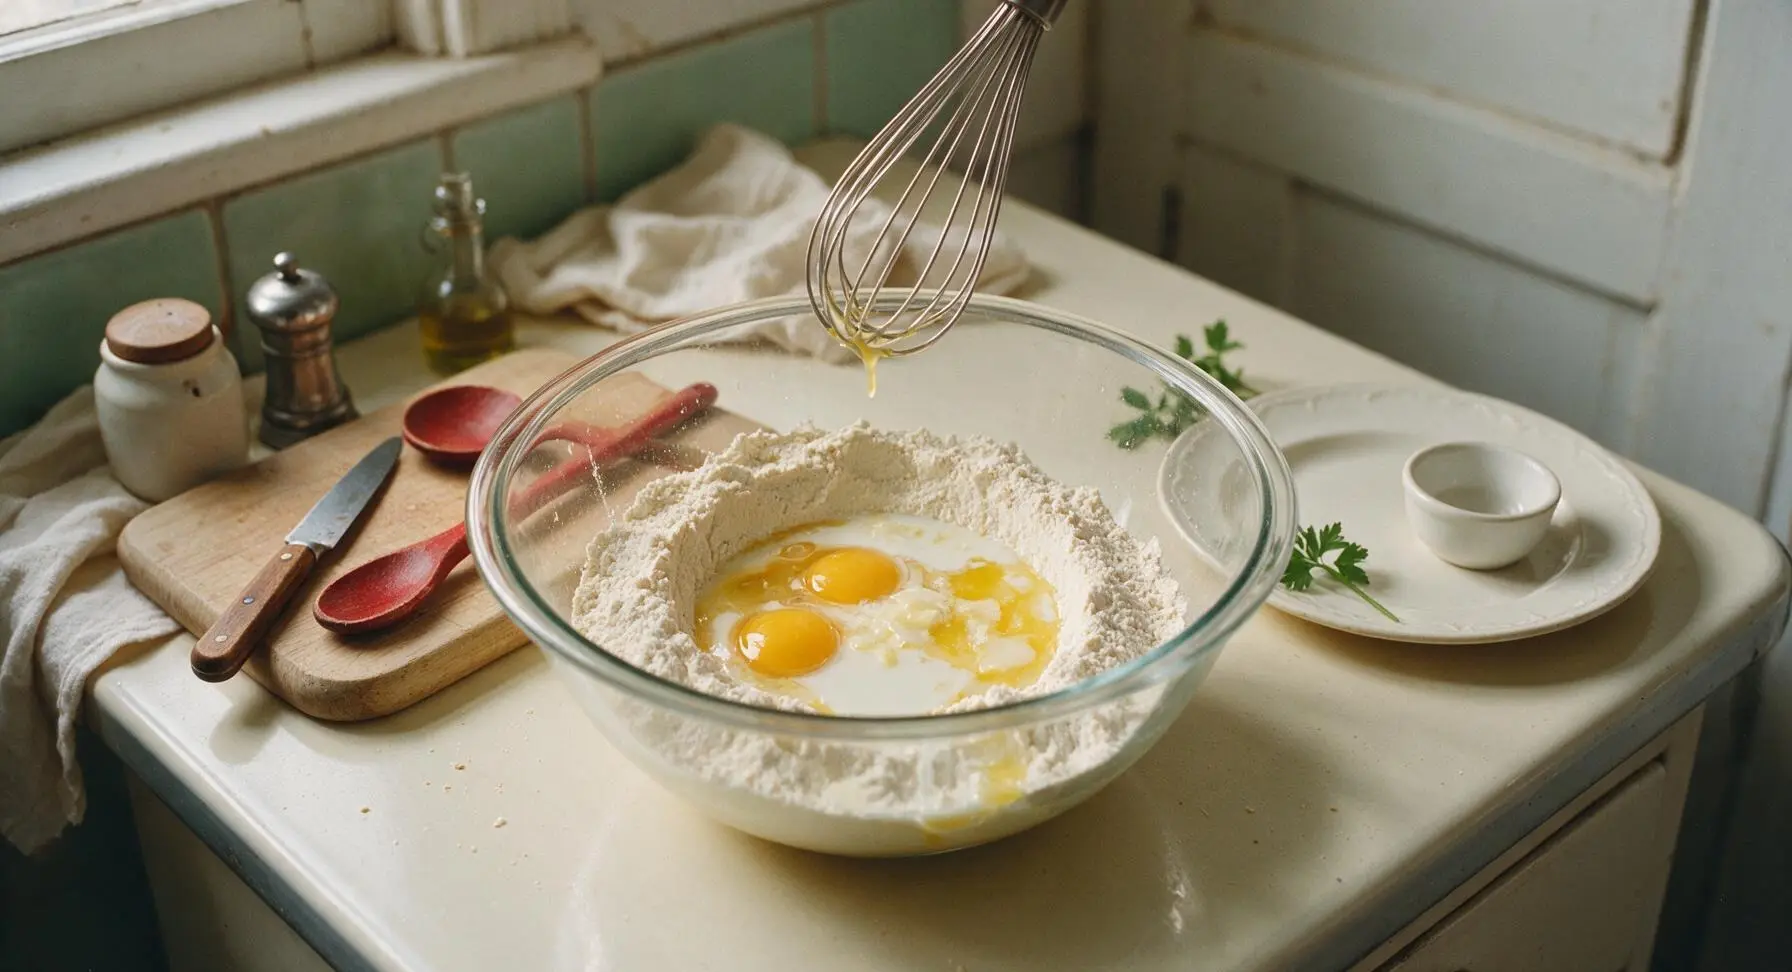
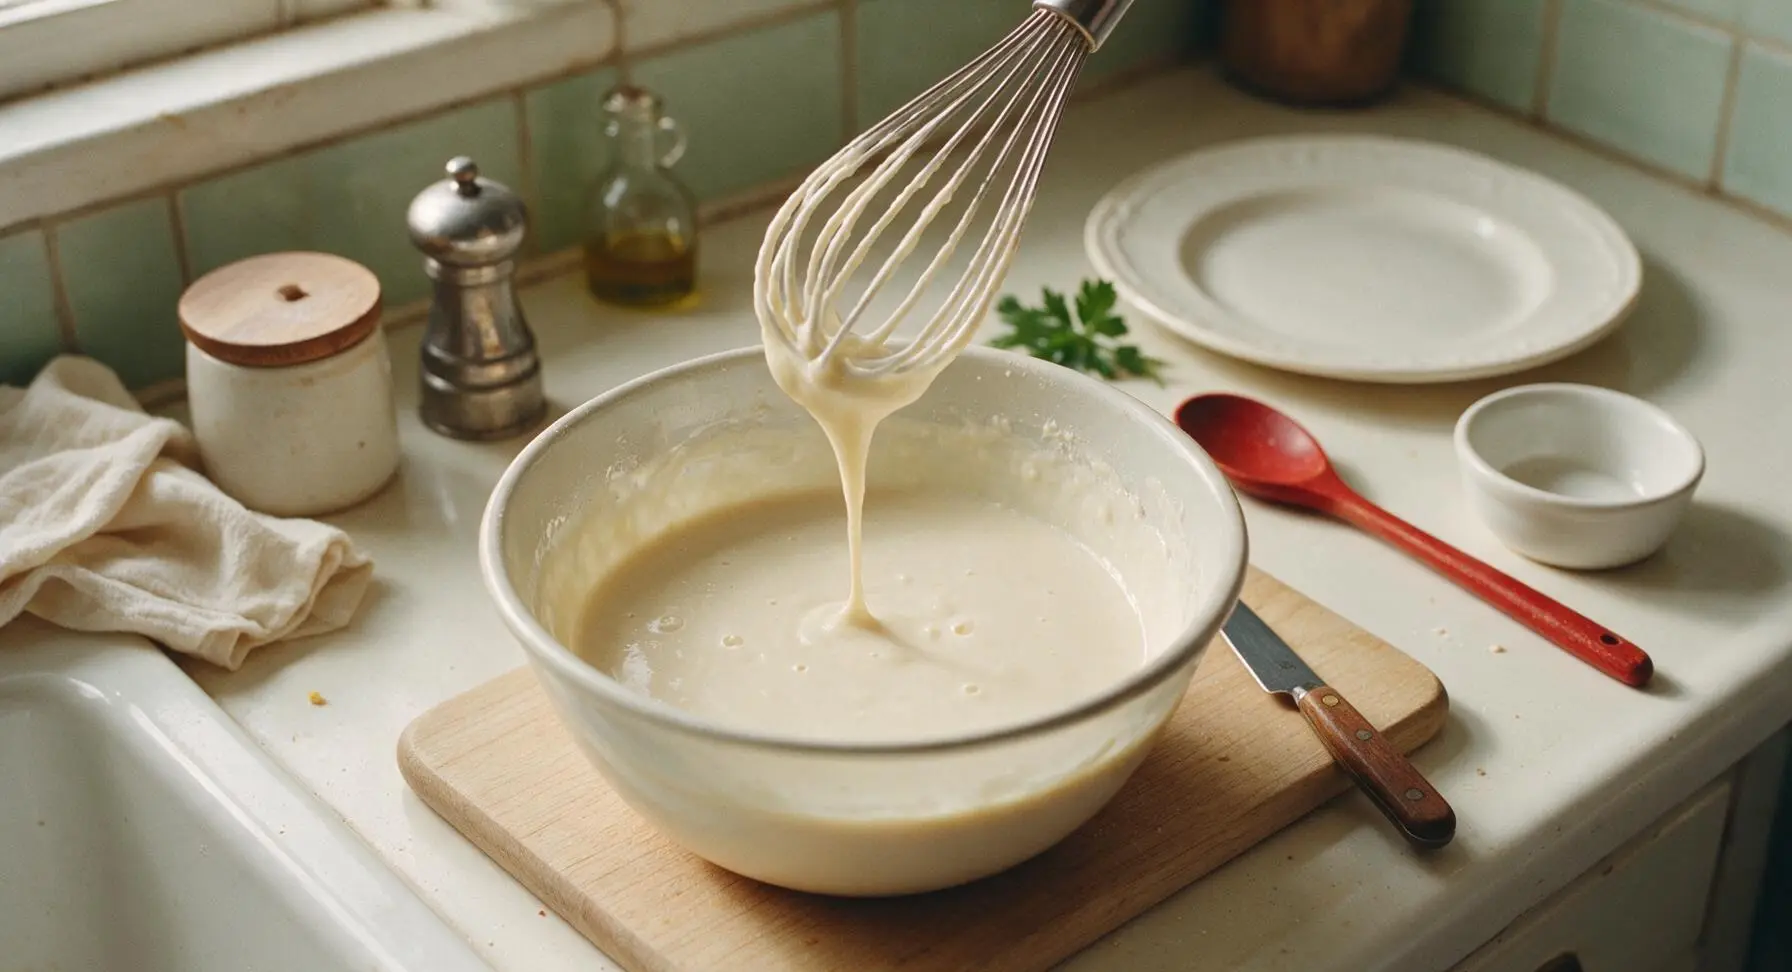
Preheat waffle iron
Close the electric matte black bubble waffle maker and plug it in to preheat to 180C (350F), approximately 3 minutes. Wait until the built-in ready indicator light turns on, signaling the plates are fully heated. Lightly coat both the top and bottom non-stick grid plates with a thin layer of melted butter using the pale pink silicone basting brush to prevent sticking, taking care not to leave excess butter that will burn during cooking.
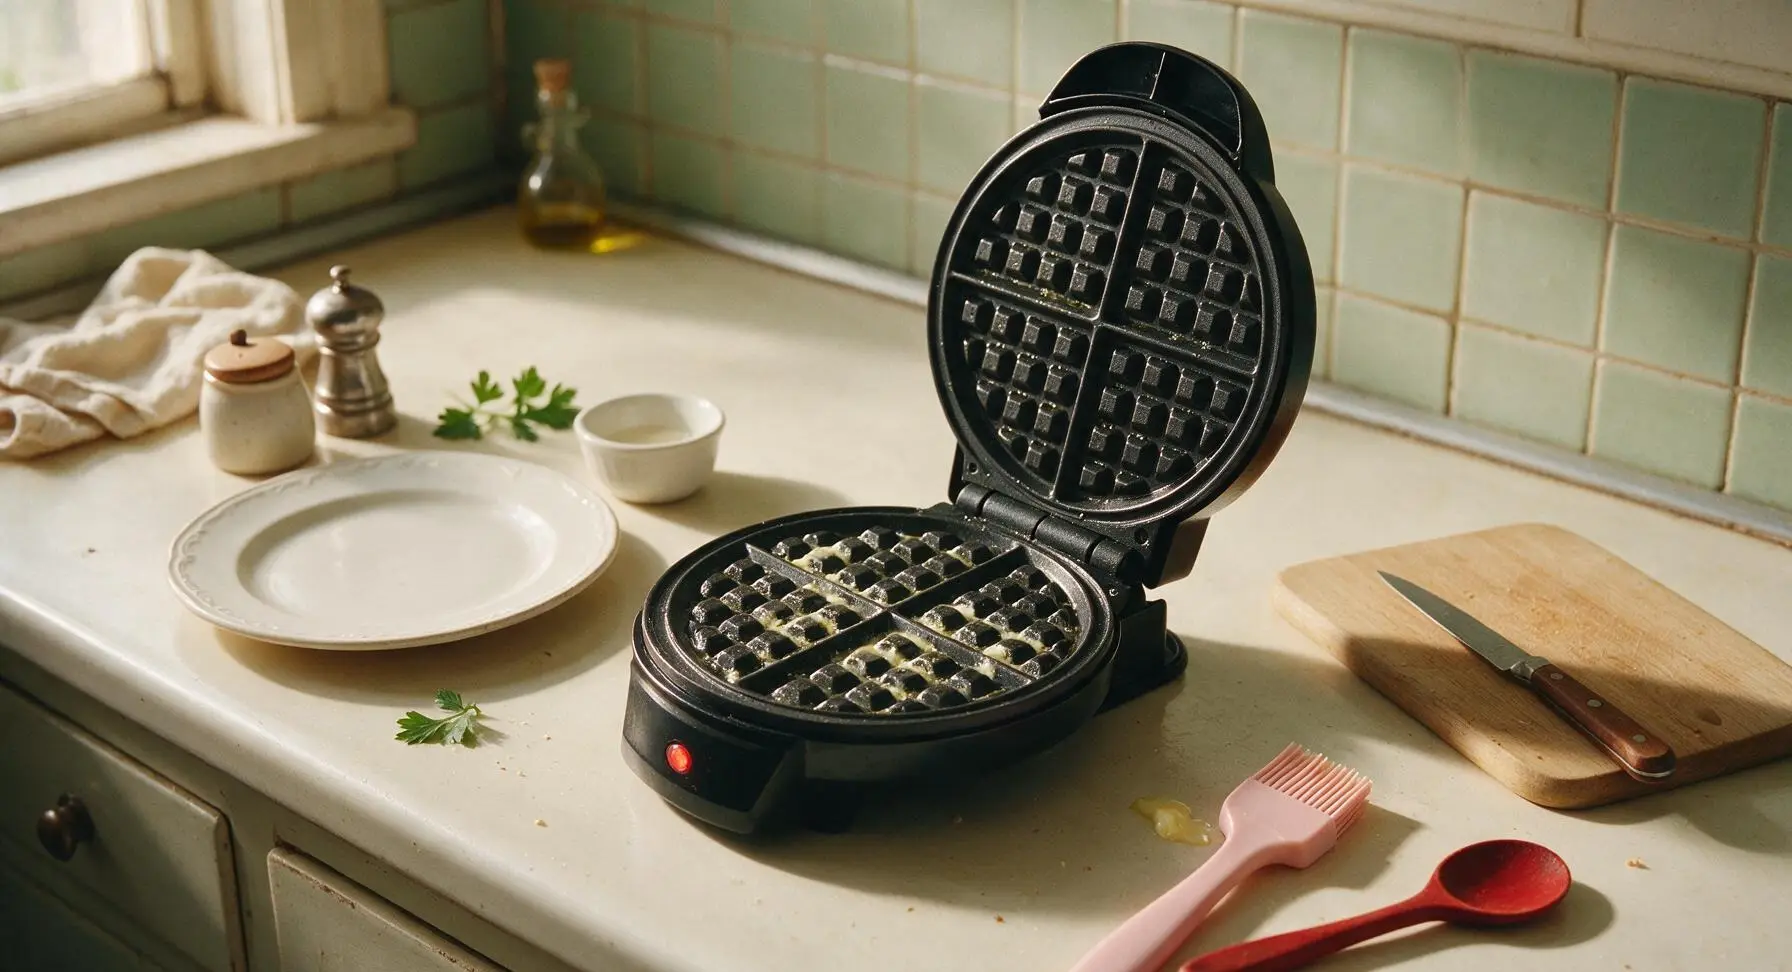
Cook mochi waffles
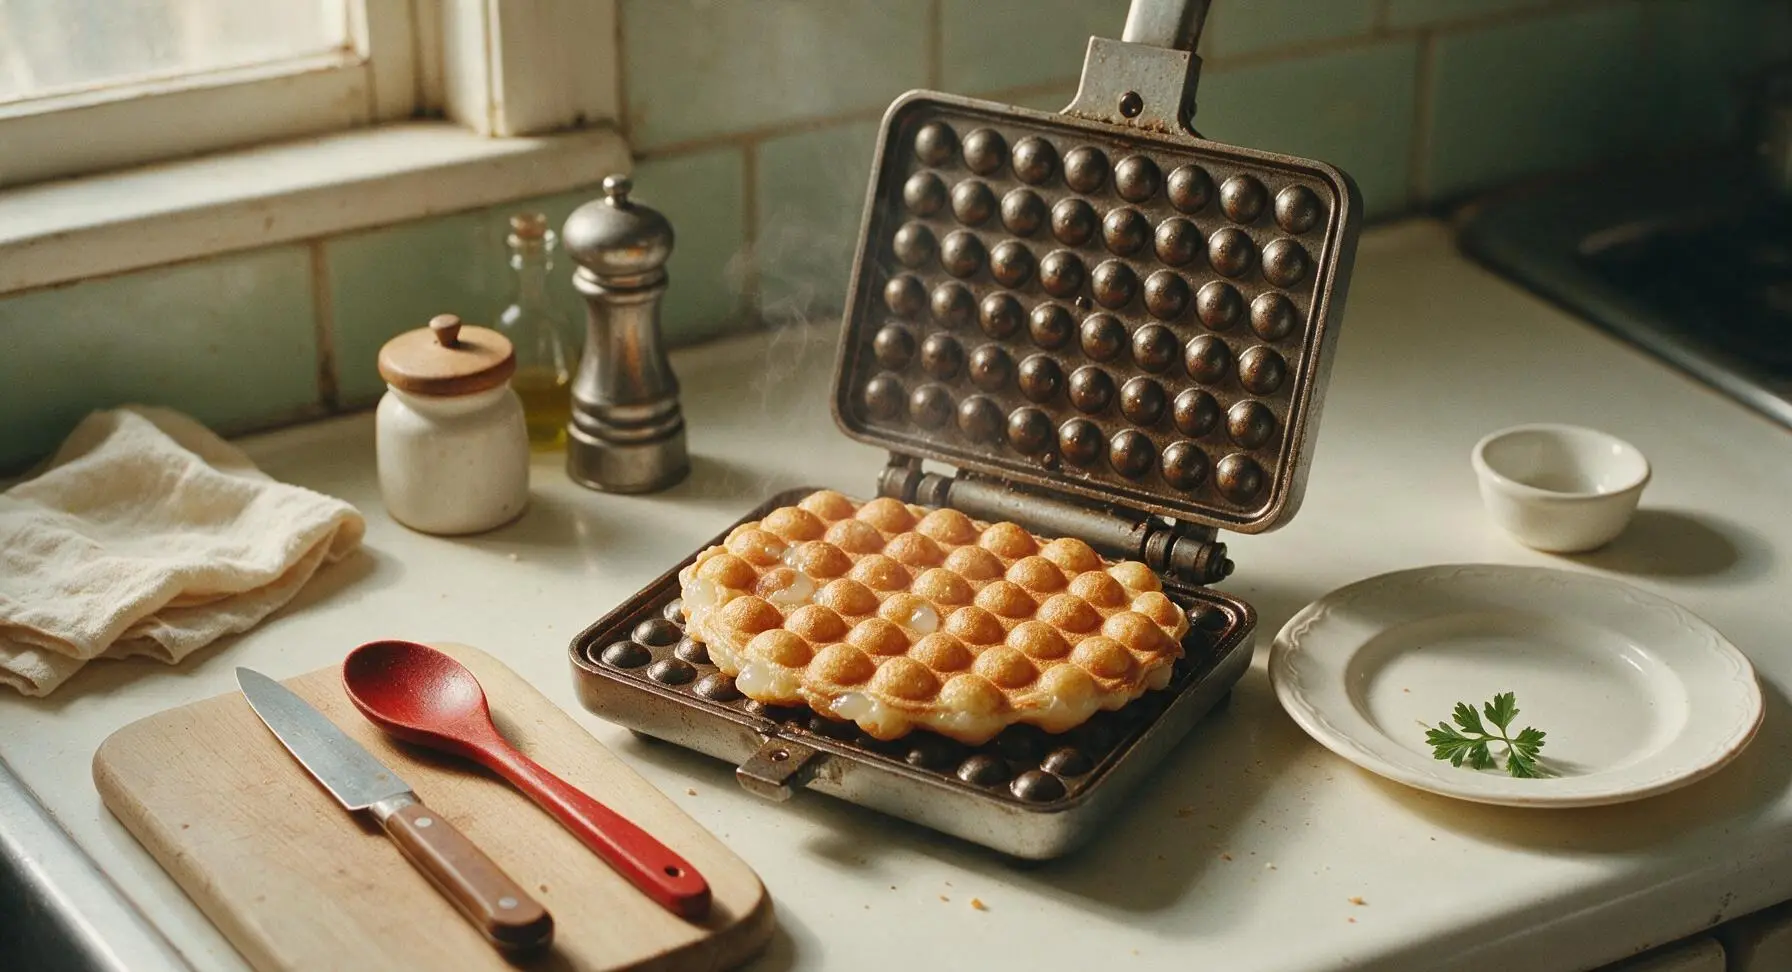
Pour 1/4 of the batter (approximately 80ml) evenly across the bottom grid of the preheated waffle maker, making sure batter fills roughly 3/4 of each bubble indentation to avoid overflow when it rises. Scatter 20g (1/4 of the cut mochi cubes) evenly across the batter, pressing them lightly into the surface so they are partially submerged. Close the waffle maker lid immediately and cook for 3.5 minutes at 180C (350F), without opening the lid early, until the waffle is crisp golden brown on the outside and fully set in the center. Repeat this process for the remaining 3 portions of batter and mochi to make 4 total waffles.
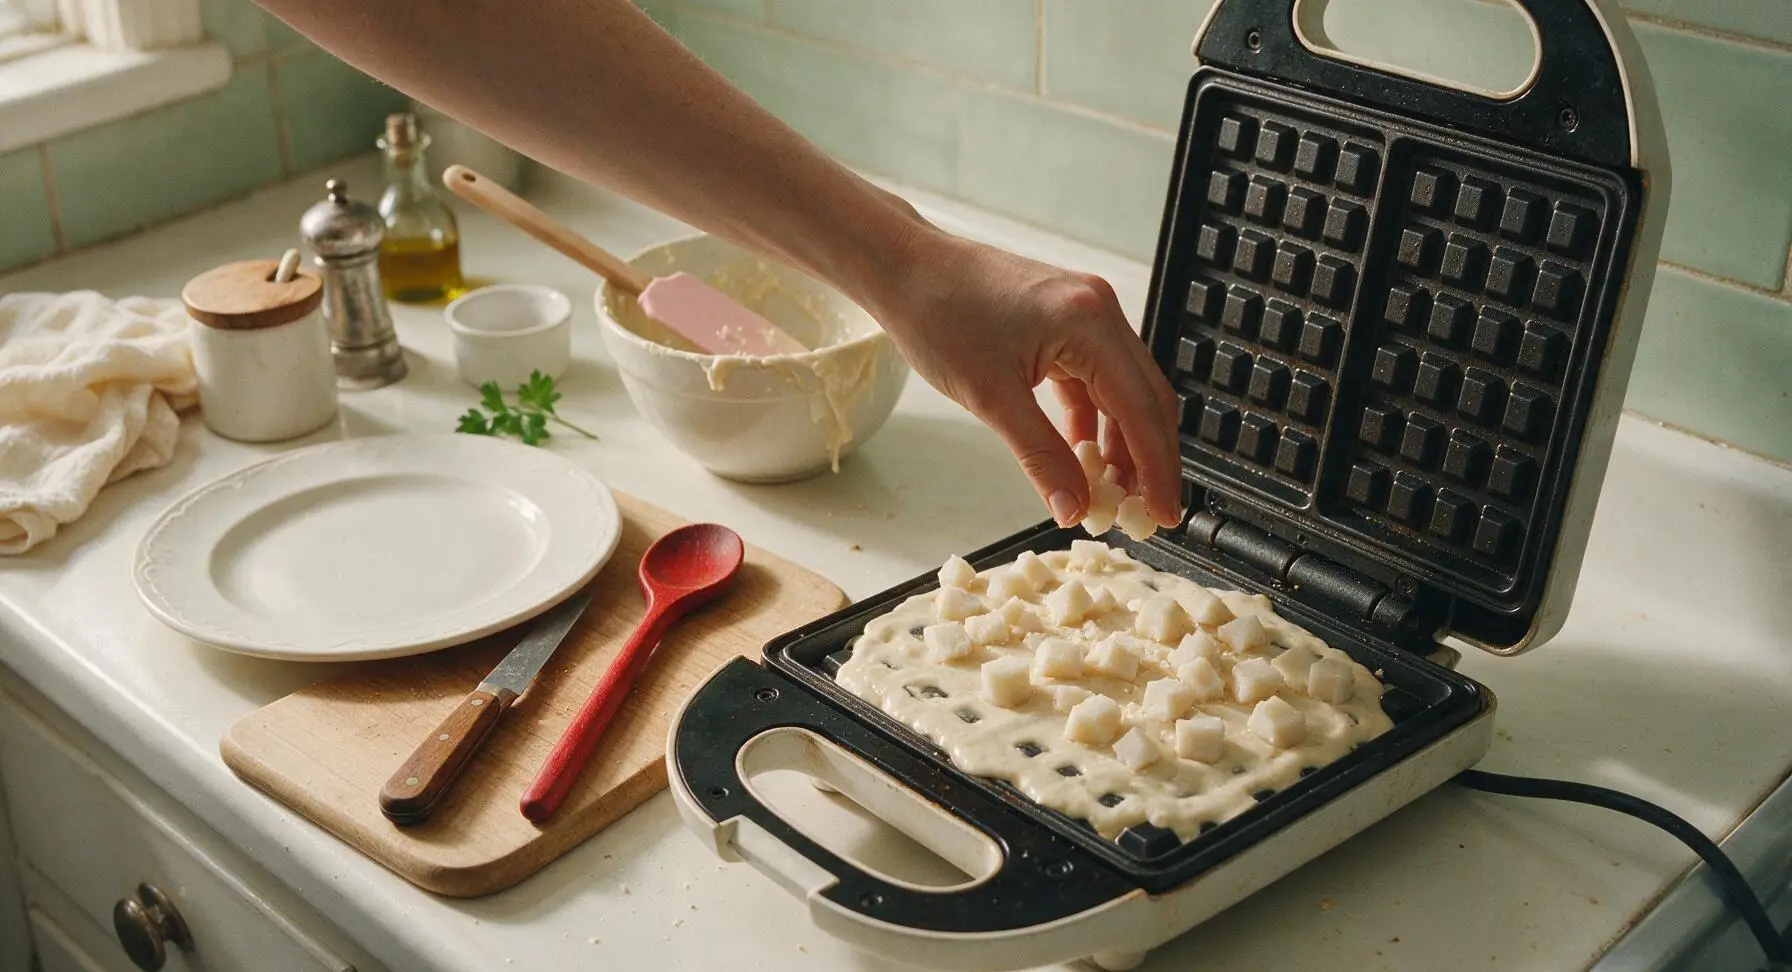
Shape cooked waffles
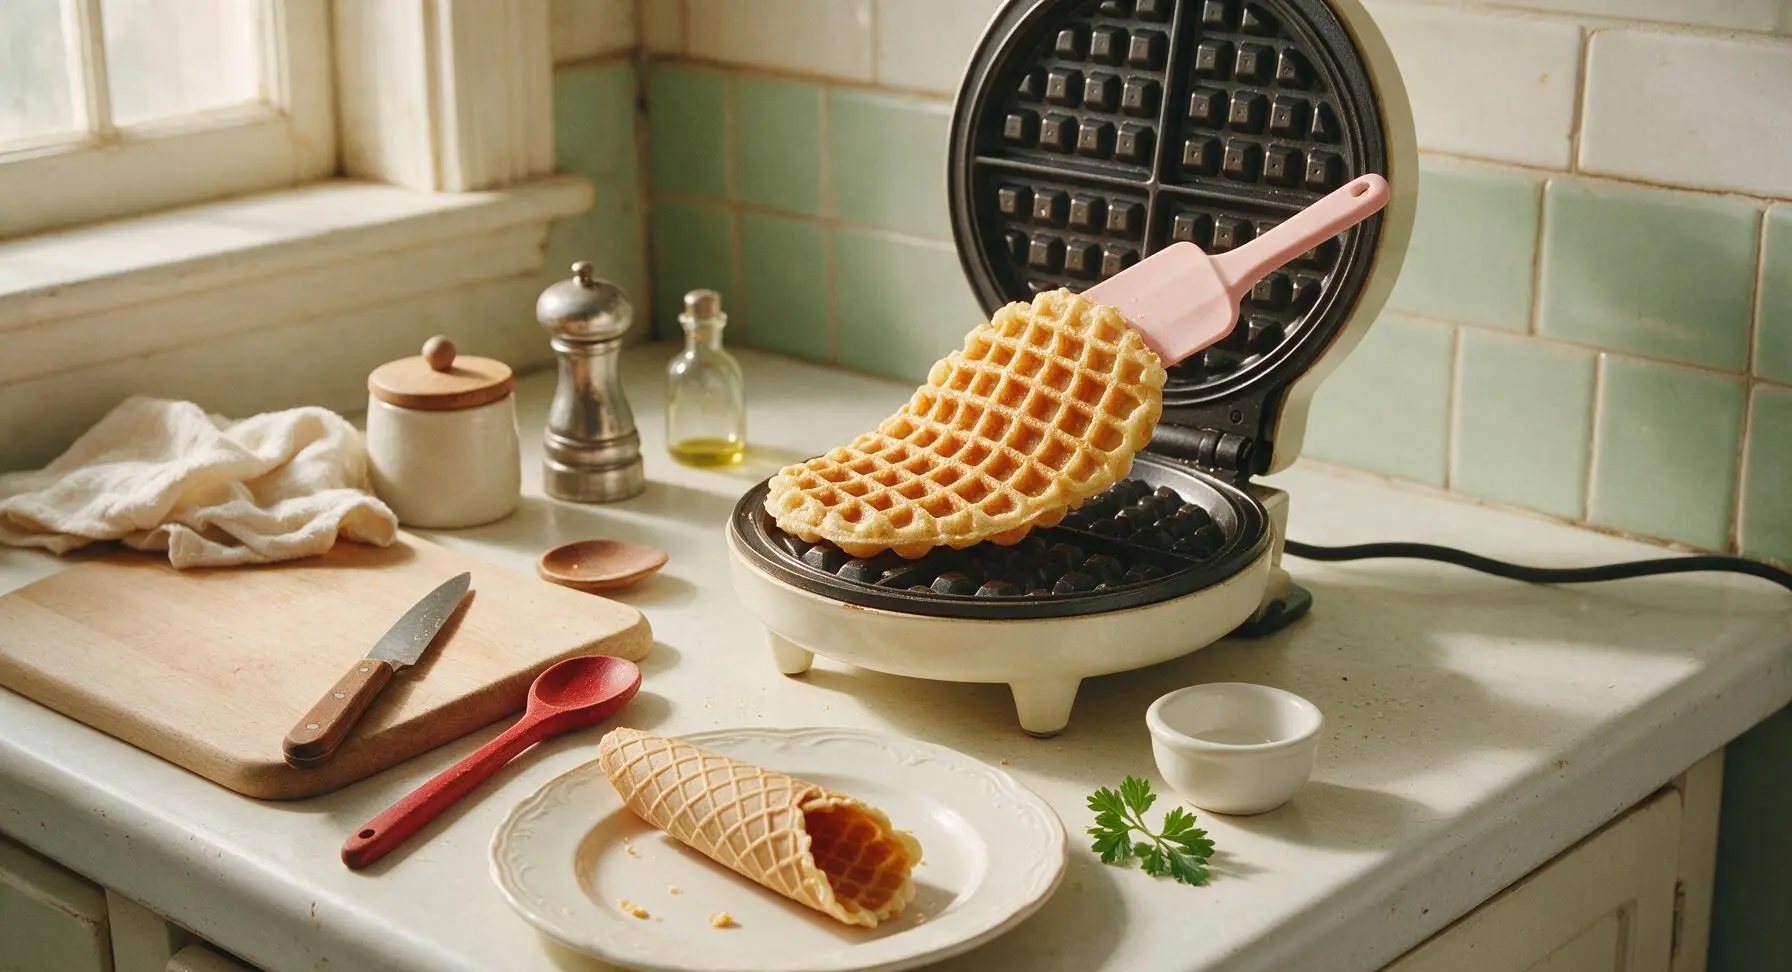
Use the silicone spatula to gently lift the cooked waffle from the waffle maker immediately after cooking, taking care not to tear the delicate crisp edges. Fold the waffle loosely into a cone shape while it is still hot and pliable (it will crisp into shape as it cools for 1 minute), and set it on the cream white matte ceramic serving plate. Do not stack waffles, as trapped steam will make them lose their crisp texture.
Add toppings and serve
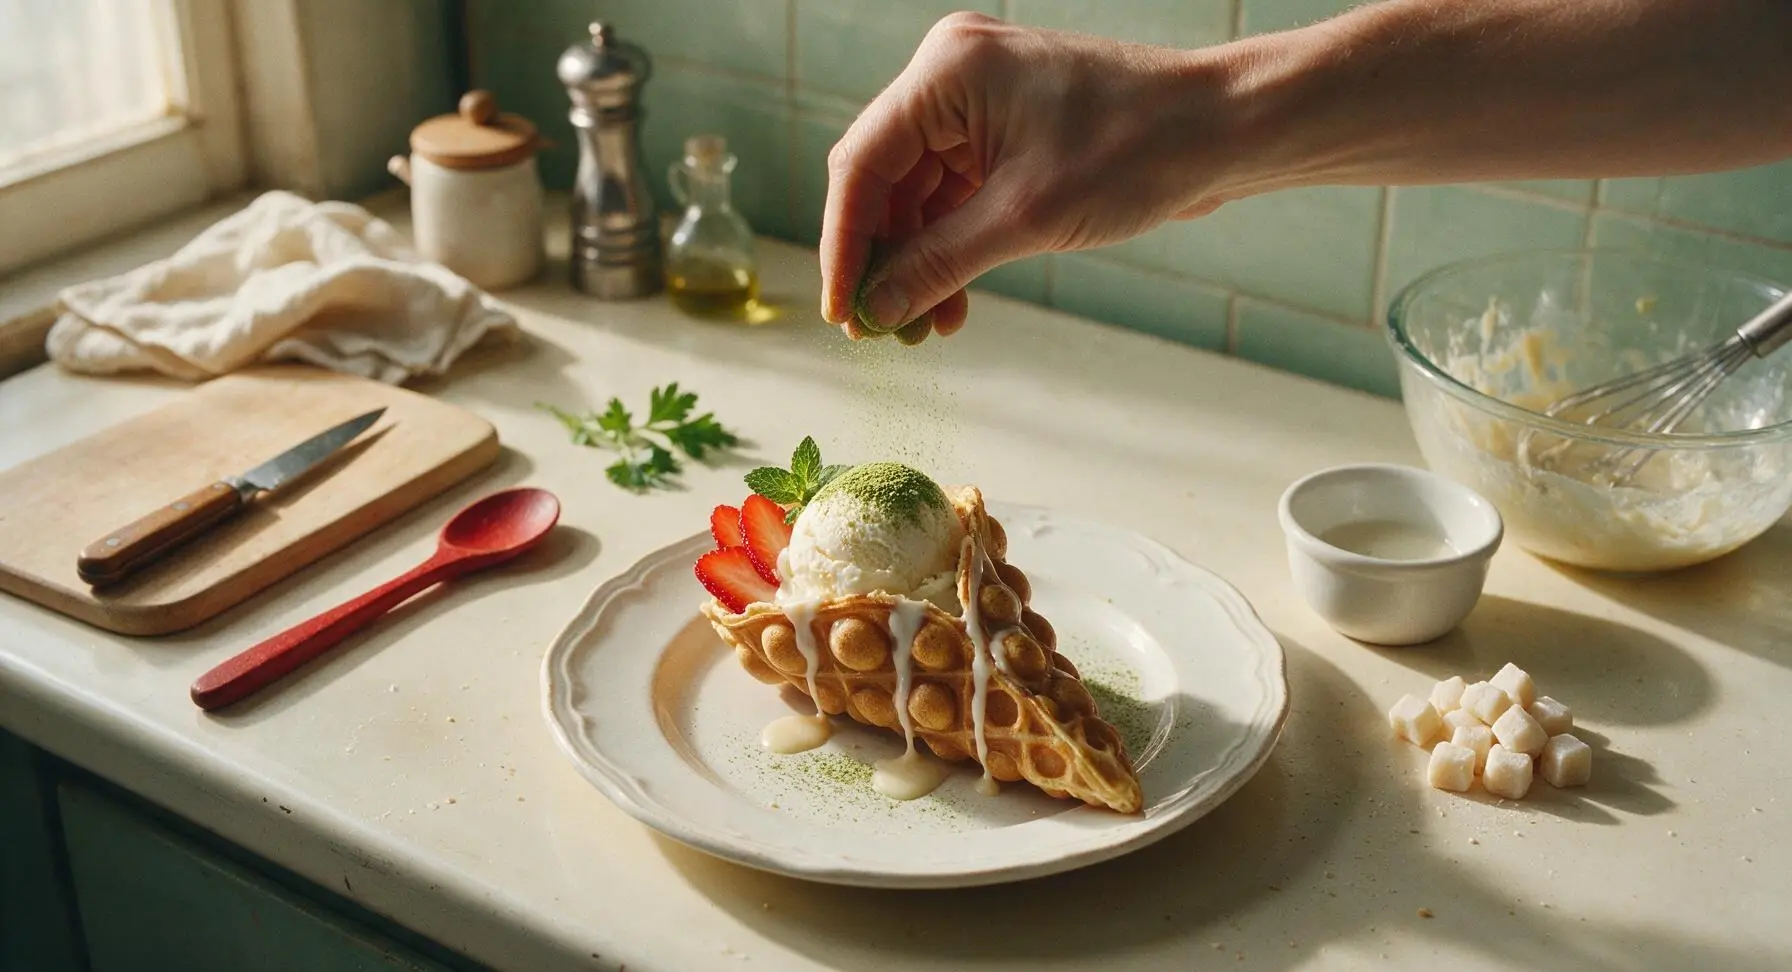
Once all waffles are cooked and shaped, place one waffle cone per serving on the plate. Add a small 25g scoop of vanilla ice cream into the opening of each waffle cone, drizzle with 1/2 tbsp sweetened condensed milk, dust lightly with matcha powder, tuck 2-3 thin slices of fresh strawberry and a small mint sprig alongside the ice cream, and serve immediately while the waffle is still crisp and the embedded mochi is soft and stretchy.
Tips
2.Wait 60 seconds after shaping the waffle before adding ice cream: this short rest allows the hot waffle surface to crisp and set, so it does not turn soggy immediately when it comes into contact with cold, melting ice cream.
3.Dust your knife with glutinous rice flour when cutting mochi: fresh mochi is extremely sticky, and a light coating of flour on the blade prevents it from tearing or sticking, giving you clean, uniform cubes that distribute evenly throughout the waffle batter for consistent chewy bites.






OMG these are SO good!!! I’ve been craving bubble waffles ever since I tried them at the night market in LA last summer, and adding the mochi chew is a total game changer. My kids devoured half the batch before I even got to top them with whipped cream and boba. Cook time was exactly 14 minutes like the recipe said, super easy even for a baking newbie like me!
Made these for my teen’s after-school snack yesterday and they were a huge hit! Chewy on the inside, crispy on the edges, exactly what mochi waffles should be. I swapped the regular milk for oat milk because that’s what we had in the fridge and it worked perfectly. Way easier than I thought it would be, no fancy equipment needed!
Quick question – is there a gluten-free flour swap that works well for this? I have celiac so I can’t do regular all-purpose, but I’ve been dying to make mochi waffles at home!
Uh, mine came out super sticky and stuck to my bubble waffle maker really bad? Did I do something wrong? I sprayed it with nonstick spray like I do for regular waffles, but half the mochi tore when I tried to pull it out. Bummed because the flavor was great!
Brought these to my neighborhood potluck last weekend and people were begging me for the recipe! They’re so fun to hold in that cone shape, and I set out a little topping bar with condensed milk, fresh strawberries, Pocky sticks, and mini mochi bites. Everyone went crazy for them, zero leftovers. 10/10 will make again for every gathering from now on.
Wait has anyone tried making these ahead for meal prep? I’m wondering if they freeze well and reheat okay in the toaster? Would be perfect for quick breakfasts during the work week if they hold up!
OMG the chewy texture is insane! I added a tablespoon of ube extract to half the batter for fun and the purple waffles were so pretty, tasted just like the ube mochi waffles I get at my local boba shop. Cannot believe how easy this is, I thought mochi anything would be super complicated.
Just made this for my boyfriend’s birthday treat and he said it’s better than the ones we got on our trip to Hawaii last month! I topped them with coconut ice cream and a drizzle of caramel, chef’s kiss. So easy I didn’t even mess it up on my first try, which is saying something because I burn toast half the time lmao.
Game changer for my dorm room! I have a tiny cheap bubble waffle maker I got off Amazon for $20 and this recipe worked perfectly in it. Super cheap ingredients, no fancy steps, done in 15 minutes total. My roommate is already begging me to make another batch tonight. Way better than the dining hall desserts for sure.
Has anyone tested this with vegan substitutions? I want to make these for my vegan friend coming over this weekend, would flax eggs and coconut milk work instead of regular eggs and dairy milk?
My 4 year old is obsessed with these! We made them together after school yesterday and she loved pouring the batter into the waffle maker (with supervision, obviously). We cut them into little bite-sized pieces and dipped them in chocolate sauce, it was the perfect fun kid-friendly activity that ended with a delicious snack. 10/10 for family fun!
I’ve tried three different mochi bubble waffle recipes online this month and this one is by far the best! Perfect balance of chewy and crispy, not too sweet, and the cook time is spot on. I didn’t have to adjust anything at all, it worked perfectly on the first try. Saved this to my permanent recipe folder, will be making this all the time.