
Mock Apple Pie (Depression)
intro
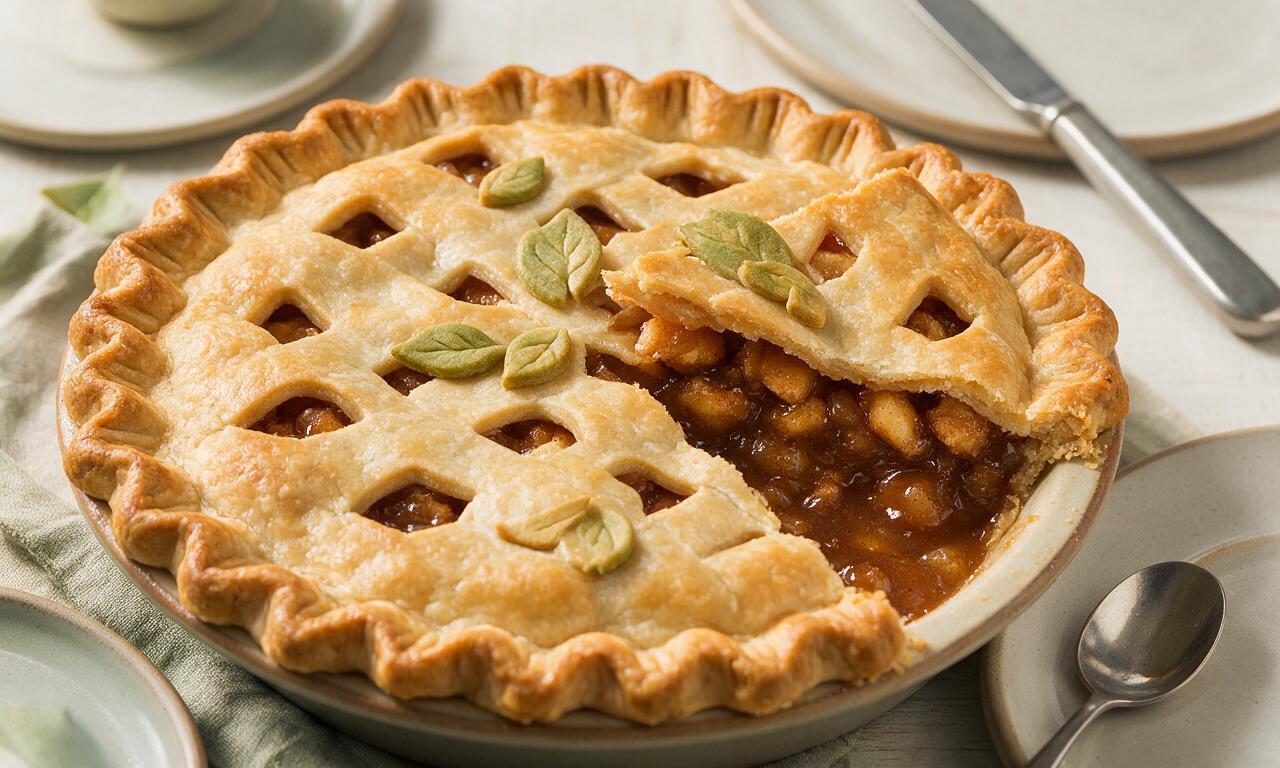
A clever 1930s Great Depression budget dessert that mimics classic apple pie using buttery crackers instead of fruit, with spiced tangy filling and flaky crust.
Ingredients
Steps
Prep crust and oven
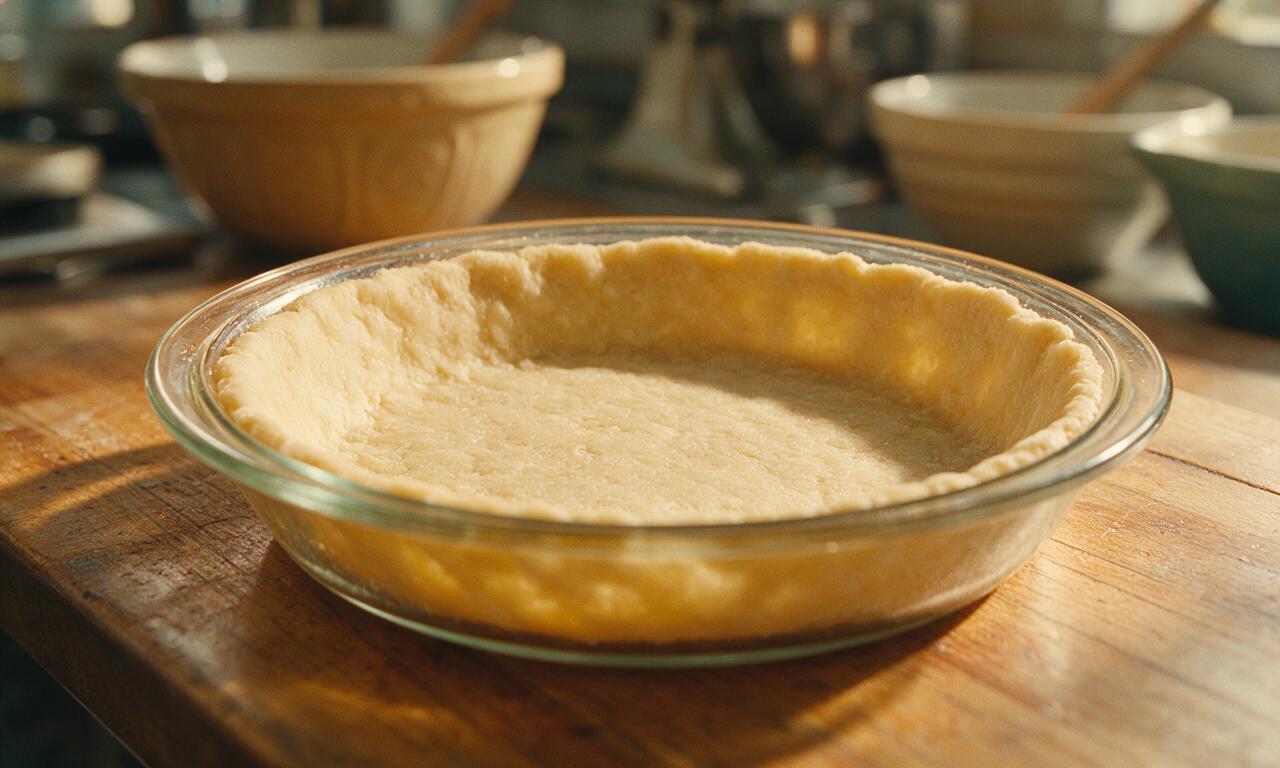
Preheat your oven to 220°C (425°F). Unroll one 9-inch pie crust round and press it firmly into the bottom and up the sides of a 9-inch pie dish, trimming any overhang to 1/2 inch past the dish rim. Do not prick the crust bottom to prevent syrup leakage.
Cook the spiced syrup
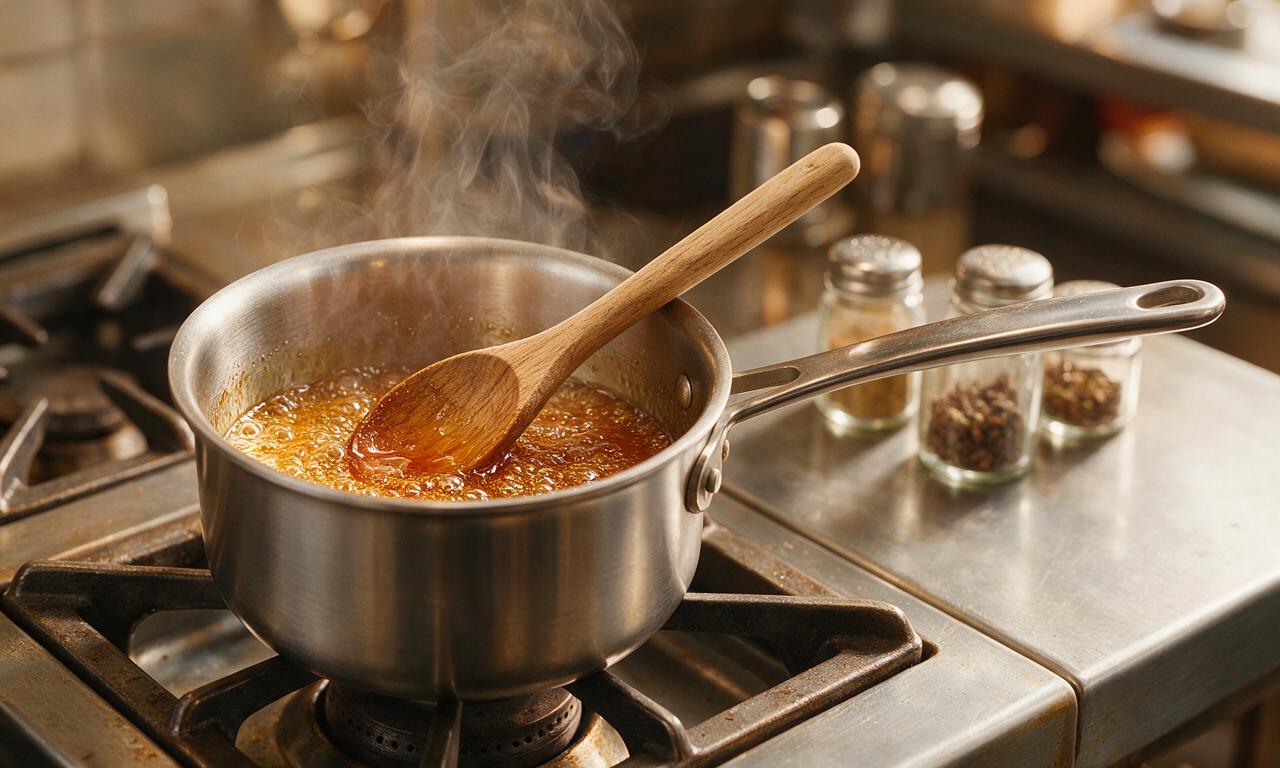
In a small saucepan over medium heat, combine 1 cup (200g) granulated sugar, 1 cup (240ml) water, 2 teaspoons cream of tartar, 1 teaspoon ground cinnamon, and 1/4 teaspoon ground nutmeg. Stir continuously, bring to a rolling boil, then reduce heat to medium-low and simmer for 2 minutes until sugar is fully dissolved and syrup is slightly thickened. Remove from heat and stir in 2 tablespoons (30ml) fresh lemon juice.
Layer cracker filling
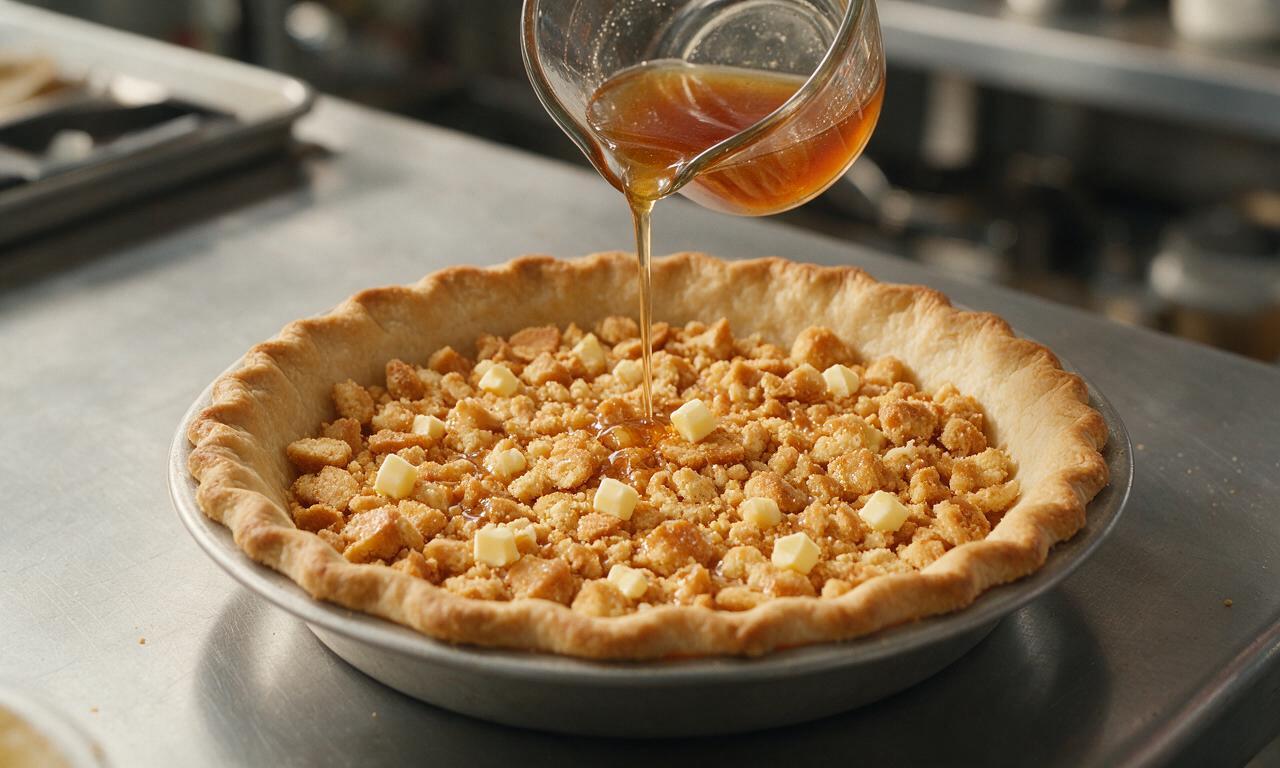
Break the 36 buttery round crackers into 1 to 2-inch chunks (do not crush into fine crumbs) and spread them evenly across the bottom of the prepared pie crust. Pour the warm spiced syrup slowly over the cracker chunks, making sure all pieces are fully coated. Dot the top of the filling evenly with the 2 tablespoons (28g) of cubed cold unsalted butter.
Seal top crust
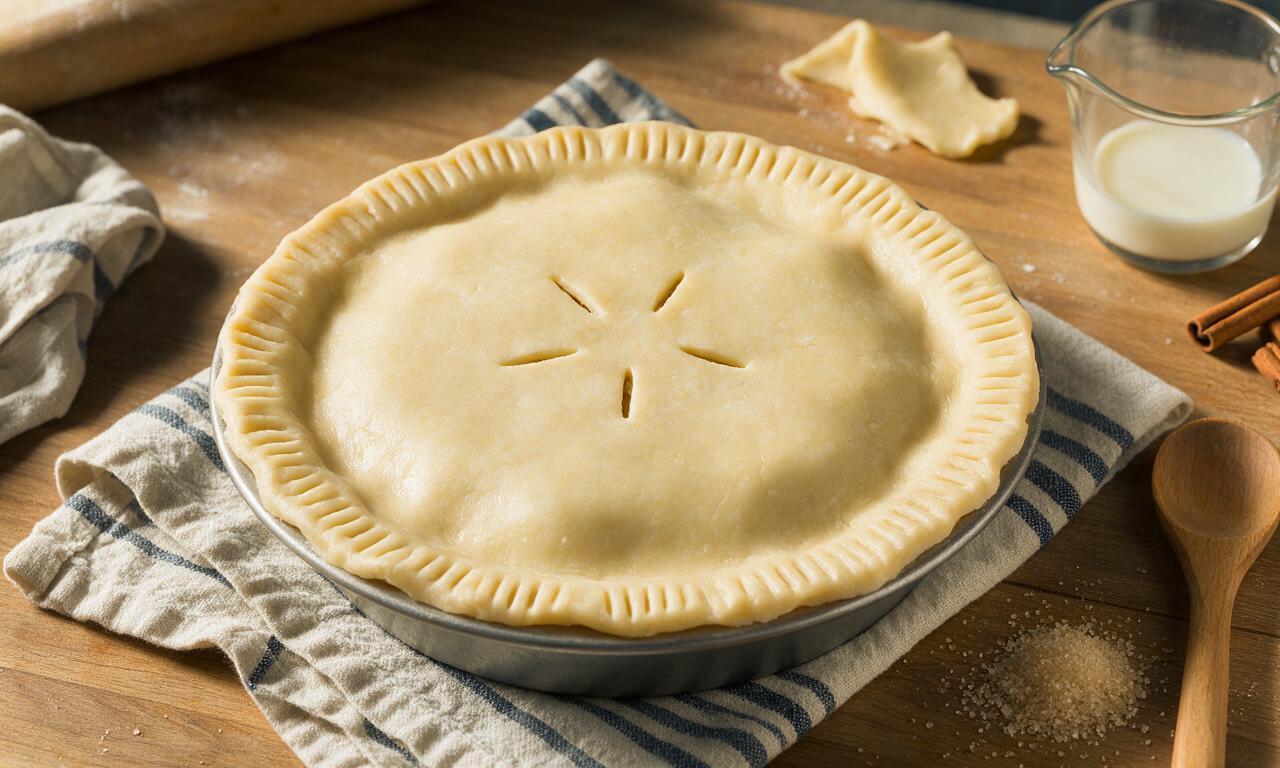
Unroll the second 9-inch pie crust round and drape it over the top of the filling. Press the edges of the top and bottom crust together firmly, then crimp decoratively with your fingers or a fork, trimming excess crust to a neat 1-inch edge. Cut 4 small 1-inch slits in the center of the top crust to allow steam to escape during baking.
Add egg wash topping
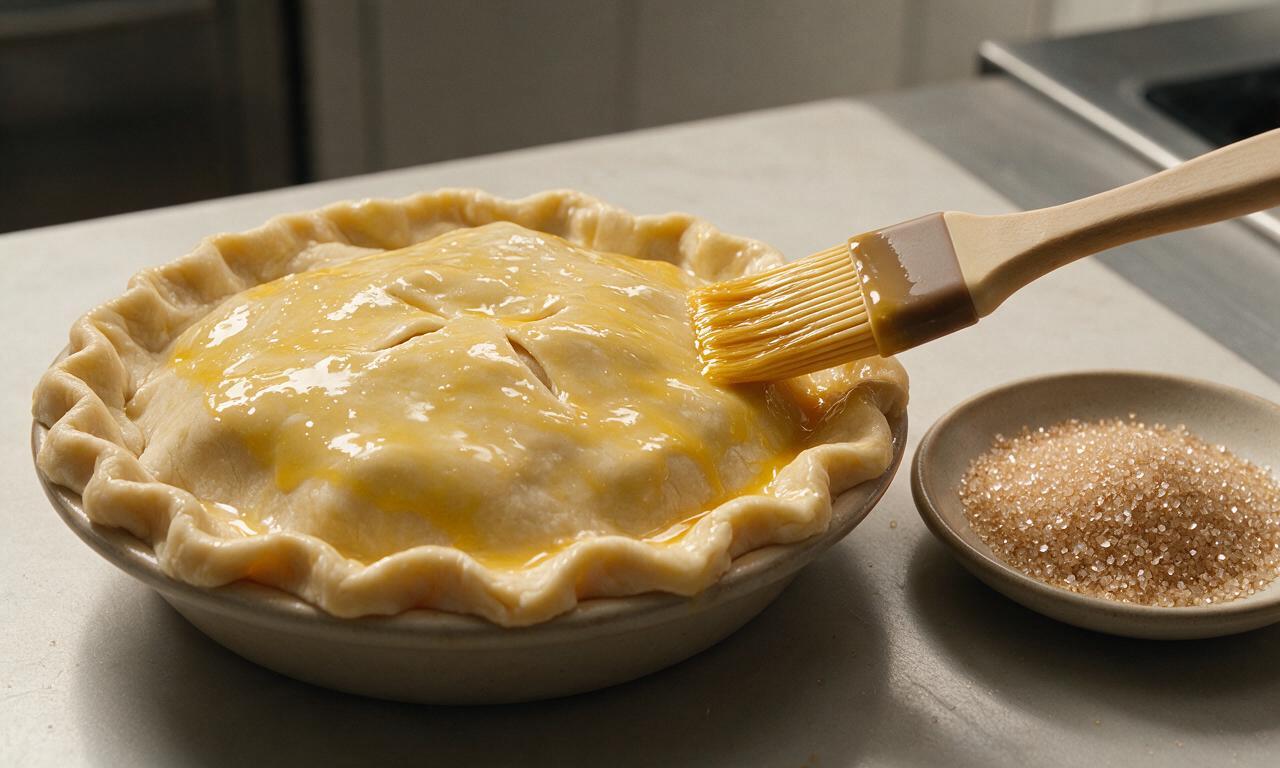
In a small bowl, beat the whole egg together with the remaining 1 tablespoon (15ml) water to make egg wash. Brush the entire surface of the top crust and crimped edges with the wash, then sprinkle evenly with 1 teaspoon of coarse sparkling sugar for a crisp, shiny finish. Place the pie dish on a rimmed baking sheet to catch any bubbling drips during baking.
Bake and rest pie
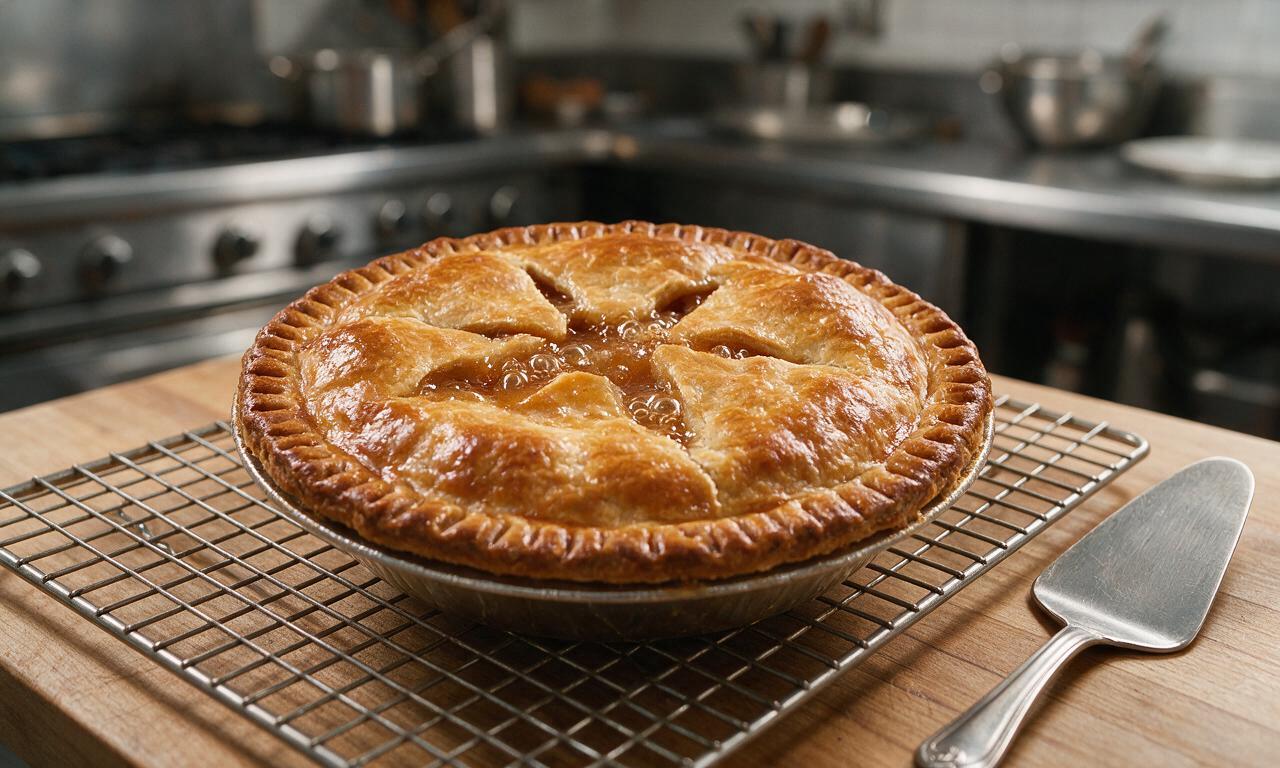
Bake at 220°C (425°F) for 15 minutes, then reduce the oven temperature to 175°C (350°F) without opening the oven door, and bake for an additional 25 minutes until the crust is deep golden brown and filling is bubbling through the steam slits. Remove from oven and let cool completely on a wire rack for 2 hours before slicing to allow the filling to set fully.
Tips
2.Let the pie cool for the full 2 hours before slicing; the filling will be runny if cut warm, as it needs time to set into a sliceable consistency as it cools.
3.Cream of tartar is non-negotiable for the signature tangy, apple-like flavor—do not substitute it with baking powder or other acids, as it creates the exact tart balance that makes the filling taste like real apple.






OMG, I made this for my grandma’s 82nd birthday potluck last weekend and NO ONE believed it wasn’t real apple pie! My grandpa grew up eating this during the Depression and he said it tasted exactly like his mom’s. It’s SO easy to throw together too, I didn’t even have to run to the store for fancy ingredients. Total game changer for last-minute dessert needs!
Tried this out for our weekly family dinner last night because my kid has a severe apple allergy and we’ve been missing pie night something fierce. Y’all, this hit EVERY single note. The texture, the sweet-tart flavor, even the flaky crust pairing? Perfect. My 10 year old asked for seconds before he finished his first slice. Will be making this on repeat from now on!
Okay, I was super skeptical about a pie that doesn’t use any apples, but I needed an easy make-ahead dessert for meal prep this week and decided to give it a shot. It’s insane how much it tastes like the real thing! I pre-sliced it and it held up perfectly in the fridge for 4 days, no sogginess at all. 10/10, will be adding this to my regular rotation.
I’ve been collecting Depression Era recipes for years and this one has been on my list to try forever! Finally made it yesterday and I’m kicking myself for waiting so long. The cracker texture gets so soft and tender when it bakes in that syrupy lemon-cinnamon mixture, you really can’t tell the difference. I did add a little extra lemon zest because I love that bright tang, it was chef’s kiss. Only reason I’m not giving 5 stars is my crust shrank a little on the sides, but that was 100% my fault for not chilling it long enough.
Y’all, I can barely boil water without burning it and I pulled this off! It was so easy, the steps were super straightforward, and my roommates lost their minds when they tried it. We ate half the pie standing up over the kitchen counter last night. Who knew a 100 year old budget recipe would hit this hard in 2024?