
Moist Devil's Food Cake

Moist Devil's Food Cake
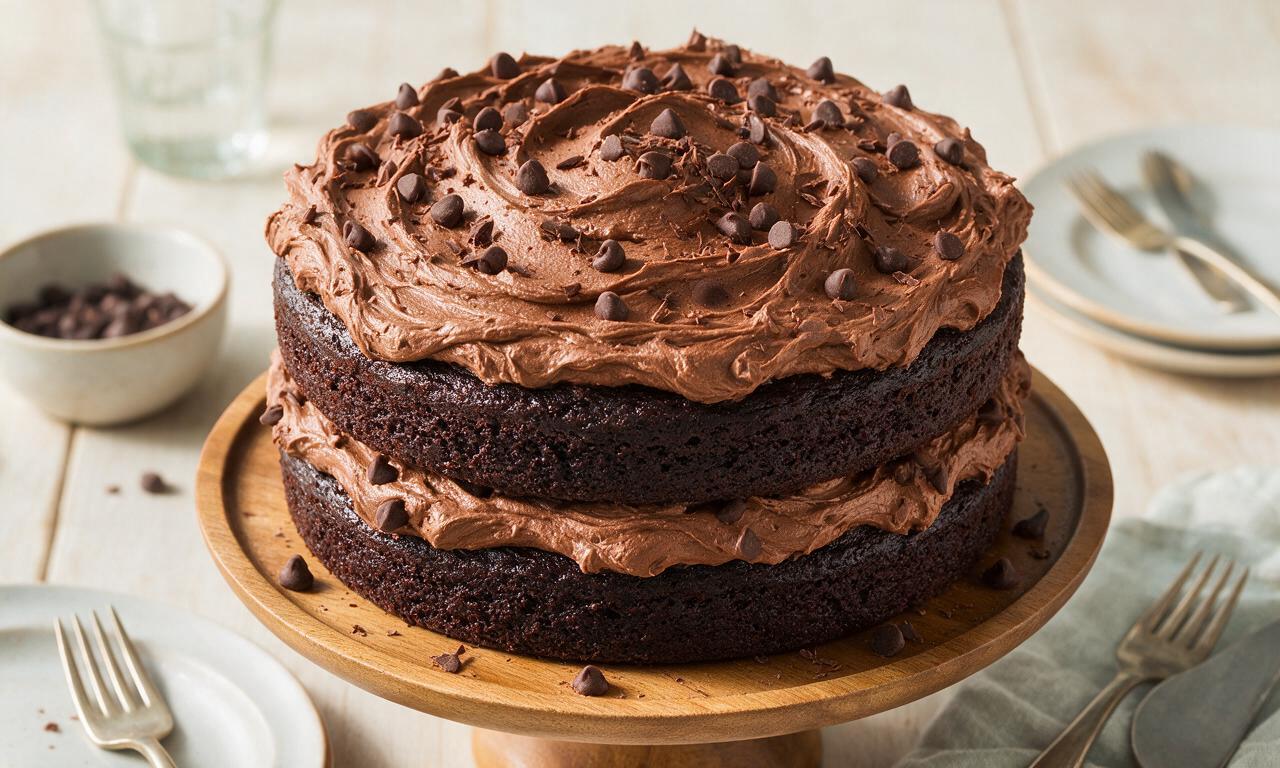
⏱️ cook time 2 hours 15 minutes (includes 1 hour cooling time)
🍽️ servings 8
⚡ Difficulty medium

intro

Deeply fudgy, moist two-layer chocolate cake slathered in fluffy chocolate buttercream, a beloved timeless American celebration treat.

Ingredients

All-purpose flour 2 cups (240g)
Granulated sugar 1 3/4 cups (350g)
Dutch-processed unsweetened cocoa powder (for cake) 3/4 cup (75g)
Baking soda 2 teaspoons
Baking powder 1 teaspoon
Fine sea salt (for cake) 1 teaspoon
Unsalted butter (for cake, softened) 1/2 cup (113g)
Large eggs (room temperature) 2 large (100g total)
Buttermilk (room temperature) 1 1/2 cups (360ml)
Vanilla extract (for cake) 2 teaspoons
Boiling water 1 cup (240ml)
Unsalted butter (for frosting, softened) 1 1/2 cups (340g)
Powdered sugar 2 1/2 cups (300g)
Dutch-processed unsweetened cocoa powder (for frosting) 1/2 cup (50g)
Heavy cream 3 tablespoons (45ml)
Vanilla extract (for frosting) 1 teaspoon
Fine sea salt (for frosting) 1/4 teaspoon

Steps

1

Prep oven and pans

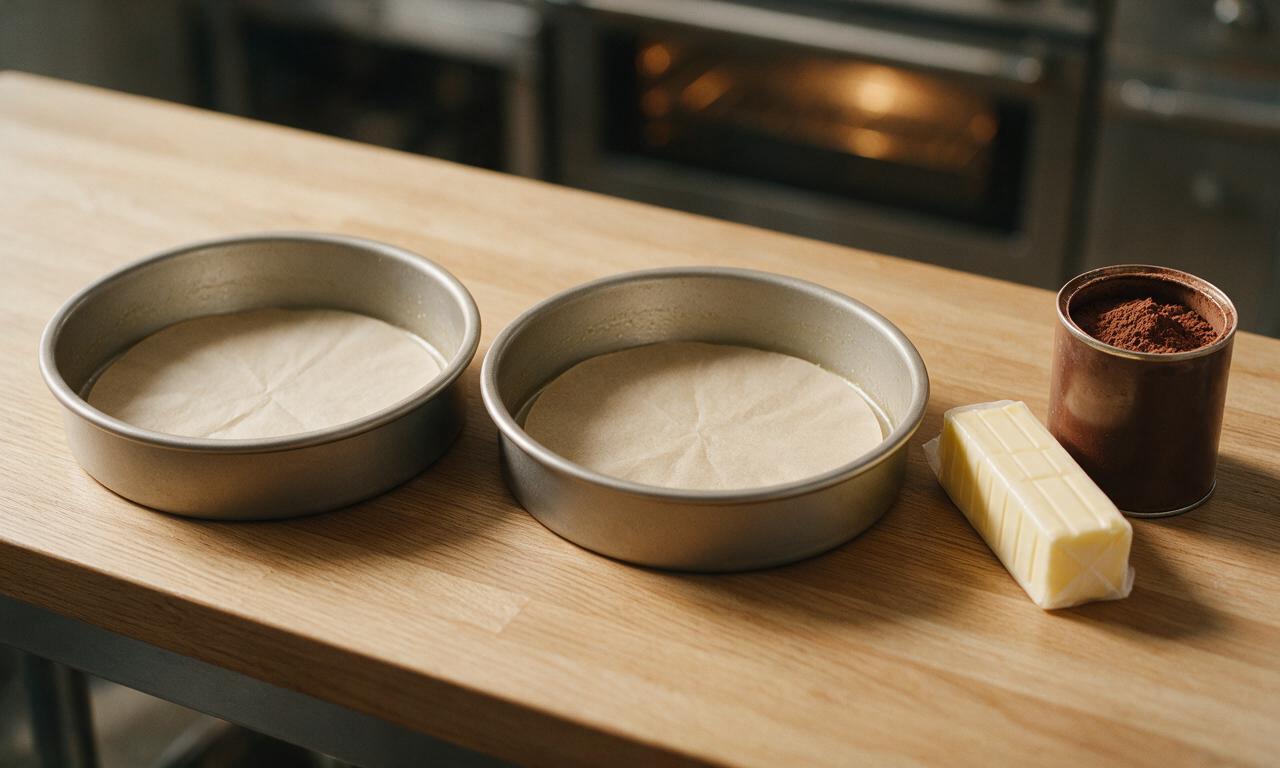
Preheat your oven to 350°F (175°C). Grease two 9-inch round cake pans with butter, line the bottom of each with a circle of parchment paper, and lightly dust the sides with cocoa powder (to avoid white flour residue on the dark cake). Set prepared pans aside.
Step 1
step1:Prep oven and pans
2

Whisk dry ingredients

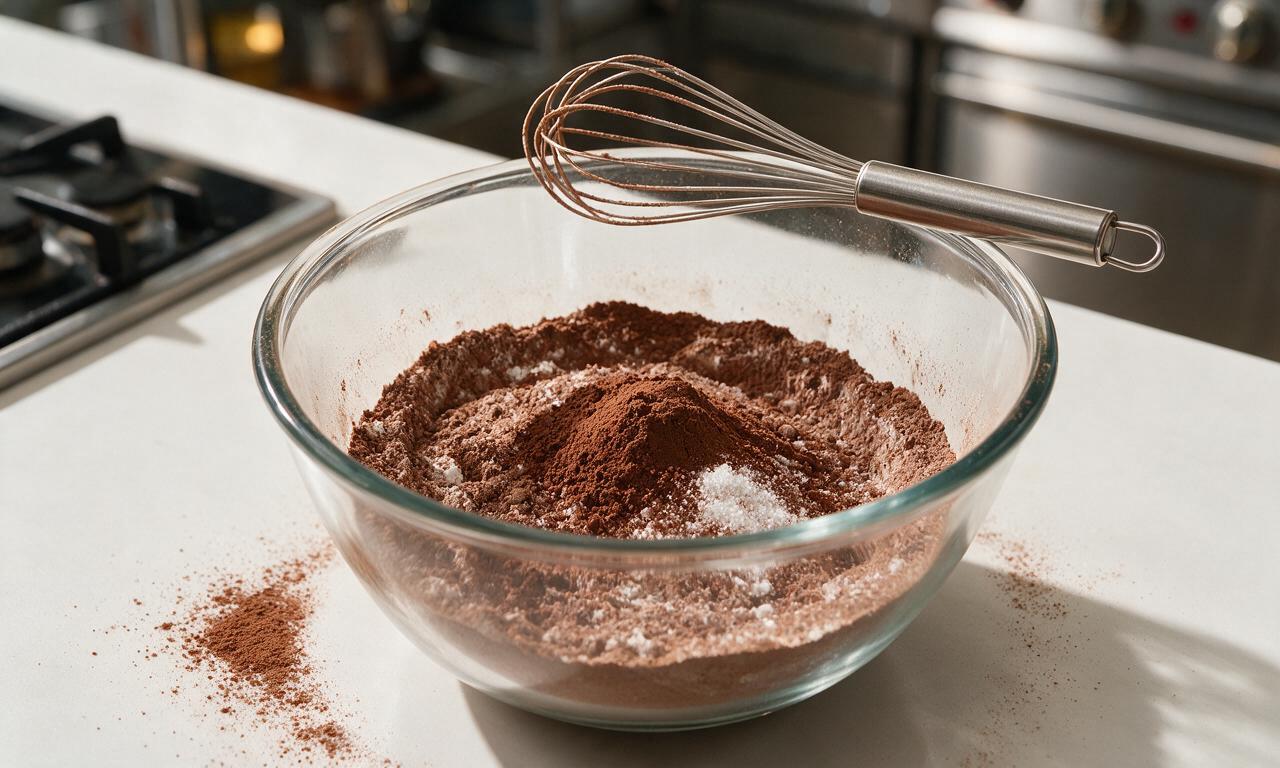
In a large mixing bowl, whisk together 2 cups (240g) all-purpose flour, 1 3/4 cups (350g) granulated sugar, 3/4 cup (75g) Dutch-processed cocoa powder, 2 tsp baking soda, 1 tsp baking powder, and 1 tsp fine sea salt for 30 seconds until fully combined and no clumps of cocoa remain.
Step 2
step2:Whisk dry ingredients
3

Mix wet batter base

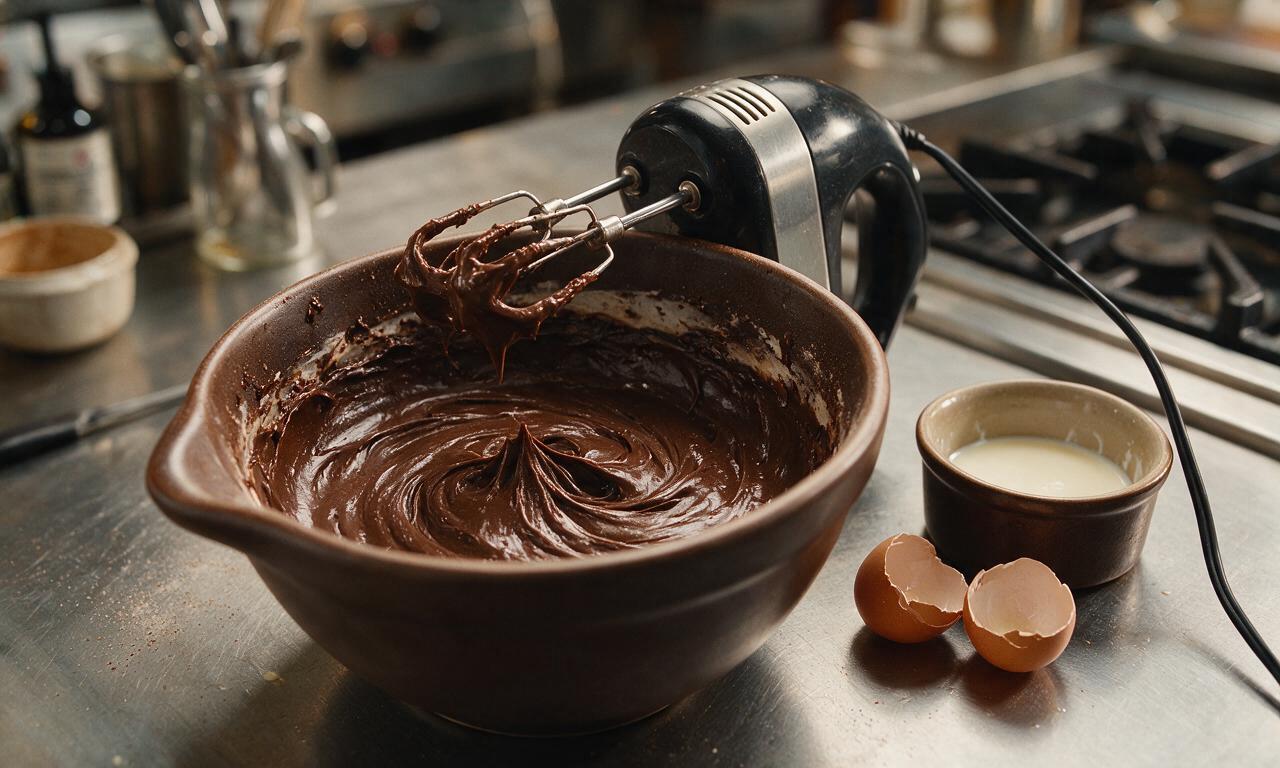
Add 1/2 cup (113g) softened unsalted butter, 2 room-temperature large eggs, 1 1/2 cups (360ml) room-temperature buttermilk, and 2 tsp vanilla extract to the dry ingredient bowl. Beat with an electric mixer on medium-low speed for 2 minutes, scraping down the bowl sides once halfway through, until the batter is smooth and thick.
Step 3
step3:Mix wet batter base
4

Thin batter and bake

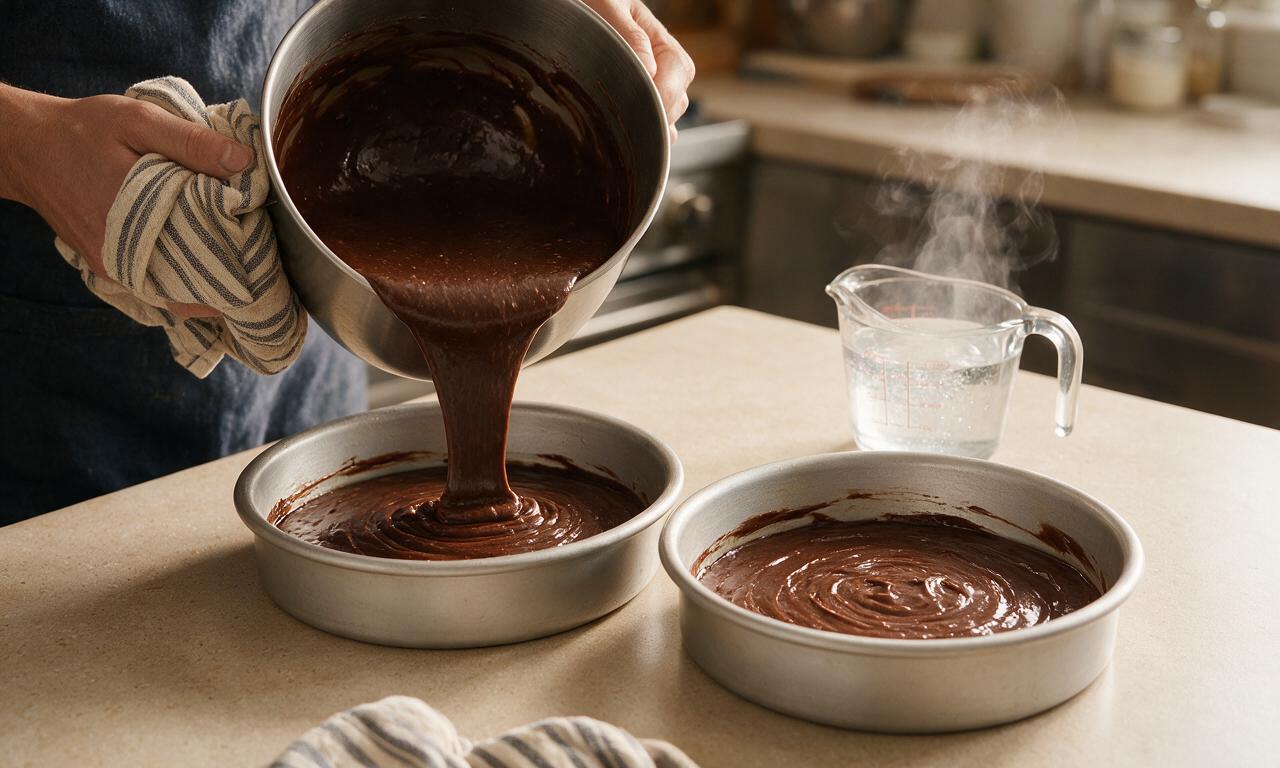
Slowly pour 1 cup (240ml) of boiling water into the batter, stirring on the lowest mixer speed for 15 seconds until fully incorporated—batter will be thin, this is normal. Divide batter evenly between the two prepared pans. Bake for 30-35 minutes, until a toothpick inserted into the center comes out with 2-3 moist crumbs attached (no wet batter).
Step 4
step4:Thin batter and bake
5

Cool cake layers fully

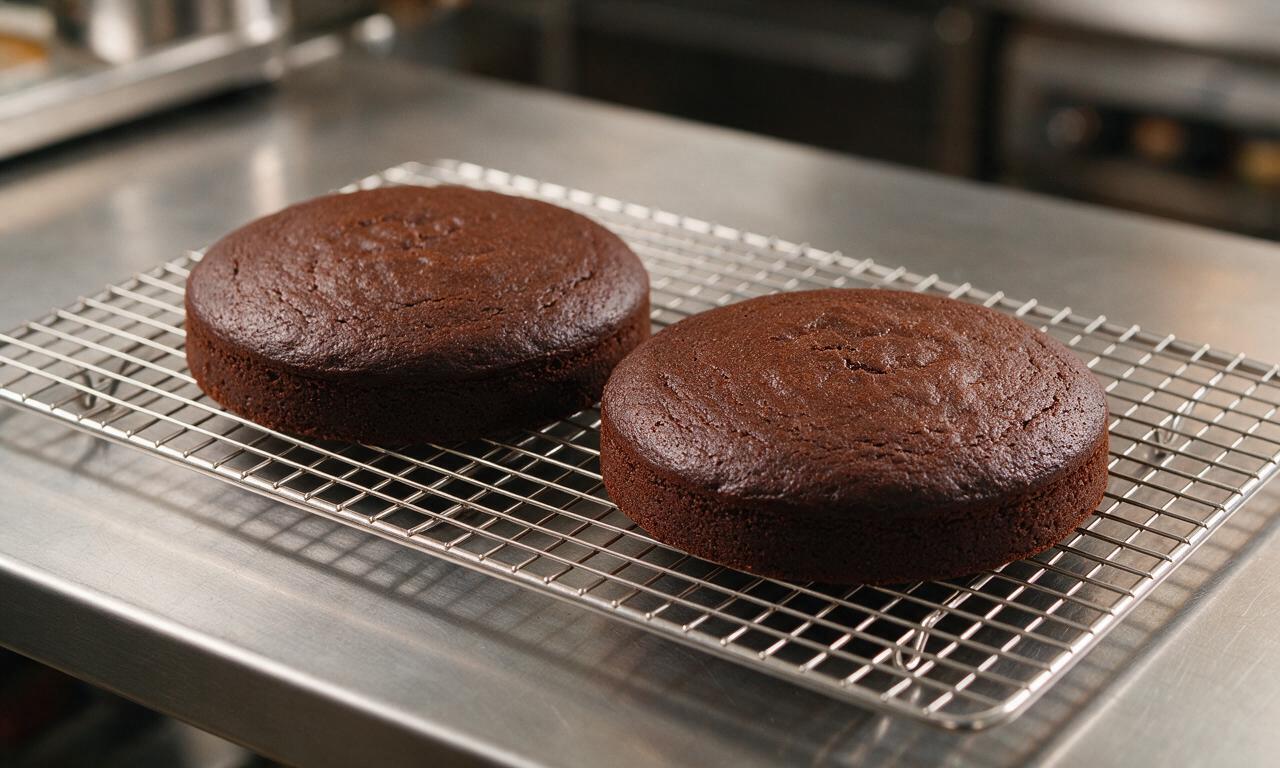
Remove baked cakes from the oven and let them cool in the pans on a wire rack for 10 minutes, then turn them out directly onto the rack to cool completely to room temperature (about 1 hour) before frosting—warm layers will melt buttercream and cause sliding.
Step 5
step5:Cool cake layers fully
6

Whip chocolate buttercream

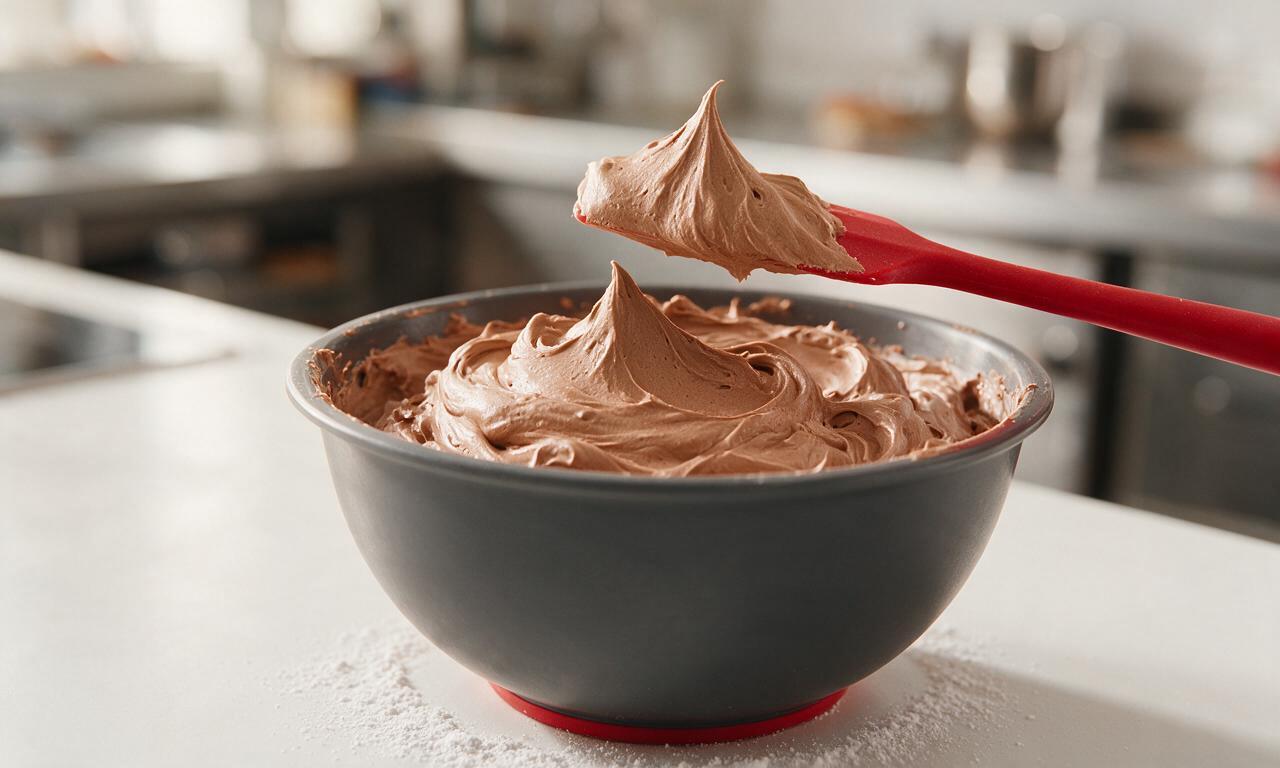
In a large bowl, beat 1 1/2 cups (340g) softened unsalted butter on medium speed for 3 minutes until pale and fluffy. Add 2 1/2 cups (300g) powdered sugar, 1/2 cup (50g) Dutch-processed cocoa powder, 3 tablespoons (45ml) heavy cream, 1 teaspoon vanilla extract, and 1/4 teaspoon fine sea salt. Beat on low speed for 1 minute to avoid sugar dust clouds, then increase to medium-high and beat for 2 more minutes until light, spreadable, and free of lumps.
Step 6
step6:Whip chocolate buttercream
7

Assemble and frost cake

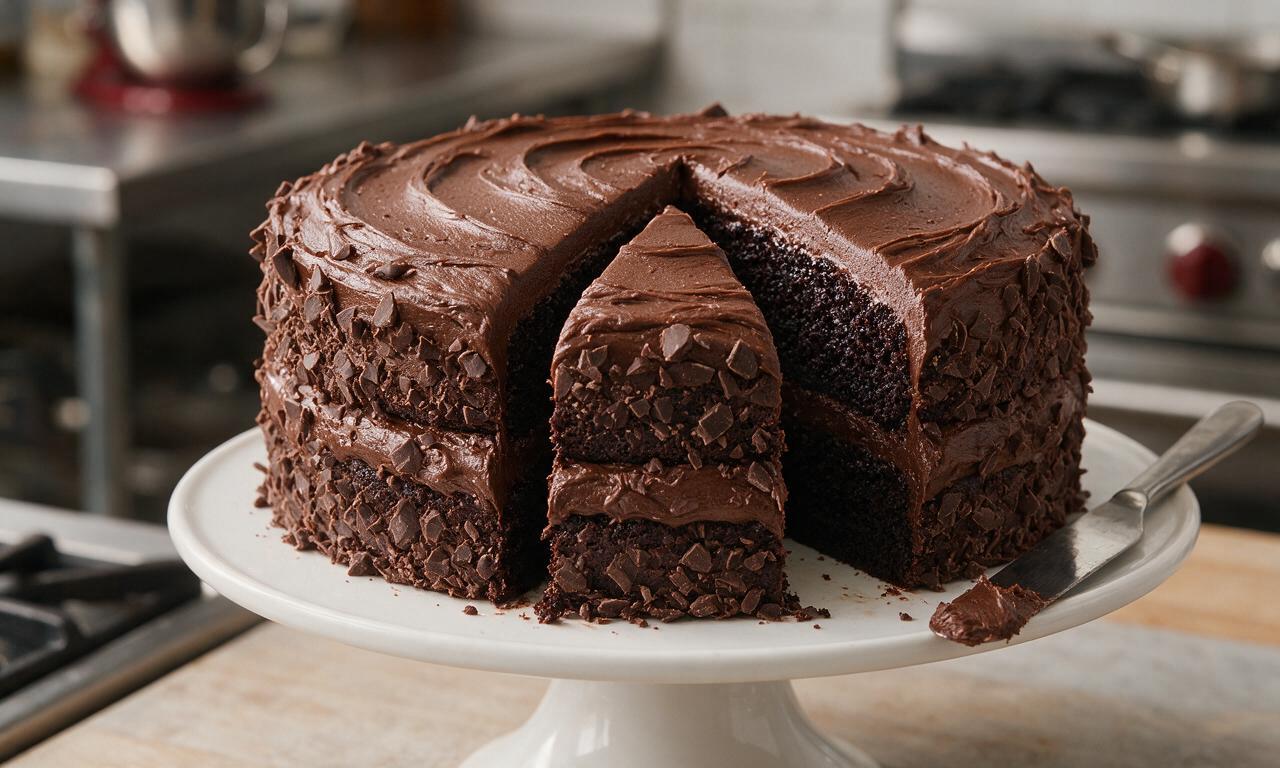
Place one fully cooled cake layer on a plate or cake stand. Spread 1 cup of the finished buttercream evenly across the top of the bottom layer, leaving a 1/4-inch border to prevent oozing when stacked. Place the second cake layer on top, then use the remaining buttercream to frost the top and sides of the cake in a smooth, even layer. Slice and serve, or chill for 30 minutes to set the frosting before serving.
Step 7
step7:Assemble and frost cake

Tips

1.Don’t be alarmed if the batter is very thin after adding boiling water: this is intentional, as the hot water blooms the cocoa to create a deeper chocolate flavor and ultra-moist, tender crumb.
2.Ensure all cold ingredients (butter, eggs, buttermilk) are brought to 65-70°F (18-21°C) room temperature before mixing to create a smooth, emulsified batter that rises evenly without lumps.
3.Never frost warm or partially cooled cake layers: residual heat will melt the buttercream, causing it to slide off the cake and create a soggy, uneven finish.


✨ You May Also Like

Desserts & Baking
🍜 Italy

Creamy, coffee-kissed classic Northern Italian no-bake dessert, with layers of rum-spiked mascarpone cream, soft ladyfingers, and a rich cocoa dusting.

⏱️ 4 hours 3Desserts & Baking ★ 4.8
Desserts & Baking
🍜 France

Flaky, shatteringly crisp, buttery French croissants with golden exteriors and soft, airy layered interiors, perfect for pairing with coffee for a special morning treat.

⏱️ 12 hours Desserts & Baking ★ 4.7
Desserts & Baking
🍜 United States

Warm, spiced baked apples topped with a fluffy golden biscuit crust, this cozy dessert pairs perfectly with vanilla ice cream for cool-weather comfort.

⏱️ 55 minuteDesserts & Baking ★ 4.7
Desserts & Baking
🍜 United States

A star-spangled classic American blueberry pie with buttery flaky crust and bright sweet-tart filling, perfect for summer patriotic gatherings.

⏱️ 1 hour 25Desserts & Baking ★ 4.8
Desserts & Baking
🍜 United States

A beloved no-bake regional Maine candy with a chewy coconut-potato center coated in rich dark chocolate, a New England holiday staple since the 1870s.

⏱️ 2 hours 3Desserts & Baking ★ 4.9
Desserts & Baking
🍜 France

Luxuriously creamy, floral frozen custard made with aromatic Tahitian vanilla beans, boasting a smooth, rich texture that melts slowly on the tongue.

⏱️ 3 hours 3Desserts & Baking ★ 4.6

Moist Devil's Food Cake:Frequently Asked Questions

1.Why does this devil’s food cake stay moister than most homemade chocolate cake recipes?
That signature lasting moisture comes from a carefully balanced ratio of granulated sugar to all-purpose flour, the rich, smooth base of Dutch-processed cocoa, and one non-negotiable rule: never overbake it. Pull layers when a toothpick inserted in the center has 2-3 fudgy crumbs attached, not completely clean, and cool 15 minutes in the pan before turning out to lock in steam.
2.Can I substitute natural unsweetened cocoa for the Dutch-processed cocoa in the cake?
You can, but you’ll need a small leavening adjustment to get the right rise and deep flavor. Dutch-processed cocoa is pH-neutral, so it pairs perfectly with the recipe’s blend of baking soda and powder. If using natural cocoa, add 1/4 teaspoon extra baking soda and cut 1/2 teaspoon baking powder to balance its natural acidity, and expect a slightly brighter, less intensely fudgy flavor.
3.How do I get flat, even cake layers instead of domed tops that are hard to stack?
Domed layers form when the pan’s outer edge heats faster and sets before the cake’s center. For perfectly flat layers, wrap your cake pans with damp, insulated cake strips before adding batter, lower your oven temp by 25°F if you know it runs hot, and avoid overmixing batter, which creates excess rise that collapses into a dome as it cools.
4.Can I make this cake a day ahead of my celebration without it drying out?
Absolutely—this cake actually tastes better the day after baking, when its deep fudgy flavors fully meld. Once layers are completely cool, wrap them tightly in two layers of plastic wrap and refrigerate overnight, or freeze for up to a month. Frost the day of your event, or keep the fully frosted cake under a cake dome at cool room temp for 2-3 days.
5.Why do my cake layers sometimes sink in the middle after I take them out of the oven?
Sunken centers almost always trace back to one of three easy-to-fix issues: first, never open the oven door for the first 25 minutes of baking, as sudden temperature drops deflate rising batter. Second, check that your baking soda and powder are fresh by dropping a pinch in hot vinegar—they should fizz immediately. Third, don’t underbake the layer centers.
6.Do I need to use cake flour instead of all-purpose flour for a softer crumb?
No, this recipe is specifically formulated for regular all-purpose flour to create that perfect tender, sturdy crumb that holds up to thick chocolate buttercream without slumping. If you only have cake flour on hand, you can use it, but remove 2 tablespoons per measured cup of flour to avoid a crumb that’s too soft and delicate to stack neatly.
7.Can I adapt this layer cake recipe to make cupcakes for a party?
Definitely! Line a standard muffin tin with paper liners, fill each liner two-thirds full with batter, and bake at the same oven temperature for 18-22 minutes, until a toothpick comes out with a couple moist crumbs attached. This recipe yields roughly 24 standard-sized cupcakes, which pair perfectly with the same fluffy chocolate buttercream used for the layer cake.
8.What’s the actual difference between devil’s food cake and regular chocolate cake?
Devil’s food cake is richer, deeper, and moister than standard chocolate cake, thanks to its higher ratio of cocoa powder (often paired with a splash of coffee to amp up chocolate notes) and more alkaline batter from Dutch-processed cocoa. Regular chocolate cake usually uses melted chocolate for a lighter, milder flavor and a slightly drier, more delicate crumb.
9.How do I keep my chocolate buttercream from turning grainy when I frost the cake?
Grainy buttercream typically happens when butter is too cold, powdered sugar has unincorporated lumps, or melted chocolate added to the mix is too hot. Let butter come to 65°F (cool room temperature) before mixing, sift powdered sugar to break up clumps, and let melted chocolate cool 5 minutes before stirring it in for silky, smooth, spreadable frosting.
10.Can I add chocolate chips to the batter without them all sinking to the pan bottom?
You absolutely can stir in 1 cup of semi-sweet or dark chocolate chips for extra fudgy bites throughout the cake. To keep them from sinking straight to the bottom, toss the chips in 1 teaspoon of all-purpose flour before folding them into the finished batter, and take care not to overmix the batter to a thin, runny consistency before baking.

Comments (7)

2 days ago

OMG this is the best devil's food cake I've ever made! Baked it for my son's 10th birthday party and every single kid (and parent!) asked for the recipe. It stayed so moist even after being in the fridge overnight, total game changer. I skipped the fancy coffee addition the note mentioned because I was worried about kids, used hot water instead and it was still SO good.

yesterday

Wait I did the hot water swap too! Brought mine to a church potluck last weekend and it was the first dessert gone, people were scraping the pan lmao

2 hours ago

So glad the hot water swap worked out for you both! The coffee just amplifies the chocolate flavor but it’s totally optional if you’re serving folks who avoid caffeine, hot water works perfectly for that deep, rich crumb.

3 days ago

Taste was incredible, don’t get me wrong, but I had a little trouble getting the bake time right in my old oven. Took almost 15 extra minutes before the toothpick came out clean, and I was worried I’d dry it out, but it still ended up moist! Made it for our weekly family dinner and my husband said it’s better than the grocery store bakery version we usually buy.

2 days ago

Oven temps can vary so much from model to model, so that extra bake time is totally normal! We always recommend checking 5 minutes before the listed bake time and adding time as needed, so glad it still turned out moist and delicious for your family dinner.

1 week ago

No notes, this is perfect. I’ve tried half a dozen devil’s food cake recipes over the years and this is the only one that doesn’t come out dry or too blandly chocolatey. The fudge frosting pairing (I used the linked recipe) is chef’s kiss. 10/10 will be my go-to for every chocolate cake need from now on.

5 days ago

Full transparency, I’m a total baking newbie and this was the first layer cake I’ve ever attempted. It looked a little lumpy when I was mixing the batter and I panicked I messed it up, but it baked up so perfectly! My roommates lost their minds when they tried it, said it tasted like it came from a fancy downtown bakery. Only note is the cooling time felt FOREVER but it was 100% worth the wait.

3 days ago

Oh my god I felt the exact same about the cooling time! I almost tried to frost it early and was so glad I waited, the frosting would’ve slid right off lmao. Great job on your first layer cake!

2 days ago

Way to nail your first layer cake! Those little lumps in the batter are totally normal from the cocoa, you didn’t mess up a thing. The long cooling time is key to no melted frosting mess, promise it’s worth the patience!

yesterday

Made this over the weekend to slice up and pack for school lunches all week, and it’s held up so good! I added a handful of mini chocolate chips to the batter for extra chocolate oomph, and it was such a good call. My kids keep asking for extra slices in their lunch boxes, total win.

2 hours ago

Did you use regular all purpose flour? I’m trying to adapt this for gluten free for my kiddo and wondering if the batter is sturdy enough to hold the chocolate chips!

2 weeks ago

The cake itself is perfectly moist and super chocolatey, I’ll give it that, but I think I messed up the frosting ratio? I ended up with way too little to cover both layers and the sides, had to run to the store for a backup can last minute when I made it for my neighbor’s potluck. Next time I’ll 1.5x the frosting amount for sure.

1 week ago

Thanks for the honest feedback! If you love a thick layer of frosting all over the cake (including the sides), 1.5x the frosting recipe is a great call. The base recipe is written for a thinner, classic crumb coat and top layer, so extra is perfect for folks who love extra frosting!

just now

Brought this to my office potluck today and people were literally coming up to my desk 2 hours later asking for the link. It’s so rich and moist, you’d never guess it didn’t come from a fancy bakery. I used dark cocoa powder for an extra deep chocolate flavor and it was such a good call. Will absolutely be making this again for our holiday party next month.



