
Moka Pot Coffee (Hot Coffee)
intro
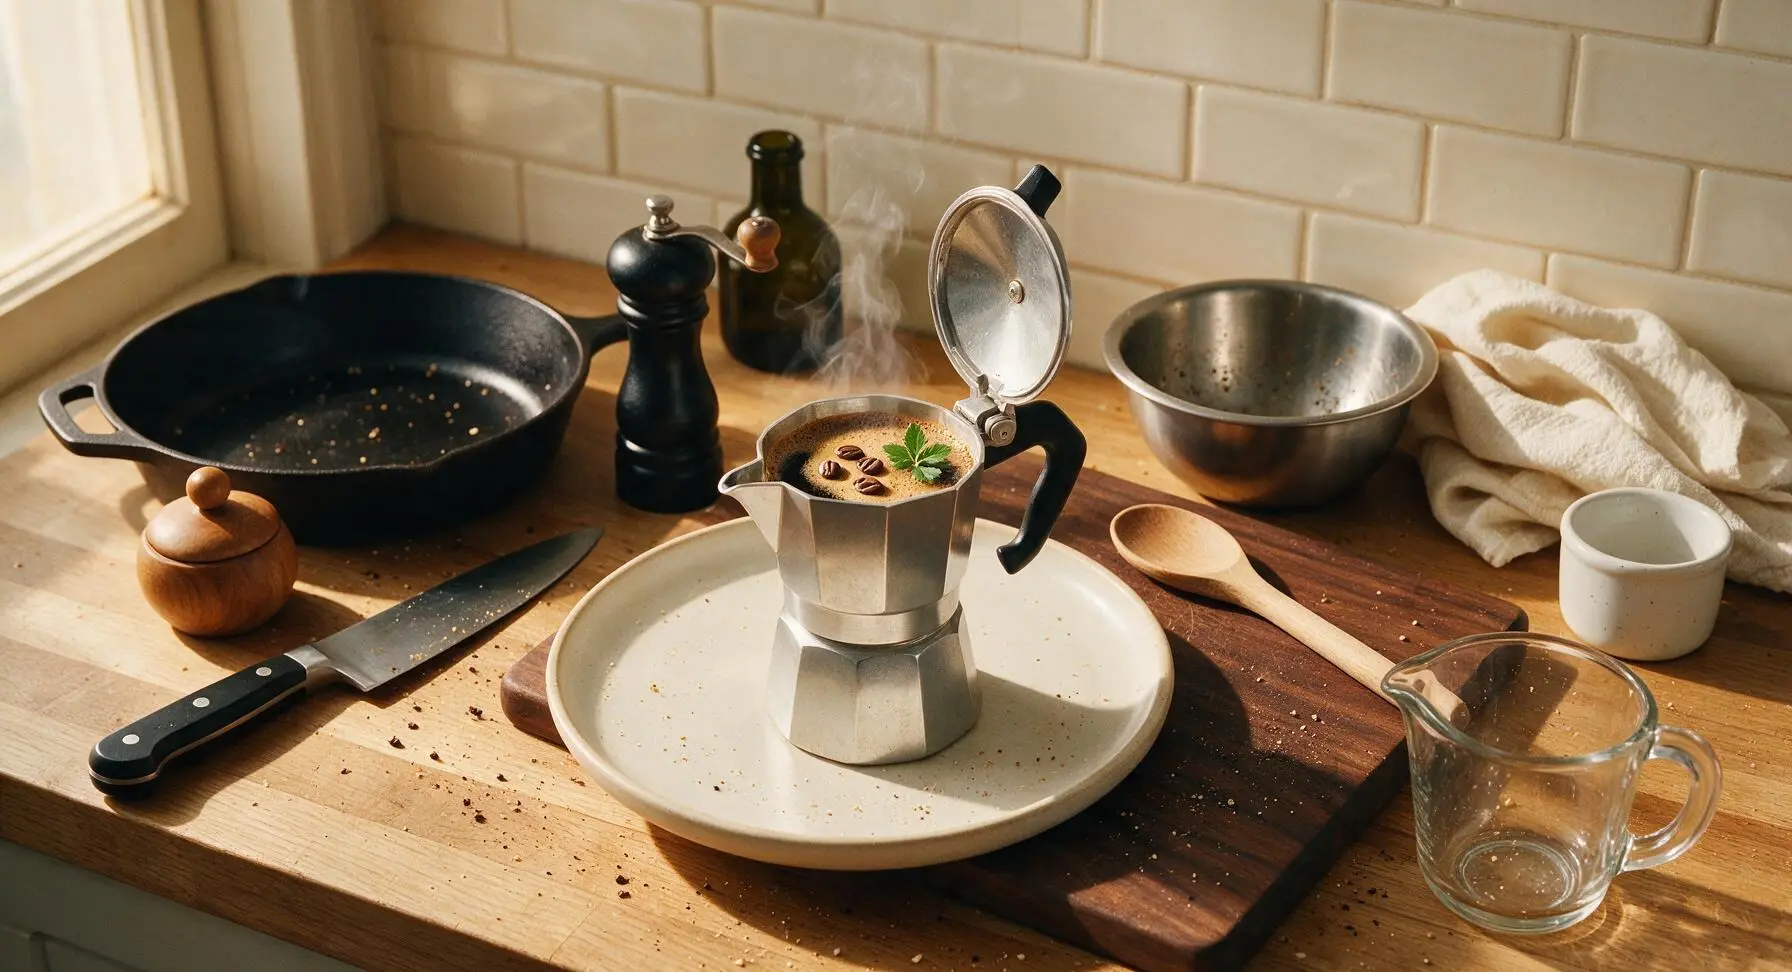
Rich, bold stovetop coffee brewed in a classic aluminum moka pot, with deep caramel notes and a thin golden crema—quick, café-quality hot coffee for cozy days at home.
Ingredients
Steps
Prep Moka Pot Parts
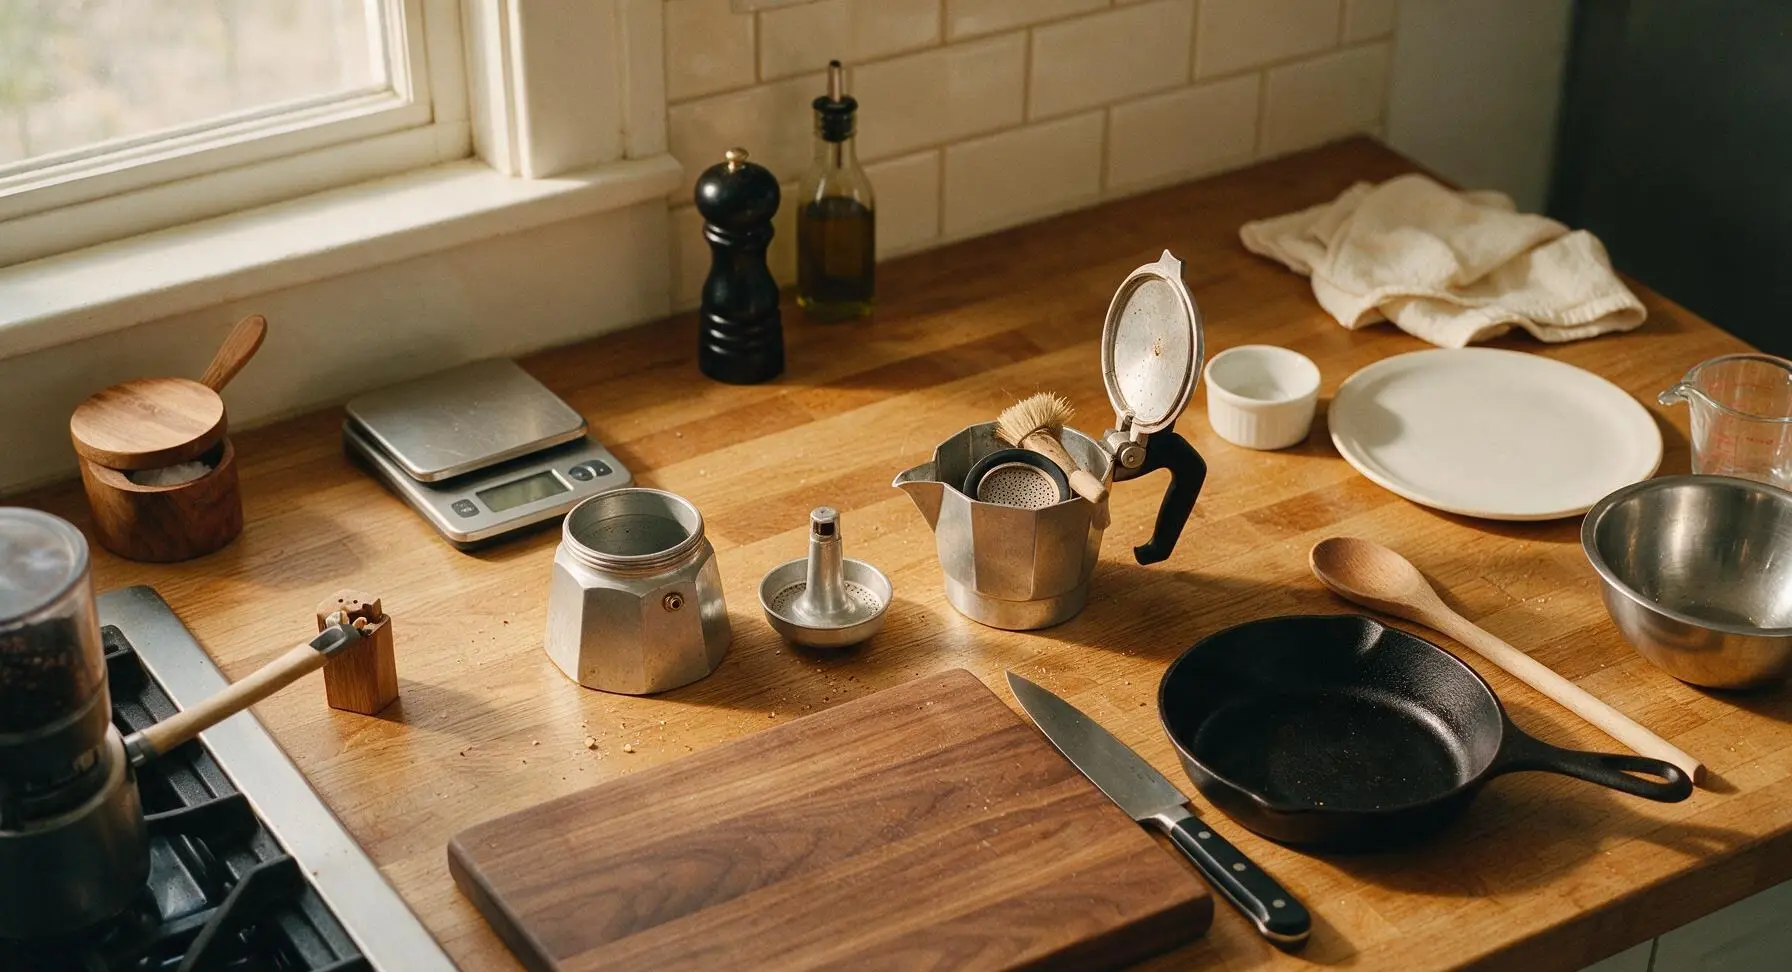
First, completely disassemble your 3-cup aluminum moka pot: separate the lower boiler chamber, remove the metal filter funnel, lift out the rubber gasket and upper filter screen from the upper collection chamber. Use the small boar bristle brush to wipe away any old coffee grounds or residue from the filter screen and gasket, ensuring no blockages that would restrict water flow. Check that the rubber gasket is soft and free of cracks to create a tight seal during brewing.
Grind Coffee Beans
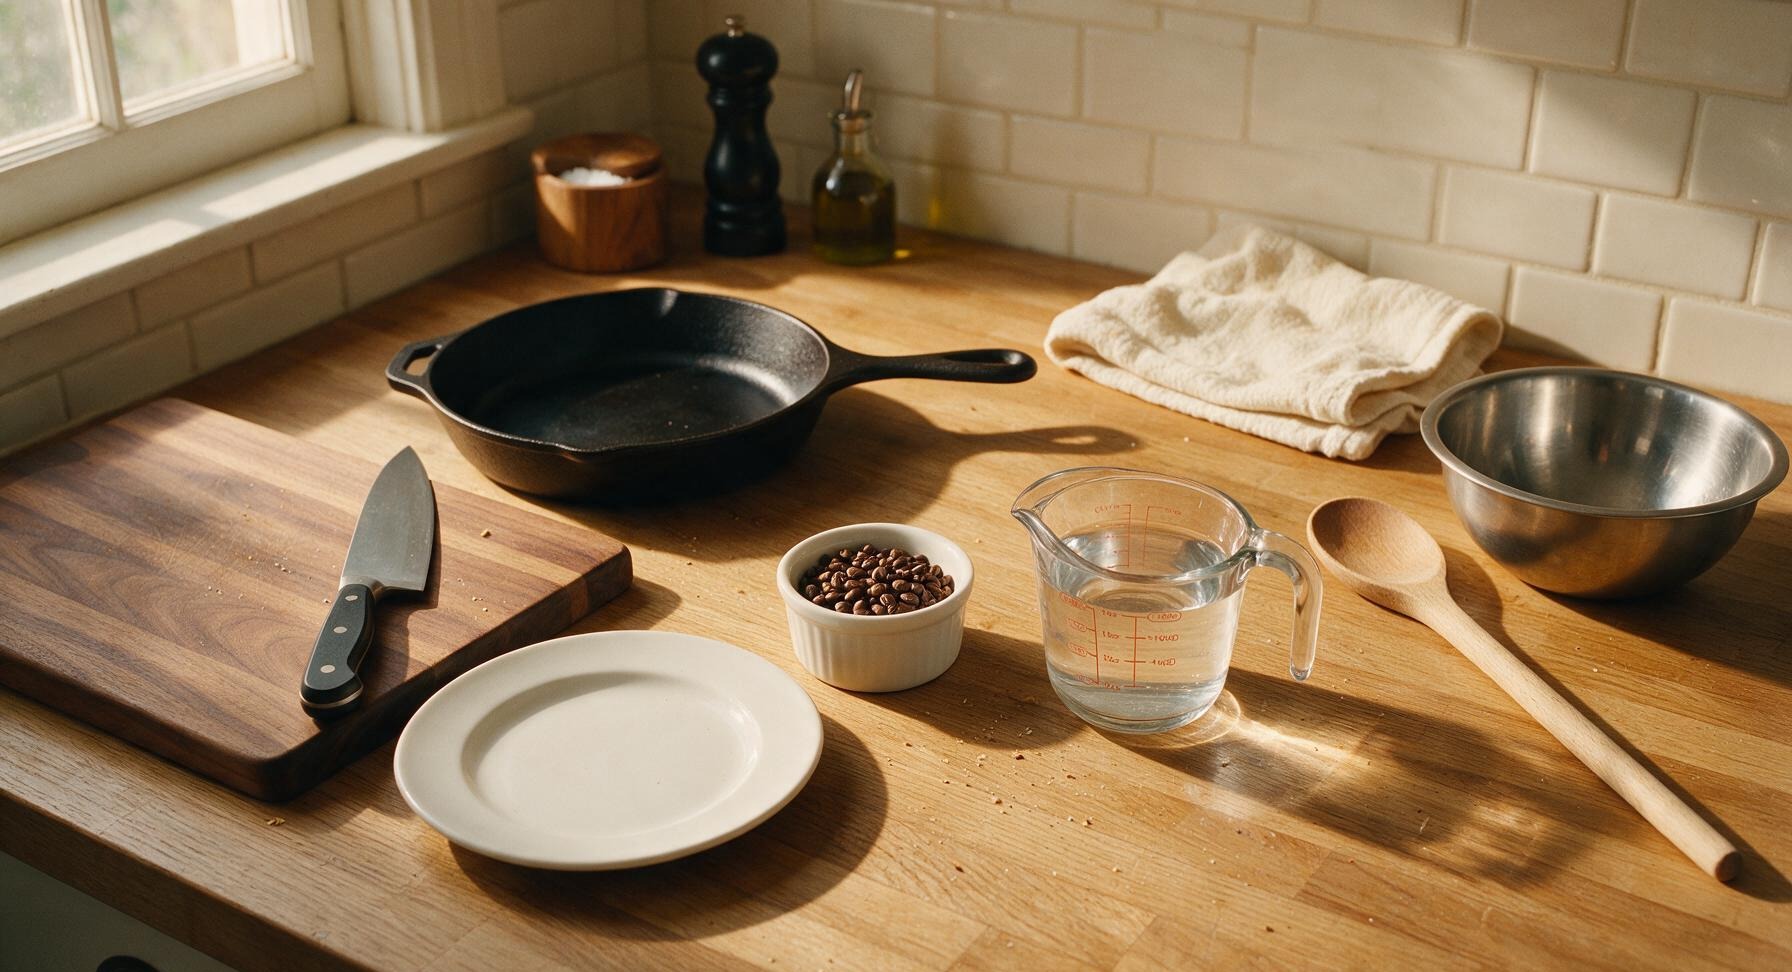
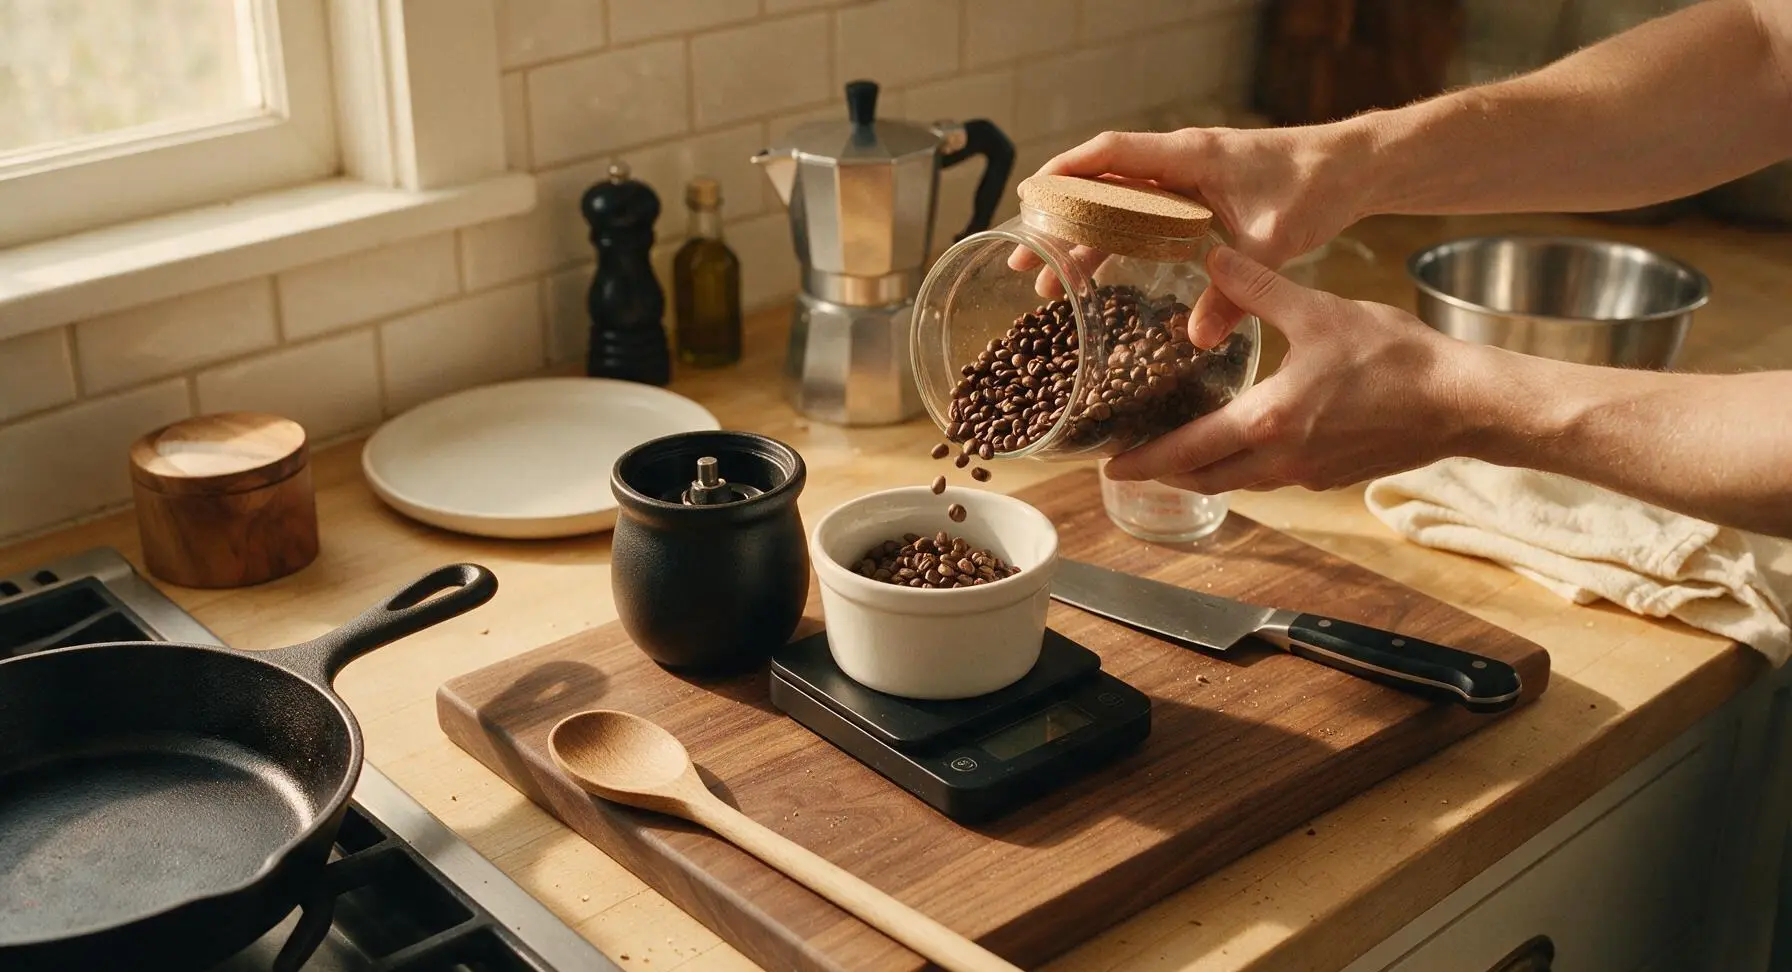
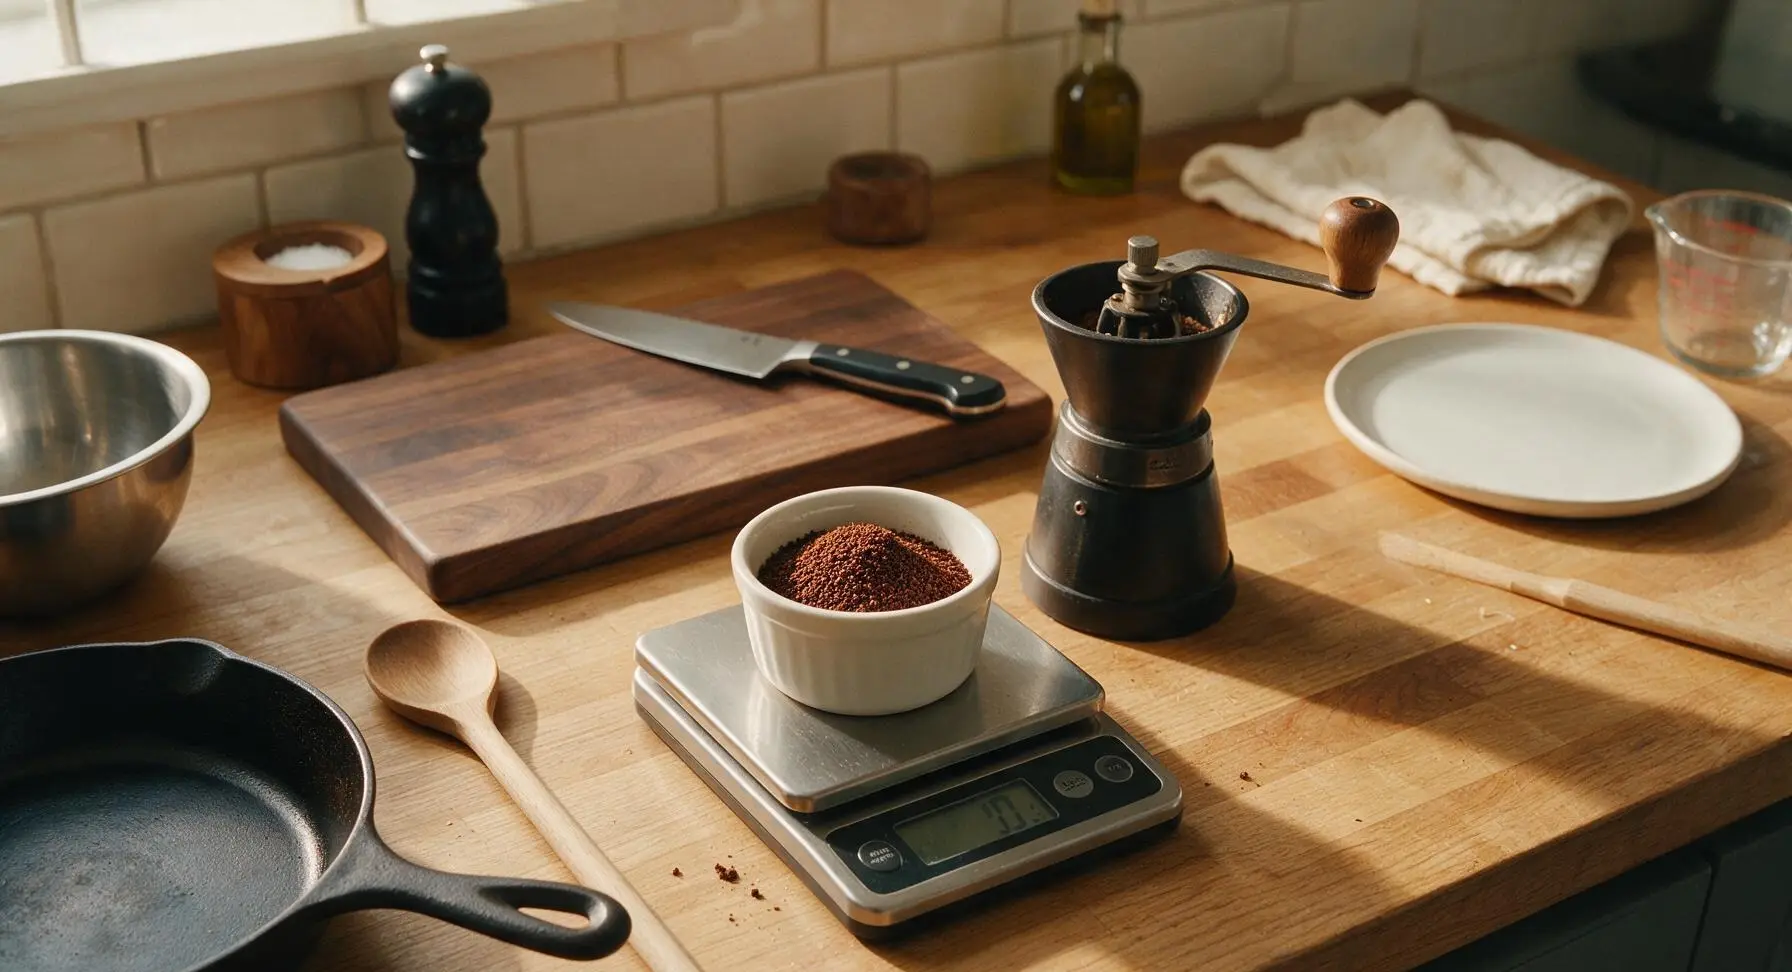
Place the small digital scale on the counter, set it to gram measurement, and set the matte white ramekin on top to tare the scale to zero. Weigh out exactly 20g of medium-roast whole coffee beans from the glass storage jar. Pour the measured beans into the conical burr grinder, set to a medium-fine grind (consistency similar to granular table salt, slightly coarser than standard espresso grind). Grind all beans into the ramekin, taking care not to over-grind to a fine powder, which will cause bitter, over-extracted coffee.
Add Water to Boiler
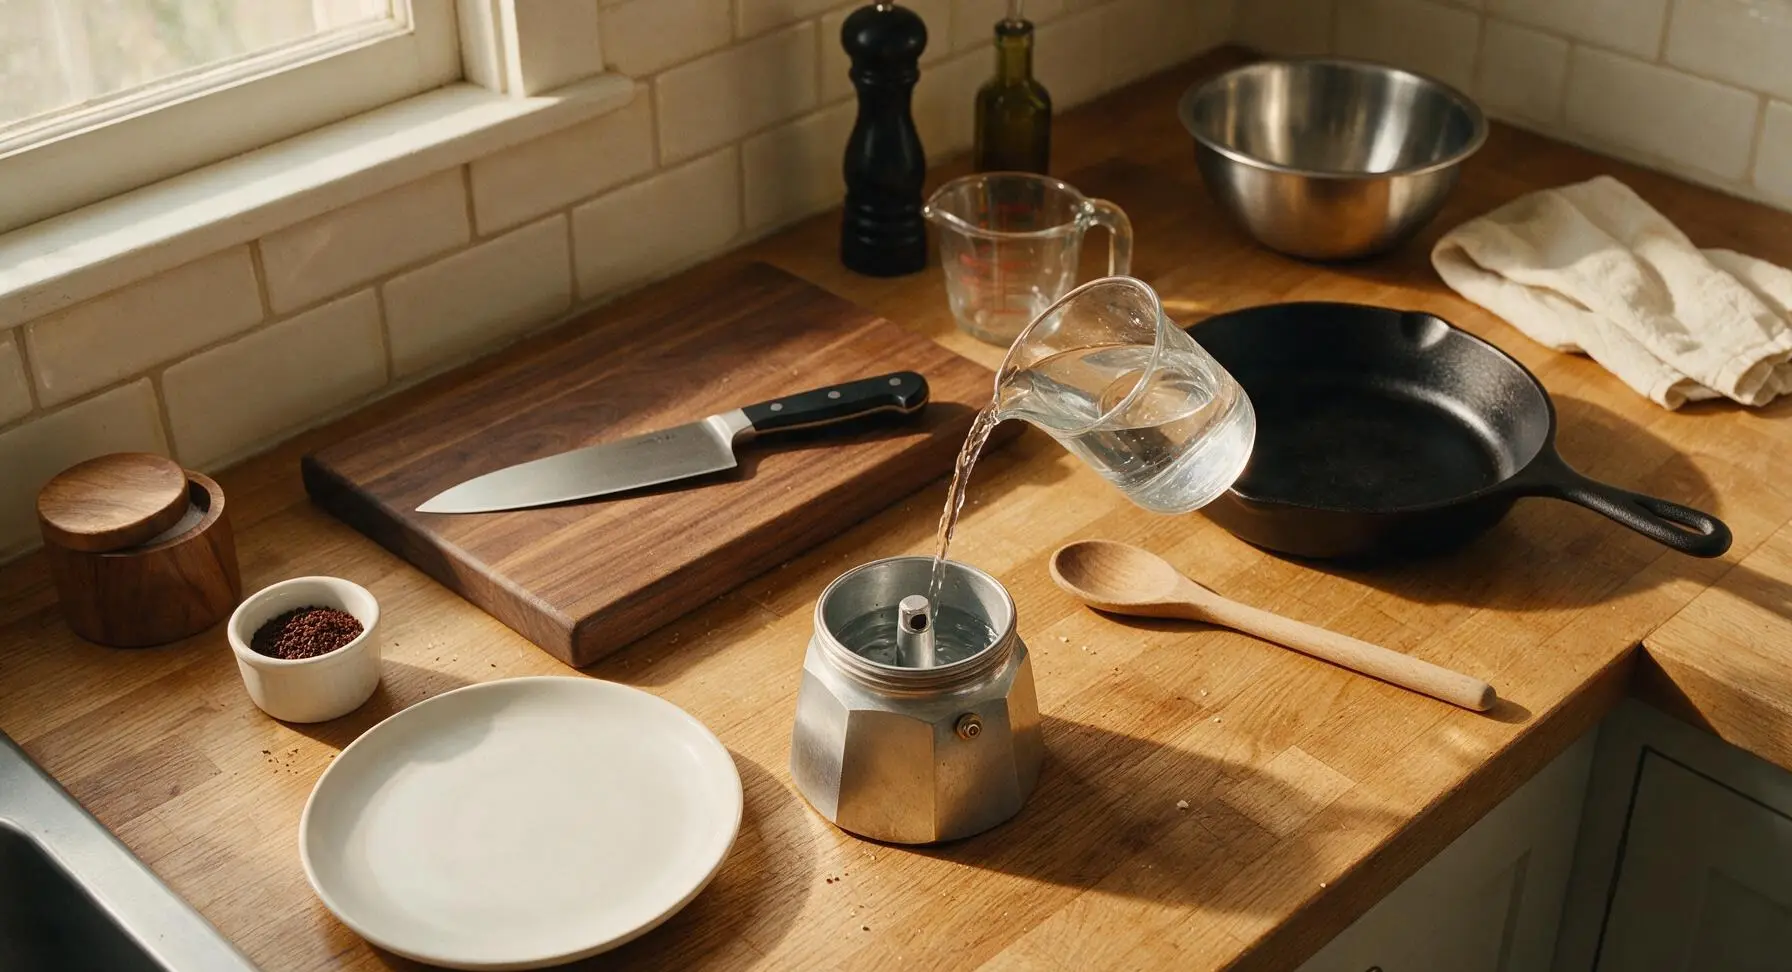
Take the lower moka boiler chamber, and pour 180ml of cold filtered water from the glass carafe into it. The water level should sit exactly even with the small silver pressure release valve on the inner wall of the boiler—do not fill above this valve, as excess water will bubble up into the coffee and produce a weak, diluted brew.
Fill and Level Coffee
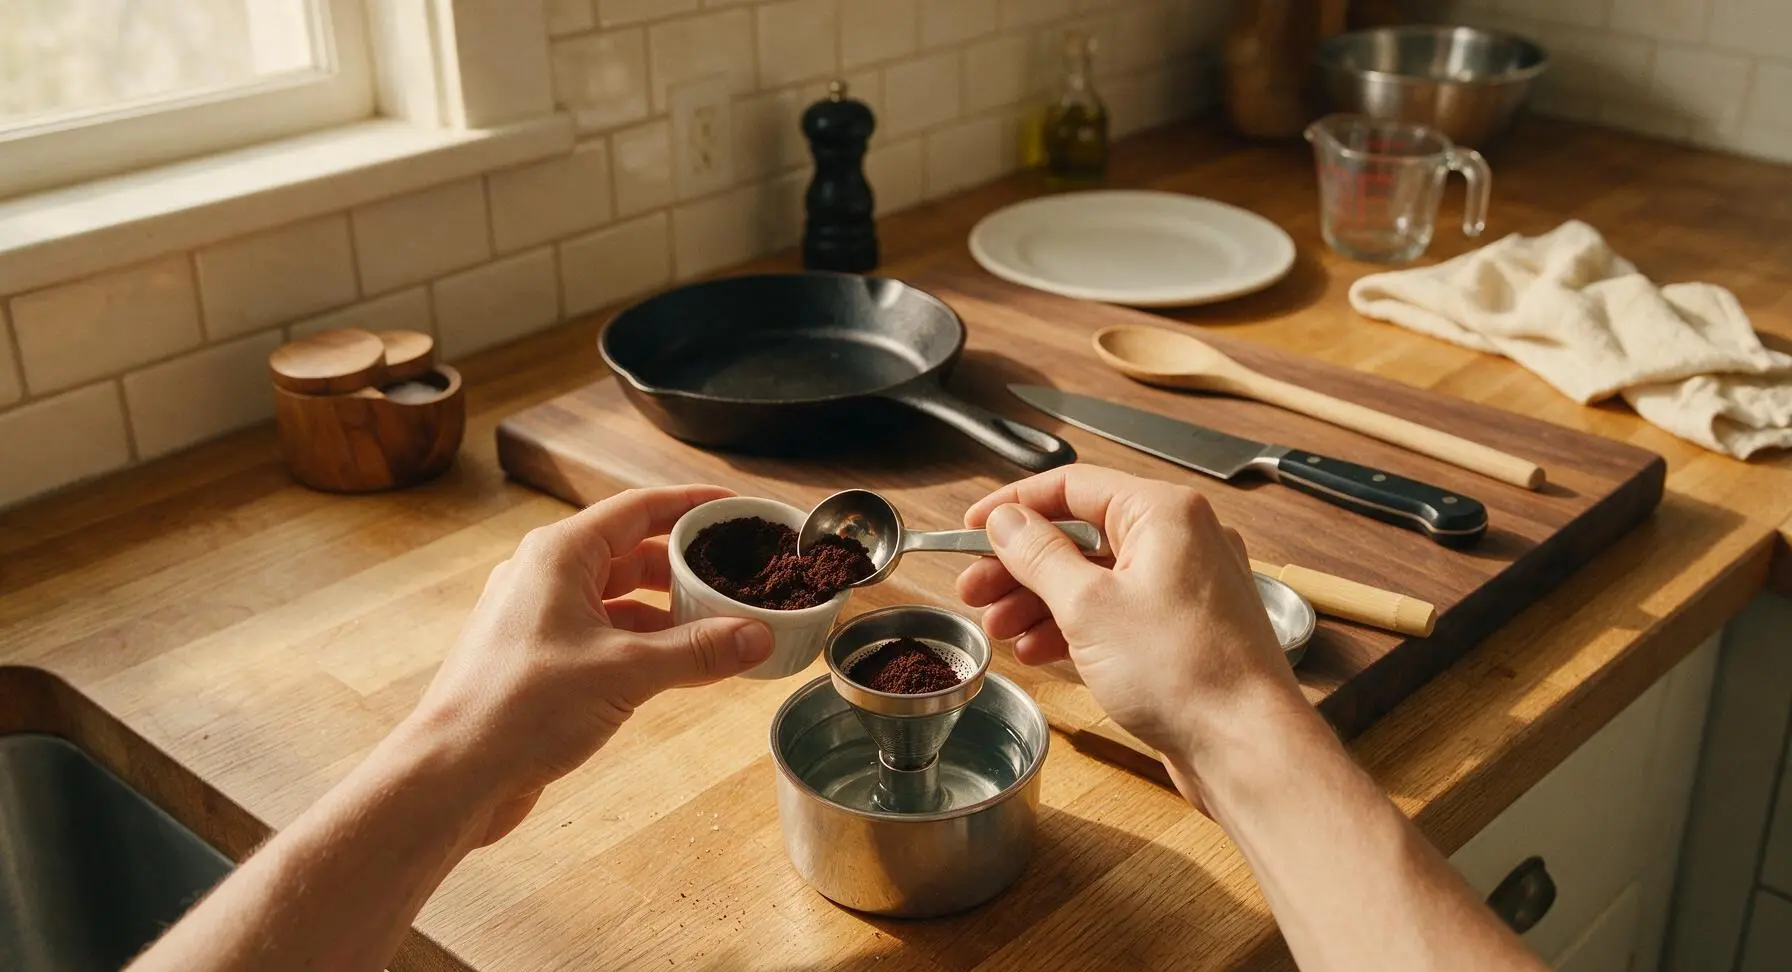
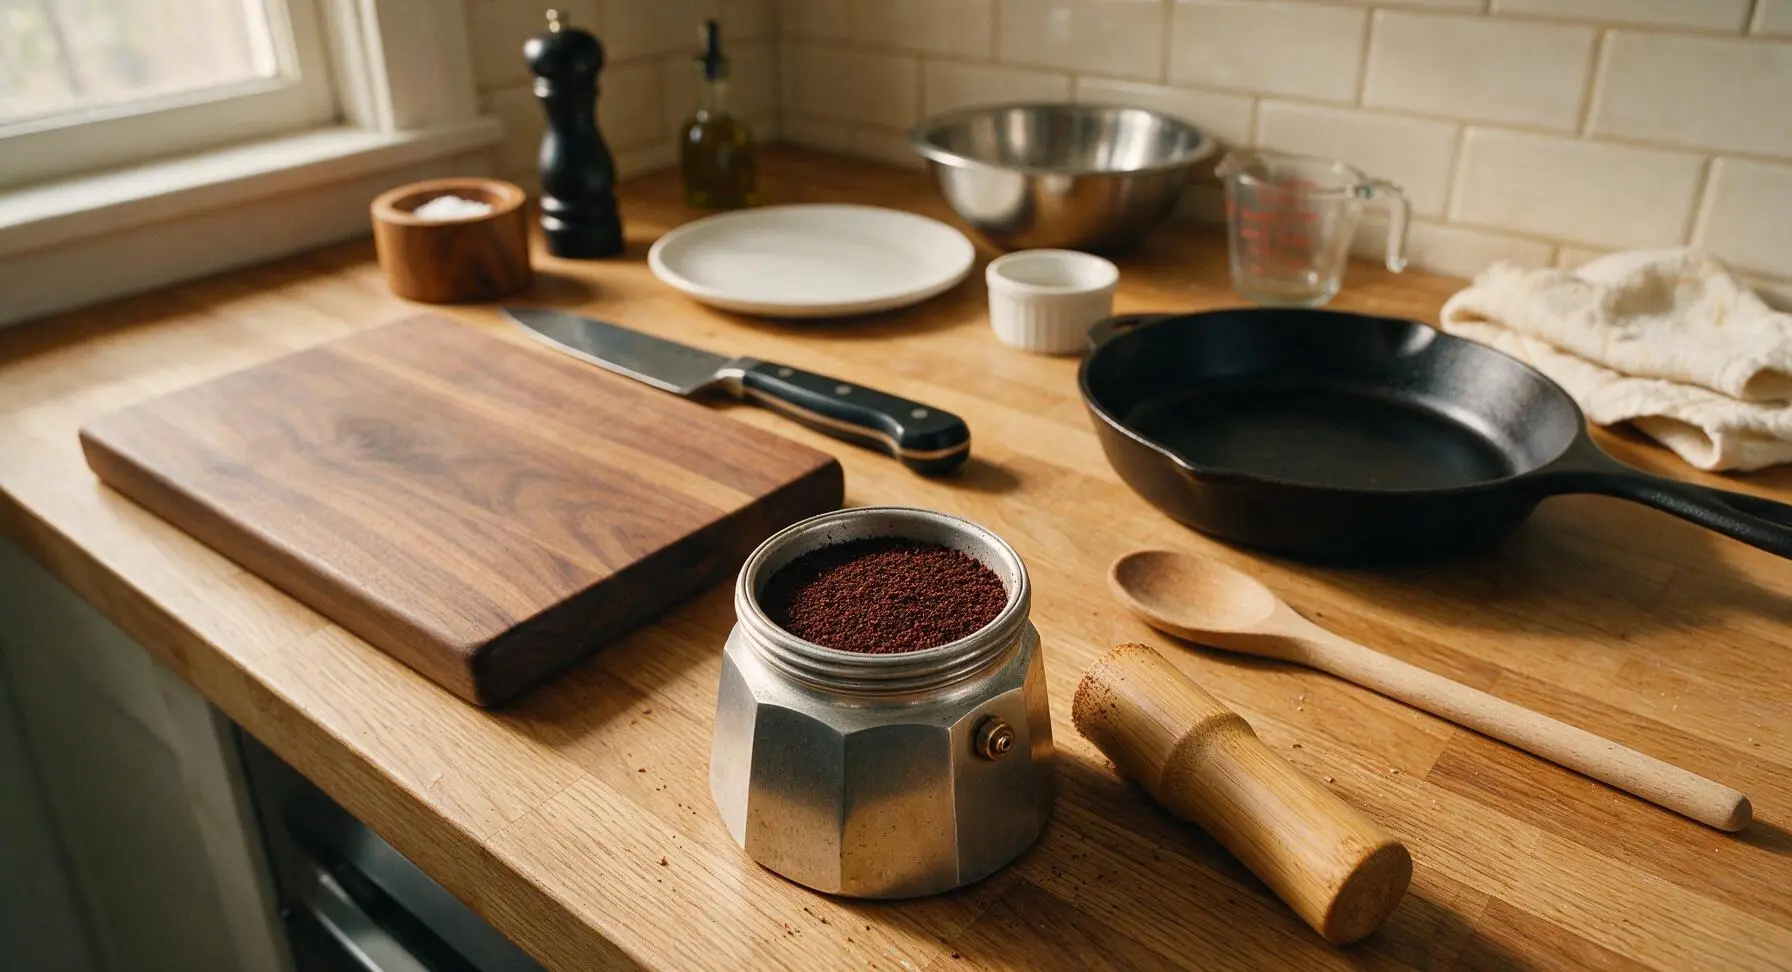
Place the metal filter funnel into the top of the filled lower boiler chamber. Scoop the ground coffee from the ramekin into the filter basket using the stainless steel coffee scoop, filling it completely to the top rim. Level the coffee bed evenly with the tip of your finger—do not tamp the grounds hard, as this will create too much resistance for water to flow through, leading to sputtering and bitter coffee. Use the bamboo tamper only to very gently smooth the surface so no grounds sit above the rim of the filter. Wipe any stray grounds from the edge of the boiler rim with the edge of the tea towel to ensure a tight, leak-free seal.
Assemble and Heat Moka
Screw the upper moka collection chamber tightly onto the lower boiler, taking care not to over-tighten (which can warp the rubber gasket over time with repeated use). Place the fully assembled moka pot onto the center of the matte black gas burner, set the heat to the lowest possible flame. The flame should only touch the flat bottom of the boiler, not creep up the sides of the pot, which will overheat the metal and burn the coffee. Leave the moka pot lid propped fully open so you can closely monitor the brew process.
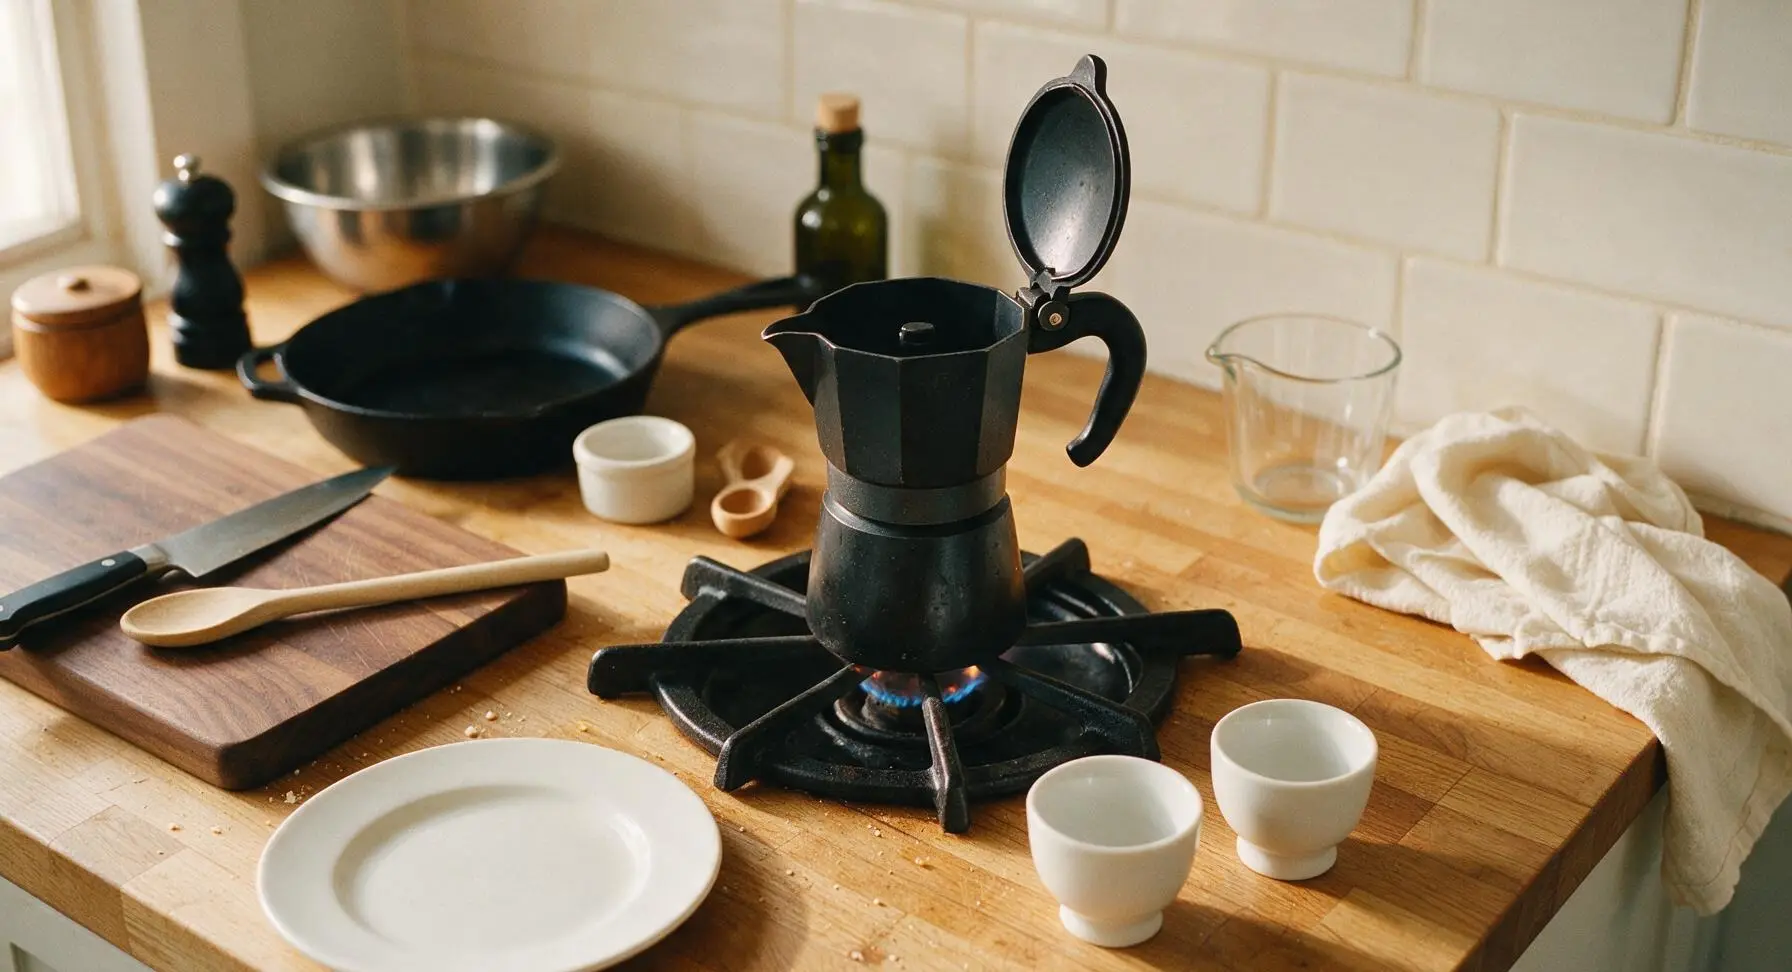
Monitor Coffee Extraction
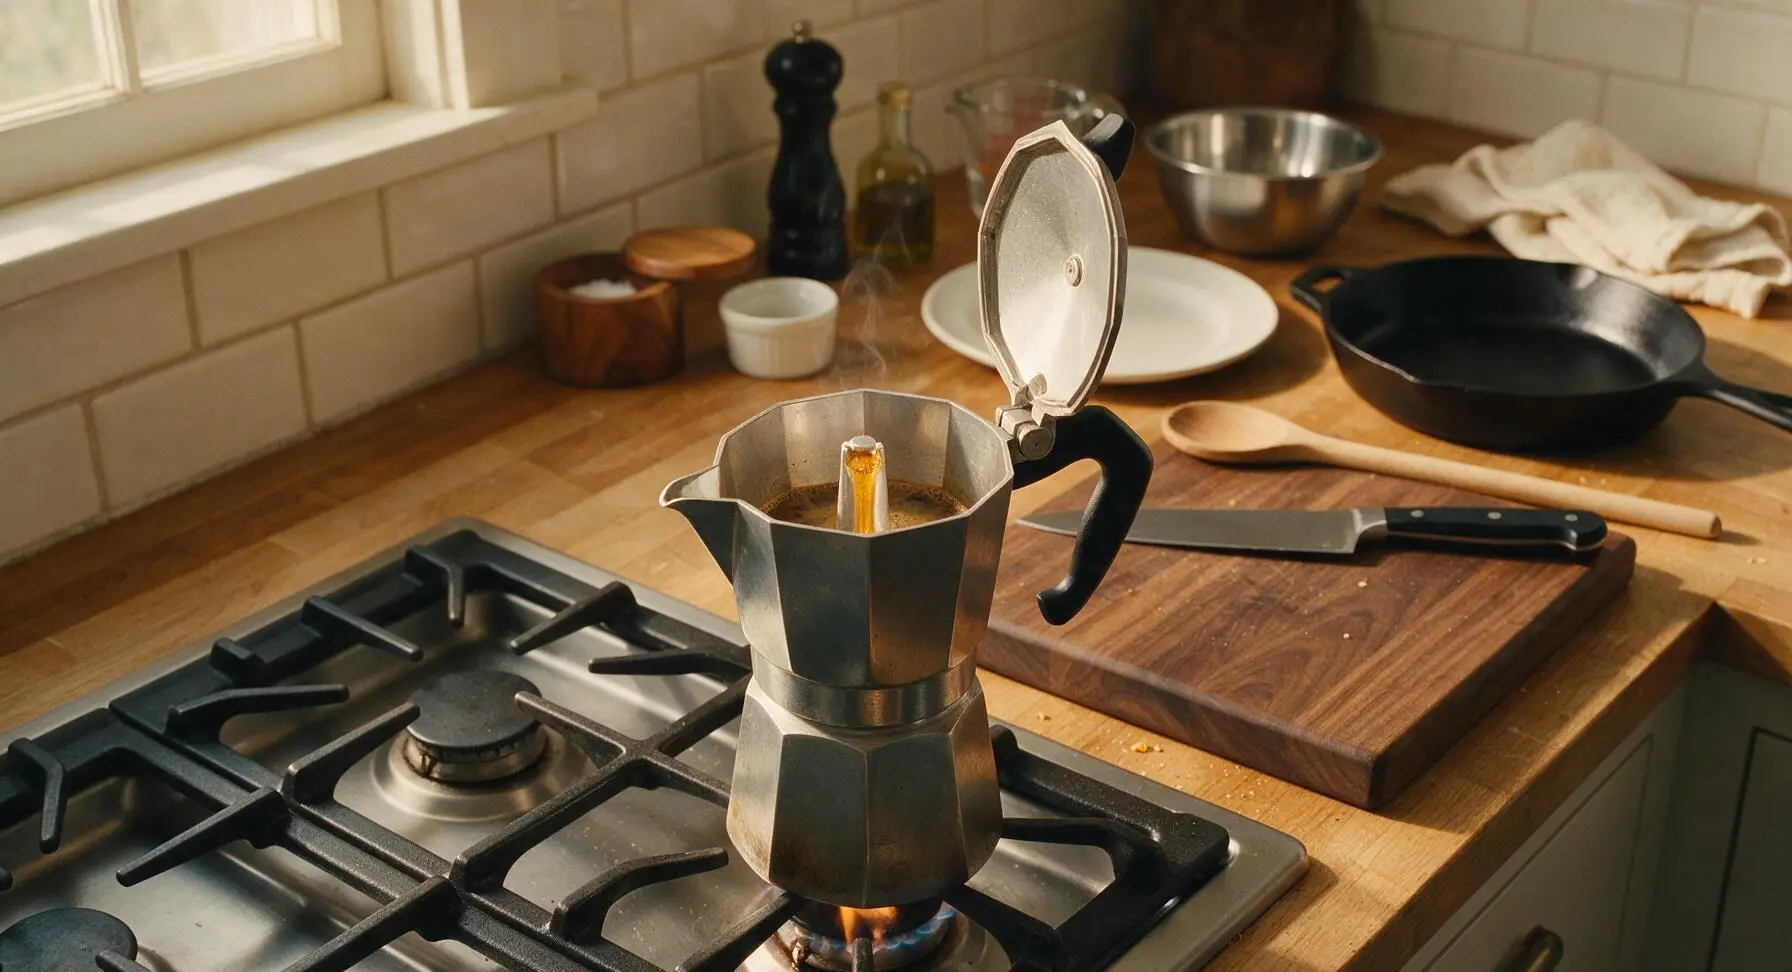
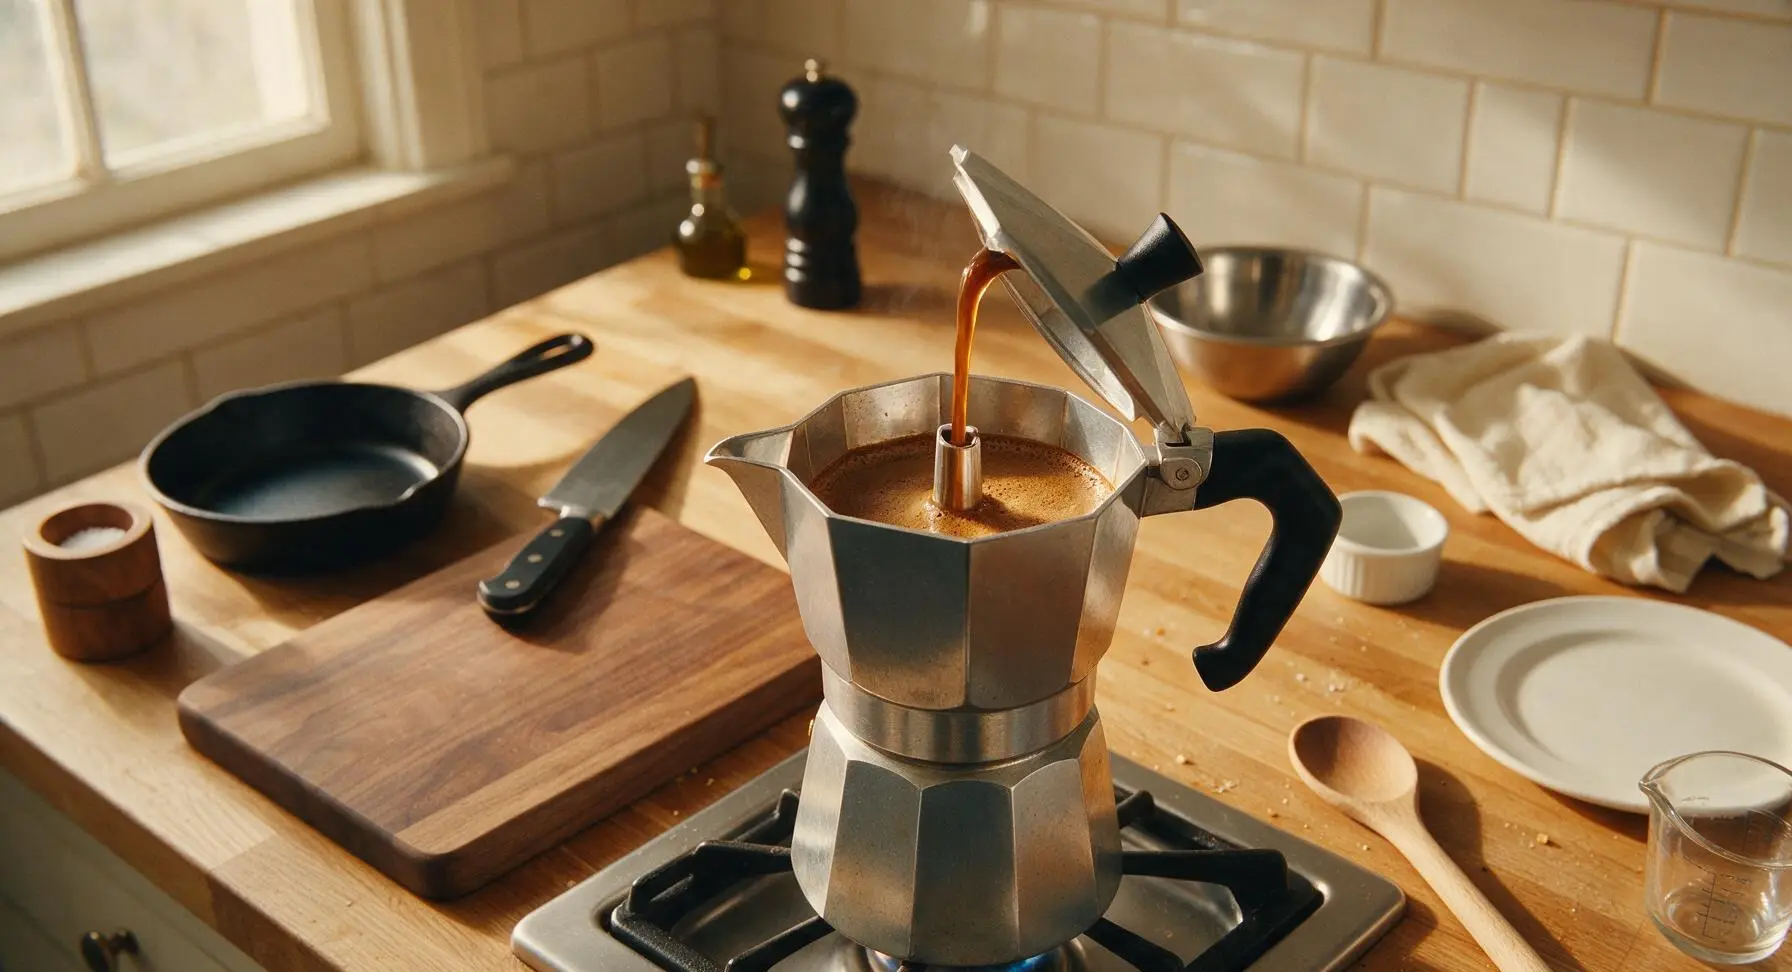
Heat the moka pot for 3-4 minutes, watching closely the entire time. You will first hear a soft gurgling sound as boiling water is pushed up through the coffee grounds, then see rich, golden-brown coffee start to stream up the central spout into the upper chamber. As soon as the coffee fills the upper chamber to the level of the bottom of the spout and the outgoing stream turns a pale, honey-brown color, immediately turn off the heat. Do not wait for the pot to sputter loudly, as this means you are boiling the coffee and extracting harsh, bitter compounds.
Pour and Serve Hot
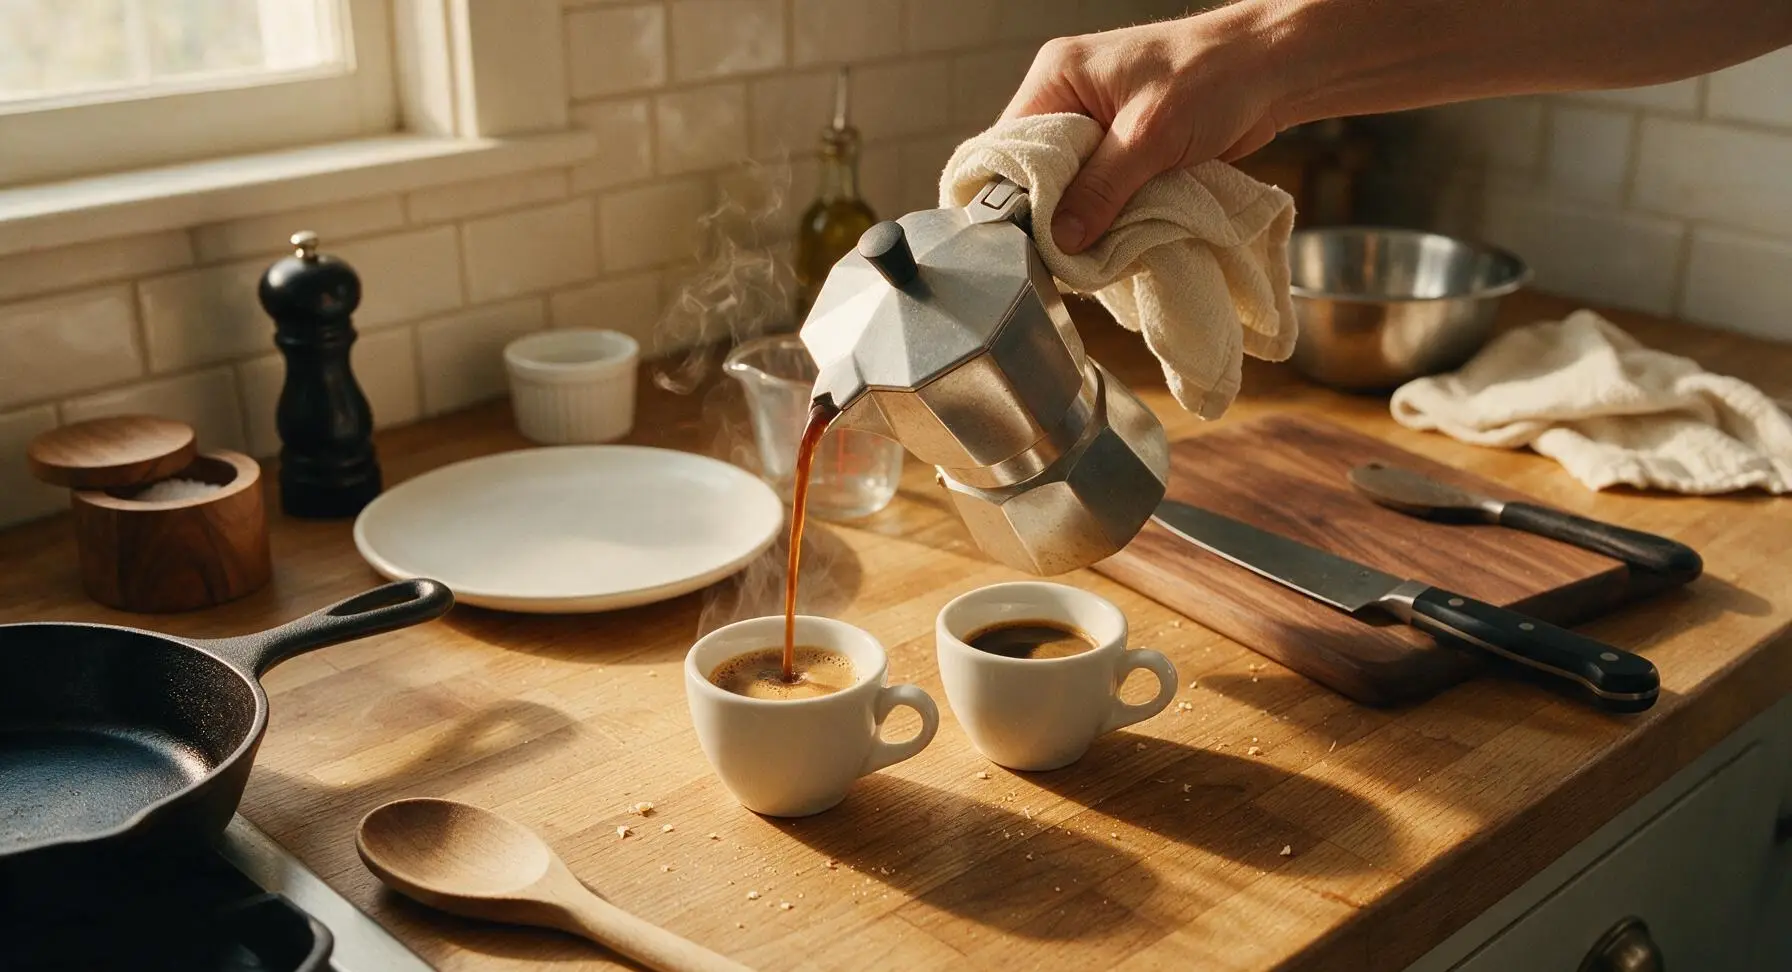
As soon as you turn off the heat, hold the base of the moka pot (using the corner of the tea towel to protect your hand from hot metal) and give the upper chamber a gentle swirl to mix the concentrated, strong first coffee with the milder later brew for a uniform, balanced flavor. Pour immediately into the two white ceramic demitasse cups, filling each 3/4 full. Serve immediately while hot, for a traditional strong moka, or add a small splash of warm milk if preferred.
Tips
2.Never firmly tamp or pack coffee grounds in the filter basket: compacted grounds create excessive pressure buildup, which can cause sputtering, hot coffee leaks from the seal, and over-extracted, astringent brew.
3.Stop brewing immediately when the coffee stream turns pale honey gold, before the pot makes loud sputtering noises: the final liquid pulled through at a full boil is bitter and will overpower the rich, caramel notes of the early extraction.






OMG this moka pot guide is a total game changer! I’ve had my little stovetop pot sitting in the cabinet for 6 months because I kept making bitter, sludgy coffee every time I tried. Followed this exactly, 5 minutes cook time no fuss, and it came out so smooth? My husband even said it’s better than the $6 lattes we grab on our way to work on weekdays. Total win, will be making this every morning now!
Super easy recipe, no fancy steps! Made this before our neighborhood potluck last weekend to mix into iced coffee for the group and everyone was asking how I made it. Tastes way richer than regular drip, no weird bitter aftertaste. Only thing I did different was add a tiny splash of oat milk once it was done pouring, chef’s kiss.
Wait this is so easy even I can’t mess it up? I live in a tiny dorm with a tiny stovetop and no coffee maker, grabbed a cheap moka pot off Amazon last week and this worked perfectly. 5 minutes flat, no fancy equipment, saved me so much money on campus coffee runs already. SO good, 10/10.
Took this recipe camping last weekend, used my little moka pot over the camp stove and it worked like a charm! Way better than the instant coffee I usually pack. My camping buddies kept asking for refills, we went through three full pots on Saturday morning alone. Only knock is I wish I’d brought more coffee grounds with me!
My kids loved that I let them help measure the water and coffee grounds for our batch this morning! It’s so fast I can make it before school drop off without rushing, no long wait like with my drip maker that takes forever to heat up. Tastes rich enough that I don’t need three cups to feel awake, lol. Added a little cinnamon on top for the kids and they thought it was a fancy coffee shop treat.
Perfect for quick weekday mornings! I used to waste so much time fumbling with my pour over setup when I was half asleep, but this takes literally 5 minutes start to finish. I make a pot first thing when I wake up, pour it into my travel tumbler, and I’m out the door. No mess, no complicated steps, total lifesaver for my early work days.