
Molasses Pie
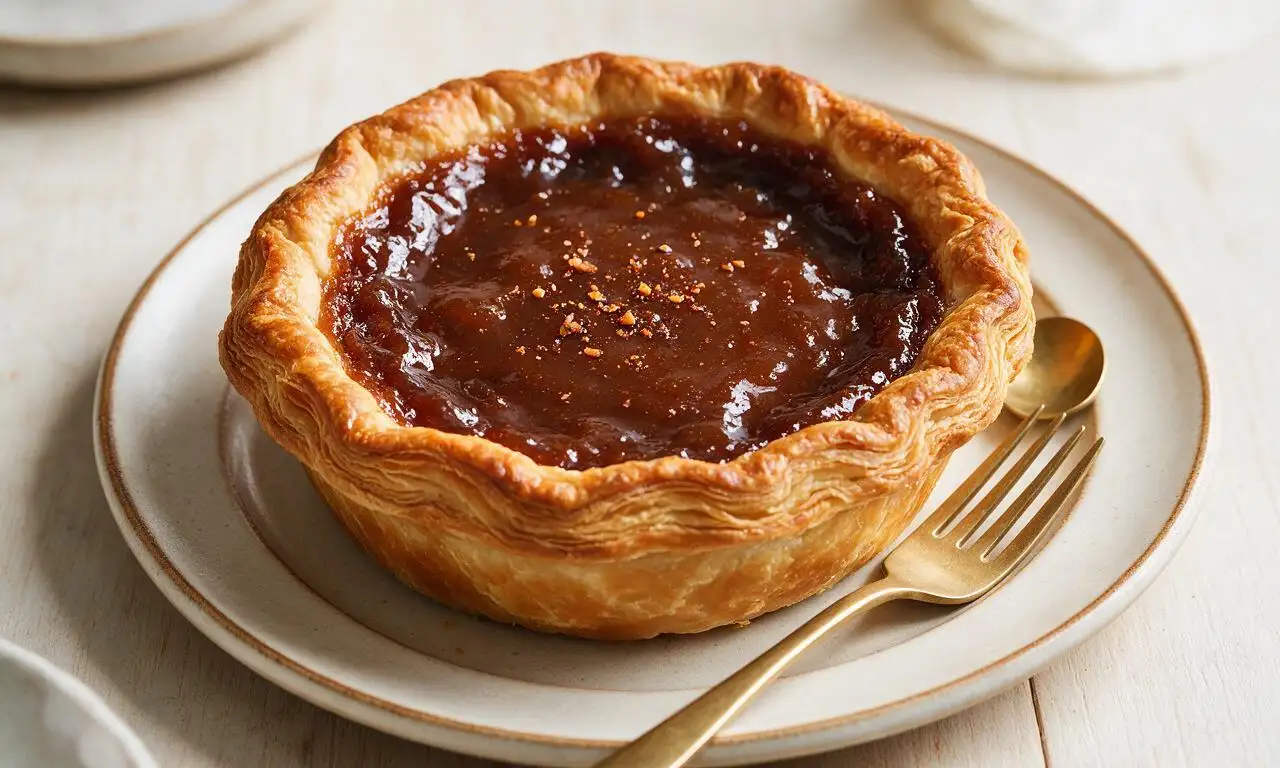
intro
A rich, warmly spiced old-fashioned pie with a gooey molasses custard filling and flaky crust, a cozy staple of traditional American fall baking.
Ingredients
Steps
Prep crust and preheat oven
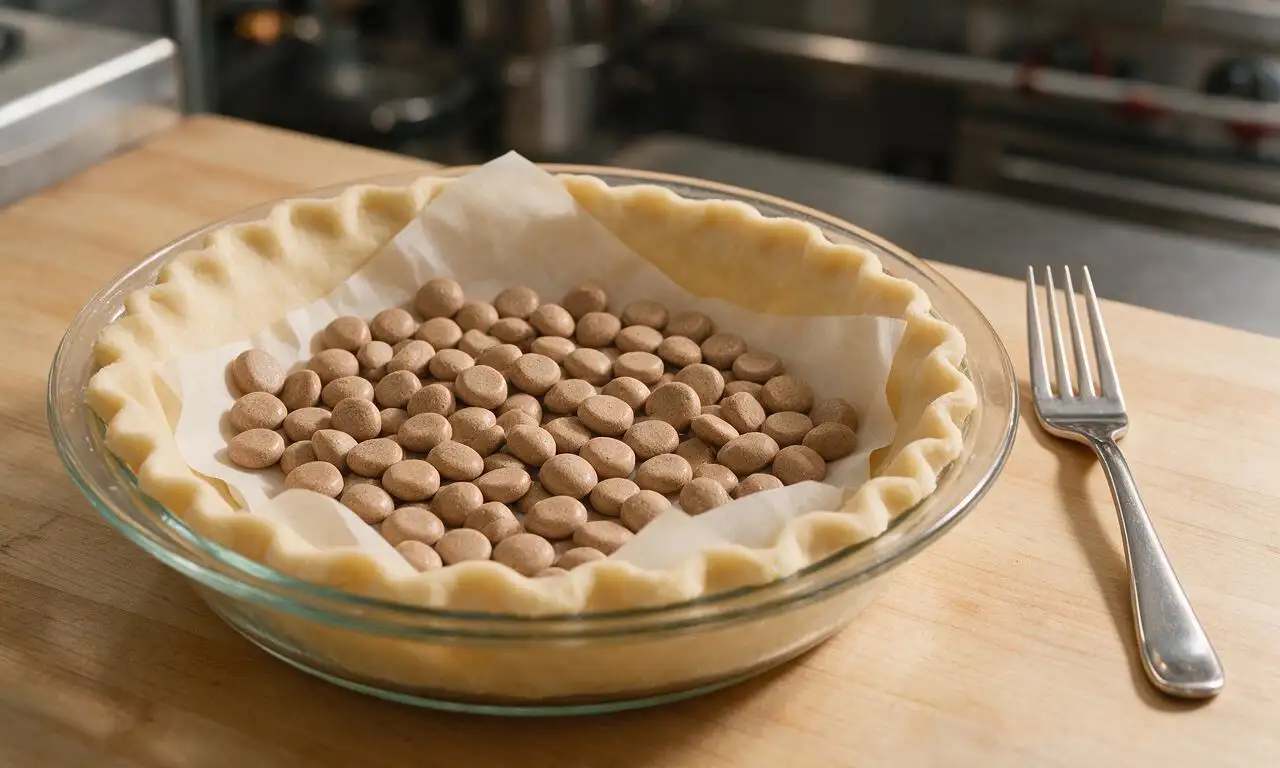
Preheat your oven to 190°C (375°F). Press the 240g 9-inch unbaked all-butter pie crust into a standard 23cm (9-inch) glass pie dish, crimping the edges decoratively. Prick the bottom of the crust all over with a fork 10-12 times to prevent bubbling, then line with parchment paper and fill with 400g (2 cups) of ceramic pie weights or dried beans. Blind bake for 10 minutes, then remove weights and parchment, and set the partially baked crust aside.
Whisk dry filling ingredients
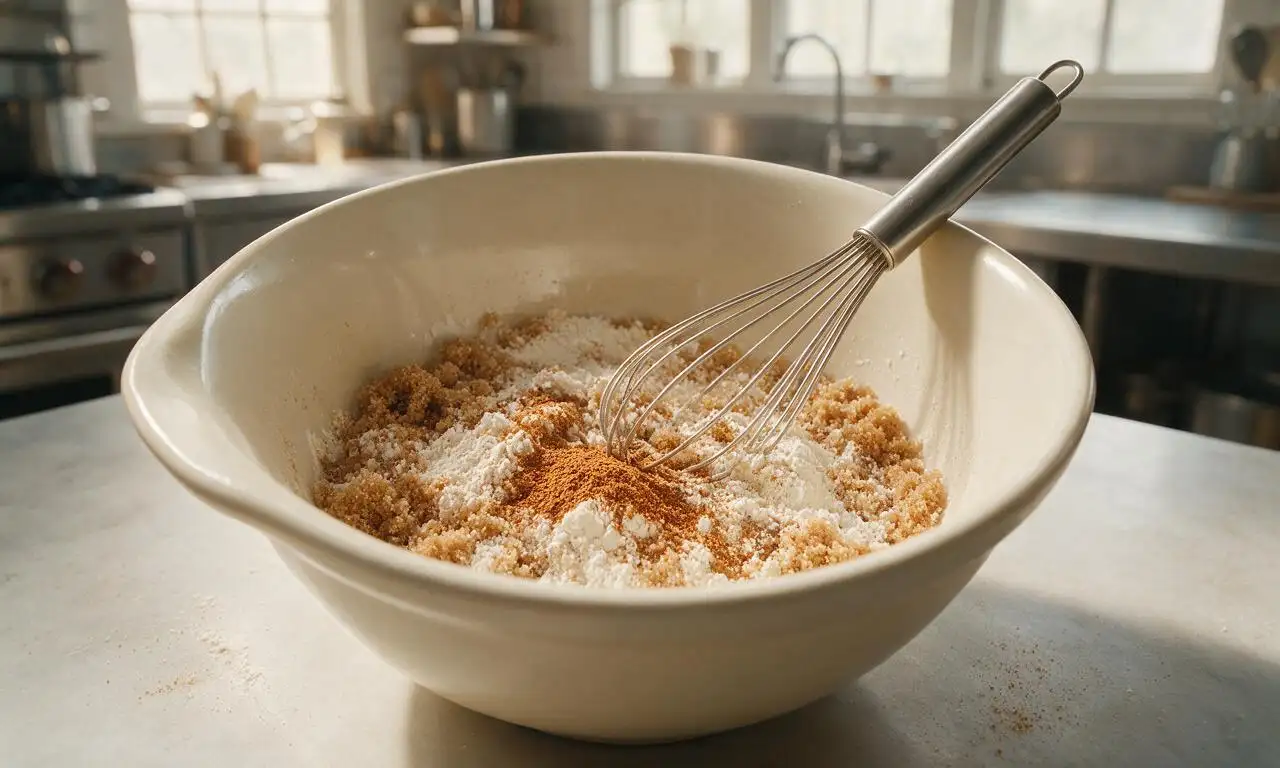
In a 1.5L medium ceramic mixing bowl, combine 16g (2 tablespoons) all-purpose flour, 50g packed light brown sugar, 2g ground cinnamon, 1g ground ginger, and 1g fine sea salt. Whisk vigorously for 30 seconds until fully blended, breaking up any small lumps of brown sugar so no clumps remain.
Blend wet filling ingredients
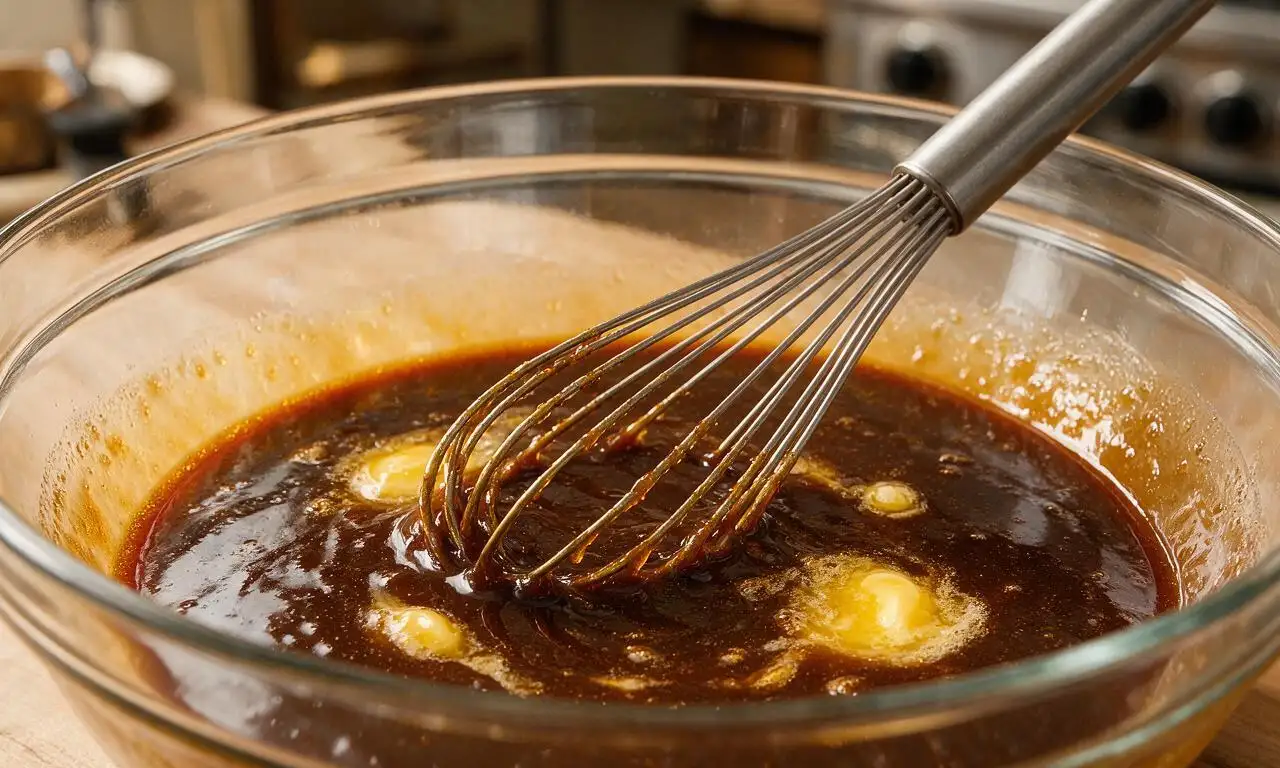
In a 3L large glass mixing bowl, whisk 3 room-temperature large eggs until smooth and pale yellow, about 1 minute. Add 240ml (1 cup) unsulphured light molasses, 57g cooled melted unsalted butter, 120ml whole milk, 5ml pure vanilla extract, and 5ml apple cider vinegar. Whisk for 1 full minute until the mixture is uniformly deep amber-brown and completely smooth, with no streaks of unincorporated egg visible.
Combine full filling mixture
Gradually whisk the dry ingredient mixture into the wet molasses mixture, adding 1/3 of the dry mix at a time and whisking constantly between additions to avoid lumps. Once fully combined, let the filling rest for 5 minutes at room temperature to allow trapped air bubbles to rise to the surface, then skim off any thin light brown foam with a small spoon to prevent a bubbly, uneven top.
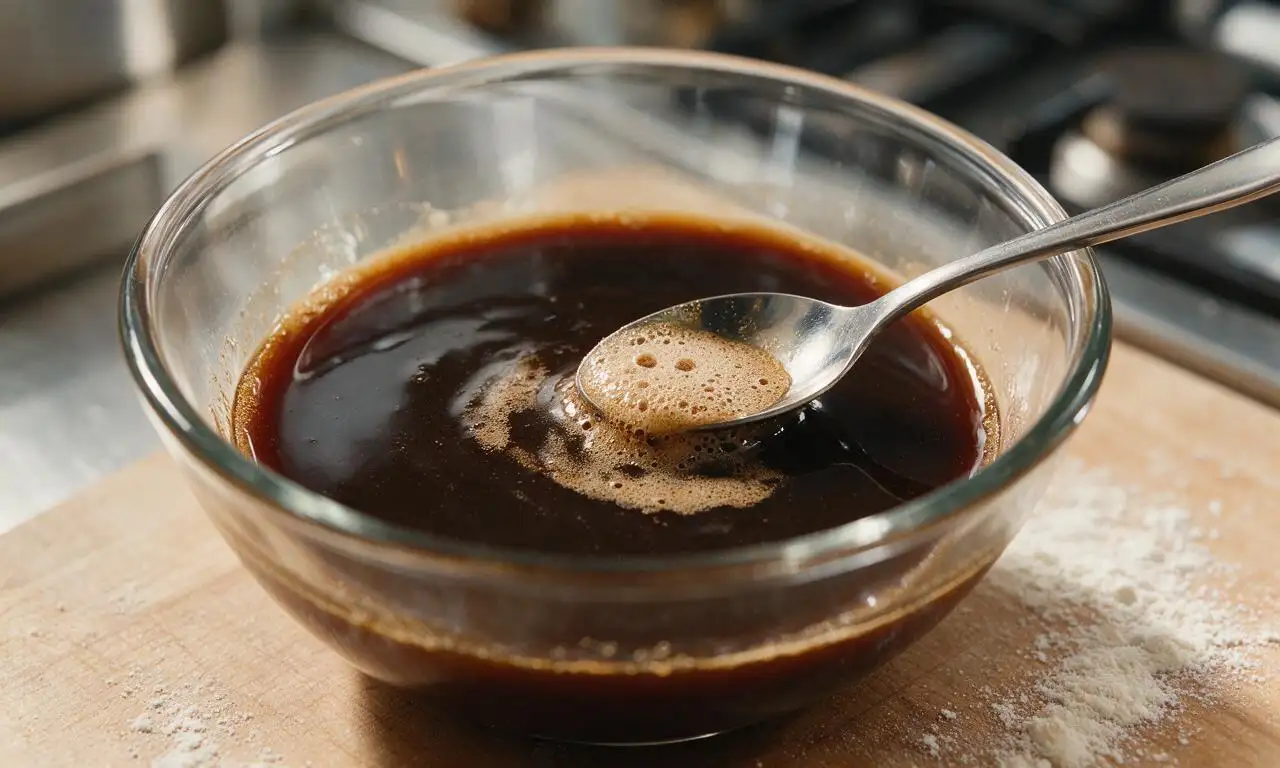
Bake the molasses pie
Place the partially blind-baked pie crust on a rimmed aluminum baking sheet to catch any potential spills. Pour the filling carefully into the warm crust, leaving a 3mm (1/8-inch) gap from the top of the crimped crust edge to prevent overflow during baking. Bake at 190°C (375°F) for 15 minutes, then reduce the oven temperature to 175°C (350°F) without opening the oven door fully, and bake for an additional 35-40 minutes. The pie is done when the outer 5cm (2-inch) ring of filling is fully set, but the central 5cm (2-inch) circle jiggles slightly like firm Jell-O when the baking sheet is nudged gently.
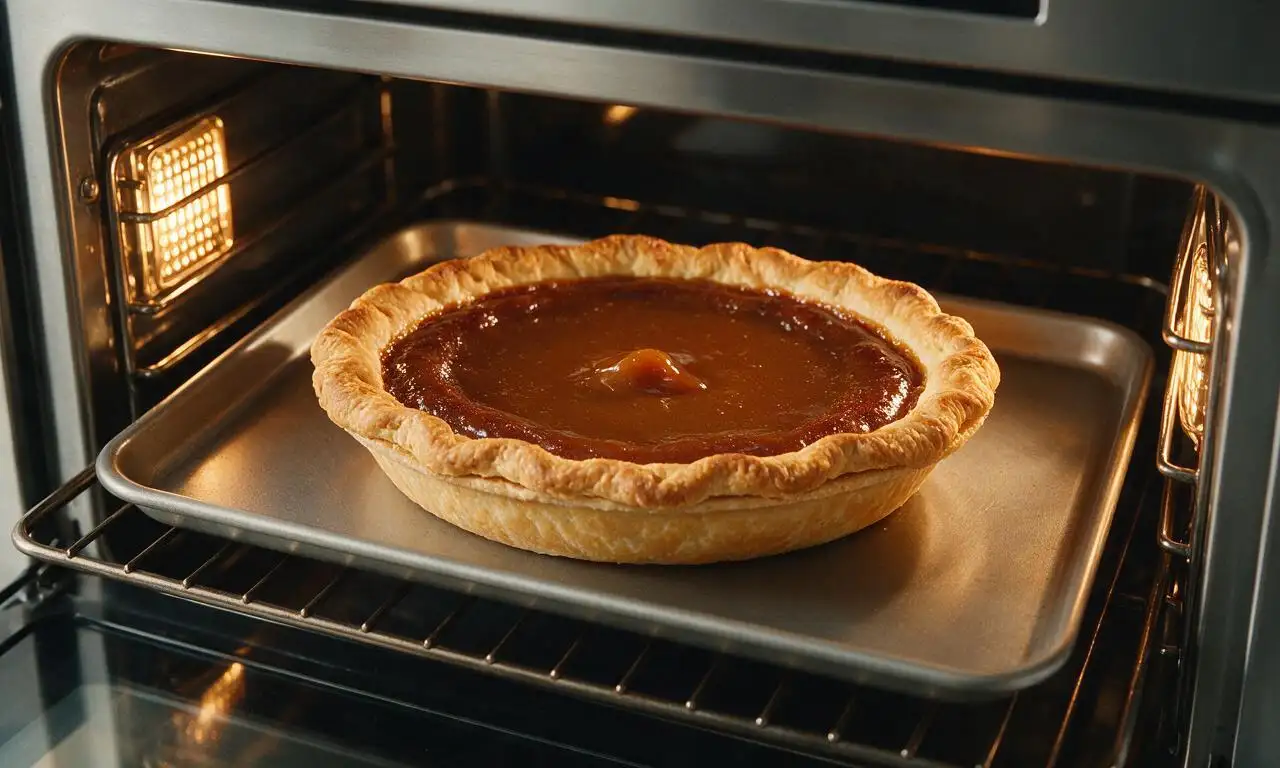
Cool fully before serving
Remove the baked pie from the oven and transfer it directly to a wire cooling rack set in a cool, draft-free spot. Let it cool completely at room temperature for 2 full hours, during which the soft jiggly center will set into a smooth, custardy texture. Do not slice the pie early, as the warm filling will be runny and fail to hold its shape if cut before fully cooled. Serve at room temperature, topped with lightly sweetened whipped cream if desired.
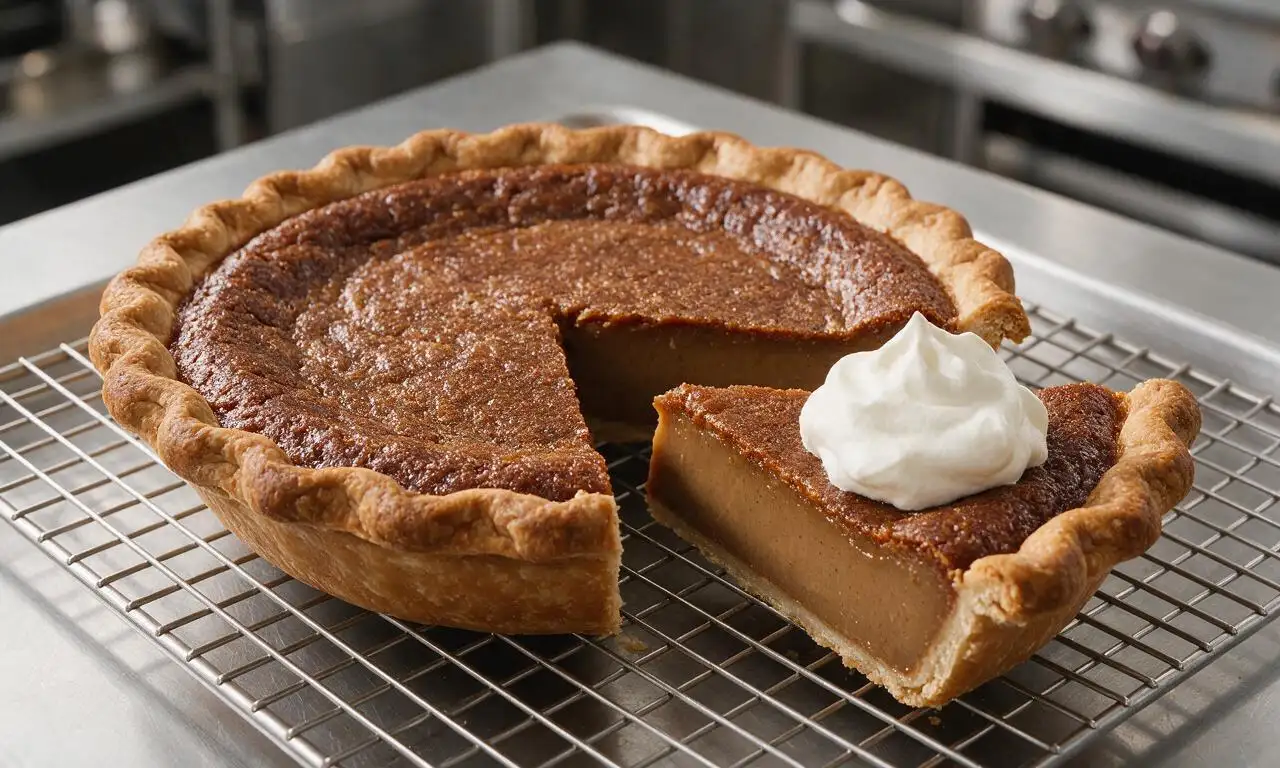
Tips
2.Avoid overbaking the pie: if the entire filling is firm when you remove it from the oven, it will turn rubbery and develop deep cracks as it cools. The soft jiggle in the center is normal and will set as the pie rests.
3.If your crimped crust edges start to darken faster than the filling cooks during the final 20 minutes of baking, wrap a thin strip of aluminum foil around the crust rim to shield it from direct heat and prevent burning.






OMG this pie tastes exactly like my grandma used to make for our Sunday family dinners! I was so worried I’d never get that deep, rich molasses flavor right without her handwritten recipe, but this nailed it. My kids loved it so much they went back for seconds before I even finished serving the table. SO good.
Brought this to my neighborhood block party potluck last weekend and people were asking me for the recipe before I even set the pie plate down! Total game changer. I added a tiny dollop of freshly whipped cream on top for serving and it was chef’s kiss. 10/10 will make again for Thanksgiving this year.
Really solid recipe! The only note I have is that my crust got a little darker than I wanted around the edges at the 50 minute mark, so I’d recommend tenting it with foil halfway through if your oven runs hot like mine. Flavor was incredible though, even my picky teen ate a whole slice.
First time making any kind of old-fashioned pie and I think I messed up the filling consistency? Mine came out a little runnier than the photos show even after cooling the full 2 hours. Tasted great, just didn’t slice cleanly. Any tips?
I make this every Sunday now to have with my morning coffee throughout the week for meal prep! It holds up so well in the fridge for up to 4 days, and the flavor actually gets better the longer it sits. Who knew meal prep could include such a cozy dessert?
As someone who collects 19th and early 20th century cookbooks, I can confirm this is the real deal old-fashioned molasses pie recipe. No weird modern shortcuts, no extra fancy add-ins, just that warm, spiced, sweet filling I’ve been chasing for years. Absolute perfection.
Made this for my daughter’s fall-themed school bake sale and every single slice sold out in the first 15 minutes! Multiple parents tracked me down after school to ask where I got the recipe. Definitely earning a permanent spot in our fall baking rotation.
I swapped the regular pie crust for a gluten free all-butter crust and it worked beautifully! The filling is so flavorful you can’t even tell the crust is GF. Only reason I’m not giving 5 stars is I wish the recipe noted how easy it is to adapt for GF diets, that would’ve saved me a little stress going in.
I upped the ginger and added a tiny pinch of clove like my abuela used to do and wow, this pie is next level. The base recipe is perfect as is, but if you love extra warm spices, don’t sleep on that little tweak. So cozy for cool fall evenings.
I’ve never successfully made a pie from scratch before – I always mess up the crust or the filling sets weird – but this recipe was so easy to follow even for a medium difficulty skill level! I’m so proud of how it turned out, my roommate is already begging me to make another one next week.
Made this for our early Thanksgiving test run with my in-laws and it was a huge hit! My only heads up is that the 2 hour cooling time is non-negotiable – I tried to cut into mine after an hour and a half because we were short on time and it was still a little gooey in the middle. Wait the full time, trust me.
Flavor was great but I found it a little too sweet for my taste? I used blackstrap molasses by accident though, oops. Would that make it sweeter or more bitter? Not sure if I messed up the molasses type or if it’s just naturally that sweet for my palate.
Took this along on our fall leaf-peeping hike last weekend and it was the perfect post-hike treat! It’s sturdy enough to pack in a cooler without getting totally squished, and the warm molasses flavor hit so good after being out in the crisp mountain air. 10/10 for outdoor snacking too.
This tastes exactly like the molasses pie they used to serve at the old roadside diner my family stopped at on road trips when I was a kid! I haven’t had that flavor in probably 25 years and I almost cried when I took my first bite. Thank you so much for sharing this recipe.
Made this last Sunday for our weekly family meal prep and it was such a nice treat to pull out after long work and school nights! I topped each slice with a little vanilla ice cream when we served it and my youngest said it’s ‘the best pie in the whole world.’ Will be a fall staple for us.
Made this in my tiny dorm kitchen with a toaster oven and it actually turned out! I had to adjust the cook time a little since my toaster oven runs hot, but it worked. Super affordable to make too, which is perfect for a college student on a budget. My whole floor devoured it.
Entered this in our local county fair pie contest this year and won second place in the classic dessert category! The judges said it had the perfect balance of spice and molasses flavor, and the texture was spot on. Already planning to make it again next year to go for first place.