
molly yeh tot hotdish

title 1
molly yeh tot hotdish
⏱️ cook time 50 minutes
🍽️ servings 6
⚡ Difficulty easy

intro

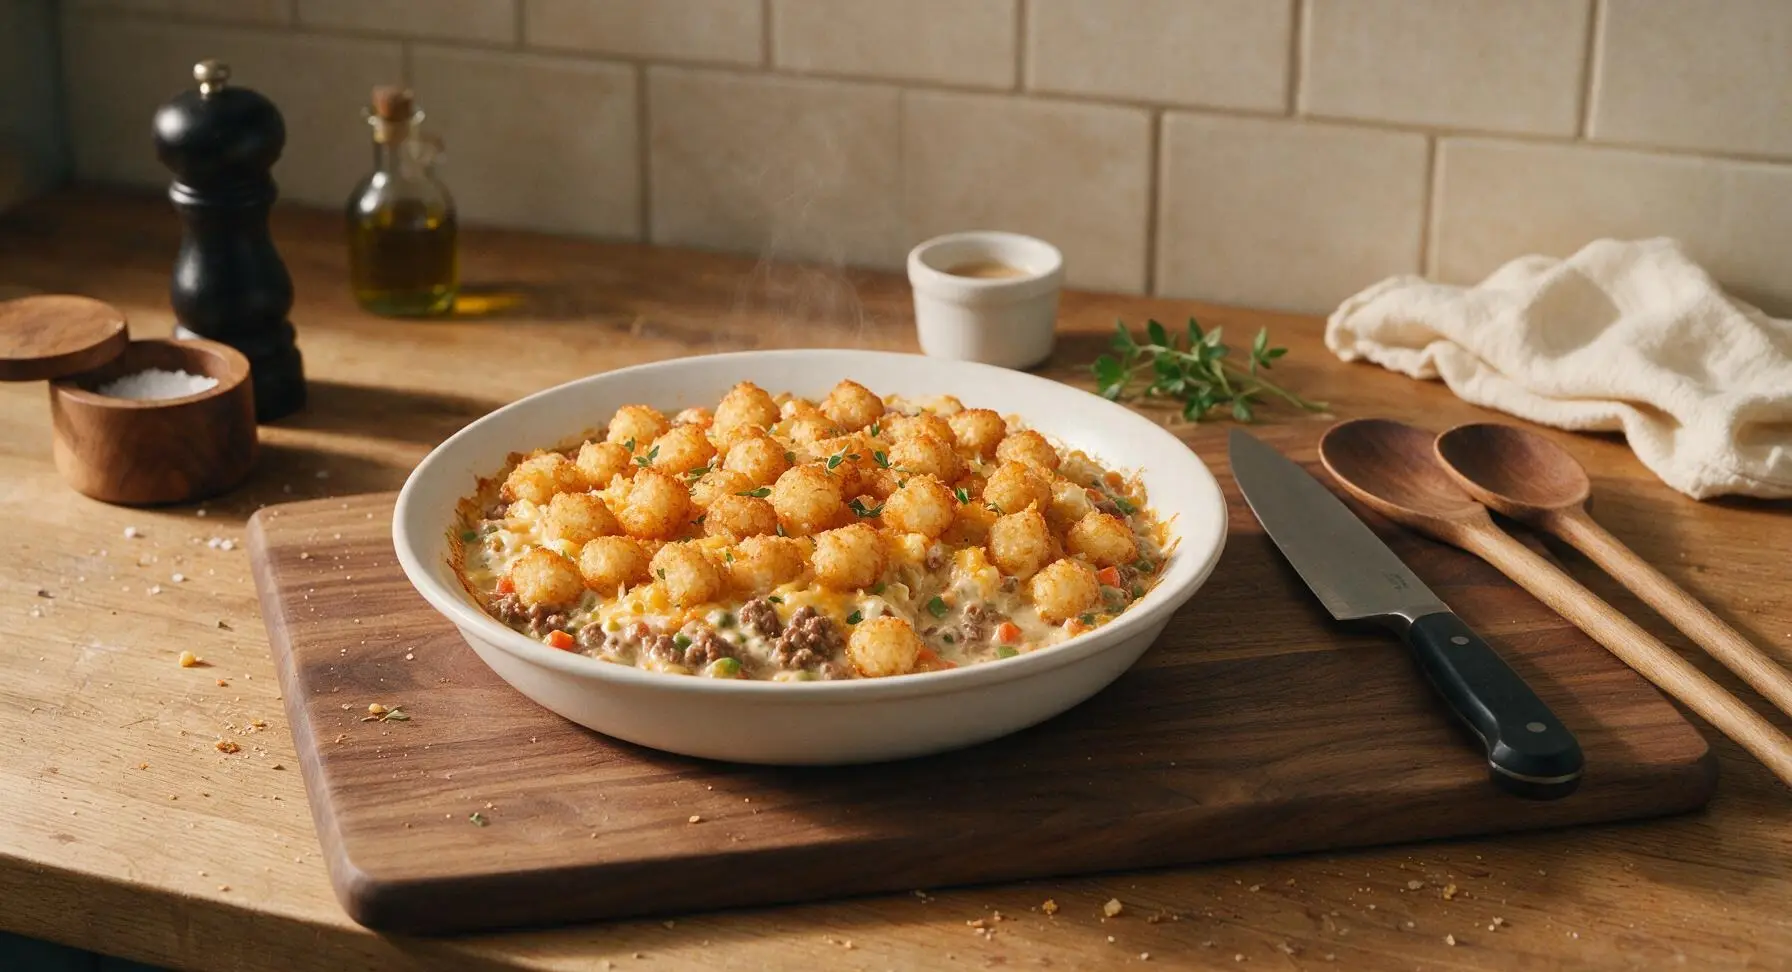
Creamy, cheesy ground beef and vegetable casserole crowned with crispy golden tater tots, Molly Yeh’s cozy take on the iconic Upper Midwest comfort food classic.

Ingredients
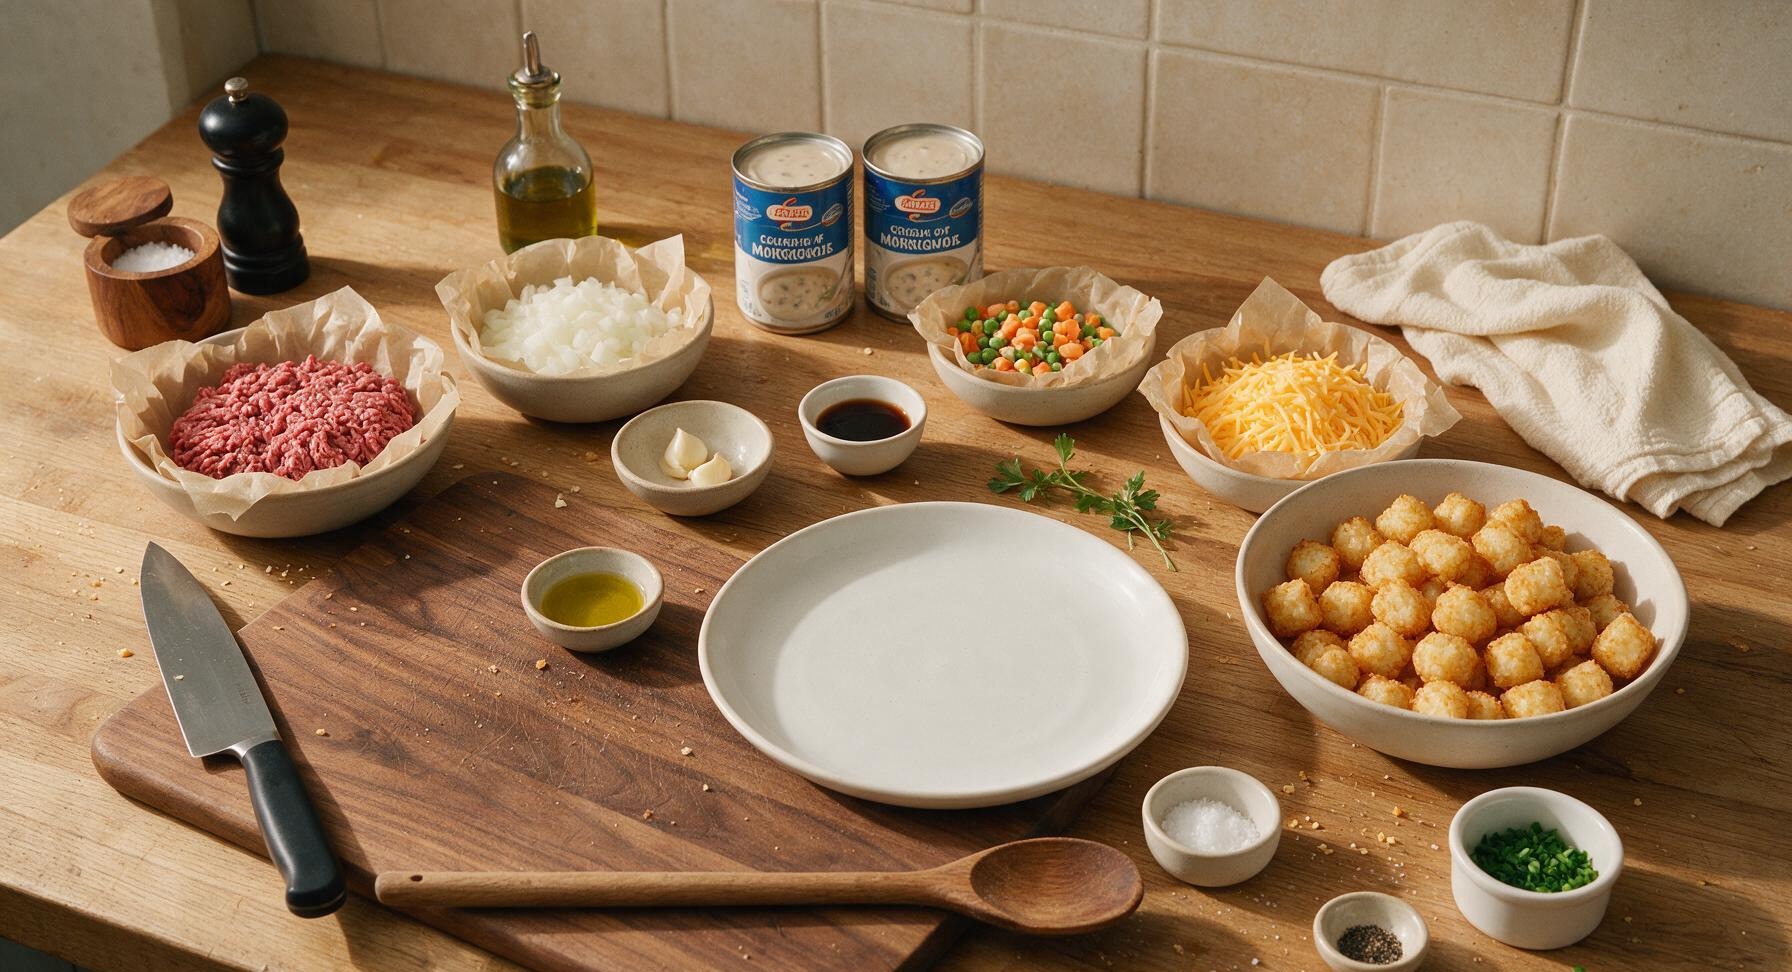
80/20 ground beef 1 lb (450g)
Yellow onion 1 small (110g, diced)
Garlic cloves 2 (minced)
Extra-virgin olive oil 1 tsp
Worcestershire sauce 1 tbsp
Cream of mushroom soup 2 (10.5oz/300g) cans
Frozen mixed peas and carrots 1 cup (130g)
Sharp cheddar cheese 2 cups (220g, shredded)
Frozen tater tots 2 lbs (900g)
Kosher salt 1 tsp
Freshly ground black pepper 1/2 tsp
Fresh chives 2 tbsp (chopped, for garnish)

Steps

1

Prep Aromatics and Oven

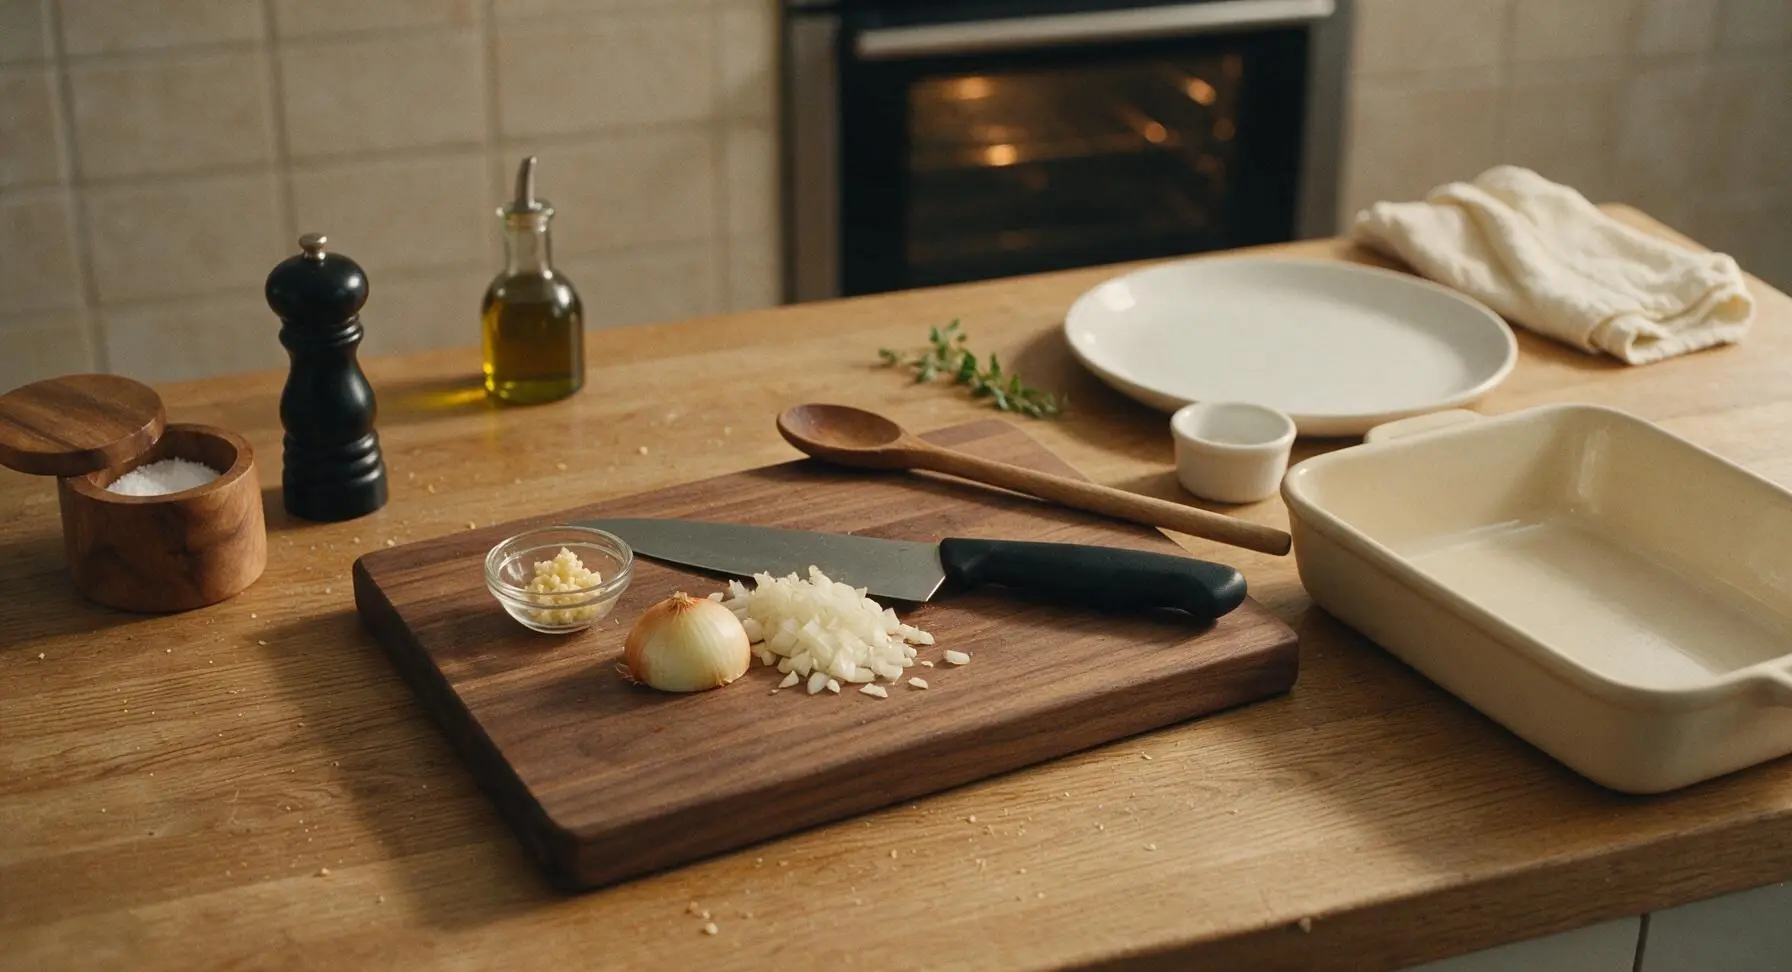
Adjust oven rack to middle position, preheat oven to 375°F (190°C). Retrieve the 8-inch chef’s knife from the magnetic backsplash strip, place the small yellow onion and garlic cloves on the central maple cutting board. Peel and dice the onion into 1/4-inch pieces, mince the garlic finely, and transfer both to a small clear glass ramekin. Retrieve the 9x13in matte cream white ceramic baking dish from the lower shelf and set it to the right of the cutting board.
Step 1
step1:Prep Aromatics and Oven
2

Brown the Ground Beef

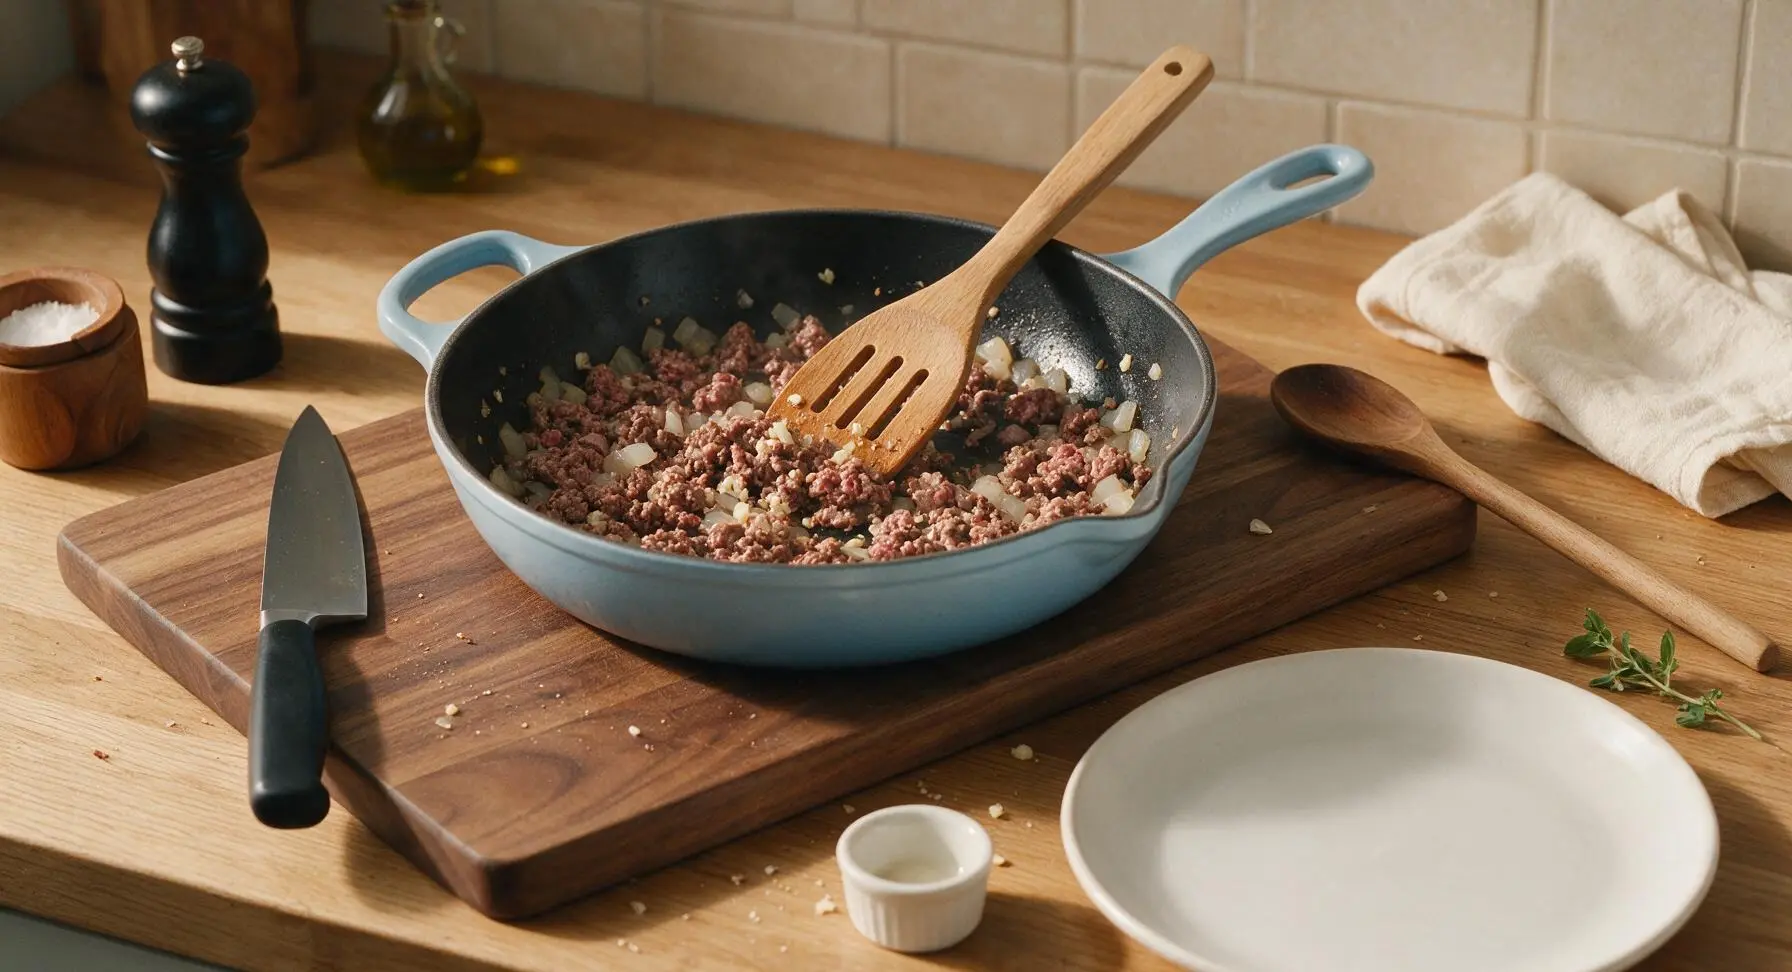
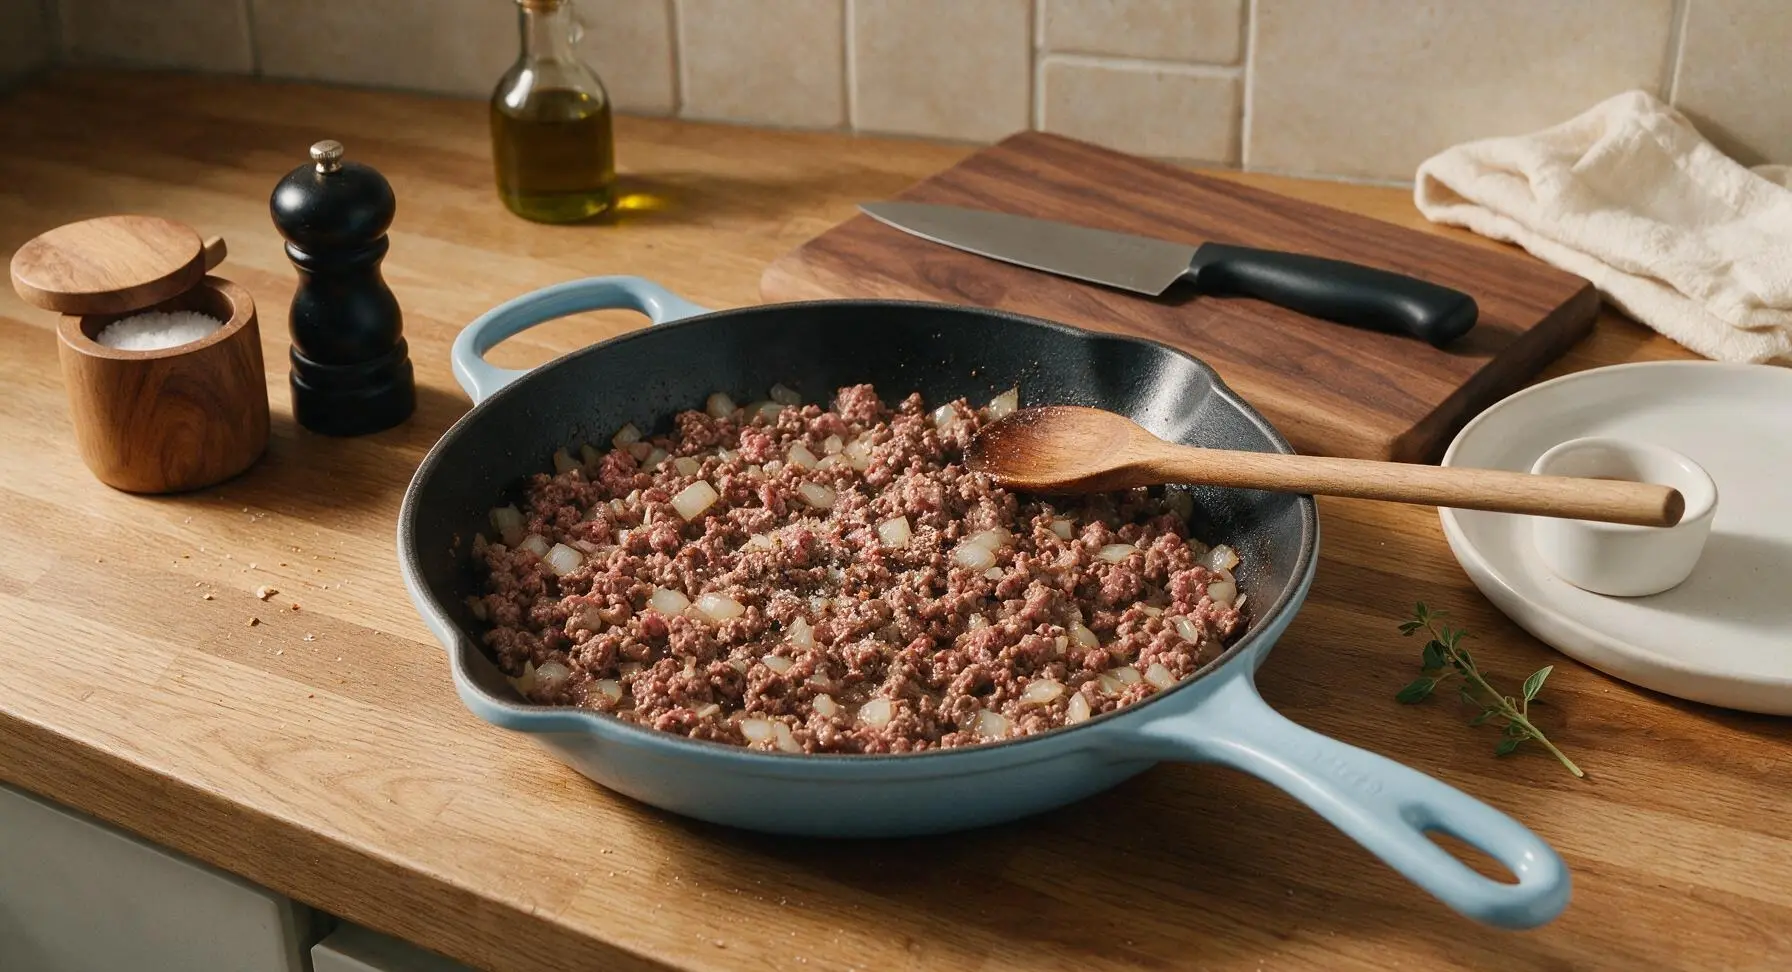
Place the 10-inch matte light blue enameled cast iron skillet over medium heat, add 1 tsp olive oil. Once the oil shimmers, add the diced onion and cook for 3 minutes until soft and translucent. Add the minced garlic and cook for 30 seconds until fragrant, then add the 1lb 80/20 ground beef. Break the beef apart with the beech wood slotted spoon as it cooks, seasoning with 1 tsp kosher salt and 1/2 tsp black pepper. Cook for 6-7 minutes until the beef is fully browned with no pink remaining, then drain any excess grease from the skillet.
Step 2
step2:Brown the Ground Beef
Step 2
step2:Brown the Ground Beef
3

Combine Filling Ingredients

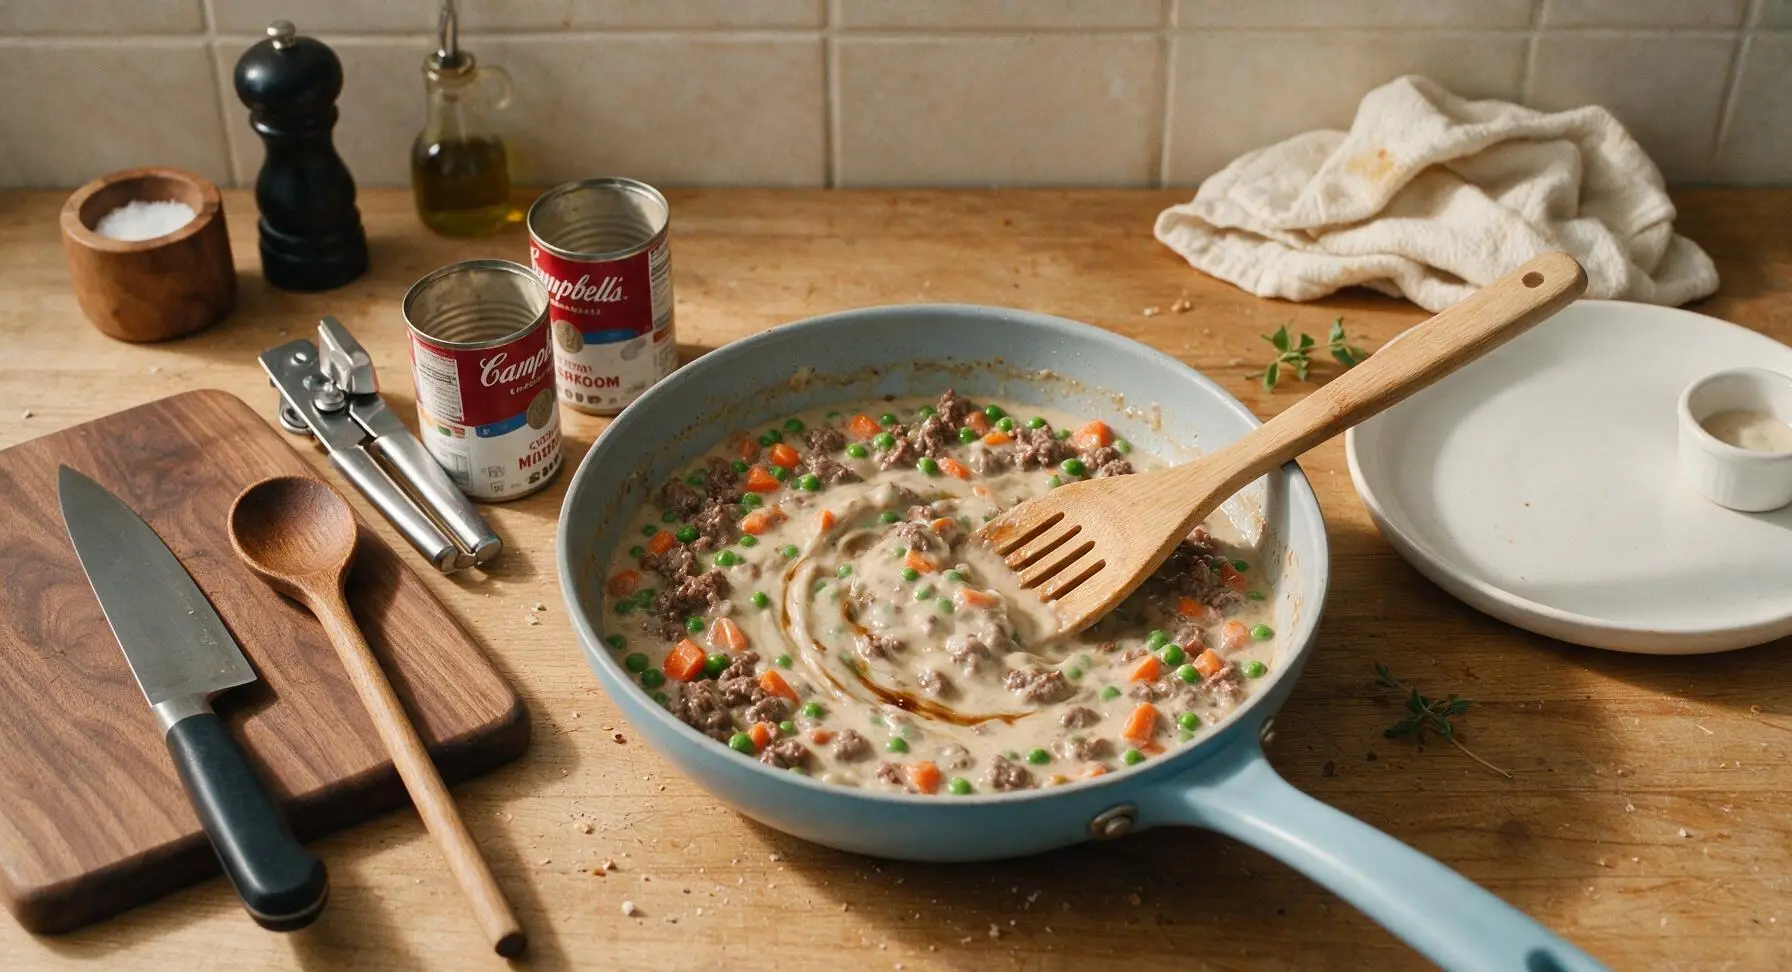
Retrieve the silver metal can opener from the cream utensil holder, open the two 10.5oz cans of cream of mushroom soup. Turn the stovetop heat to low. Stir the soup, 1 tbsp Worcestershire sauce, and 1 cup frozen mixed peas and carrots into the browned beef mixture in the skillet. Stir with the beech wood slotted spoon until fully combined, cooking for 2 minutes until the frozen vegetables just start to thaw and the mixture is evenly creamy.
Step 3
step3:Combine Filling Ingredients
4

Fold in Shredded Cheddar

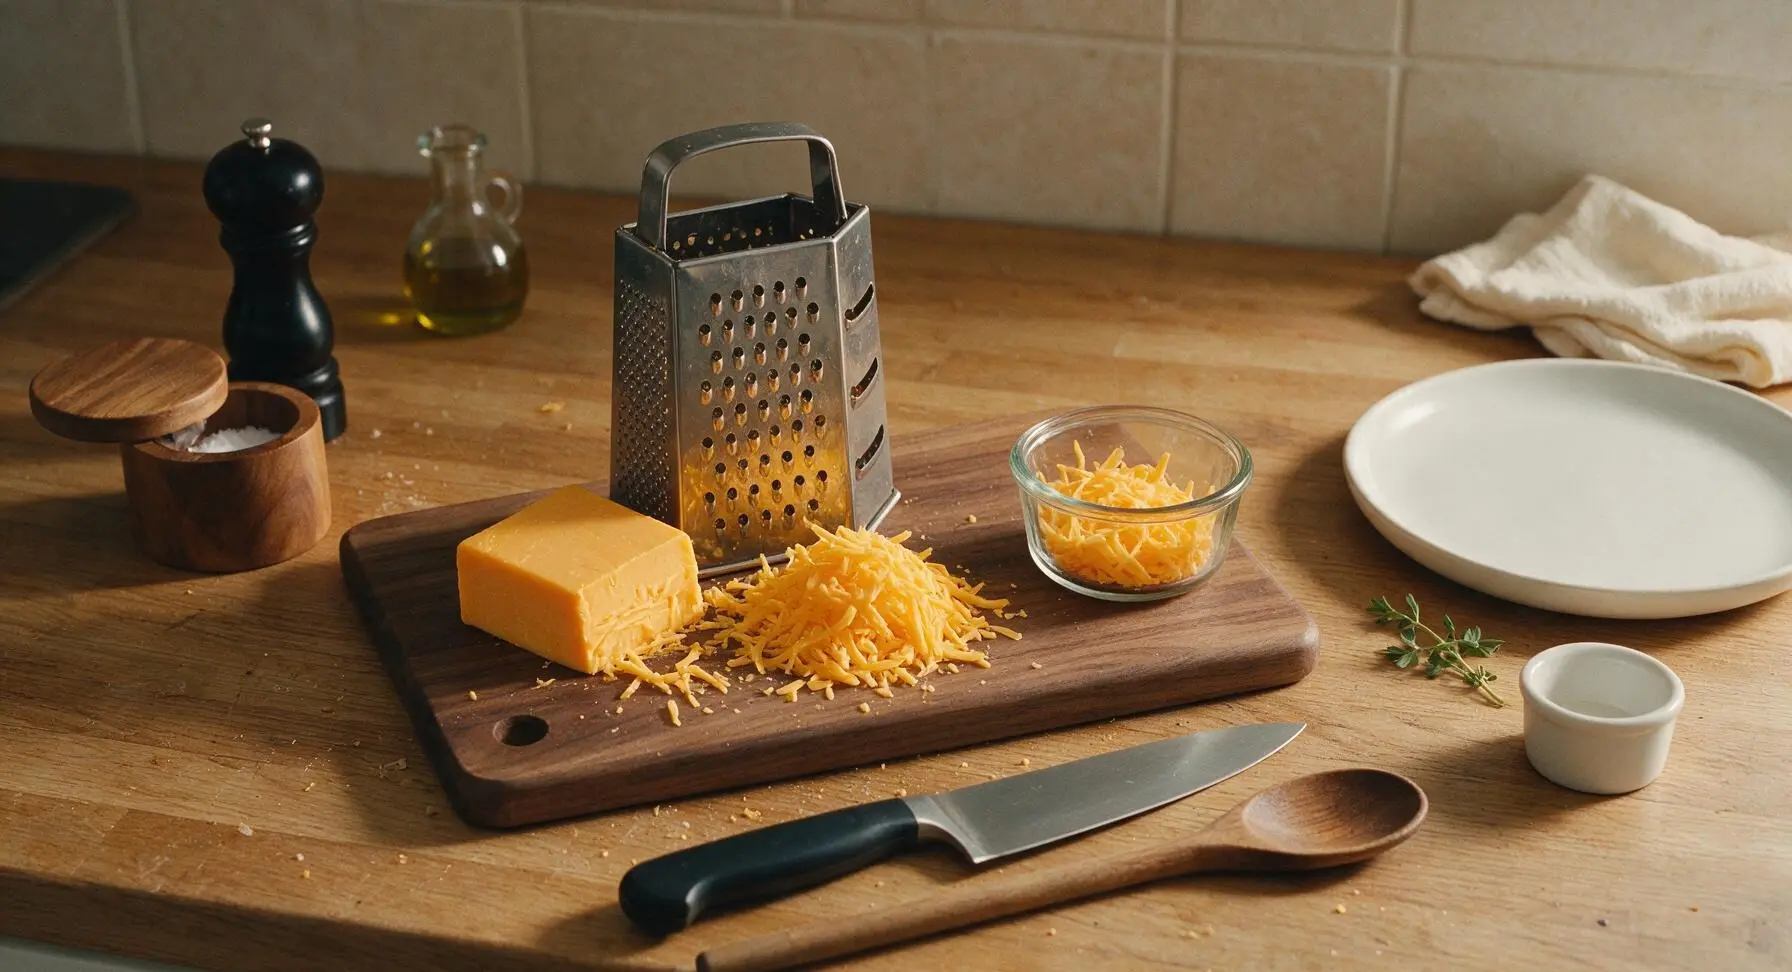
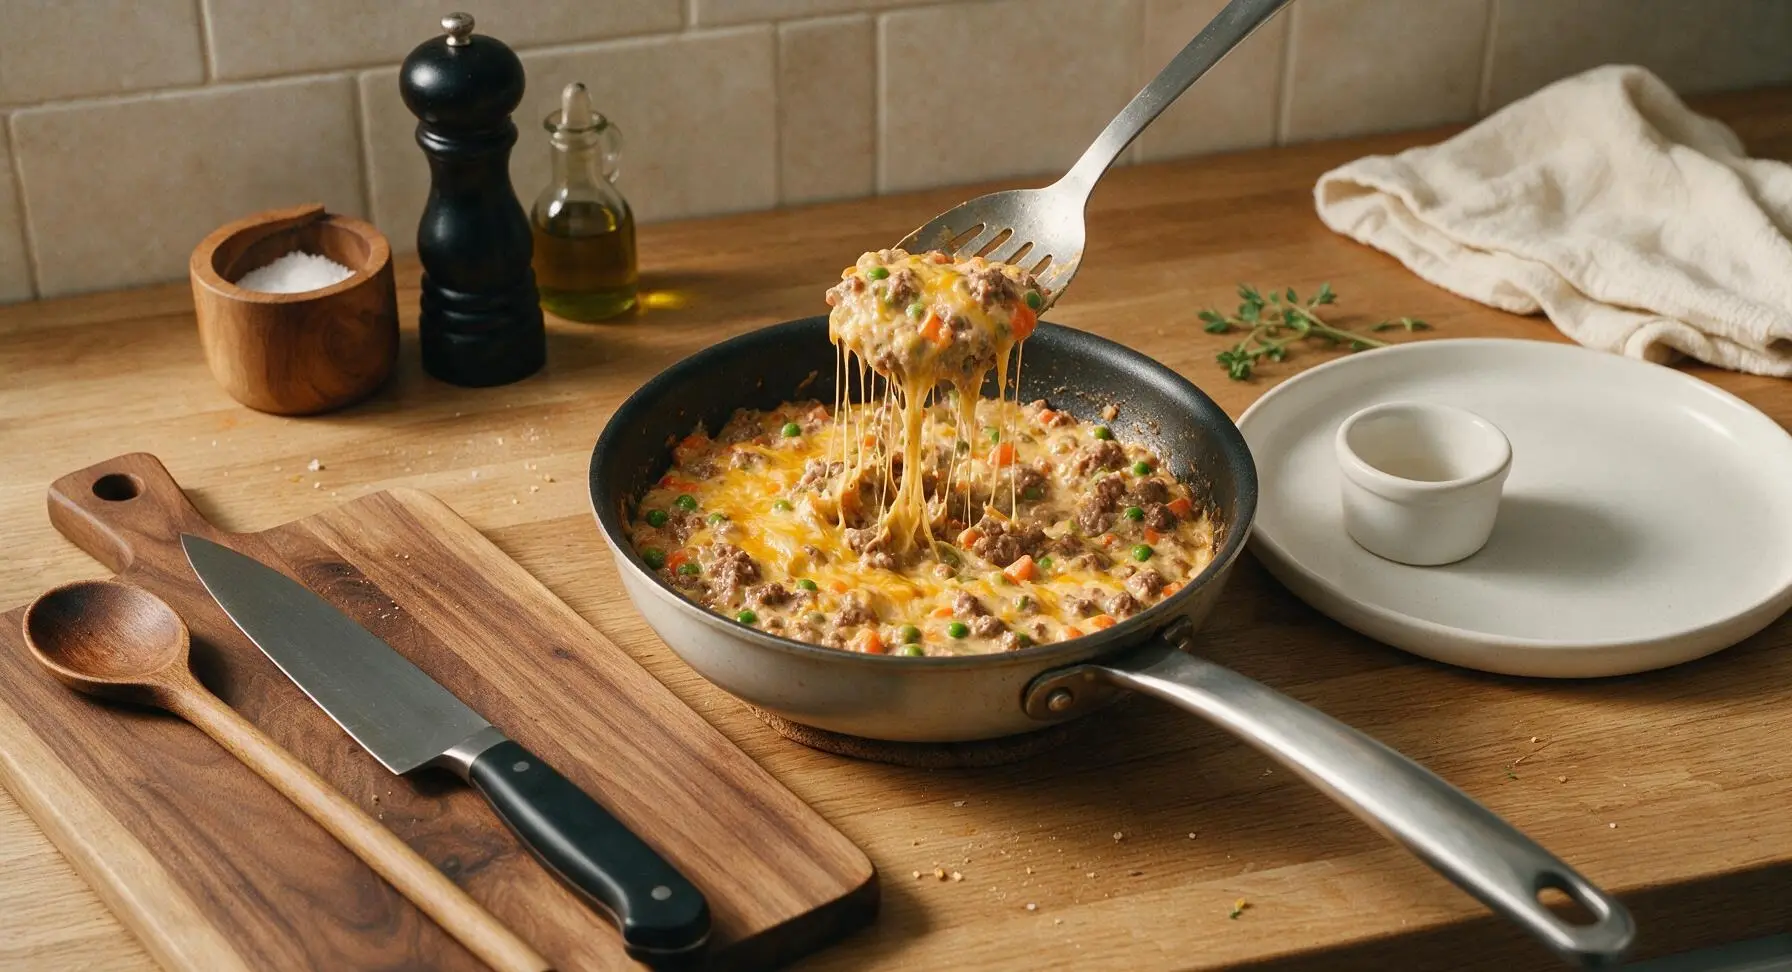
Retrieve the silver metal box grater from its spot next to the utensil holder, shred 2 cups of sharp cheddar cheese. Reserve 1/2 cup of shredded cheddar for the top, then fold the remaining 1 1/2 cups into the warm beef filling until fully melted and evenly distributed, creating a rich, cheesy base.
Step 4
step4:Fold in Shredded Cheddar
Step 4
step4:Fold in Shredded Cheddar
5

Layer Casserole in Dish

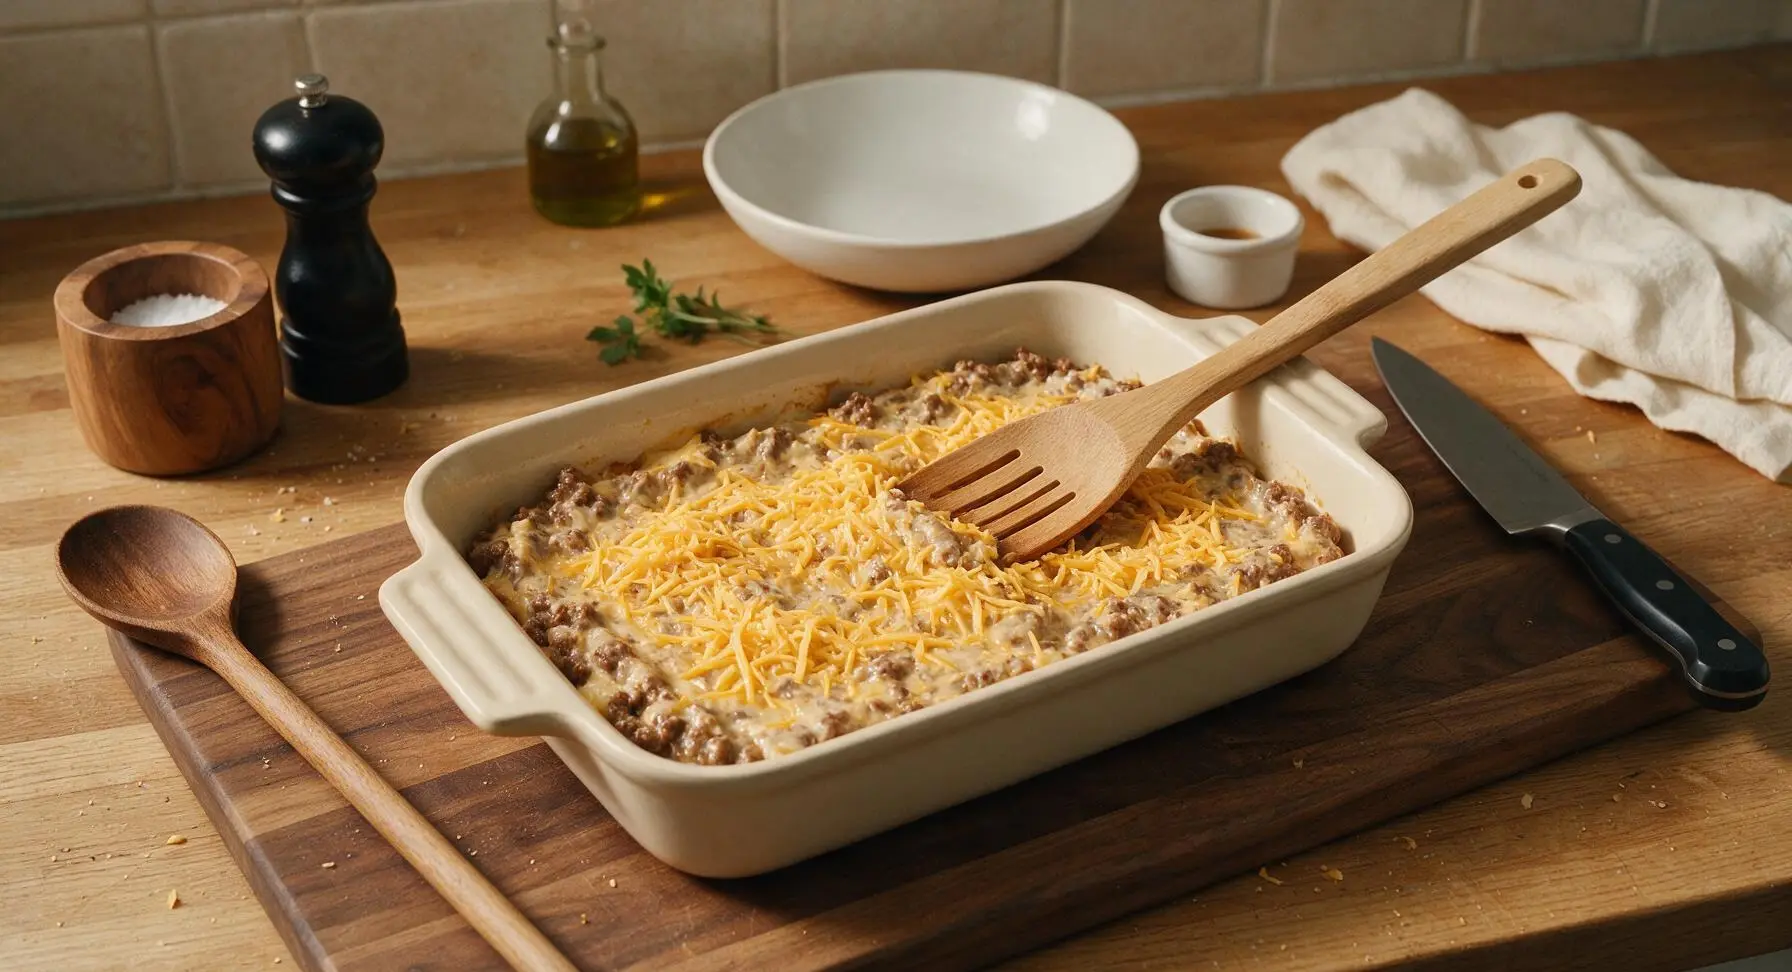
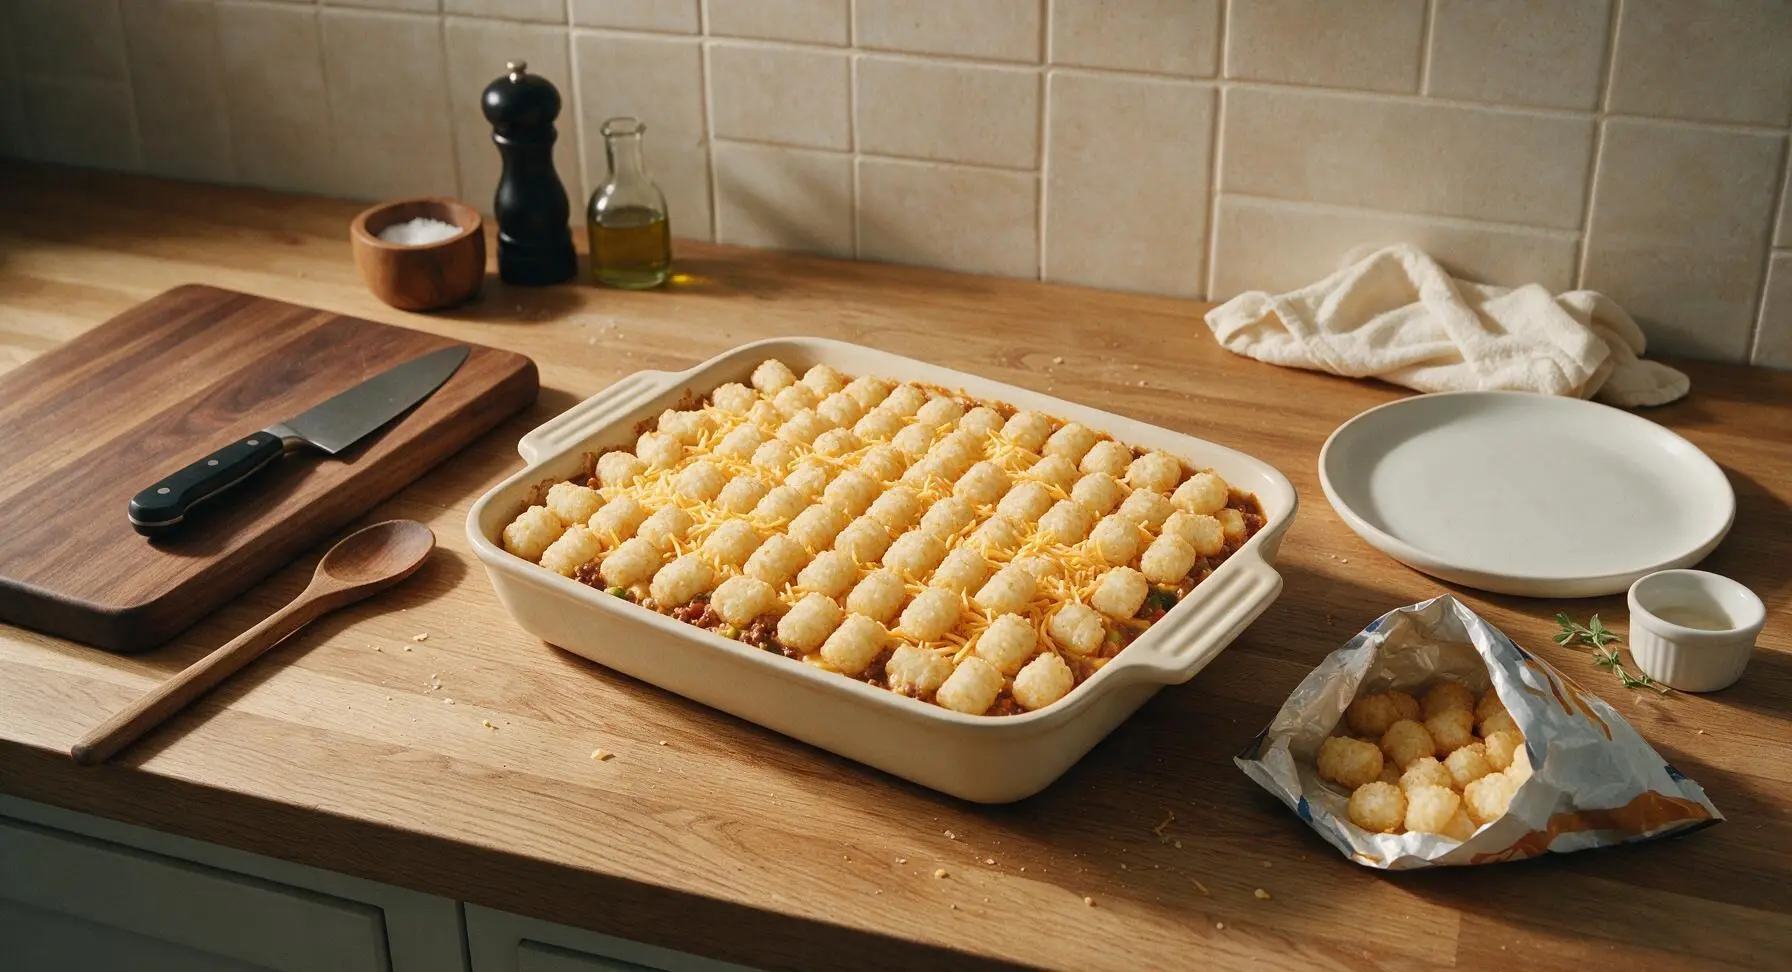
Pour the entire cheesy beef and vegetable filling from the skillet into the waiting 9x13in cream ceramic baking dish, spreading it into an even flat layer with the back of the beech wood slotted spoon. Sprinkle the reserved 1/2 cup shredded cheddar evenly over the top of the filling. Arrange the frozen tater tots in tight, neat overlapping rows across the entire surface of the casserole, covering every inch so no filling peeks through.
Step 5
step5:Layer Casserole in Dish
Step 5
step5:Layer Casserole in Dish
6

Bake Until Golden Crisp

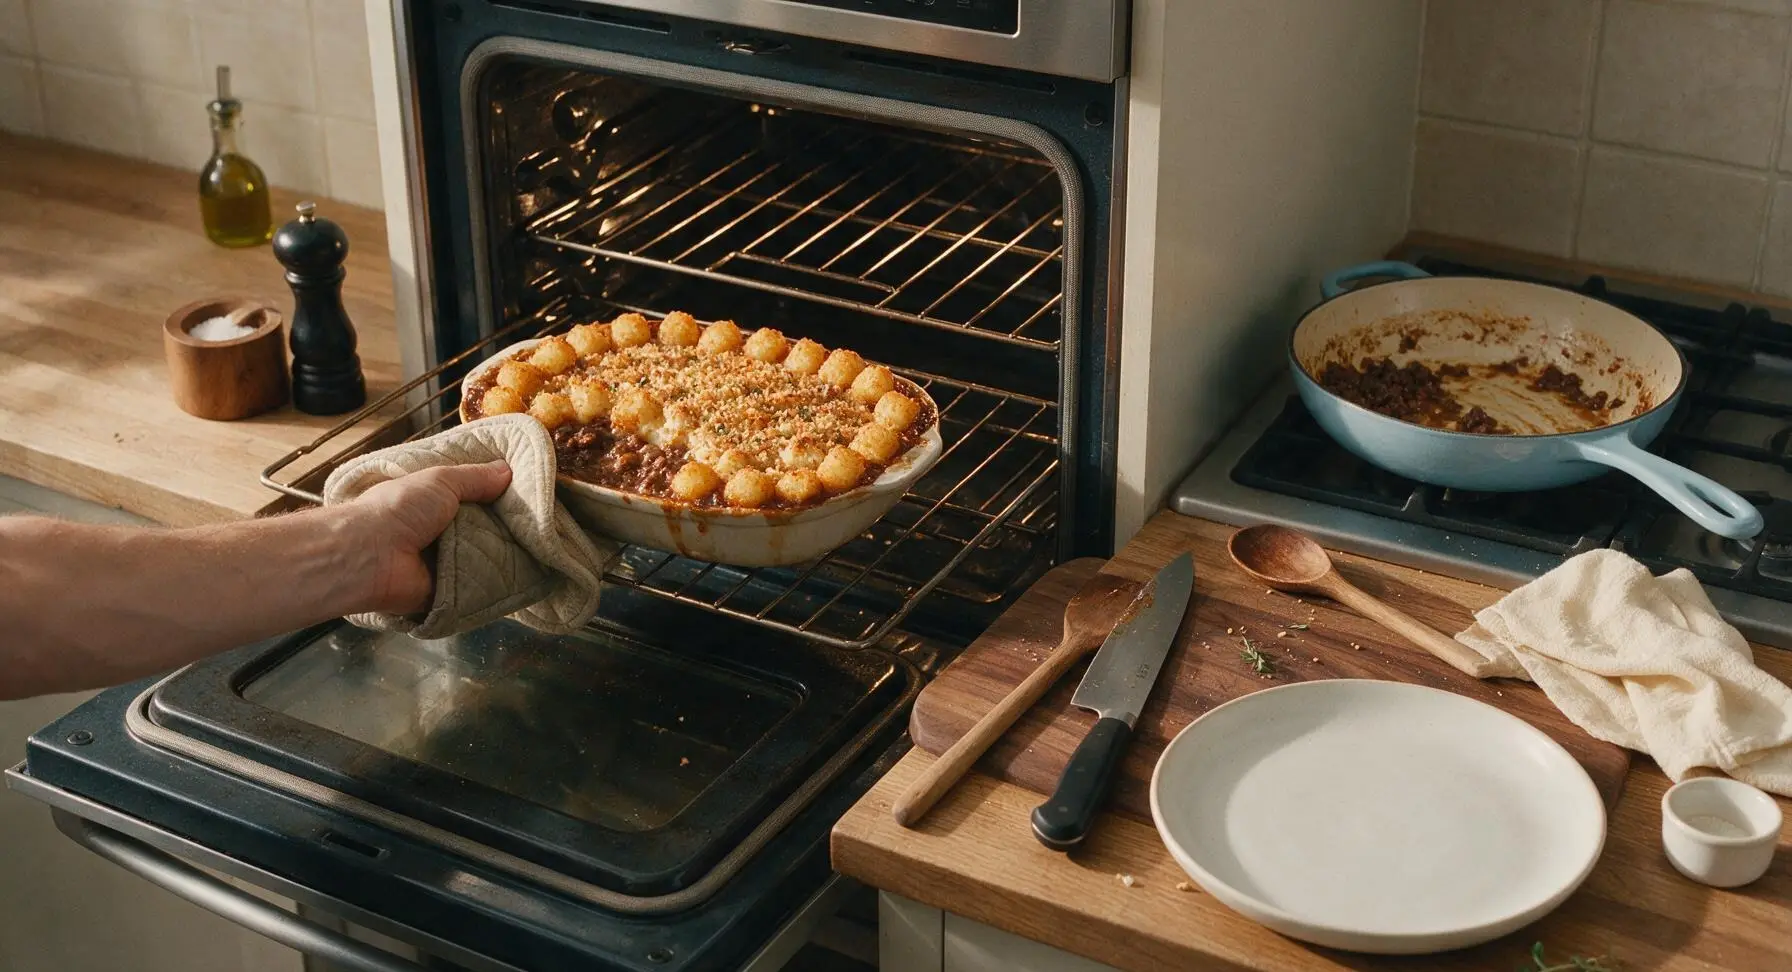
Carefully place the assembled baking dish on the middle oven rack. Bake uncovered for 40 minutes, until the filling is bubbling around the edges and the tater tots are deep golden and crispy on top. If the tots start to brown too quickly before the filling bubbles, tent loosely with a sheet of aluminum foil for the last 10 minutes of cook time.
Step 6
step6:Bake Until Golden Crisp
7

Rest and Garnish Hotdish

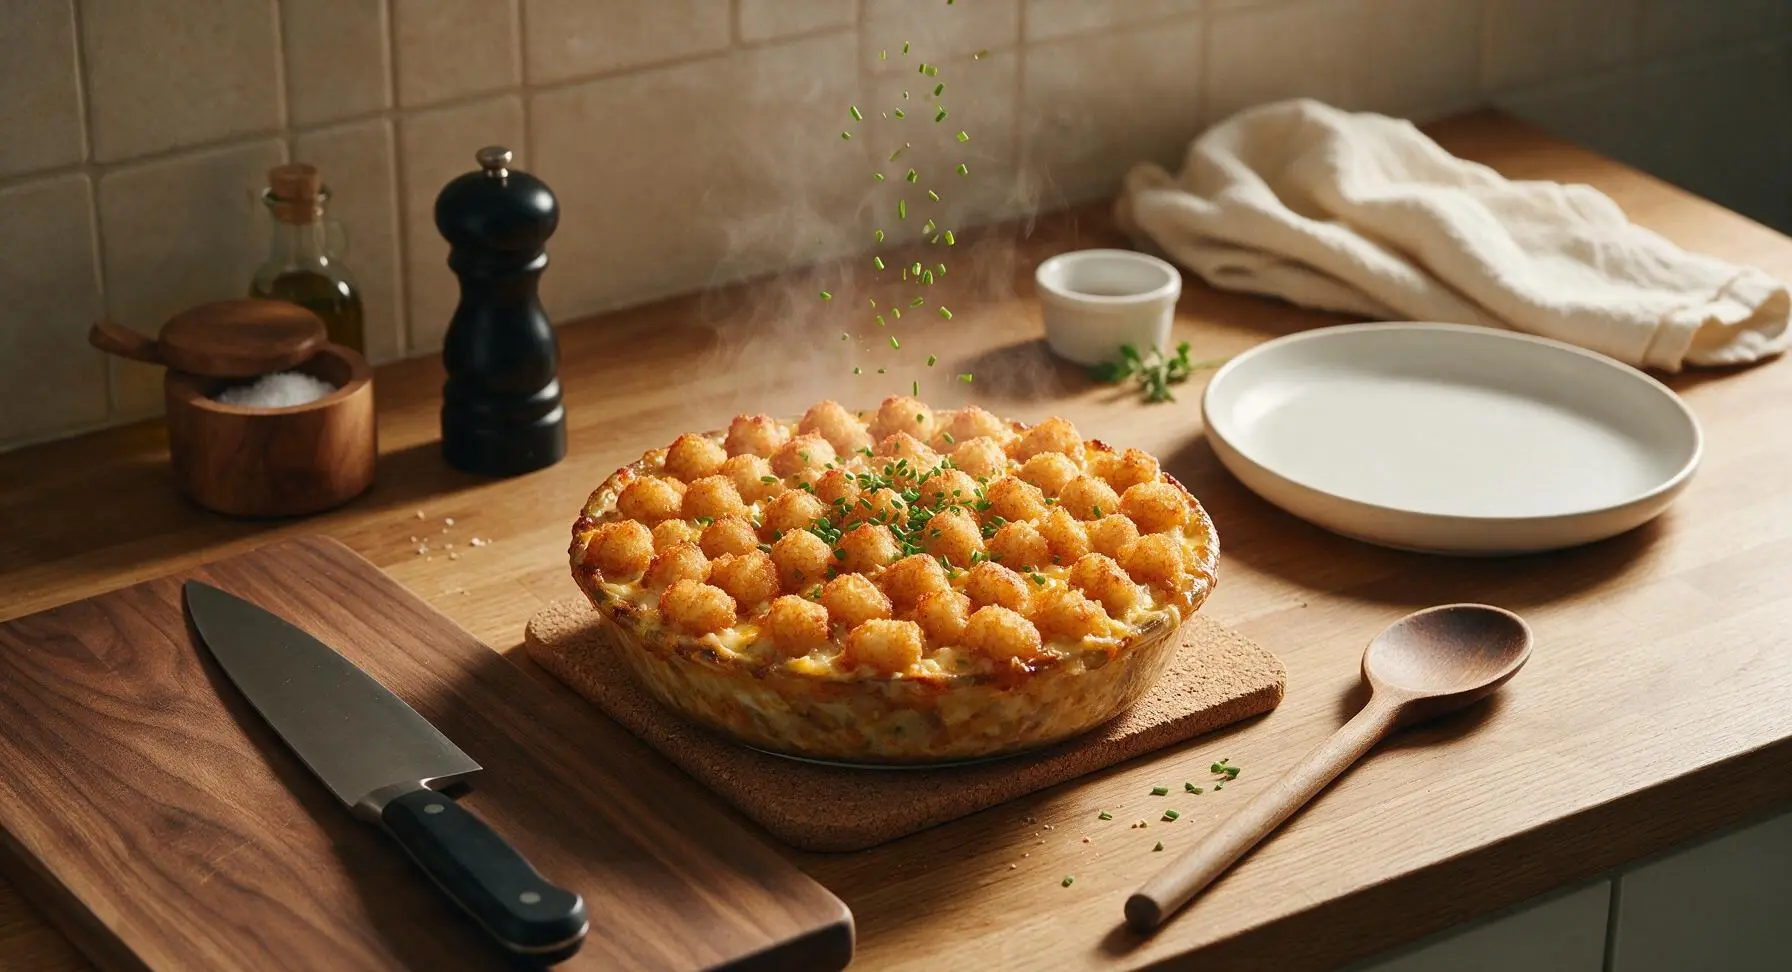
Once baked, use oven mitts to remove the hotdish from the oven, set it on the thin cork trivet (pulled from under the counter) on the work surface. Let it rest for 10 minutes to allow the filling to set, then sprinkle the top with 2 tbsp of freshly chopped chives for a bright, fresh garnish before serving.
Step 7
step7:Rest and Garnish Hotdish

Tips

1.Keep tater tots fully frozen until you arrange them on the casserole. Thawed tots absorb excess moisture from the creamy filling and turn soggy during baking, while rock-hard frozen tots develop a perfect crispy, crunchy exterior as they cook.
2.Let the hotdish rest for the full 10 minutes after removing it from the oven. This rest time lets the creamy filling set so it holds clean, neat squares when scooped, rather than running across the plate when served.
3.For extra-crispy tot crowns, give the arranged frozen tots a light, even mist of neutral cooking oil before baking. The oil helps the potato surfaces brown and crisp faster, instead of steaming from the heat of the bubbling filling below.


✨ You May Also Like

Main Course
🍜 United Kingdom

A showstopping classic of tender seared beef, savory mushroom duxelles, and crisp prosciutto wrapped in flaky golden puff pastry, baked to juicy perfection.

⏱️ 2 hours 1Main Course ★ 4.7
Main Course
🍜 India

Tender charred marinated chicken simmered in a rich, spiced creamy tomato sauce, this iconic Anglo-Indian curry pairs perfectly with basmati rice or warm naan.

⏱️ 50 minuteMain Course ★ 4.6
Main Course
🍜 Thailand

Classic tangy, sweet, and savory Thai stir-fried rice noodles with shrimp, tofu, and crunchy garnishes, balancing all five core Thai flavor profiles.

⏱️ 30 minuteMain Course ★ 4.5
Main Course
🍜 United Kingdom

Crispy golden beer-battered cod and fluffy double-fried chips, served with tangy tartar sauce and malt vinegar: the timeless, beloved British pub comfort classic.

⏱️ 45 minuteMain Course ★ 4.7
Main Course
🍜 Mexico

Smoky, chile-marinated pork tacos with caramelized pineapple, fresh cilantro, and lime: a beloved classic Mexican street food perfect for casual summer gatherings.

⏱️ 1 hour 45Main Course ★ 4.8
Main Course
🍜 United States

Crunchy Fritos corn chips layered with savory beef chili and melted cheddar, topped with cool, zesty fixings for a beloved, cozy Tex-Mex comfort food.

⏱️ 35 minuteMain Course ★ 4.8

molly yeh tot hotdish:Frequently Asked Questions

1.Why does this recipe specify 80/20 ground beef instead of a leaner blend? ▾
That 80/20 ratio is key for that classic cozy hotdish texture! The 20% fat content renders as the beef cooks, adding deep, savory flavor without extra added grease, and keeps the filling from drying out during baking. Leaner blends like 90/10 will leave you with crumbly, bland filling that lacks the rich, nostalgic mouthfeel Molly’s version is known for.
2.Can I prep this Molly Yeh tater tot hotdish ahead of time for a potluck? ▾
Absolutely! This hotdish was made for easy make-ahead potluck prep. Assemble the beef and vegetable filling fully, spread it in your baking dish, top with an even layer of tater tots, then cover tightly and refrigerate for up to 24 hours before baking. Add 5-7 minutes to your total bake time if cooking straight from the fridge, and bake uncovered to keep tots crispy.
3.What’s the best trick to get the top tater tots extra crispy instead of soggy? ▾
Skip covering the casserole for the full bake time! Arrange tater tots in a single, evenly spaced layer on top of the filling without overlapping, and bake on your middle oven rack at 400°F uncovered for the final 25 minutes. You can also broil for 1-2 minutes at the end for extra golden crunch, just watch closely to avoid burning the tot edges.
4.I don’t have Worcestershire sauce—what’s a good substitute for this recipe? ▾
If you’re out of Worcestershire, mix 1 teaspoon of soy sauce (or tamari for gluten-free) with 1/4 teaspoon apple cider vinegar and a tiny pinch of brown sugar per tablespoon of Worcestershire called for. This mix matches the umami, tangy, slightly sweet profile Worcestershire adds to the beef filling, so you won’t lose that deep, satiating savoriness.
5.Can I swap the yellow onion for another onion variety if that’s all I have? ▾
You totally can! Yellow onion is ideal for its mild, sweet caramelized flavor as it cooks with the beef, but white onion works as a direct 1:1 swap. If you only have red onion, it adds a slightly sharper bite—just dice it extra fine and sauté it 1-2 minutes longer to mellow out that raw edge before adding other filling ingredients.
6.How do I keep the hotdish filling from turning out too greasy? ▾
Stick to the recommended 80/20 ground beef, and after browning the beef, onions, and garlic, drain off any excess rendered fat that pools in the pan before adding your creamy sauce components. Leave about 1 tablespoon of fat to carry flavor, but pour off the rest to keep the filling rich without being oily or making the tater tot layer soggy.
7.What vegetables are used in Molly Yeh’s classic version of this hotdish? ▾
Molly’s take leans into beloved Upper Midwest mix-ins: frozen mixed peas, carrots, and corn are standard, since they’re affordable, hold up well to baking, and add bright pops of color and sweetness against the savory beef. You can stir in diced green beans or chopped mushrooms too, just cook fresh veggies down first to avoid excess water making the filling runny.
8.Can I use frozen pre-chopped onion and garlic to cut down on prep time? ▾
Definitely! This is a low-fuss comfort food recipe, so pre-chopped frozen aromatics are a totally acceptable shortcut. Use 1 cup of frozen diced yellow onion and 1 tablespoon of frozen minced garlic as a direct swap for fresh, sautéing them straight from frozen with the ground beef. You won’t notice a flavor difference, and you’ll cut 5+ minutes off weeknight prep.
9.What kind of cheese works best for that signature creamy, cheesy filling? ▾
For that classic stretchy, melty texture, use a block of sharp cheddar you shred yourself—pre-shredded cheese has anti-caking agents that can make the filling grainy. A mix of 2/3 sharp cheddar and 1/3 mozzarella adds great tang and perfect cheese pull, but you can swap in a little pepper jack if you want a subtle spicy kick to cut through richness.
10.Can I use a different oil instead of extra-virgin olive oil for sautéing? ▾
You bet! Extra-virgin olive oil adds a nice subtle fruity note to the flavor base, but any neutral high-smoke-point oil works as a 1:1 swap. Canola oil, vegetable oil, or even melted unsalted butter will work perfectly—just avoid strongly flavored oils like toasted sesame oil that will overpower the cozy, familiar, savory profile of this classic comfort food.
11.How long do leftovers stay fresh, and what’s the best way to reheat them? ▾
Leftovers will keep for 3 to 4 days stored in an airtight container in the fridge. For the best texture, reheat individual portions in the oven at 350°F for 10-12 minutes, or in an air fryer at 375°F for 5-7 minutes, to crisp the tater tots back up. Microwaving works in a pinch, but it will leave the tater tot top soft and slightly soggy.
12.Can I freeze this hotdish to bake later for a quick future meal? ▾
Yes, this hotdish freezes beautifully! Assemble it fully (don’t bake it first) in a freezer-safe baking dish, wrap tightly in two layers of plastic wrap and one layer of aluminum foil, and freeze for up to 3 months. When ready to bake, thaw it in the fridge overnight, then bake uncovered at 400°F for 40-45 minutes until the filling bubbles and tots are golden.
13.Do I need to thaw frozen tater tots before placing them on the casserole? ▾
Skip thawing your tater tots entirely! Using rock-solid frozen tater tots straight from the bag is the secret to getting that crispy, crunchy exterior and fluffy, tender interior as they bake. Thawed tots release extra moisture as they cook, leading to a soggy, mushy top layer instead of that perfect golden crown the hotdish is famous for.
14.What sides pair best with this rich, comforting tater tot hotdish? ▾
Keep sides simple and bright to cut through the rich, cheesy filling! A crisp side salad tossed with tangy vinaigrette, quick pickled cucumber slices, or steamed buttered broccoli all work perfectly. You don’t need heavy sides—this hotdish is already hearty and filling, so a light, fresh, acidic side is all you need to balance out the meal.
15.Can I swap the ground beef for a different protein to fit dietary needs? ▾
You can easily swap 80/20 ground beef for ground turkey or chicken, just add an extra tablespoon of olive oil when browning to make up for lower fat content so the filling doesn’t dry out. For a vegetarian version, use plant-based ground crumbles, and double check your Worcestershire is anchovy-free, since many standard brands contain fish products.
16.How do I tell when the hotdish is fully done baking and ready to serve? ▾
You’ll know it’s done when the creamy filling is bubbling hot all around the edges of the dish, the internal temperature of the beef filling hits 165°F on an instant-read thermometer, and the tater tots on top are deep golden brown and crispy on all sides. Let it rest 5 minutes after pulling it from the oven so the filling sets a little before serving.
17.Can I make this tater tot hotdish in a slow cooker instead of the oven? ▾
You can, with one small adjustment to keep tots crispy! Cook the browned beef, onion, garlic, and creamy filling on low for 3-4 hours in your slow cooker, then add tater tots in a single layer on top for the last 45 minutes of cook time. Prop the lid open slightly with a wooden spoon to let steam escape, which prevents tots from turning soggy as they cook.

Comments (4)

3 days ago

OMG this tater tot hotdish is an absolute game changer! I brought it to our neighborhood potluck last weekend and every single person asked for the recipe. It was so easy to throw together even on a busy weeknight, my kids devoured two helpings each and asked for it again for dinner this week. The creamy ground beef and veggie base under the crispy tater tots is *chef’s kiss* perfect comfort food.

2 days ago

Wait did you add any extra cheese? I’m making this for my kid’s soccer team dinner this weekend and wondering if a little extra cheddar would slap.

yesterday

So glad it was a hit at the potluck! A sprinkle of extra sharp cheddar between the beef layer and tater tots is absolutely delicious if you want an extra cheesy kick, it holds up great for large group meals too!

1 week ago

SO good, I prepped all the components on Sunday and popped it in the oven after work on Monday and it came out perfectly in 50 minutes exactly like the recipe said. I swapped the green beans for corn because that’s what I had in the pantry and it still slapped. Super easy, minimal cleanup, will be going into my regular weeknight rotation for sure.

5 days ago

Love that pantry swap! Corn works so beautifully with the creamy sauce and crispy tots, so smart to prep ahead for busy work nights. Thanks for giving it a try!

2 weeks ago

I grew up eating tater tot hotdish at family dinners up north and this Molly Yeh recipe tastes almost exactly like my grandma used to make! Only reason I’m knocking off one star is I wish it had a little more seasoning in the base, I added a dash of paprika and garlic powder and it was perfect. Super easy, totally doable for a beginner, I’m already planning to make it for our next Sunday family dinner when my siblings come into town.

5 days ago

Wait this is so easy and cheap to make? I made it in my tiny dorm oven (shoutout to my RA for letting me use the kitchen) and my roommates all lost their minds. We ate half the pan straight out of the oven while we studied for midterms, 10/10 no notes. Way better than the dining hall food for sure.

3 days ago

Omg how did you fit the pan in those tiny dorm ovens? I’ve been scared to try it in mine because I thought my baking sheet was too big! Did you use a smaller 9x9 pan?



