
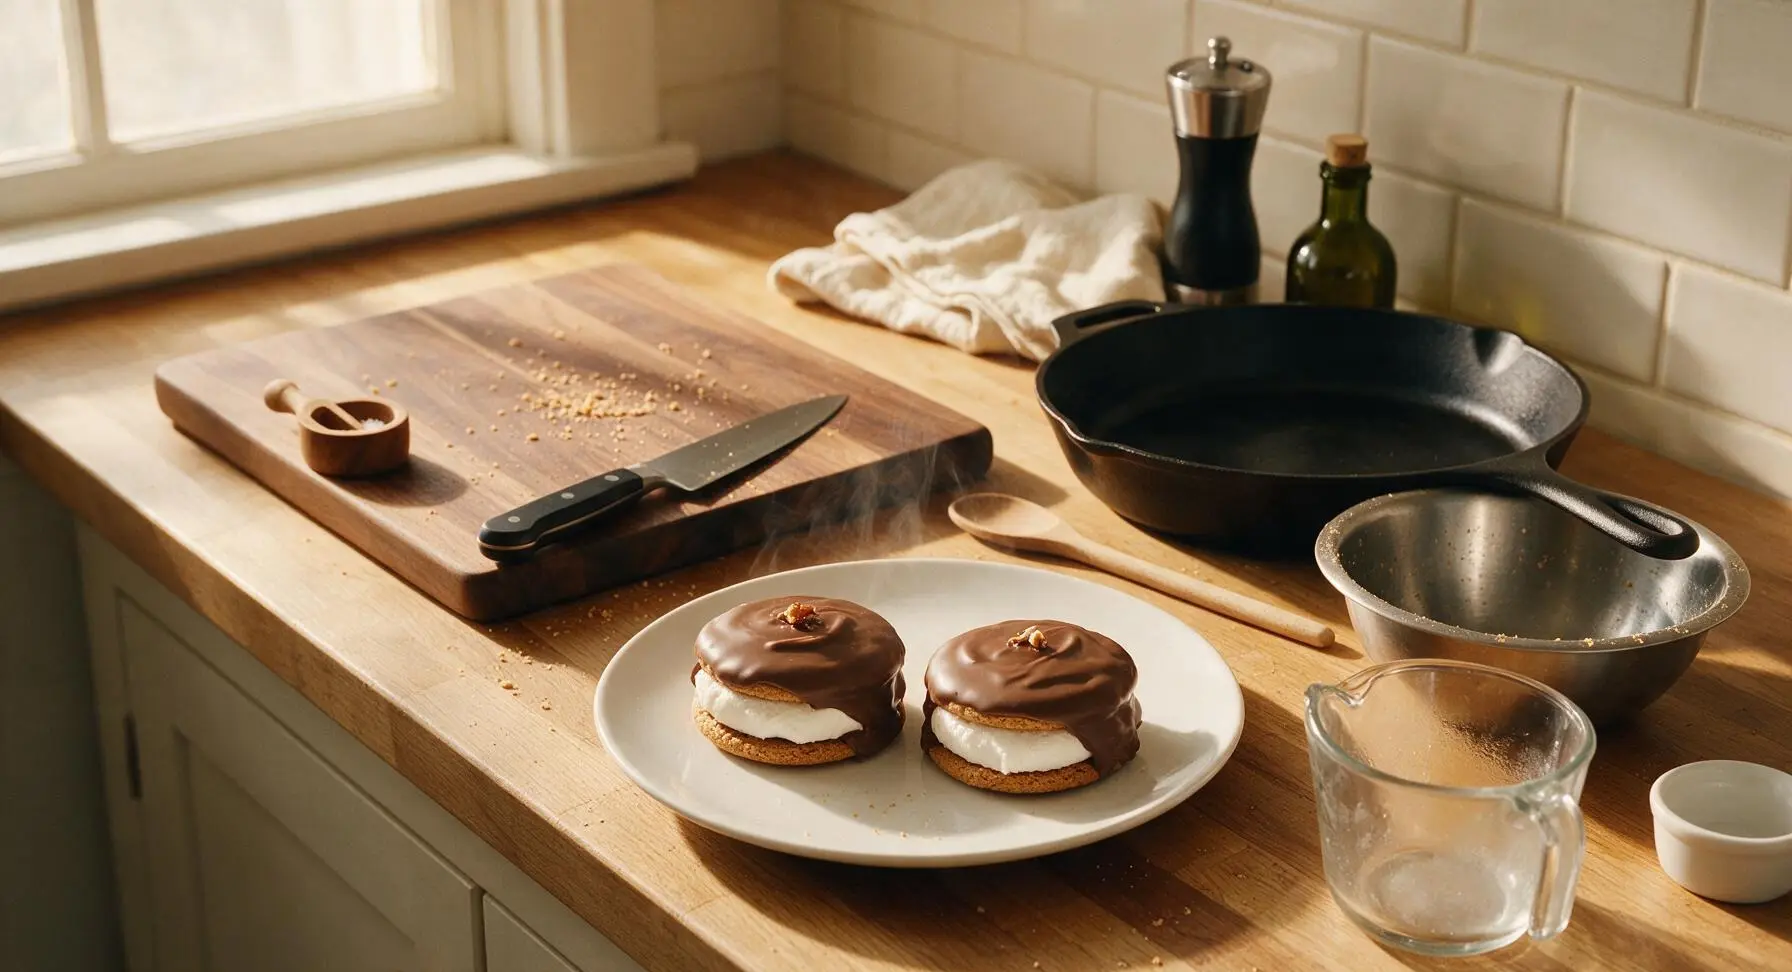
Moon Pies

title 1
Moon Pies
⏱️ cook time 12 minutes
🍽️ servings 12
⚡ Difficulty medium

intro

Soft spiced graham cookies sandwiched around fluffy marshmallow, enrobed in smooth milk chocolate—this nostalgic homemade take on the classic Southern Moon Pie is pure cozy comfort.

Ingredients
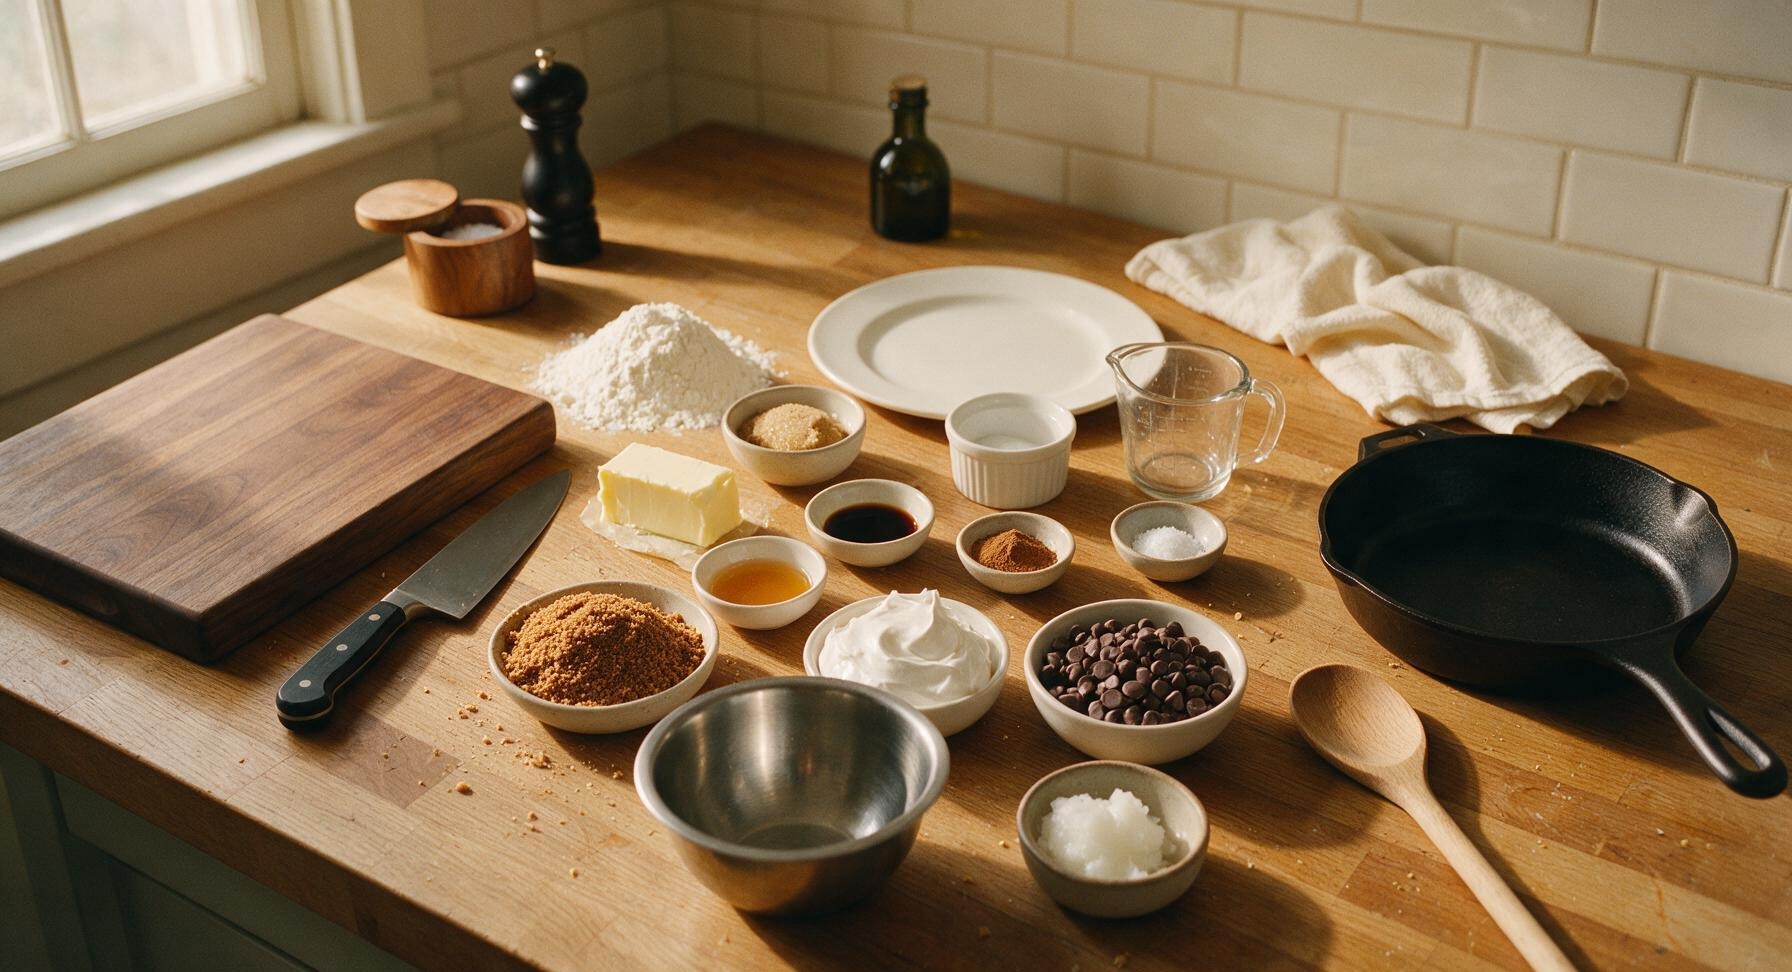
All-purpose flour 180g (1.5 cups)
Finely ground graham cracker crumbs 80g (1 cup)
Unsalted butter, softened to room temperature 113g (1 stick)
Packed light brown sugar 100g (1/2 cup)
Honey 30ml (2 tbsp)
Pure vanilla extract 5ml (1 tsp)
Baking soda 2.5g (1/2 tsp)
Ground cinnamon 2g (1 tsp)
Fine sea salt 1.5g (1/4 tsp)
Marshmallow creme (fluff) 210g (one 7oz jar)
Milk chocolate chips 340g (2 cups)
Unrefined coconut oil 28g (2 tbsp)

Steps

1

Whisk Dry Cookie Ingredients

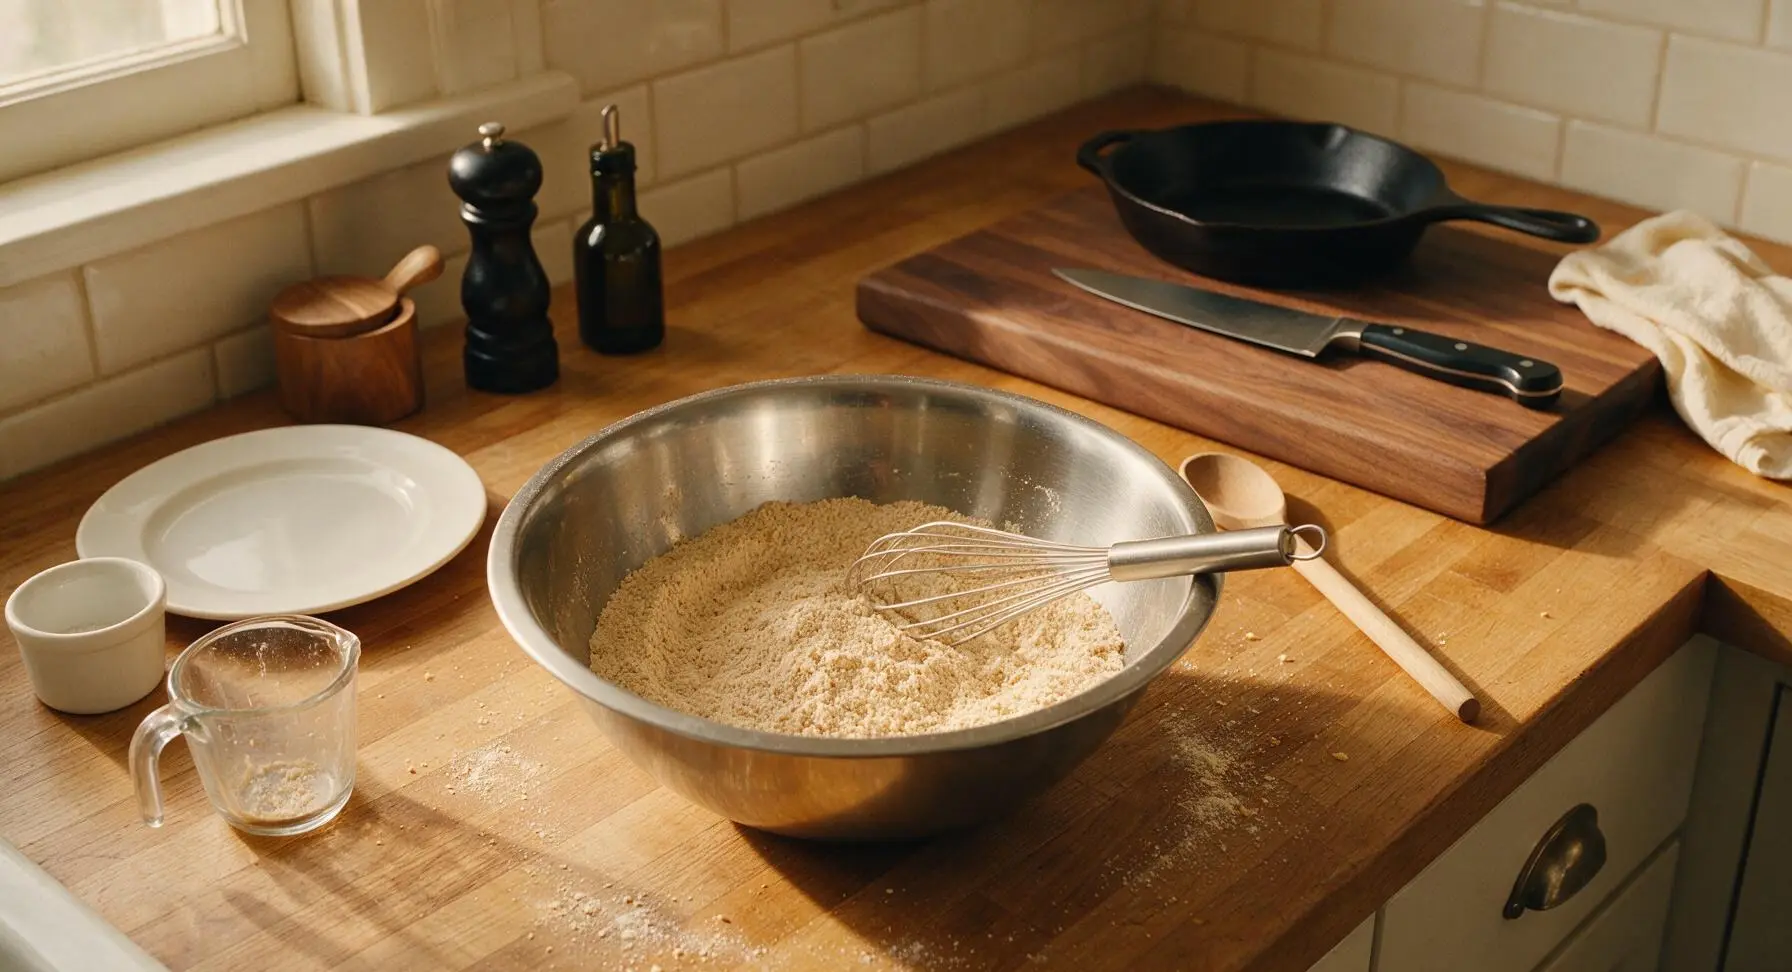
In the large stainless steel mixing bowl, combine 180g all-purpose flour, 80g finely ground graham cracker crumbs, 2.5g baking soda, 2g ground cinnamon, and 1.5g fine sea salt. Whisk vigorously for 30 seconds until fully blended, with no clumps of cinnamon or baking soda visible. Set the bowl aside.
Step 1
step1:Whisk Dry Cookie Ingredients
2

Cream Butter and Sugar

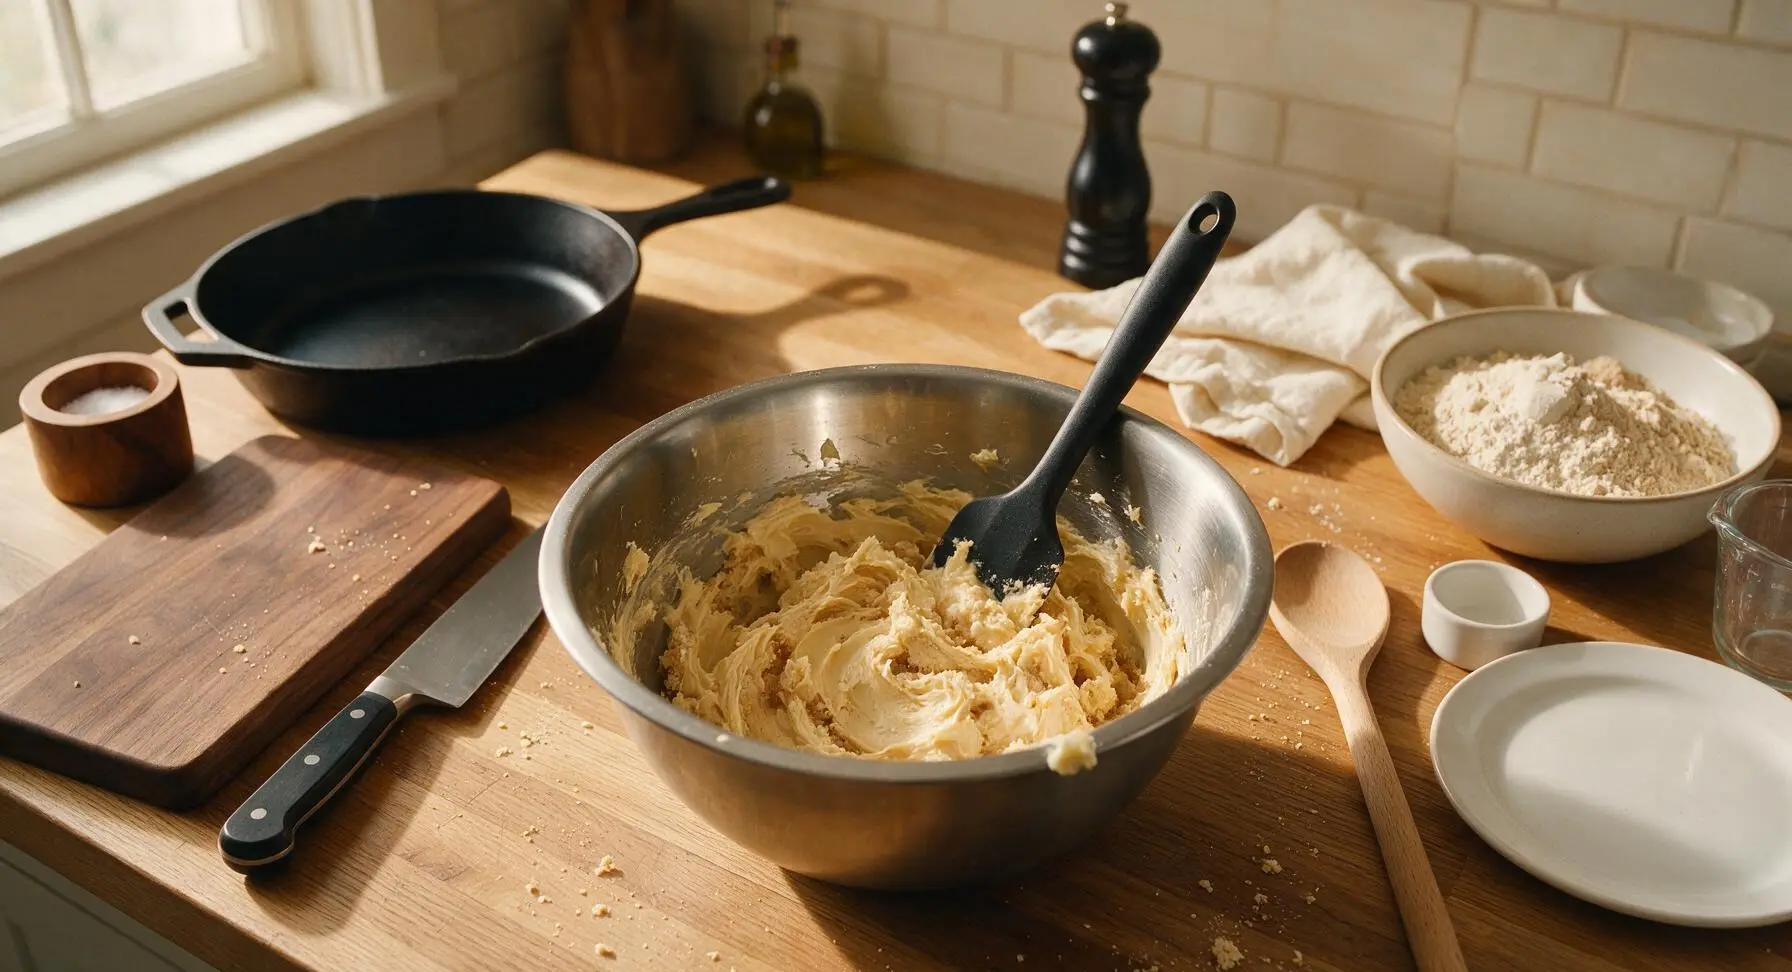
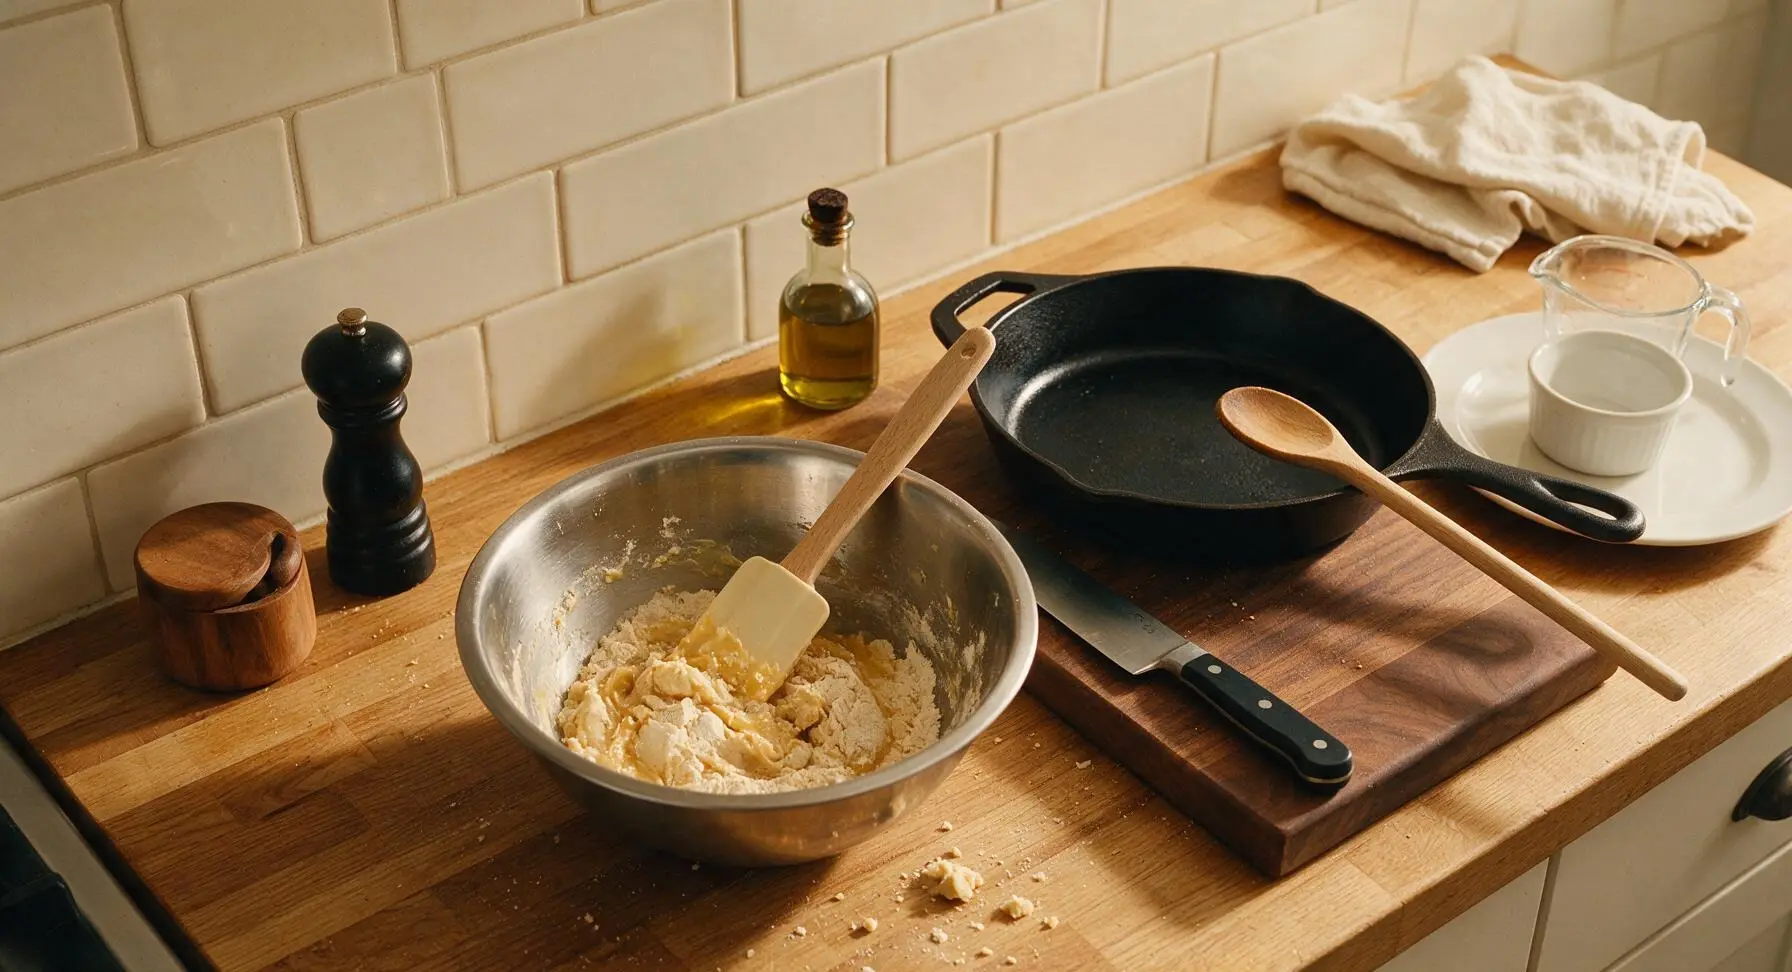
In the medium stainless steel mixing bowl, add 113g softened unsalted butter and 100g packed light brown sugar. Use the matte black silicone spatula to beat the mixture together for 2 minutes until it is light, fluffy, and pale golden in color, with no visible lumps of butter. Stir in 30ml honey and 5ml vanilla extract until fully incorporated, about 30 seconds.
Step 2
step2:Cream Butter and Sugar
3

Combine and Chill Dough

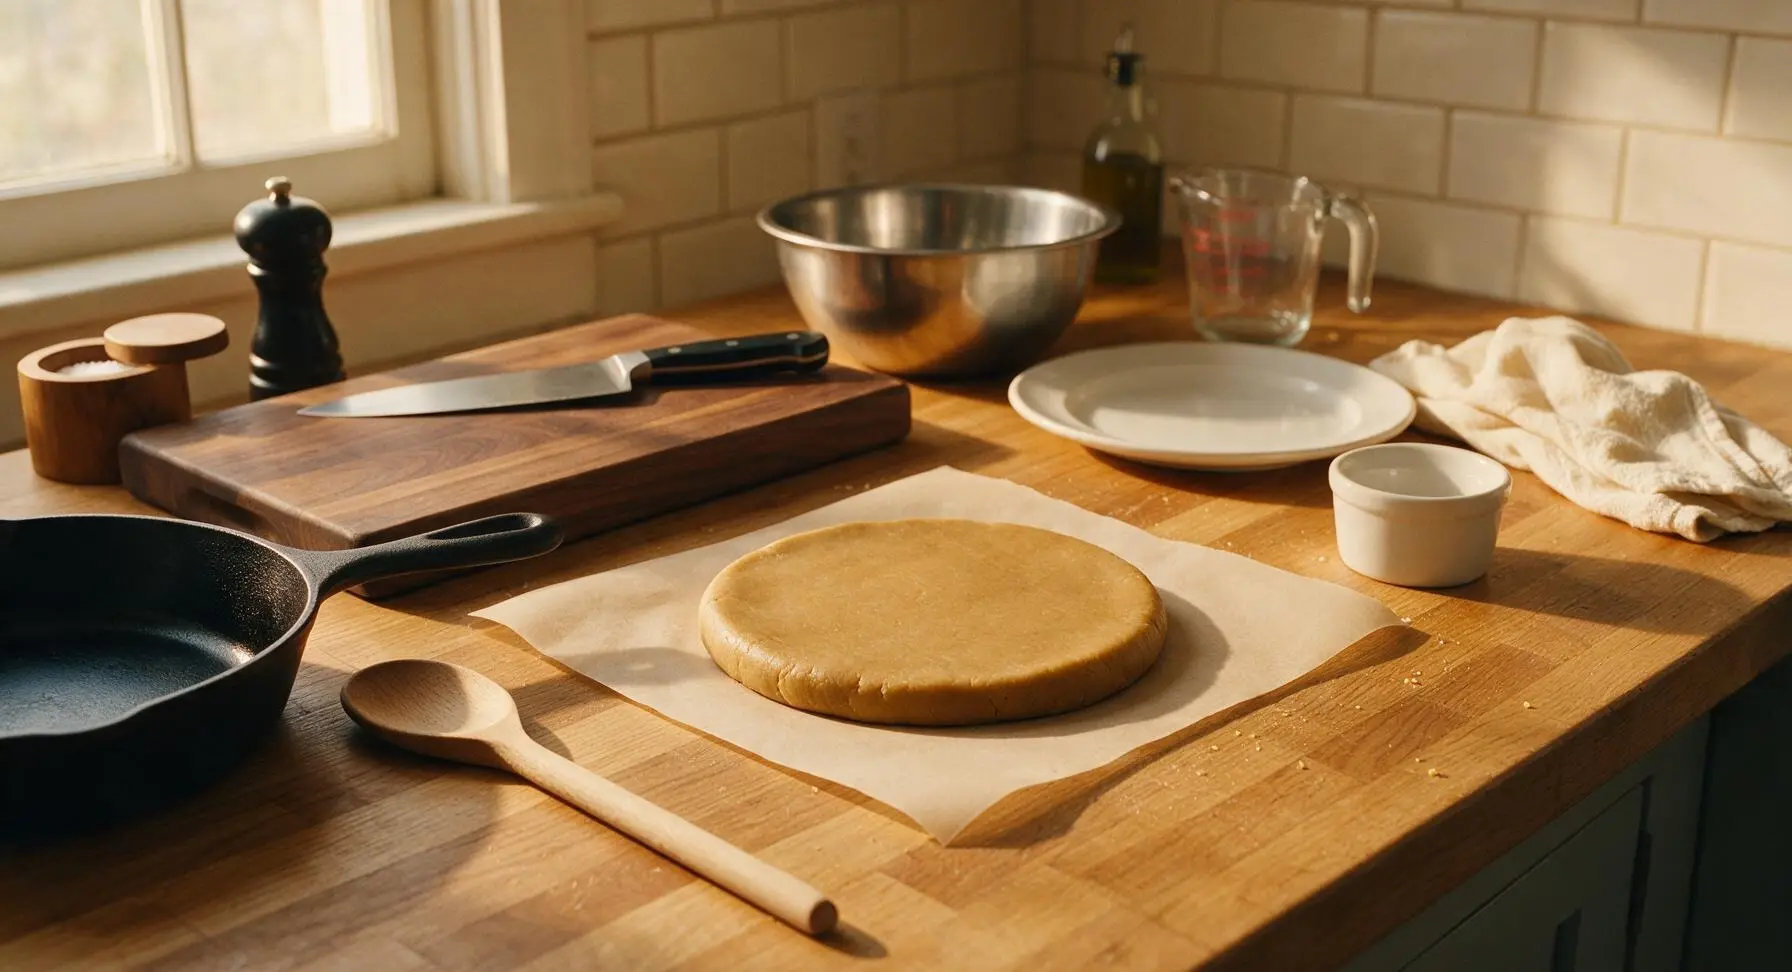
Pour the dry ingredient mixture into the bowl with the creamed butter, stirring gently with the silicone spatula until a stiff, uniform dough forms, with no dry flour pockets remaining. Turn the dough out onto a sheet of unbleached parchment paper, pat into a 2cm thick flat disk, wrap tightly, and chill in the refrigerator for 20 minutes until firm enough to roll without sticking.
Step 3
step3:Combine and Chill Dough
Step 3
step3:Combine and Chill Dough
4

Roll and Cut Rounds

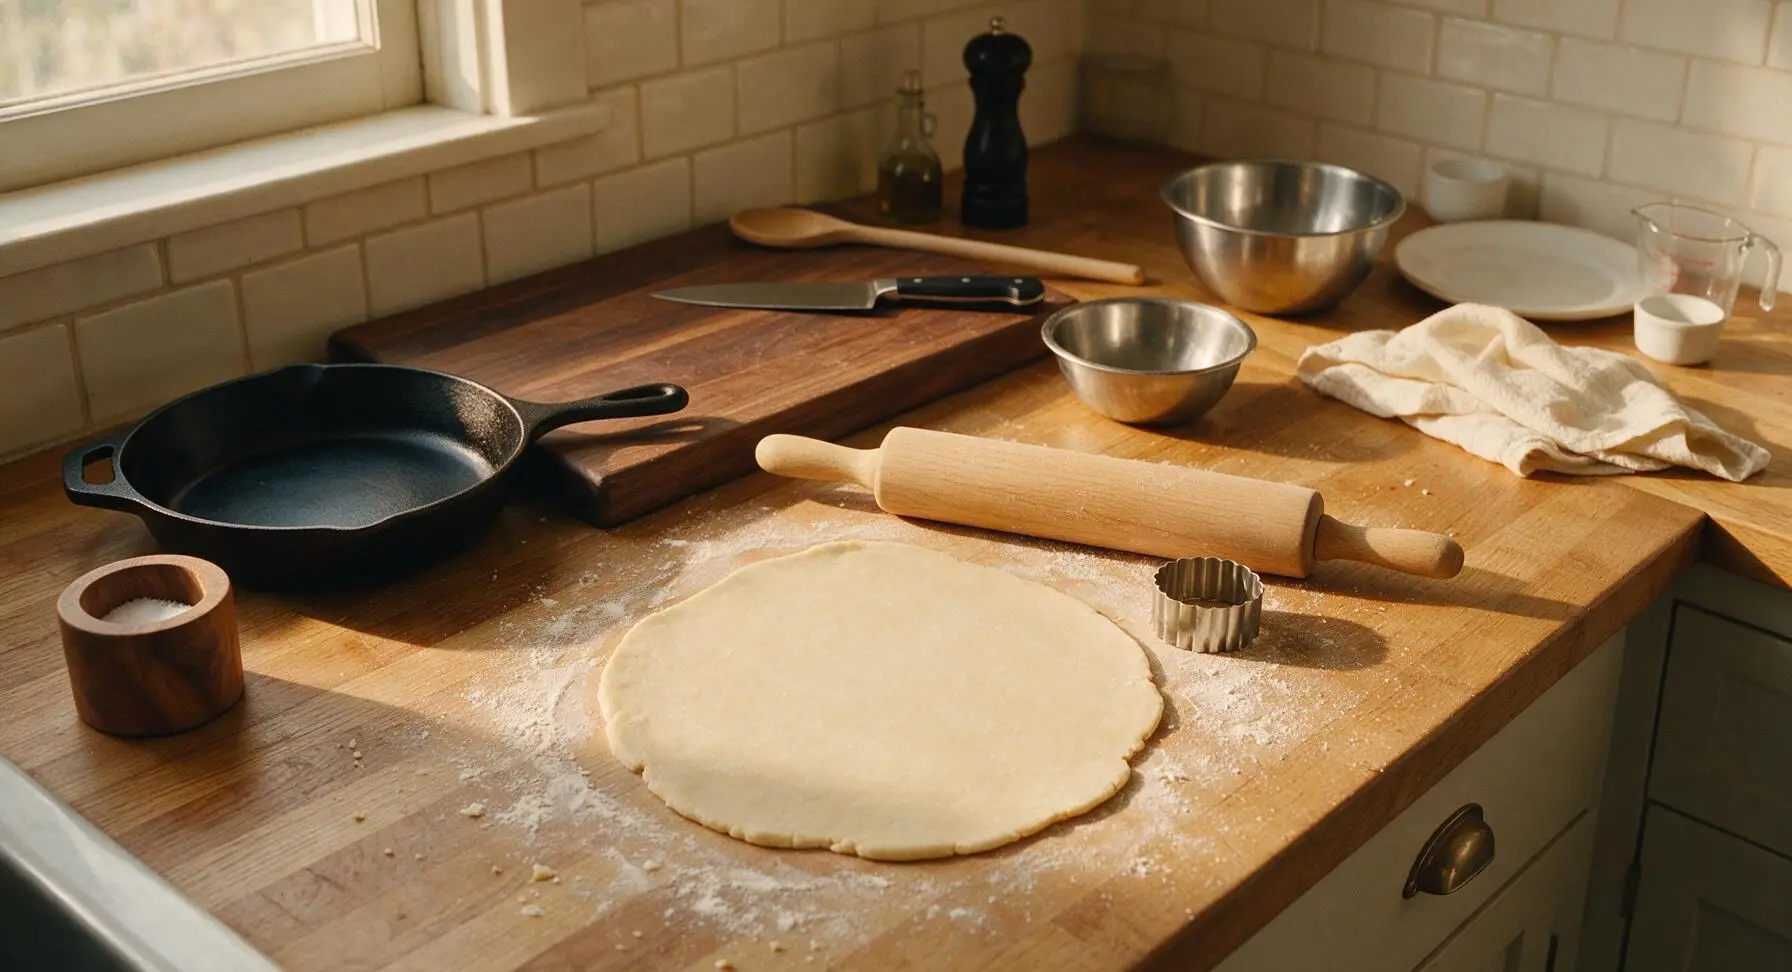
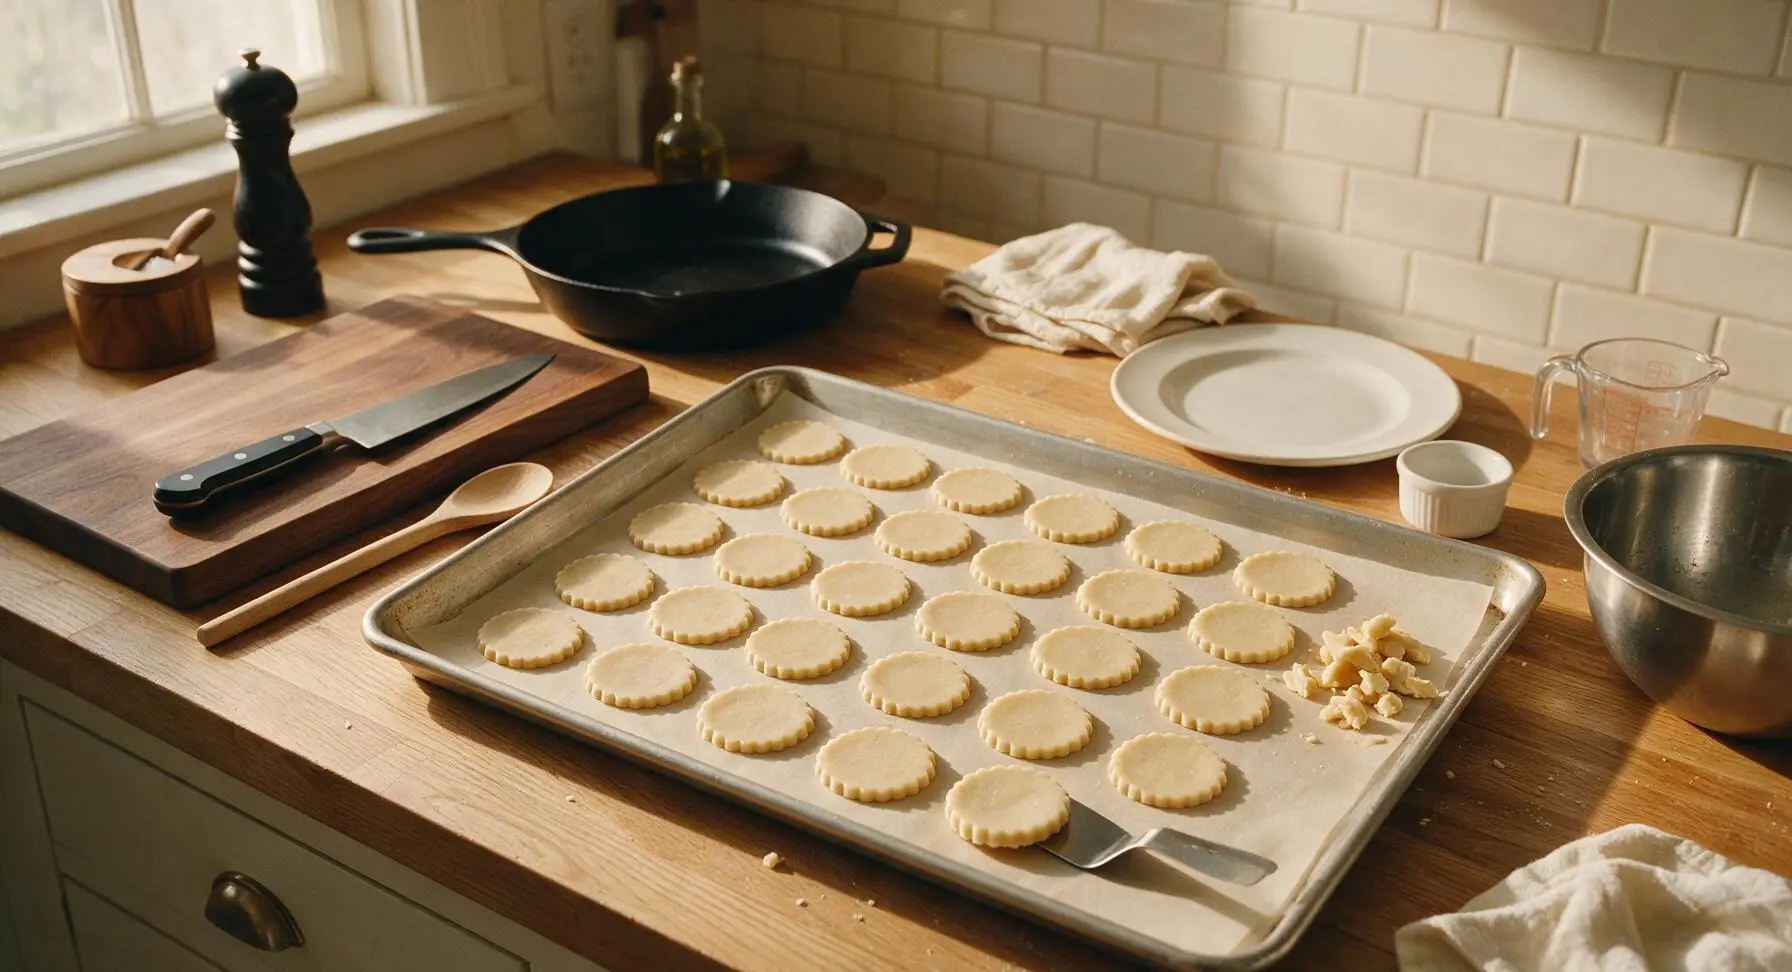
Remove the chilled dough from the refrigerator. Lightly flour the counter surface, then use the beech wood rolling pin to roll the dough to an even 4mm (1/6 inch) thickness. Use the 2-inch fluted round cookie cutter to cut out 24 even rounds, re-rolling dough scraps once to get enough rounds. Arrange the cut rounds 2cm apart on the parchment-lined aluminum baking sheet.
Step 4
step4:Roll and Cut Rounds
Step 4
step4:Roll and Cut Rounds
5

Bake Graham Cookies

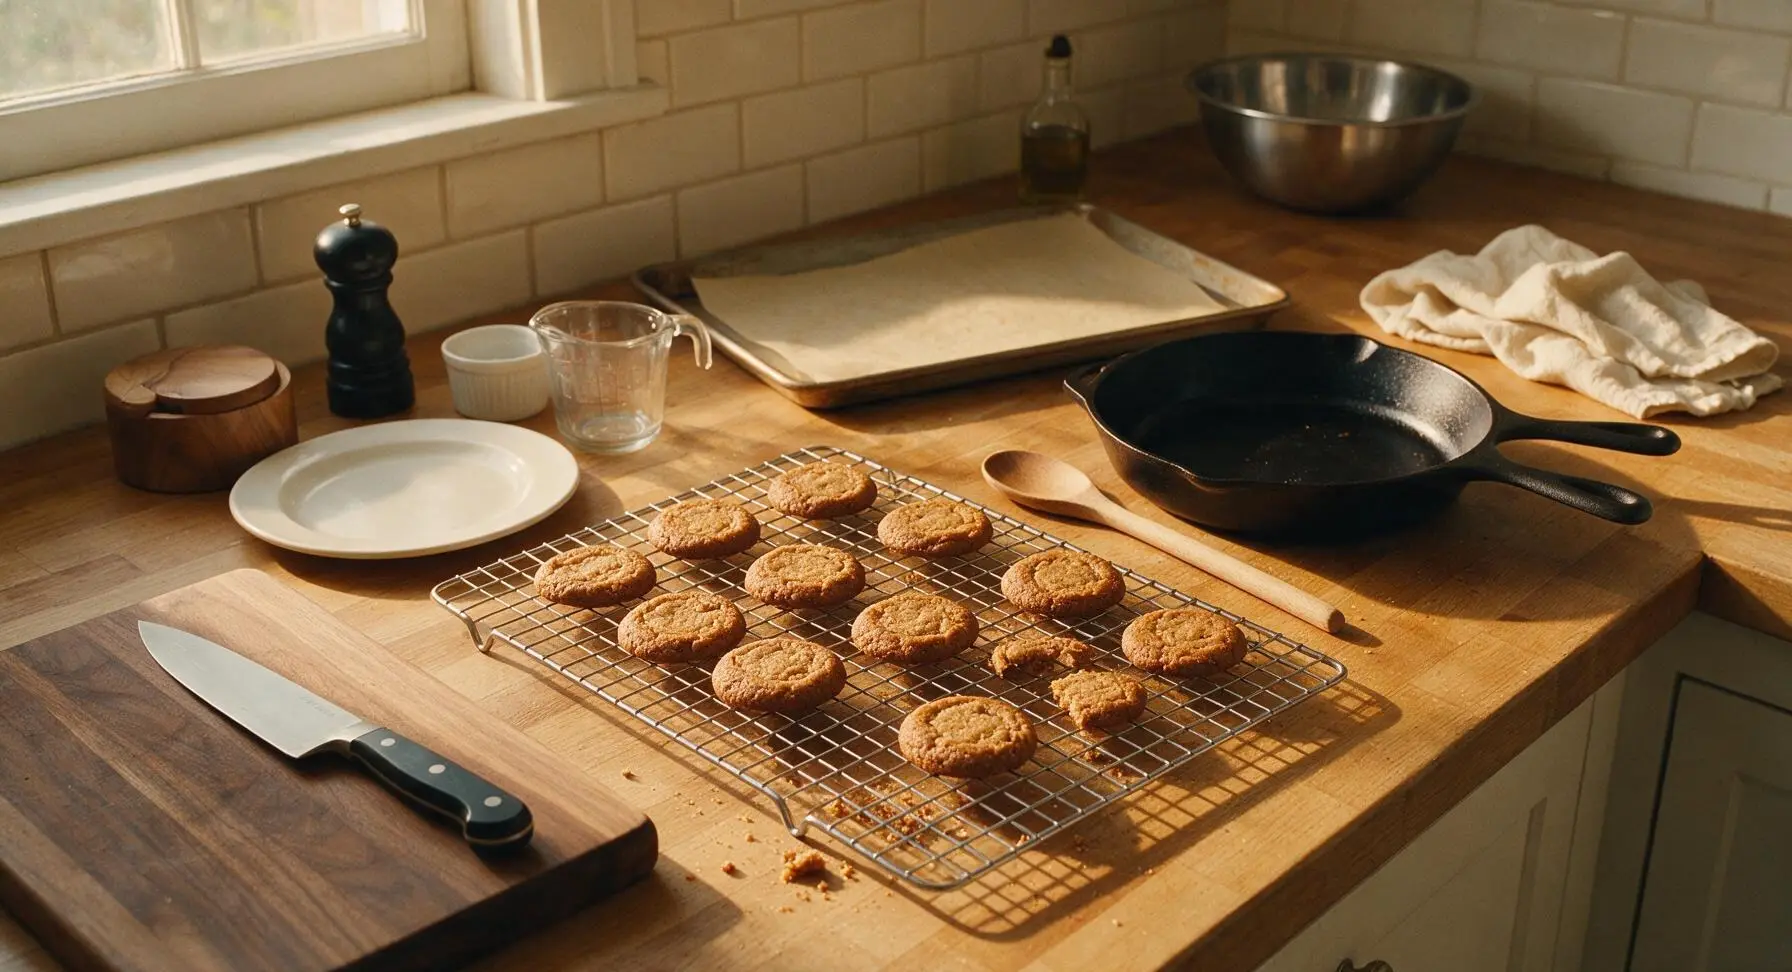
Place the baking sheet in a preheated 175C (350F) oven for 10-12 minutes, until the cookie edges are just golden brown and the centers are set. Remove from the oven, let cookies rest on the baking sheet for 5 minutes, then transfer to the chrome wire cooling rack to cool completely to room temperature (about 20 minutes) before assembling. Warm cookies will be too soft to sandwich, so do not skip full cooling.
Step 5
step5:Bake Graham Cookies
6

Add Marshmallow Filling

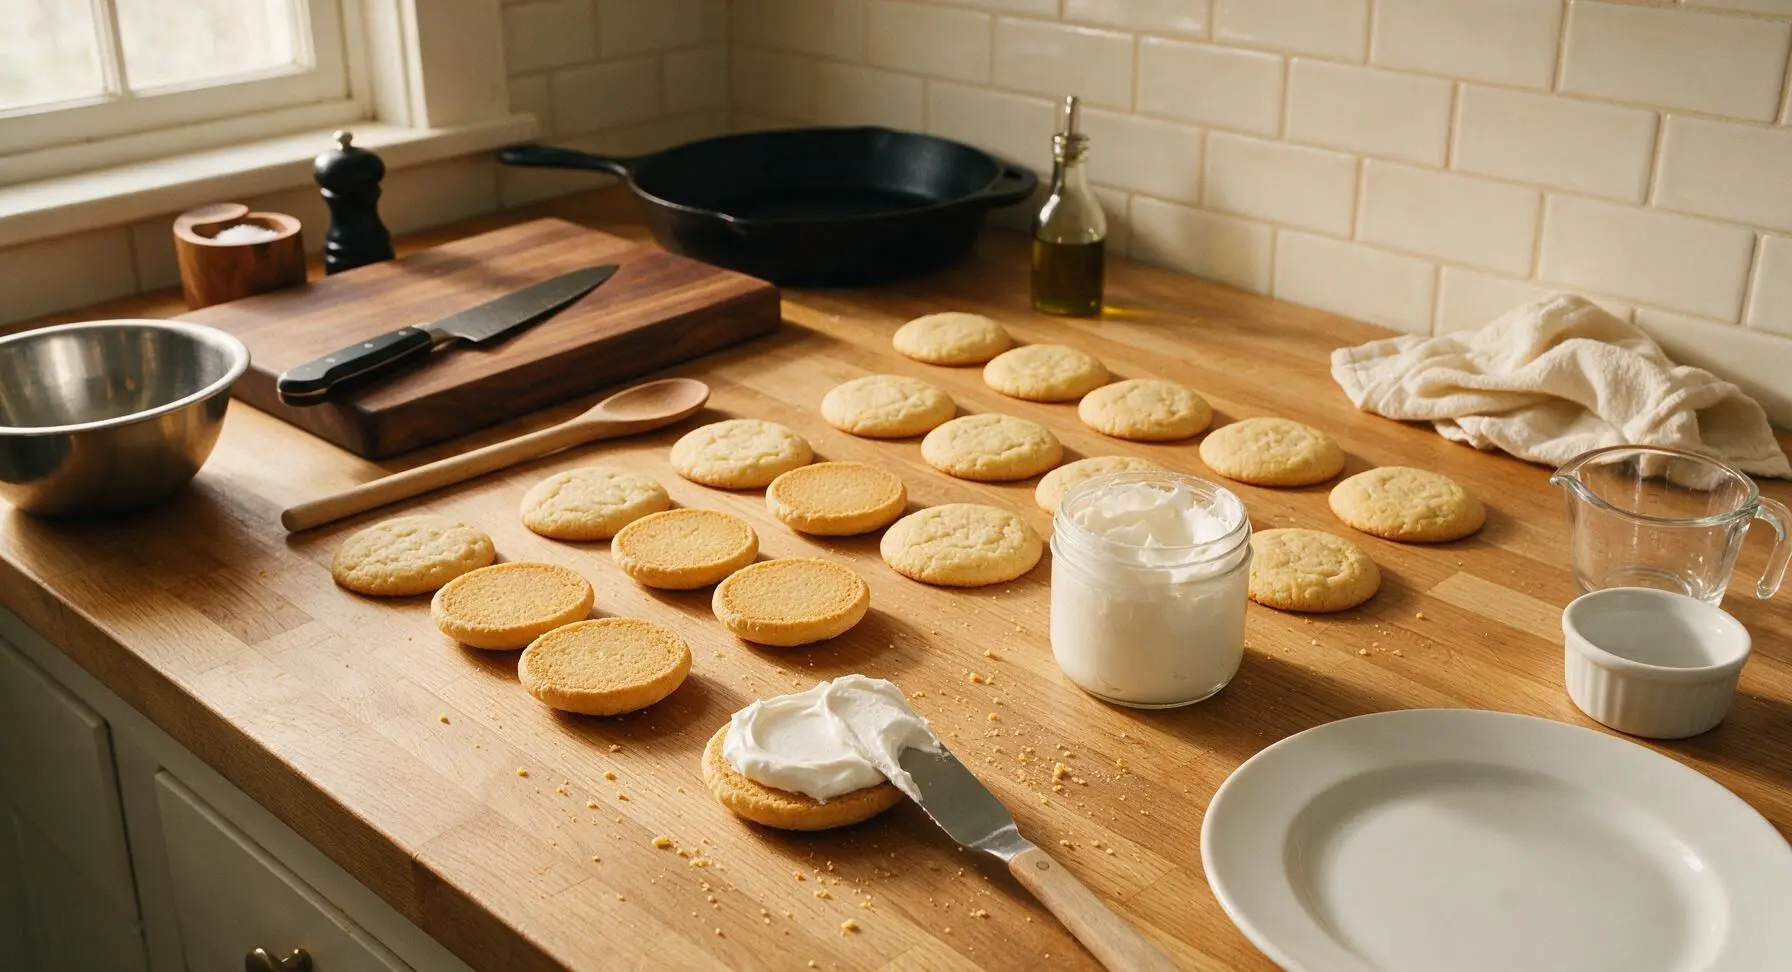
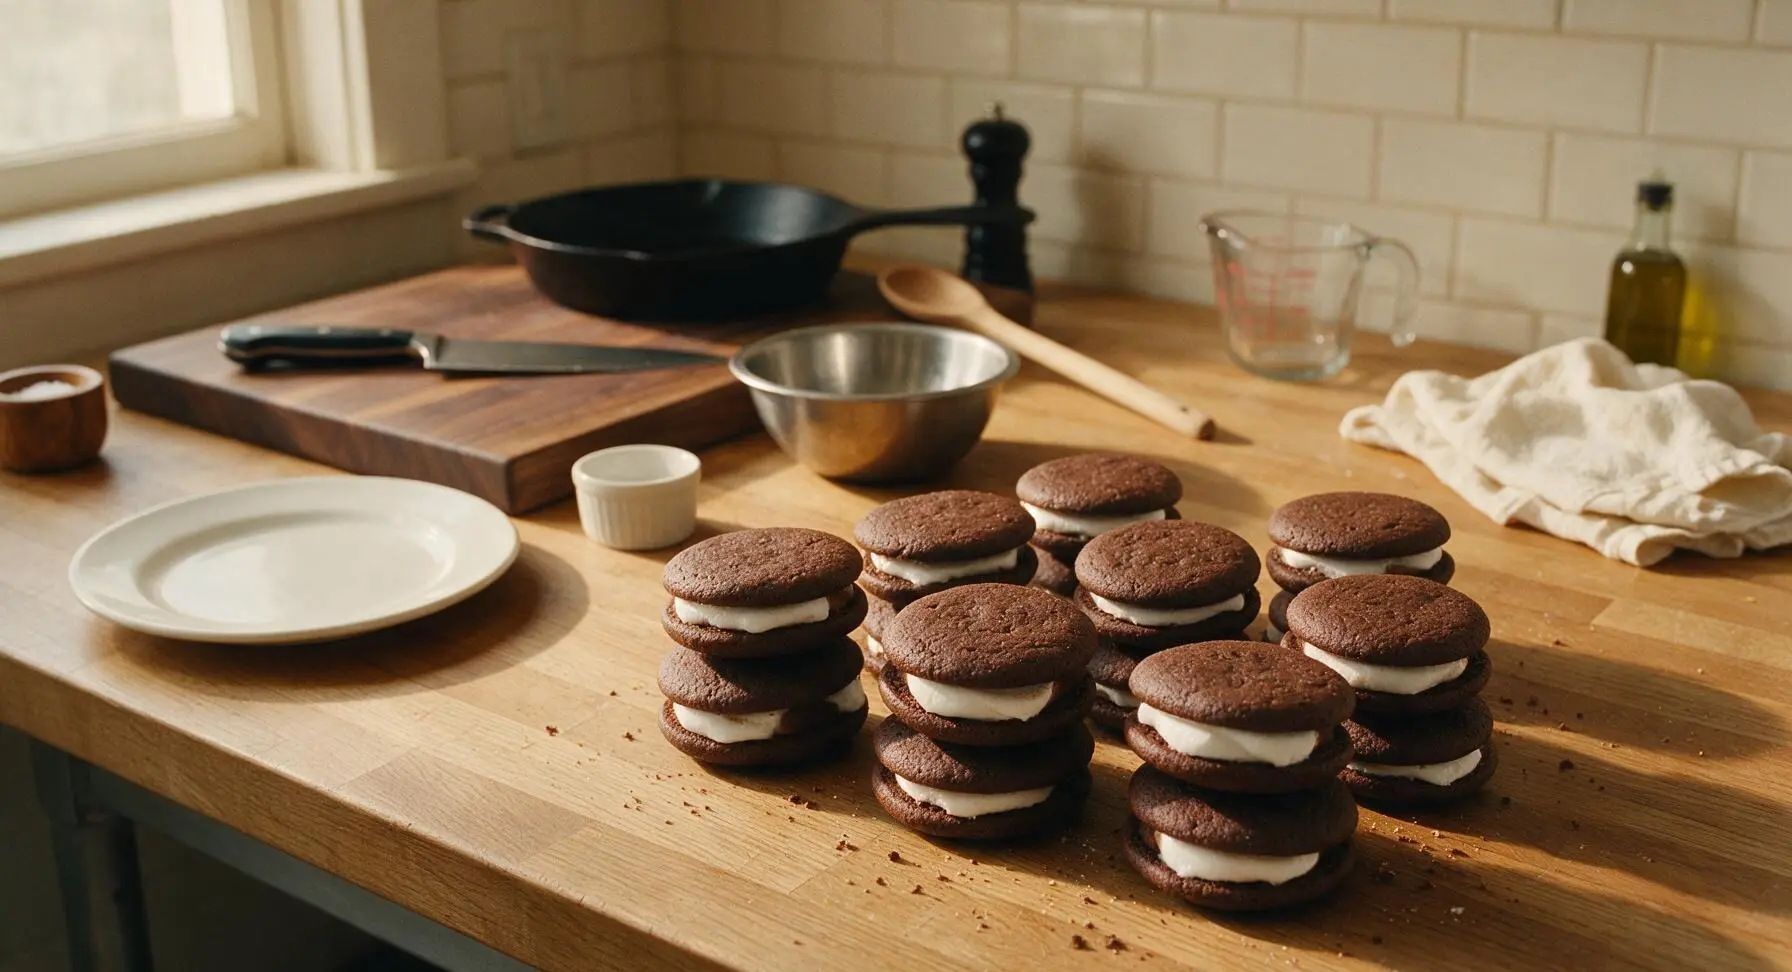
Once cookies are fully cool, flip half of the rounds (12 total) flat-side up. Use the offset spatula to spread a generous 1 tablespoon (15g) of marshmallow creme evenly over the flat side of each flipped cookie, leaving a 2mm border around the edge to prevent oozing when pressed. Top each marshmallow-covered cookie with a second cookie round, flat-side down, pressing gently until the filling spreads almost to the cookie edges.
Step 6
step6:Add Marshmallow Filling
Step 6
step6:Add Marshmallow Filling
7

Melt Chocolate Coating

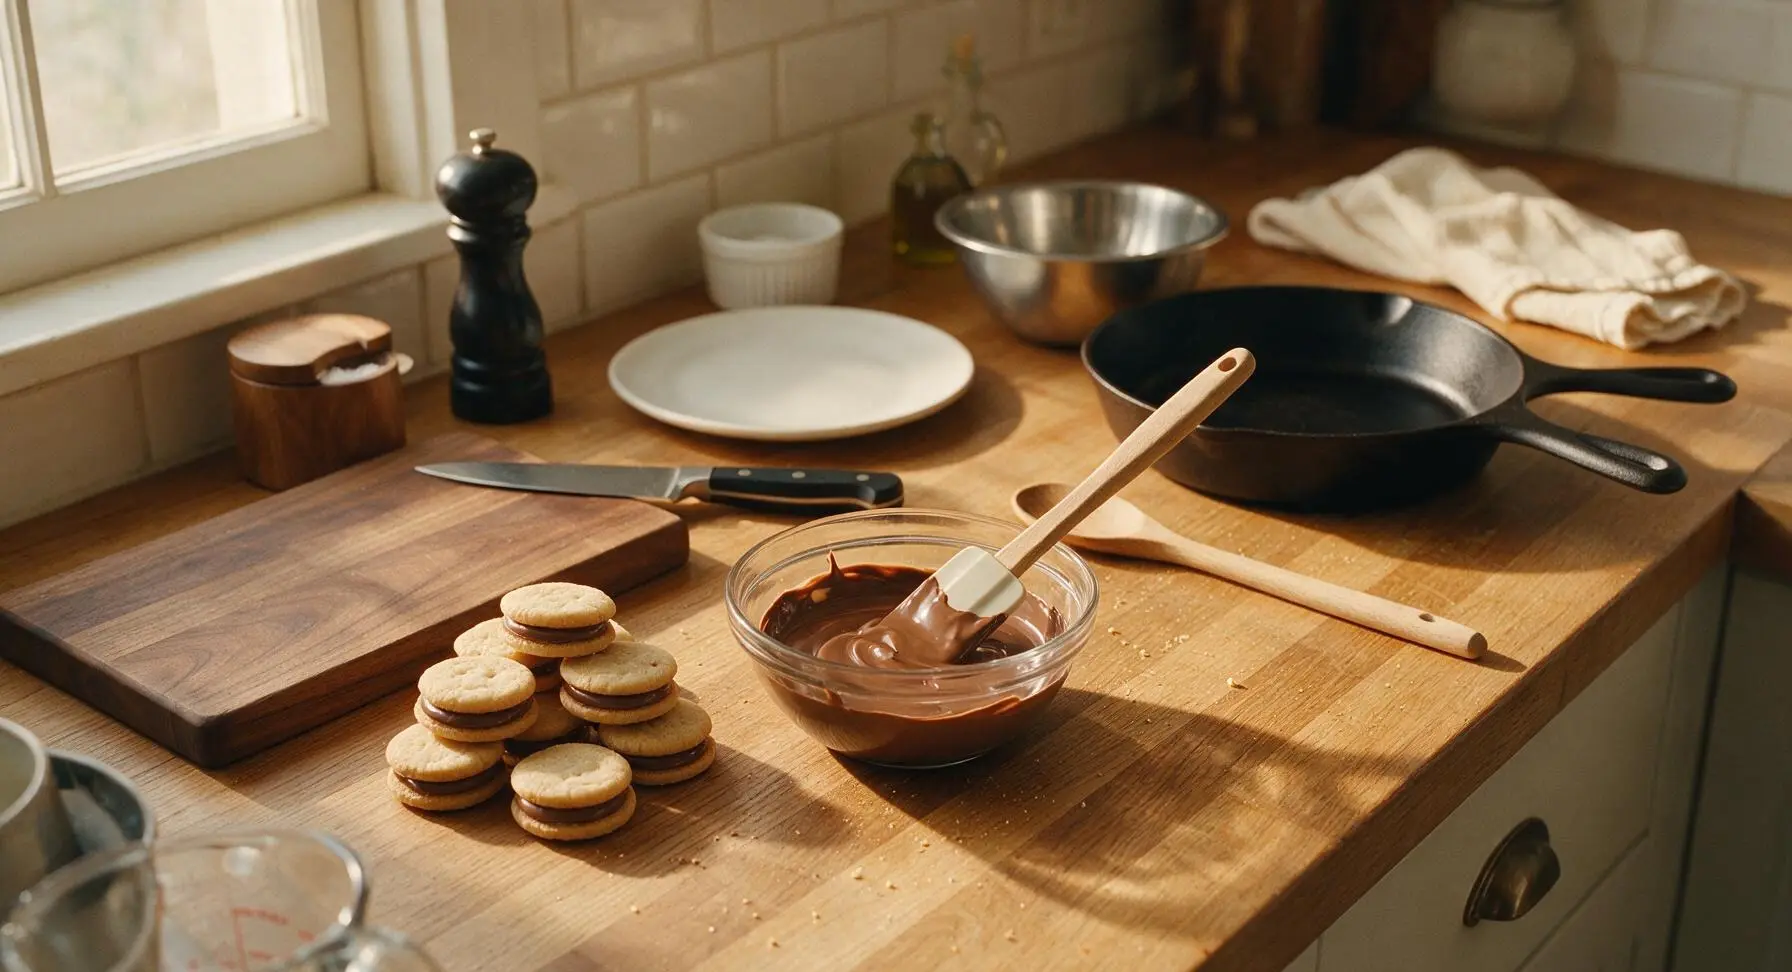
Combine 340g milk chocolate chips and 28g unrefined coconut oil in the small heatproof glass bowl. Microwave in 30-second bursts, stirring well between each burst, until the chocolate is fully smooth, glossy, and completely melted, with no lumps remaining (about 90 seconds total). Let the chocolate cool for 5 minutes before dipping, so it is thick enough to coat the pies without running off too quickly.
Step 7
step7:Melt Chocolate Coating
8

Dip and Set Pies

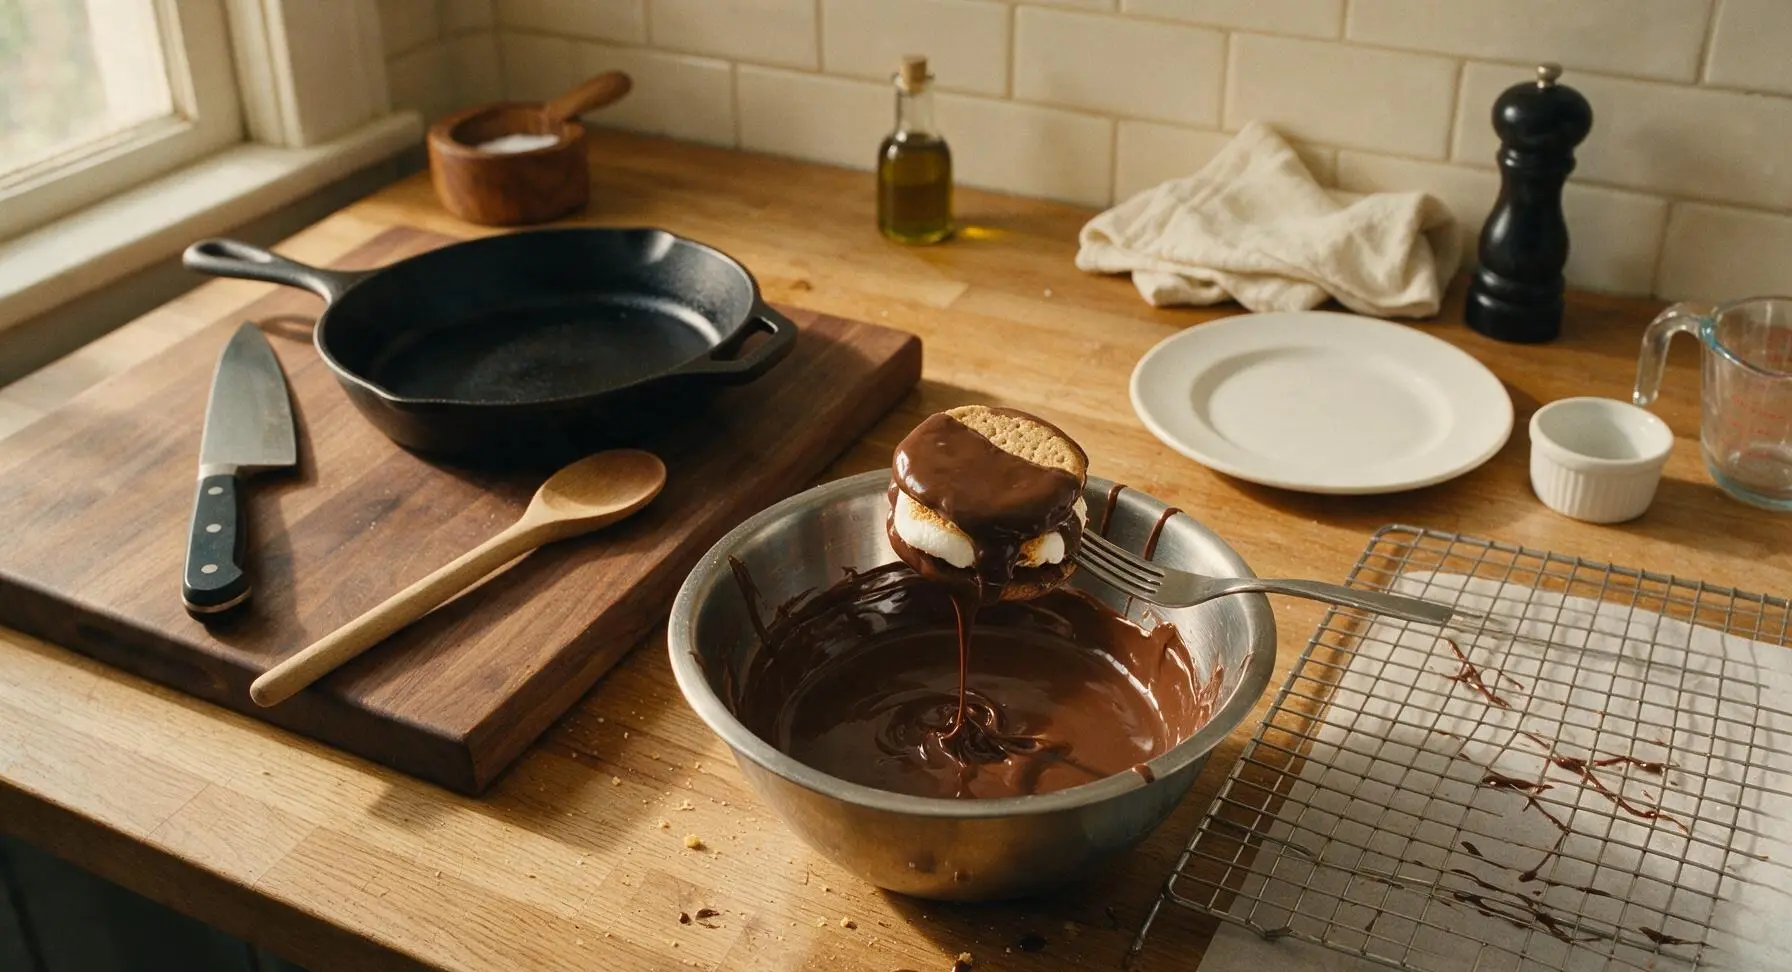
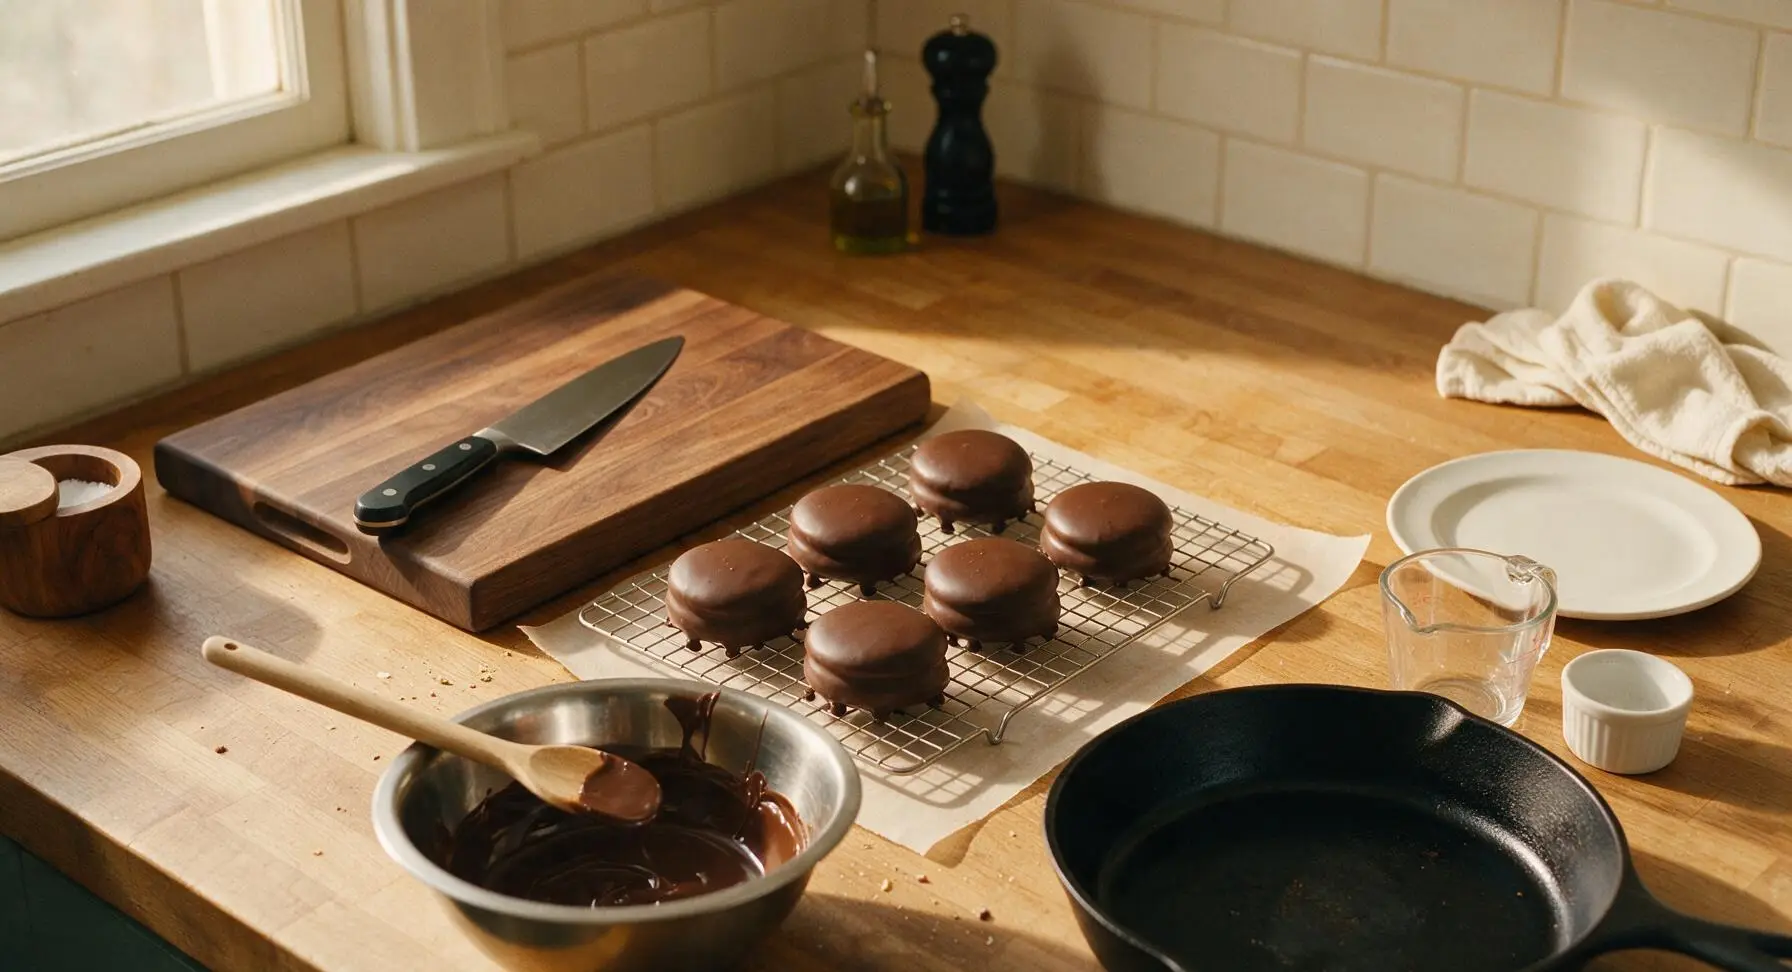
Working one at a time, place a marshmallow cookie sandwich in the melted chocolate, use the stainless steel dinner fork to flip it until fully coated on all sides. Lift the pie out of the chocolate, letting excess chocolate drip back into the bowl for 10 seconds, then place it on the wire cooling rack (set over a sheet of parchment to catch drips) to set. Let the chocolate fully harden at room temperature for 1 hour, or chill in the refrigerator for 15 minutes, before serving.
Step 8
step8:Dip and Set Pies
Step 8
step8:Dip and Set Pies

Tips

1.Do not skip fully cooling baked cookies before adding marshmallow filling: warm cookies will melt the marshmallow creme, causing it to run out the sides and create slippery sandwiches that slide apart during chocolate dipping.
2.Add coconut oil to melted chocolate to create a thin, smooth coating that sets with a slight snap, rather than a thick, dull, chalky layer: the oil lowers chocolate viscosity so it coats evenly without clumping or cracking.
3.Let excess chocolate drip off each pie for 10 full seconds before setting it on the rack: this prevents thick, uneven chocolate puddles from forming at the base of each pie, for a clean, professional finish.


✨ You May Also Like

Desserts & Baking
🍜 Italy

Creamy, coffee-kissed classic Northern Italian no-bake dessert, with layers of rum-spiked mascarpone cream, soft ladyfingers, and a rich cocoa dusting.

⏱️ 4 hours 3Desserts & Baking ★ 4.7
Desserts & Baking
🍜 France

Flaky, shatteringly crisp, buttery French croissants with golden exteriors and soft, airy layered interiors, perfect for pairing with coffee for a special morning treat.

⏱️ 12 hours Desserts & Baking ★ 4.5
Desserts & Baking
🍜 United States

Warm, spiced baked apples topped with a fluffy golden biscuit crust, this cozy dessert pairs perfectly with vanilla ice cream for cool-weather comfort.

⏱️ 55 minuteDesserts & Baking ★ 4.6
Desserts & Baking
🍜 United States

A star-spangled classic American blueberry pie with buttery flaky crust and bright sweet-tart filling, perfect for summer patriotic gatherings.

⏱️ 1 hour 25Desserts & Baking ★ 4.7
Desserts & Baking
🍜 United States

A beloved no-bake regional Maine candy with a chewy coconut-potato center coated in rich dark chocolate, a New England holiday staple since the 1870s.

⏱️ 2 hours 3Desserts & Baking ★ 4.8
Desserts & Baking
🍜 France

Luxuriously creamy, floral frozen custard made with aromatic Tahitian vanilla beans, boasting a smooth, rich texture that melts slowly on the tongue.

⏱️ 3 hours 3Desserts & Baking ★ 4.5

Moon Pies:Frequently Asked Questions

1.Can I bake the graham cookie component ahead of time to cut down on assembly day work? ▾
Absolutely! You can bake the soft spiced graham cookies up to 3 days in advance. Let them cool completely first, then store in an airtight container at room temperature away from direct heat. Match up cookie pairs by size as soon as they cool to make final assembly fast and stress-free when you’re ready to fill and dip.
2.Why do my graham cookies turn out dense and tough instead of soft and tender? ▾
This almost always comes from overmixing the dough once you add the all-purpose flour, or packing flour too tightly when measuring. Whisk flour and finely ground graham cracker crumbs first to lighten them, mix only until no dry streaks remain, and use properly softened (not melted) unsalted butter for the ideal tender crumb.
3.Can I use store-bought marshmallow fluff instead of making homemade marshmallow filling? ▾
Totally—this is a great shortcut for quick, low-prep moon pies! Just note that store-bought fluff is softer and stickier than set homemade marshmallow, so chill the sandwiched cookies for 20 minutes before dipping in chocolate to prevent filling from oozing out as you work with the coating.
4.What’s the trick to getting a smooth, even chocolate coating that doesn’t streak? ▾
Skip chocolate chips, which have added stabilizers that make coating thick and dull, and use high-quality melting milk chocolate. Temper it gently per package directions for a snappy, streak-free finish, dip chilled sandwiches with a fork, tap off excess chocolate, and set on parchment to set at cool room temperature.
5.Can I swap the light brown sugar and honey for granulated sugar to cut down on sweetness? ▾
I don’t recommend a full swap! Packed light brown sugar adds the warm, subtle molasses depth that pairs perfectly with graham crumbs, while honey keeps the cookie base soft and chewy instead of crisp. If you want less sweetness, cut 2 tablespoons of brown sugar rather than swapping ingredients entirely to keep the right texture.
6.How long will homemade Southern moon pies stay fresh after assembly? ▾
Stored in an airtight container with parchment paper between layers to prevent sticking, they’ll stay fresh for up to 5 days in the fridge. Let them sit at room temperature for 10 to 15 minutes before serving to let the cookie soften and the marshmallow fluff back up for that classic nostalgic texture.
7.My graham cookie dough is super sticky and hard to roll out—what went wrong? ▾
Sticky dough usually means your butter was too warm when you creamed it with brown sugar and honey, or you skipped the required chill step. After mixing in the flour and graham crumbs, wrap the dough tightly and chill for at least 1 hour to firm up the butter, so it rolls easily to a consistent ¼-inch thickness without sticking.
8.Can I make these moon pies nut-free for a school party or guest with nut allergies? ▾
Absolutely! The base recipe is naturally nut-free as written. Just double-check that your graham cracker crumbs, chocolate, and marshmallow filling are produced in a certified nut-free facility, and use clean, separate prep utensils to avoid cross-contamination if you’re serving guests with severe nut allergies.
9.Do I have to use milk chocolate for the coating, or can I use other chocolate types? ▾
You can easily swap the coating to match your taste! Classic Southern moon pies use mild, creamy milk chocolate for that nostalgic flavor, but dark chocolate adds a rich, less sweet contrast, and white chocolate pairs beautifully with the spiced graham and warm honey notes. Always temper your chosen chocolate for a crisp, non-melty finish.
10.Why does the marshmallow filling squish out the sides when I bite into a moon pie? ▾
A little oozing is totally normal for super fresh, fluffy marshmallow! If you want a firmer set that squishes less, chill uncoated, sandwiched cookies for 30 minutes after adding filling so it firms up before dipping. You can also spread a slightly thinner marshmallow layer if you prefer a higher cookie-to-filling ratio.

Comments (3)

2 days ago

OMG y’all, these taste exactly like the moon pies my grandma used to keep stashed in her cookie jar when I spent summers at her house! I brought a batch to our church potluck last Sunday and they were gone in 10 minutes flat. The marshmallow filling is so fluffy, nothing like that weird gummy texture you get in the store-bought ones. My only tiny hiccup was that my first tray of graham cracker cookies spread a little too much on the baking sheet and came out wonky shaped—any tips to fix that for next time? 10/10, already planning to make a double batch for my kid’s soccer team snack next weekend!

yesterday

So glad these brought back such sweet grandma memories for you! If your cookies are spreading too much, try chilling the dough for at least 30 minutes before slicing and baking, and double check that your baking sheet is totally cool when you place the dough rounds on it—warm pans cause spread every time! Hope the soccer team devours them 😊

2 hours ago

Seconding the chill tip! I made these last month and skipped chilling the first round too, total spread city. Popped the rest of the dough log in the fridge while the first batch baked and they came out perfectly round after that! Also, pro tip: they’re SO good dipped in a little extra milk chocolate if you’re feeling extra indulgent.

1 week ago

Total game changer! I’ve been grabbing store-bought moon pies for my annual fall camping trip for years and decided to step it up with homemade this time. The 12 minute cook time was totally spot on—no burnt edges, perfectly crisp graham cracker layers every time. The medium difficulty rating is fair, too; you do have to temper the chocolate just right to get that smooth, snappy coating, but it’s totally doable even if you don’t bake super often. My camping buddies were straight up begging for the recipe before we even finished the first s'more made with these!

5 days ago

Love that these elevated your annual camping trip! Tempering chocolate can feel a little intimidating the first time you do it, but it makes such a huge difference in that classic moon pie texture, right? Next time you make them, try sprinkling a tiny pinch of flaky sea salt on top of the chocolate coating right after dipping—it adds the best sweet-salty kick!

30 minutes ago

SO good! I made these as a special weekend treat for my kids after a long week of back-to-school exams and they went absolutely crazy for them. I did a little twist where I spread a thin layer of creamy peanut butter between the marshmallow filling and cookie on half the batch, and honestly? It might be even better than the original. Will absolutely be adding these to our monthly rotation of fun weekend bakes—they’re way less processed than the pre-packaged version too, which is a total win in my book!



