1.Can I make these Mummy Rice Krispie Treats ahead of time for a Halloween party?
▾
Absolutely! These hold up really well when made 2–3 days in advance. Once fully set and decorated, store them in an airtight container at cool room temperature, separated by layers of parchment paper to prevent sticking. Skip the fridge, as cold temperatures make the cereal turn soggy and the candy melt coating crack.
2.What can I use if I don’t have white candy melts for the mummy wrapping?
▾
You can swap white candy melts for an equal amount of white almond bark, or melted white chocolate chips mixed with 1 teaspoon of coconut oil to thin it to a drizzling consistency. Note that pure white chocolate sets softer than candy melts, so let decorated treats set for 10 extra minutes if you use this swap.
3.My Rice Krispie treats always turn out rock hard—what am I doing wrong?
▾
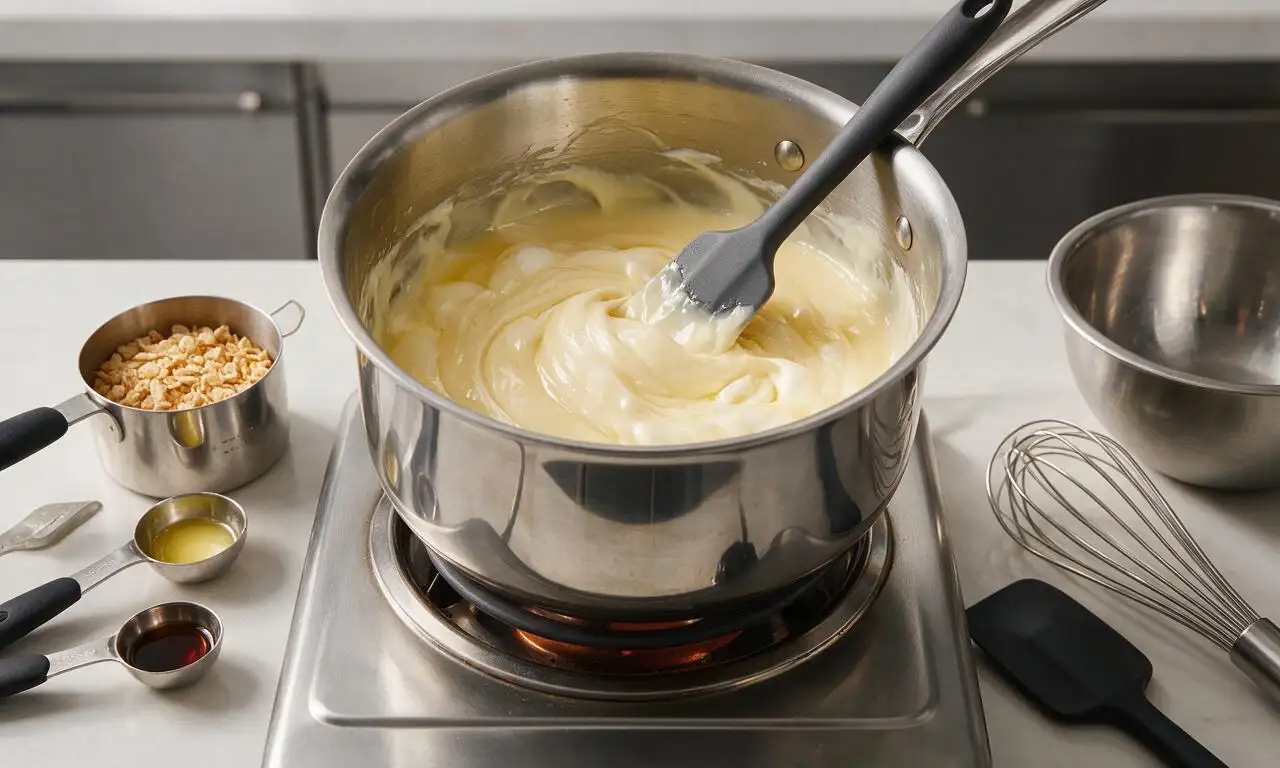
That almost always stems from overheating marshmallows! Melt butter and marshmallows over low heat, stirring constantly, and remove the pan from heat the second the marshmallows are fully smooth. Overcooking marshmallows makes sugar crystallize, leading to tough, hard bars instead of the soft, chewy texture you want.
4.Can I use regular-sized marshmallows instead of mini ones for the treat base?
▾
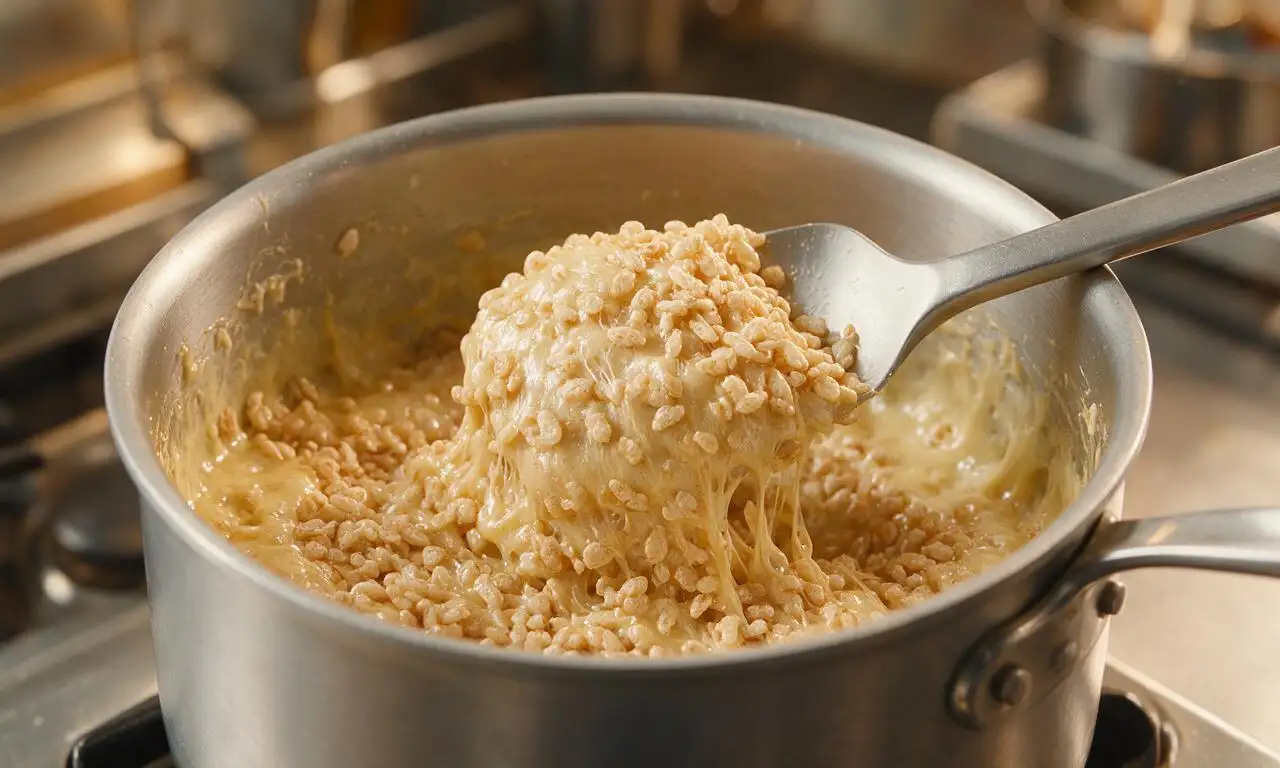
Definitely! Just adjust the quantity: 8 regular marshmallows equal roughly 1 cup of mini marshmallows for this recipe. Regular marshmallows take 1–2 extra minutes to melt fully over low heat, so stir consistently to avoid scorching the bottom of the pan before mixing in the crisp rice cereal.
5.How do I get the mummy drizzle to look intentional instead of messy?
▾
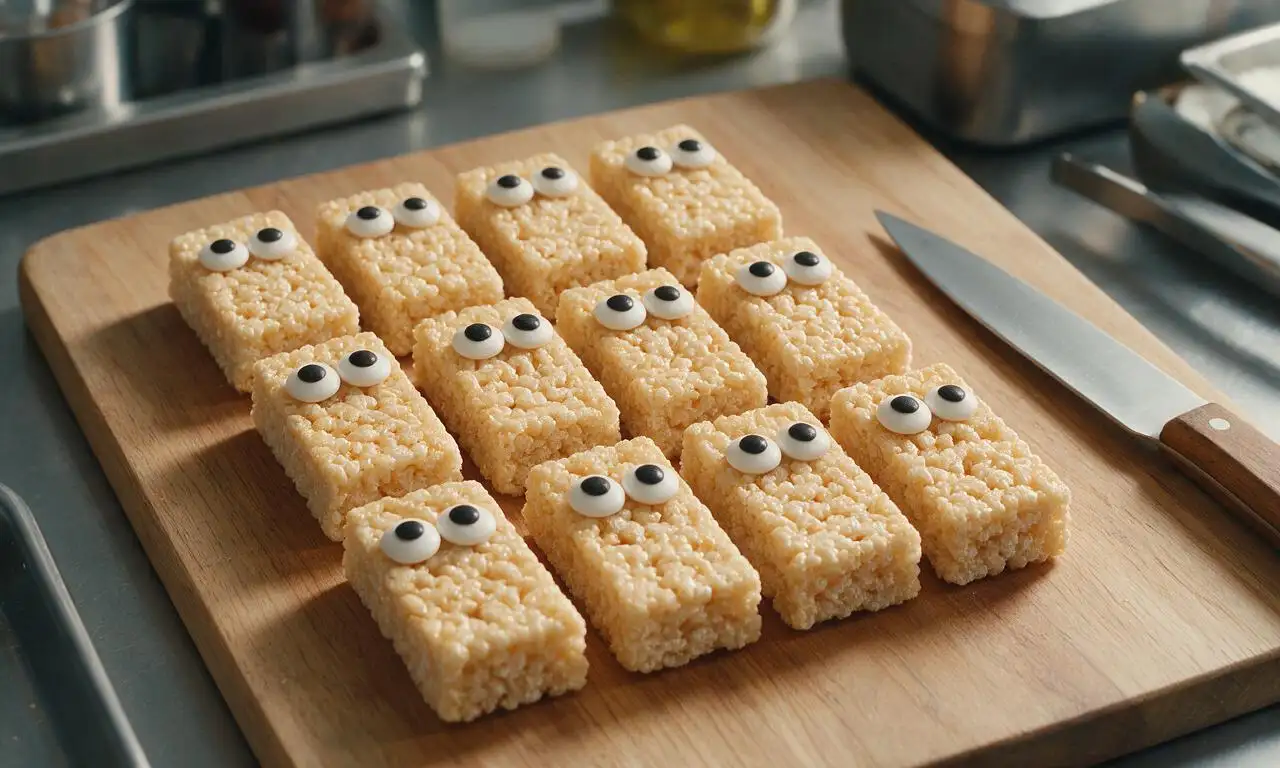
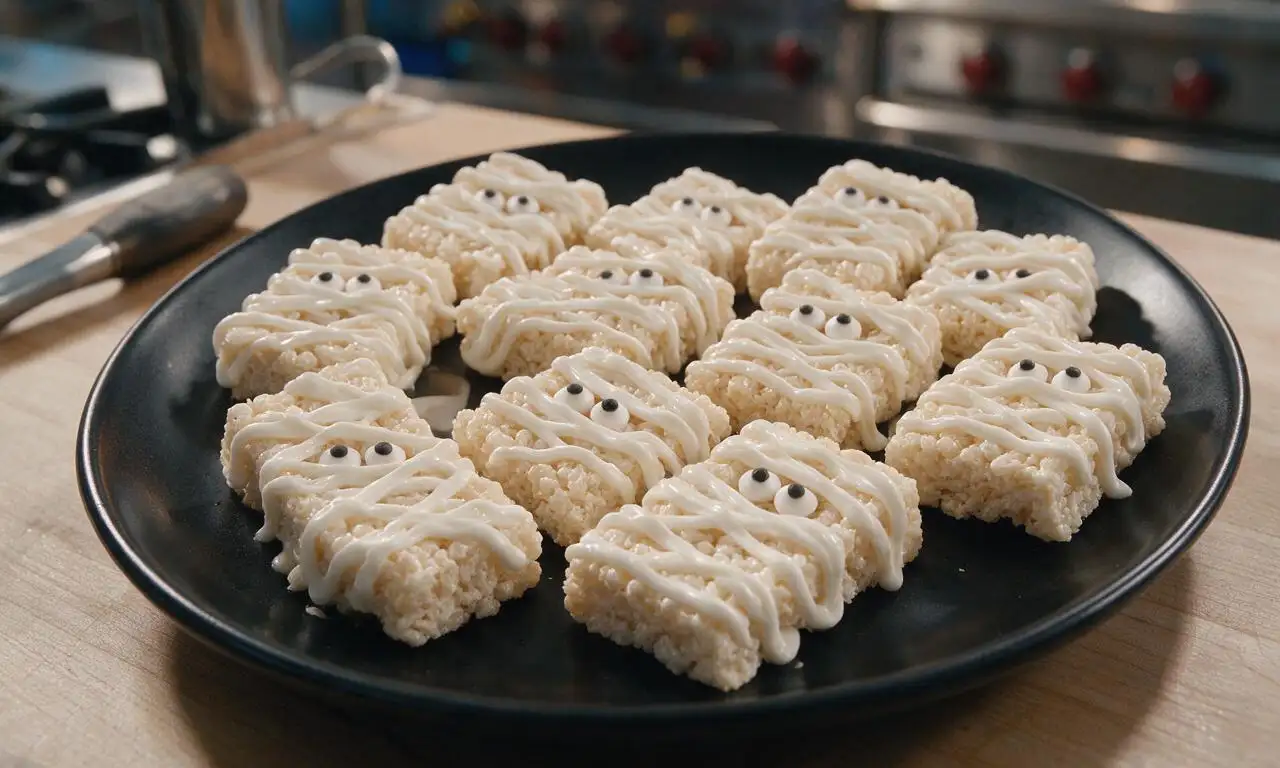
The easiest trick is to spoon melted white candy melts into a disposable piping bag or sturdy zip-top bag, snip a tiny 1/8-inch hole off the corner, and drizzle thin, wobbly diagonal lines back and forth across each cut bar. Leave a small 1-inch gap near the top of each bar to place the candy eyes before the coating sets.
6.Are these treats safe to send to school for Halloween class parties?
▾
As written, they’re nut-free as long as you confirm your cereal, marshmallows, candy melts, and candy eyes are processed in a nut-free facility (always check packaging labels!). They’re no-bake, easy to portion, and require no refrigeration, making them ideal for classroom events when aligned with school allergy rules.
7.Can I add mix-ins to the treat base for extra flavor?
▾
Of course! Stir in 1/4 cup of festive Halloween sprinkles, mini chocolate chips, or crushed pretzel pieces right after you fold the crisp rice cereal into the melted marshmallow mixture. Just stick to 1/2 cup total add-ins max, so the bars still hold their shape when cut and decorated as mummies.
8.What’s the best way to cut clean, even squares for these mummy treats?
▾
Let the uncut base set in the pan for at least 1 full hour at room temperature first, then coat a sharp chef’s knife with nonstick cooking spray or a thin layer of butter between every cut. This prevents sticky marshmallow from clinging to the blade, so you get sharp, neat squares ready for decorating.
9.My candy melts are thick and lumpy when I melt them—how do I fix that?
▾
First, make sure you melt them in 30-second microwave bursts, stirring well between each burst, to avoid overheating. If they’re still thick, stir in 1/2 teaspoon of vegetable shortening (never water or milk, which will seize the candy!) at a time until you reach a smooth, drizzle-ready consistency.
10.Can I make these gluten-free for guests with dietary restrictions?
▾
Absolutely! Just swap standard crisp rice cereal for a certified gluten-free crisp rice variety, since regular Rice Krispies-style cereal often contains hidden barley malt. Double check that your marshmallows, candy melts, and candy eyes are also labeled gluten-free for a version that works for most gluten-free eaters.
11.Do I have to use unsalted butter for the treat base?
▾
The recipe calls for unsalted butter so you can control the salt level, but salted butter works perfectly if that’s what you have on hand. The tiny hit of salt cuts the super sweet flavor of marshmallows and candy coating; if using unsalted butter, add a pinch of fine sea salt to the melted marshmallow mix for depth.
12.How long will these treats stay fresh after I make them?
▾
Stored in a tightly sealed airtight container at cool room temperature, away from direct sunlight or heat that would melt the candy coating, these will stay chewy and crisp for up to 4 days. If your kitchen is very warm, you can refrigerate them for up to a week, letting them sit at room temp 10 minutes before serving.
13.Can I use marshmallow fluff instead of solid marshmallows for the base?
▾
You can, but the texture will be a little softer and stickier than the classic version. Use 4 cups of marshmallow fluff, melted with the butter over low heat, and add an extra 1/2 cup of crisp rice cereal to help the bars set firm enough to hold their shape when cut and decorated.
14.What if I can’t find pre-made edible candy eyes for the mummy faces?
▾
No problem! Make quick homemade eyes by dabbing two small dots of melted white candy melt on a sheet of parchment, then adding a tiny dot of melted dark chocolate or black icing to the center of each dot once the white sets. Let them harden 10 minutes before peeling off and attaching to treats.
15.Do I need to grease my pan before pressing the Rice Krispie treat base into it?
▾
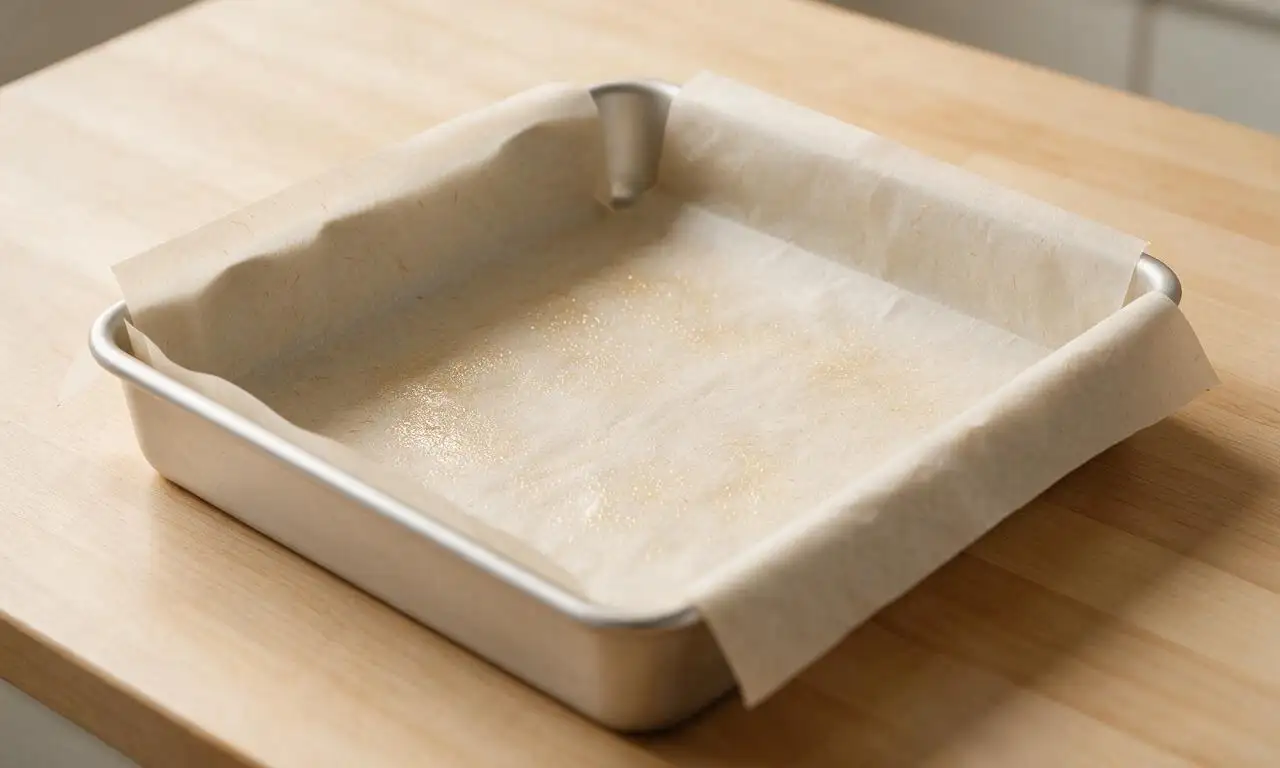
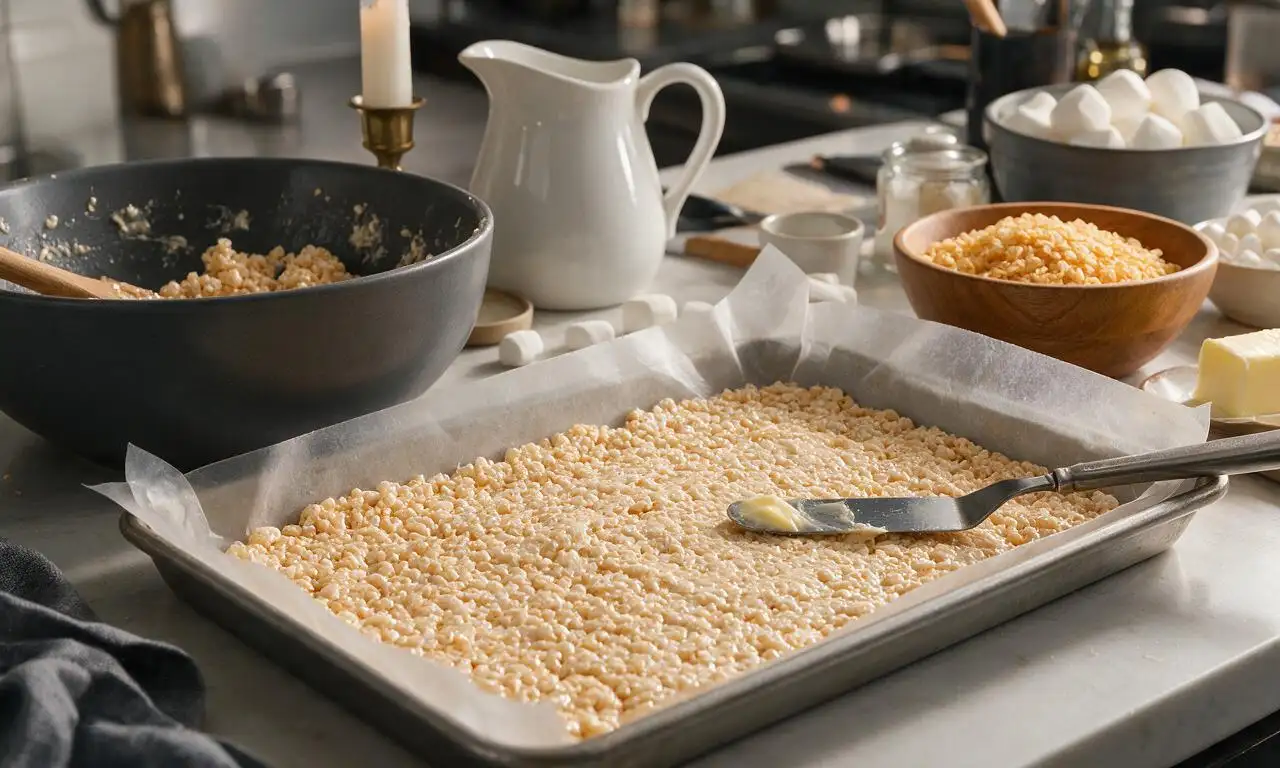
Yes, always! Lightly coat a 9x13-inch pan with nonstick cooking spray, or line it with parchment paper that hangs 2 inches over the long edges to act as a sling for lifting the whole slab out later. Coat your hands with a little butter too, to press the sticky mixture evenly without it clinging.
16.Can I make these as smaller, bite-sized mummy treats instead of full squares?
▾
Definitely! After pressing the base into the pan and letting it set, cut it into 1-inch mini squares, or roll the warm mixture into 1-inch balls before cooling. Drizzle each mini bite with the white candy melt wrap and add a pair of tiny candy eyes for a poppable snack perfect for party grazing tables.
17.Will the white candy melt wrapping get sticky or bleed if left out at a party?
▾
As long as your party space is under 75°F and out of direct sun, the candy melt coating will stay firm and not bleed for 4–6 hours at room temperature. If your event is outside on a warm day, set the treat platter on a tray with a frozen ice pack under a kitchen towel to keep the coating set without sogginess.
18.Can I freeze these Mummy Rice Krispie Treats to prep far in advance?
▾
You can freeze the undecorated base really well! Wrap the fully set, uncut slab tightly in two layers of plastic wrap and a layer of aluminum foil, and freeze for up to 2 months. Thaw it in the fridge overnight, cut into squares, then add the candy melt drizzle and eyes right before serving for the best texture.

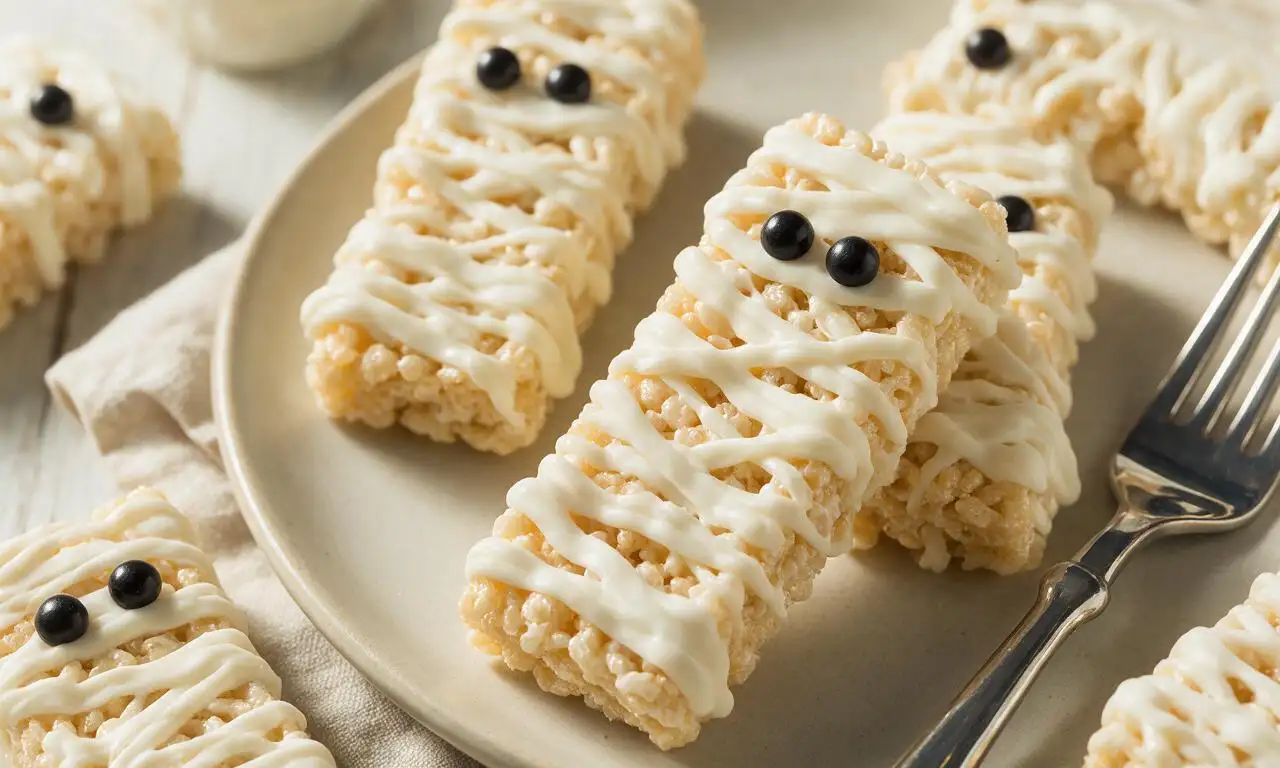






OMG these were such a hit at our elementary school Halloween class party! I was running late so I picked up extra marshmallows on the way, threw these together in 20 minutes flat, and the kids went absolutely wild for the white chocolate mummy drizzle and candy eyes. Even the room parent asked me to send the recipe link to the whole class! SO easy, no fancy ingredients required. 10/10 will make every spooky season from now on.
Total game changer for a last minute Halloween snack! I forgot we were supposed to bring a treat to my daughter’s soccer team potluck tonight, saw this pop up on my feed, and banged them out while my pasta was boiling for dinner. The mummy wrap design is so forgiving too — I’m terrible at decorating baked goods and these still looked super cute. My only note is I added a tiny bit of vanilla extract to the marshmallow mix for extra flavor, chef’s kiss.
Y’all, I burn toast 90% of the time and these actually turned out perfect?? The inactive setting time is such a win because I could clean up the kitchen while they firmed up instead of hovering over a pan. I used orange candy eyes instead of regular for extra Halloween flair, and my roommate said they’re the best thing I’ve ever made. Already sent the recipe to my sister for her kid’s Halloween birthday party next month.
Wait, has anyone tried making these gluten free? I made a regular batch for my older son’s class last week and they were amazing, but my youngest has celiac and I’ve been searching for fun Halloween treats he can bring to his scout meeting that don’t look like the 'special diet' snack. The regular Rice Krispies have malt in them so I can’t use those, but I thought I could swap for GF crisp rice cereal, does that mess up the texture?
These are SO good! I brought a batch to my office Halloween happy hour yesterday and they were gone in 10 minutes flat. I did a mix of white chocolate and milk chocolate drizzle on some so there was a little something for everyone, and people kept guessing I bought them from a local bakery. The easy difficulty rating is no lie, even for someone who can barely make microwave popcorn without burning it.
Made these for our annual scary movie night with friends last weekend and they were chef’s kiss. We added a little green food coloring to some of the white chocolate drizzle to make a few 'zombie mummy' treats and it was such a fun, silly touch. They held up really well for a couple hours while we watched movies too, no soggy cereal or melted drizzle even when we left the plate on the coffee table. Will absolutely be adding this to our yearly Halloween rotation.