
nathan's hot dog chili

title 1
nathan's hot dog chili
⏱️ cook time 25 minutes
🍽️ servings 6
⚡ Difficulty easy

intro

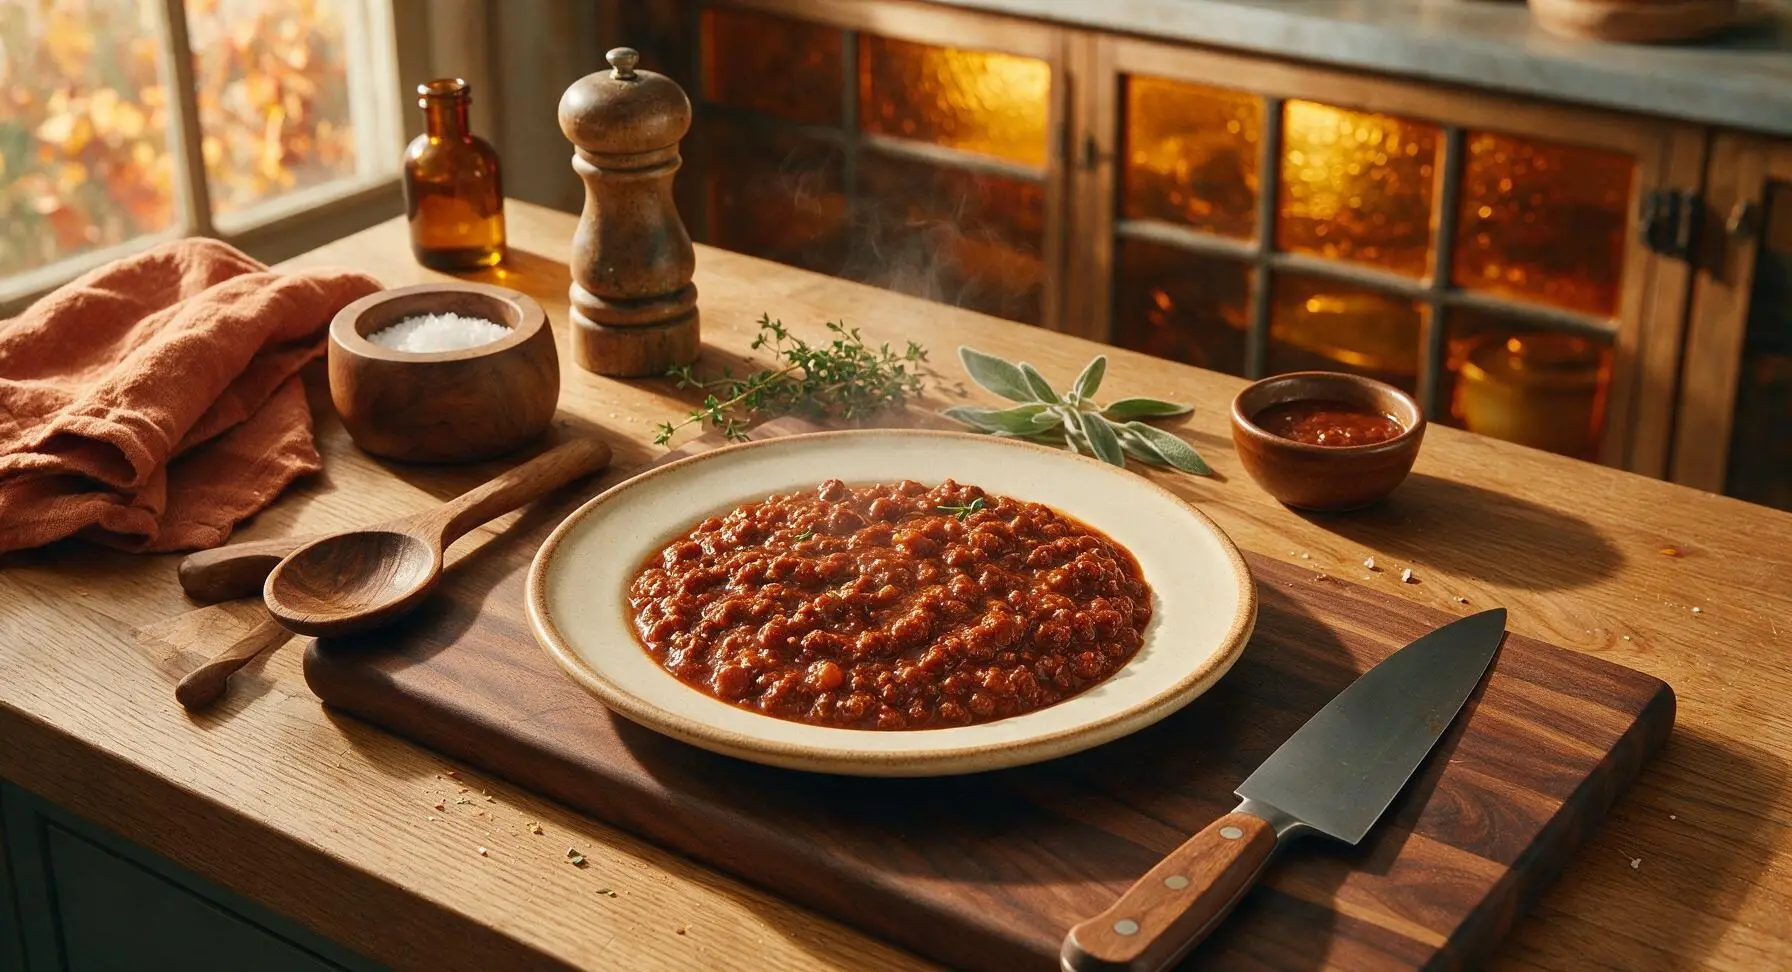
Tangy, fine-textured no-bean chili in the iconic Nathan’s Coney Island style— the rich, savory topping that makes grilled summer hot dogs unforgettable.

Ingredients
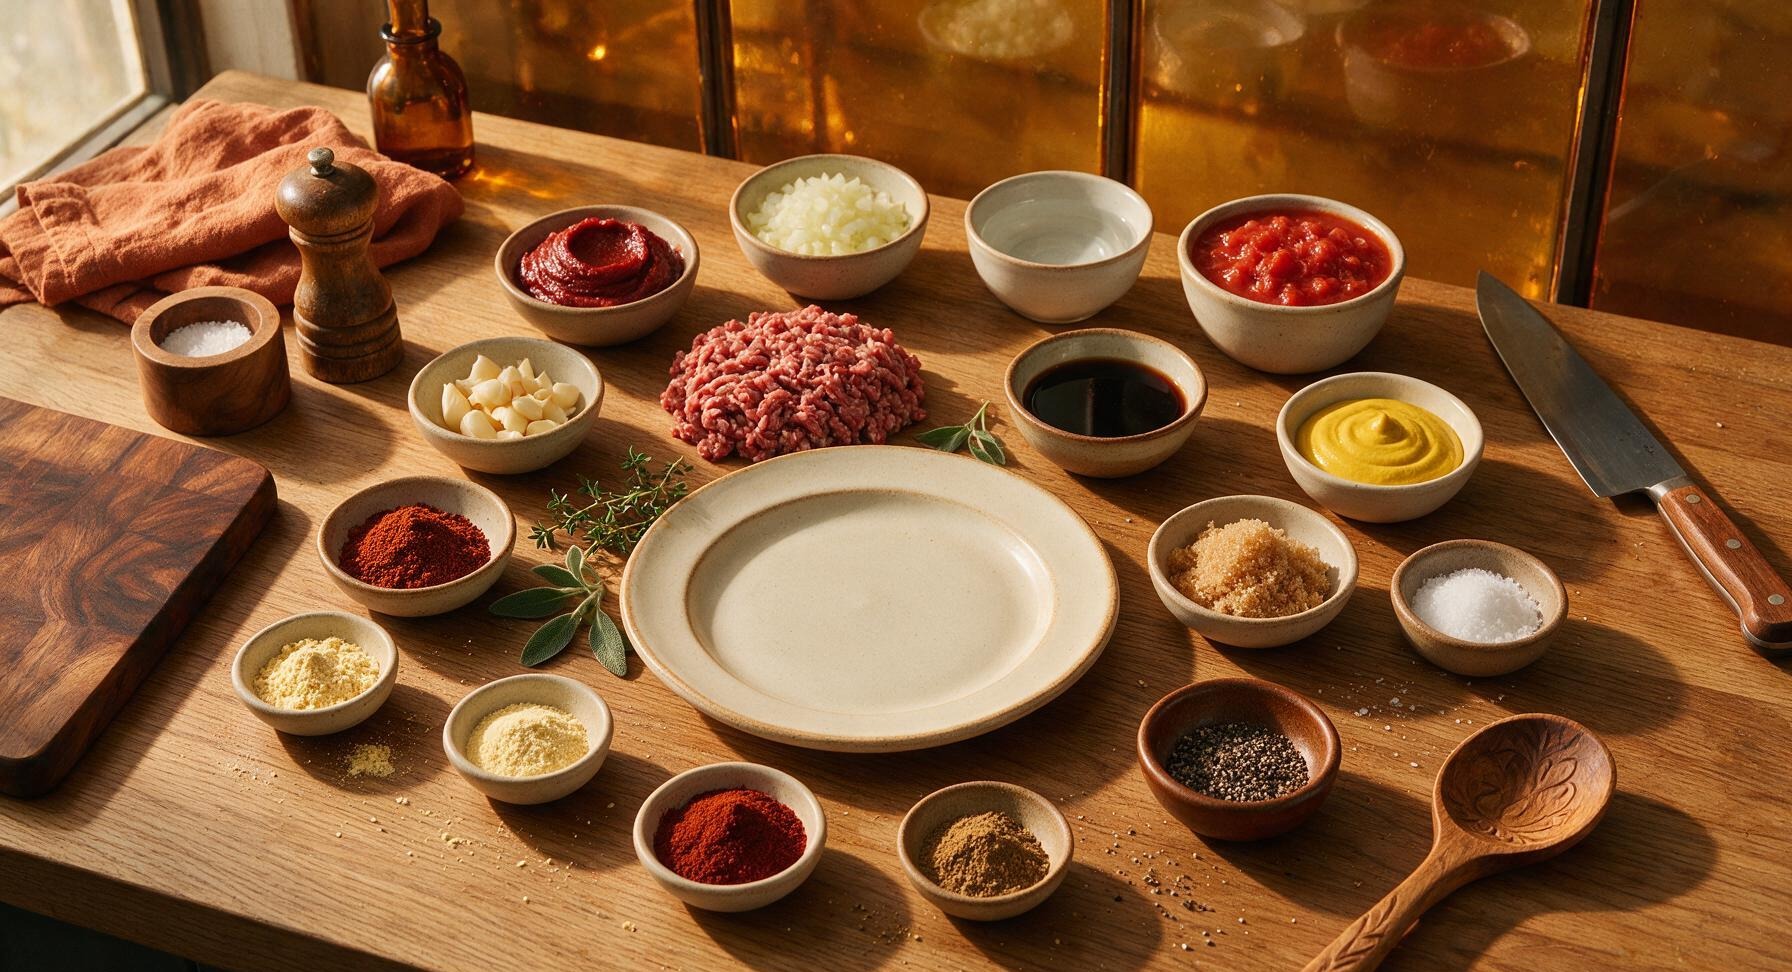
80/20 lean ground beef 450g (1lb)
Small yellow onion 110g (1 small, finely diced)
Garlic cloves 6g (2 cloves, minced)
Tomato paste 30g (2 tbsp)
Unsalted crushed tomatoes 240ml (1 cup)
Water 120ml (1/2 cup)
Chili powder 8g (1 tbsp)
Garlic powder 3g (1 tsp)
Onion powder 3g (1 tsp)
Sweet paprika 2g (1 tsp)
Ground cumin 1g (1/2 tsp)
Worcestershire sauce 15ml (1 tbsp)
Yellow prepared mustard 5g (1 tsp)
Light brown sugar 4g (1 tsp)
Kosher salt 5g (1 tsp)
Freshly ground black pepper 1g (1/2 tsp)

Steps

1

Prep Aromatics and Spices

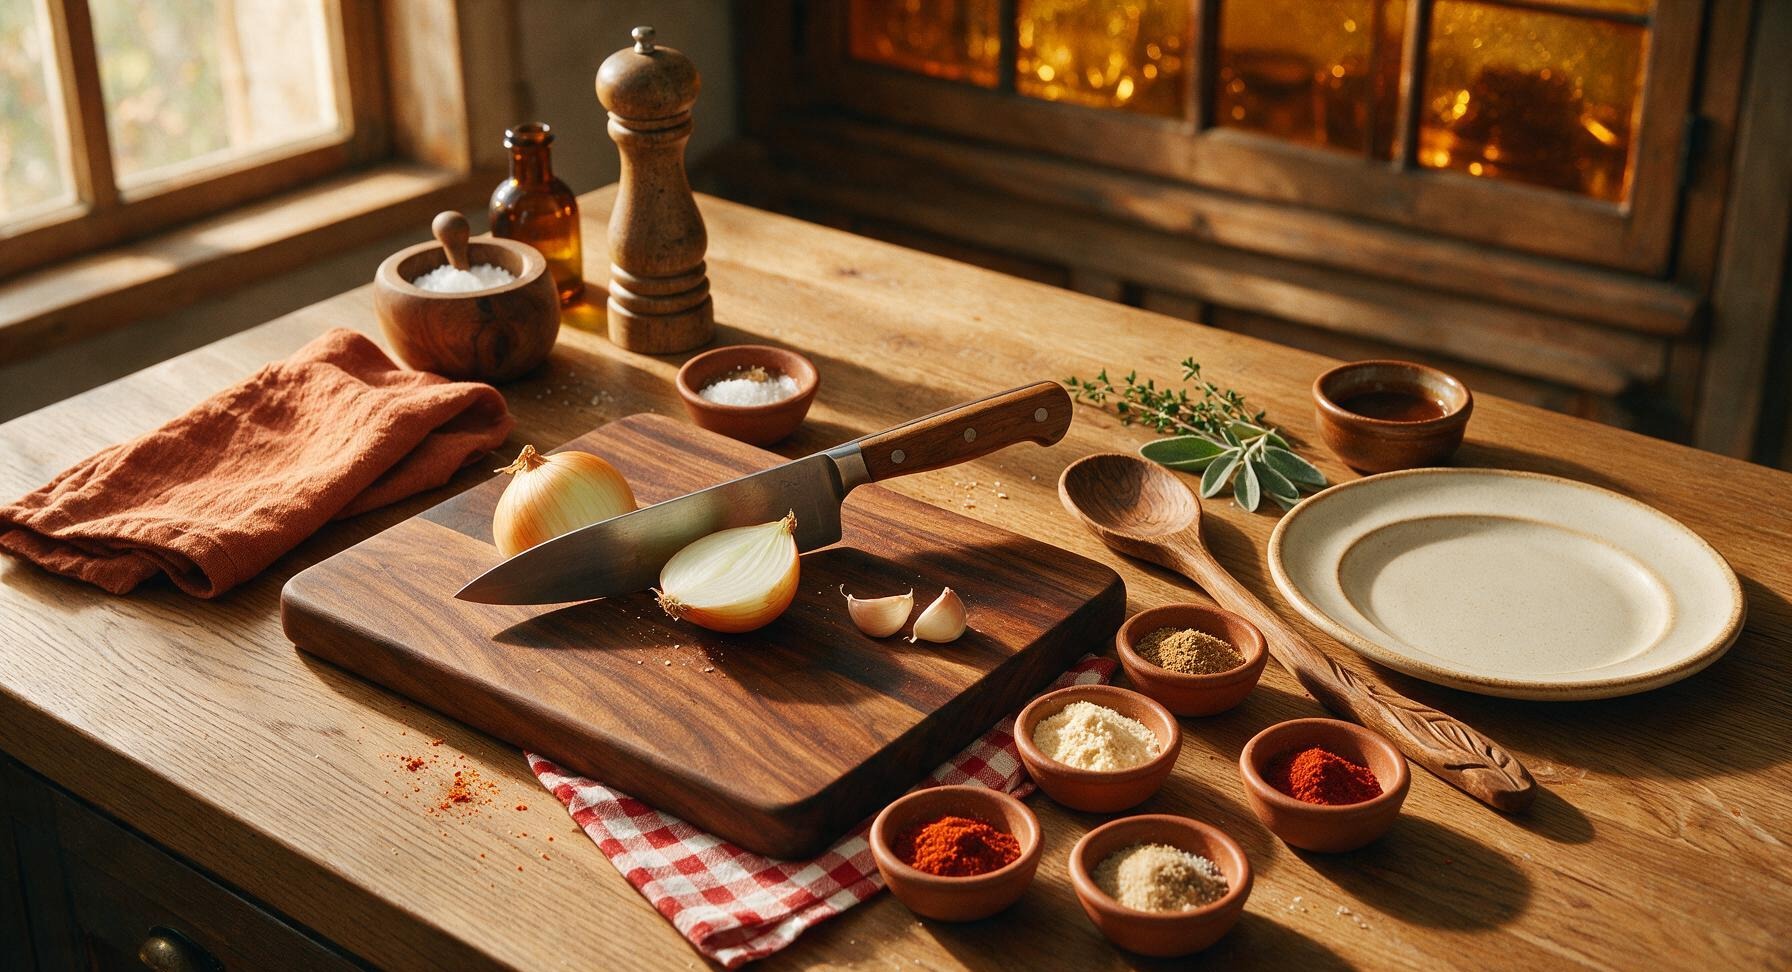
Place the small yellow onion on the acacia wood cutting board. Use the 8-inch stainless steel chef’s knife to finely dice the onion into 3mm pieces, then mince the two garlic cloves until almost paste-like. Measure all spices (chili powder, garlic powder, onion powder, paprika, cumin, salt, pepper, brown sugar) into the matte terracotta pinch bowls, and set near the cooktop. This fine chop ensures no large chunks break the smooth, fine texture Nathan’s chili is known for.
Step 1
step1:Prep Aromatics and Spices
2

Brown the Ground Beef

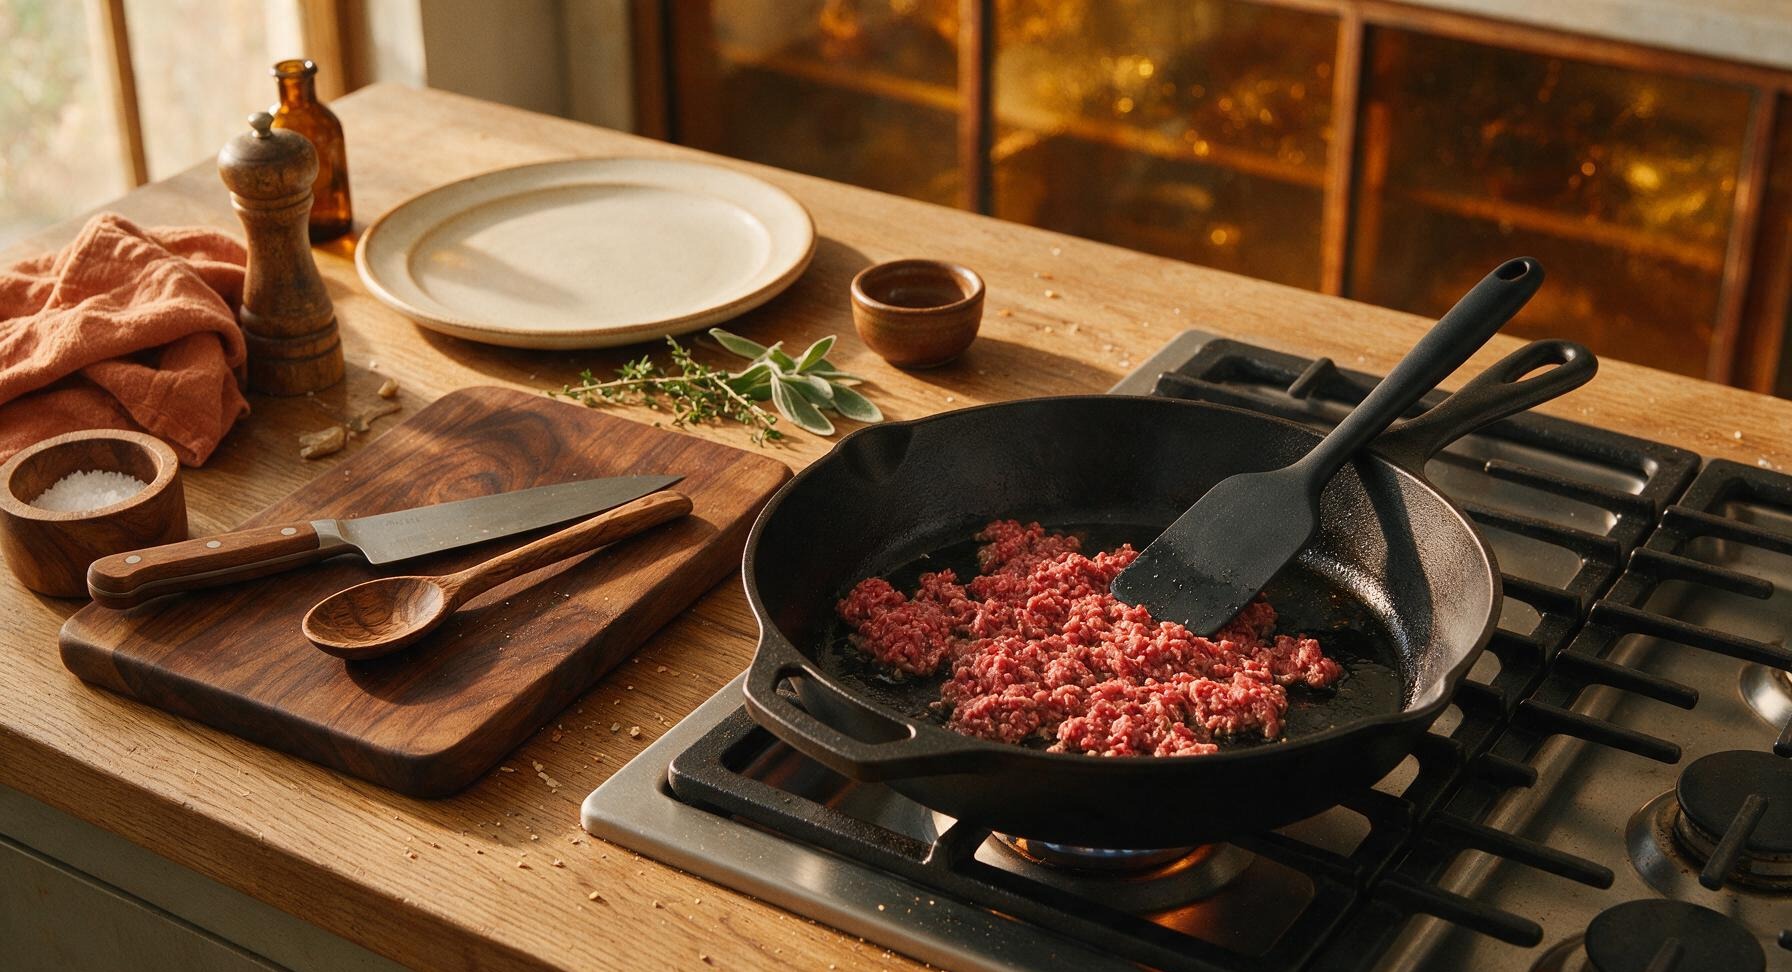
Place the 12-inch matte black carbon steel skillet on the cooktop over medium heat (350°F/175°C). Add the ground beef to the dry skillet, breaking it apart continuously with the matte black silicone spatula as it cooks for 6-7 minutes, until no pink remains and the beef is crumbled into very fine pieces. Do not drain the small amount of rendered fat—it adds critical depth and richness to the final chili.
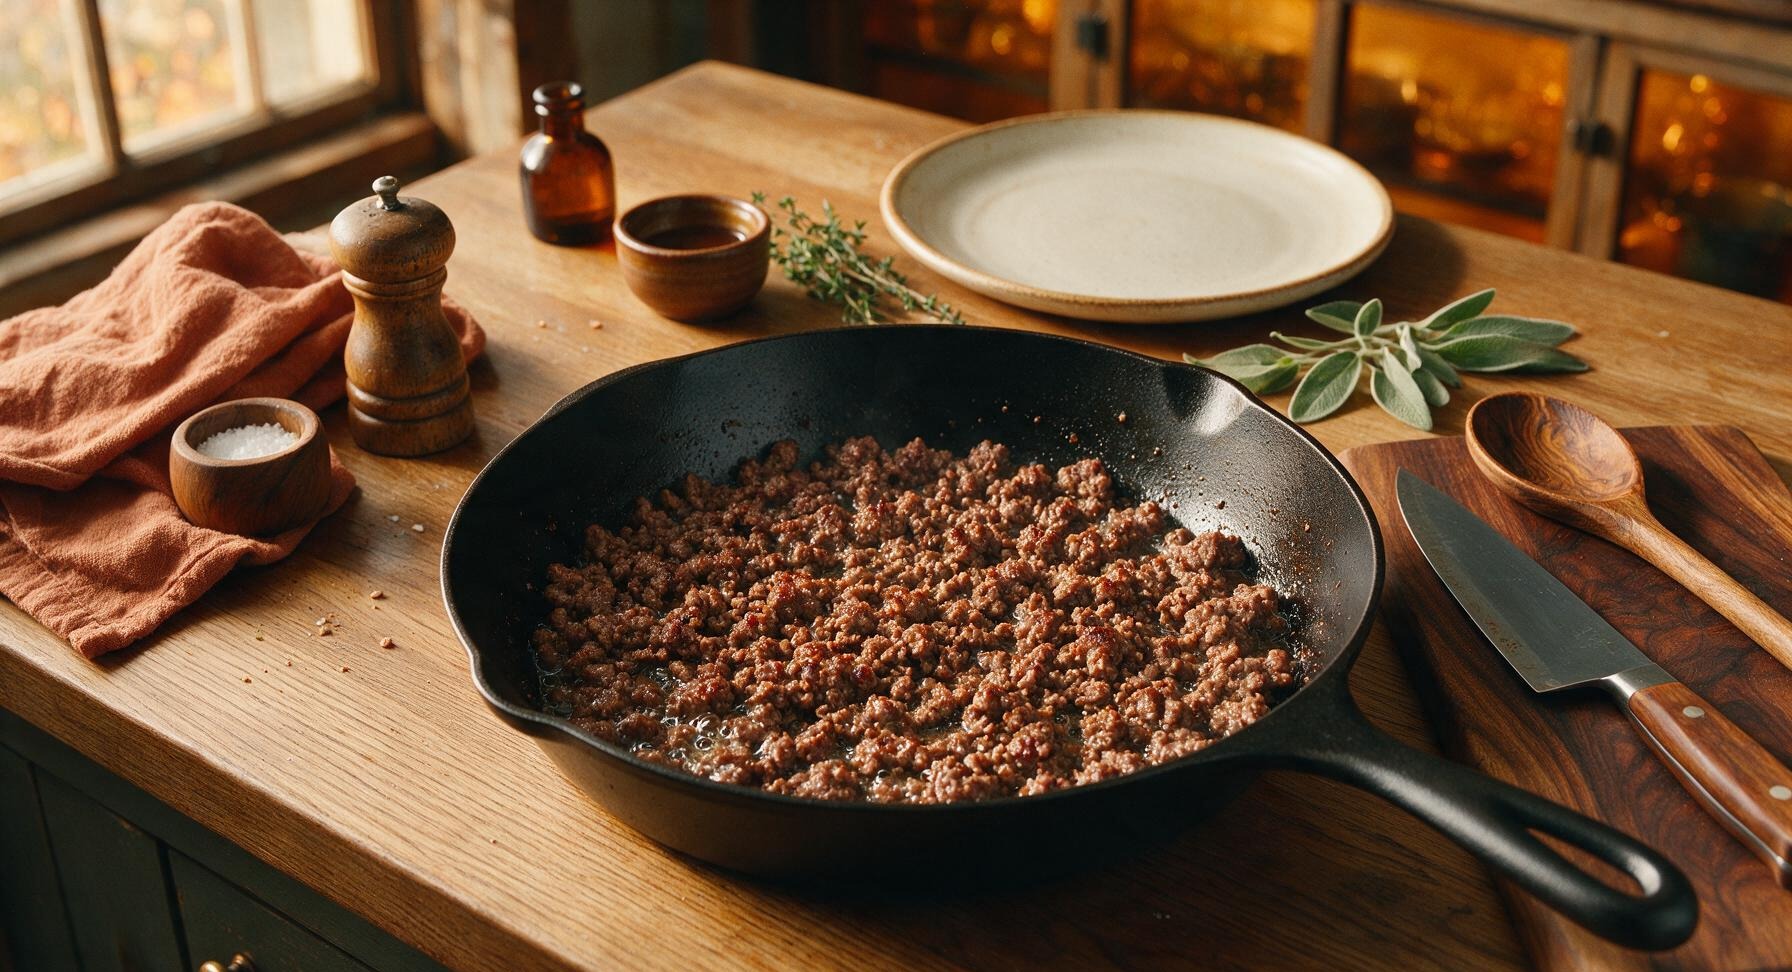
Step 2
step2:Brown the Ground Beef
Step 2
step2:Brown the Ground Beef
3

Sauté Aromatics with Beef

Add the diced onion and minced garlic to the skillet with the browned beef, stirring to combine with the silicone spatula. Cook for 3 minutes over medium heat, until the onion turns soft and translucent, and the garlic becomes bright and fragrant—do not let the garlic turn dark brown or burn, as it will add a bitter off-flavor to the chili.
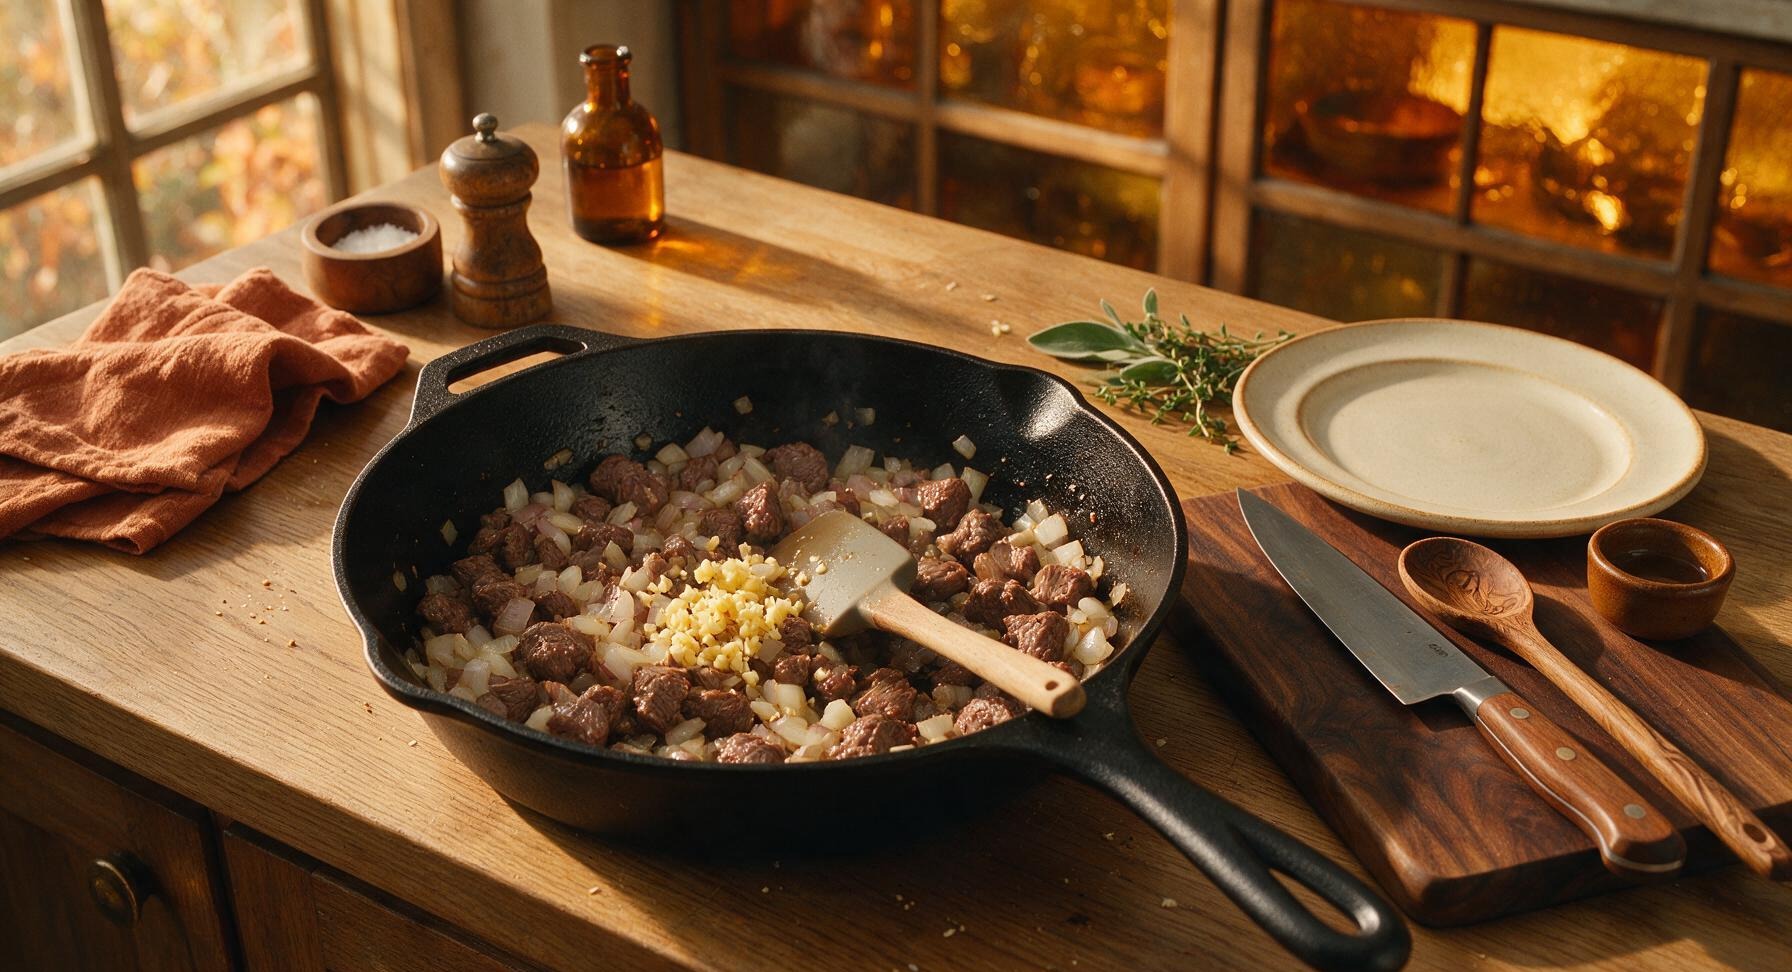
Step 3
step3:Sauté Aromatics with Beef
4

Toast Paste and Spices

Push the beef and onion mixture to the sides of the skillet, creating a small empty well in the center. Add the tomato paste to the well, and cook for 1 minute, stirring constantly, until the paste darkens to a deep rust red and smells sweet and caramelized. Add all pre-measured spices to the pan, stirring to coat the beef evenly, and toast for 30 seconds until fragrant. Toasting tomato paste and spices amplifies their flavor far more than adding them directly to cold liquid.
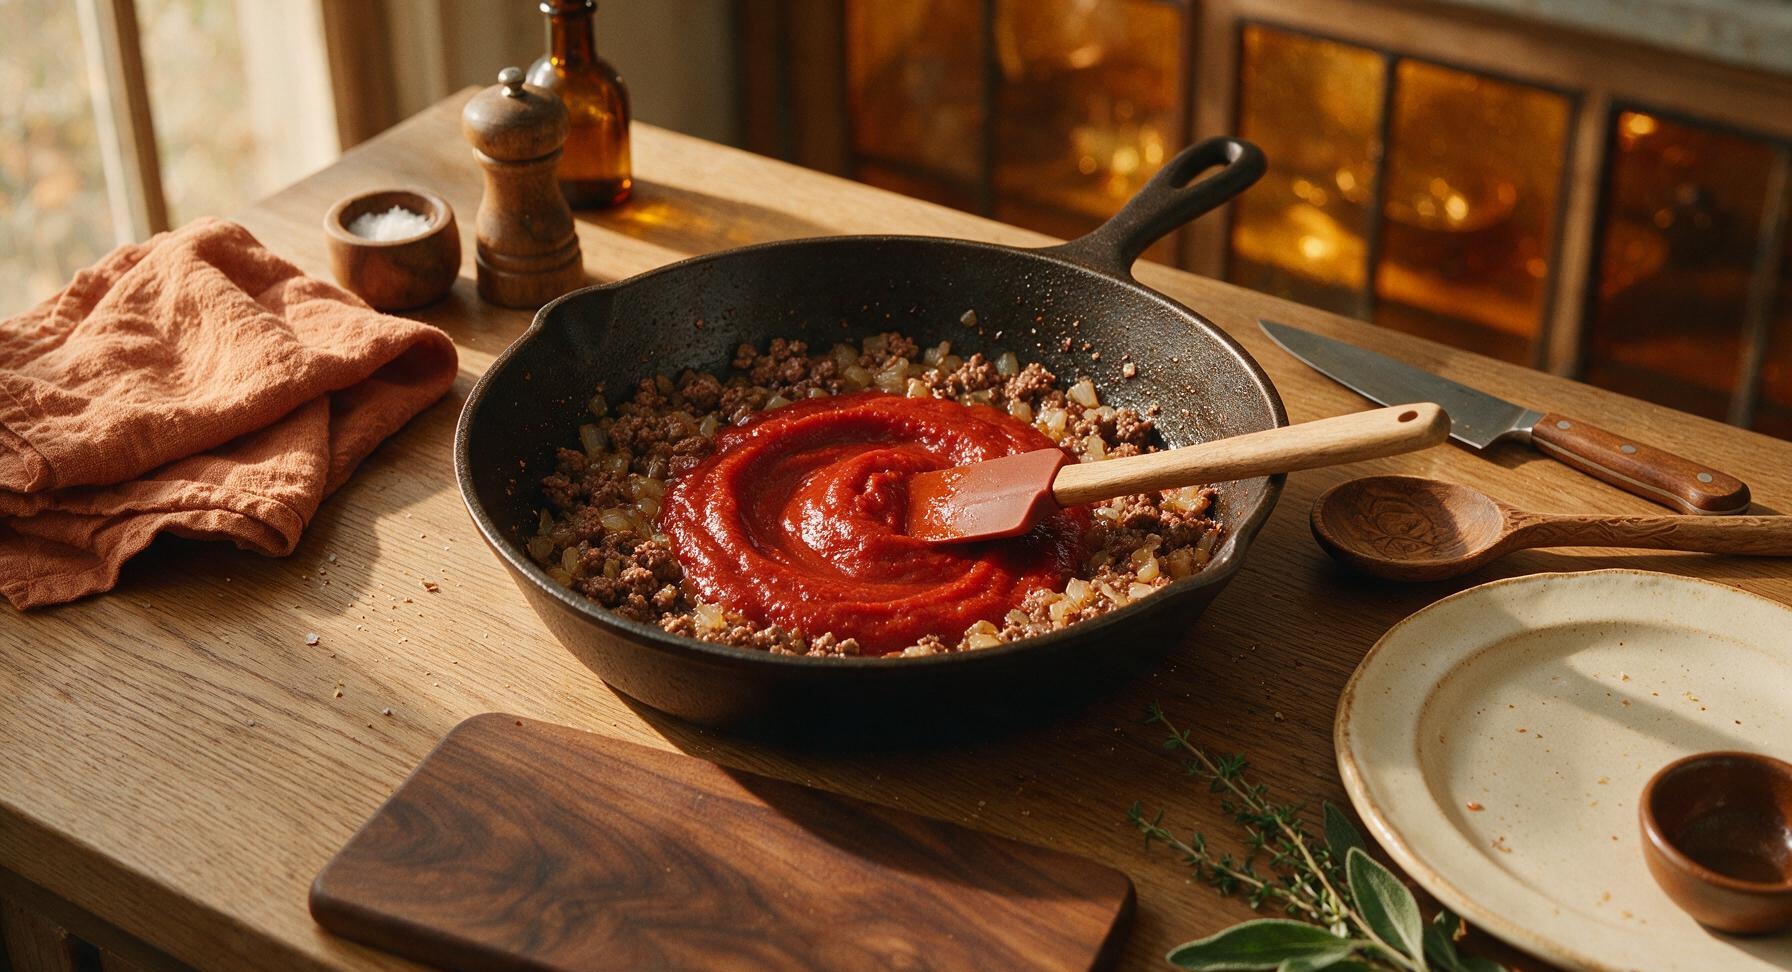
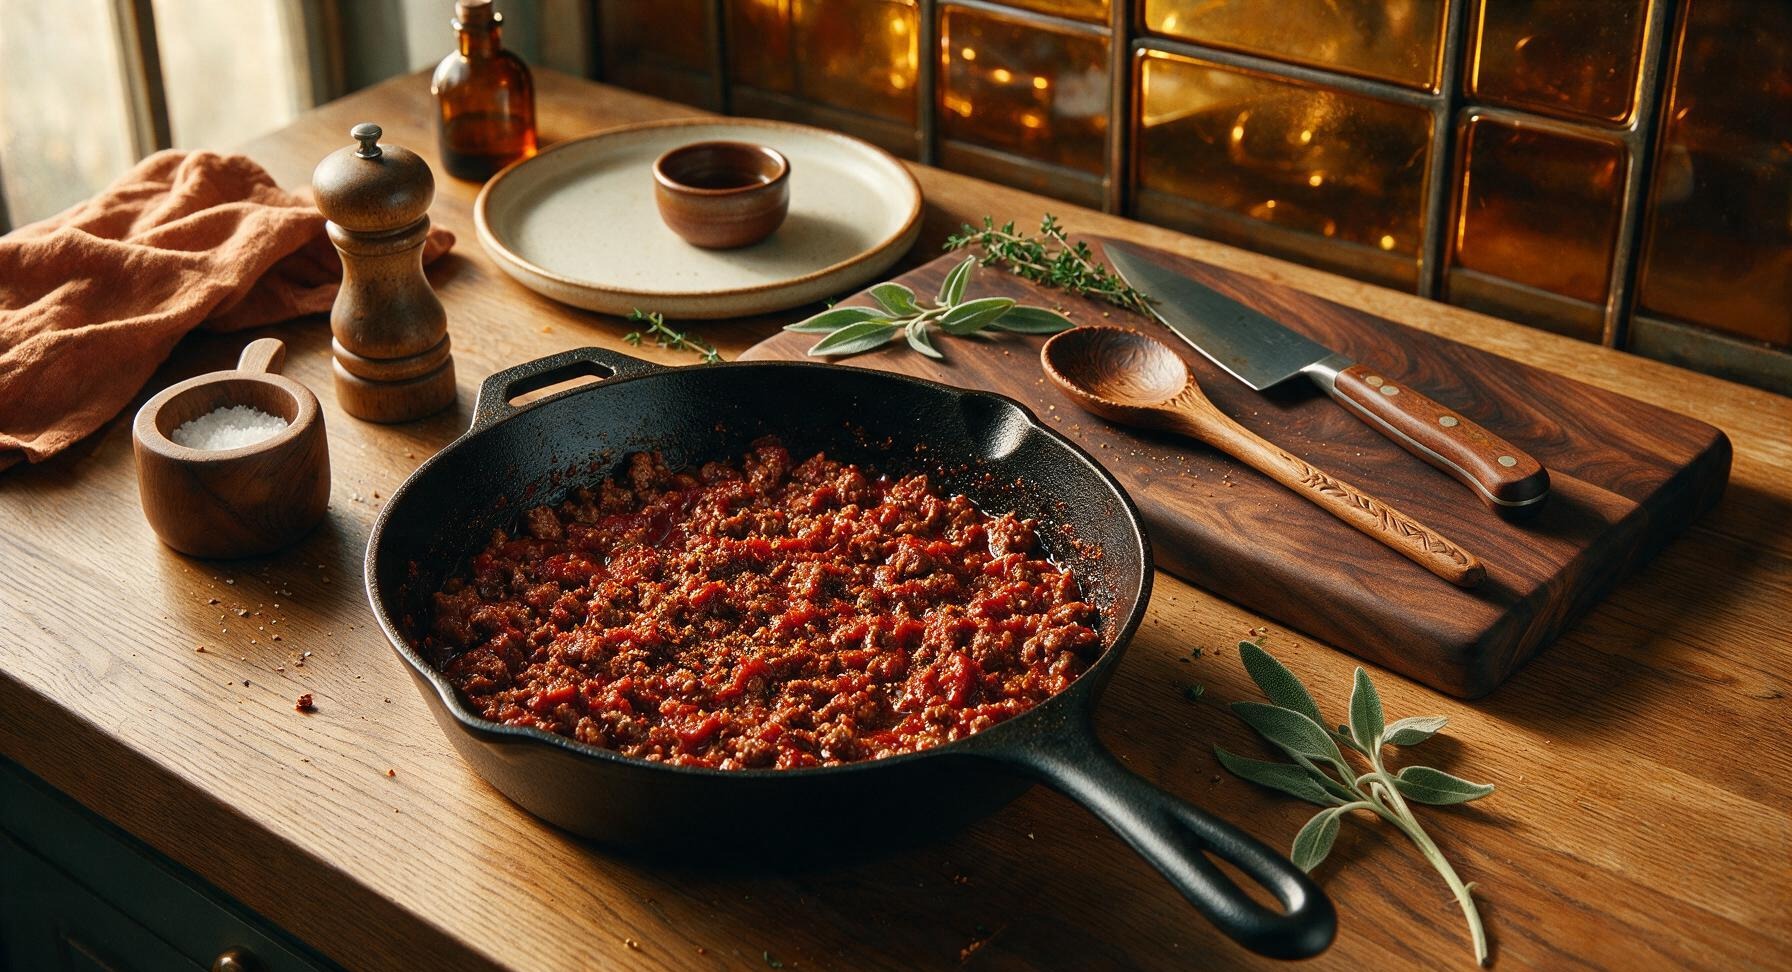
Step 4
step4:Toast Paste and Spices
Step 4
step4:Toast Paste and Spices
5

Add Liquid Simmer Base

Pour in the crushed tomatoes, water, Worcestershire sauce, and yellow mustard, stirring thoroughly with the silicone spatula to combine all ingredients into a smooth, uniform mixture. Scrape the bottom of the skillet firmly to lift any browned, caramelized bits (fond) stuck to the pan—these hold concentrated savory flavor that makes the chili taste rich and complex.
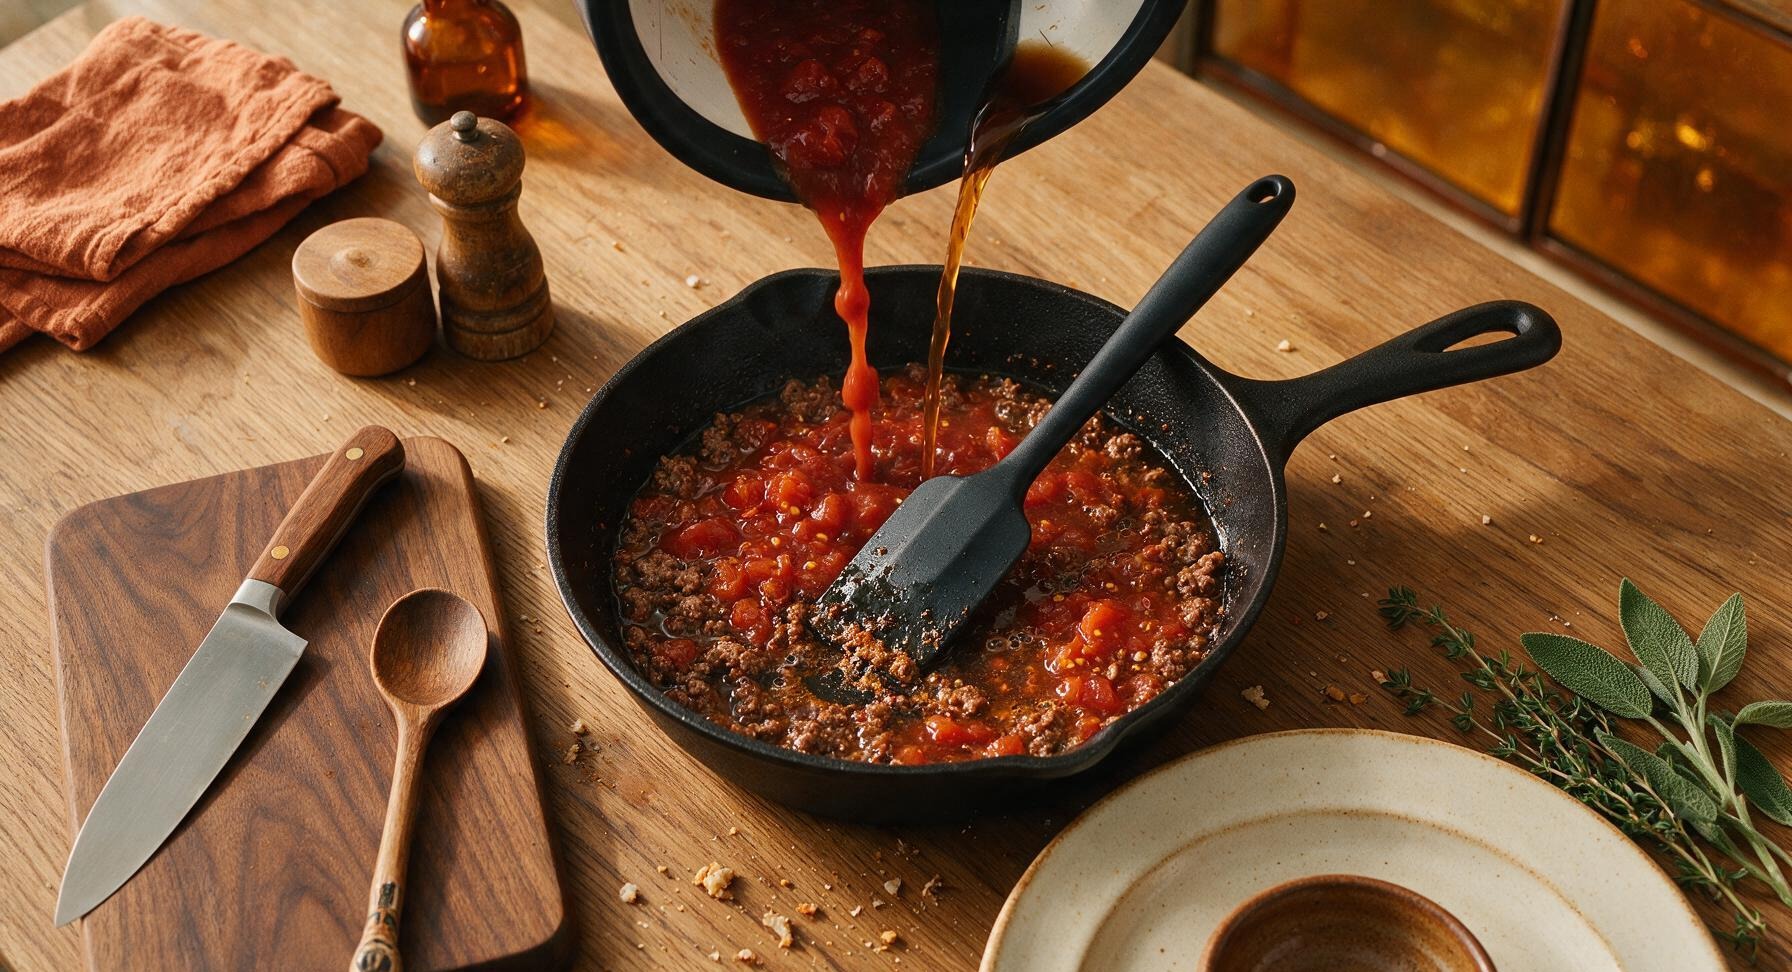
Step 5
step5:Add Liquid Simmer Base
6

Simmer to Perfect Texture

Bring the chili to a gentle, low bubble simmer, then reduce heat to low (200°F/95°C), and cook uncovered for 12-15 minutes, stirring every 3 minutes with the silicone spatula to prevent sticking to the pan bottom. The chili is done when it thickens to a light spoon-coating consistency, with no watery liquid pooling, and fine meat crumbles are evenly suspended in the rich red sauce. Do not over-thicken—Nathan’s chili is pourable enough to coat a hot dog without running off the bun sides.
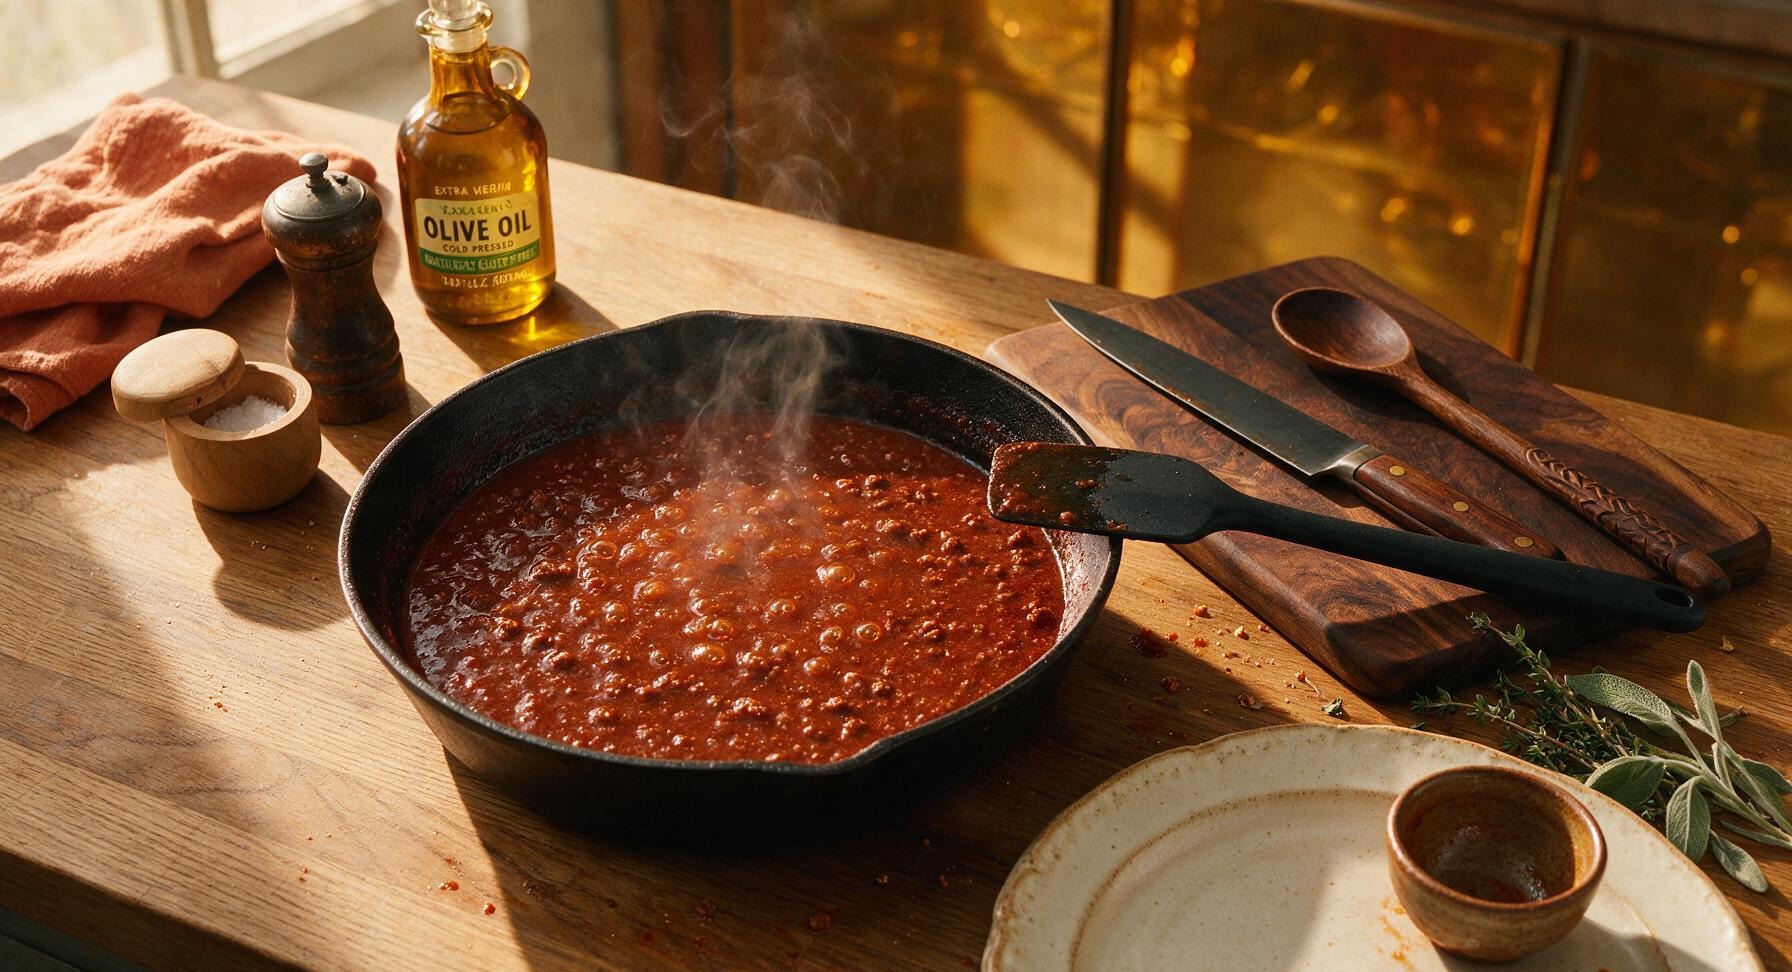
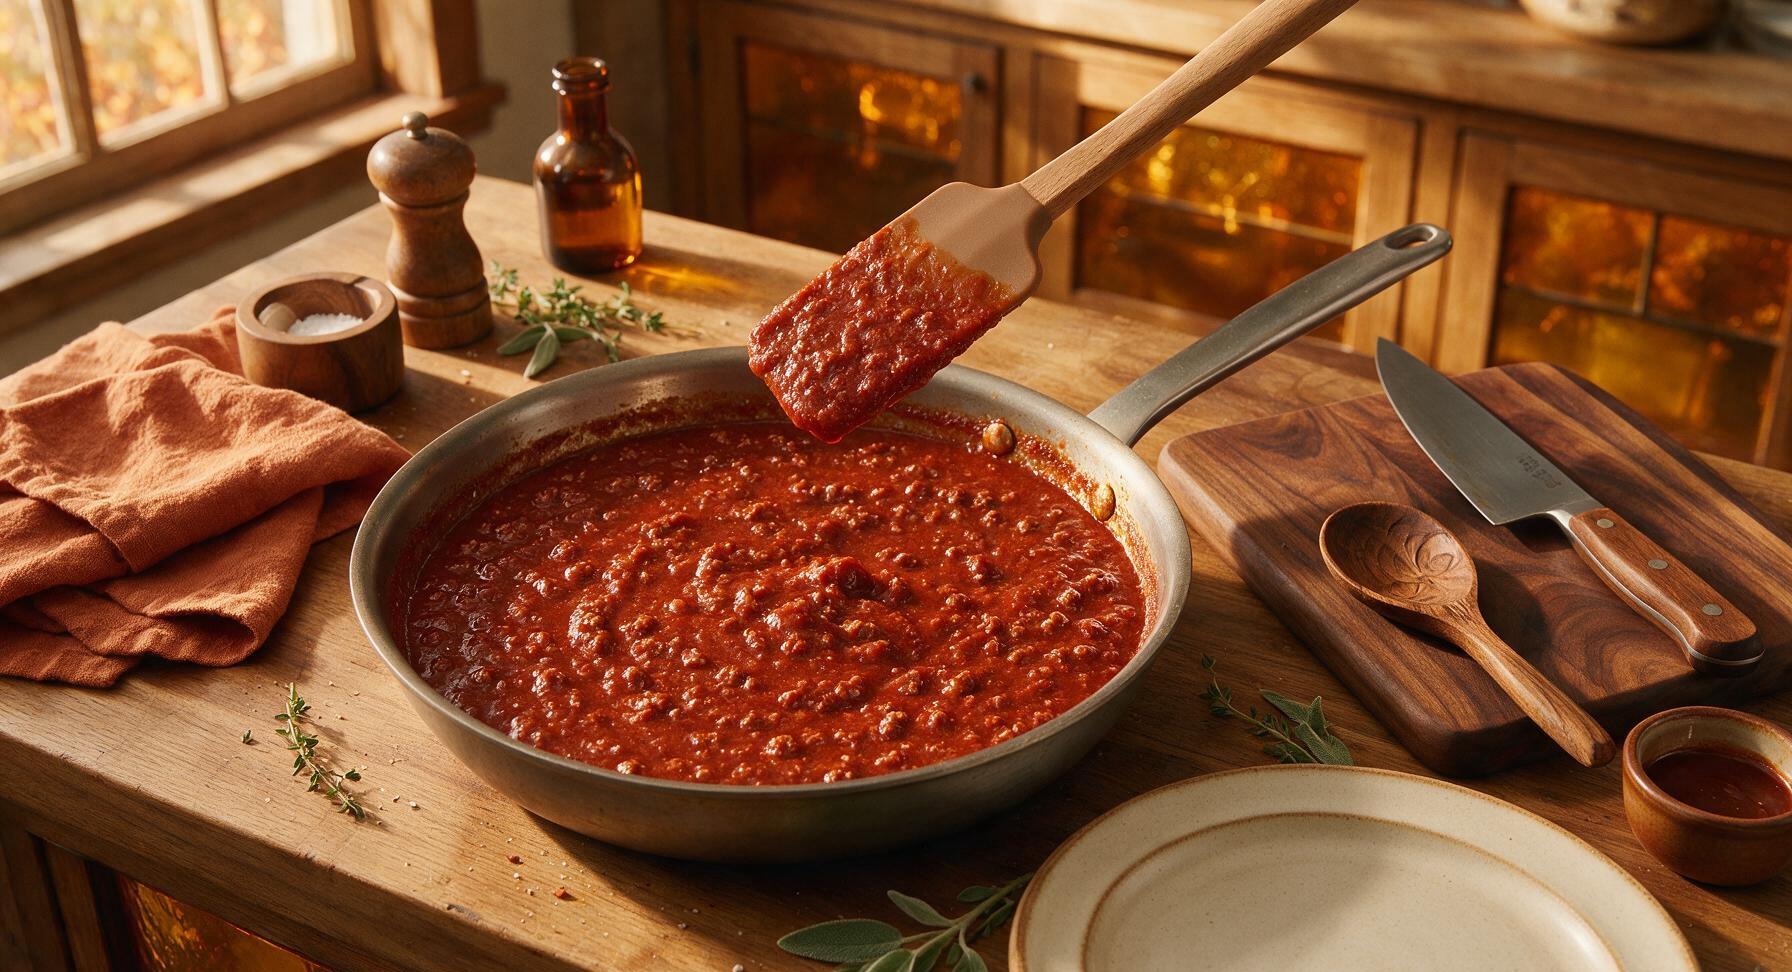
Step 6
step6:Simmer to Perfect Texture
Step 6
step6:Simmer to Perfect Texture
7

Rest and Adjust Seasoning

Remove the skillet from heat, and let the chili rest for 5 minutes to allow flavors to meld and the texture to set slightly. Taste a small spoonful, and add a pinch more salt or a tiny dot of extra mustard if needed to balance the sweet, tangy, savory profile. The chili will thicken slightly as it cools before being transferred to the serving bowl.
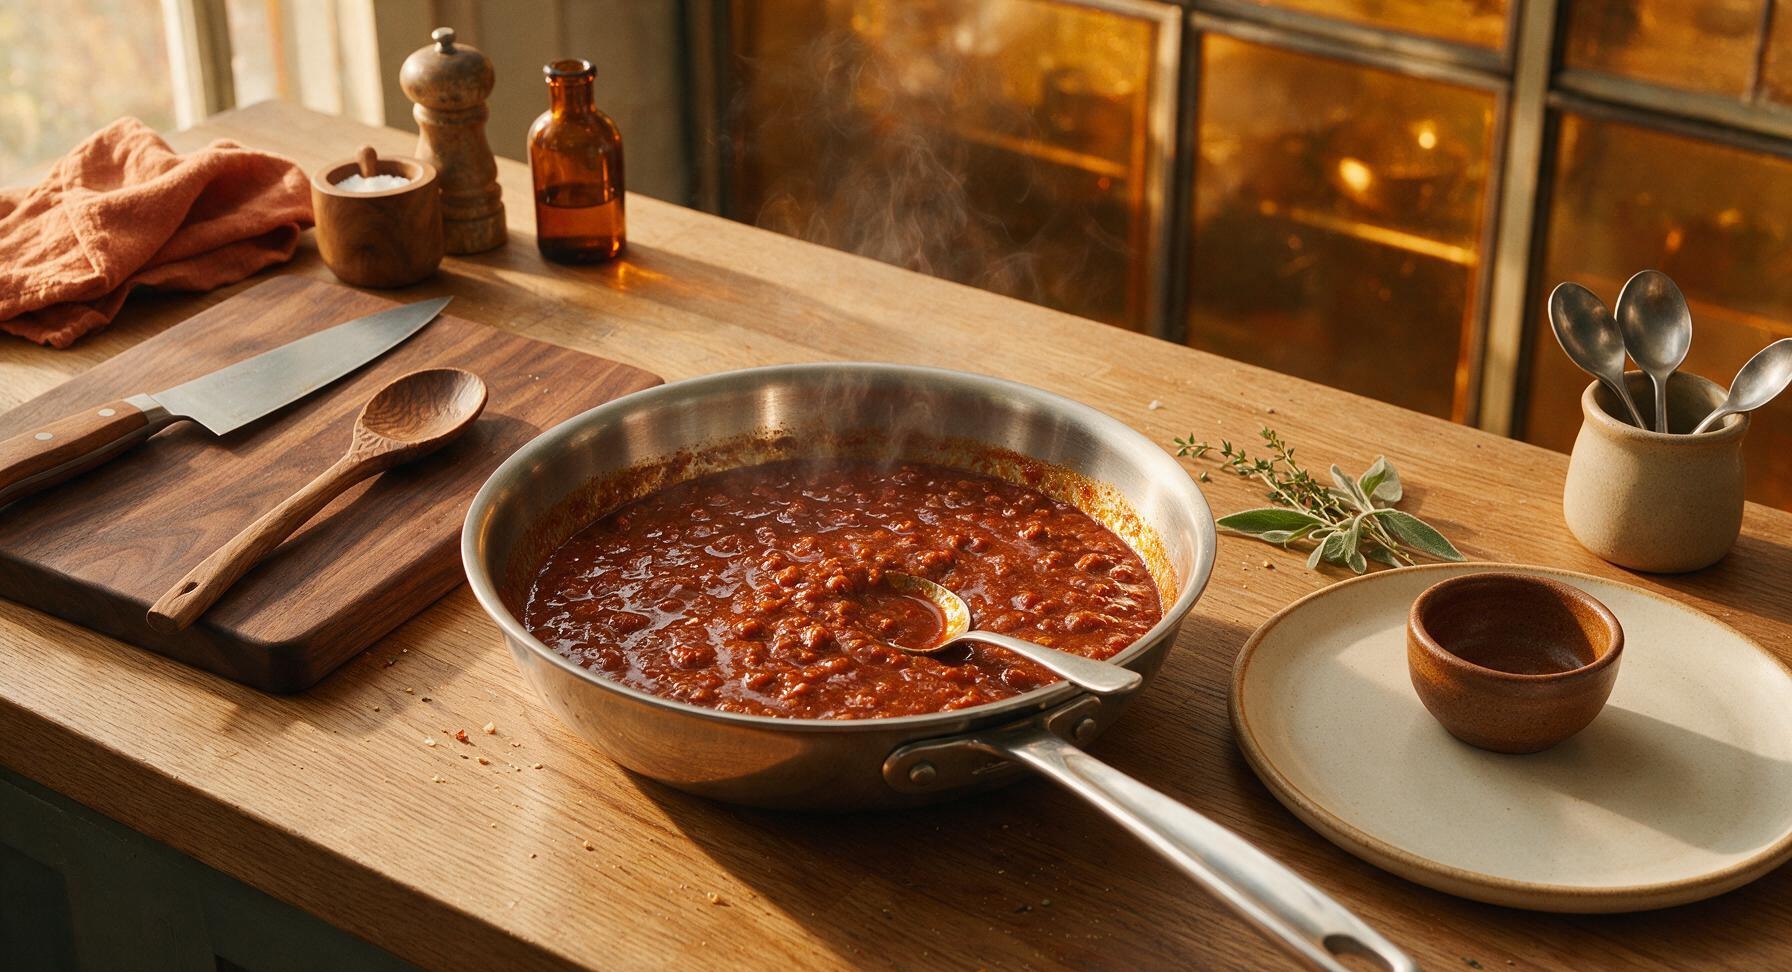
Step 7
step7:Rest and Adjust Seasoning

Tips

1.Use 80/20 ground beef and skip draining the rendered fat: the small amount of fat keeps the chili rich and moist, prevents it from clumping, and matches the signature smooth Nathan’s texture that clings to hot dogs instead of sliding off.
2.Break beef into extremely fine crumbles as it browns: large, chunky beef pieces will slip out of hot dog buns when you take a bite. For ultra-fine texture, mash the cooking beef with a wire potato masher for 30 seconds to break up any remaining clumps.
3.Keep the chili no-bean for authenticity: classic Nathan’s Coney Island chili never includes beans, which add unwanted bulk and make toppings slide off buns. If you love beans, serve a separate bean chili on the side instead of mixing it in.


✨ You May Also Like

BBQ & Grilling
🍜 United States

Tender, melt-in-your-mouth beef brisket with a crisp, spiced bark, slow-smoked to deep smoky perfection, the iconic centerpiece of Texas backyard barbecue.

⏱️ 12 hours BBQ & Grilling ★ 4.4
BBQ & Grilling
🍜 Korea

Tender, sweet-savory marinated beef short ribs, a beloved Korean BBQ staple with caramelized, slightly charred edges and deep umami flavor, perfect for outdoor summer gatherings.

⏱️ 4 hours 2BBQ & Grilling ★ 4.8
BBQ & Grilling
🍜 United States

Juicy grilled beef patties topped with smoky homemade chili, melted cheddar, and tangy pickles on toasted brioche buns for a hearty, flavor-packed handheld meal.

⏱️ 40 minuteBBQ & Grilling ★ 4.7
BBQ & Grilling
🍜 United States

A sweet, smoky, tangy BBQ sauce brightened with peak-season dark cherries, ideal for glazing grilled ribs, chicken, pork, or summer roasted veggies.

⏱️ 35 minuteBBQ & Grilling ★ 4.7
BBQ & Grilling
🍜 United States

Rich, smoky, slightly sweet homemade bourbon BBQ sauce with deep caramel notes, ideal for glazing grilled ribs, chicken, and burgers at cookouts.

⏱️ 25 minuteBBQ & Grilling ★ 4.7
BBQ & Grilling
🍜 United States

Iconic Alabama-style BBQ featuring tender hickory-smoked chicken slathered in tangy creamy white sauce, a beloved regional Southern cookout staple.

⏱️ 3 hoursBBQ & Grilling ★ 5

nathan's hot dog chili:Frequently Asked Questions

1.Does this Nathan’s hot dog chili contain beans like traditional bowl chili? ▾
Nope—this is the authentic no-bean Coney Island style Nathan’s is famous for! Skipping beans keeps the texture fine, smooth, and clingable, so it stays piled on your hot dog instead of sliding off onto your plate, and lets the bright tangy, beefy flavor take center stage without starchy, mushy filler.
2.Why does the recipe specify 80/20 ground beef instead of a leaner blend? ▾
The 20% fat ratio in 80/20 ground beef is non-negotiable for that rich, iconic Nathan’s flavor. Leaner blends cook up dry, crumbly, and lack the deep, savory mouthfeel of the boardwalk original—you won’t end up with greasy chili, since slow simmering renders and incorporates that fat evenly.
3.How do I get that super fine, smooth texture the original Nathan’s chili is known for? ▾
Skip browning the beef in big clumps! Break raw ground beef into tiny pieces as you add it to the pan, and use a wooden spoon or potato masher to press it constantly as it cooks. For extra authenticity, give the finished chili a quick 2-second immersion blender pulse, taking care not to turn it into a smooth paste.
4.Can I make this chili ahead of time for a summer cookout? ▾
Absolutely—this chili actually tastes better when made 1 to 2 days ahead! Let it cool completely, store it in an airtight container in the fridge, and reheat gently on the stovetop over low heat before serving. The extra resting time lets the tangy, savory flavors meld even more for that classic boardwalk taste.
5.Is this chili spicy, or does it have that signature tang I remember from Nathan’s? ▾
It matches the original profile perfectly: bright, tangy, and deeply savory, not aggressively spicy. The signature tang comes from slow-simmered crushed tomatoes and tomato paste, not sharp vinegar, though you can stir in a pinch of cayenne or dash of hot sauce if you want a gentle custom kick.
6.Why does the recipe call for unsalted crushed tomatoes instead of regular salted canned tomatoes? ▾
Unsalted crushed tomatoes let you control sodium levels perfectly, so you don’t end up with overly salty chili after adding tomato paste and custom seasonings. Salted canned tomatoes vary wildly in sodium between brands, which makes it hard to nail that balanced, iconic Nathan’s flavor without guesswork.
7.How thick should the chili be when it’s finished cooking? ▾
It should be thick enough to mound softly on a hot dog without running down the sides, but not so thick that it’s dry or paste-like. If it’s too thin after simmering, cook uncovered 5 to 7 extra minutes to reduce; if too thick, stir in a tablespoon or two of water or beef broth to loosen it.
8.Can I freeze leftover hot dog chili for future meals? ▾
Definitely! Let the cooked chili cool completely, then portion it into freezer-safe airtight bags or containers, leaving a half-inch of headspace for expansion. It will keep well for up to 3 months; thaw it in the fridge overnight, then reheat slowly on the stovetop, stirring occasionally, before using.
9.How finely do I need to chop the yellow onion for this recipe? ▾
A fine, uniform dice is key for that signature smooth, consistent texture. Big onion chunks will stand out and throw off the fine, even mouthfeel of the original chili. If you’re short on time, you can pulse the peeled onion in a food processor 2 to 3 times to get evenly tiny pieces fast.
10.What’s the authentic way to serve this chili on hot dogs, like they do at Nathan’s Coney Island? ▾
Pile a generous 2 to 3 tablespoon scoop of warm chili down the center of a grilled all-beef hot dog in a soft, steamed bun. The classic serving pairs it with a thin line of yellow mustard and a tiny sprinkle of diced raw onion, skipping heavy toppings like cheese that cover up the chili’s tangy flavor.
11.Why add tomato paste instead of just using extra crushed tomatoes? ▾
Tomato paste adds a deep, concentrated, caramelized tomato flavor that crushed tomatoes alone can’t deliver, which is core to the chili’s rich, savory profile. Be sure to cook the paste with the onion and garlic for 1 to 2 minutes first to toast it and mellow out any raw, metallic canned aftertaste.

Comments (13)

1 week ago

OMG this tastes exactly like the Nathan's chili I get at Coney Island every summer! I made this for our backyard cookout last weekend and every single person asked for the recipe. Total game changer for hot dog night. So easy to throw together too, only took me 25 minutes flat like the recipe said.

5 days ago

Wait did you put any extra toppings on yours? I’m making this for my kid’s birthday party this Saturday and wanna make sure I nail it!

3 days ago

So glad it was a hit at your cookout, Mike! If you’re making it for a crowd, you can easily double the batch and keep it warm in a slow cooker on low for 2-3 hours without it getting too thick.

2 days ago

My kids loved it! I’ve been searching for a copycat Nathan’s chili recipe forever because my boys beg for chili dogs every Friday for family dinner, and this one is spot on. No weird fancy ingredients, super simple even on busy weeknights. 10/10!

yesterday

Love that this is a new Friday night staple for your family! A little pro tip: if your kids like it extra cheesy, sprinkle a little shredded cheddar on top right before serving.

3 days ago

Brought this to our office potluck yesterday and people were going back for thirds! I was worried it wouldn’t live up to the fast food version, but it’s honestly better. I did add a tiny extra pinch of cayenne for a little kick, and that worked perfectly.

2 days ago

How much cayenne did you add? I love heat but don’t wanna make it too spicy for my roommate who can’t handle much kick.

yesterday

Only 1/4 teaspoon! It adds a nice subtle warmth without being overpowering, your roommate will be totally fine with it.

30 minutes ago

SO good. I’m a total beginner in the kitchen and even I didn’t mess this up. Made chili dogs for me and my roommates last night and we all ate way too much. Will absolutely be adding this to my regular meal rotation.

5 days ago

Tastes just like I remember from trips to the mall Nathan’s as a kid! The only tweak I made was using lean ground beef so there was less grease to drain, and it turned out perfect. Great on brats too, not just hot dogs! Knocked off one star because I wish it made a little more, my whole family polished off the whole batch in one sitting.

3 days ago

Great tip using lean ground beef, Dave! If you need a bigger batch, the recipe scales perfectly—just double all the ingredients and add 5 extra minutes of cook time to make sure everything simmers together nicely.

2 weeks ago

Made a big batch of this on Sunday for meal prep and it reheats like a dream! I’ve been putting it on hot dogs, baked potatoes, even nachos all week. Way better than the canned chili I used to buy, and way cheaper too.

2 hours ago

Wait, quick question—do you drain the ground beef before adding the sauce ingredients? I’m making this for my boyfriend’s watch party tonight and I don’t wanna mess it up! 😅

30 minutes ago

I always drain mine! If you leave the grease in it gets kinda oily, especially if you’re not using super lean beef. Turned out perfect for me when I drained it first.

5 minutes ago

Great question, Lila! Yes, we recommend draining the excess grease from the ground beef after browning it before adding the rest of the ingredients—this keeps the chili rich but not greasy. Hope the watch party is a hit!

yesterday

Made this for the NFL watch party over the weekend and it was gone before halftime. Everyone was raving about how authentic it tasted. I served it with a little diced onion and shredded cheese on top, chef’s kiss.

2 hours ago

Did you keep it warm in a crockpot during the party? I’m making this for our tailgate next weekend and trying to figure out the best way to serve it.

5 minutes ago

So happy this recipe is naturally gluten free! I’ve had to pass on so many chili dog recipes because they use weird thickeners with wheat, but this one is totally safe for my celiac. Tastes incredible too, no weird aftertaste like some GF copycats.

2 weeks ago

This is such a win for cheap weeknight meals! I already had almost all the ingredients in my pantry, only had to pick up a pound of ground beef and a pack of hot dogs. Fed me and my two roommates for under $10 total, can’t beat that.

1 week ago

Wait do you think this would freeze well? I’m trying to stock my freezer with easy cheap meals for busy work weeks.

5 days ago

Love that this works for your budget, Ben! This chili freezes great for up to 3 months—just let it cool completely, store it in an airtight container, and reheat on the stove when you’re ready to use it.

1 week ago

Born and raised in Brooklyn, I take my Nathan’s chili very seriously. I was skeptical of a copycat, but this is dead on. The texture is perfect, not too chunky, not too smooth, the seasoning is exactly right. I will never buy the pre-made canned Nathan’s chili again.

5 days ago

That’s the highest compliment we could get, coming from a Coney Island native! So glad we nailed the classic flavor you know and love.

just now

I swapped the ground beef for plant-based crumbles to make this vegetarian, and it still tasted so close to the real thing! My meat-eating husband didn’t even notice the difference until I told him. Such a versatile recipe.

30 minutes ago

Game changer, fr. I used to drive 20 minutes out of my way to the nearest Nathan’s to get a chili dog, now I can make it at home in 25 minutes? No contest. This recipe is going in my permanent recipe box, no question.

5 minutes ago

Wait have you tried putting this on fries yet? I made chili cheese fries with the leftovers last week and it was life changing.



