1.Do I have to use official Nathan’s Famous all-beef franks for this recipe, or can I substitute a different hot dog brand?
▾
Nathan’s natural-casing all-beef franks have that iconic salty, beefy flavor and signature snappy bite that defines this classic Coney Island dog, so they’re always the top pick. If you can’t find them, substitute a high-quality natural-casing all-beef frank with no fillers; skip skinless franks, as they won’t deliver that same crisp, juicy texture.
2.What grill temperature works best to get that classic snappy casing without splitting the franks?
▾
A steady medium heat, between 375–400°F, is perfect. Too-high heat will blow out casings, char the exterior, and leave the inside underheated, while too-low heat leads to limp, rubbery franks with no crisp bite. Preheat your grill for 10 minutes, and lightly oil the grates first to prevent sticking as the franks cook.
3.Should I score or slit the hot dogs before grilling them?
▾
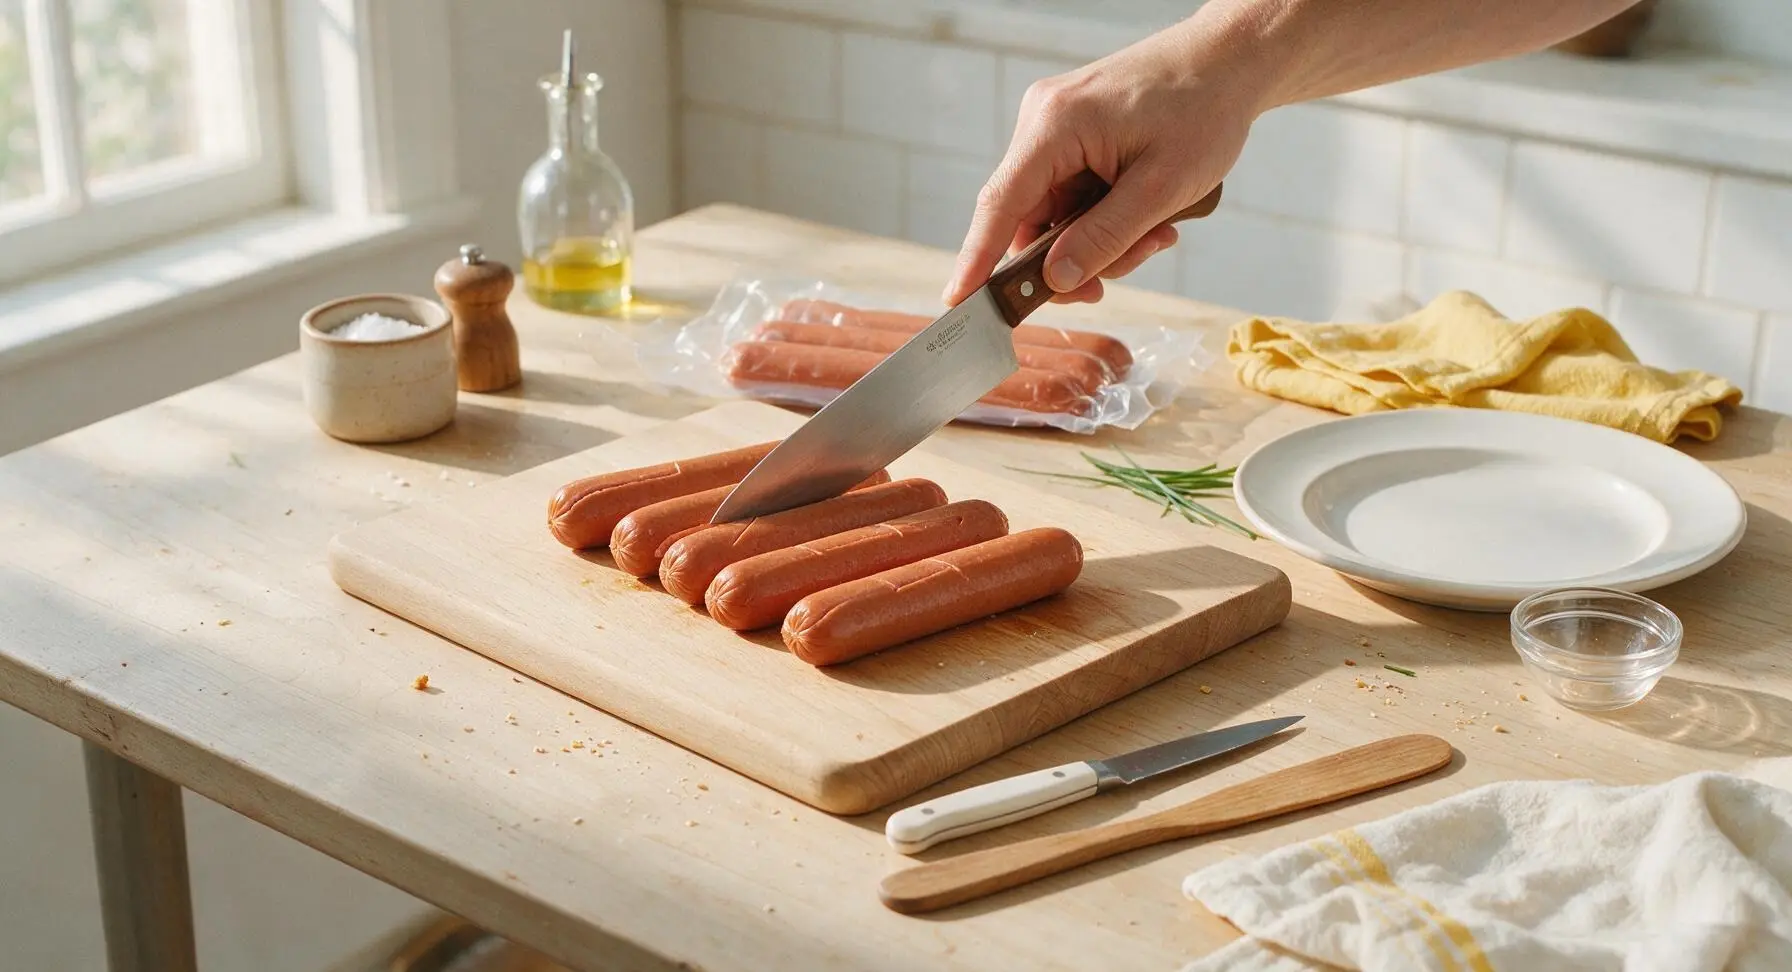
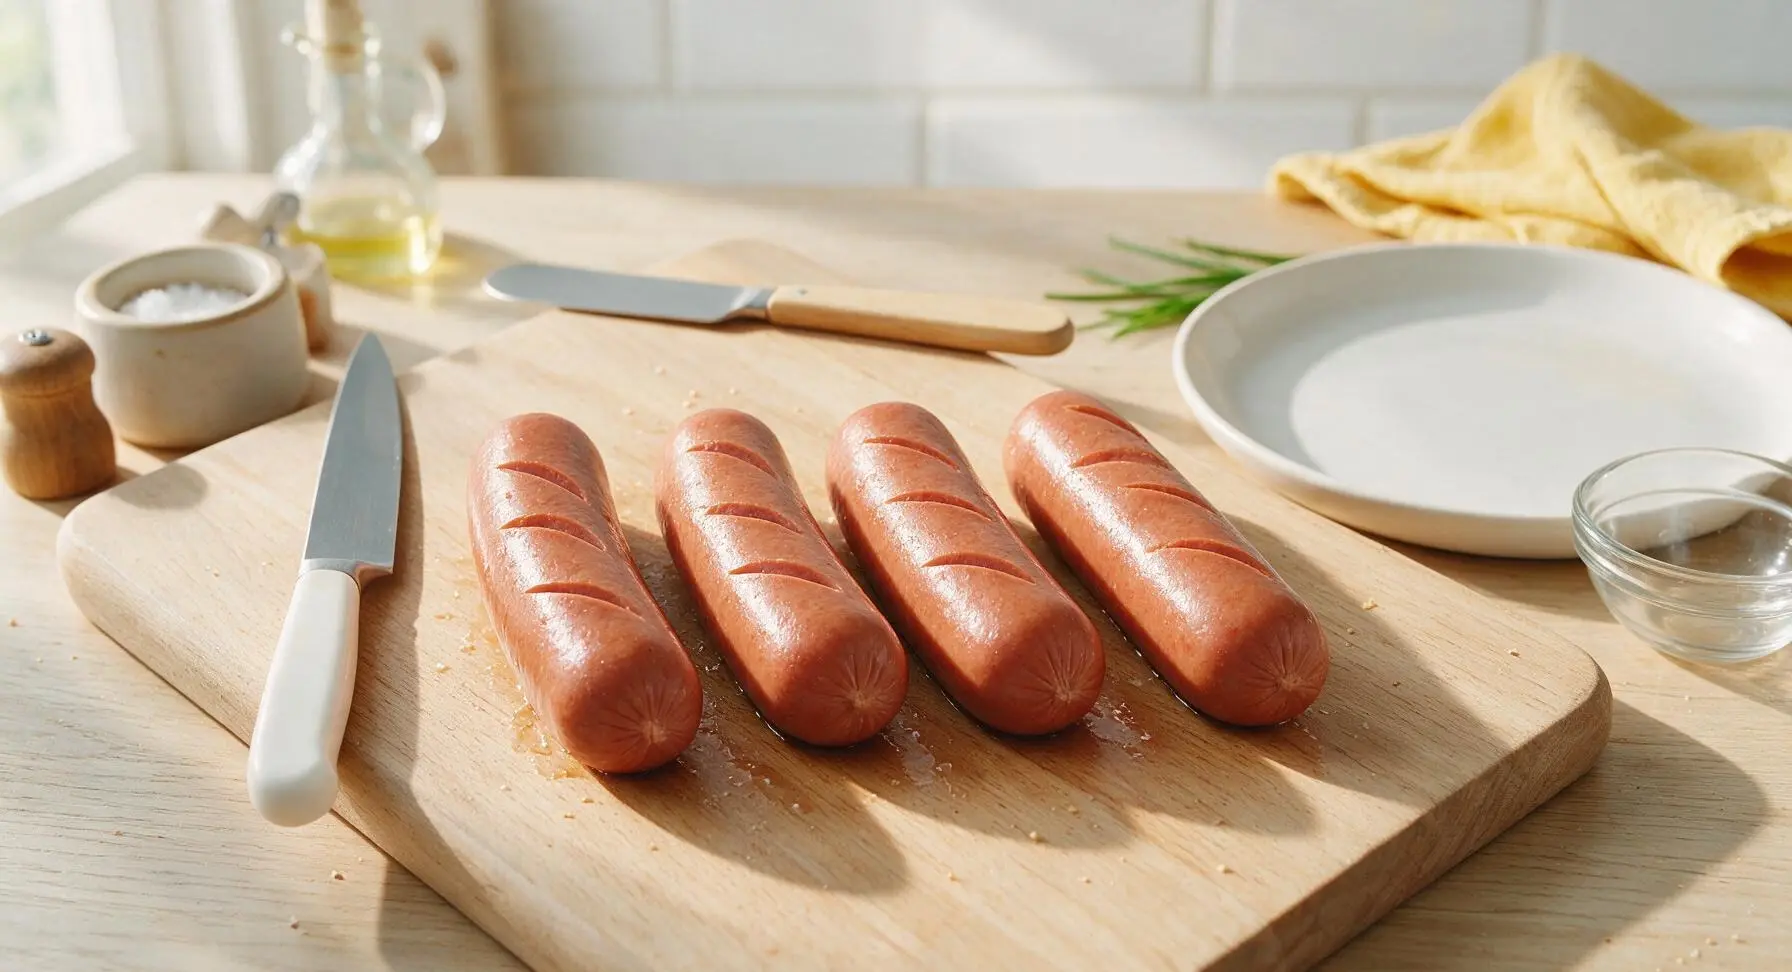
Skip deep slits for authentic Nathan’s texture! Scoring cuts through the natural casing and lets all the juicy rendered fat drip out, leading to dry franks and no signature snap. The only exception is extra-thick franks prone to bursting; make one tiny ¼-inch slit on a single side to release minimal pressure as they cook.
4.How long do I need to grill Nathan’s franks to get perfectly juicy results?
▾
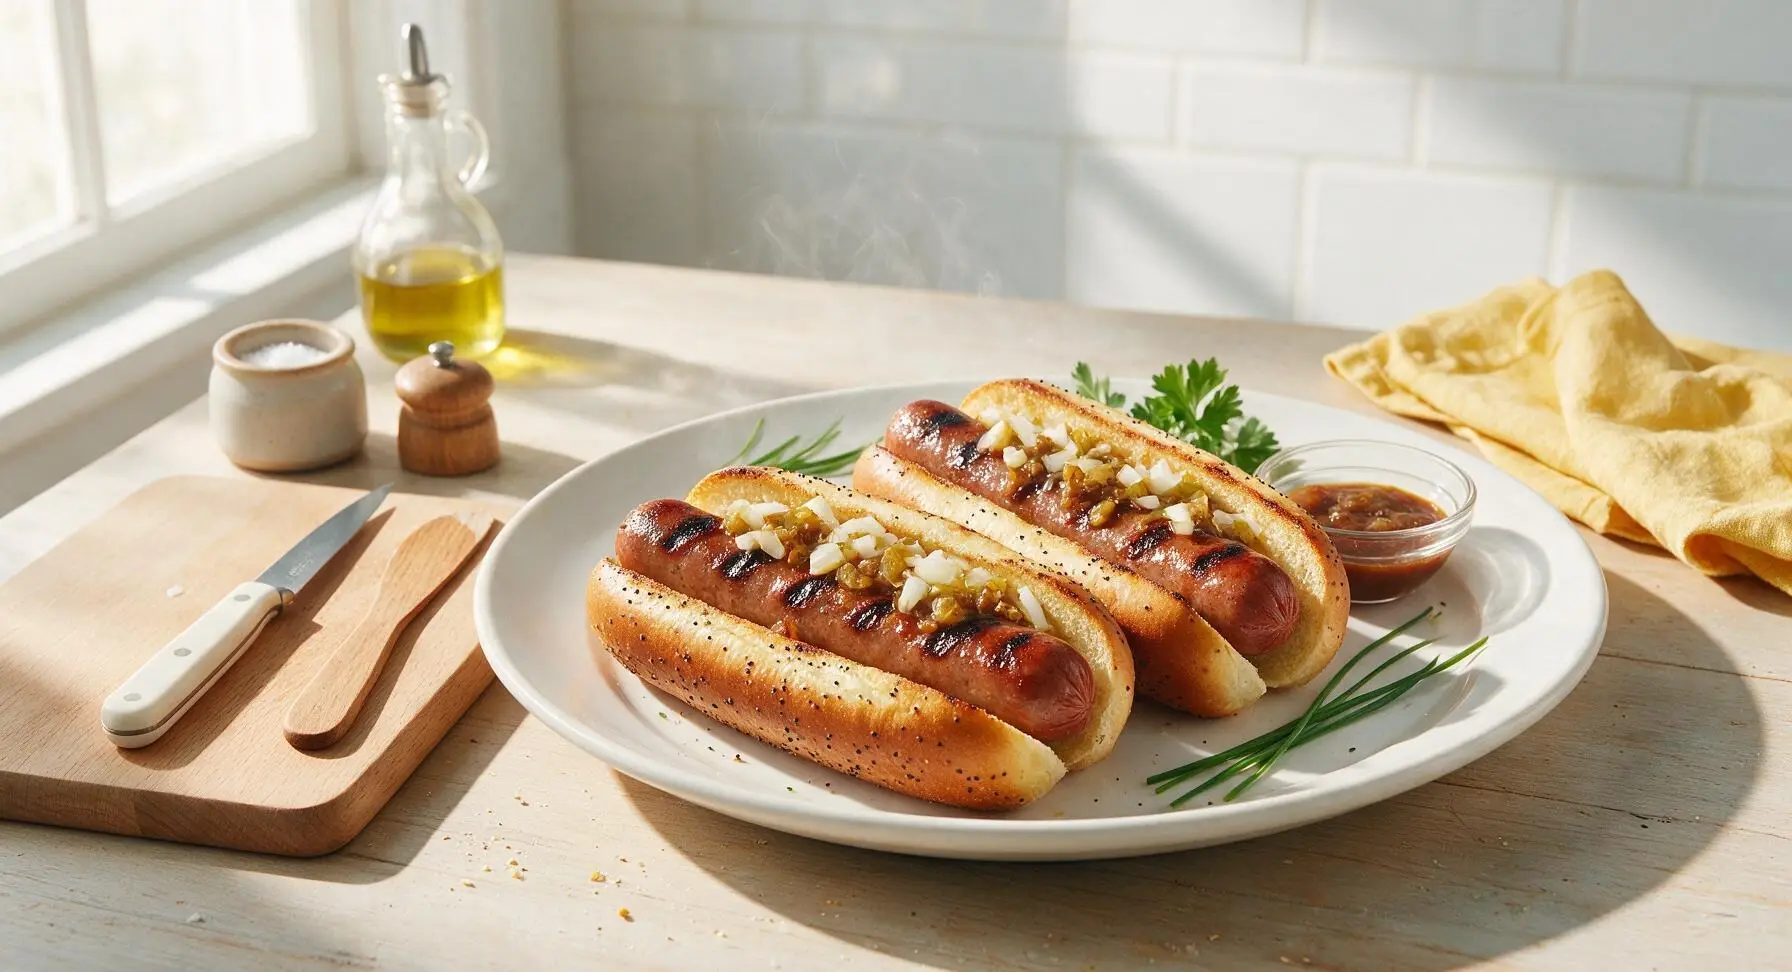
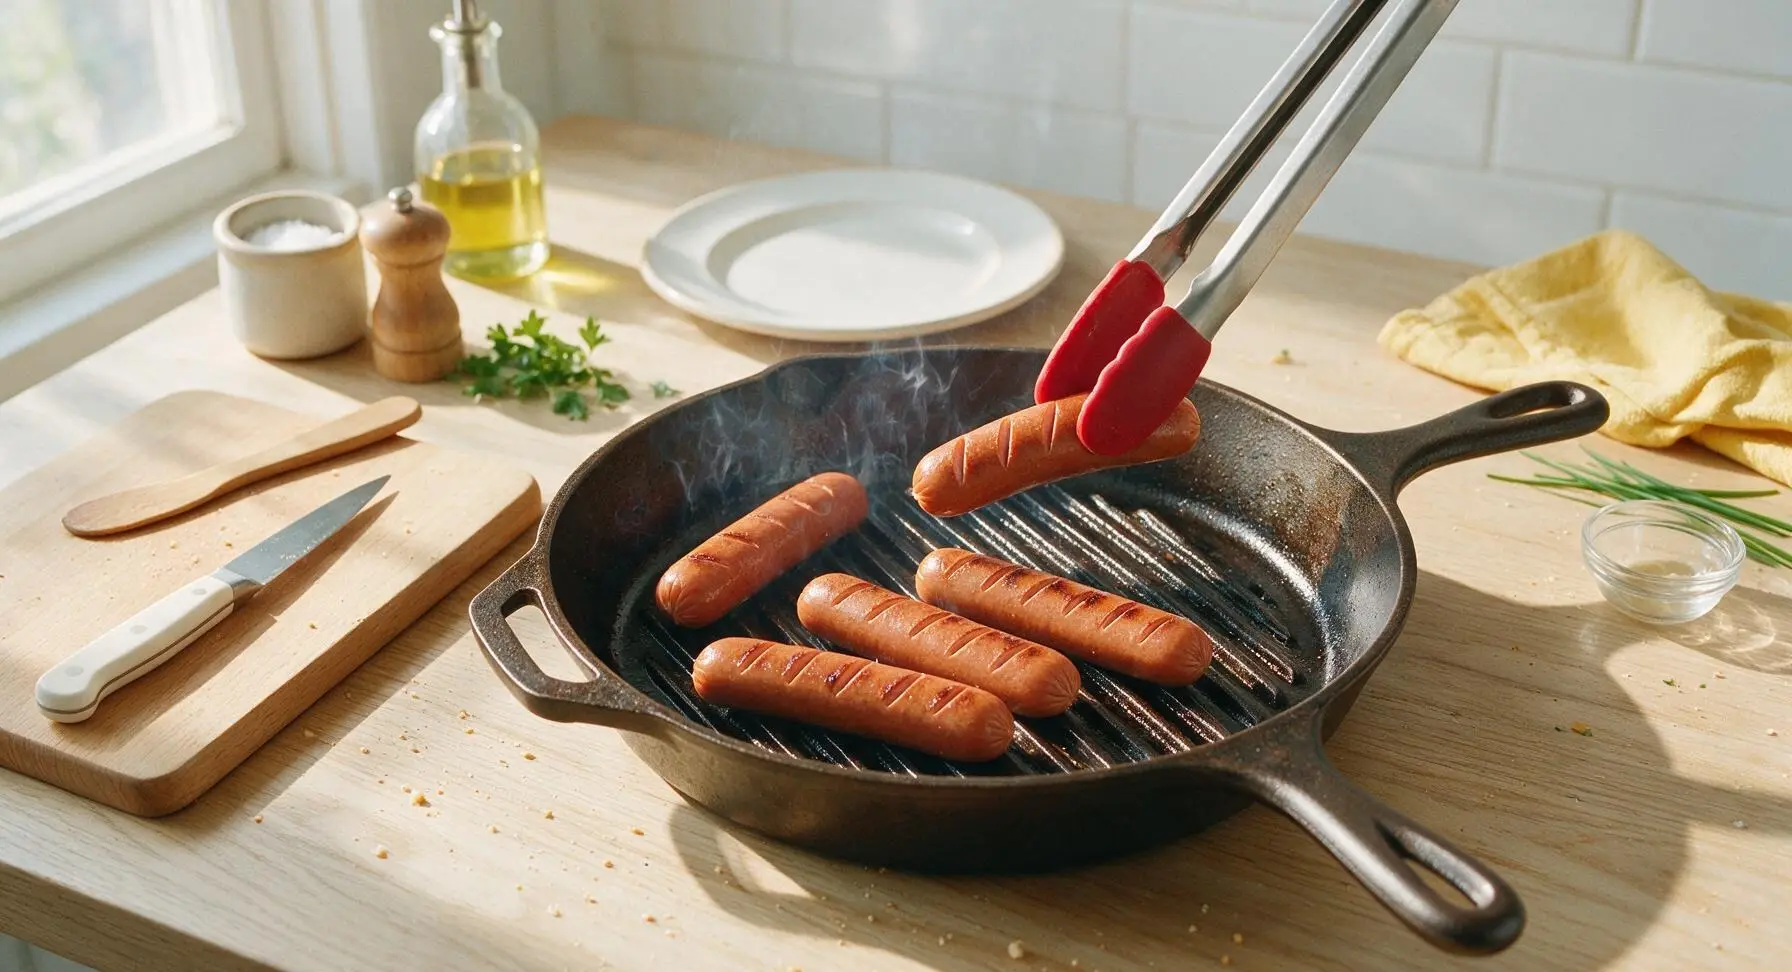
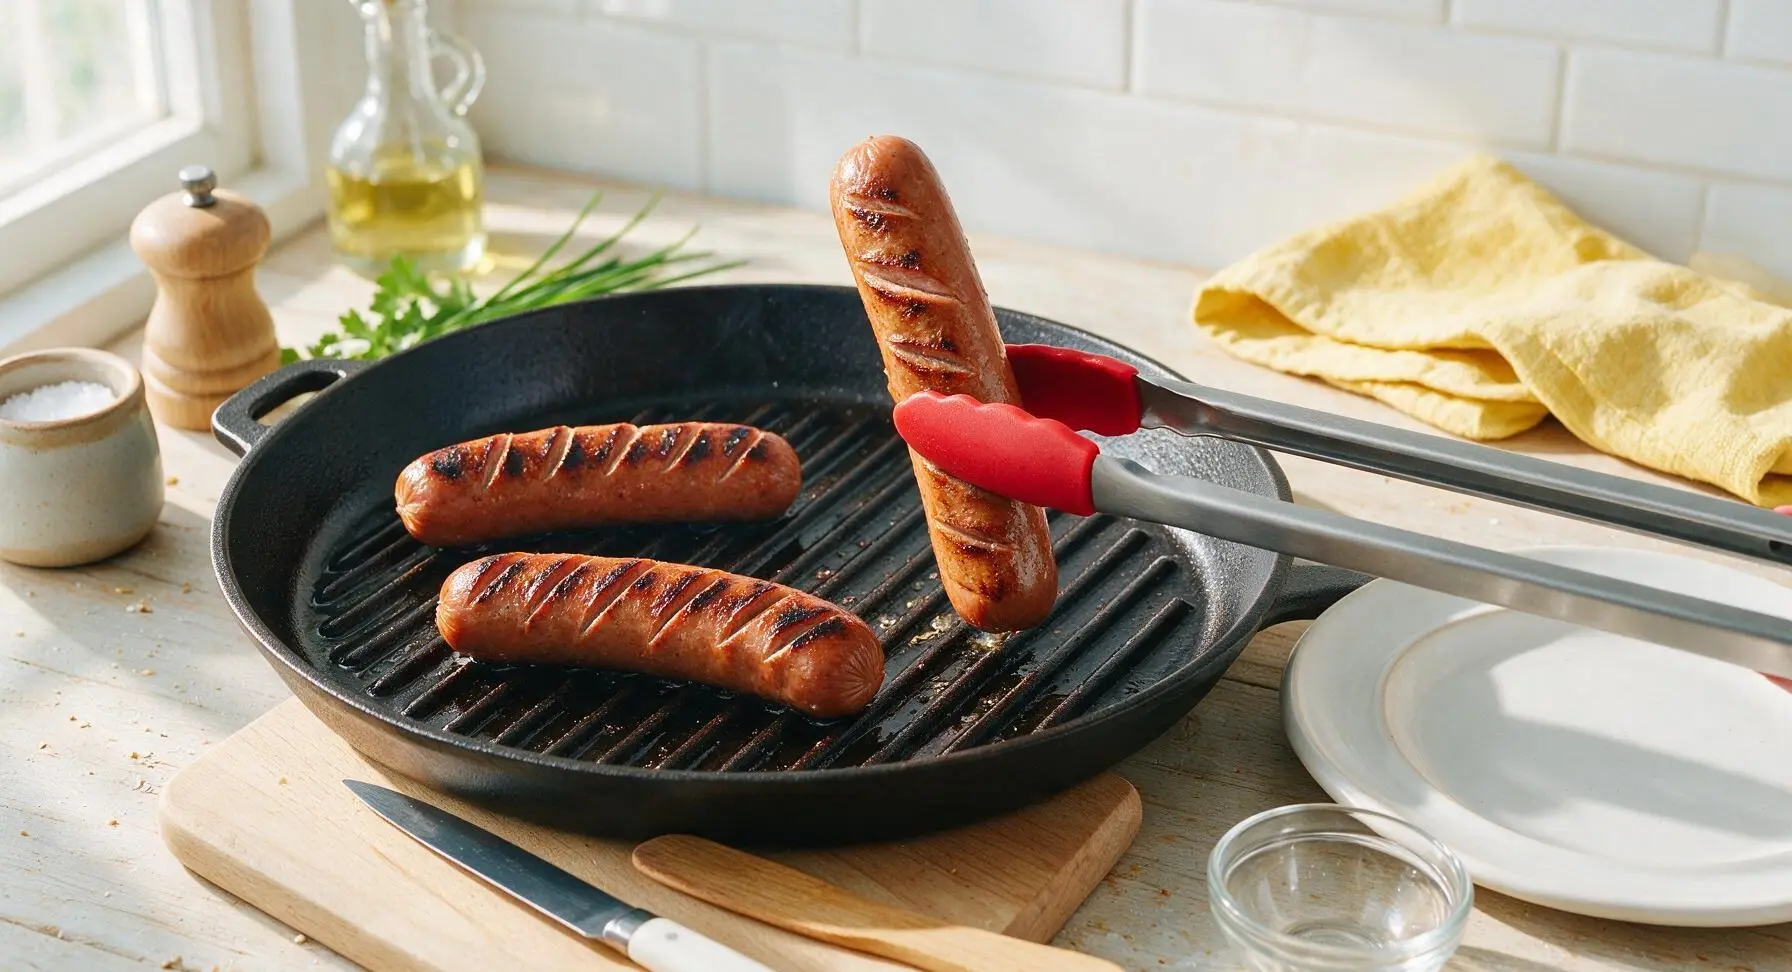
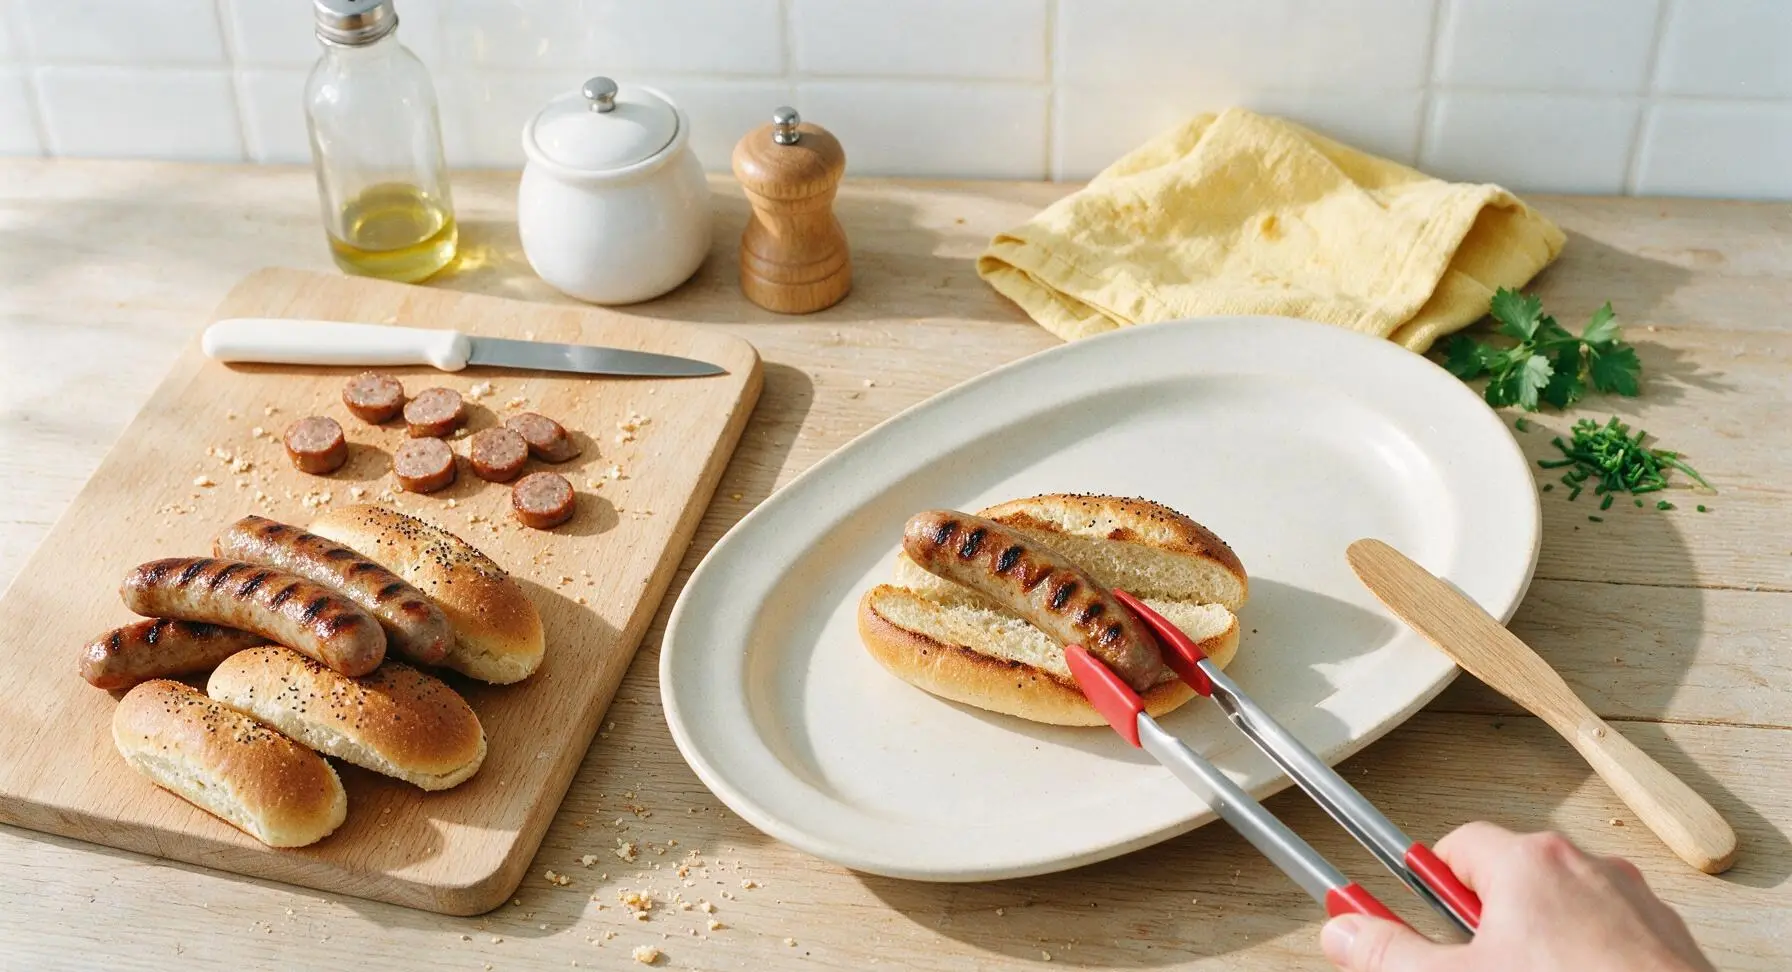
Plan for 6 to 8 minutes total, turning every 2 minutes with tongs—never pierce franks with a fork, as that lets precious juice escape. They’re done when they have even dark grill marks, plump slightly, and hit an internal temperature of 160°F for food safety. Don’t overcook them, or they’ll shrivel and turn tough.
5.Why do you toast the poppy seed buns in butter instead of toasting them dry on the grill?
▾
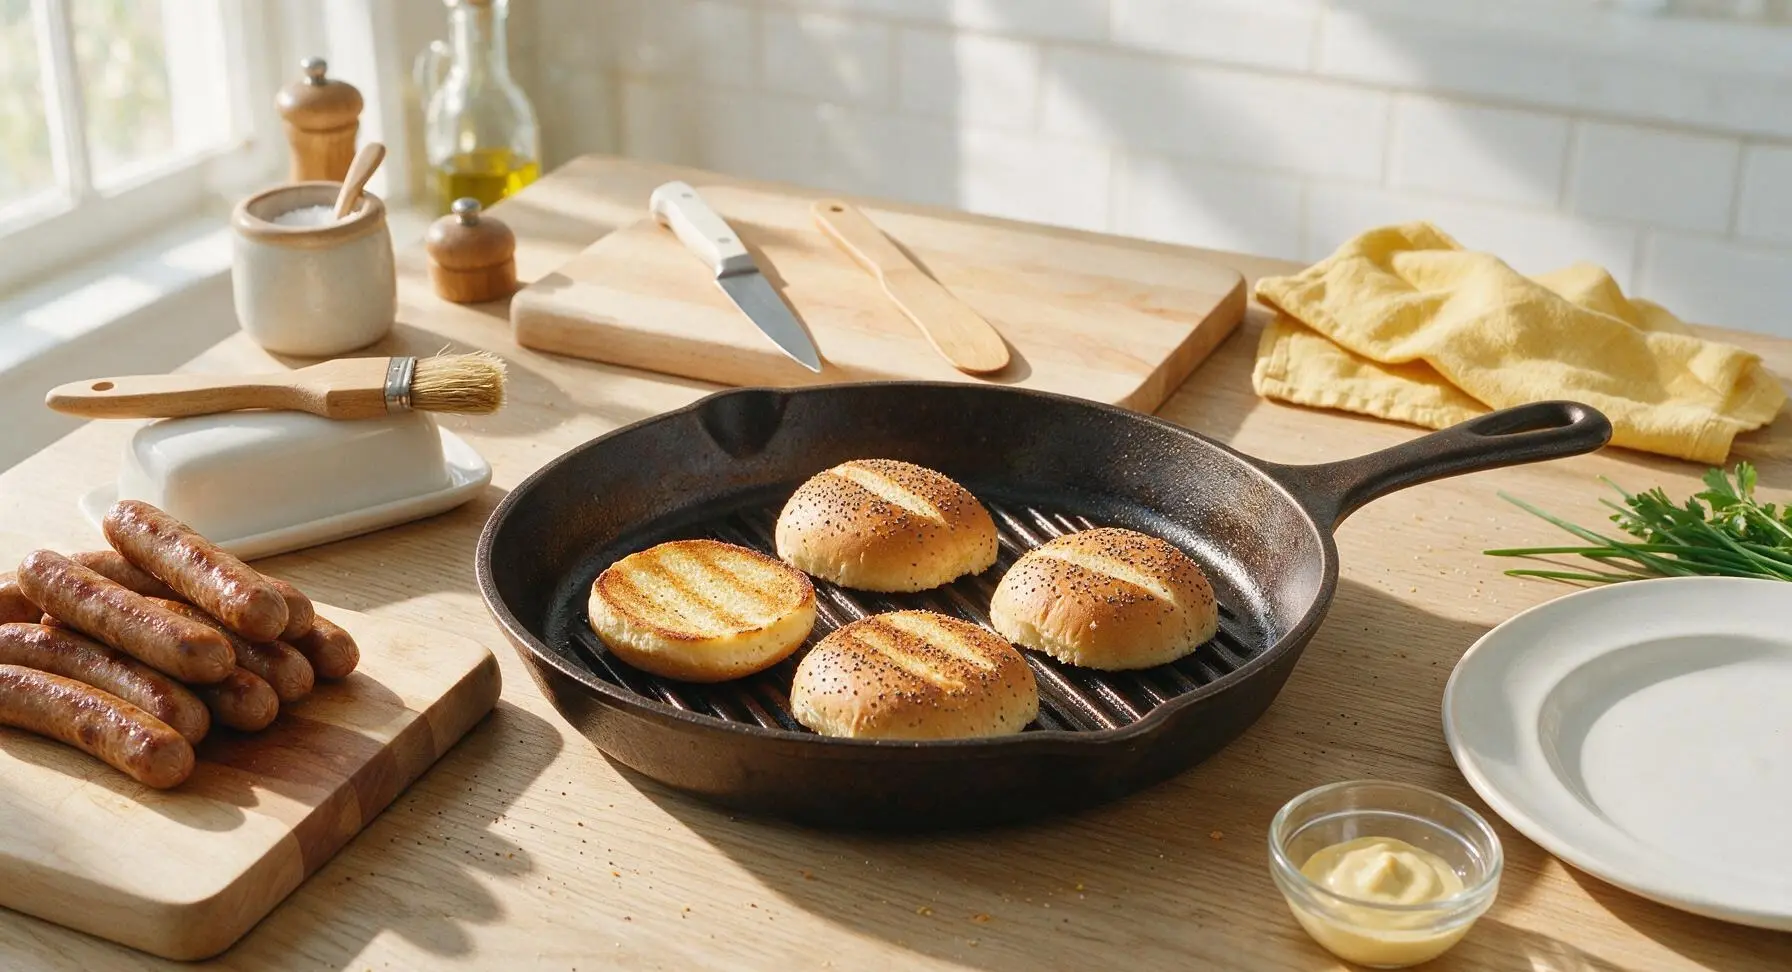
Butter toasting serves two key purposes: it creates a crisp, moisture-resistant barrier that keeps the bun from getting soggy from juicy franks and toppings, and it amplifies the subtle, nutty crunch of the poppy seeds. Brush cut bun sides with melted unsalted butter, then toast 30–45 seconds on the grill’s cool side until light golden.
6.Can I use regular hot dog buns if I can’t find poppy seed ones?
▾
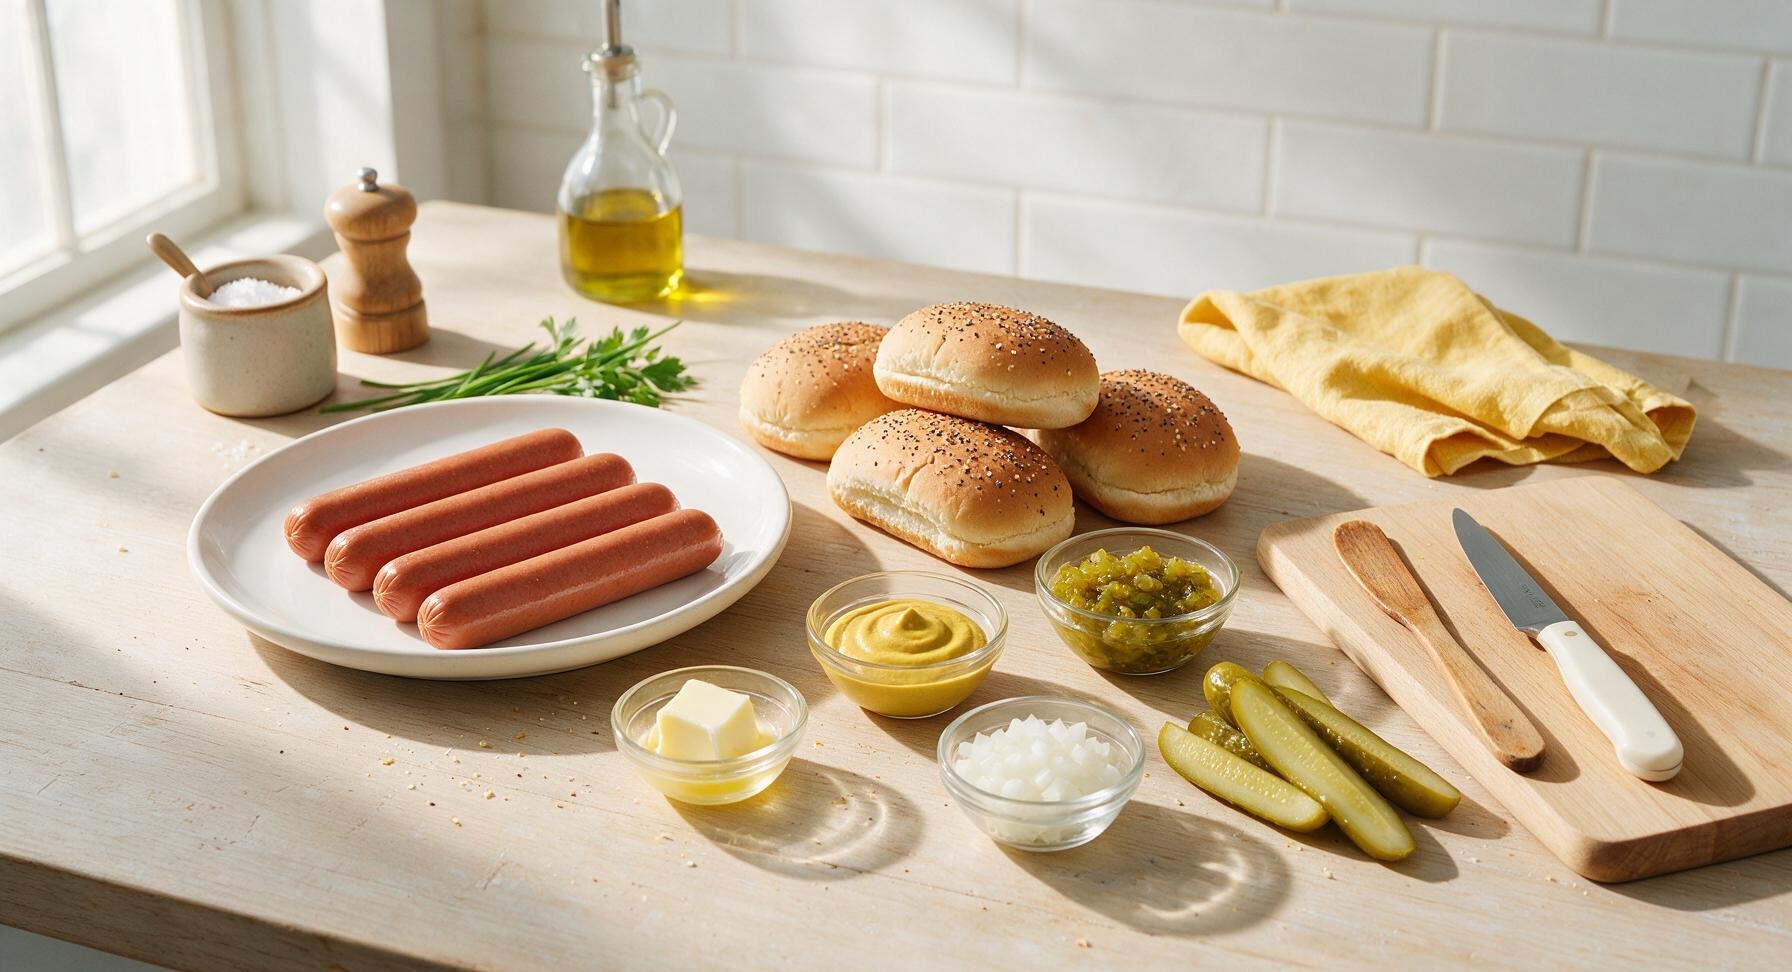
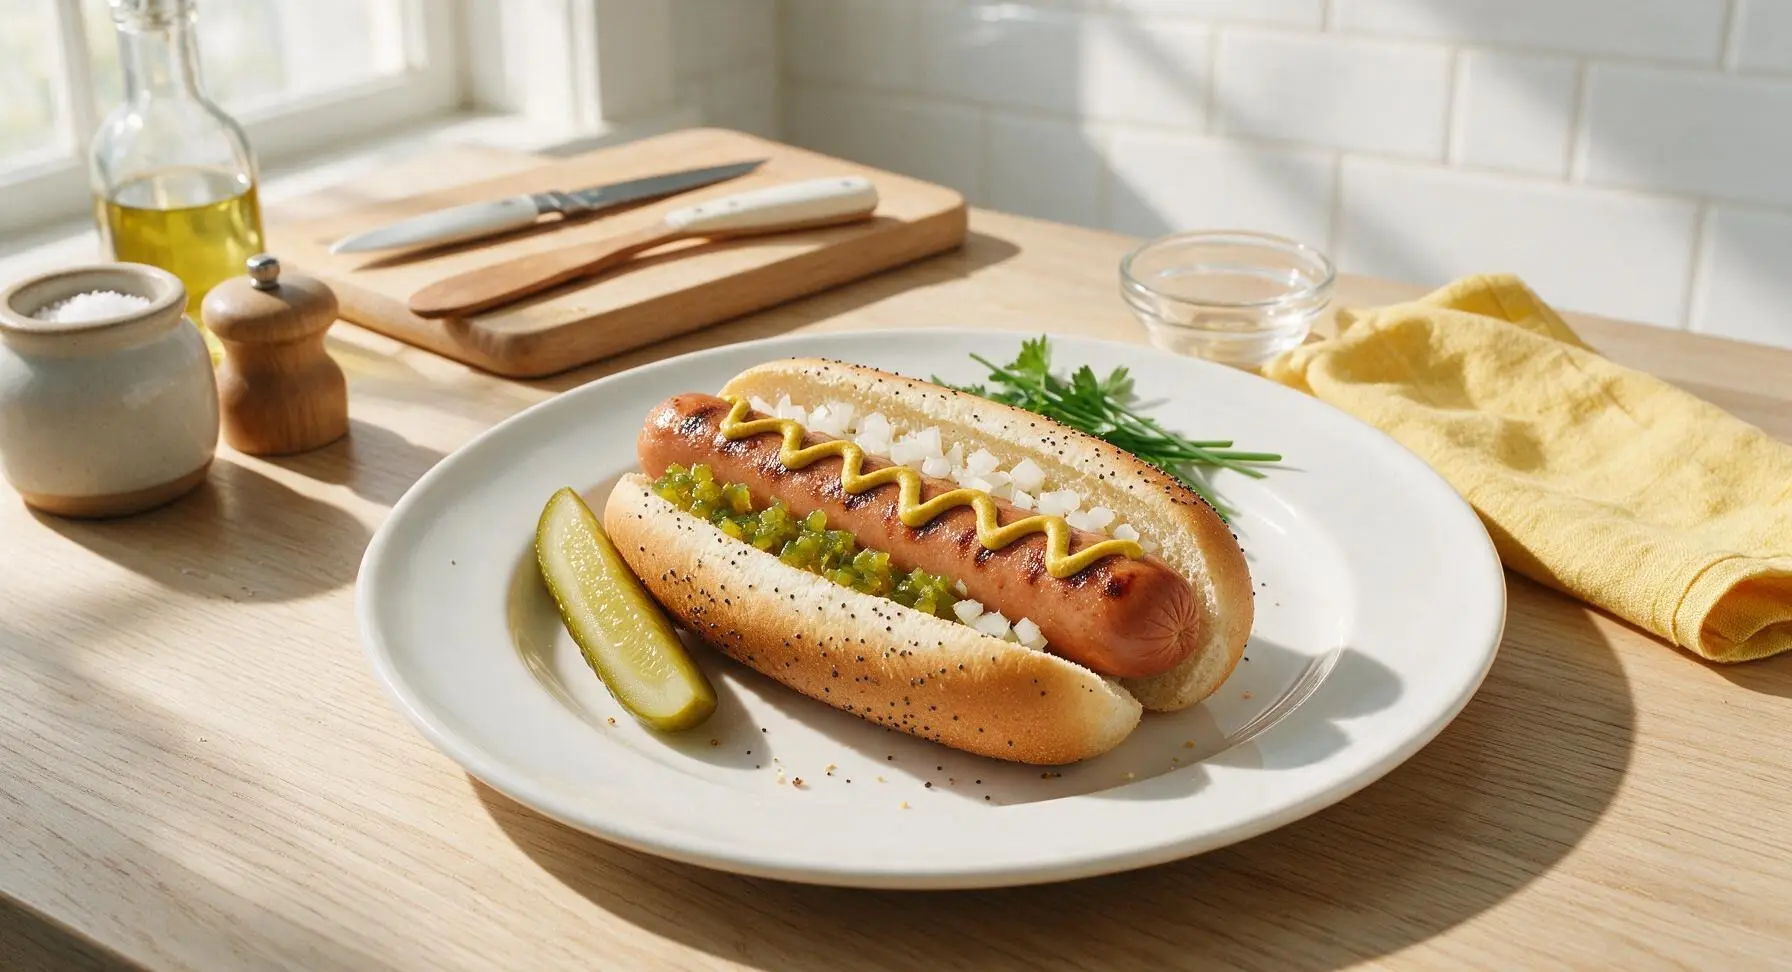
Absolutely, though soft poppy seed buns are the classic Coney Island pick for their nutty flavor and traditional look. If you substitute, pick soft, split-top white hot dog buns—skip crusty artisanal rolls, which are too firm for this casual classic. You can even sprinkle a pinch of poppy seeds on buttered toast to mimic the original.
7.Is yellow ballpark mustard really better than Dijon or spicy brown for this classic recipe?
▾
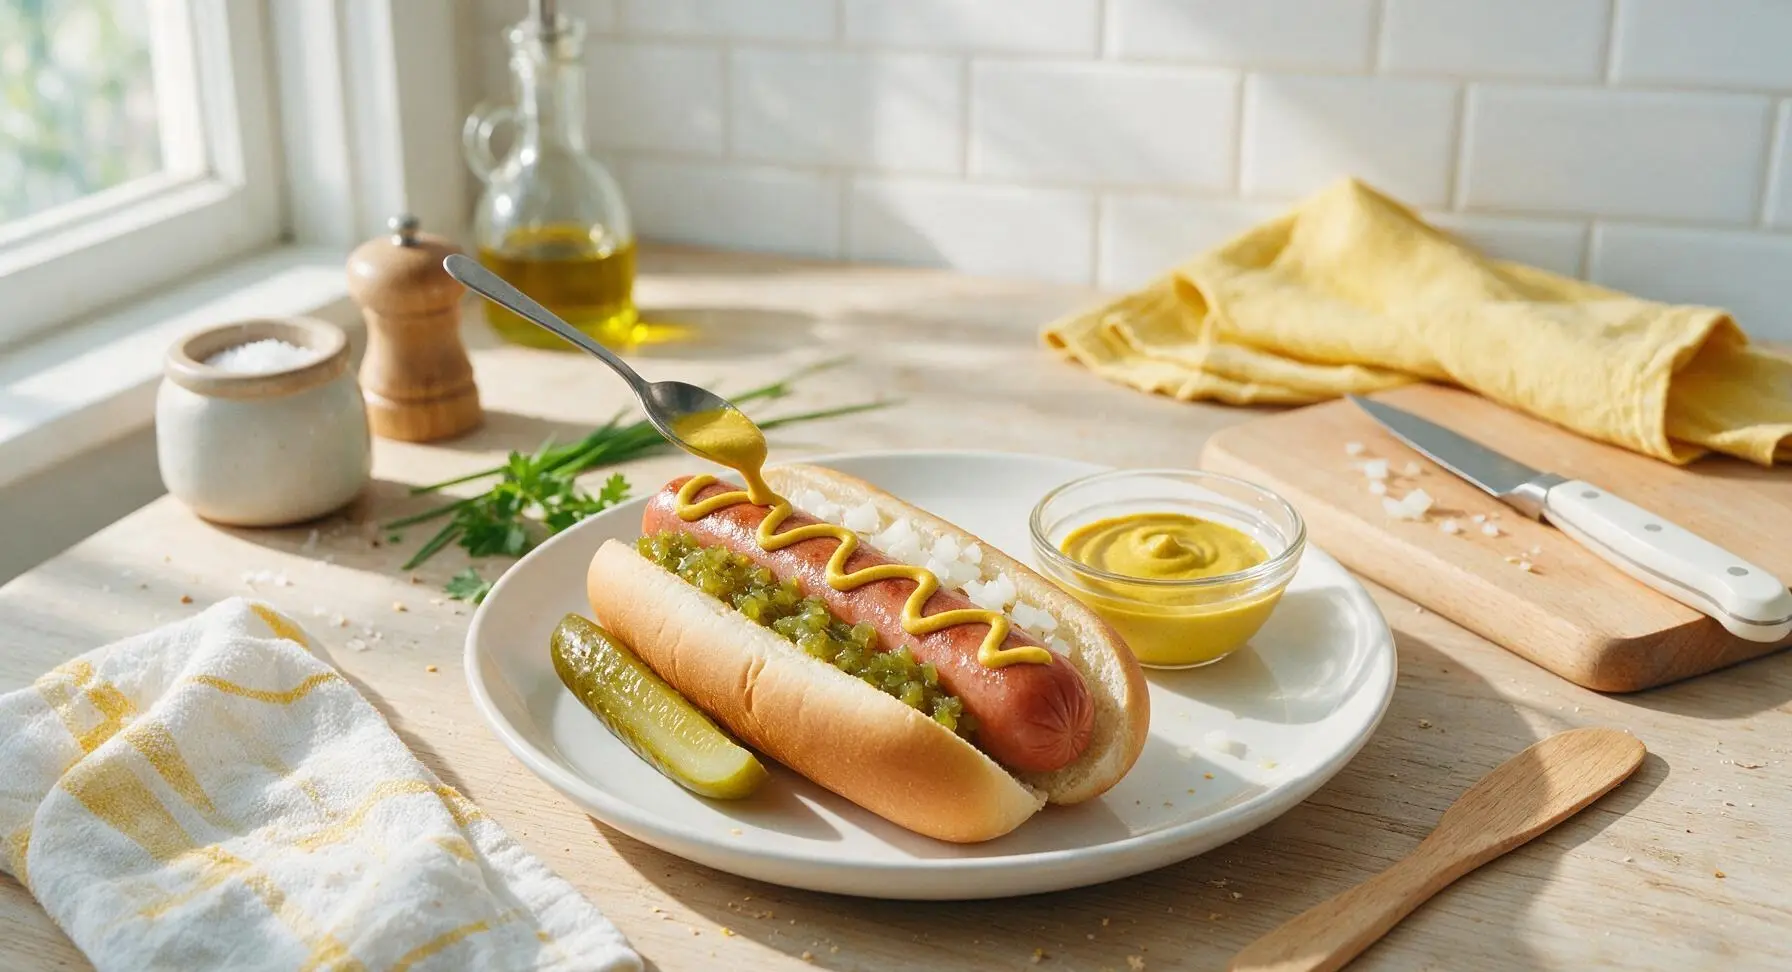
For authentic Coney Island flavor, yes—bright, tangy, mild yellow ballpark mustard cuts through the rich beef frank without overpowering its signature taste. If you prefer a sharper kick, you can swap in spicy brown mustard, but skip thick Dijon or sweet honey mustard, which clash with the recipe’s simple, nostalgic flavor profile.
8.What’s the difference between sweet green pickle relish and dill relish for this recipe?
▾
Classic Nathan’s servings use bright sweet green pickle relish, made from finely chopped cucumbers, sugar, and turmeric for that signature pale green color and balanced sweet-tangy kick. Dill relish is sour, herbaceous, and less sweet, which throws off the classic flavor; if that’s all you have, stir in a tiny pinch of sugar to mellow its tang.
9.Can I cook these hot dogs on a charcoal grill instead of a gas grill for extra smoky flavor?
▾
Definitely! Charcoal grills actually deliver that old-school boardwalk flavor that’s extremely close to original Coney Island stand dogs. Use lump charcoal, let it burn down to medium ashy heat with no open flames, and follow the same 6–8 minute cook time, turning often, for a subtle smoky note that pairs perfectly with the beefy franks.
10.How do I keep grilled hot dogs warm for a crowd without them getting soggy or overcooked?
▾
Skip the slow cooker, which turns franks rubbery over time. Instead, transfer grilled franks to a disposable aluminum pan set on your grill’s cool side (or in a 200°F oven) covered loosely with foil. They’ll hold perfectly for 30–45 minutes; don’t seal the foil tight, as trapped steam will make casings go limp and soggy.
11.Do I need to boil Nathan’s franks first before grilling, like some hot dog recipes suggest?
▾
No pre-boiling is required! Boiling leaches out the franks’ signature salty, beefy flavor and softens the natural casing, so you won’t get that classic snappy bite. Nathan’s franks are fully cooked right out of the package, so direct grilling over medium heat just warms them through, crisps the casing, and adds great charred flavor.
12.What easy, authentic optional toppings can I add without straying from the classic Coney Island vibe?
▾
Stick to simple, nostalgic add-ons to keep the flavor profile true: a thin layer of drained sauerkraut, a sprinkle of finely diced white onion, or a light drizzle of mild, meatless Coney sauce work beautifully. Skip heavy loaded toppings like chunky chili, melted cheese, or coleslaw, as they overpower the clean, beefy flavor of the grilled frank.
13.Why do my grilled hot dogs always curl into a C-shape instead of staying straight?
▾
Curling happens when one section of the casing cooks and shrinks faster than the rest, usually from uneven grill heat or infrequent turning. To prevent this, confirm your grates are evenly heated before adding franks, turn each frank a quarter turn every 2 minutes so all sides cook at the same rate, and keep them away from roaring flare-ups.
14.Can I make these hot dogs indoors if I don’t have access to an outdoor grill?
▾
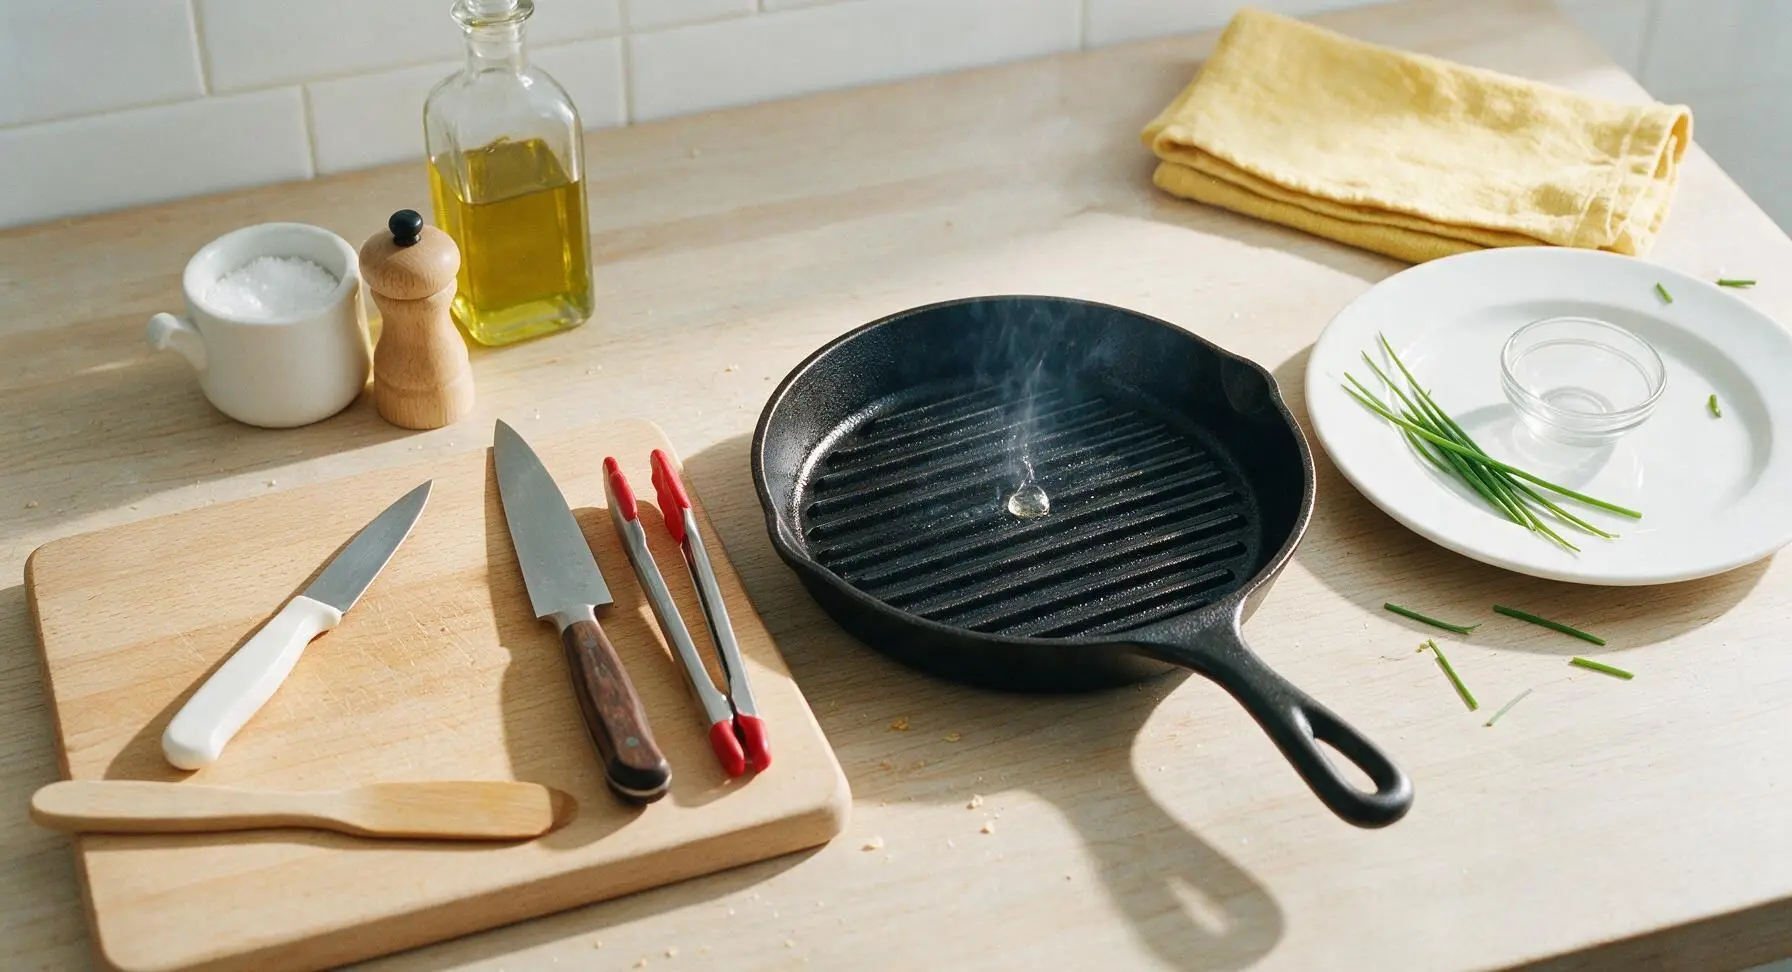
Absolutely! Use a cast iron grill pan over medium stovetop heat, lightly oiled, and cook franks for 6–8 minutes, turning often, just as you would on an outdoor grill. You can also use a countertop indoor electric grill; just remember to toast your buttered buns right on the hot pan once franks are done for that same crisp, buttery texture.
15.How do I prevent grill flare-ups from burning the hot dogs while they cook?
▾
Flare-ups happen when rendered fat from franks drips onto hot coals or burner elements. First, trim any loose excess fat from franks before grilling, keep a small spray bottle of water handy to douse small flare-ups quickly, and move franks to a cooler grill section if flames get too high. Never let franks sit directly over open fire, which leaves a bitter burnt taste.
16.Should I salt the franks before or after grilling them?
▾
You don’t need to add extra salt at any point! Nathan’s Famous all-beef franks are already perfectly seasoned with salt and their signature proprietary spice blend during production, so added salt will make them overly salty. If you want a little extra flavor, a light sprinkle of freshly ground black pepper after grilling works beautifully without throwing off the balance.
17.What’s the best order to add toppings so the butter-toasted bun doesn’t get soggy?
▾
Assemble right before eating for the best texture: first spread a thin layer of yellow mustard on both cut sides of the toasted bun, nestle the grilled frank in the center, then top with the sweet green relish. Spreading mustard directly on the bun creates an extra moisture barrier, so juicy frank and wet relish don’t soak through before your first bite.







OMG, I’ve been grilling Nathan’s dogs wrong my whole life! The tip about not poking holes in them so they don’t dry out? Total game changer. Did these for our backyard cookout this weekend and every single guest asked how I got them so juicy. 10/10, will never go back to my old method.
My kids loved it! I was overcomplicating weeknight dinners so much, these came together in 8 minutes flat on our tabletop grill last night. We loaded ours up with sweet relish, yellow mustard, and a little sauerkraut for the adults. Even my super picky 7 year old asked for seconds!
SO good. Brought these to our neighborhood block party potluck last week and they were the first item gone. I set out a full topping bar with chili, shredded cheese, diced onions, creamy coleslaw, the works, and people were raving the whole time. The 8 minute cook time is no joke, I was able to crank out 2 dozen dogs in no time at all.
Total beginner here, I was so nervous to grill for my partner’s birthday cookout and this recipe was so easy to follow! The only mishap was I turned the heat up too high at first and charred the first two dogs, but once I adjusted to medium like the recipe said they came out perfect. No fancy skills required, thank god.
Wait, I never thought to grill hot dogs for meal prep? But these hold up so well! I grilled a whole pack on Sunday, tossed them in whole wheat buns, wrapped them up, and had quick lunches all week for me and my husband. Way better than sad desk salads, lmao.
Grew up going to Nathan’s on Coney Island every summer as a kid, and this method tastes exactly like the ones I’d get off the boardwalk. That slight snap when you bite into it, the perfect amount of char? Total nostalgia hit. I don’t trust any other hot dog brand, tbh.
Made these for the college football watch party yesterday and they were a total touchdown (pun absolutely intended). Paired ‘em with smoky baked beans and tangy potato salad and my buddies were asking if I snuck takeout from the local corner grill. 8 minutes cook time is wild for how good these turn out – zero complaints, zero leftovers. Will be on repeat for every game day hang this fall.