
national coney island chili sauce
intro
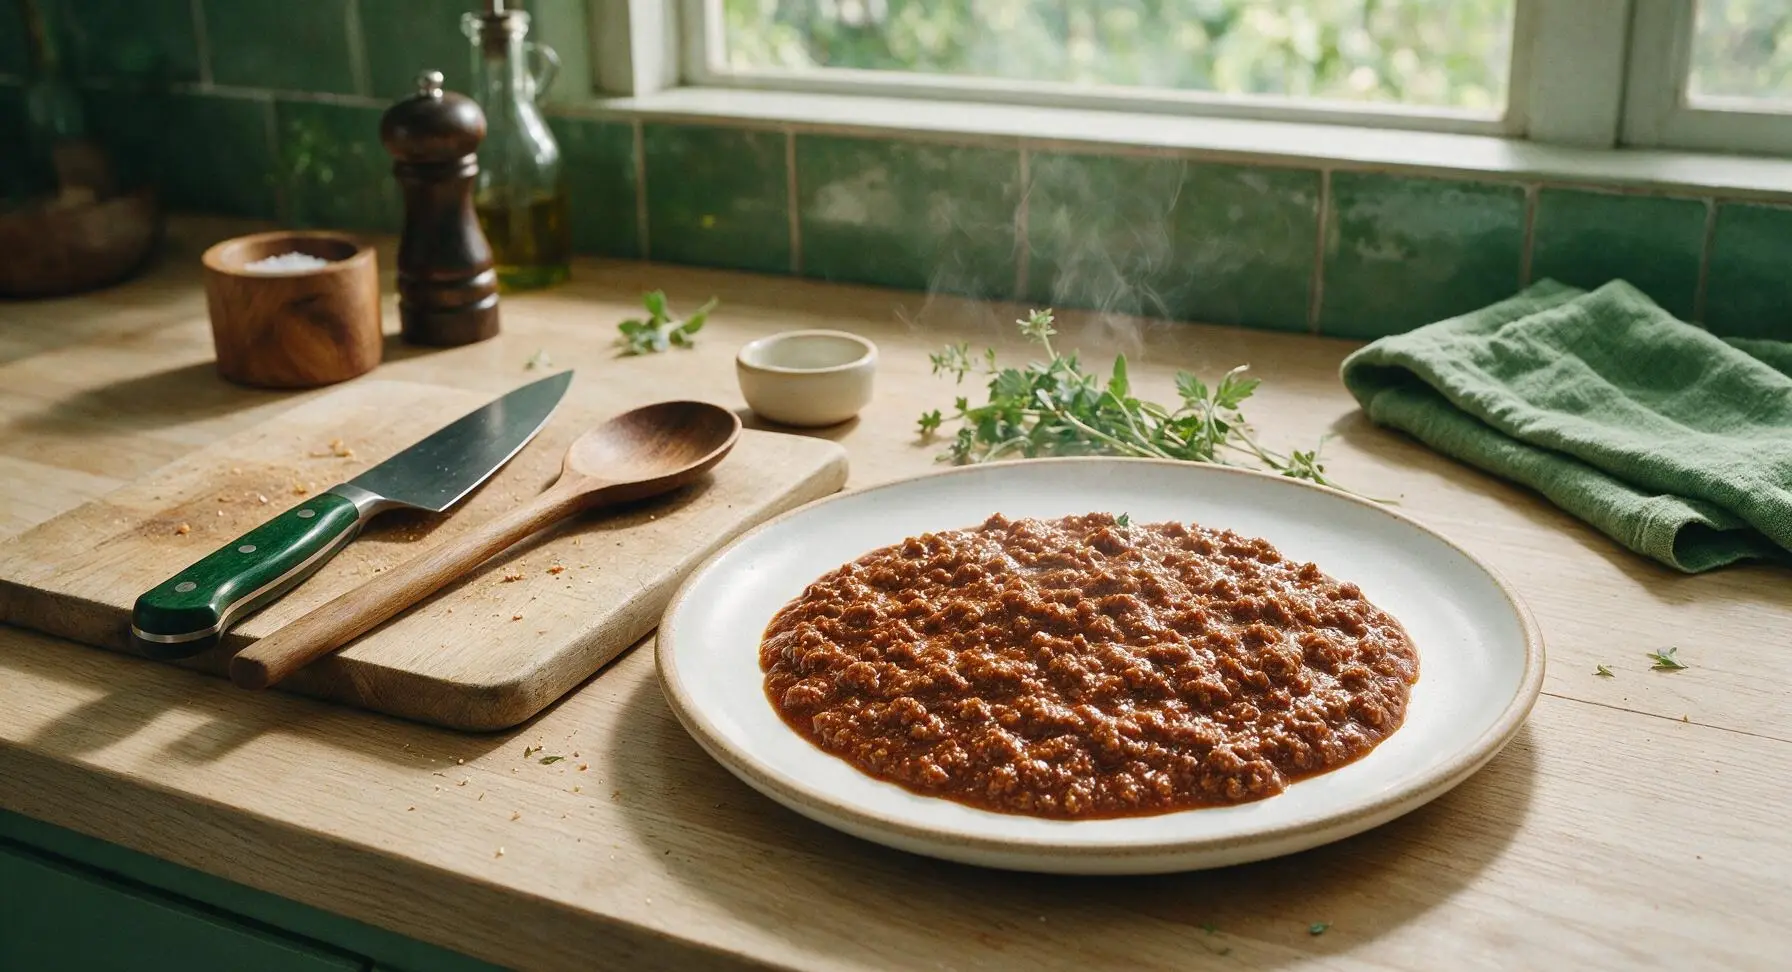
The iconic no-bean, finely textured meat chili sauce from Detroit’s National Coney Island, rich with warm spices, perfect for topping grilled hot dogs at tailgates and cookouts.
Ingredients

Steps
Prep Onion and Garlic
Place the medium yellow onion on the light acacia wood cutting board. Using the 6-inch carbon steel chef’s knife, trim the root and stem ends, peel off the papery outer skin, and finely dice the onion into uniform 1/8-inch pieces, collecting dry papery skins and root trimmings in the 6cm matte terracotta scrap ramekin. Mince the 3 garlic cloves into a fine, smooth paste, then set diced onion and minced garlic in a small pile on the right edge of the cutting board. This prep takes approximately 5 minutes, with no large onion chunks larger than 1/8 inch remaining.

Cook Beef to Fine Crumble
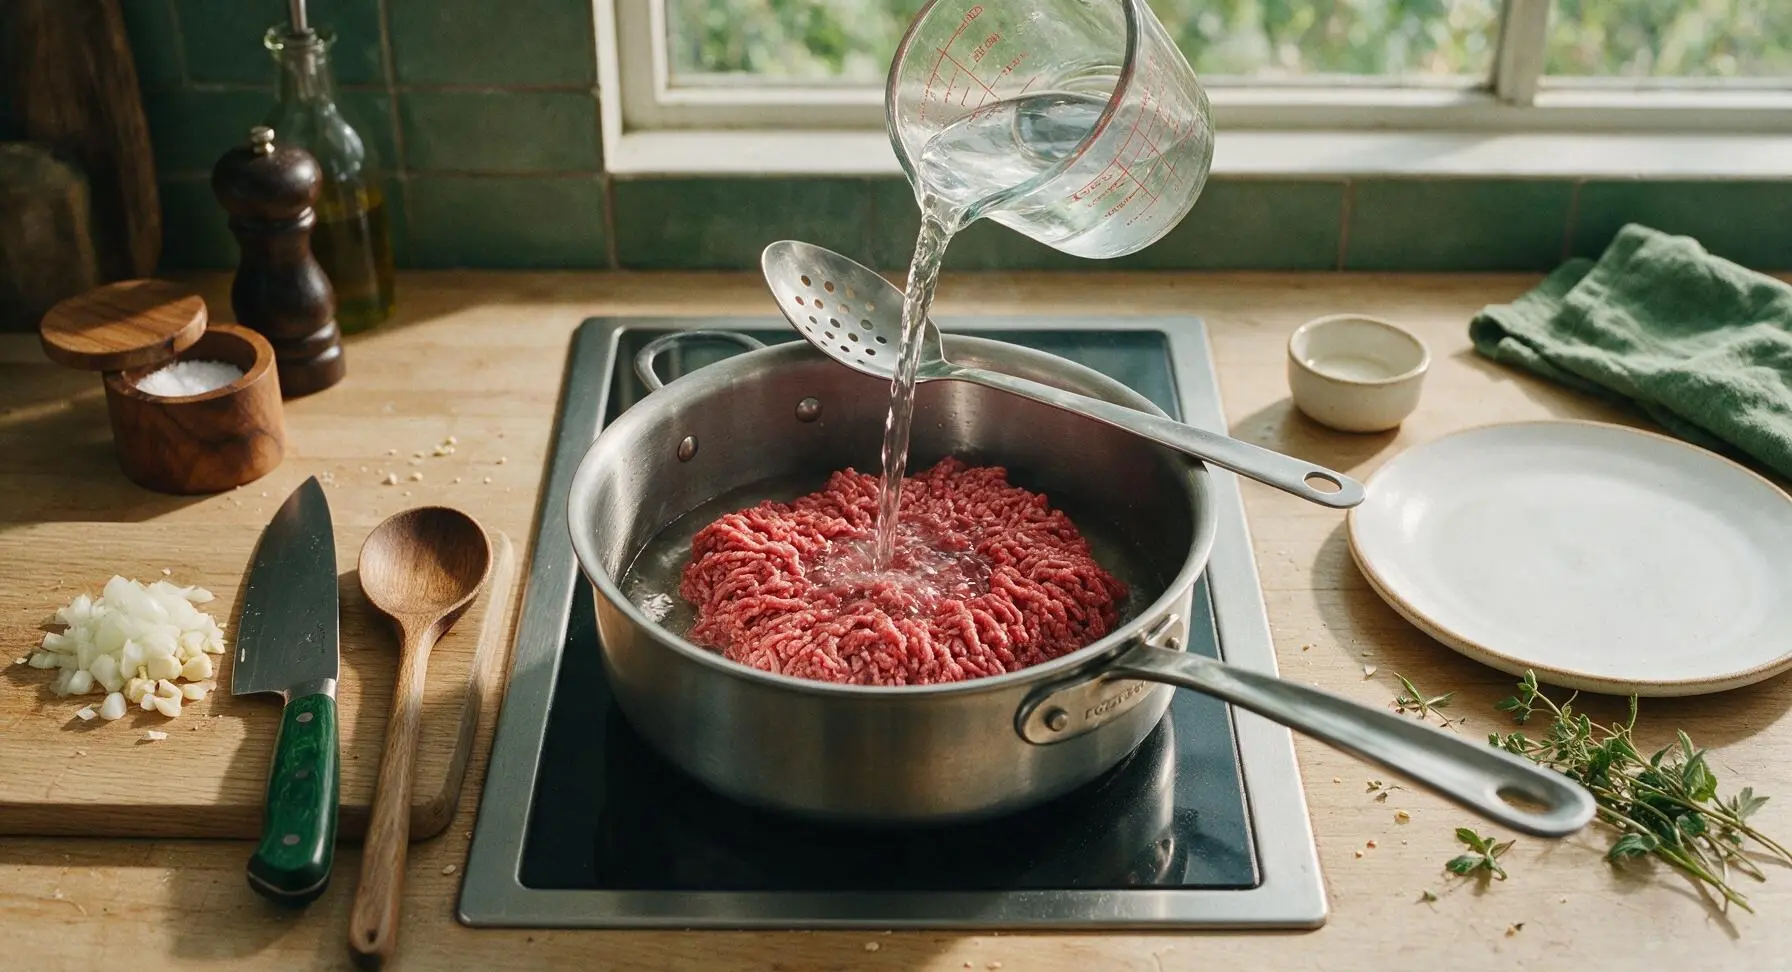
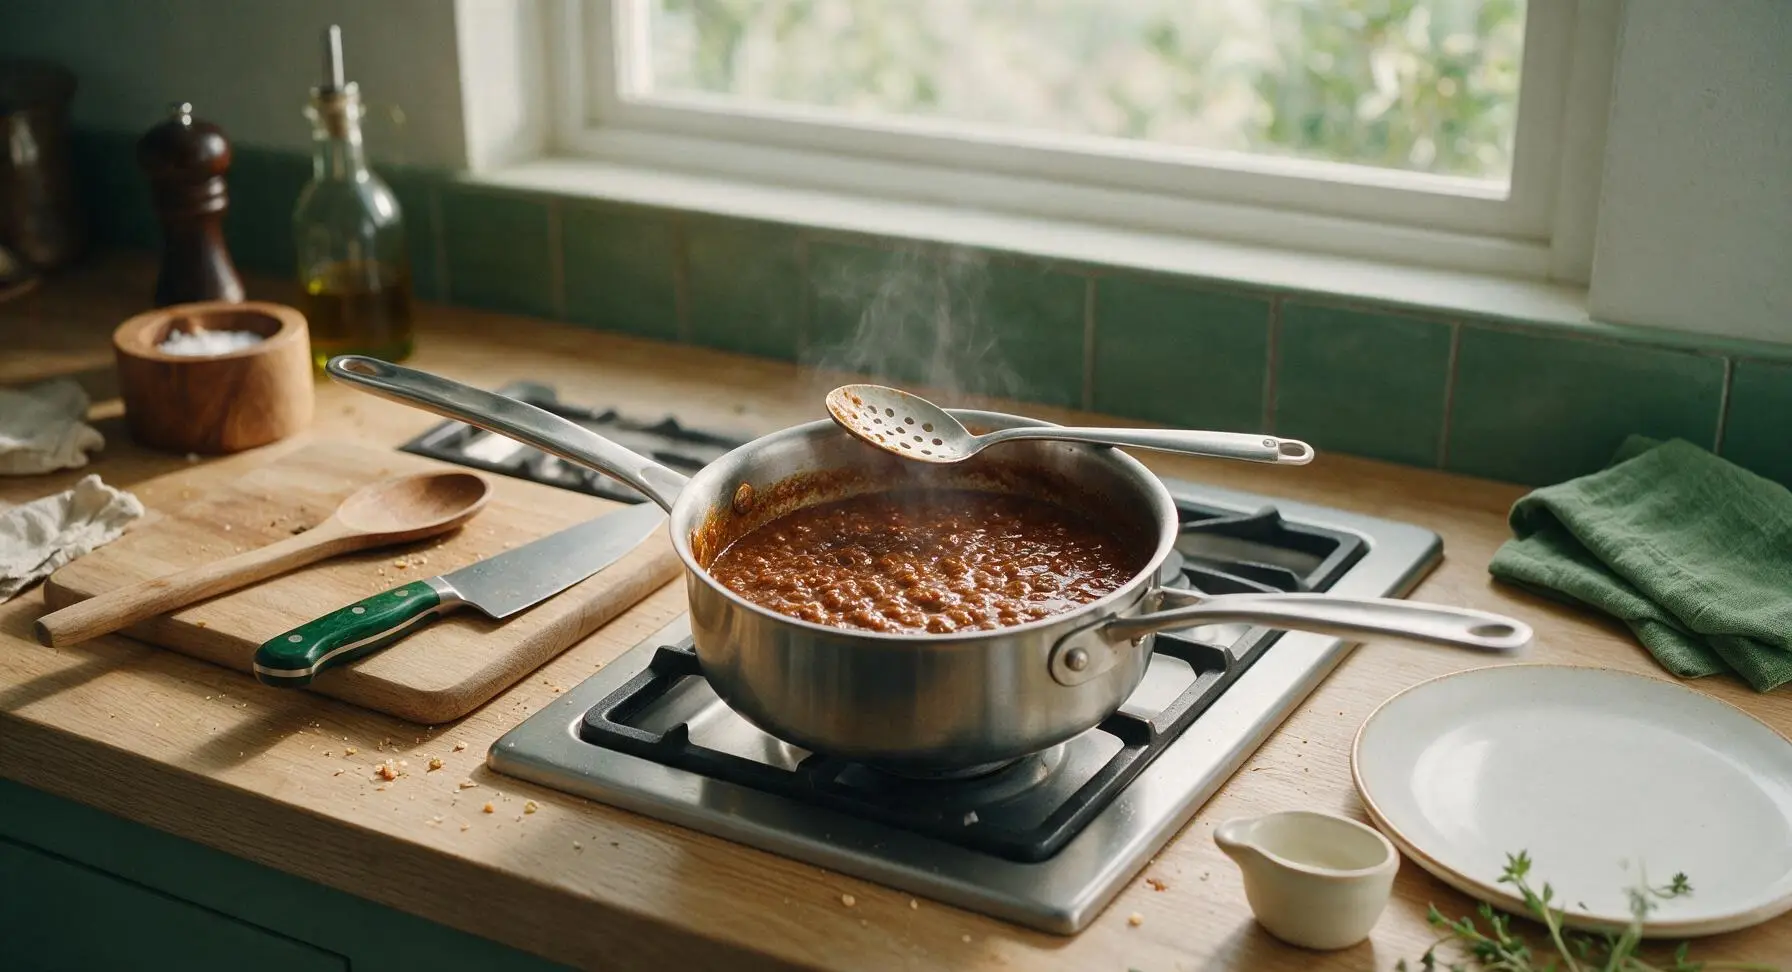
Place the 3-quart brushed stainless steel saucepan on the flush-mounted center stovetop. Add the full 900g of 80/20 ground beef to the pan, then pour 1 cup of cold water over the top from the glass measuring cup. Turn heat to medium, and use the 30cm slotted stainless steel spoon to continuously break the beef apart as the water comes to a gentle simmer (approximately 7 minutes). Continue mashing and stirring until the beef is broken into extremely fine, sand-like crumbles with no clumps larger than a pinhead, and the cooking water turns pale, murky, and light brown.

Sauté Aromatics and Paste
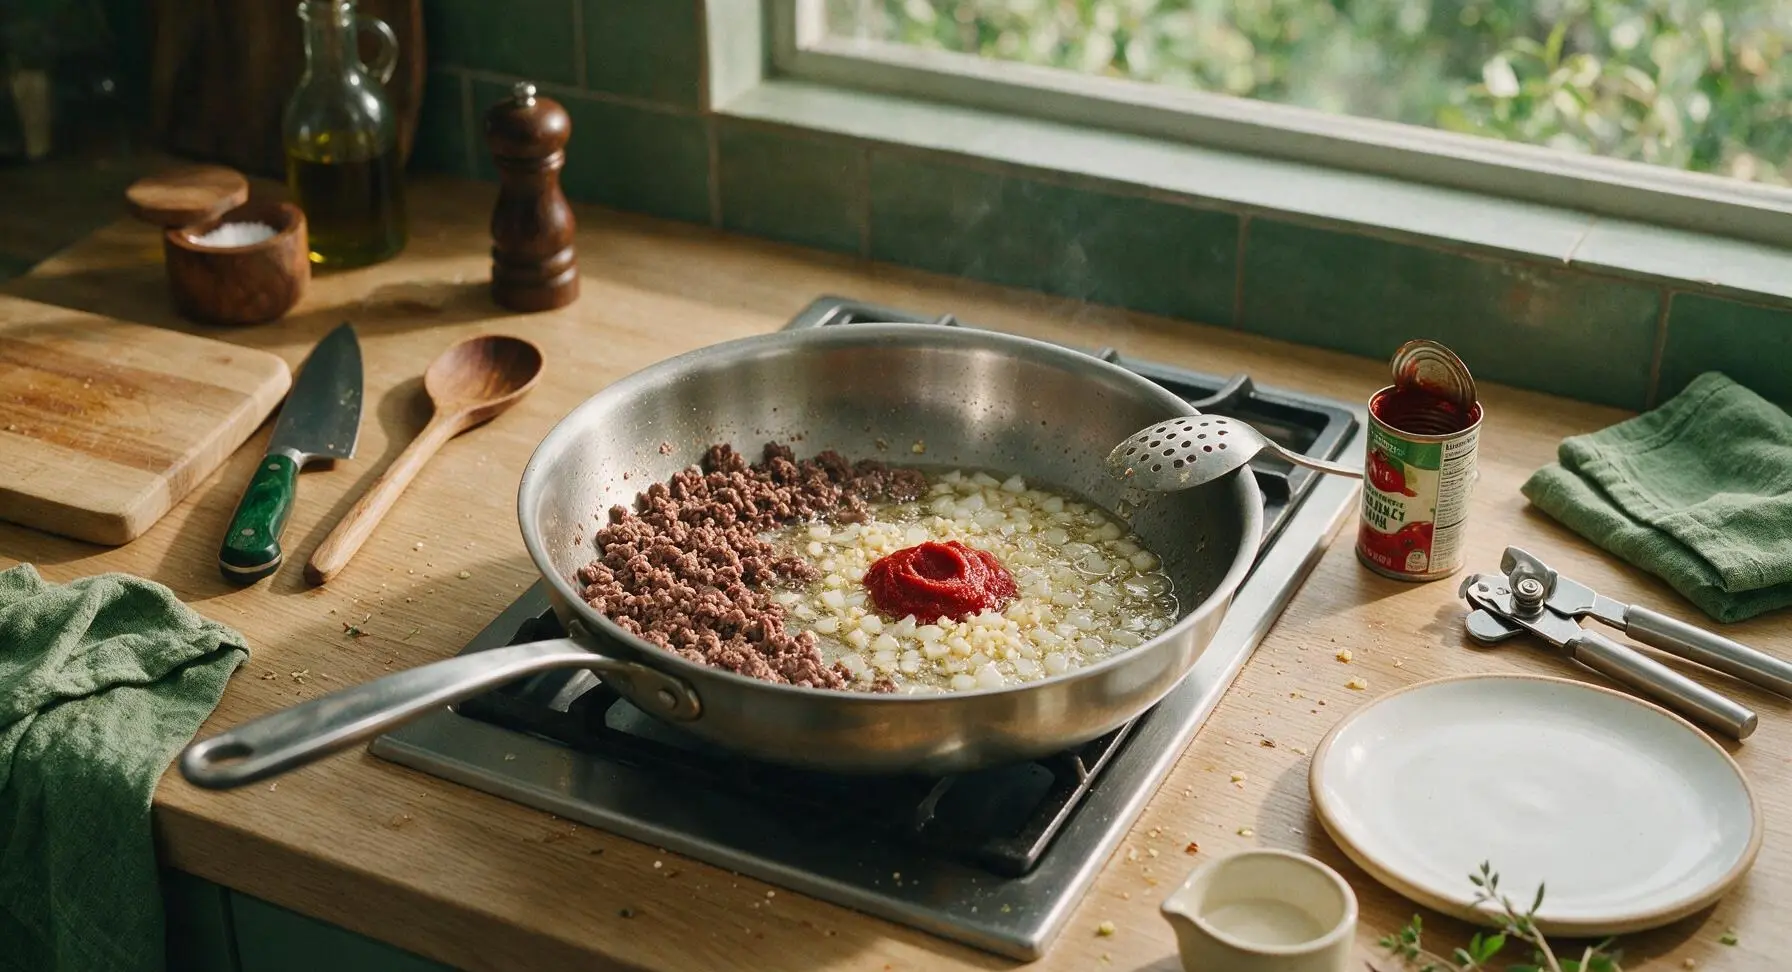
Once the beef is fully broken into fine crumbles, tilt the pan slightly to push all beef to the left side, letting rendered fat pool on the empty right side. Add the diced onion and minced garlic to the pooled fat, and sauté for 3 minutes over medium heat until the onion turns soft and translucent, with no raw sharp bite remaining. Open the 6oz can of tomato paste with the manual can opener, stir the full amount into the onion and garlic, and cook for 2 minutes, stirring constantly, until the paste darkens to a deep rust red and smells sweet and fragrant, then mix fully into the beef crumbles.
Add Broth and Seasonings
Pour the full 2 cups of low-sodium beef broth into the pan from the glass measuring cup, stirring vigorously with the slotted spoon to fully combine with the beef, onion, and tomato paste mixture. Add all pre-measured spices from the small clear glass spice prep cup: 2 tbsp chili powder, 1 tsp ground cumin, 1 tsp garlic powder, 1 tsp onion powder, 1 tsp sweet paprika, 1/4 tsp ground allspice, 1 tsp kosher salt, and 1/2 tsp freshly ground black pepper. Stir in 2 tbsp yellow mustard and 1 tbsp Worcestershire sauce, mixing for 1 full minute until no dry spice clumps remain and the sauce is a uniform light red-brown color.

Simmer Sauce Low and Slow
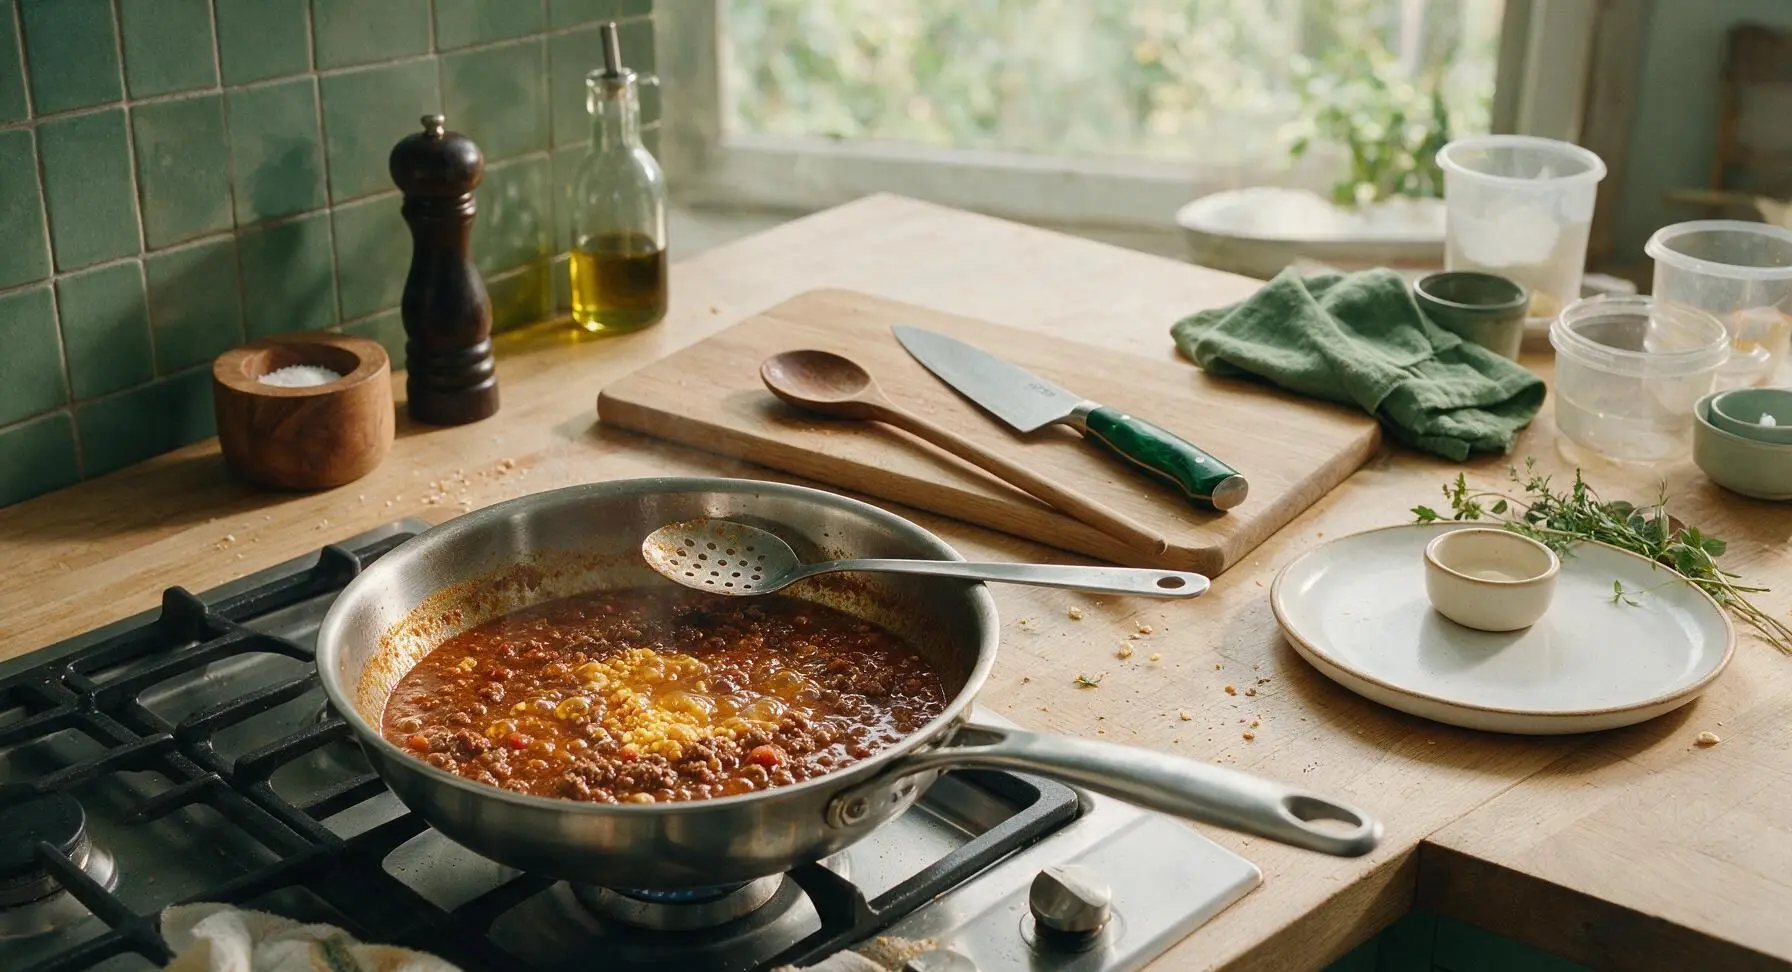
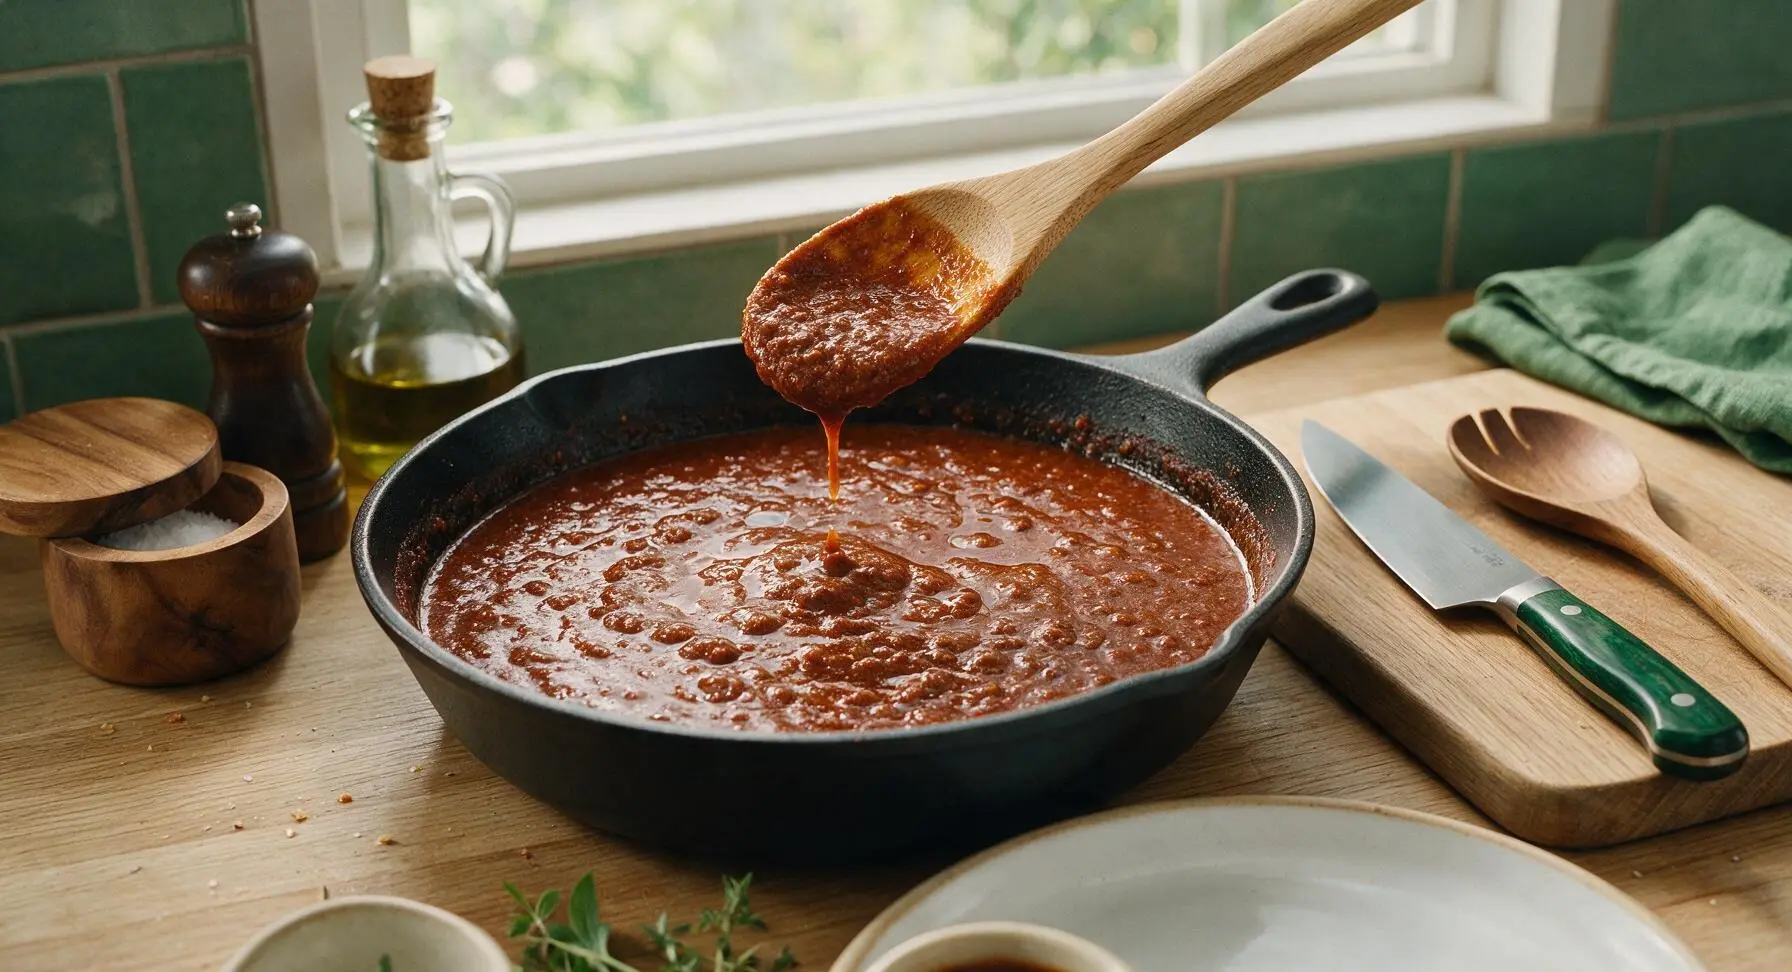
Bring the sauce to a gentle, low bubble (do not let it come to a rolling boil), then turn the stovetop heat to the lowest setting to maintain a bare simmer. Leave the pan uncovered, and let the sauce cook for 50 minutes, stirring thoroughly with the slotted spoon every 10 minutes to scrape the pan bottom and prevent sticking. The sauce is ready when it thickens to a rich, spoon-coating consistency, with no watery, thin liquid remaining, and tiny pools of rendered beef fat glisten on the surface.
Adjust Seasoning to Taste
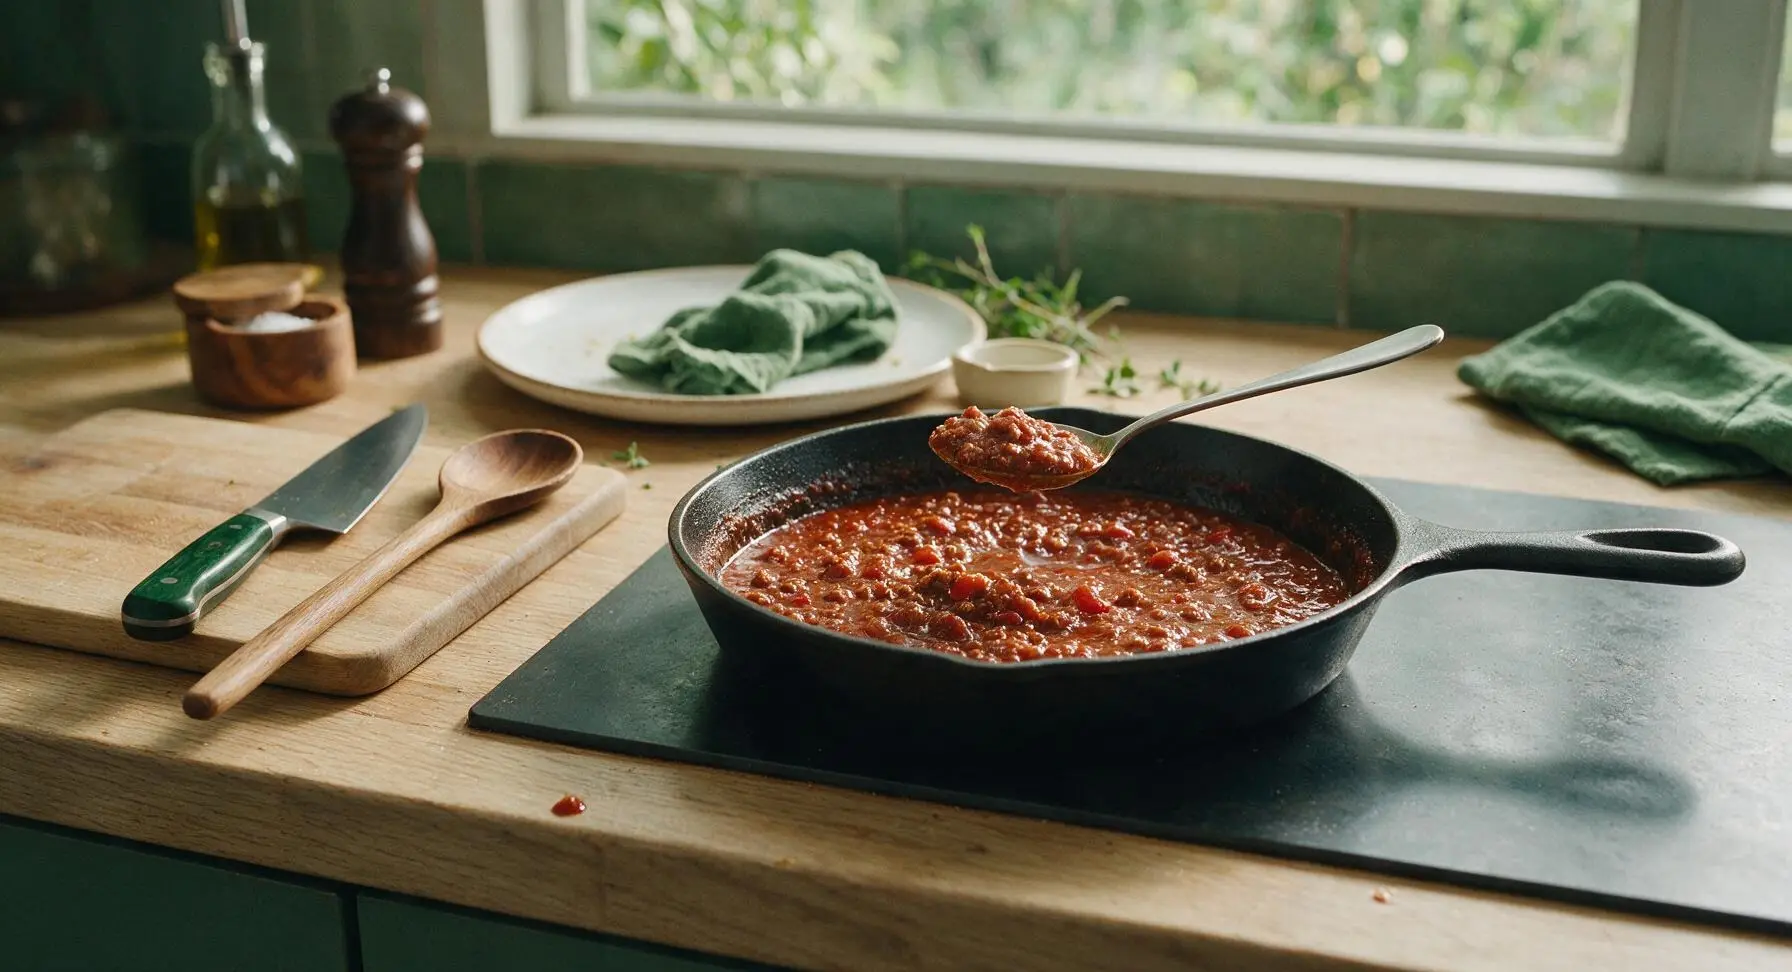
Scoop a small spoonful of sauce from the pan with the small stainless steel tasting spoon and let it cool for 30 seconds to avoid burning your tongue. Taste and adjust as needed: add an extra 1/4 tsp salt if the sauce tastes bland, a pinch more allspice for deeper warm flavor, or a tiny splash of extra beef broth if the sauce has thickened too much. Keep in mind the sauce is intended as a bold topping, so it should be slightly more highly seasoned than standalone chili.
Let Sauce Rest Briefly
Turn off the stovetop heat, and slide the saucepan slightly off the burner to rest for 10 minutes. This rest period allows the spices to fully meld with the beef and tomato, and lets the rendered fat redistribute evenly through the sauce for a smooth, rich mouthfeel. Do not drain the rendered fat—it is a key component of the authentic National Coney Island flavor and texture.
Tips
2.Skip adding beans, diced tomatoes, or large vegetable chunks: authentic National Coney Island chili sauce is a smooth, meat-forward topping designed to coat hot dogs evenly without sliding off the bun. Chunky add-ins will disrupt the classic texture and make the sauce hard to serve on coneys.
3.For the most authentic serving experience, ladle 2 tablespoons of warm sauce over a grilled natural-casing all-beef hot dog in a soft steamed bun, top with 1 teaspoon of finely diced yellow onion and a thin stripe of yellow mustard, and serve immediately—no cheese, ketchup, or relish is used on traditional Detroit-style coneys.






OMG I grew up going to National Coney Island every weekend with my dad and I’ve been chasing that exact chili sauce flavor for YEARS. This recipe is spot on! Made it for our family cookout last weekend and people were begging for the recipe before they even finished their first chili dog. Total game changer, will be making this for every potluck from now on.
This was SO good! Super easy to throw together even on a busy weeknight. My only note is I added a tiny extra pinch of cayenne because my household likes a little more heat, but the base flavor is perfect. Portioned out the leftovers into meal prep containers for lunch this week and it reheats like a dream.
My kids loved it!!! I was worried the chili spice would be too much for my 6 and 8 year old but they gobbled up their chili cheese fries and asked for seconds. No weird fancy ingredients, just stuff I already had in my pantry. 10/10 will be a regular in our dinner rotation.
Brought a batch of this to our neighborhood block party on Saturday, served it over grilled hot dogs with diced onions and mustard. I lost count of how many people came up to ask where I got the recipe! Even my neighbor who swears he only eats the Coney sauce he grew up with in Detroit said it was legit.
Really solid recipe, easy to follow. I messed up the first batch because I accidentally used chili beans instead of just the plain ground beef like the recipe says (oops, grocery list fail) but even with that mistake it was tasty. Knocking a star off only because I wish it had a note about not using beans for first-timers like me! Gonna give it another go this weekend with the right ingredients to get the full effect.
Made this for our Sunday football watch party, served it on chili dogs, nachos, and even chili cheese tater tots. It was gone in 45 minutes flat. 10/10, exactly the hearty, savory Coney sauce I was hoping for, not too sweet, not too spicy, perfect balance.
I was worried making Coney sauce from scratch would be complicated but this was so easy! Total cook time was exactly what the recipe said, no fancy steps, and the flavor is better than the jarred stuff I’ve been buying for years. Saved so much money making it at home too, will be my go-to from now on.