
Needham
intro
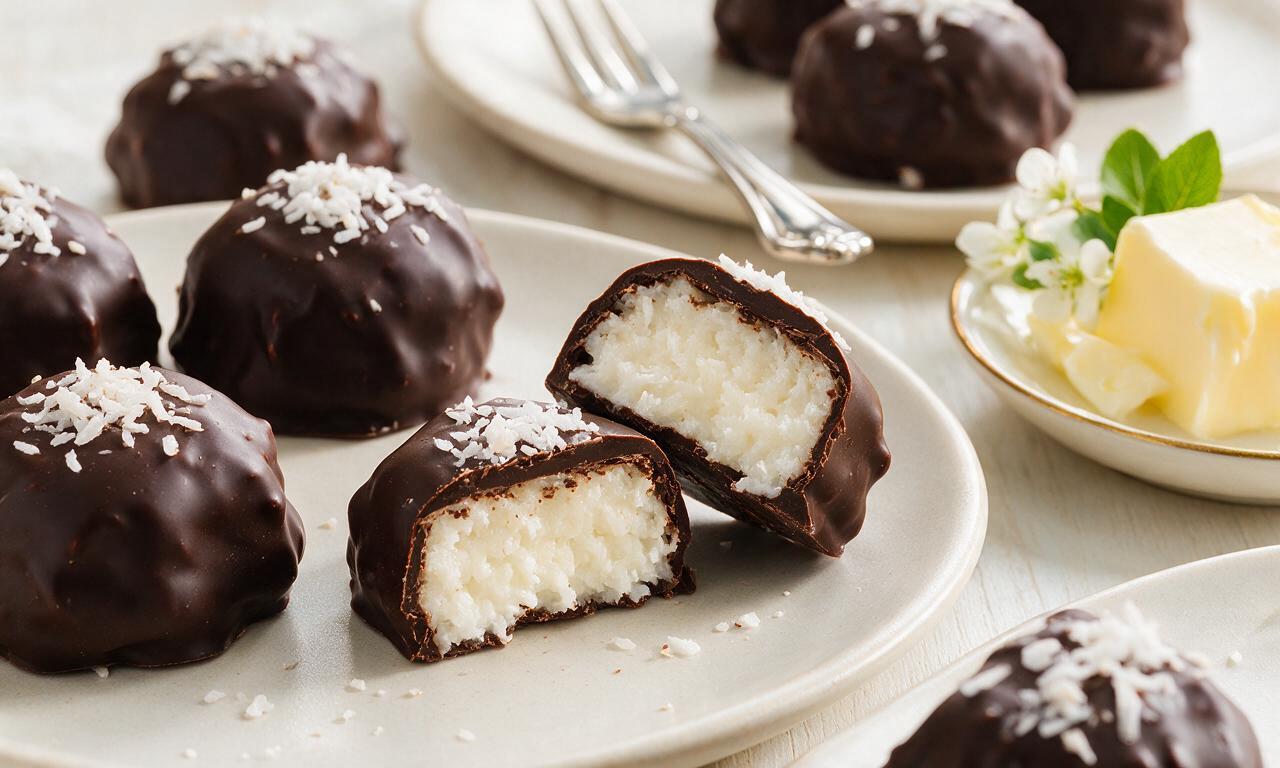
A vintage New England potato candy with creamy coconut centers coated in snappy dark chocolate, a nostalgic regional favorite for holiday treat trays.
Ingredients
Steps
Make the potato base
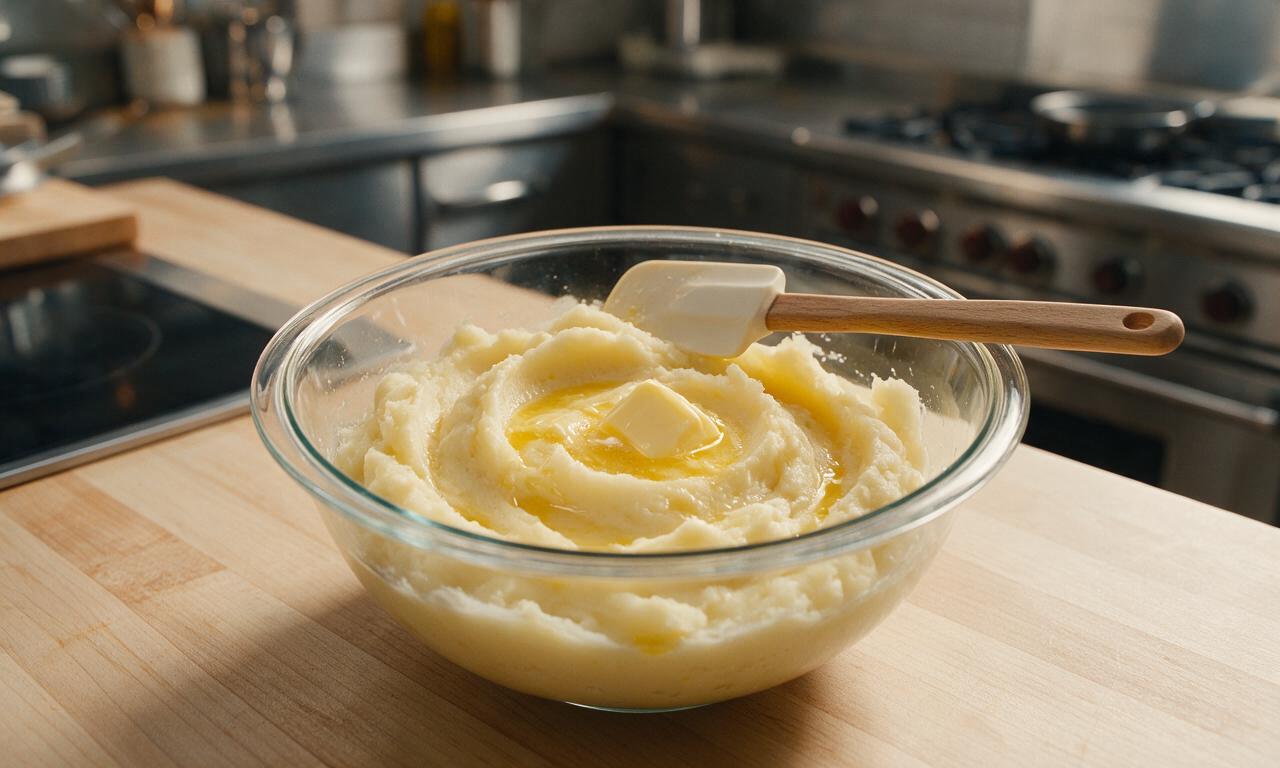
Place 115g plain, unseasoned mashed russet potato (no added butter, milk, or salt) in a large mixing bowl. Add 57g melted unsalted butter, 1 teaspoon (5ml) vanilla extract, and 1/4 teaspoon fine salt, stirring with a silicone spatula for 60 seconds until completely smooth with no visible lumps.
Mix coconut filling
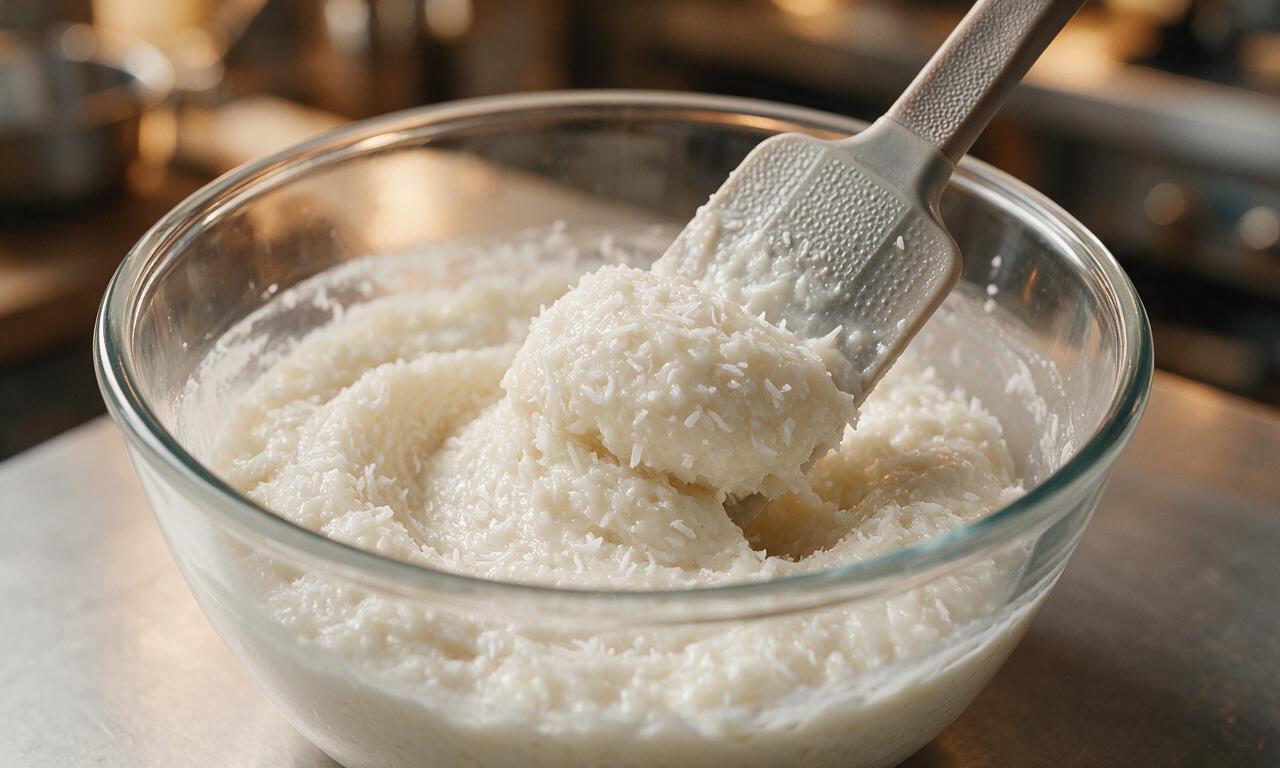
Gradually stir sifted confectioners' sugar into the potato base, 1 cup (120g) at a time, mixing fully between each addition to avoid dry lumps. Once all 480g of sugar is incorporated, fold in 240g sweetened shredded coconut until evenly distributed, creating a thick, dense, moldable dough-like mixture.
Chill the filling
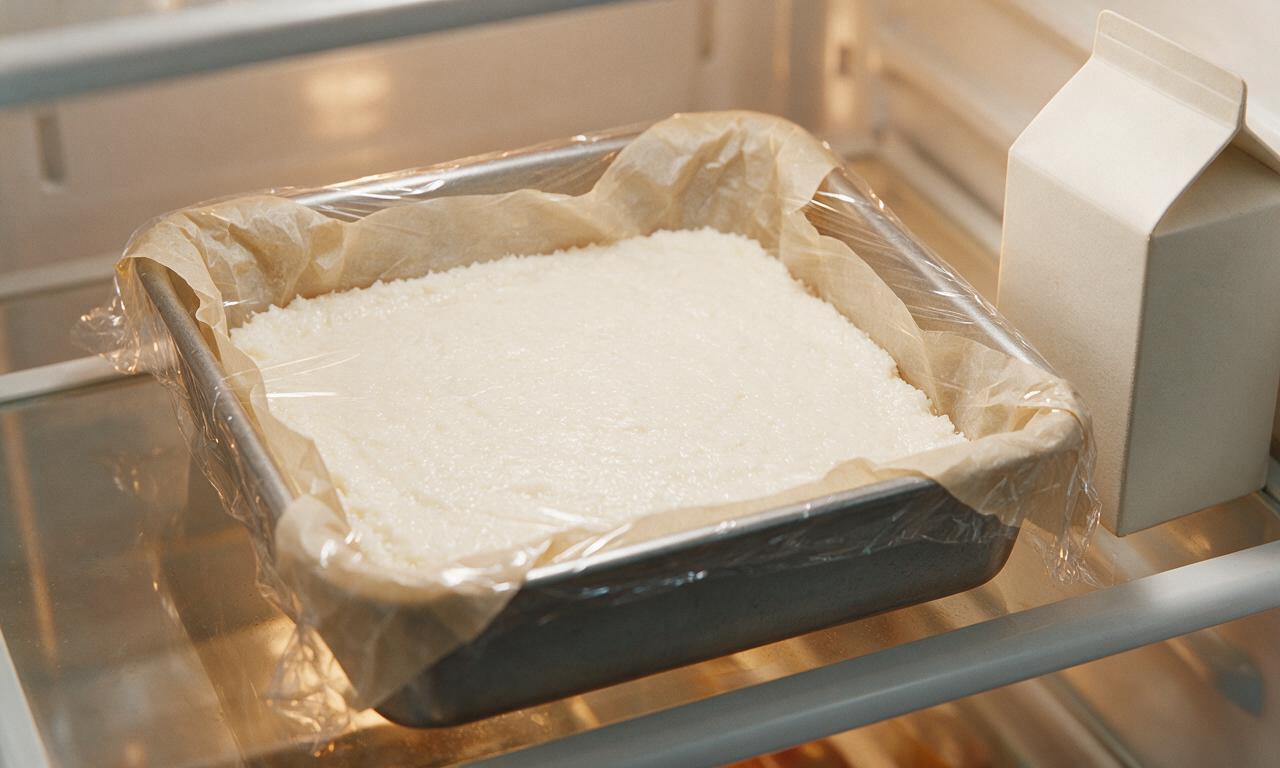
Line a 9x9 inch (23x23cm) square baking pan with parchment paper, leaving 2-inch (5cm) overhangs on two opposite sides for easy removal. Press the coconut filling firmly and evenly into the pan in a uniform 1/2-inch (1.3cm) thick layer, cover with plastic wrap, and refrigerate for 45 minutes at 4°C (39°F) until firm to the touch.
Melt chocolate coating
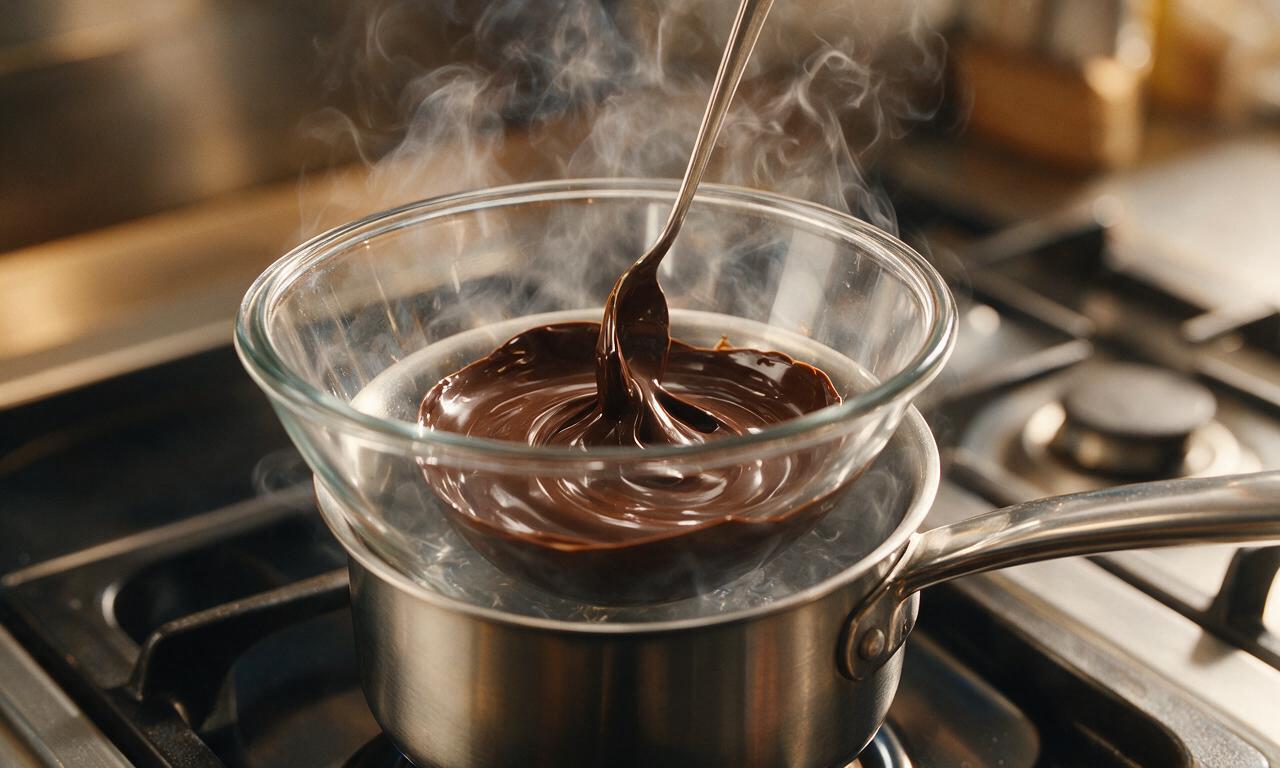
While the filling chills, combine 454g chopped 70% dark chocolate and 14g food-grade paraffin wax in a heatproof glass bowl set over a saucepan of gently simmering water (double boiler, ensure no water touches the bowl bottom). Stir continuously over medium-low heat for 3-4 minutes until completely smooth and glossy, then remove from heat and let cool 5 minutes to 32°C (90°F).
Cut filling squares
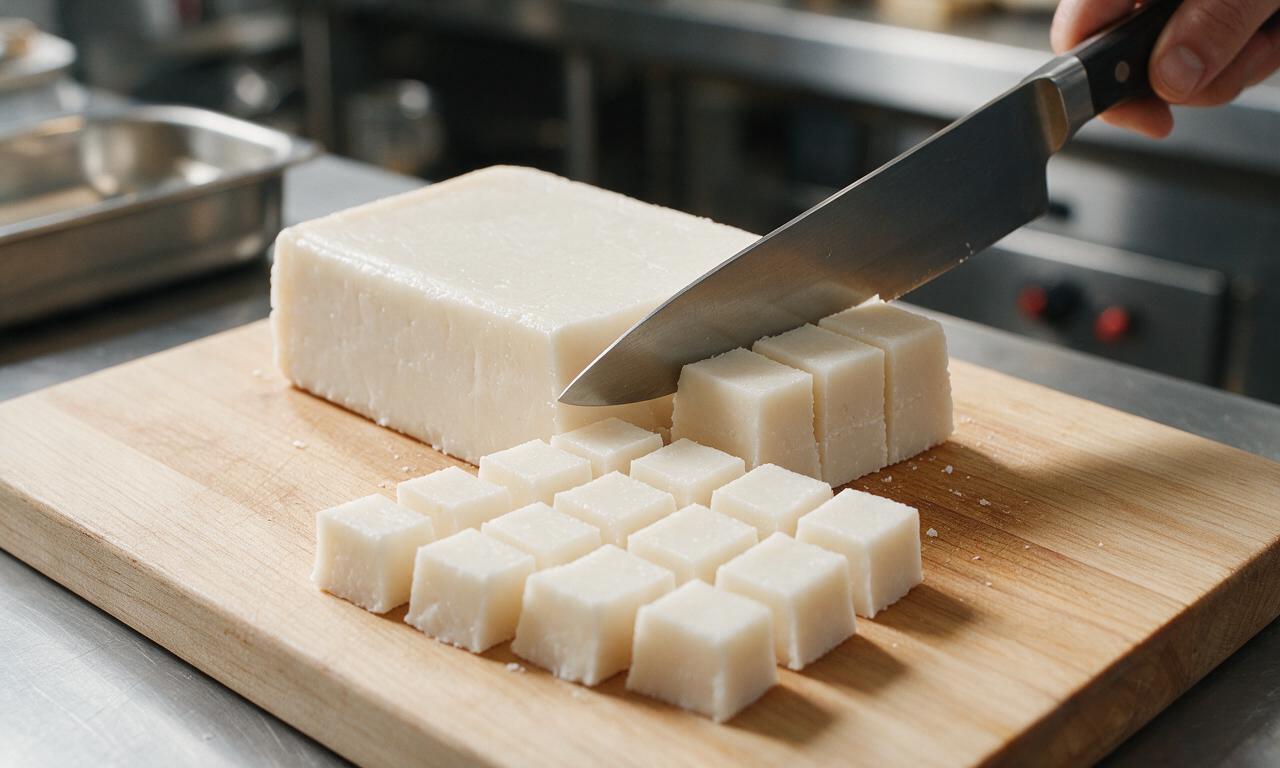
Remove the firm filling from the refrigerator, lift it out of the pan using the parchment overhangs, and set it on a wooden cutting board. Heat a sharp chef's knife under hot running water, dry it fully, and cut the slab into 24 even 1.5-inch (3.8cm) squares, wiping and reheating the knife between cuts for clean, smooth edges.
Coat candies in chocolate
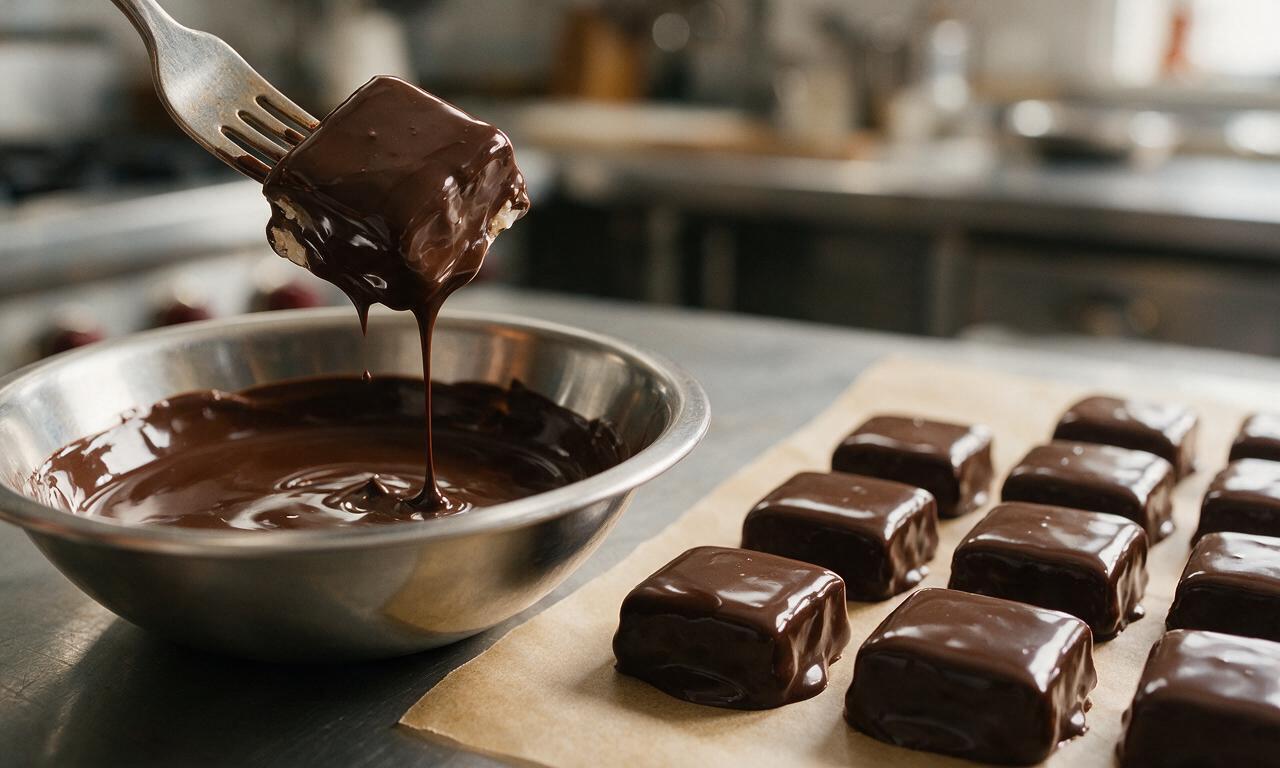
Working one square at a time over 15-20 minutes, drop a filling piece into the melted chocolate, use a dinner fork to turn it until fully coated on all sides, then lift it out, tapping the fork gently on the bowl edge 3-4 times to drip off excess chocolate. Place coated candies 1 inch (2.5cm) apart on a parchment-lined baking sheet.
Set and store candies
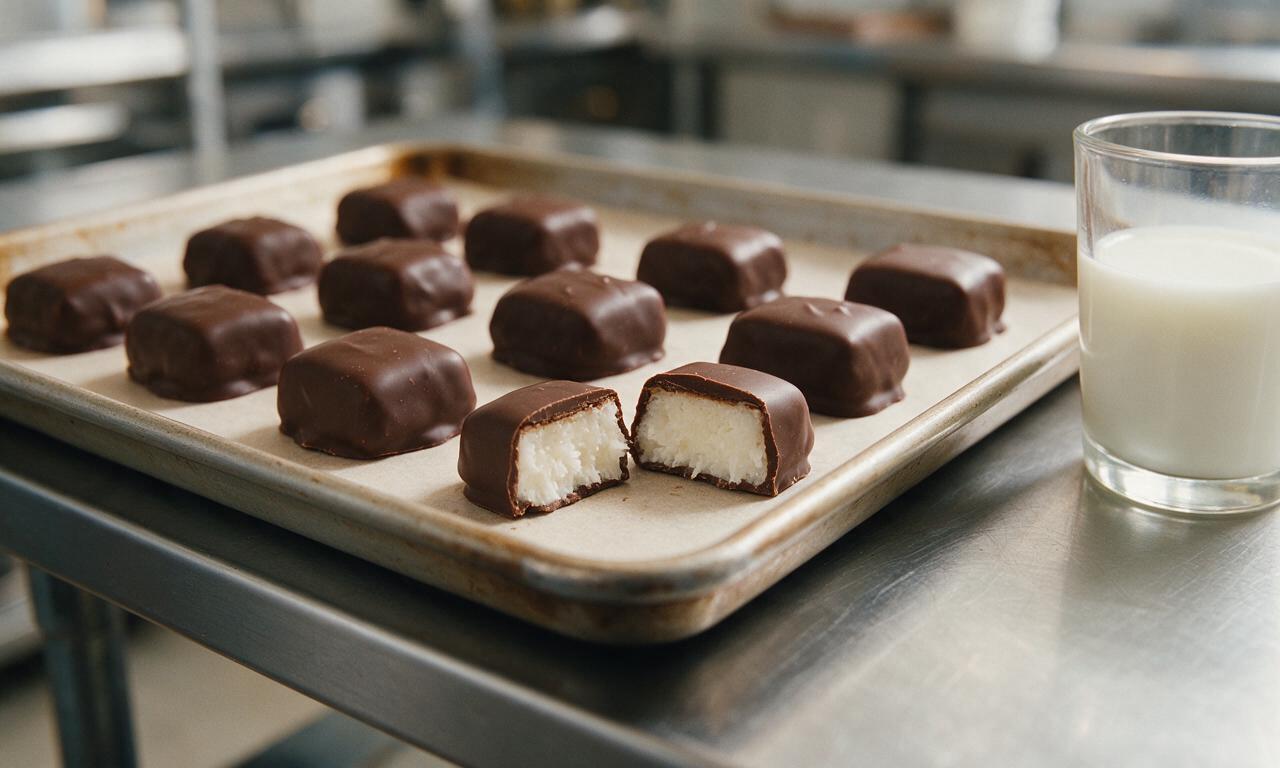
Once all candies are coated, place the baking sheet in the refrigerator for 15 minutes at 4°C (39°F) until the chocolate shell is completely firm and snappy to the touch. Remove from the fridge, let sit at room temperature for 5 minutes before serving, or store in an airtight container between layers of parchment for up to 2 weeks.
Tips
2.Keep all water out of your melting chocolate, as even a single drop will cause chocolate to seize into a grainy, unusable clump.
3.If avoiding food-grade paraffin wax, replace it with 1 tablespoon (14g) refined coconut oil to help the chocolate set with a smooth, non-streaky, snappy finish.






OMG I haven’t had a real needham since I moved out of Maine 8 years ago!!! I was so skeptical a recipe could nail that weird perfect coconut-potato-chocolate vibe but THESE. ARE. IT. I brought a batch to my office potluck last week and people were begging me for the recipe by lunch. The cook time is totally hands off for most of it too, so even though it’s almost two hours total it feels so low effort. 10/10, game changer.
Super easy recipe, my kids went absolutely crazy for these! I only gave 4 stars because I didn’t have unsweetened coconut on hand so I used sweetened and they turned out a little too sugary for my taste, but the kids didn’t complain at all. Will definitely make again for our next family movie night, just grabbing the right coconut first.
SO good. I added a tiny pinch of flaky sea salt on top of the chocolate coating right before it set and it took these to the next level. Perfect balance of sweet, salty, coconutty. Already planning a double batch for my holiday cookie tins this year.
Okay so I messed these up the first time because I didn’t let the potato cool completely before mixing in the sugar and coconut, it turned into a goopy mess. Second time around I waited the full 30 minutes for the potato to cool and they set perfectly! Just a heads up for other newbies like me, don’t rush that cooling step. They taste amazing now that I didn’t skip it!
Brought these to my neighborhood block party this weekend and I swear every single person asked where I bought them. Nobody believed they were homemade, let alone made with potato! They’re so rich and creamy, way better than any store bought candy I’ve had. Even my husband who hates coconut ate three of them.
Used to get needhams every time we drove through Maine on ski trips as a kid, this recipe tastes exactly like the ones from that little corner store I remember. The chocolate coating is the perfect thickness, not too thick that it cracks when you bite into it, not too thin that it melts all over your fingers. Perfect nostalgia kick.
So happy this recipe is naturally gluten free! My son has celiac and it’s so hard to find fun candy recipes he can eat without making a million substitutions. These came together so quick, we just finished dipping them and he already snuck two from the tray while they were setting.
Taste was 10/10 but my chocolate coating seized up on me when I was melting it, so it looks a little lumpy. Still tastes amazing though, my roommates didn’t even care about the lumps they ate half the tray in one sitting. Any tips for smoother chocolate next time?
These are perfect for meal prep snack stashes! I cut them into tiny bite sized pieces, stored them in an airtight container in the fridge, and they’re the perfect little sweet treat to grab when that 3pm sugar craving hits at work. Way better than hitting the vending machine for a candy bar.
I’ve been making needhams for my grandkids every Christmas for 40 years, and this recipe is almost identical to the one my own mom passed down to me! The only difference is I add a tiny splash of vanilla extract to the coconut filling, it adds such a nice warm note. This is such a great classic recipe, so glad it’s out here for people to try.
Wow these are so much easier to make than I thought! I was intimidated by homemade candy but the steps are so straightforward, no fancy candy thermometer needed? Wild. Took these on a day hike yesterday and they held up perfectly even in my backpack, gave me such a good energy boost on the trail.
Just finished cutting these and I’m obsessed. The coconut filling is so chewy and creamy, the dark chocolate I used for the coating pairs so perfectly with the sweet coconut. I was worried 1 hour 45 minutes was too long but most of that is just waiting for things to cool and set, actual active work is like 20 minutes tops. 10/10 will be making these monthly.