
new england hot dog rolls
intro
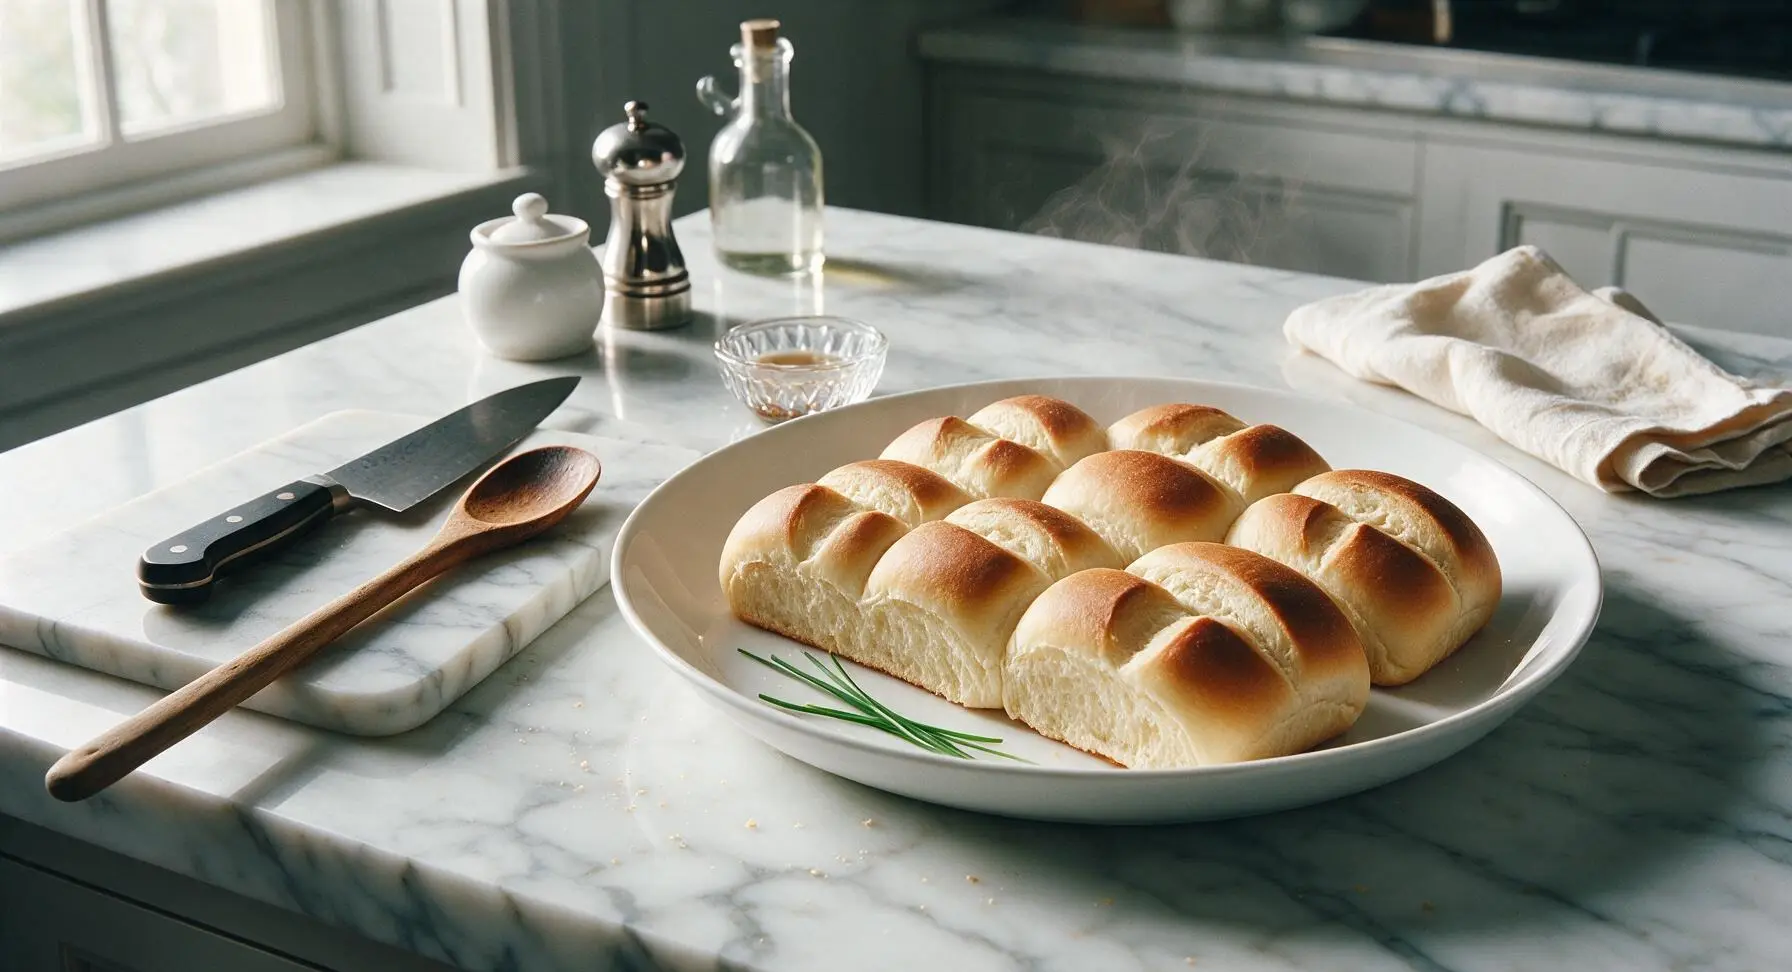
Soft, buttery split-top New England hot dog rolls with a tender, tight crumb and golden edges—perfect for grilled franks, lobster rolls, and summer picnic fillings.
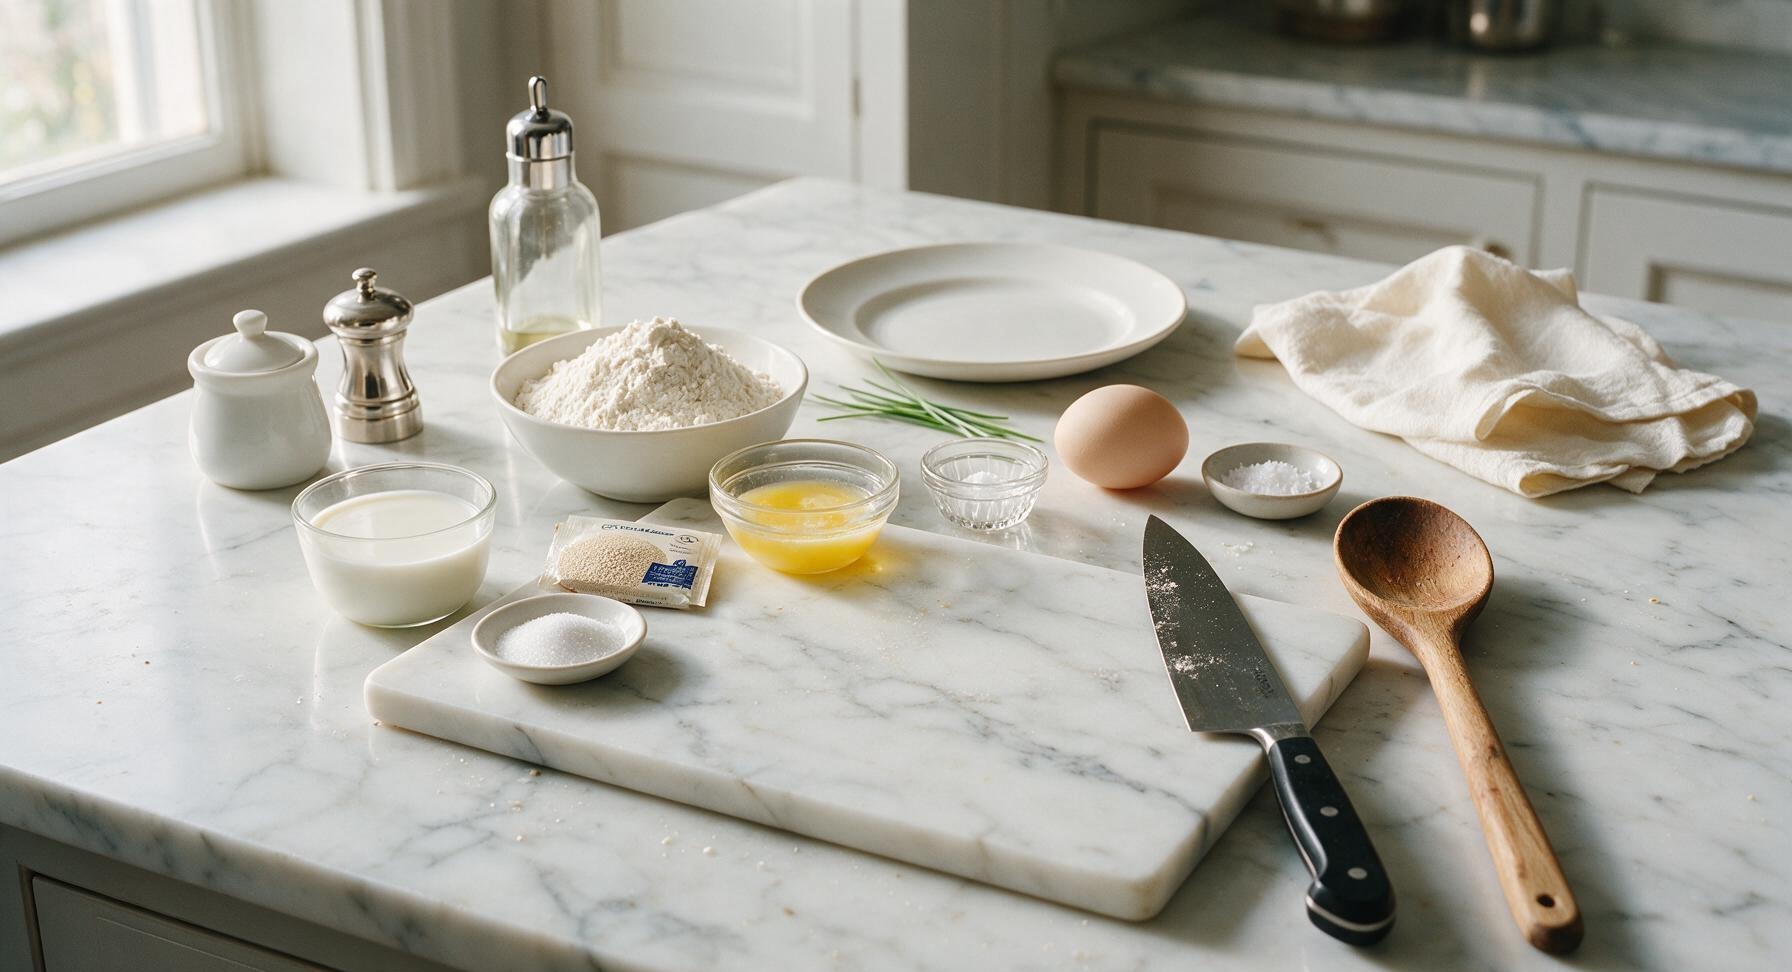
Ingredients
Steps
Activate the Yeast
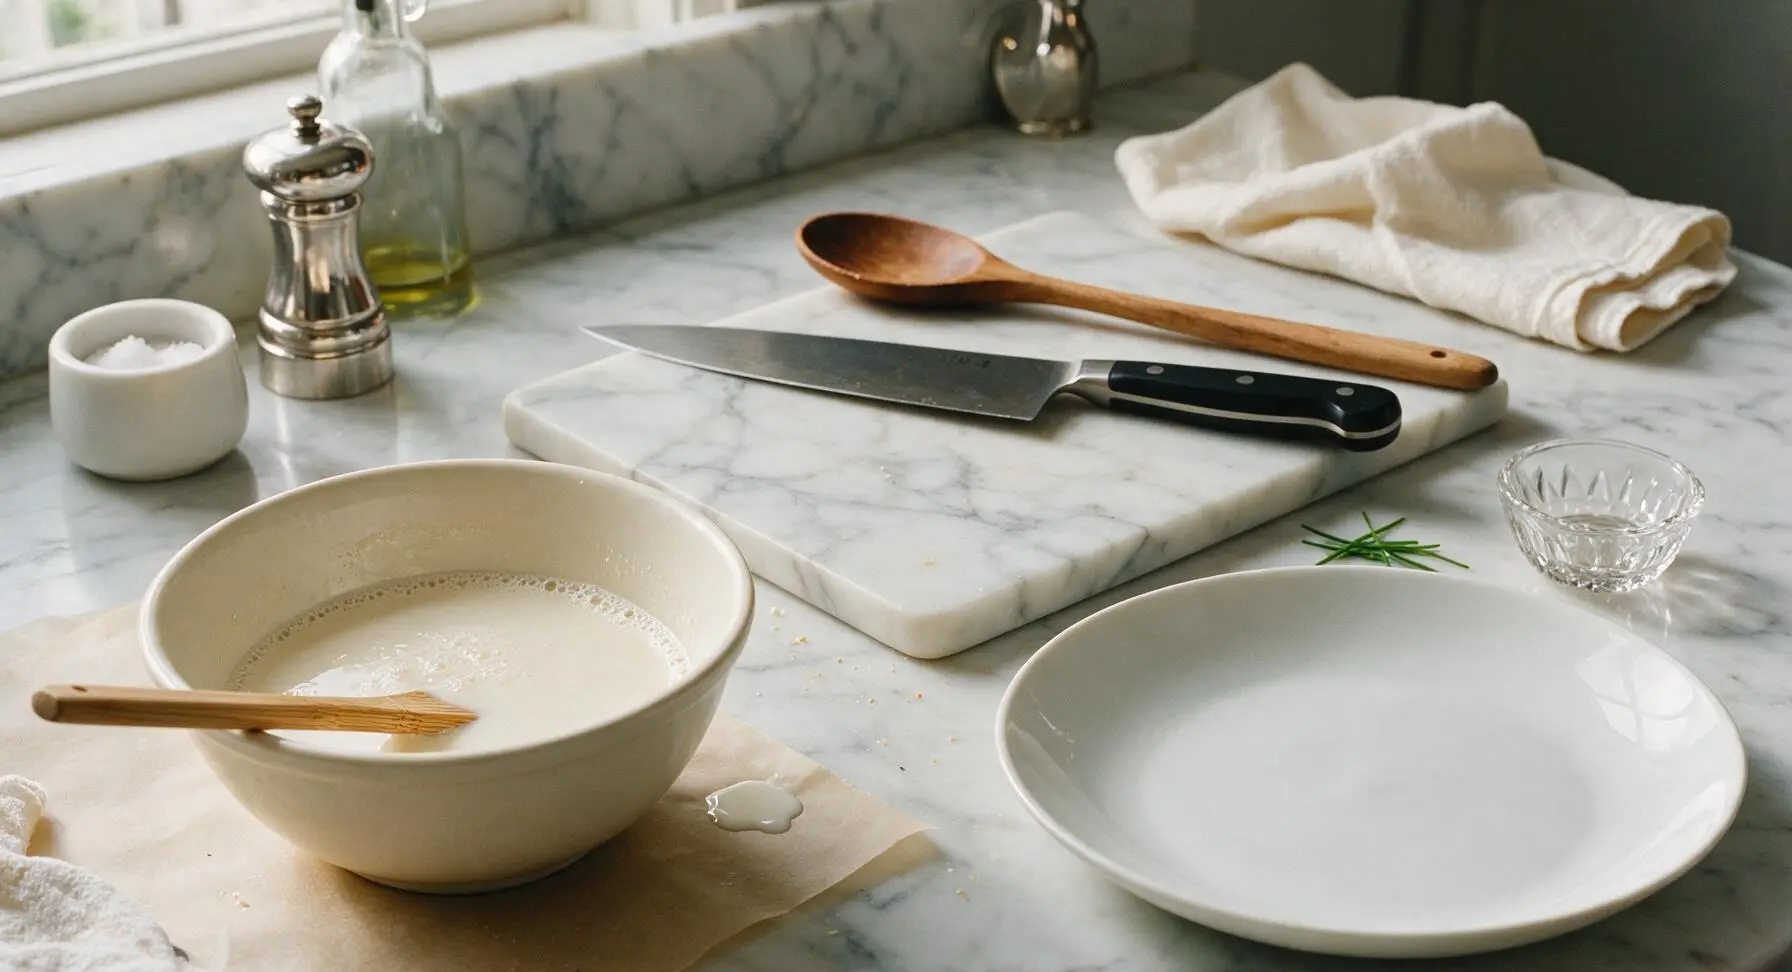
In the small matte cream ceramic prep bowl, combine warmed whole milk (105°F, lukewarm to the touch, not hot to avoid killing yeast), granulated sugar, and active dry yeast. Stir gently once with the bamboo mixing spoon, then let rest for 5 minutes. The mixture is ready when it forms a foamy, frothy layer on top, smelling distinctly of yeasty bread. If no foam forms after 5 minutes, the yeast is inactive and should be replaced.
Mix the Dough
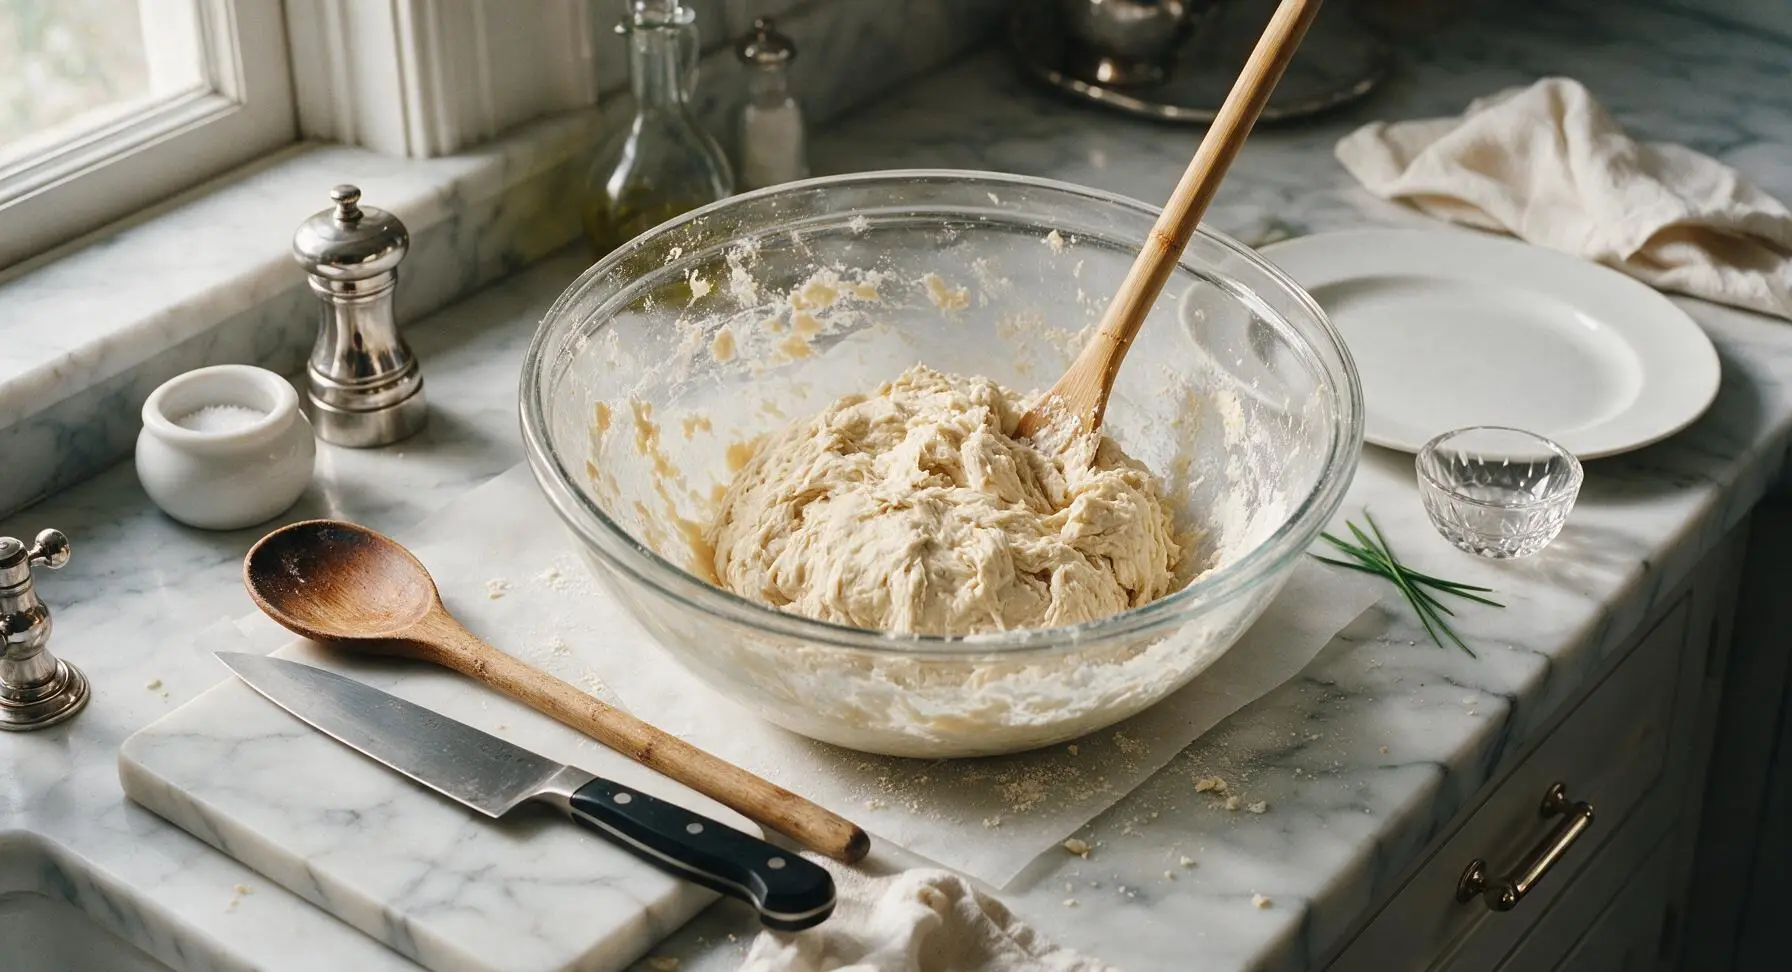
Pour the activated yeast mixture into the large clear glass mixing bowl. Add the cooled melted butter, room temperature egg, and fine sea salt, stirring to combine with the bamboo spoon. Gradually add the all-purpose flour, 1/2 cup at a time, stirring until a shaggy, sticky dough forms that pulls away from the sides of the bowl, with no dry flour pockets remaining at the bottom of the bowl.
Knead Until Smooth
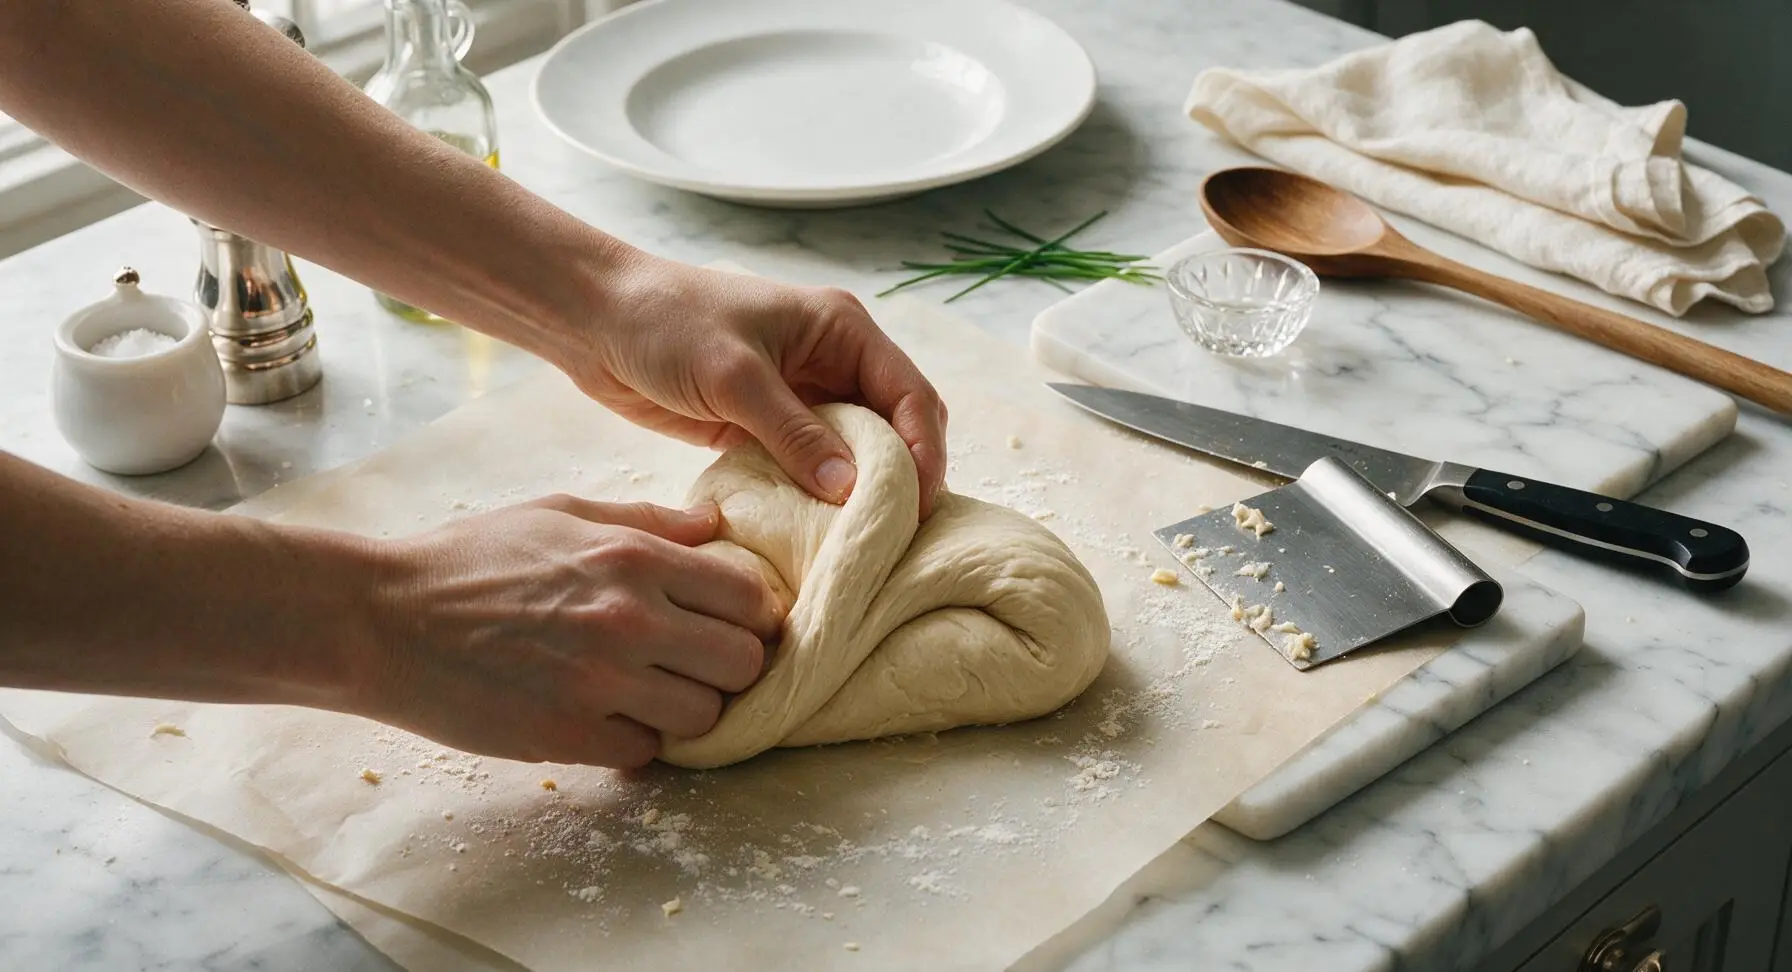
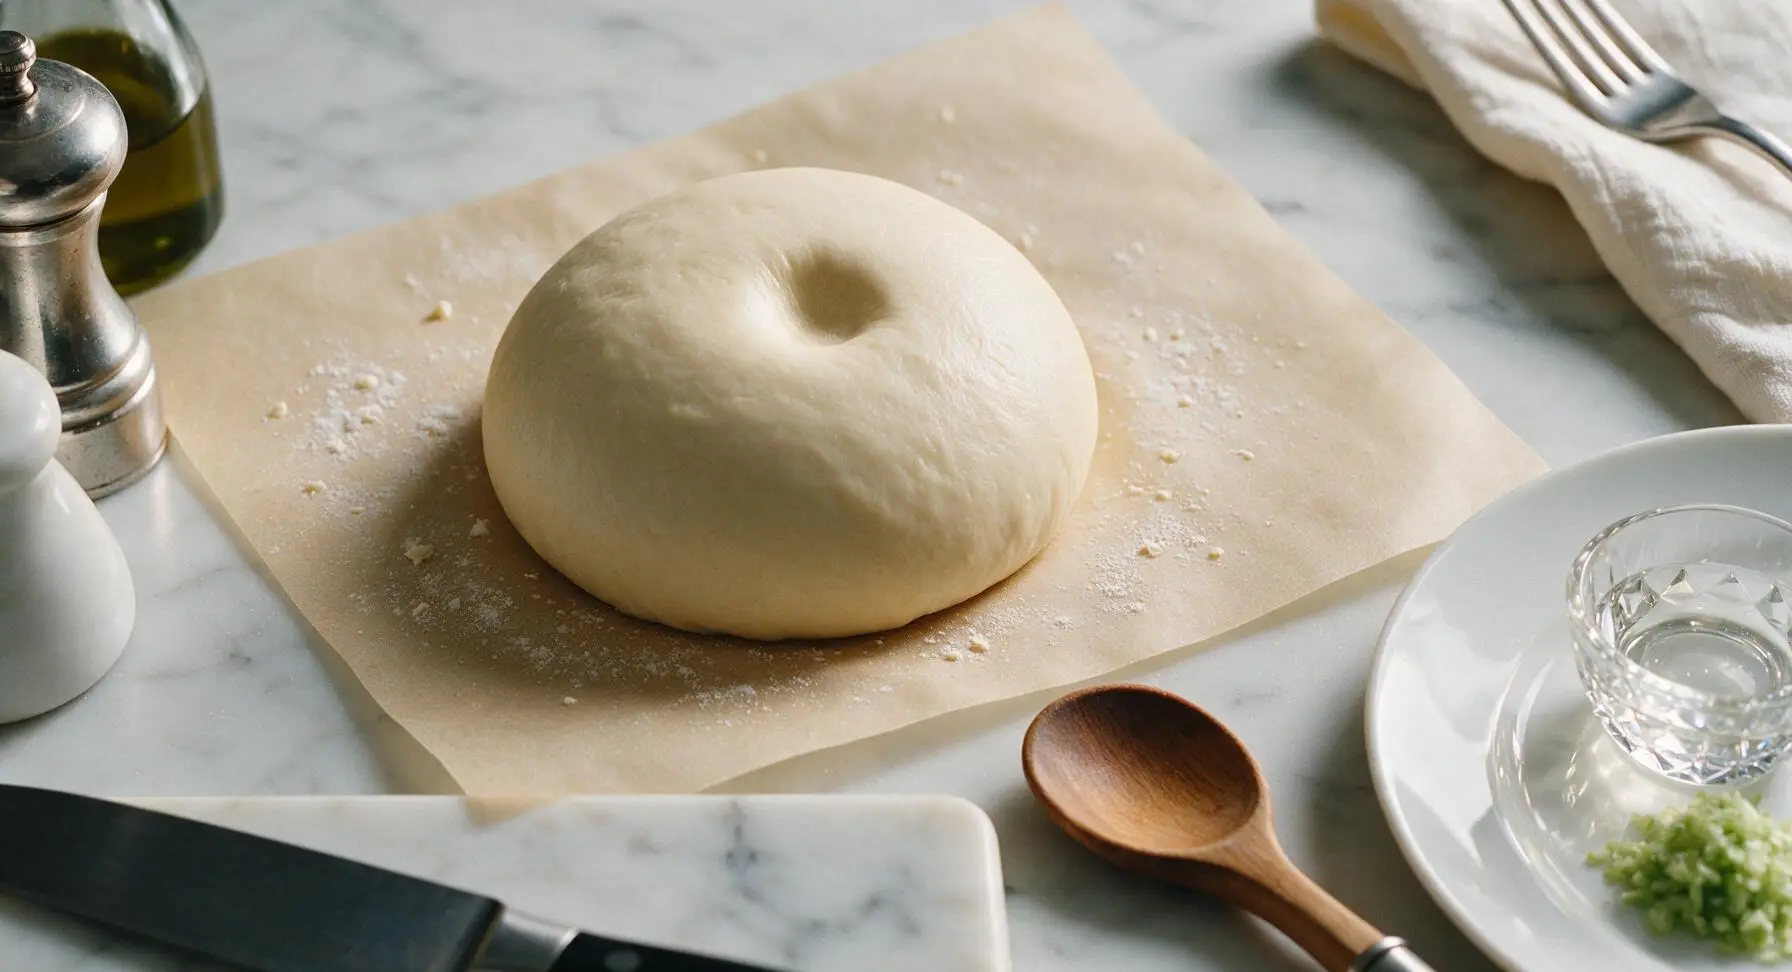
Turn the shaggy dough out onto the lightly floured center of the parchment paper. Use your hands to knead the dough for 8 minutes, folding the dough over itself and pushing forward with the heel of your hand, turning a quarter turn after each fold. The dough is ready when it is smooth, elastic, and springs back slowly when poked with a finger, with a soft, pillowy texture. Use the stainless steel dough scraper to lift any sticky dough bits from the parchment as you work.
Let Dough Rise
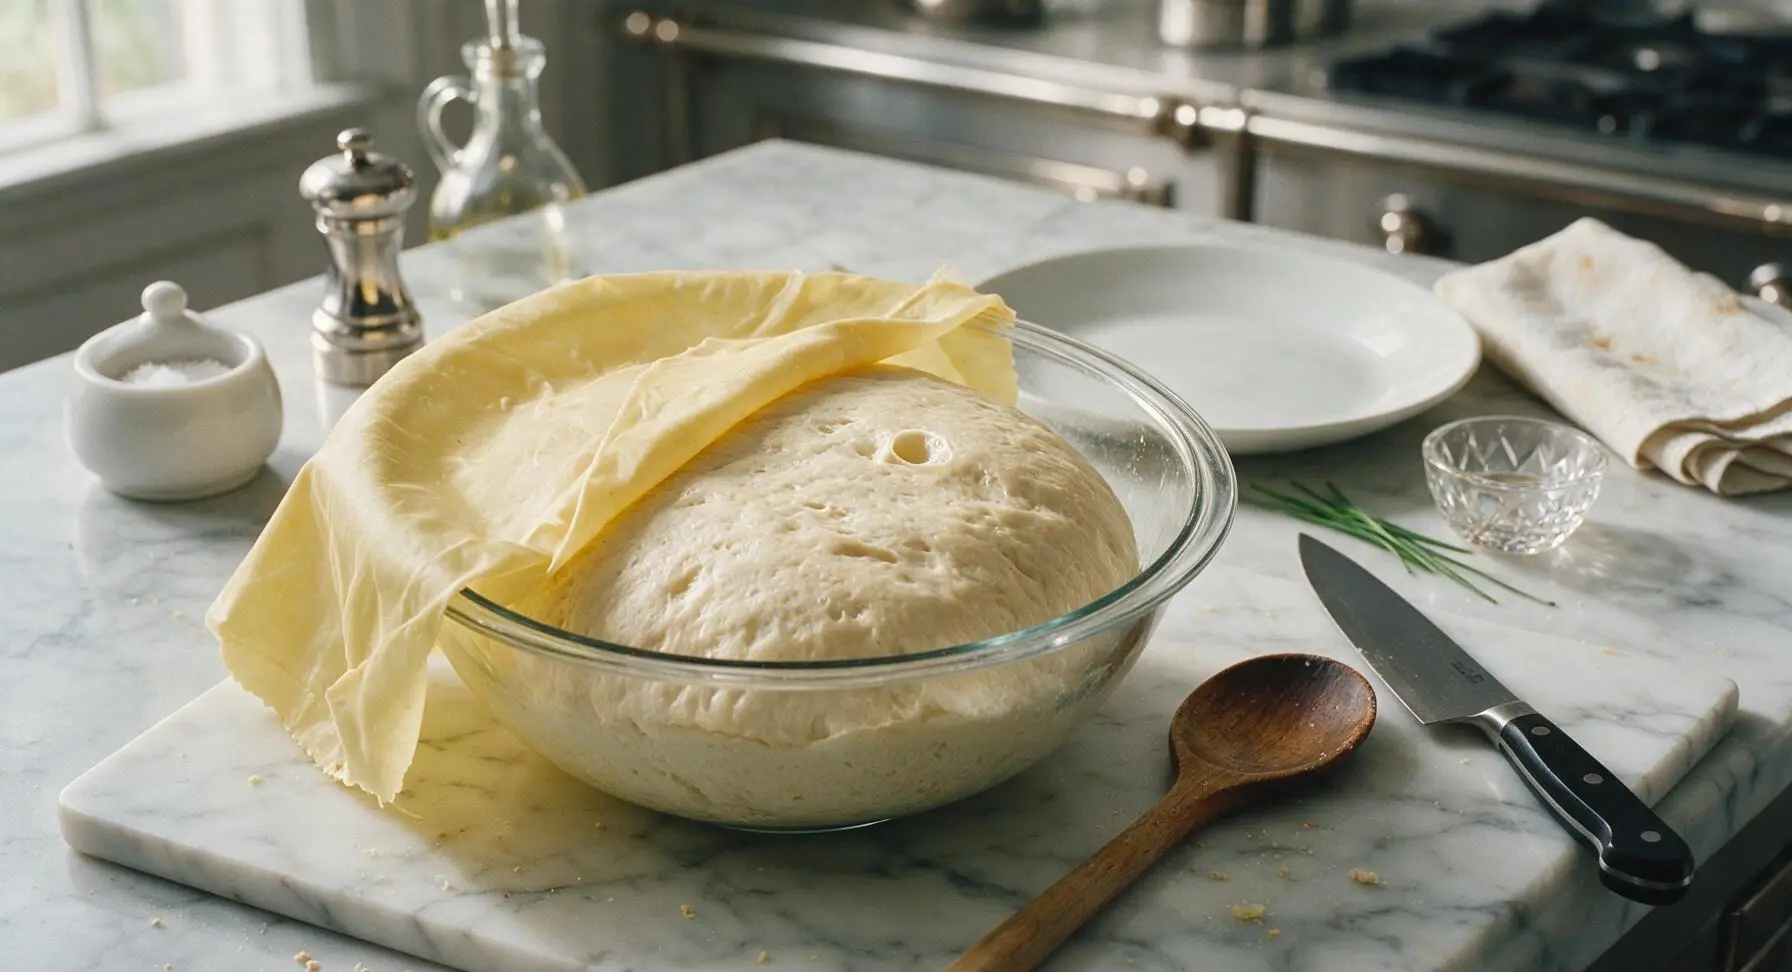
Form the kneaded dough into a tight ball and place it back into the large clear glass mixing bowl. Brush the top of the dough with a thin layer of melted butter to prevent it from drying out, then cover the bowl loosely with the pale yellow beeswax wrap. Let the dough rise in a warm, draft-free spot for 1 hour, until it doubles in size, and a finger poked into the center leaves an indentation that does not spring back.
Shape Individual Rolls
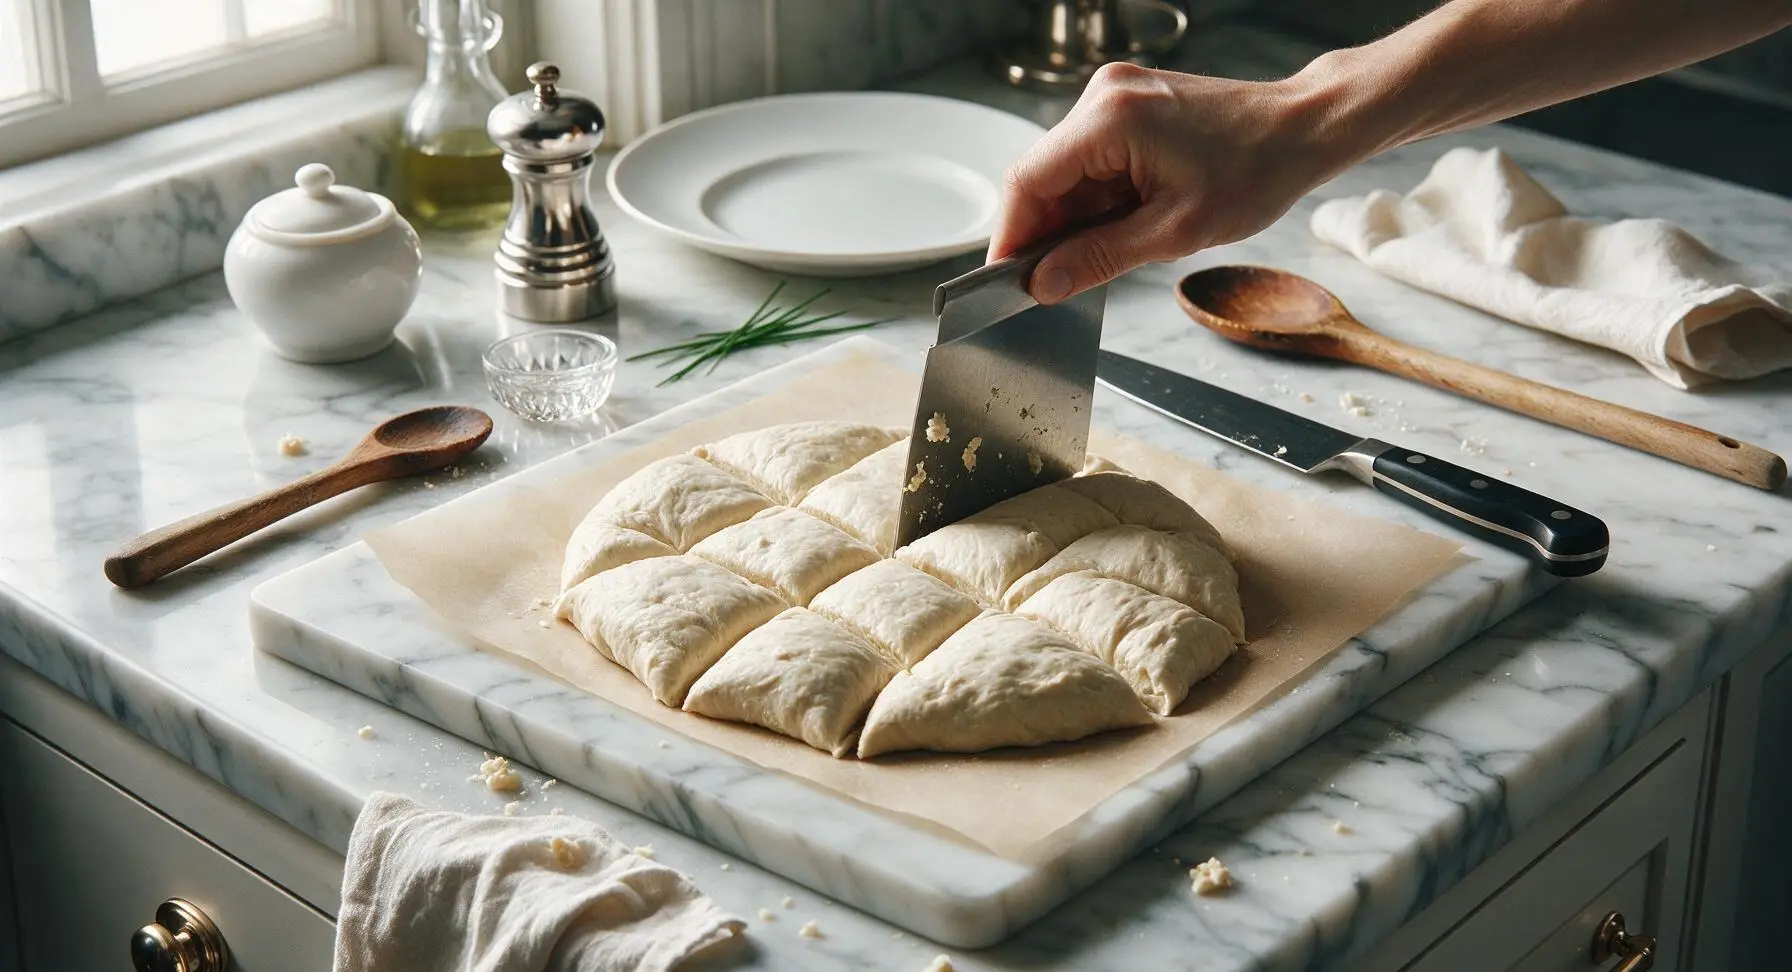
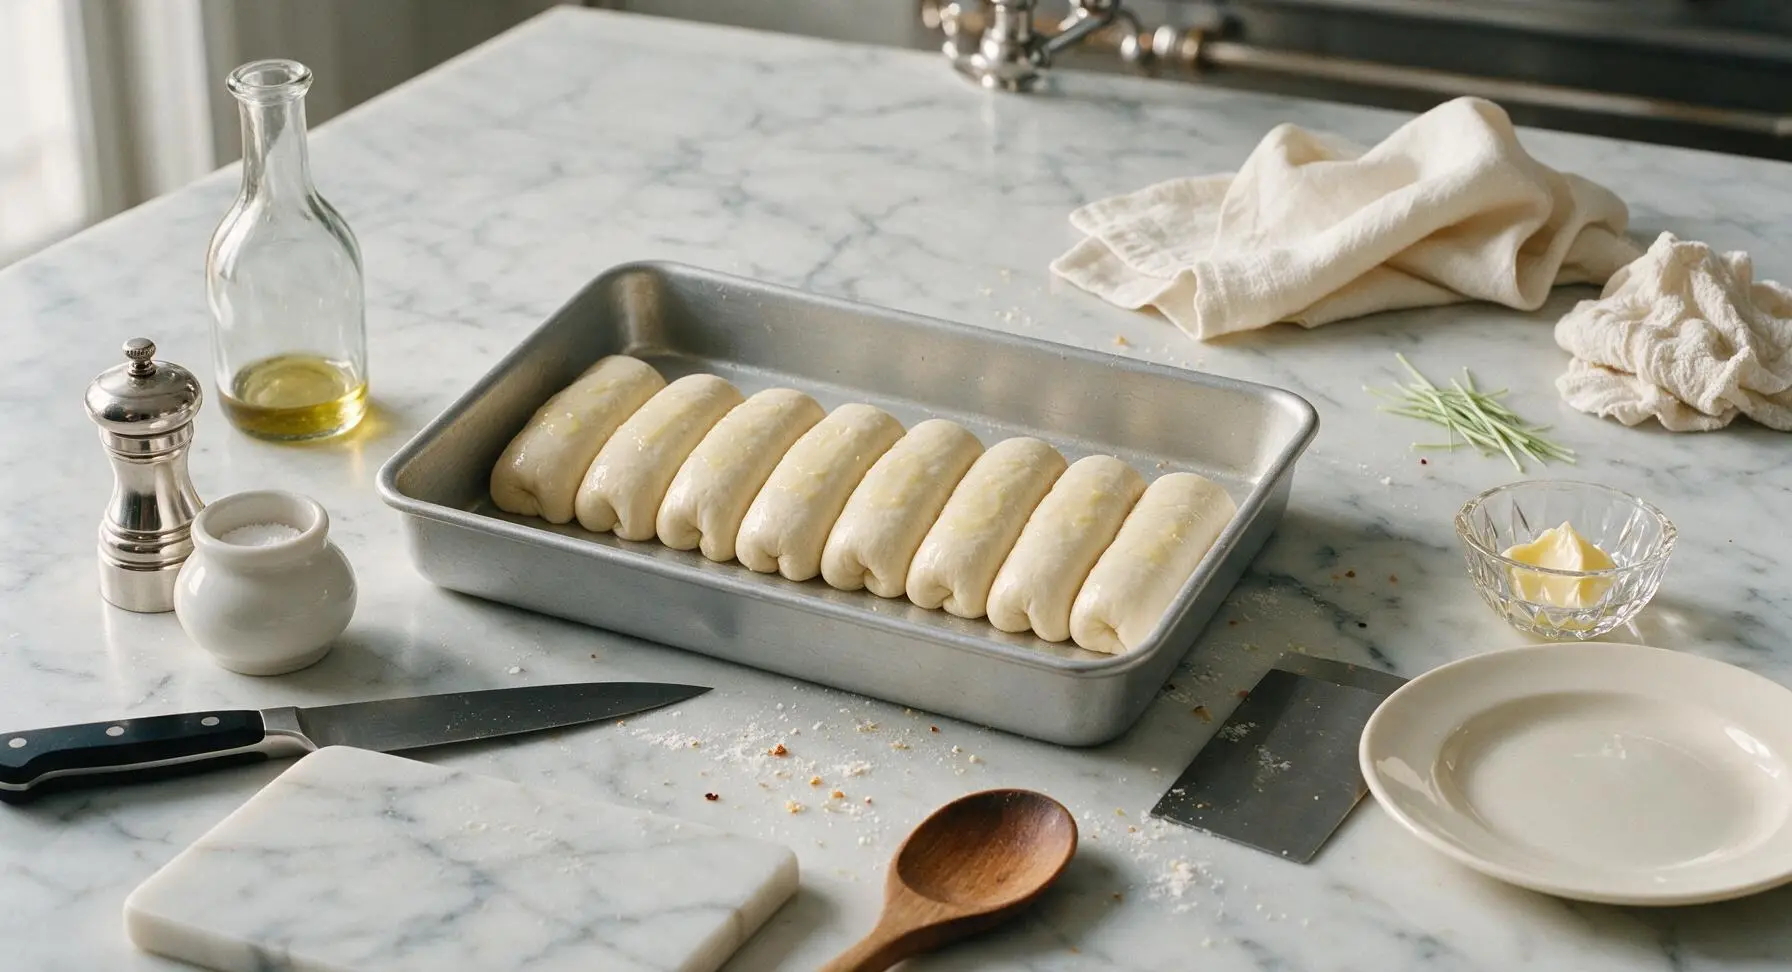
Punch the risen dough down firmly in the center to release all trapped air, then turn it out onto the parchment paper. Use the stainless steel dough scraper to divide the dough evenly into 8 equal pieces (each about 75g). Roll each piece into a tight 4-inch long log, pinching the seams closed on the bottom. Place the shaped logs seam-side down in the 9x13 inch matte silver baking pan, arranged in a single row so they touch each other (this creates the classic soft, white sides New England rolls are known for, no hard crusts).
Second Pan Rise
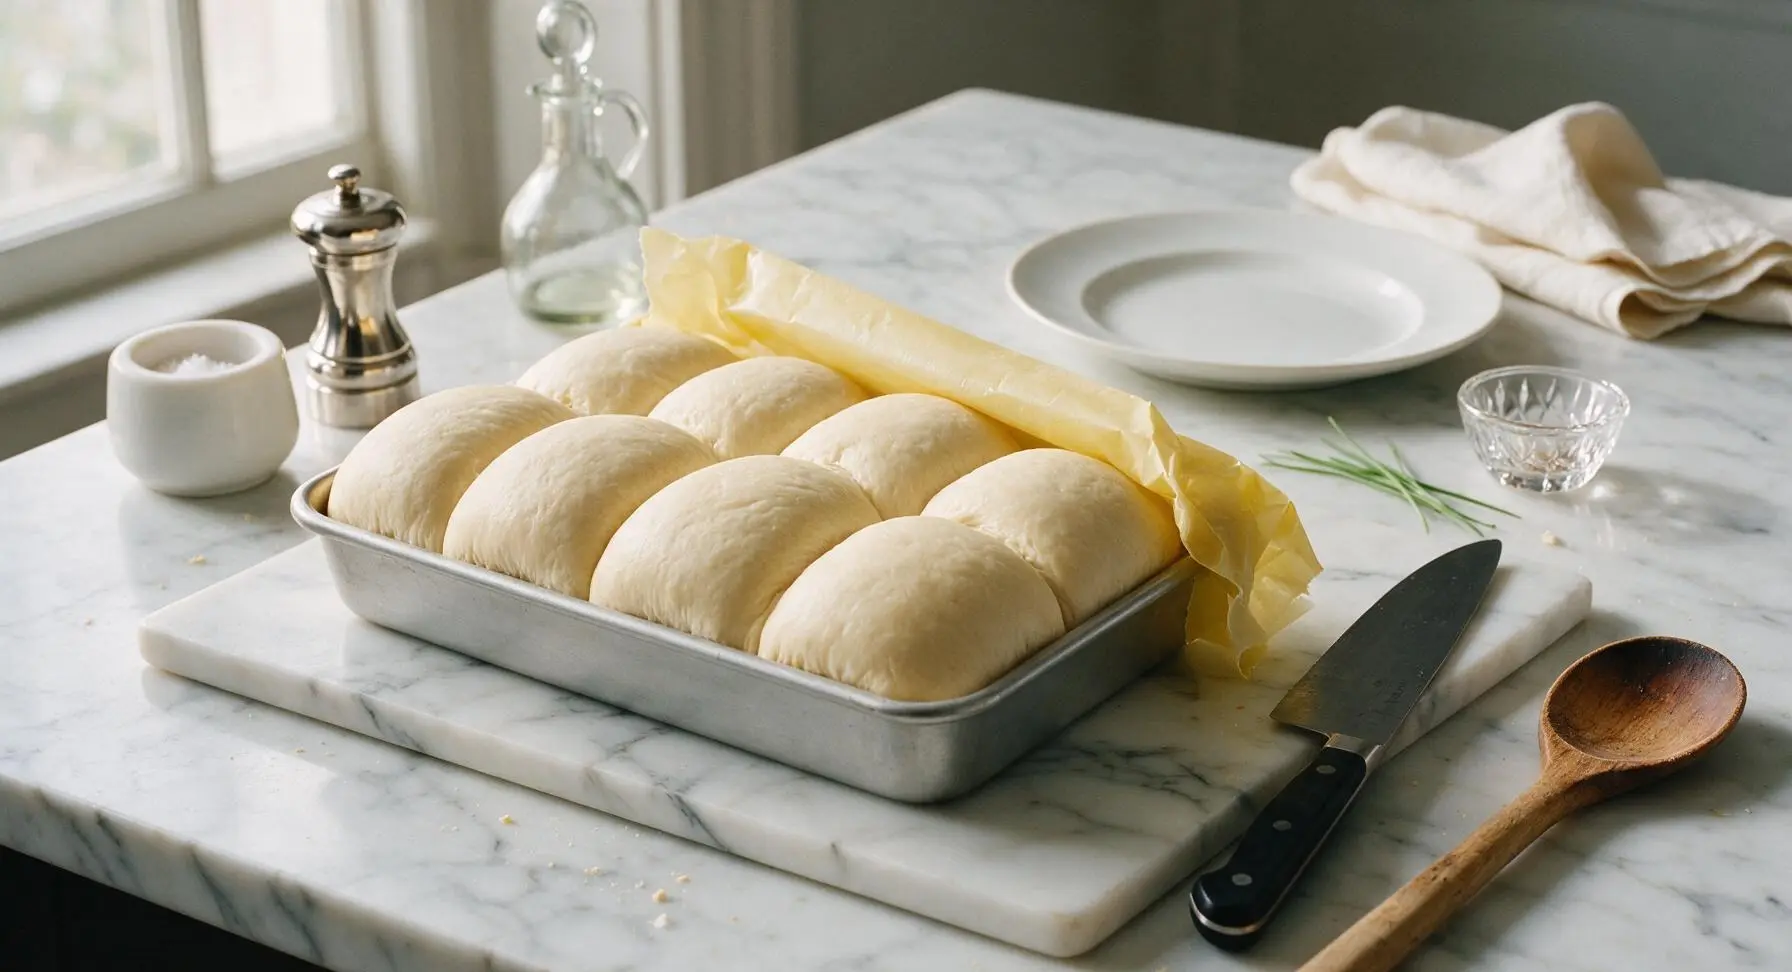
Cover the baking pan loosely with the pale yellow beeswax wrap, and let the shaped rolls rise for 45 minutes in a warm, draft-free spot. The rolls are ready when they have puffed up to fill the pan, pressing tightly against each other, and bounce back slowly when gently poked on the side. Toward the end of the rise time, preheat the oven to 375°F (190°C), rack positioned in the center.
Bake to Golden
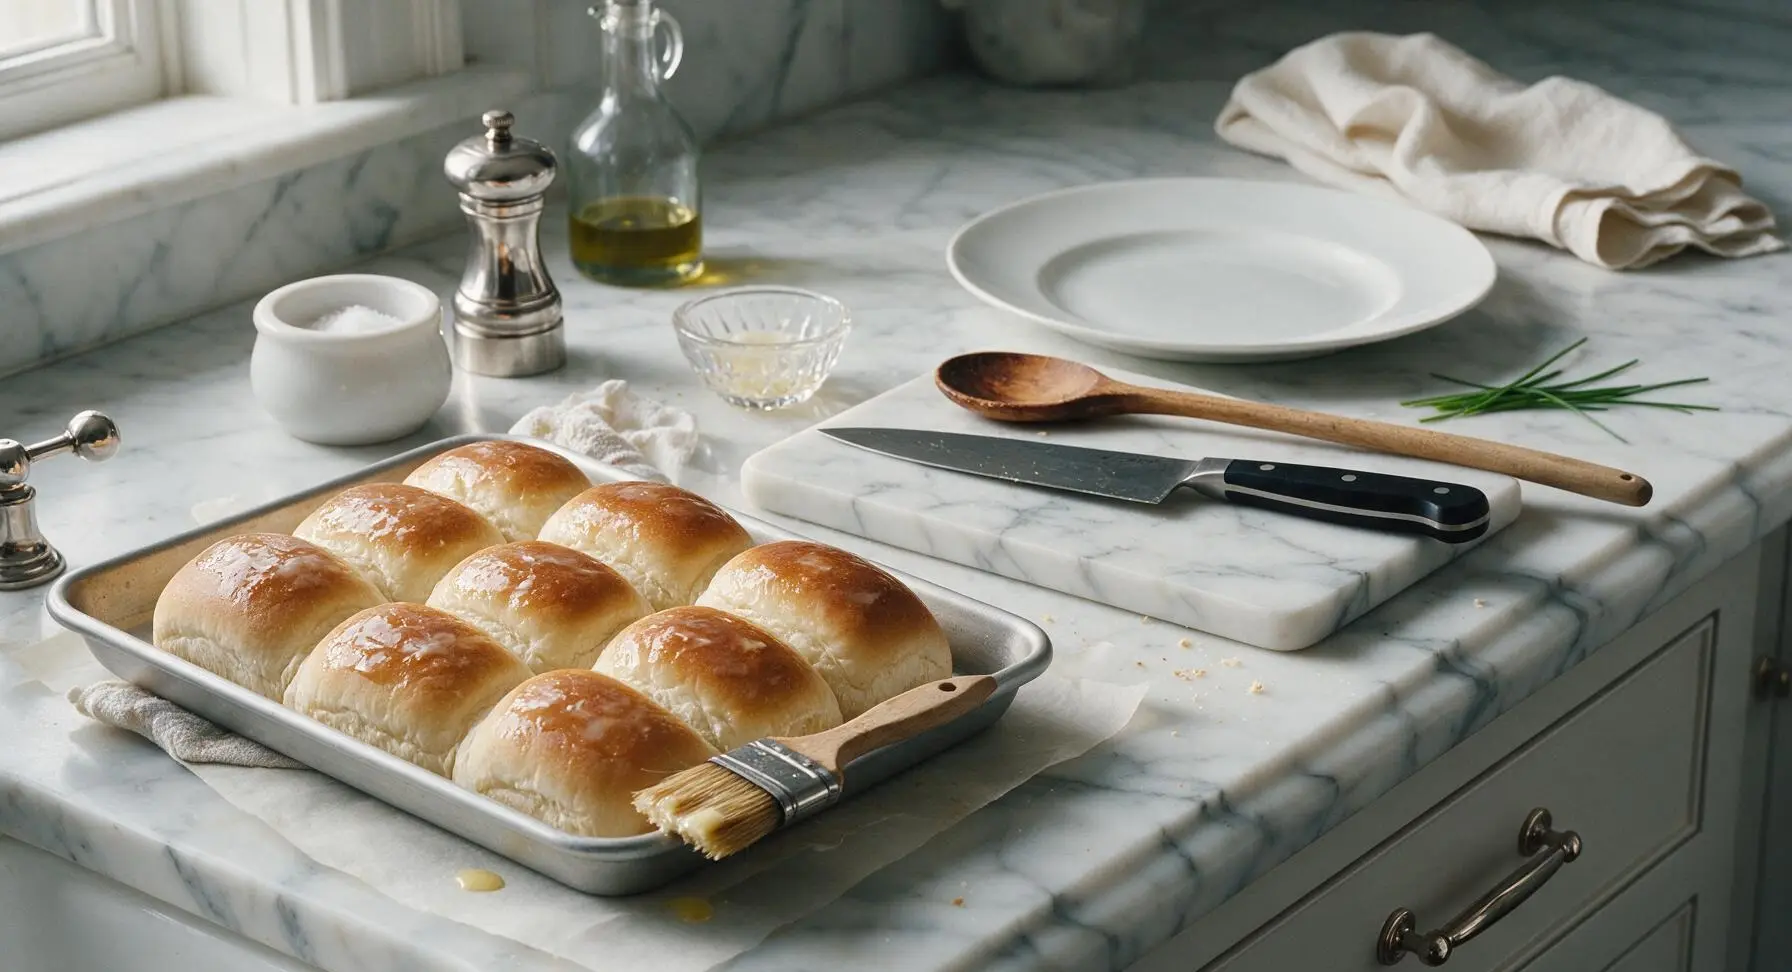
Remove the beeswax wrap from the pan. Use the pastry brush to brush the tops of the risen rolls with a thin layer of melted butter. Place the baking pan on the center rack of the preheated 375°F (190°C) oven. Bake for 17 minutes, until the tops are a pale even golden brown, and the internal temperature of the center roll reaches 190°F (88°C) on the instant-read thermometer. Avoid overbaking to keep the crumb soft and the sides tender.
Butter and Cool
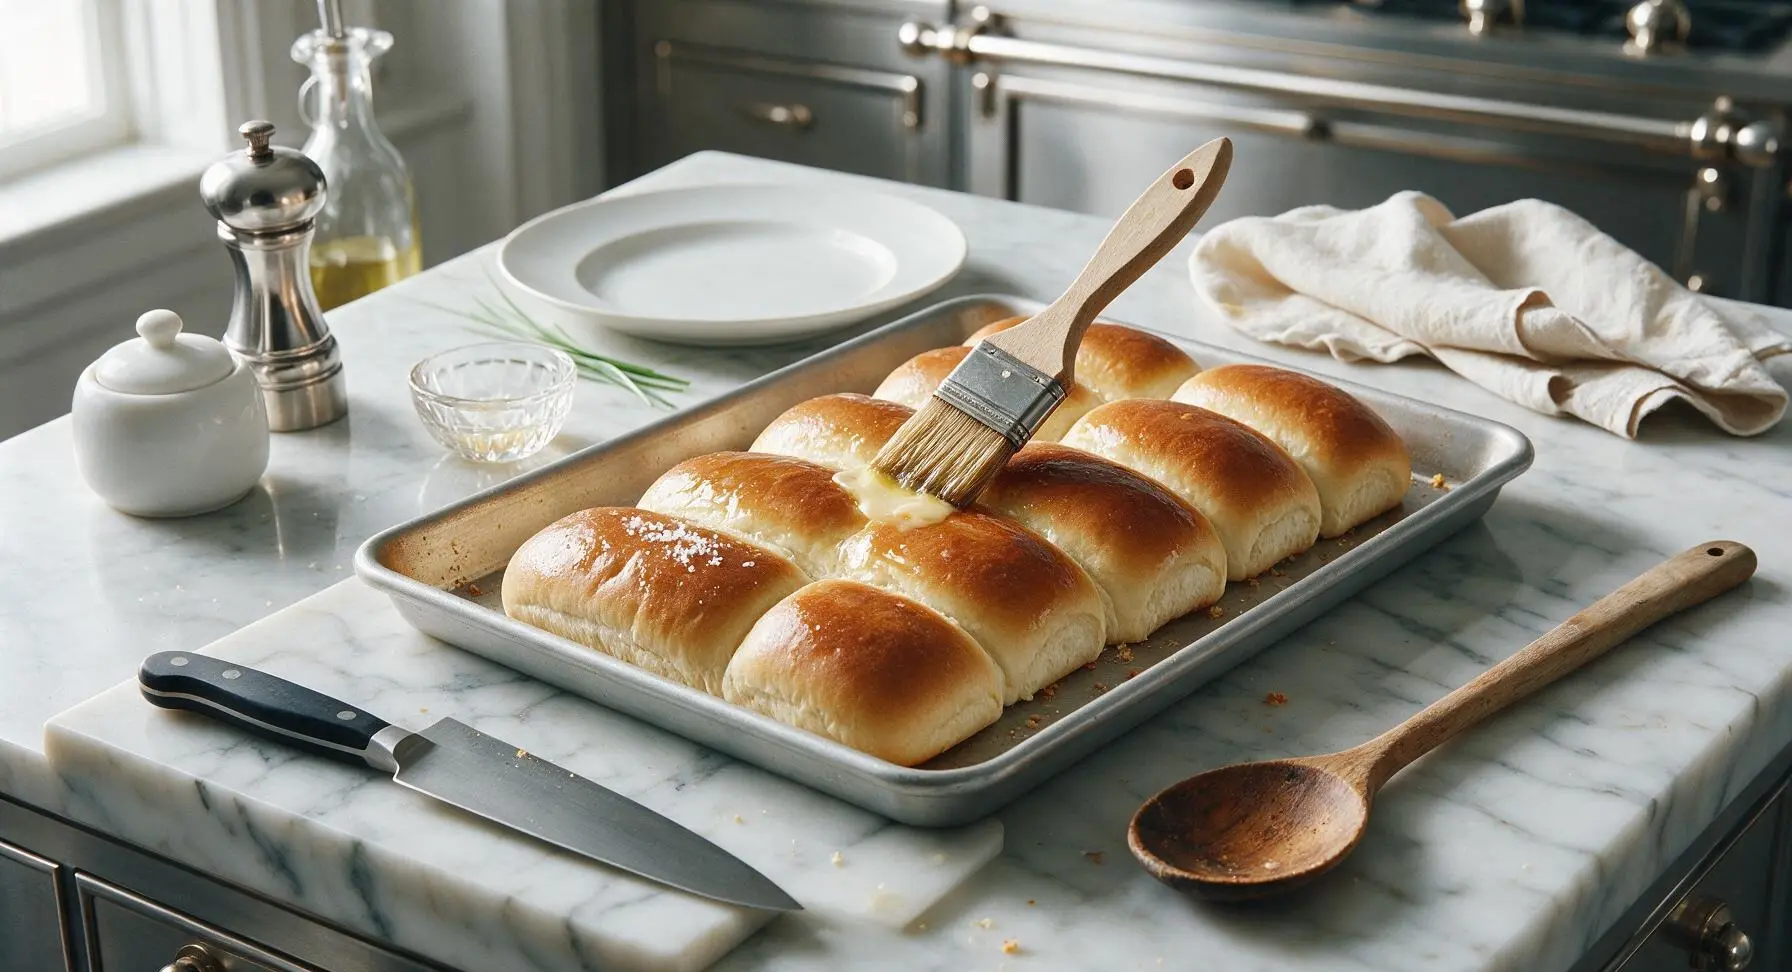
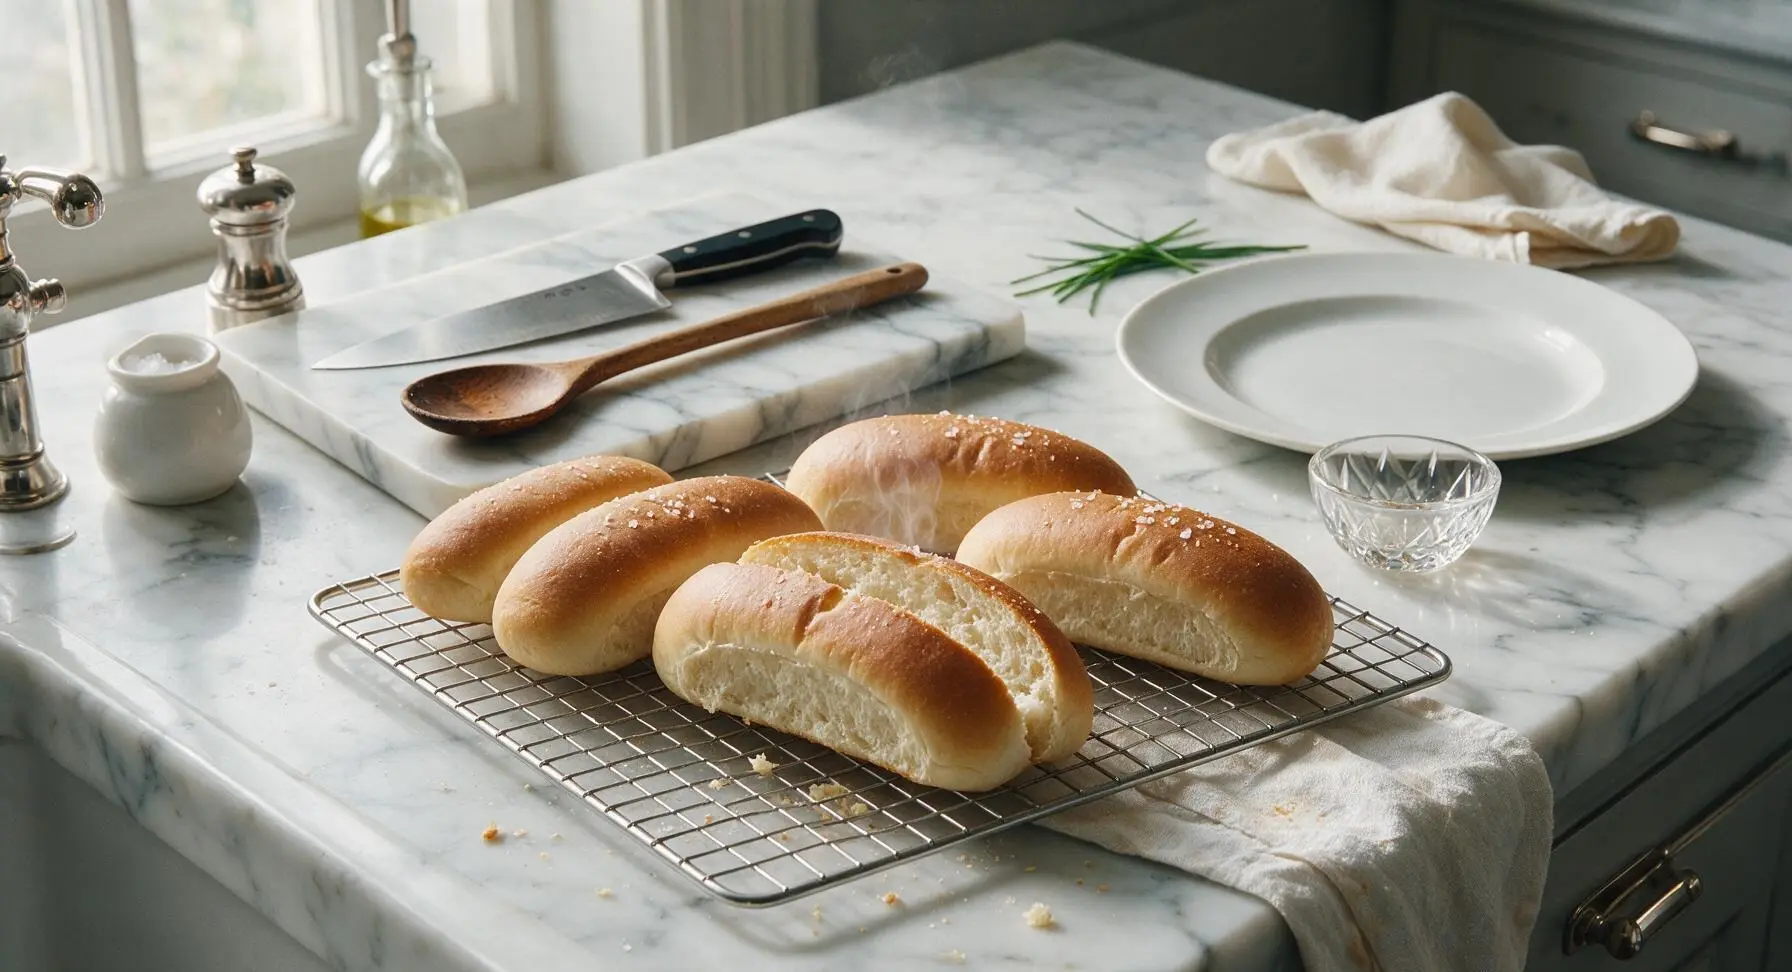
Remove the baked rolls from the oven, and immediately brush the hot tops with the remaining melted butter. Sprinkle lightly with flaky sea salt. Let the rolls cool in the pan for 5 minutes, then transfer them to the matte chrome wire cooling rack to cool for another 10 minutes. To serve, split the rolls down the center top (not all the way through) to create the classic New England split-top pocket for fillings. Arrange on the cream white ceramic oval platter for serving.
Tips
2.Use 105°F milk to activate yeast: Milk hotter than 110°F will kill the yeast, leading to dense, flat rolls that don’t rise. If you don’t have a thermometer, test the milk on your inner wrist—it should feel like warm bath water, not hot.
3.Split rolls from the top, not the side: Authentic New England rolls are split down the flat top, leaving the soft sides intact, so you can butter and toast the cut sides on a griddle for lobster rolls or hot dogs without the filling falling out the bottom.






OMG these are SUCH a game changer! I grew up in Massachusetts and have been chasing that perfect soft, split-top New England roll for years since I moved out west. These came out exactly like I remembered — perfectly buttery, soft inside, just the right crust on the outside. Served them with lobster rolls for my husband’s birthday dinner and everyone raved. 17 minute cook time was spot on, no adjustments needed!
Full transparency, I’m a total beginner to bread baking and was nervous about the medium difficulty rating, but these were way more approachable than I thought! The only misstep I had was letting them rise a little too long so they spread out a bit, but they still tasted incredible. Loaded them up with chili dogs for Sunday football and my roommates devoured the whole batch in 10 minutes. The 17 minute cook time was spot on, no burnt edges at all.
I will never buy store bought hot dog rolls again. EVER. These have that perfect soft, pillowy texture that you just can’t get from the grocery store shelf out here in California. Made them for our neighborhood summer potluck last weekend and people were asking for the recipe before they even finished their first chili dog. SO good, worth every minute of prep.
My kids are OBSESSED with these! I added a tiny bit of extra melted butter to the tops before baking and sprinkled on a little garlic salt, and they ate three rolls each with our hot dog night last night. Even my super picky 7 year old asked for seconds, which never happens. Will 100% be adding these to our weekly meal prep rotation!
Quick heads up for anyone making these on a weeknight: block off enough time for the two rises! I thought I could cram this in after work and ended up eating dinner 45 minutes later than planned, but honestly? It was 100% worth the wait. The rolls were so soft and buttery, way better than any I’ve picked up from the grocery store bakery. Cook time was exactly 17 minutes like the recipe said, no guesswork.
I’ve been making New England style rolls for over 50 years, and this recipe is as close to my mom’s as I’ve ever found. The ratio of butter to flour is perfect, not too heavy, just rich enough. I brought a batch to my church potluck on Sunday and the older ladies in the group were all asking where I got the recipe, they thought they were from a fancy bakery!
So excited to try this recipe, giving 4 stars for now until I test it out! Quick question: has anyone tried making these with a 1:1 gluten free flour blend? I have celiac and have been craving a good New England style roll forever to make lobster rolls at home this summer. I don’t want to waste expensive GF flour if the texture comes out dense or weird!
Game. Changer. I made these for our Fourth of July cookout and served them two ways: split top for regular hot dogs, and a little bigger for lobster rolls. Every single person at the party asked for the recipe, even my cousin who swears he “doesn’t like homemade bread”. The 17 minute cook time was perfect, they came out golden and gorgeous, no burnt bottoms, no raw centers. Already planning to make a double batch for our next tailgate!
Not gonna lie, I messed up the first batch because I forgot to add the sugar, oops. But the second batch? *Chef’s kiss.* Perfectly soft, slightly sweet, exactly the roll I remember getting at roadside clam shacks when I was a kid visiting family in Maine. Ate three of them straight out of the oven with just butter, no hot dog even needed, no regrets.
Born and raised in Portland, ME, and I can confirm these are the real deal. None of that weird crusty, chewy hot dog roll garbage they sell down south. These are soft, buttery, split on the top, perfect for loading up with lobster or a good old fashioned red snapper hot dog. My grandma would be proud of this recipe, that’s the highest praise I can give.
I was a little intimidated by the medium difficulty rating, but the instructions were so clear and easy to follow! I’ve made soft pretzels before but never yeast rolls, and these came out perfect on the first try. I brushed them with honey butter right after they came out of the oven and it took them to the next level. My whole family was shocked I made them from scratch.
Okay, update! I took the tip from the comments about placing the rolls close together on the pan and my second attempt came out perfect! The sides were soft and flat, just like the classic New England rolls I grew up getting at cookouts. Made them for my partner’s birthday dinner with grilled brats and caramelized onions, and he said they were the best rolls he’s ever had. Win!
Made a double batch of these on Sunday for my meal prep for the week, and they held up perfectly! I kept half in the fridge for sandwiches and hot dogs during the week, and froze half for later. They’re even better than the expensive bakery rolls I used to buy at the campus grocery store, and way cheaper too. 10/10, will be making these all semester.
I was skeptical that homemade rolls could be that much better than store bought, but man was I wrong. These are so soft and buttery, they make even a basic grocery store hot dog taste like a fancy restaurant meal. It was 105 degrees out so I didn’t want to heat up the house, so I baked them on the top rack of my grill for 17 minutes just like the recipe says for the oven, and they came out perfect. Will be making these all summer long.