
New York Black and White Cookie
intro
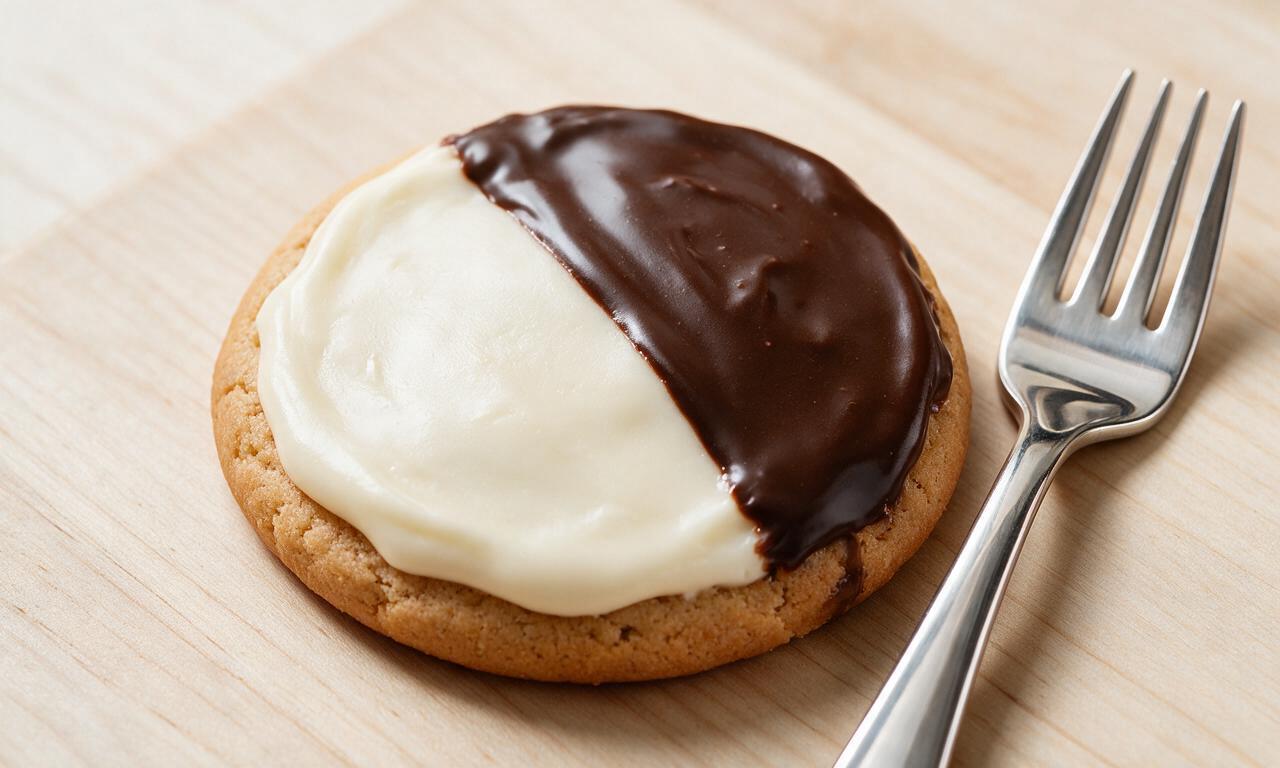
Iconic soft, cake-like New York deli cookies half-coated in smooth vanilla and chocolate fondant icing, a beloved Big Apple bakery staple.
Ingredients
Steps
Prep oven and dry ingredients
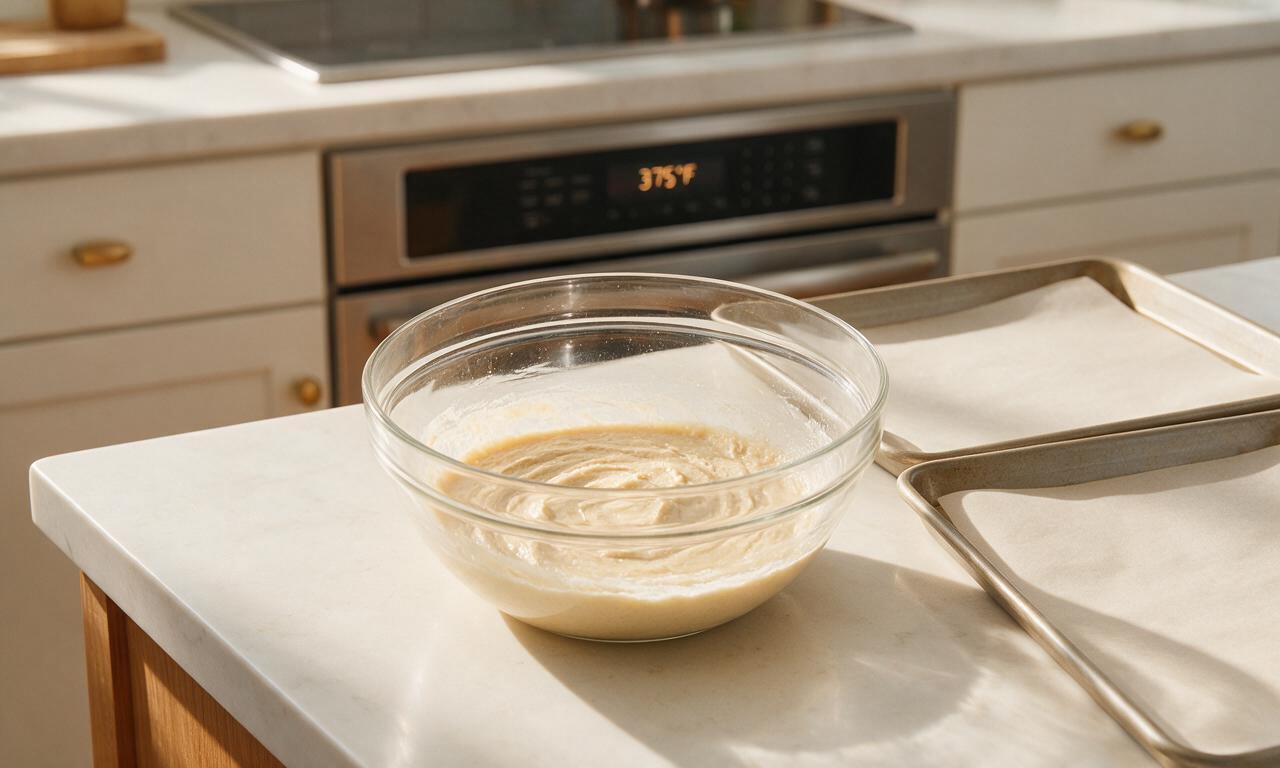
Preheat your oven to 375°F (190°C) and line two large rimmed baking sheets with unbleached parchment paper. In a medium mixing bowl, whisk together 2 ½ cups (315g) all-purpose flour, 1 teaspoon (4g) baking powder, and ½ teaspoon (3g) fine sea salt for 30 seconds until fully evenly combined, then set the bowl aside.
Cream butter and sugar
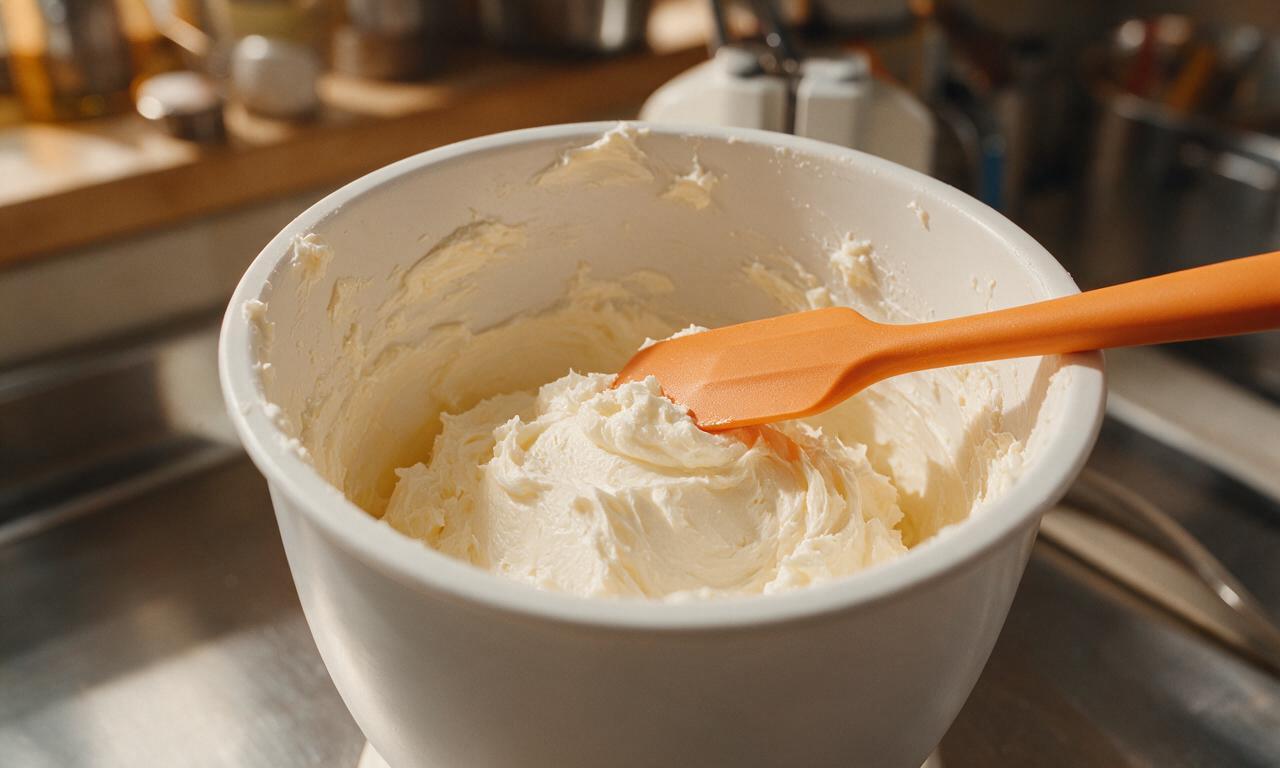
In a large stand mixer fitted with a paddle attachment (or using a hand mixer on medium speed), beat ½ cup (113g) softened unsalted butter and 1 cup (200g) granulated sugar on medium-high speed for 3 full minutes, stopping once to scrape down the bowl sides, until the mixture is pale, light, and fluffy.
Mix the cookie dough
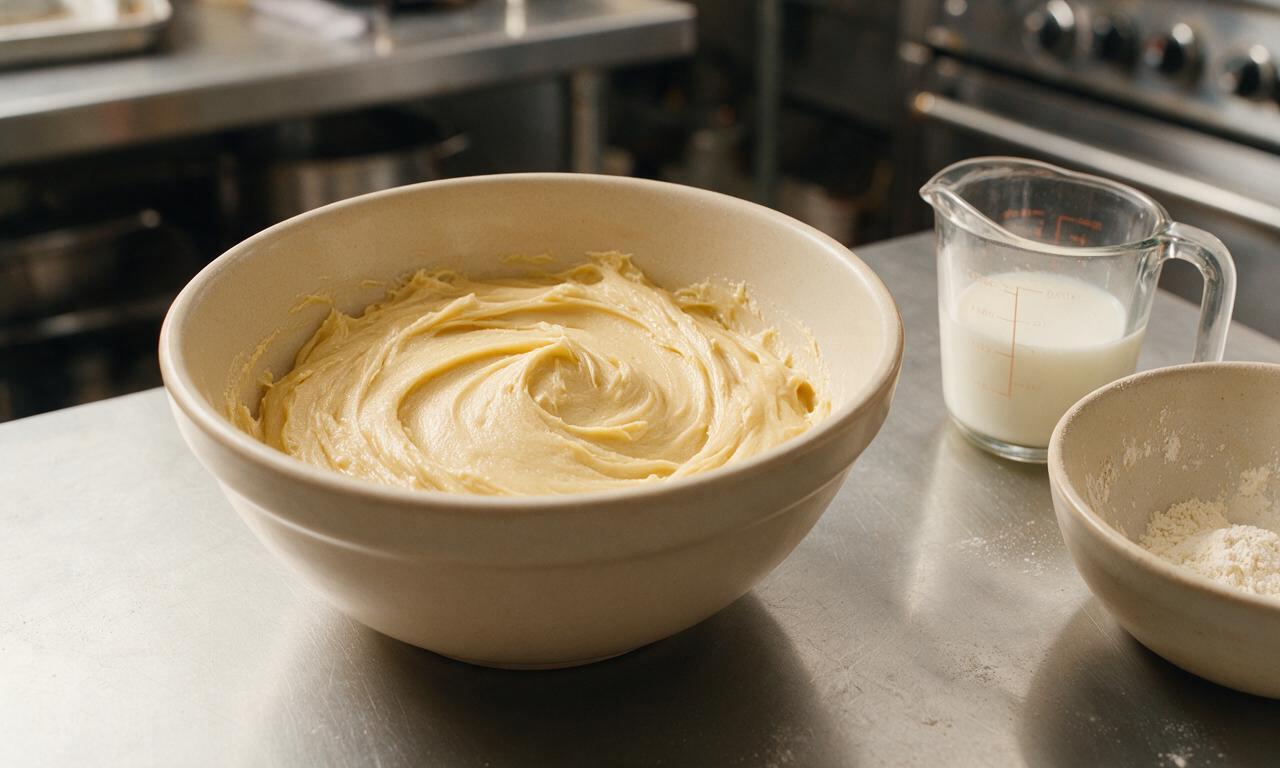
Add 2 room-temperature large eggs one at a time to the creamed butter, beating on medium speed for 30 seconds after each egg is fully incorporated, then stir in 1 teaspoon (5ml) of pure vanilla extract. Alternate adding the dry flour mixture and ¾ cup (180ml) room-temperature whole milk in 3 equal batches each, starting and ending with dry ingredients, mixing on low speed only until no dry flour remains—do not overmix, as this creates tough, dense cookies.
Portion and bake cookies
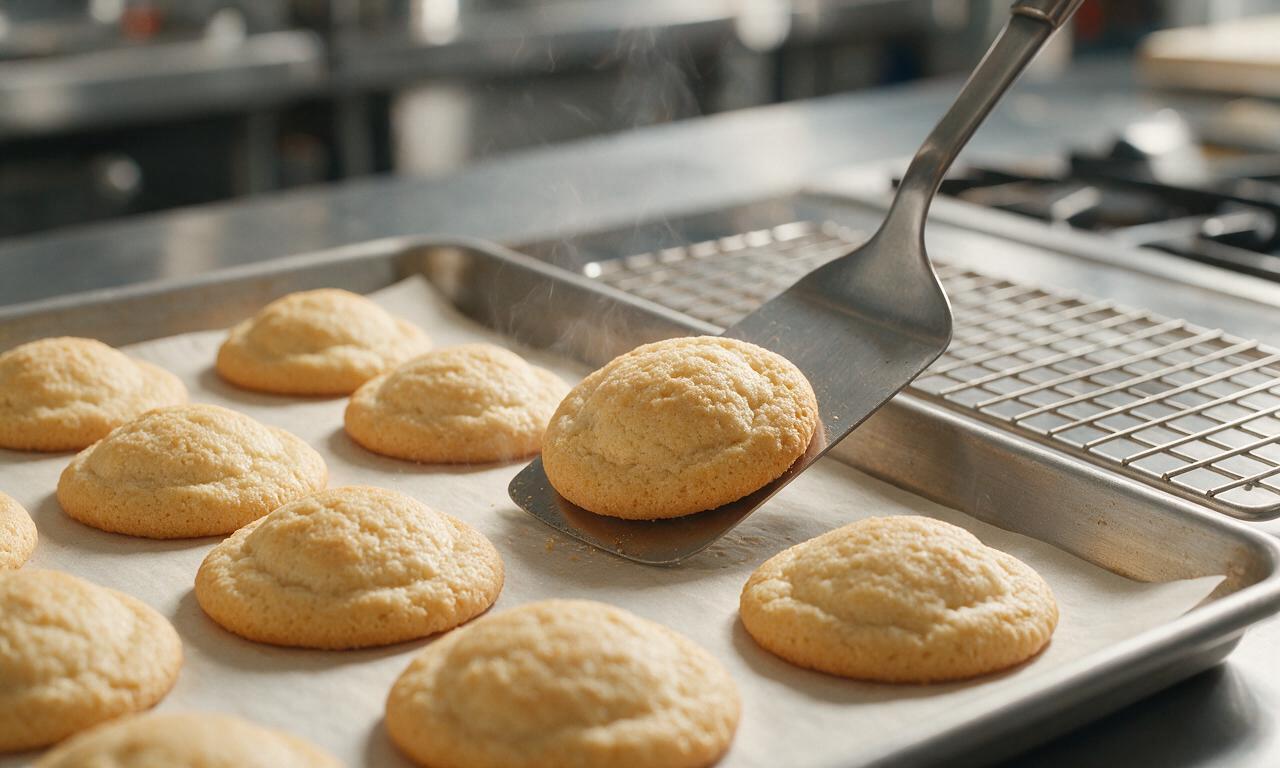
Use a ¼-cup (60ml) spring-loaded cookie scoop to drop rounded dough mounds 3 inches apart on the prepared baking sheets, leaving room for spread. Bake one sheet at a time on the middle oven rack for 12-14 minutes, until cookie edges are light golden and tops are fully set (no wet batter sticks to a finger when lightly touched). Let cookies rest on the hot baking sheet for 5 minutes, then transfer to a wire rack to cool completely to room temperature (about 30 minutes) before icing.
Prepare the fondant icings
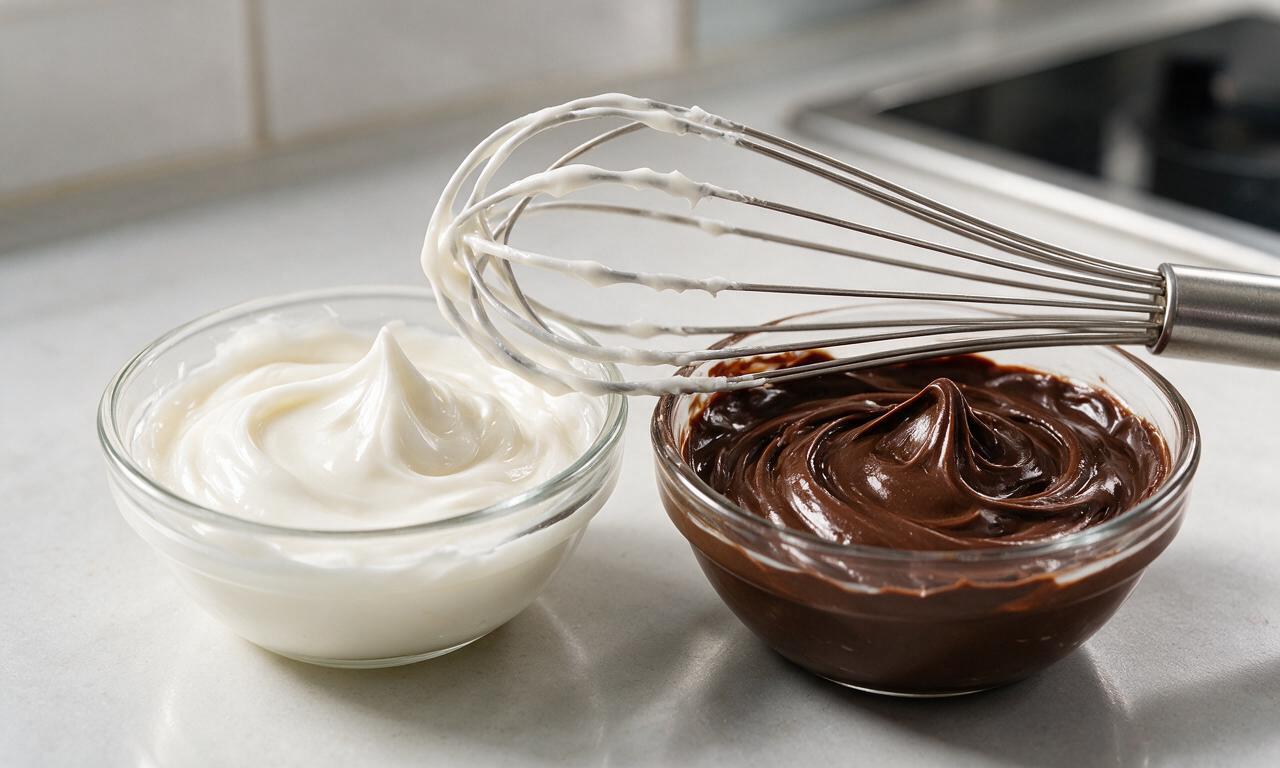
In a medium bowl, whisk together 3 cups (360g) confectioners’ sugar, 2 tablespoons (30ml) light corn syrup, remaining ½ teaspoon (2.5ml) vanilla extract, and 3 tablespoons (45ml) hot water until completely smooth, with a thick, spreadable consistency (add 1 teaspoon more hot water if too thick to spread). Scoop half of this white vanilla icing into a separate small bowl, then whisk ⅓ cup (30g) Dutch-processed cocoa powder and 1-2 extra teaspoons (5-10ml) hot water into the remaining half until glossy and smooth, matching the consistency of the vanilla icing.
Ice and set cookies
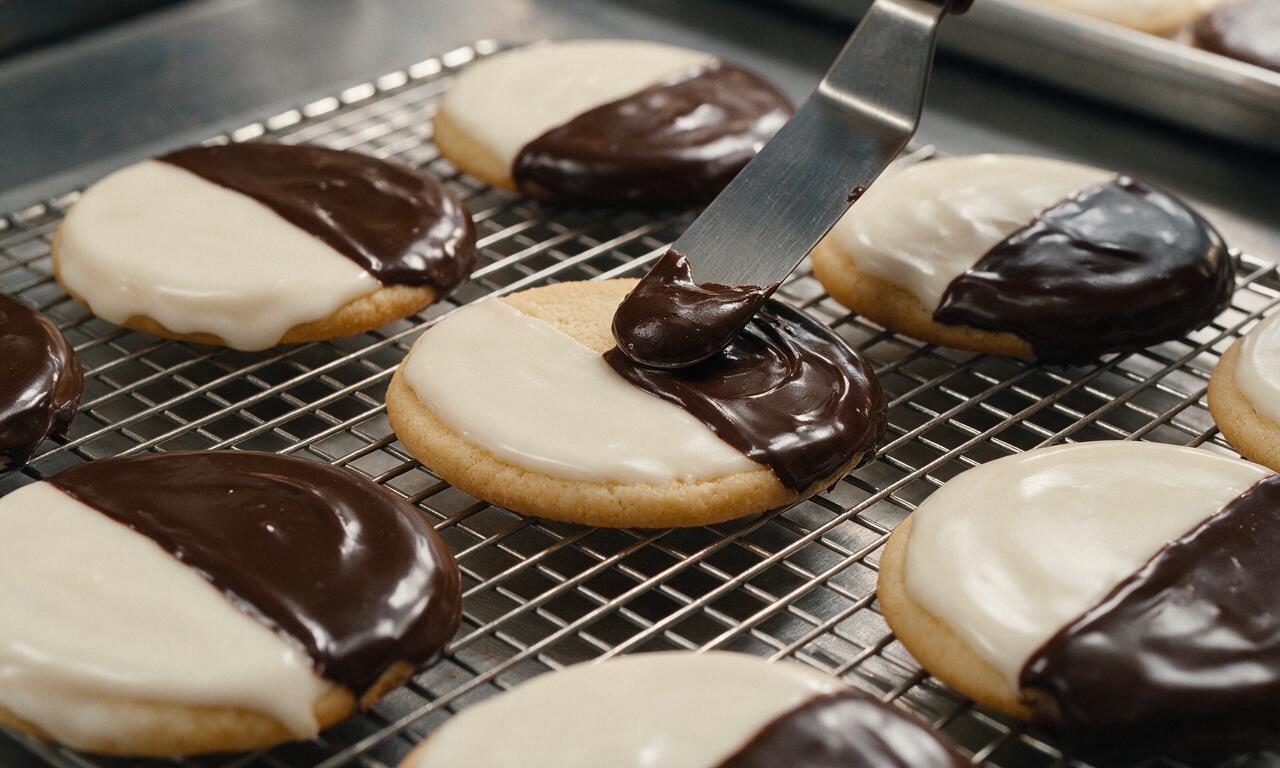
Flip each fully cooled cookie so the flat, smooth bottom side faces up (for a professional, even finish). Use a small offset spatula to spread vanilla icing evenly over one half of each cookie top, then spread chocolate icing over the remaining half, creating a clean straight line down the center. Let iced cookies rest at room temperature for 20 minutes until the icing is fully set and firm to the touch before serving.
Tips
2.Never ice warm cookies, as residual heat will melt the fondant icing, causing it to slide off, pool, or develop a dull, uneven finish.
3.For an ultra-clean line between the two icing colors, hold a thin straight edge (like a butter knife or strip of parchment) across the cookie center while spreading each color to prevent smudges.






OMG I grew up grabbing these from every bodega on my walk to high school in Queens and I swear this recipe tastes exactly like the real deal!!! The glaze ratio is perfect, not too sweet, the cookie is that soft, cakey texture I’ve been chasing since I moved to Chicago 6 years ago. Brought a batch to my office potluck and everyone was begging for the recipe. Game changer!!
These were SO good, my kids devoured half the batch before I even finished glazing the last few! Only knock is I messed up the chocolate glaze a little, it got too thick and clumpy when I added the corn syrup. Any tips for smoothing that out next time?
I tried swapping in a 1:1 gluten free all purpose flour to make these for my celiac best friend, and the texture was a little more crumbly than I expected. Flavor was still on point though! Might try adding an extra egg yolk next time to bind it better.
First time ever making a cookie that isn’t the pre-made break-and-bake kind from the grocery store and I was NERVOUS, but the step by step instructions were so easy to follow! Mine looked almost exactly like the photo, I was so proud I posted them to my Instagram. 10/10 will make again.
As someone who’s been making black and whites for family dinners every Sunday for 40 years, I can confirm this is the most authentic recipe I’ve found online. The hint of lemon zest in the cookie dough? *Chef’s kiss* That’s the secret most recipes leave out! My grandkids said these are better than the ones from our local Italian bakery.
Made these for a post-hike snack meetup with my trail group and they were a huge hit! I did cut the sugar in the vanilla glaze by about 2 tablespoons because I prefer less sweet treats, and that was perfect for my taste. Will be adding these to my regular baking rotation.
Wait a second — do these actually hold up for a few days after baking? I need to make cookies for my kid’s school bake sale on Friday and I want to make them Wednesday night so I don’t have to rush after work.
Idk what I did wrong but my cookies came out super dense, almost like hockey pucks. I followed the measurements exactly, used cake flour like the recipe said, everything. Total bummer, I was so excited for these.
Tested this recipe with vegan swaps — used plant based butter, flax eggs, and made the glaze with non-dairy milk and it worked shockingly well! Only thing is the vanilla glaze was a little more translucent than the photo, but flavor was 10/10. Even my non-vegan roommate stole three off the cooling rack.
These taste exactly like the black and white cookies my grandma used to order from the Jewish deli down the street from our house when I was a kid in the 90s. I got a little nostalgic eating them, ngl. The texture is perfect, glazes set just right, zero complaints. Will be making these for our next retro movie night with friends.
Made a double batch of these for my weekly meal prep snacks and they were perfect to grab on my way out the door to work all week! I portioned the dough with a cookie scoop so they were all the exact same size, which made glazing super even. 10/10, way better than the overpriced cookies at my office café.
Just pulled these out of the oven and got the first glaze on, and my whole apartment smells like a NYC bakery!!! I’ve been looking for a solid black and white recipe since I visited the city last spring and had one from a deli near Times Square that blew my mind, so fingers crossed the final product lives up to the hype. Dough tasted amazing when I snuck a bite, so I have high hopes!