
New York Cheesecake
intro
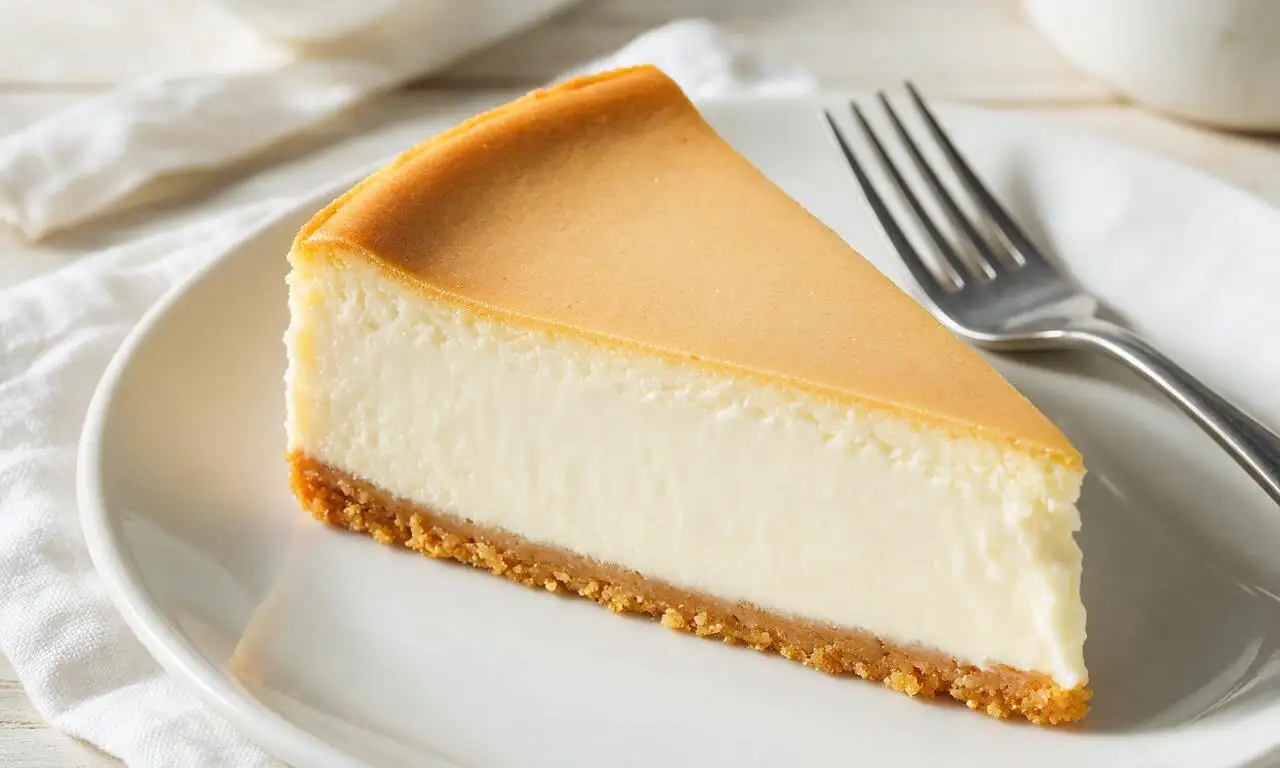
Dense, rich, and tangy classic New York cheesecake with a buttery graham cracker crust, smooth creamy filling, and a perfectly set, crack-free top.
Ingredients
Steps
Make graham cracker crust
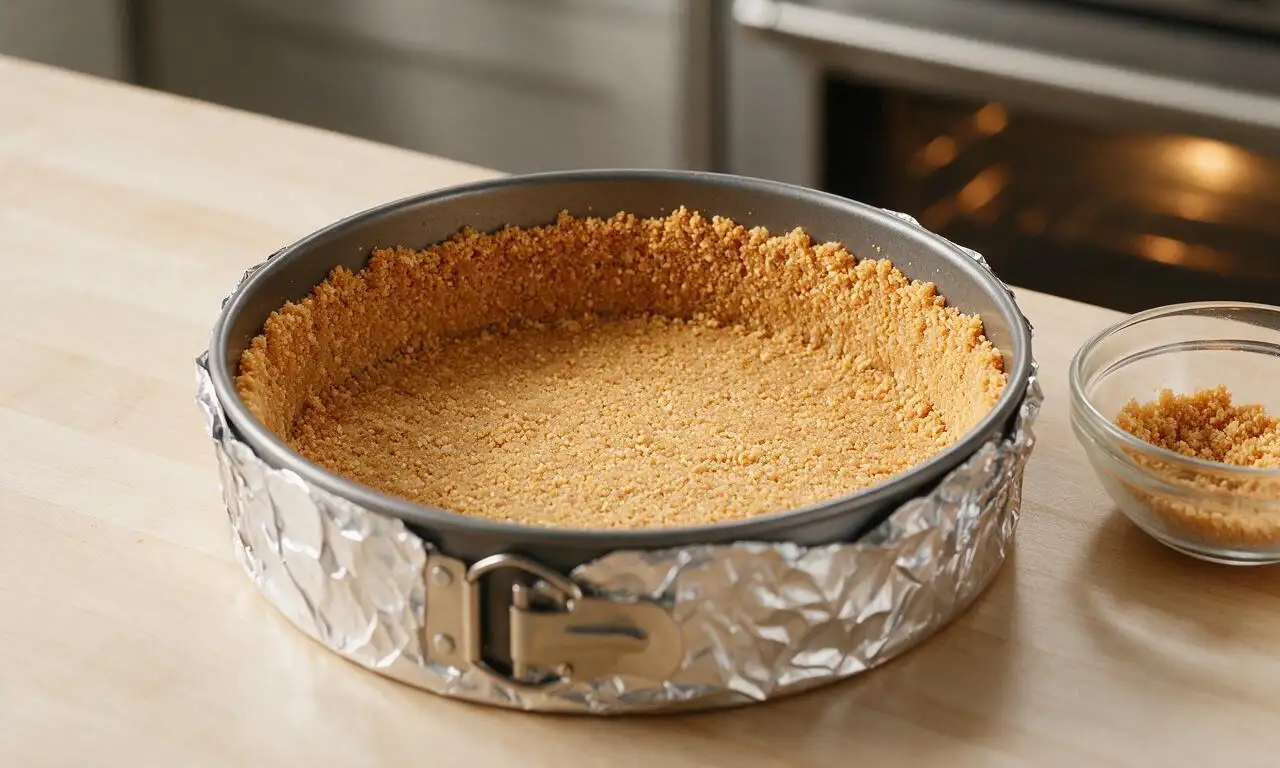
Preheat oven to 175°C (350°F). Wrap the outside of a 9-inch springform pan tightly with 3 layers of heavy-duty aluminum foil to prevent water leaks during baking. Mix 1 ½ cups graham cracker crumbs, 2 tablespoons granulated sugar, and 6 tablespoons melted unsalted butter in a medium bowl until crumbs are evenly moistened. Press the mixture firmly into the bottom and 1 inch up the sides of the prepared pan. Bake for 10 minutes, then remove from the oven and set aside to cool while preparing the filling.
Beat cream cheese base
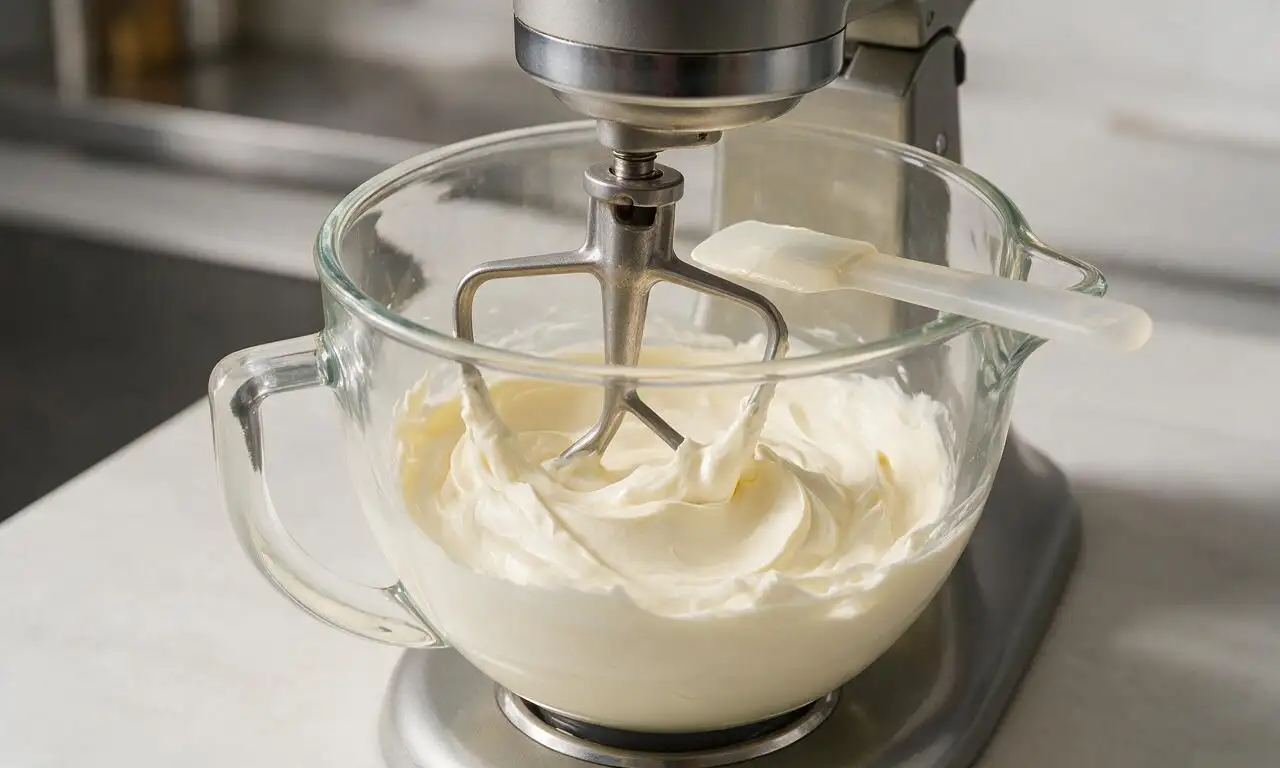
Reduce oven temperature to 160°C (325°F). In a large stand mixer fitted with a paddle attachment, beat the 907g of room-temperature full-fat cream cheese on medium-low speed for 3 minutes until completely smooth with no visible lumps. Scrape down the sides and bottom of the mixing bowl every 60 seconds to ensure even mixing, taking care not to over-whip which incorporates excess air that causes cracking.
Combine filling ingredients
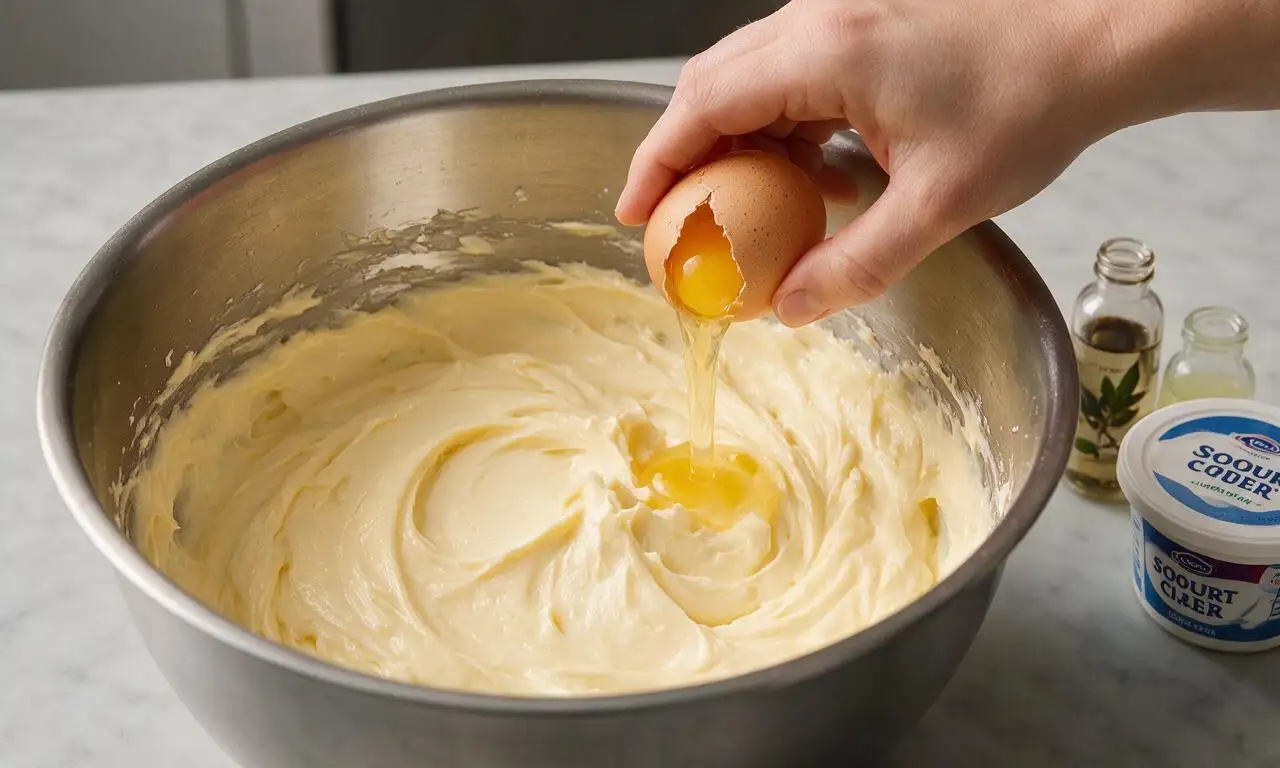
Add 1 cup granulated sugar and 2 tablespoons all-purpose flour to the smooth cream cheese, beating on low speed for 1 minute until fully combined. Next, add 1 cup room-temperature full-fat sour cream, 1 teaspoon vanilla extract, and 1 tablespoon fresh lemon juice, mixing on low for 45 seconds until uniform. Add the 3 whole eggs and 1 egg yolk one at a time, mixing on the lowest speed just until each egg is incorporated—stop mixing as soon as no raw egg is visible to avoid a runny or cracked final texture.
Assemble water bath setup
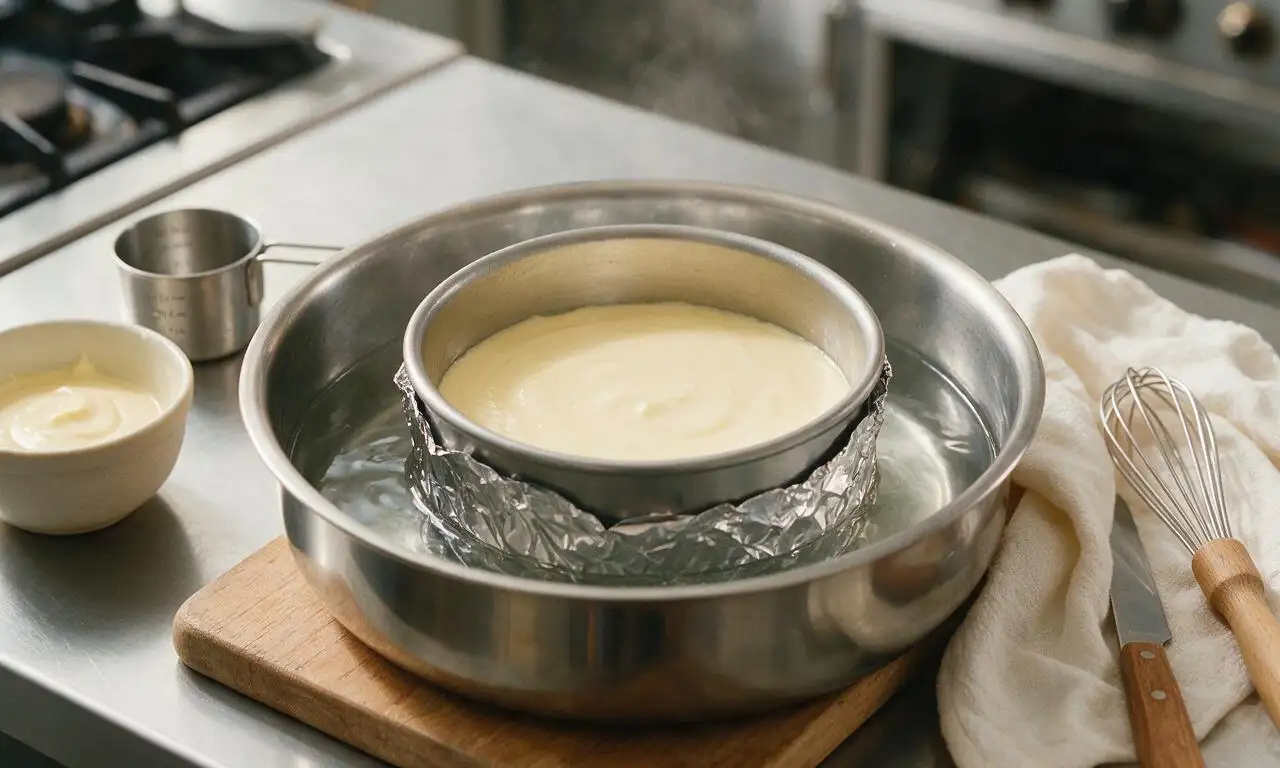
Pour the finished filling over the cooled graham cracker crust, smoothing the top gently with an offset spatula. Place the foil-wrapped springform pan inside a larger deep roasting pan. Carefully pour freshly boiled hot water into the roasting pan until the water level reaches halfway up the sides of the cheesecake pan, taking care not to splash water into the cheesecake filling.
Bake and gradually cool
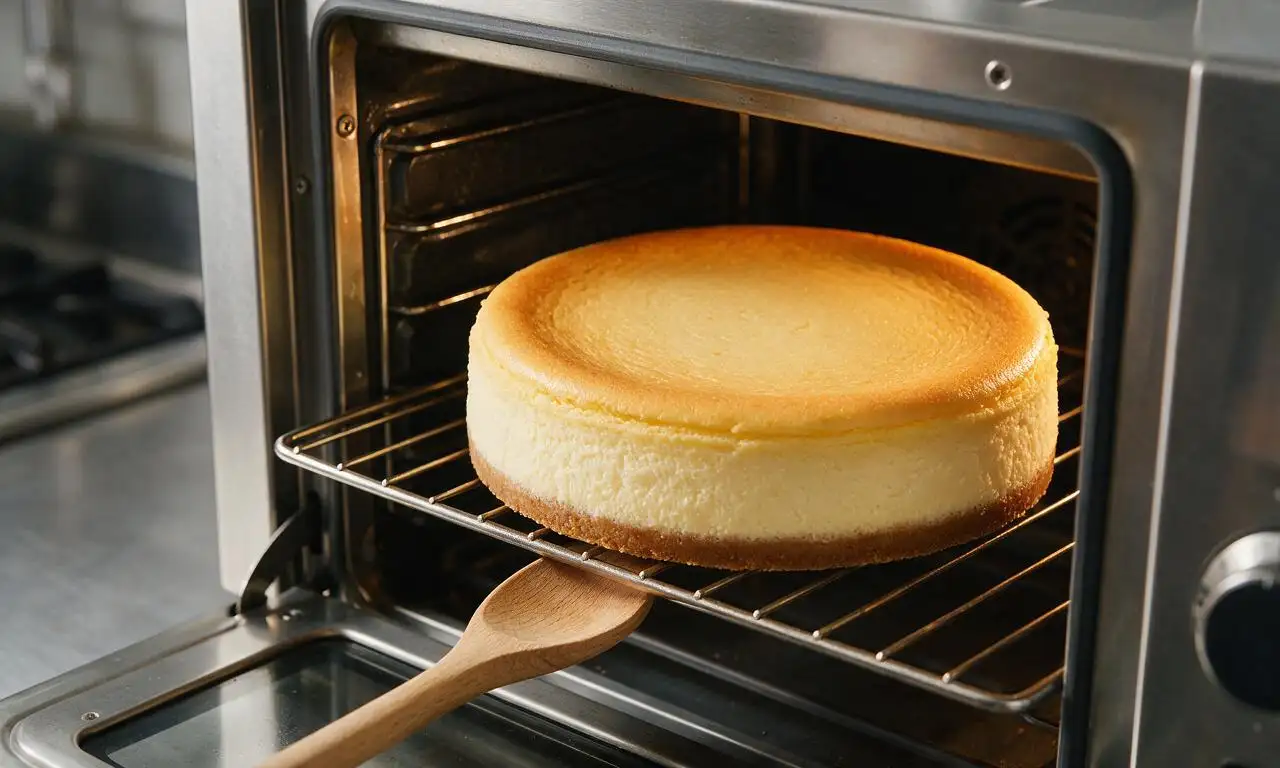
Carefully transfer the roasting pan with the cheesecake to the preheated 160°C (325°F) oven. Bake for 60–70 minutes: the cheesecake edges should be set and slightly puffed, while the central 2-inch circle will still have a soft Jell-O-like jiggle (no sloshing liquid). Turn off the oven, crack the oven door open 1 inch propped with a wooden spoon, and let the cheesecake cool inside the oven for 1 full hour to avoid sudden temperature changes that cause cracking.
Chill before serving
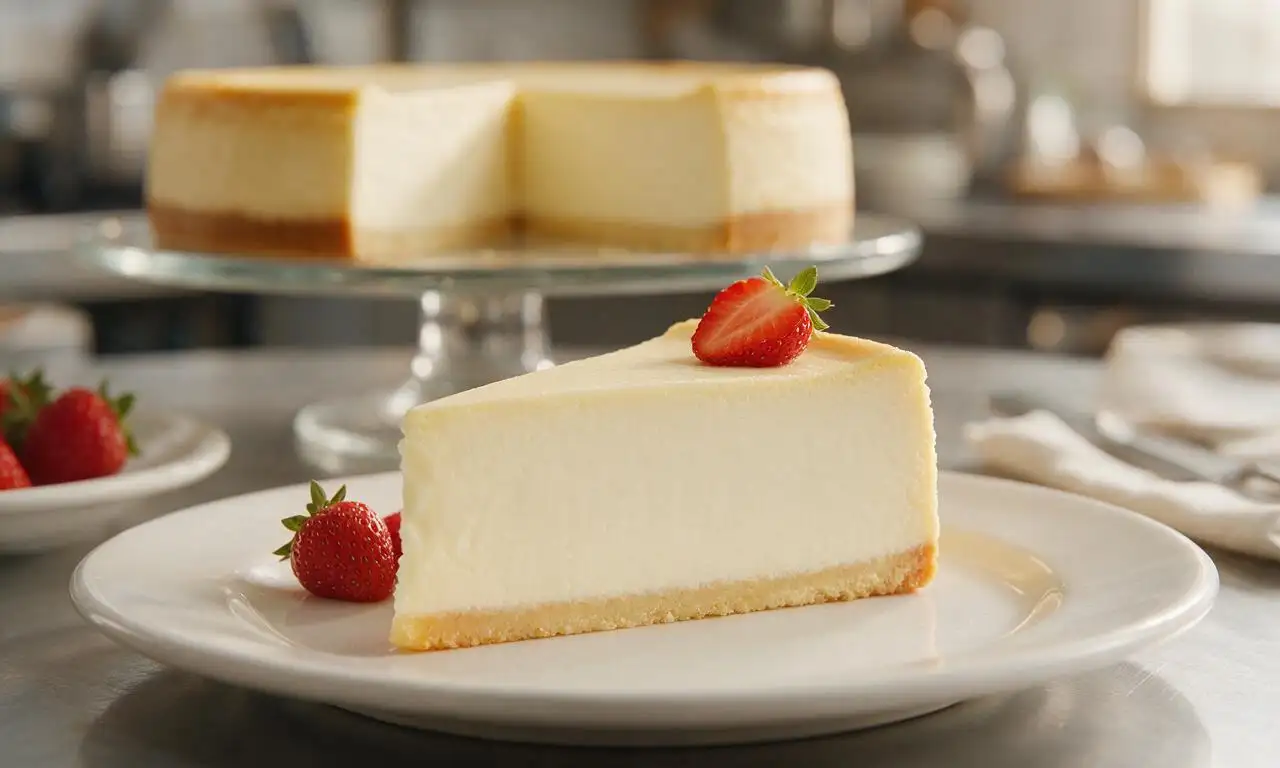
Remove the cheesecake from the water bath, peel off the outer foil layers, and run a warm thin knife around the inner edge of the pan to loosen the cheesecake from the sides. Cover loosely with plastic wrap and refrigerate for a minimum of 6 hours (preferably overnight) until completely firm. When ready to serve, release the springform pan clasp, slice with a warm, sharp knife for clean cuts, and top with fresh berries or whipped cream if desired.
Tips
2.Never use low-fat, non-fat, or whipped spreadable cream cheese for this recipe: full-fat block-style cream cheese is required to create the signature dense, rich, firm New York cheesecake texture.
3.Avoid opening the oven door during the first 50 minutes of baking, as sudden drops in oven temperature can cause the cheesecake to sink or develop deep surface cracks.






OMG this classic NY cheesecake is a total game changer! I brought it to my neighborhood potluck last weekend and every single person asked for the recipe. The texture is perfectly dense and creamy, not too sweet, just like the slices I get from my favorite old-school Brooklyn bakery. My kids begged me to make another one before we even finished the first slice! I tossed in a little extra lemon zest to the filling on a whim and it was chef’s kiss. SO good.
Tried this for my husband’s birthday dinner since cheesecake is his absolute favorite, and I was so nervous going in because I’ve messed up so many cheesecakes before (looking at you, weirdly cracked tops!). I followed the water bath instructions to a T and it came out perfectly smooth across the top, zero cracks! The 1 hour 10 minute cook time was totally spot on too, I didn’t have to add extra minutes or pull it out early. Only tiny hiccup was my graham cracker crust was a little crumbly when I sliced into it, anyone else run into that?
Wow, was not expecting this to turn out so well on my first try! I usually stick to no-bake desserts because I’m terrible at anything that needs more than 30 minutes in the oven, but the medium difficulty rating felt totally doable so I gave it a shot. I stashed a couple slices for my work meal prep this week (don’t judge, dessert absolutely counts as meal prep) and my coworkers kept hovering by my desk when I pulled it out at lunch like they wanted a bite. 10/10, already planning to make this for our next family game night with my siblings.