
ninja foodi bacon

title 1
ninja foodi bacon
⏱️ cook time 8 minutes
🍽️ servings 4
⚡ Difficulty easy

intro

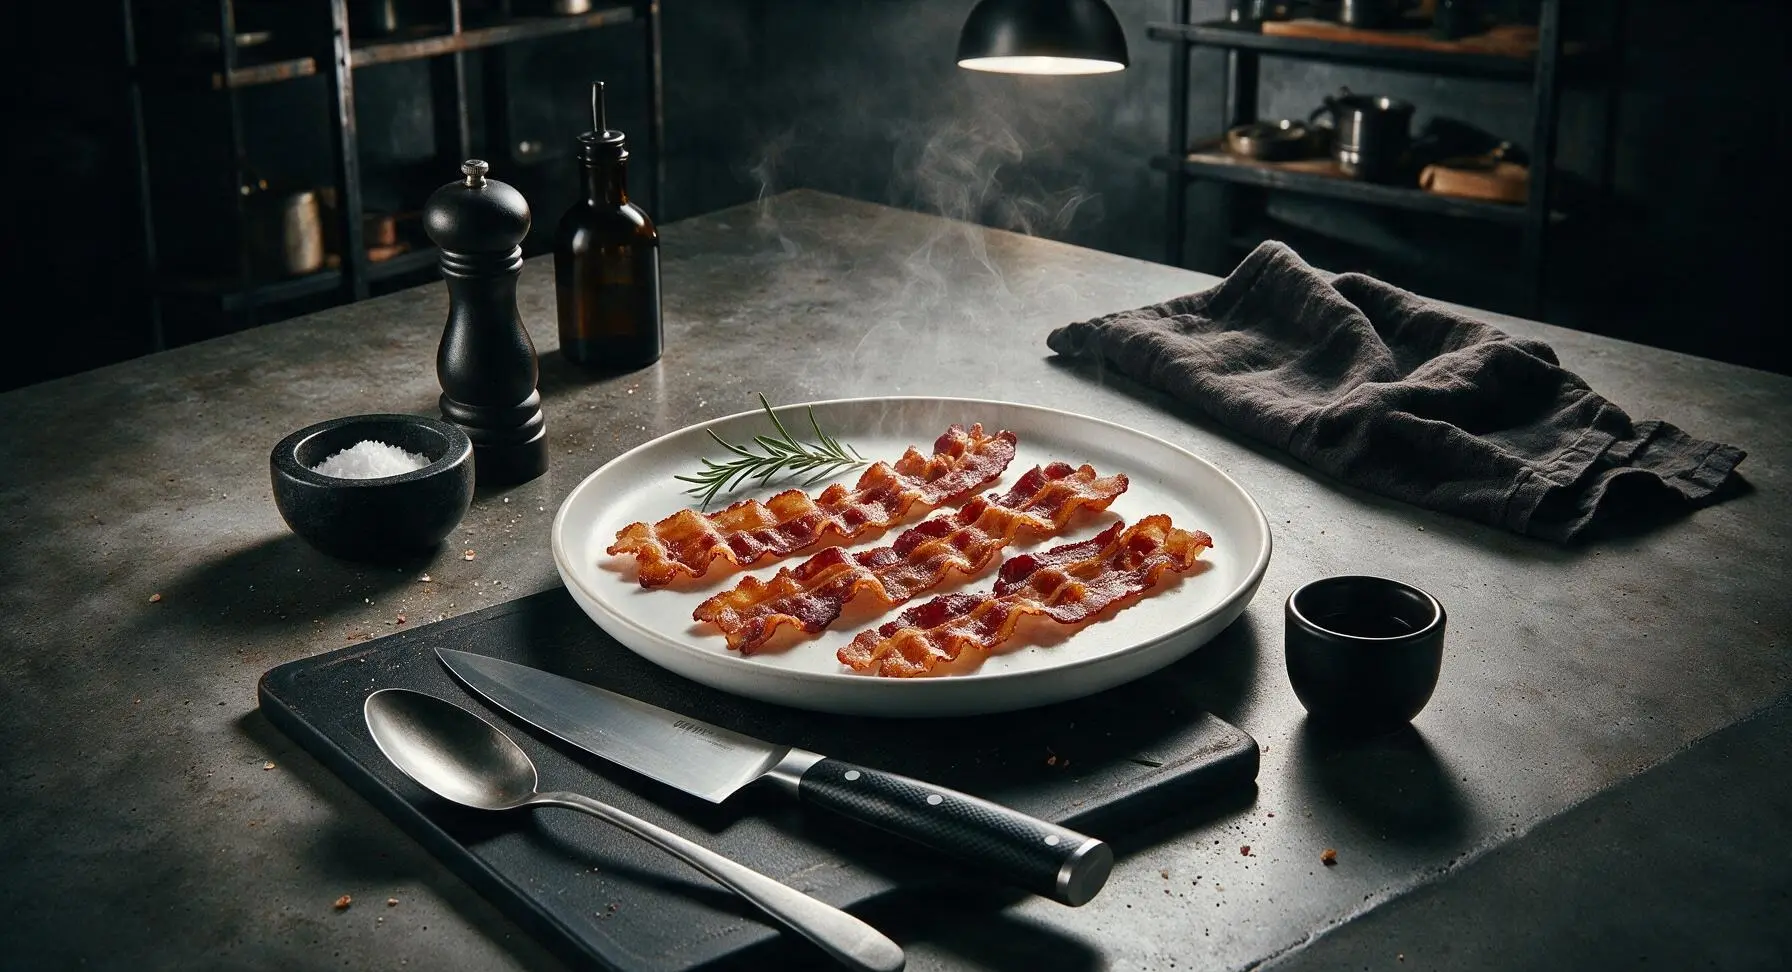
Shatteringly crisp, evenly rendered Ninja Foodi bacon cooks with zero stovetop splatter, no flipping required, and is ready to eat in under 10 minutes total.

Ingredients
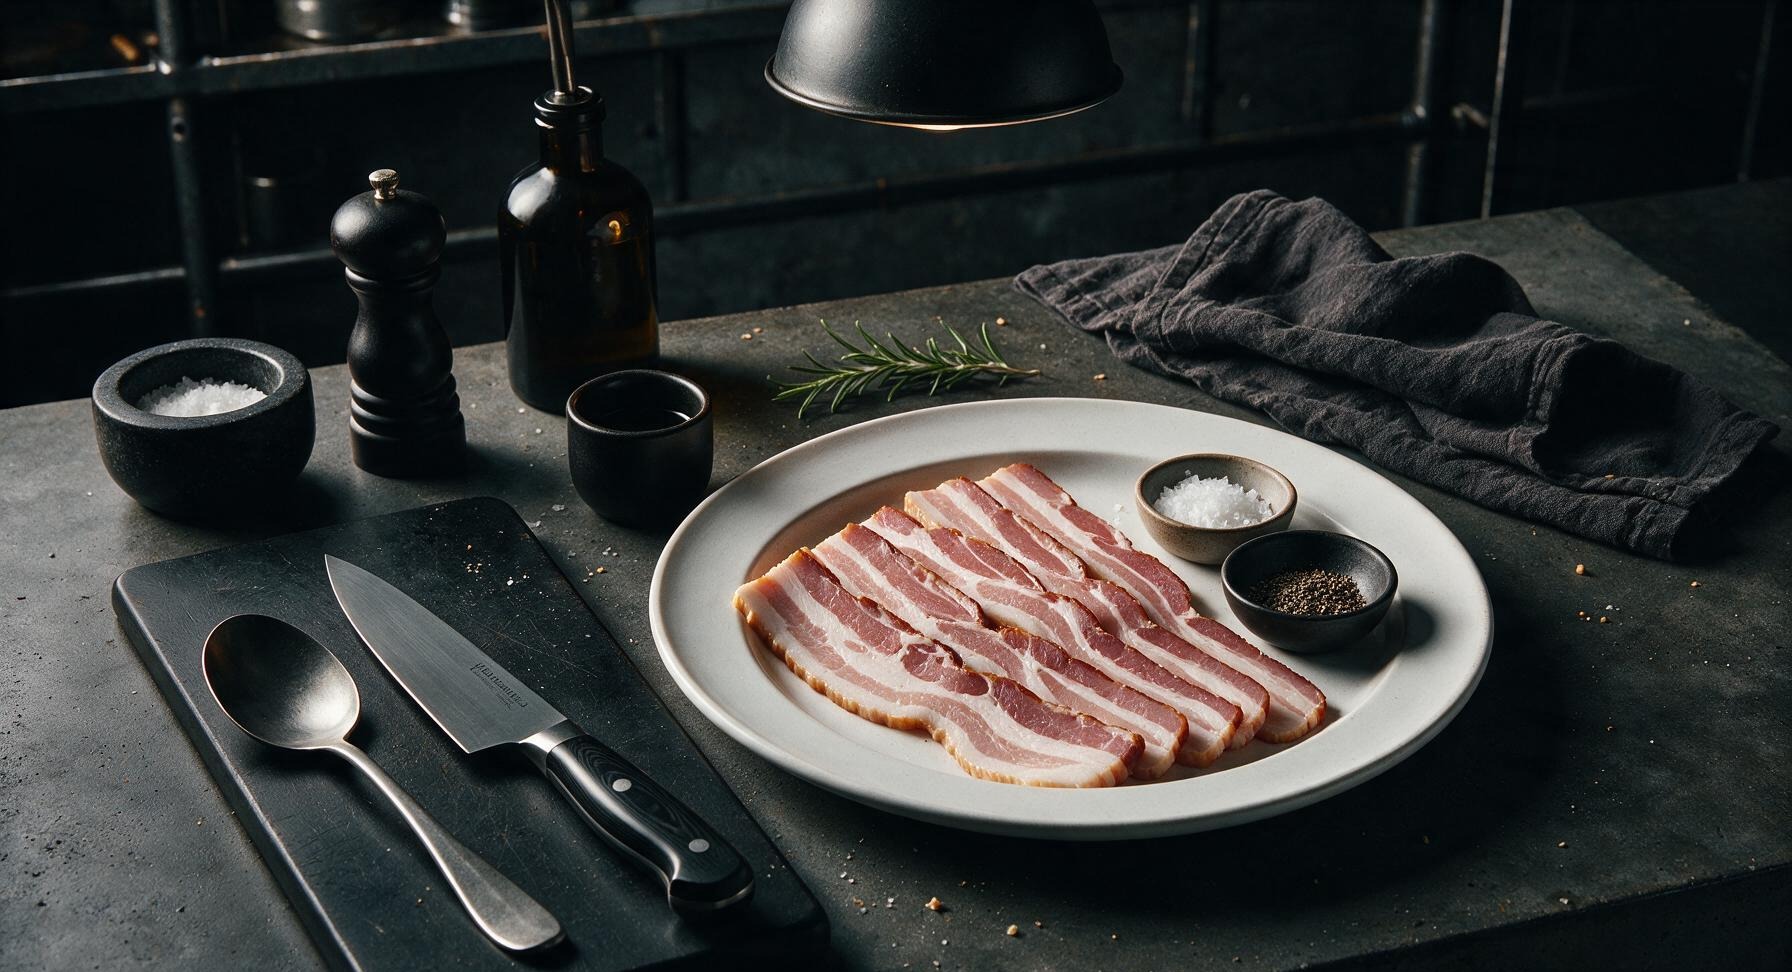
Thick-cut sliced bacon 8 slices (340g / 12oz)
Flaky sea salt 1/4 tsp
Freshly ground black pepper 1/8 tsp

Steps

1

Prep the Ninja Foodi

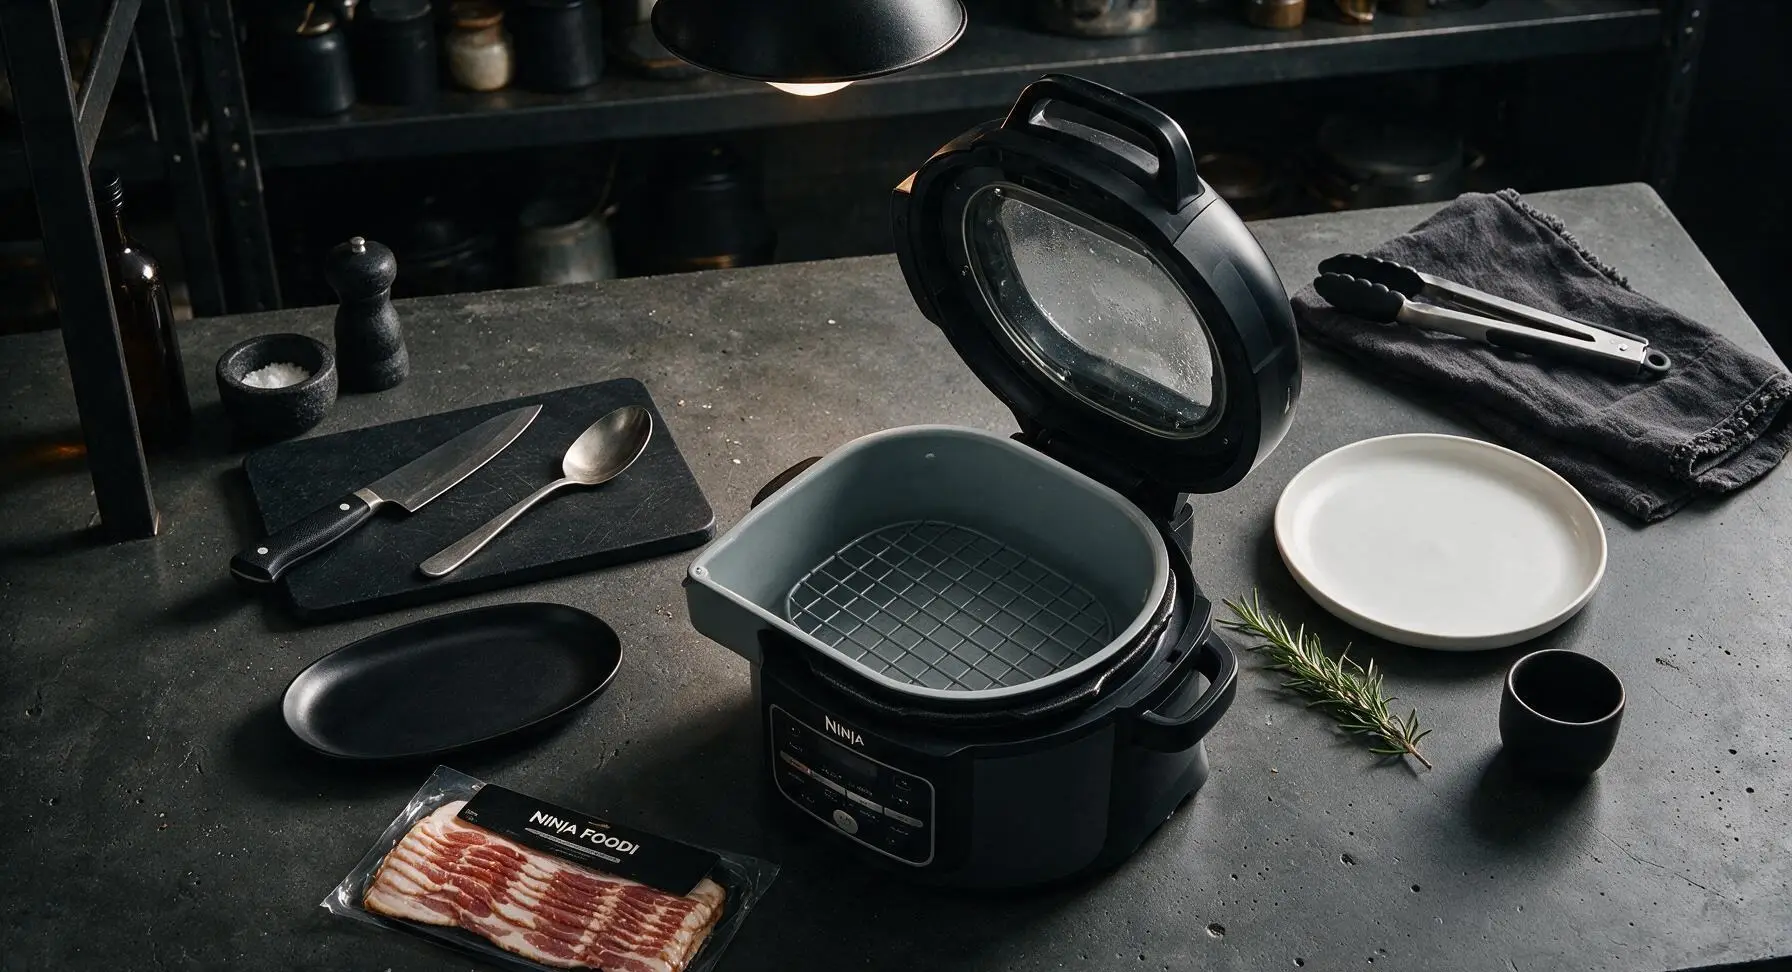
Remove the inner pot from your 6.5qt Ninja Foodi, place the non-stick wire rack insert inside the pot in the raised position (1 inch above the pot bottom). Do not add oil, water, or parchment liners to the pot—bacon will render its own fat during cooking, and liners block critical air flow. Close the crisping lid and preheat the Foodi to 390°F (200°C) on the Air Crisp setting for 2 minutes.
Step 1
step1:Prep the Ninja Foodi
2

Arrange Bacon Strips

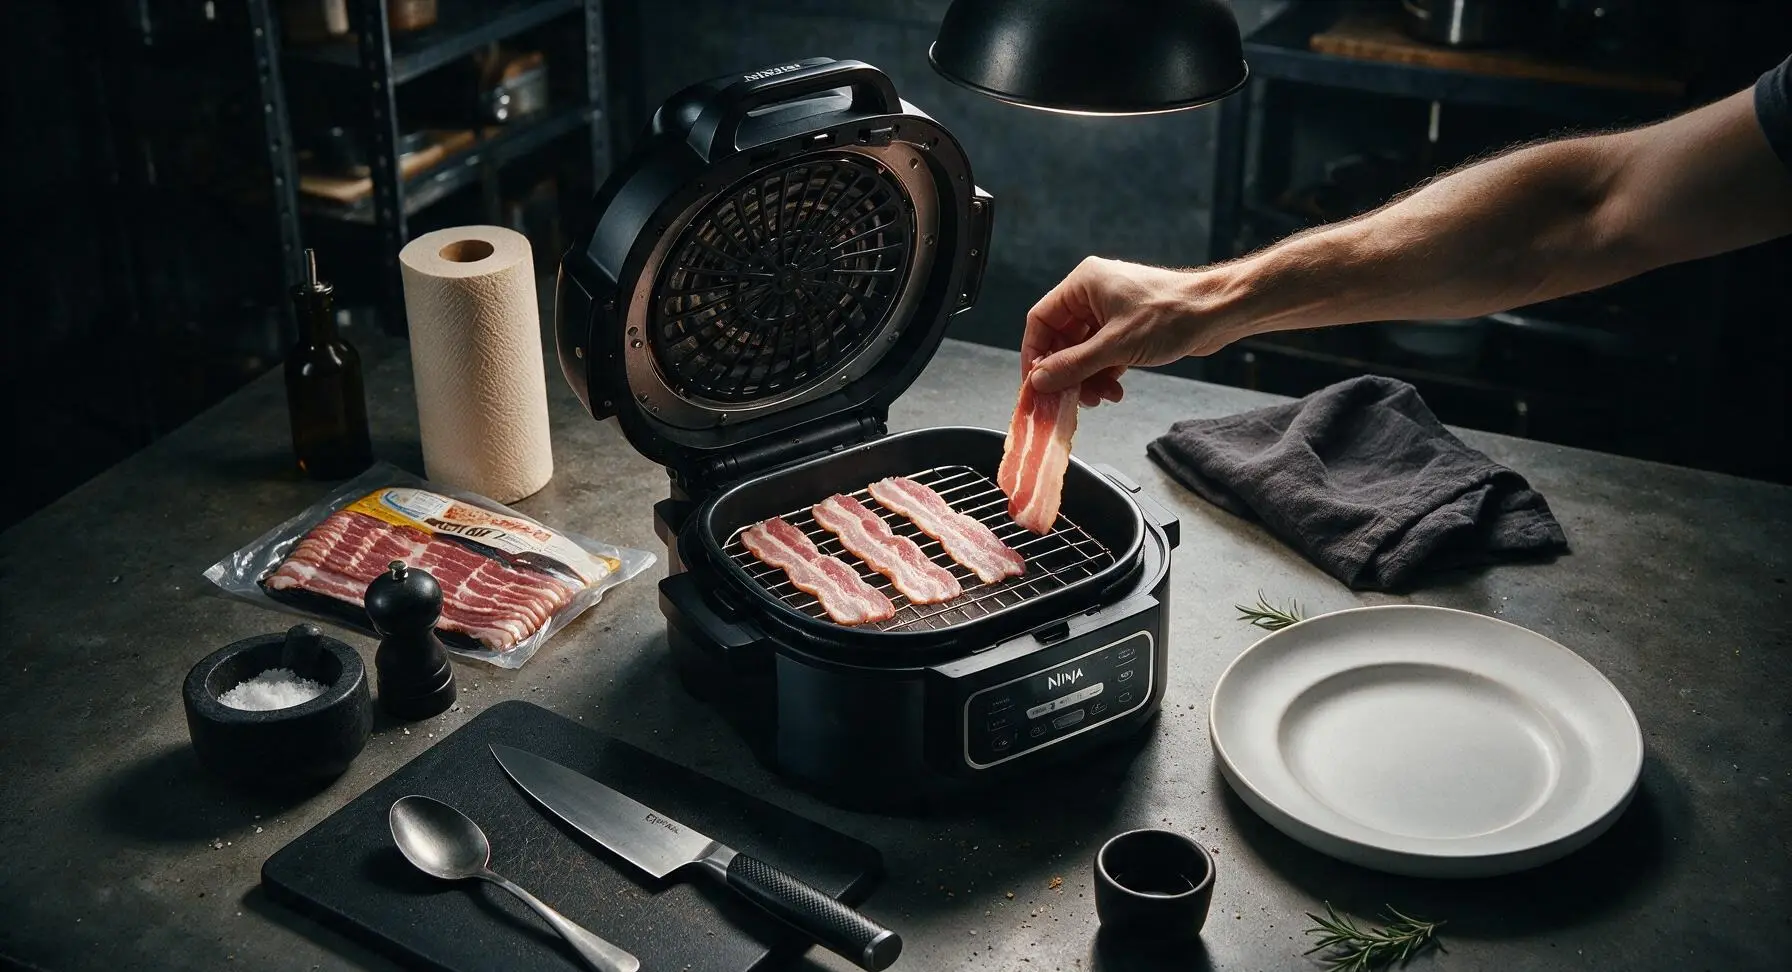
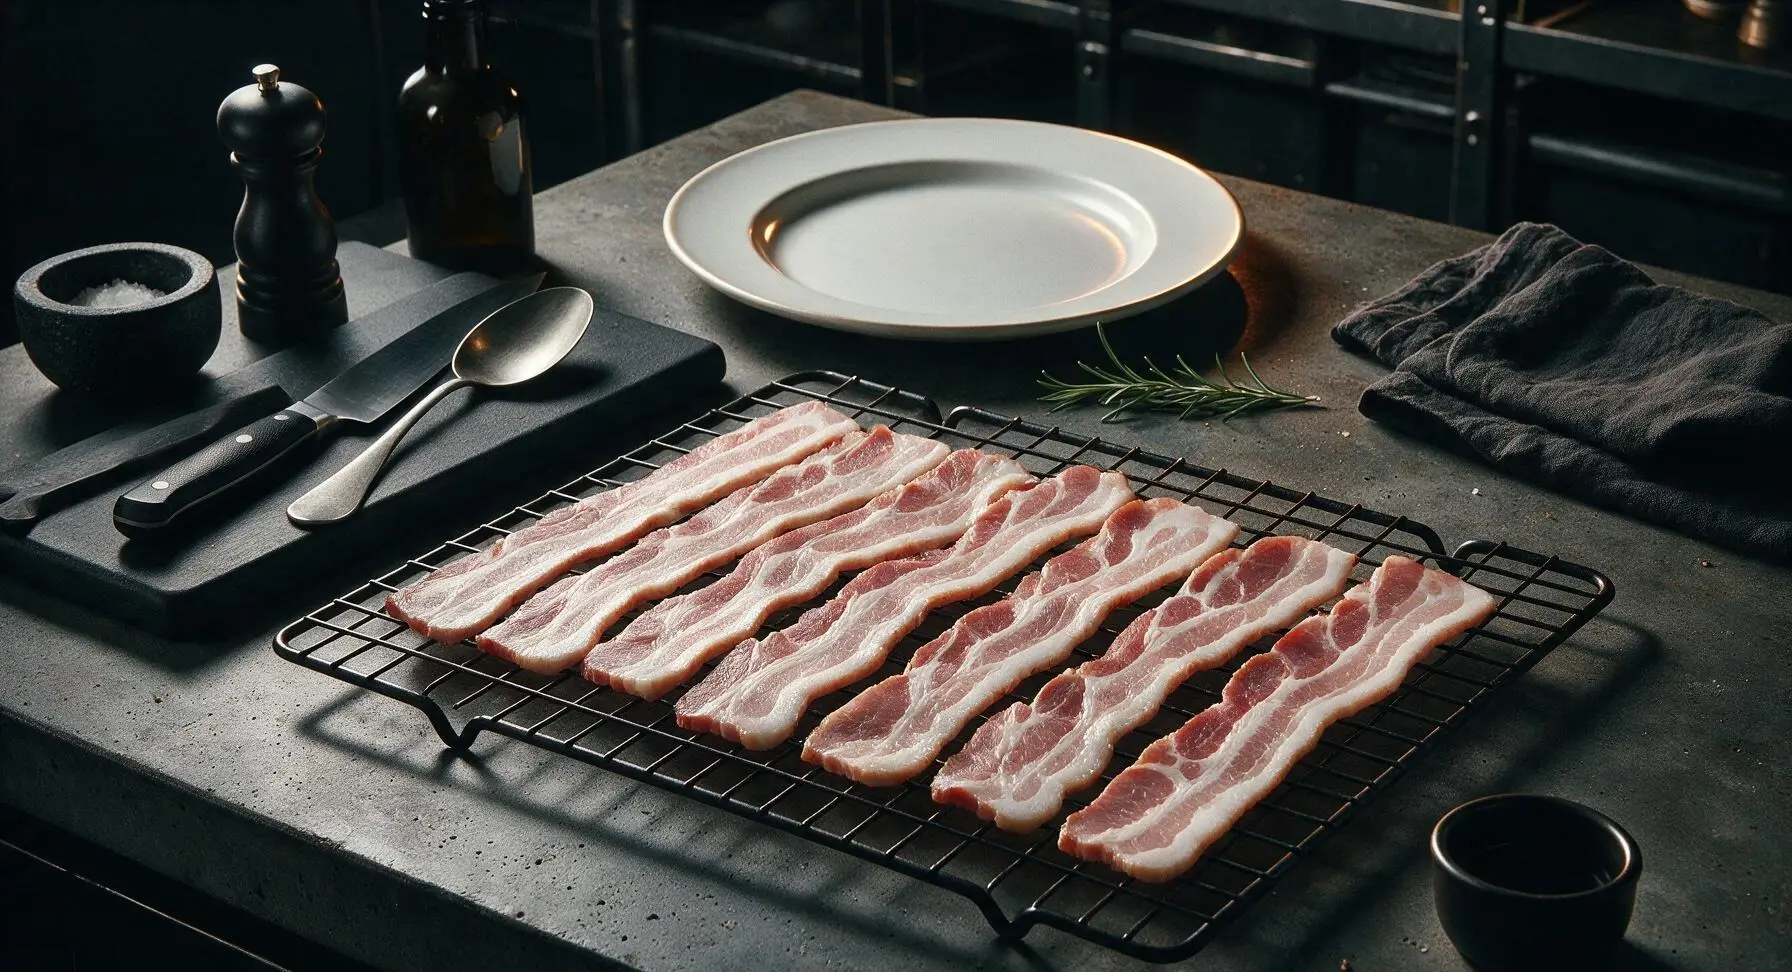
Once preheated, open the Ninja Foodi crisping lid. Lay bacon strips in a single, flat layer across the wire rack, leaving 1/4 inch of space between each strip to allow hot air to circulate evenly. Do not overlap strips, as this will cause under-rendered, chewy spots. For a 6.5qt Foodi, 8 thick-cut strips fit perfectly in a single batch without crowding.
Step 2
step2:Arrange Bacon Strips
Step 2
step2:Arrange Bacon Strips
3

Air Crisp Bacon

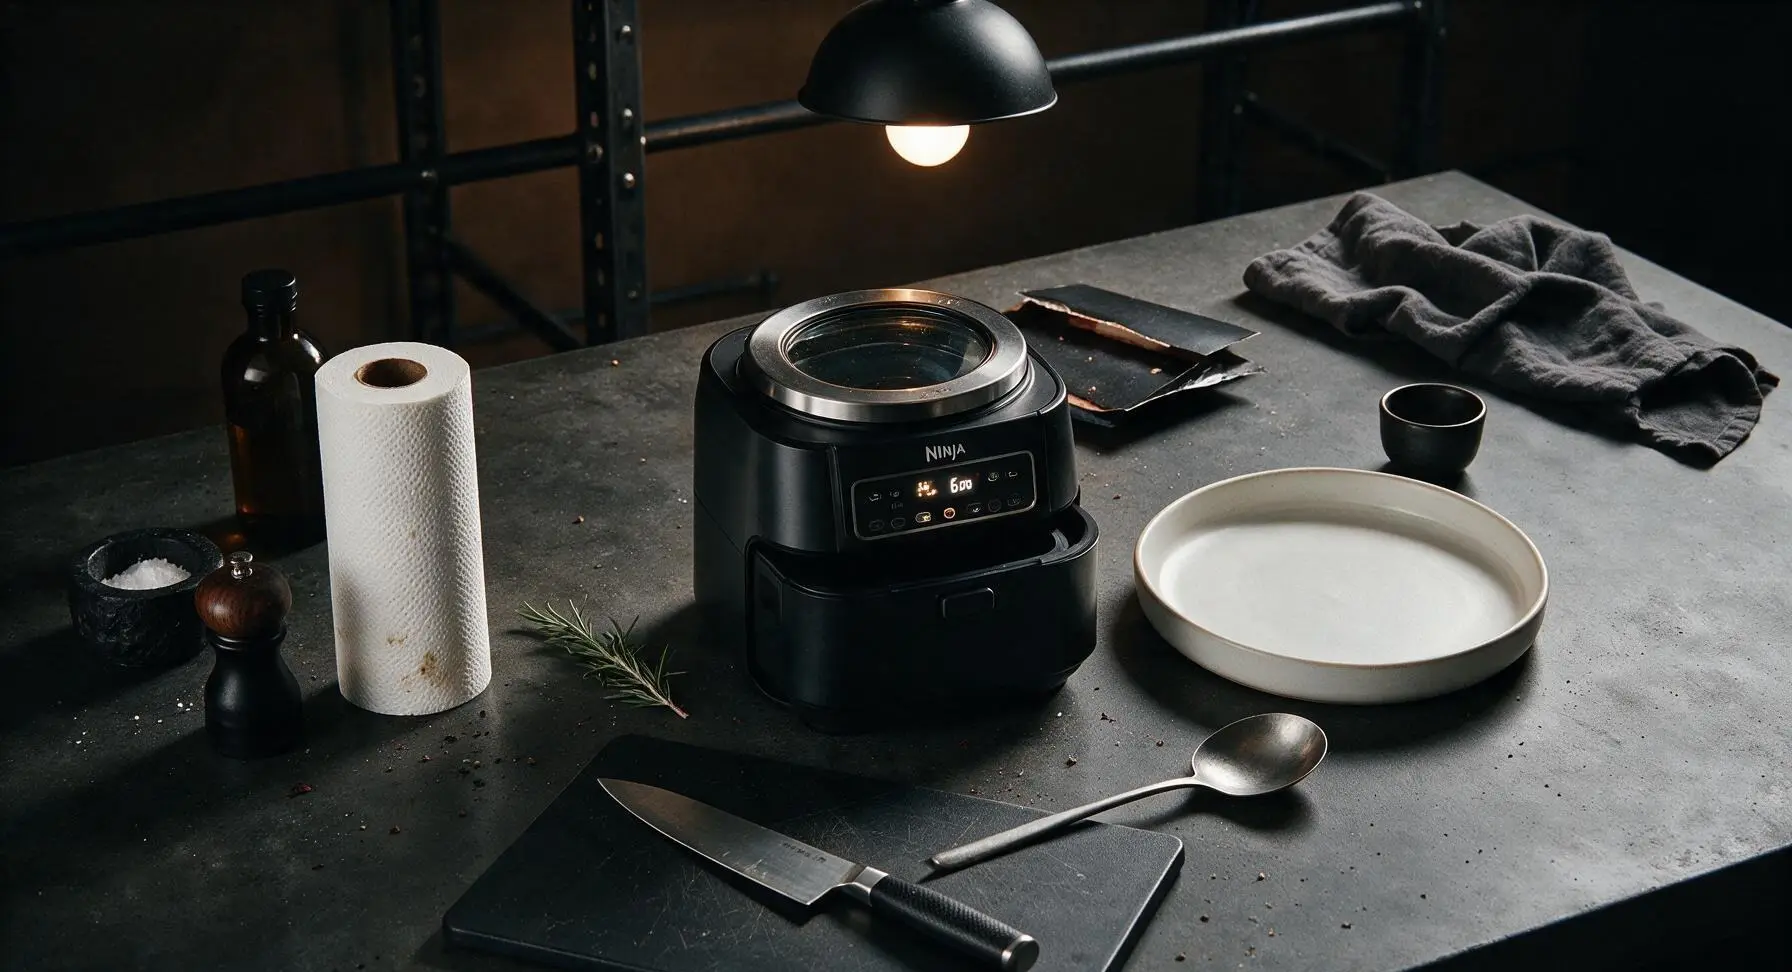
Close the Ninja Foodi crisping lid securely. Set the Air Crisp function to 390°F (200°C) and cook for 6 minutes total. Do not flip the bacon, and do not open the lid during the first 5 minutes of cooking—the circulating super-heated air will crisp the top surface evenly while fat drips down into the pot below, eliminating messy stovetop splatter entirely.
Step 3
step3:Air Crisp Bacon
4

Check for Doneness

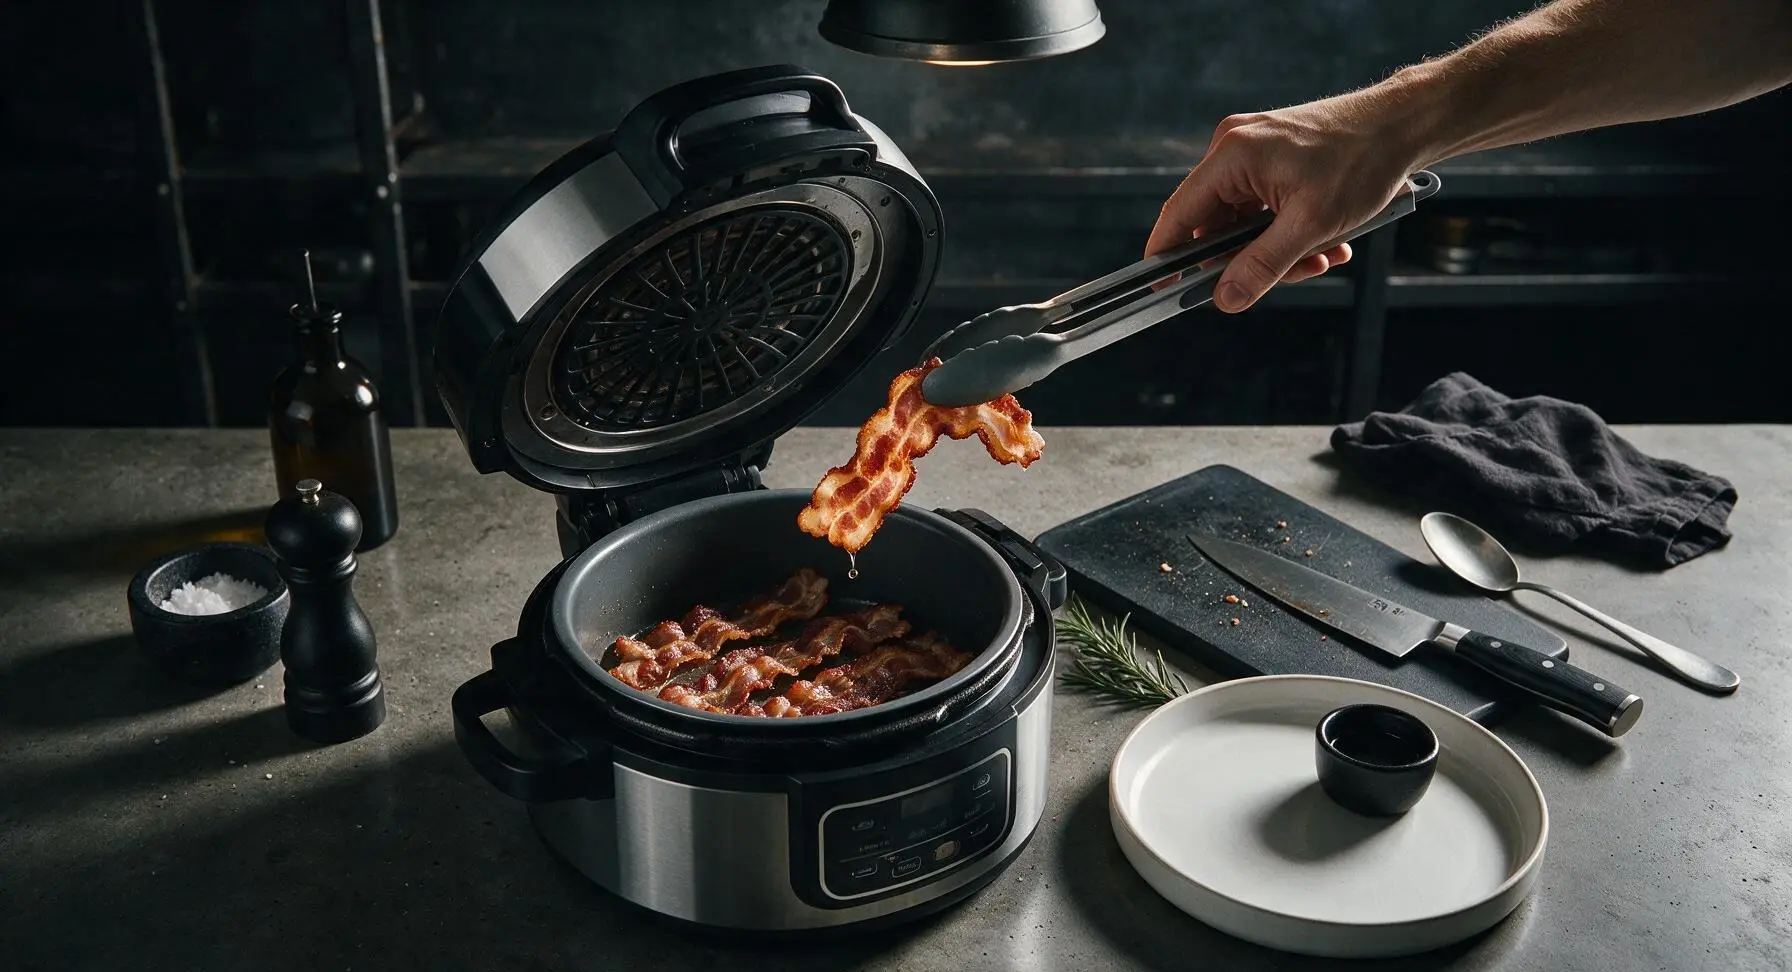
After 6 minutes of cook time, open the crisping lid. Check bacon for visual doneness cues: edges should be deep golden brown and slightly curled, fat fully rendered and translucent, with no soft, pale pink raw spots remaining. If you prefer extra-shatteringly crisp bacon, cook for 1-2 additional minutes at the same temperature, checking doneness every 30 seconds to avoid burning the thin edges.
Step 4
step4:Check for Doneness
5

Drain Cooked Bacon

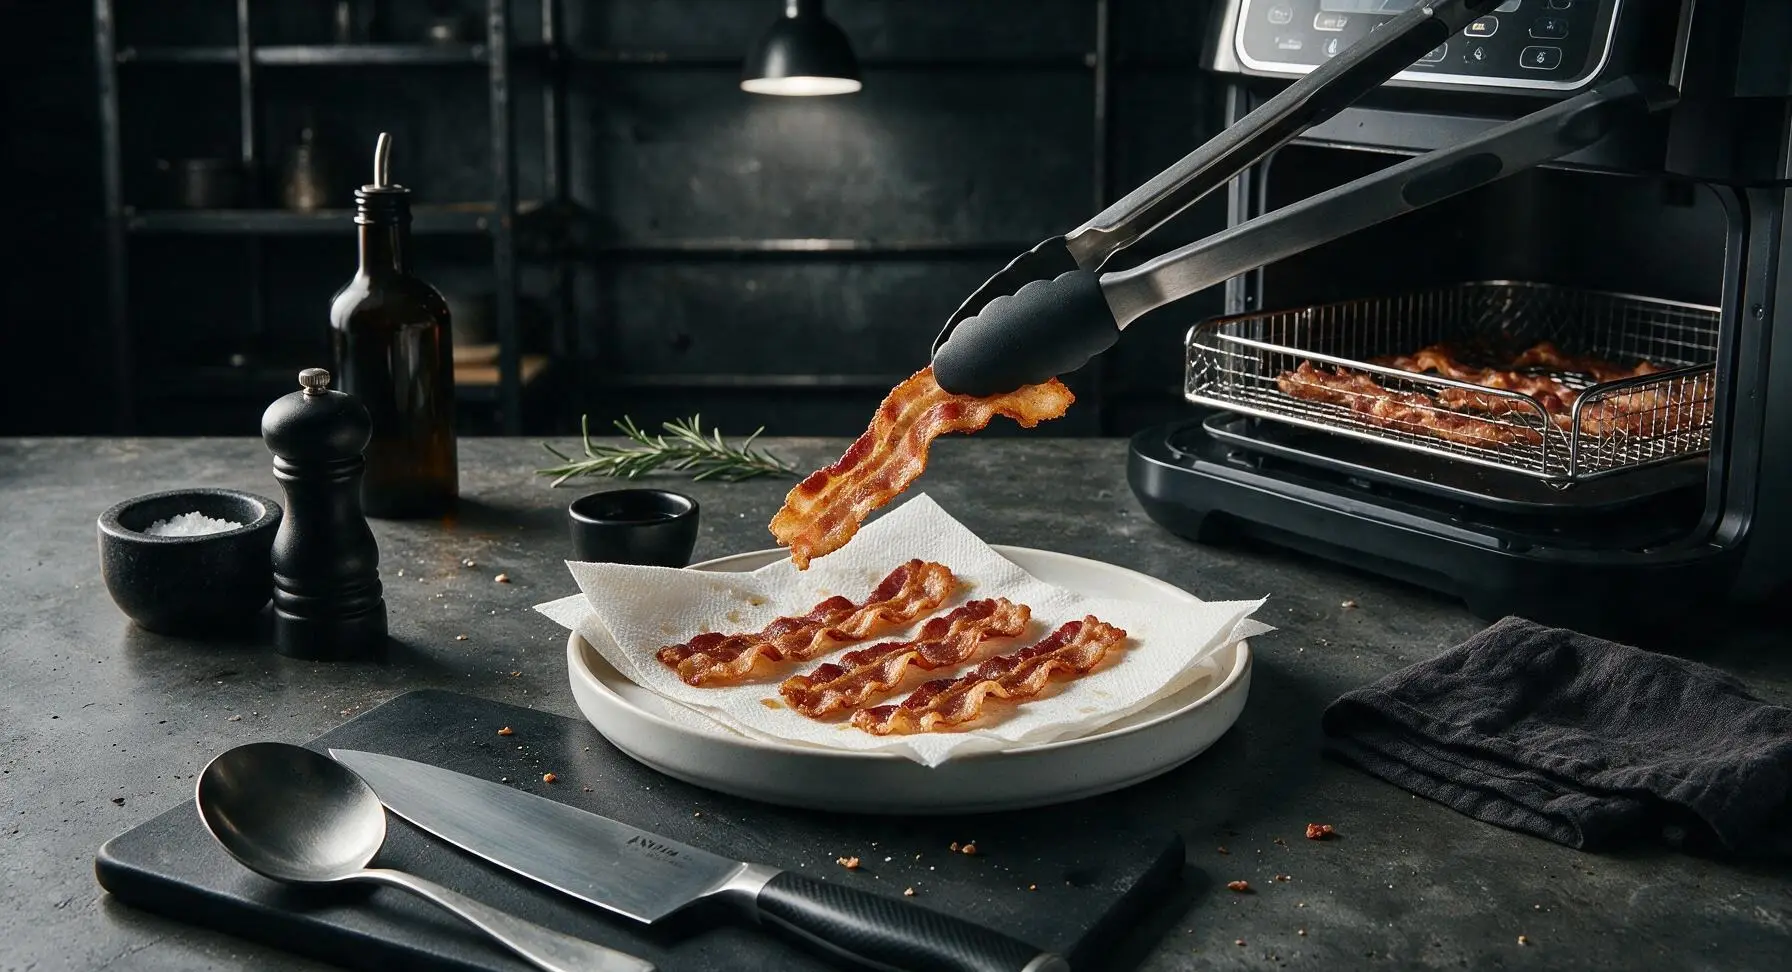
Line the matte off-white serving platter with 2 layers of unbleached paper towel from the roll positioned next to the Foodi. Use the silicone-tipped tongs to transfer cooked bacon strips one by one from the wire rack to the lined platter. Let the bacon rest for 1 minute to allow excess rendered grease to absorb into the paper towels, which keeps strips crisp instead of soggy as they cool slightly.
Step 5
step5:Drain Cooked Bacon
6

Season and Serve

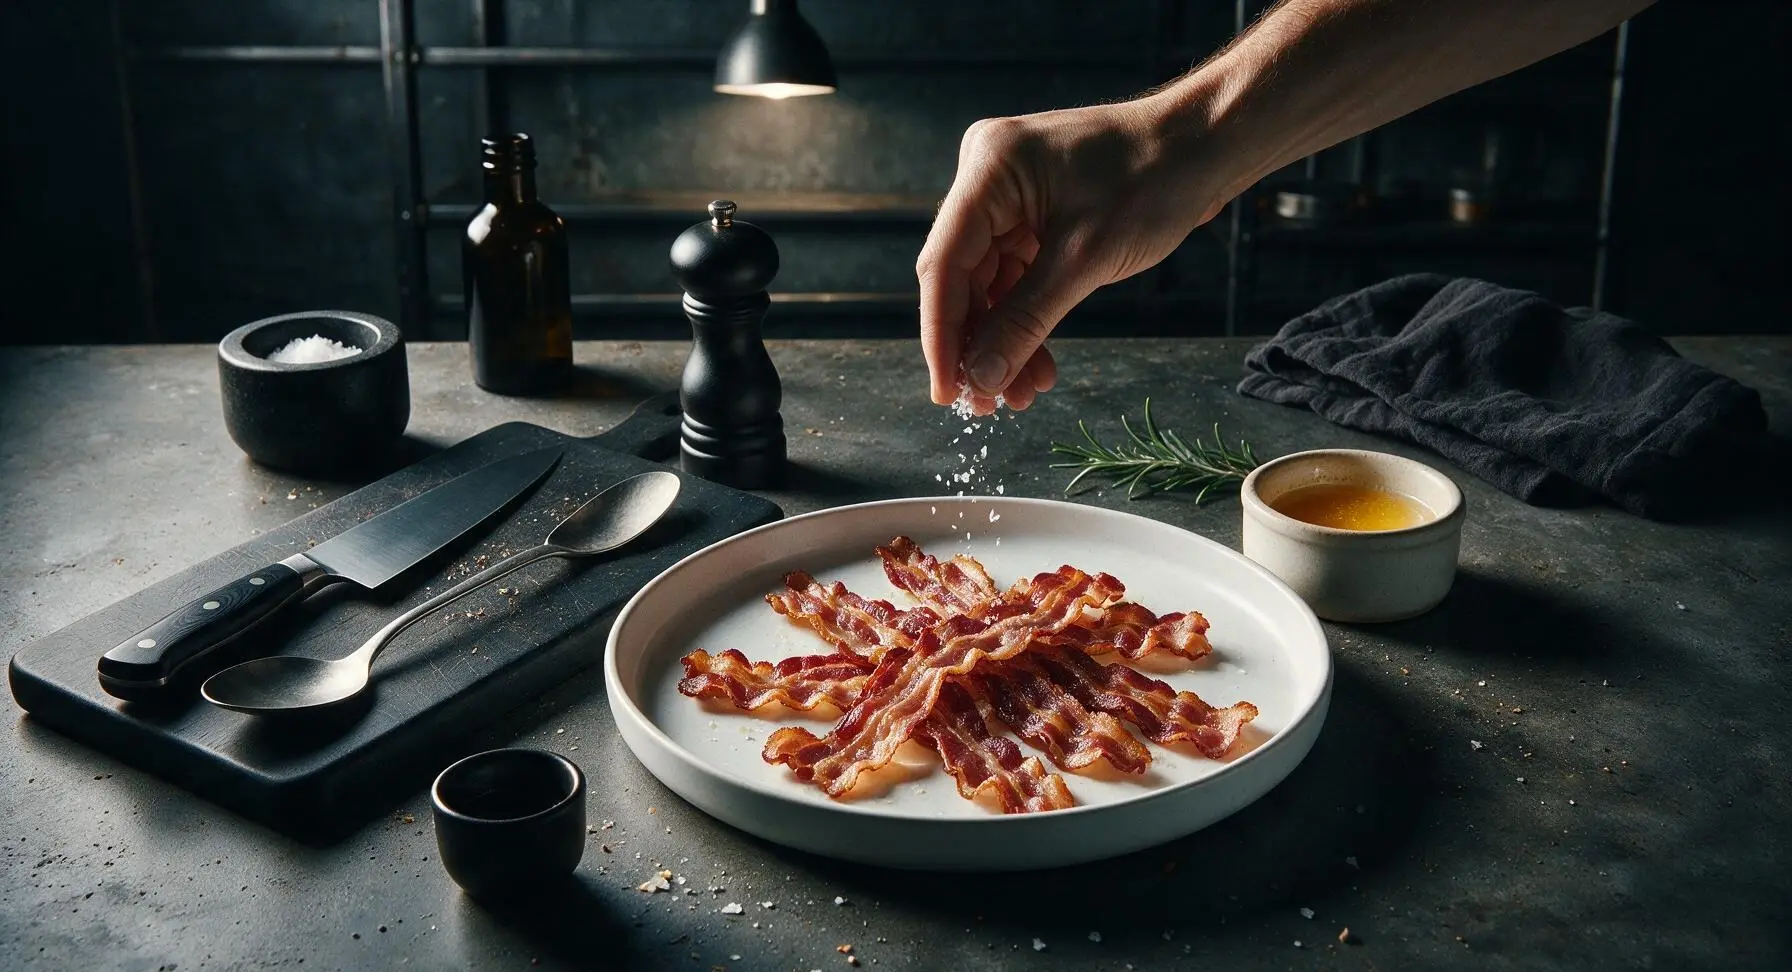
While the bacon is still warm, sprinkle lightly with 1/4 teaspoon flaky sea salt and a tiny pinch (1/8 teaspoon) of freshly ground black pepper, if desired. Carefully pour the rendered bacon fat collected in the bottom of the inner pot into the small off-white ceramic ramekin to reserve for other cooking uses, if desired. Serve immediately while warm and crisp.
Step 6
step6:Season and Serve

Tips

1.Never line the Ninja Foodi rack or inner pot with parchment paper or aluminum foil under the bacon: these materials block hot air circulation and prevent fat from dripping away from the strips, leading to chewy, unevenly cooked bacon and increased risk of smoke from trapped overheated fat.
2.Resist the urge to flip the bacon halfway through cooking: the Ninja Foodi’s top-mounted heating element and raised wire rack cook both sides of the bacon evenly without flipping, and opening the lid mid-cook drops the internal chamber temperature by 50–75°F, adding 2–3 minutes of extra cook time.
3.Save the rendered bacon fat collected in the inner pot: let it cool for 5 minutes, then strain it through a fine mesh sieve into the ramekin, cover, and store in the refrigerator for up to 1 month. Use it to fry eggs, roast potatoes, or sauté leafy greens for a rich, smoky flavor that elevates simple weeknight dishes.


✨ You May Also Like

Breakfast
🍜 United States

Crisp-edged, fluffy lard griddle cakes are a nostalgic homestyle staple, with rich savoriness from rendered lard, perfect topped with maple syrup or savory gravy.

⏱️ 25 minuteBreakfast ★ 4.8
Breakfast
🍜 United States

Flaky, buttery homemade buttermilk biscuits smothered in creamy, peppery pork sausage gravy: a beloved, hearty Southern American comfort food classic.

⏱️ 35 minuteBreakfast ★ 4.8
Breakfast
🍜 United States

Golden, custardy brioche stuffed with sweet cream cheese and fresh berries, pan-fried to crisp perfection. An indulgent, cozy breakfast perfect for slow weekend mornings.

⏱️ 30 minuteBreakfast ★ 4.7
Breakfast
🍜 United States

Flaky, buttery Southern-style biscuits stuffed with savory salty country ham, a portable, satisfying classic perfect for casual on-the-go meals.

⏱️ 25 minuteBreakfast ★ 4.8
Breakfast
🍜 United States

Iconic puffy baked pancake popularized in Seattle, with crisp golden edges and soft custardy center, served warm with classic sweet toppings.

⏱️ 35 minuteBreakfast ★ 4.6
Breakfast
🍜 United States

Fluffy, golden pancakes studded with juicy peak-summer mixed berries, drizzled with maple syrup for a bright, comforting, crowd-pleasing family breakfast.

⏱️ 25 minuteBreakfast ★ 4.7

ninja foodi bacon:Frequently Asked Questions

1.Do I need to preheat my Ninja Foodi before cooking this crispy bacon? ▾
Nope, no preheating required! Arrange your thick-cut bacon slices in a single layer on the air fryer rack set over the crisping plate straight from the fridge, close the lid, and set to 400°F on the Air Crisp setting. Skipping preheat cuts total cook time and prevents over-rendering before edges crisp up perfectly.
2.Why do you recommend thick-cut bacon instead of thin-sliced for this recipe? ▾
Thick-cut bacon (about 1/8-inch per slice) renders fat gradually in the Ninja Foodi, so it gets perfectly crisp without burning or turning into brittle, crumbly shards. Thin-sliced bacon cooks too fast, often leaving uneven spots that are either chewy or charred before the fat fully renders out.
3.Do I really not have to flip the bacon halfway through cooking? ▾
That’s right! The Ninja Foodi’s circulating Air Crisp technology cooks evenly from all angles, so there’s no need to pause cooking, flip slices, or rearrange them mid-cycle. Just set your timer, walk away, and you’ll get evenly crisp bacon on both sides without extra work or splatter burns.
4.How do I prevent bacon grease from making a mess inside my Ninja Foodi? ▾
Always set your air fryer rack 1 to 2 inches above the crisping plate to catch rendered grease as it drips off the bacon. For extra easy cleanup, line the bottom of the inner pot with a small piece of aluminum foil before adding the rack—just make sure the foil doesn’t block any air vents on the pot sides.
5.What cook time should I use for extra crispy vs. chewy bacon? ▾
For tender, slightly chewy bacon with crisp edges, cook at 400°F Air Crisp for 6 minutes total. For that signature shatteringly crisp texture the recipe promises, set the timer for 8 minutes. If you like extra dark, super crisp bacon, add 1 extra minute, watching closely since cook times vary slightly by Foodi model.
6.Can I stack bacon slices on top of each other to cook more at once? ▾
I don’t recommend stacking or overlapping slices, as this blocks air flow and leads to unevenly cooked, soggy spots on the bacon. If you’re cooking for a crowd, work in small batches of 4 to 6 slices (depending on your Foodi size) to keep slices in a single layer—each batch cooks so fast, you won’t add much total time.
7.When do I add the flaky sea salt and black pepper called for in the recipe? ▾
Add your freshly ground black pepper right before you close the Foodi lid to start cooking, so it sticks to the raw bacon fat as it renders. Save the flaky sea salt for immediately after you pull cooked bacon out of the Foodi; sprinkling it on hot bacon helps salt crystals stick without dissolving for perfect salty crunch.
8.What should I do with leftover rendered bacon grease after cooking? ▾
Let the grease cool completely in the inner pot for 15 to 20 minutes first, so it solidifies slightly for safe handling. Pour it into a sealed glass jar to store in the fridge for up to 3 months to use for frying eggs, roasting veggies, or adding smoky flavor—never pour hot grease down your drain, as it will clog pipes over time.
9.Can I use this method to cook turkey bacon instead of pork bacon? ▾
Absolutely! Turkey bacon works great in the Ninja Foodi, but it has lower fat content so it cooks a little faster. Stick to the same 400°F Air Crisp setting, but reduce total cook time to 5 to 7 minutes, checking at the 5-minute mark to avoid burnt edges. Spritz slices lightly with cooking spray first for extra crispness if desired.
10.Why is my bacon coming out chewy instead of crispy? ▾
Chewy bacon usually happens for one of three reasons: slices were overlapped and blocked air flow, you used very thin-cut bacon that didn’t render evenly, or your cook setting was too low. Make sure slices are in a tight single layer, use thick-cut bacon when possible, and confirm you’re using the 400°F Air Crisp setting, not Bake or Roast.
11.Do I need to use a wire rack, or can I cook bacon directly in the inner pot? ▾
Always use the raised air fryer rack for this recipe! If you cook bacon directly in the bottom of the inner pot, slices will sit in a pool of their own rendered grease as they cook, leading to soggy, greasy bacon instead of the light, shatteringly crisp texture you want. The raised rack lets grease drip away for even crisping.
12.Can I cook frozen bacon in the Ninja Foodi with this recipe? ▾
You can, no thawing required! Separate frozen bacon slices as much as you can, arrange them in a single layer on the rack, and add 3 to 4 minutes to the total cook time for your preferred crispness level. There’s no need to adjust the temperature—just check slices at the 8-minute mark to gauge doneness.
13.How should I store leftover cooked bacon? ▾
Let cooked bacon cool completely to room temperature first, then layer slices between sheets of paper towel in an airtight storage container. Keep it in the fridge for up to 4 days, or freeze for up to 1 month. To re-crisp, pop slices back in the Ninja Foodi at 350°F for 1 to 2 minutes, no need to thaw frozen leftovers first.
14.Will this method set off my smoke alarm like stovetop bacon often does? ▾
One of the biggest perks of this recipe is zero stovetop splatter and very little excess smoke! As long as you don’t overfill the pot, keep air vents unblocked, and empty old grease from previous cooks out of the inner pot before starting, you won’t get billowing smoke, so your smoke alarm should stay quiet.
15.Do I need to pat the bacon dry with paper towels before cooking? ▾
There’s no need to pat dry raw bacon for this recipe! The small amount of surface moisture on packaged bacon evaporates quickly as the circulating hot air hits the slices, and the natural bacon fat is all you need to get that perfect crisp exterior. Patting dry can actually rub off the delicious smoky curing on bacon slices.

Comments (16)

2 days ago

OMG this is the only way I make bacon now! No splatters all over my stovetop, perfectly crispy every single time in 8 minutes flat. I used to stand over the pan forever dodging grease pops, never going back. SO good.

1 week ago

Game changer for busy weekday breakfasts! My kids go crazy for this crispy bacon, I don’t even have to hover while it cooks so I can pack their lunches at the same time. Came out perfect on the first try, no burnt edges at all.

5 days ago

So glad this works for your busy mornings! That hands-off cook time is exactly why we love this method for rushed weekday routines, no babysitting required.

3 days ago

Wait, do I need to use the wire rack that came with my Foodi for this, or can I lay the strips straight in the pot? I tried it once without the rack and it was super soggy, not crispy at all :(

2 days ago

Definitely use the rack! The air can circulate all around the bacon so it gets crispy instead of sitting in its own grease. I made that mistake the first time too, total bummer.

2 days ago

Great question! We do recommend using the raised wire rack for maximum crispiness, as it allows hot air to circulate evenly on all sides of the bacon strips. If you don’t have the rack handy, just flip the bacon halfway through cooking to help it crisp up more evenly!

5 days ago

Made this for my brunch potluck last weekend and everyone was asking for the recipe! The bacon was evenly crispy, no chewy fatty bits left, and I didn’t have to slave over the stove while my guests were over. 10/10

30 minutes ago

Wait 8 minutes total? No preheating or anything? That seems too fast, I feel like I usually cook bacon in the oven for like 20 minutes to get it crispy.

5 minutes ago

Dude I thought the same thing! I tried it last night and it actually works, the Foodi gets super hot right away. I did 8 minutes exactly and it was perfect crispy, no extra time needed. Wild how fast it is.

yesterday

Is this method okay for thick cut bacon? We only buy the extra thick applewood smoked kind from our local butcher, I don’t want it to come out undercooked in the middle.

2 hours ago

I make thick cut with this recipe all the time! I just add 2 extra minutes, so 10 total, and it comes out perfect. No raw spots, crispy on the edges just how I like it.

30 minutes ago

Great question! For thick-cut bacon, we recommend adding 1-2 minutes to the total cook time to make sure it reaches your desired crispiness without any undercooked sections. Just keep a quick eye on it the last minute if it’s your first time making thick cut!

2 hours ago

This is so easy even I can’t mess it up! I’m a total beginner in the kitchen and I made crispy, perfect bacon first try with zero mess. Way better than the microwave garbage I was eating before. Game frickin changer.

2 weeks ago

Wait, how do you guys deal with the smoke? Last time I tried making bacon in my air fryer (not Foodi but similar) it set off my smoke alarm so bad the fire department showed up lmao. Does this make a ton of smoke?

1 week ago

Oh girl I had that exact same problem before! I put a tiny splash of water in the bottom of the pot under the rack before I cook now, and it keeps the grease from getting too hot and smoking. Zero alarm triggers since I started doing that!

1 week ago

That water trick is such a great tip! If you’re noticing excess smoke, adding a couple tablespoons of water to the bottom of the inner pot before placing the rack down prevents the rendered bacon grease from overheating and smoking, which is perfect for avoiding those annoying smoke alarm scares.

1 week ago

I love that I can make a whole batch of this on Sunday for my meal prep for the week! It stays crispy in the fridge for days, I just toss a couple strips on my breakfast sandwiches each morning. So much healthier than pan fried too since the grease drips away.

5 days ago

Love that meal prep hack! Storing pre-cooked bacon in the fridge for quick breakfasts all week is such a smart time saver, we do the exact same thing in our house for busy work mornings.

yesterday

I made this for our family dinner last night and even my super picky father in law said it was the best bacon he’s ever had! I did a light sprinkle of brown sugar on half the batch for a sweet salty vibe and it was chef’s kiss.

2 hours ago

OH the brown sugar idea sounds insane! I’m gonna try that this weekend for brunch, do you put it on before you start cooking or halfway through?

30 minutes ago

I sprinkled it right on before I closed the lid! It melted into this perfect crispy caramelized layer, no burning at all in the 8 minutes. Game changer for sure, you gotta try it!

5 minutes ago

Ugh I was so excited for this but my first batch came out super chewy? I used the rack too, did I do something wrong? I cooked it for the full 8 minutes on the crisp setting.

just now

Wait did you make sure your Foodi was set to the highest air crisp temp? I accidentally had mine on 350 once instead of 400 and it was chewy too! Crank the temp up next time, it makes a huge difference.

2 weeks ago

I was skeptical that a pressure cooker/air fryer combo could make bacon as good as oven baked, but color me impressed. Even cook, no raw spots, perfect crunch, way less cleanup. Great recipe, super straightforward.

3 days ago

How do you clean up after this? I hate when bacon grease gets caked onto my appliance parts and is impossible to scrub off. Is the cleanup easy?

2 days ago

Cleanup is super easy for this recipe! Since all the grease drips down into the inner pot under the rack, you just let the pot cool completely, pour the grease into a container to discard, then wash the rack and inner pot with warm soapy water – no stuck-on burnt mess to scrub!

2 days ago

Has anyone tried making a whole pound of bacon at once in the 8 quart Foodi? I’m hosting brunch for 8 people this weekend and don’t want to have to do a million small batches.

yesterday

I have the 8 quart and I can fit almost a full pound if I layer the strips in a single layer on the rack, no overlapping. If you overlap a little just flip them halfway through, works totally fine! I cooked for 10 people last month and only did two batches, super fast.

yesterday

Great question! For 8-quart models, you can fit about 12-14 strips (roughly 1 pound) in a single layer on the rack without overlapping, which cuts down on batch cooking time. If you need to stack a few strips, just pause at the 4 minute mark to flip and rearrange them for even crisping!

5 days ago

I added a little black pepper and paprika to my bacon before cooking it with this method and it was insane. So much flavor, perfectly crispy, my roommate stole half the batch before I even got to take a picture for Instagram lmao. 10/10 will make every weekend

just now

Just got my Ninja Foodi last week and this was the first recipe I tried! I was so nervous I’d mess it up but it came out perfect, crispy just how I like it. Can’t wait to try more recipes on here now that I know I don’t totally suck at using this thing lol.

just now

Yay welcome to the Foodi club! This bacon recipe is the best beginner one to start with, once you nail that you can make literally anything in that thing. You’re gonna love it!



