
No-Bake Marshmallow Easter Squares
intro
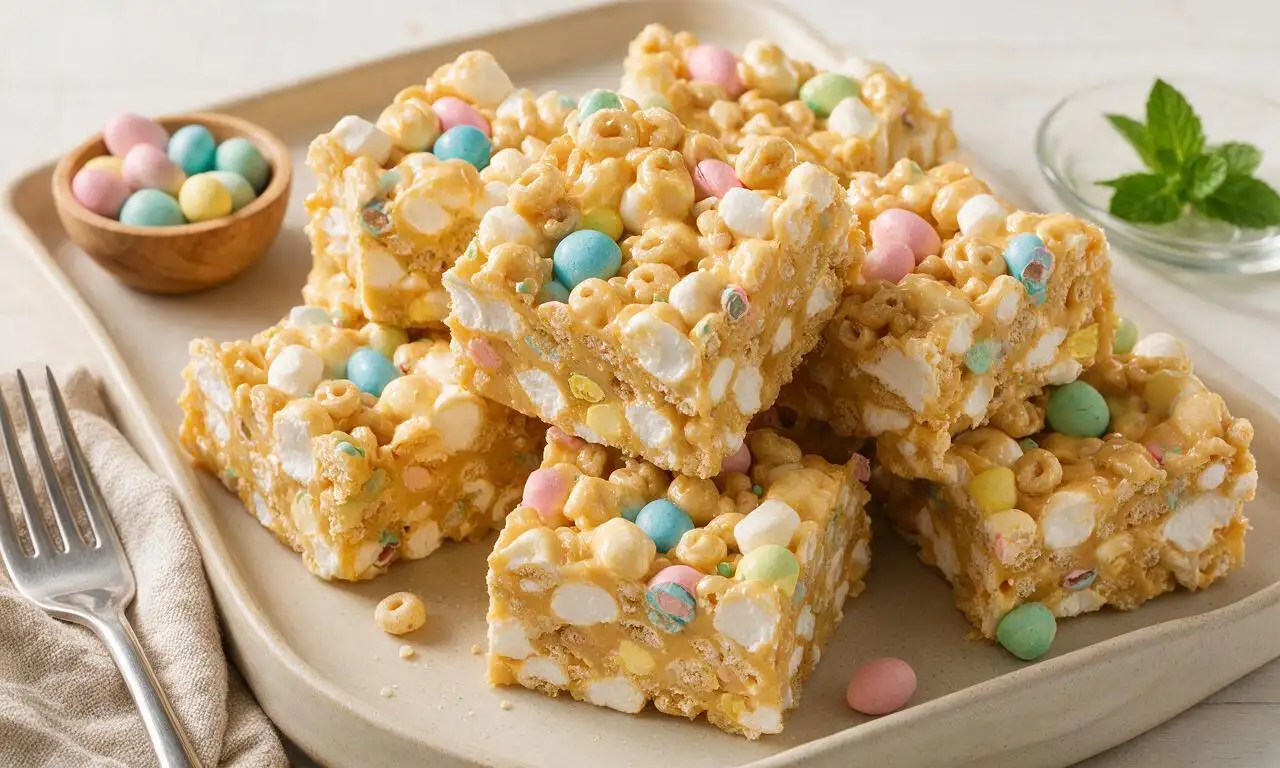
Chewy, colorful no-oven treats packed with marshmallows, crispy cereal, and pastel Easter candies, perfect for kid-friendly holiday gatherings.
Ingredients
Steps
Prep the baking pan
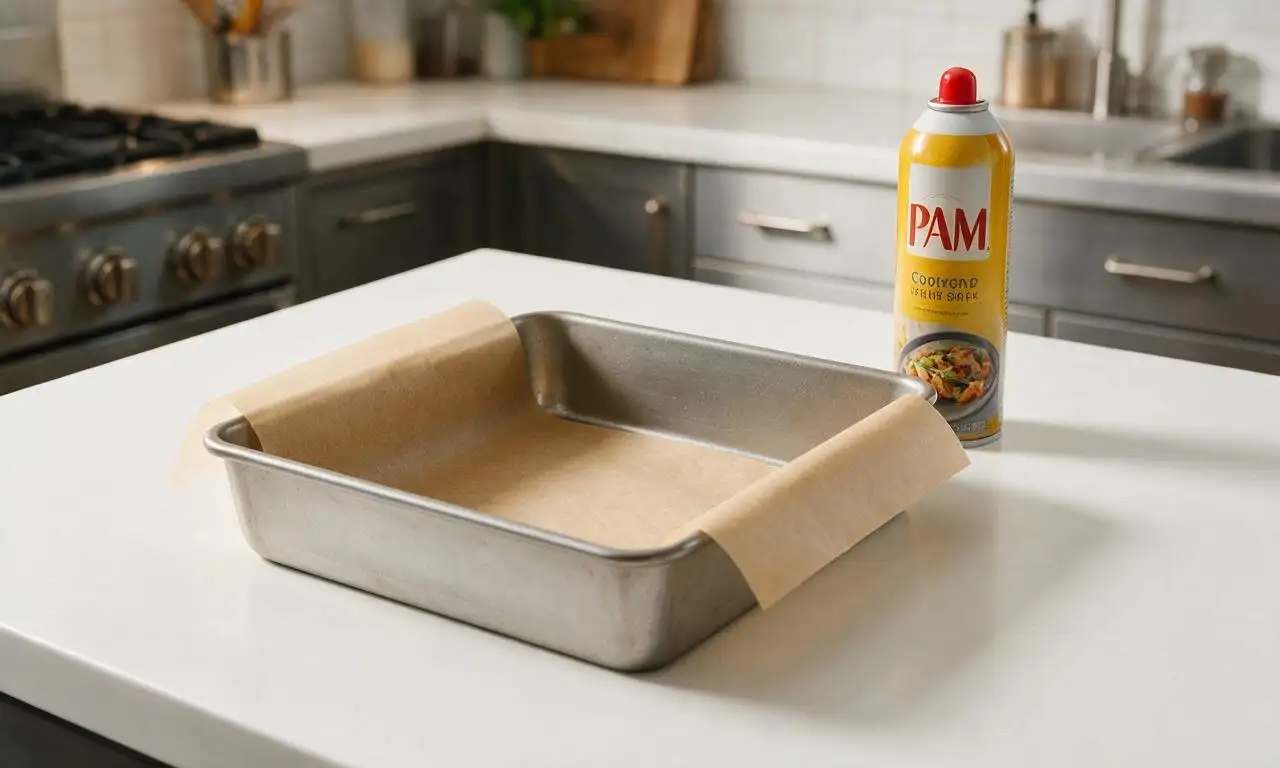
Line a 9x9 inch (23cm) square metal baking pan with parchment paper, leaving 2-inch overhangs on two opposite sides for easy removal later. Lightly coat the parchment surface with a thin layer of nonstick cooking spray to prevent the sticky mixture from adhering.
Melt butter and marshmallows
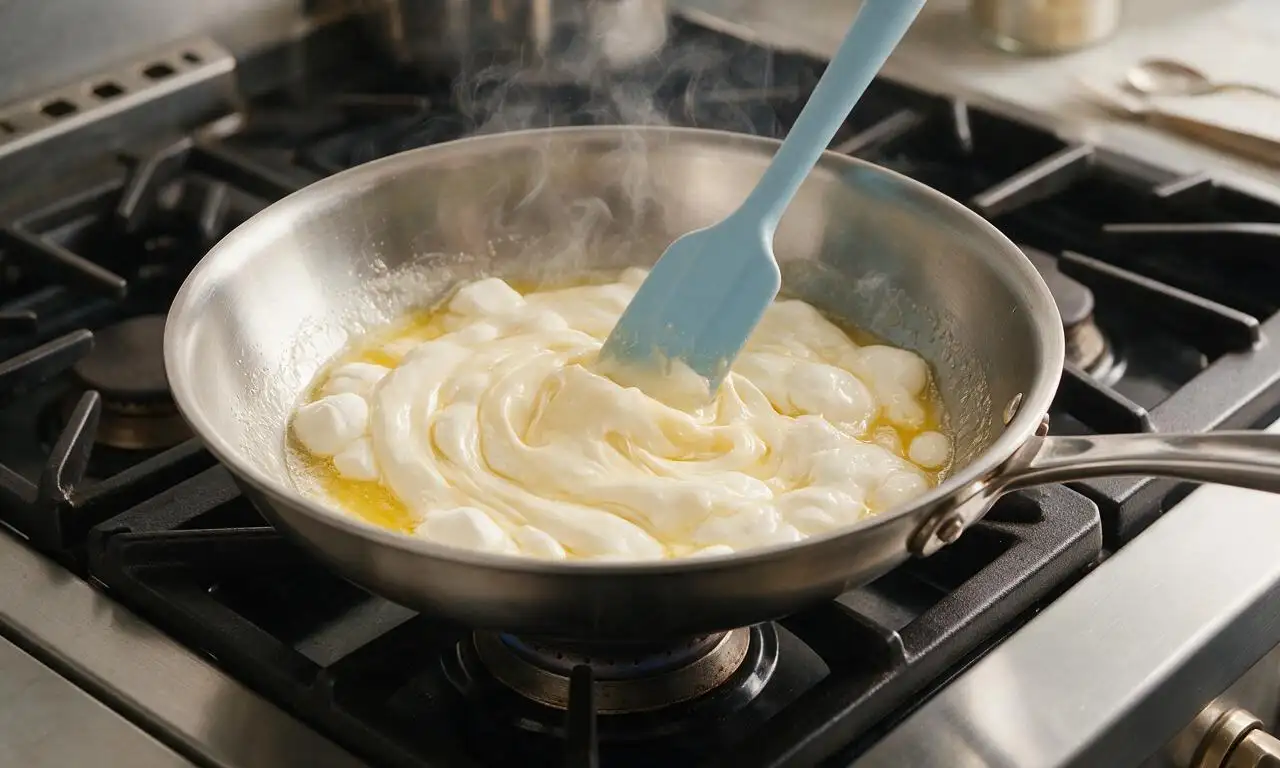
Place a large heavy-bottomed saucepan over low heat, add the 6 tablespoons (85g) of unsalted butter, and stir constantly until fully melted, about 2 minutes. Add 3.5 cups (175g) of the mini marshmallows and 1 teaspoon vanilla extract, stirring continuously for 3-4 minutes until completely smooth with no lumps; do not raise heat above low to avoid burning the sugar.
Mix in crispy cereal
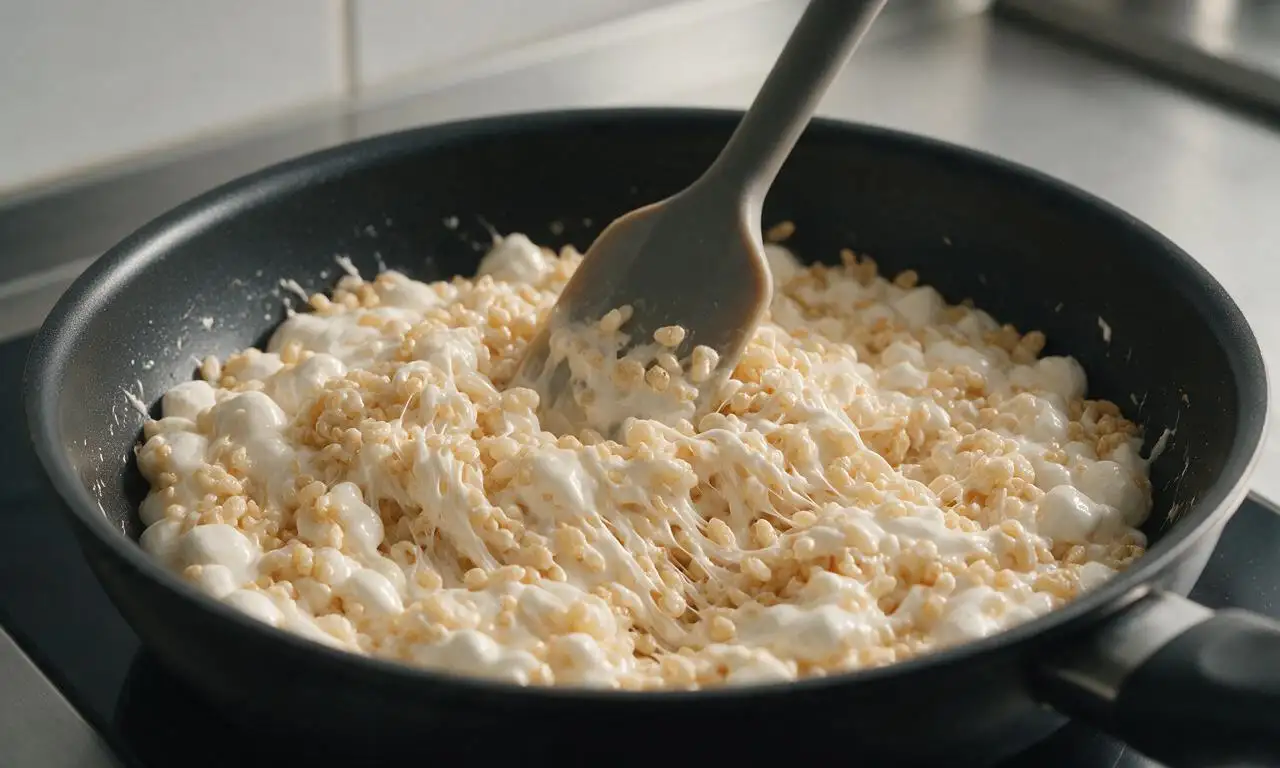
Remove the saucepan from heat immediately once the marshmallow base is fully smooth. Add all 5 cups (140g) of crispy rice cereal, stirring quickly and gently with a flexible spatula for 1 minute until every cereal piece is evenly coated in marshmallow, taking care not to crush the crisp cereal pieces.
Fold in candy mix-ins
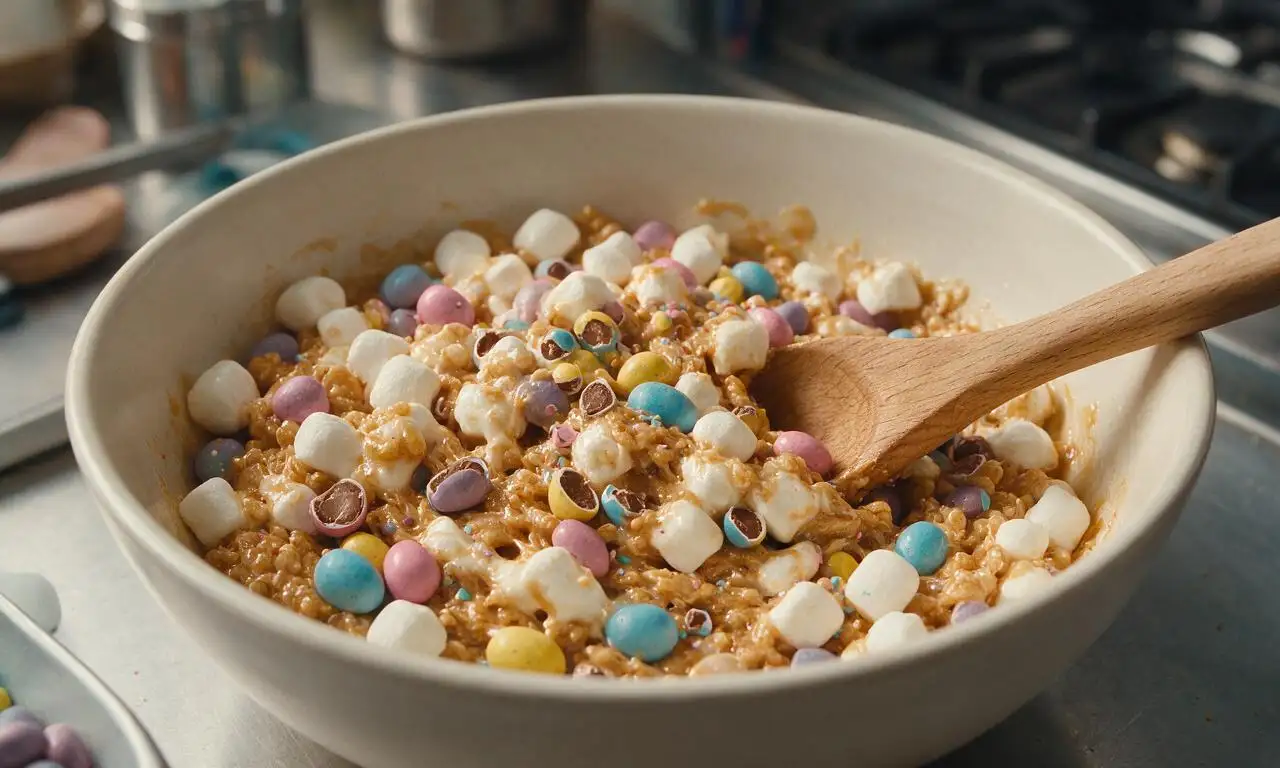
Let the coated cereal mixture cool for 2 minutes (to avoid melting chocolate candies), then fold in the reserved 0.5 cup (25g) of mini marshmallows and ½ cup (75g) of crushed pastel mini chocolate Easter eggs, stirring for 30 seconds to distribute the mix-ins evenly throughout the mixture.
Press mixture into pan
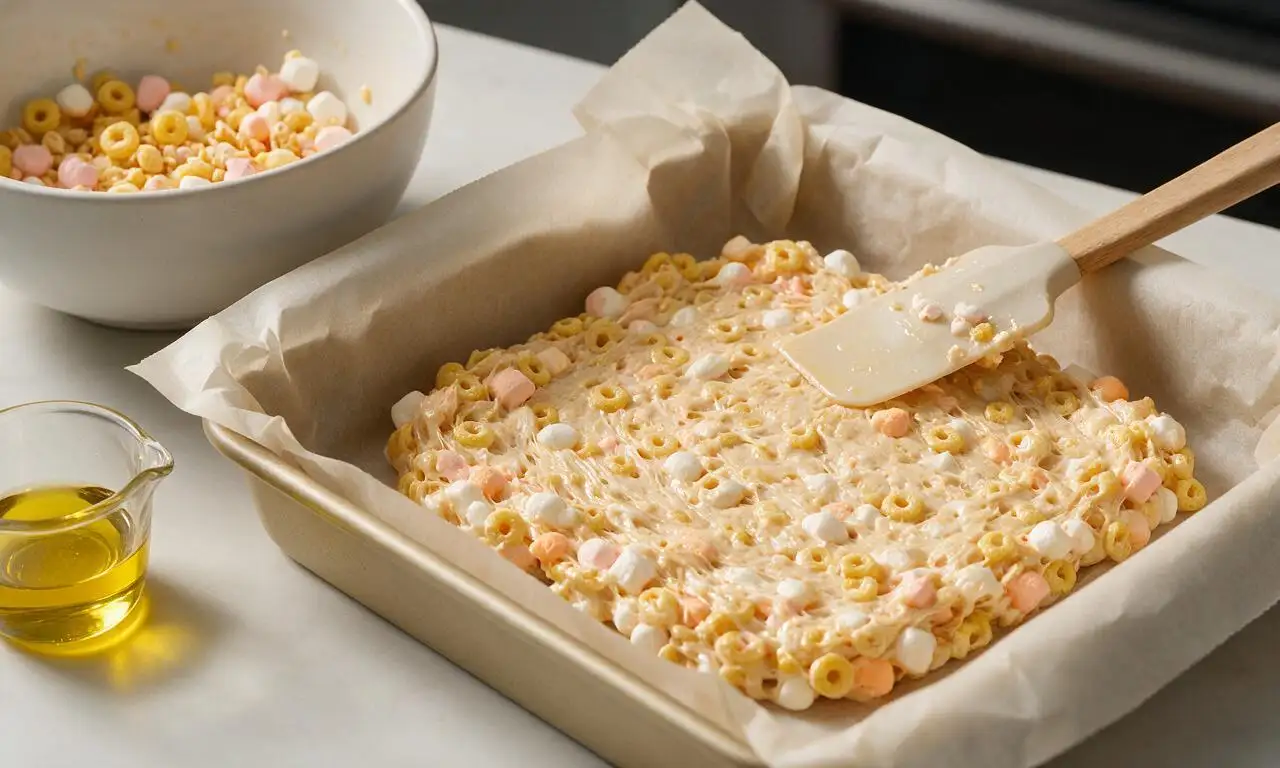
Transfer the entire sticky mixture to the prepared parchment-lined pan. Lightly grease your fingertips or the back of a spatula with nonstick spray, then press the mixture firmly and evenly into the pan to create a flat, compact 1-inch thick layer; avoid pressing too hard, as this will make the finished squares dense.
Top and chill to set
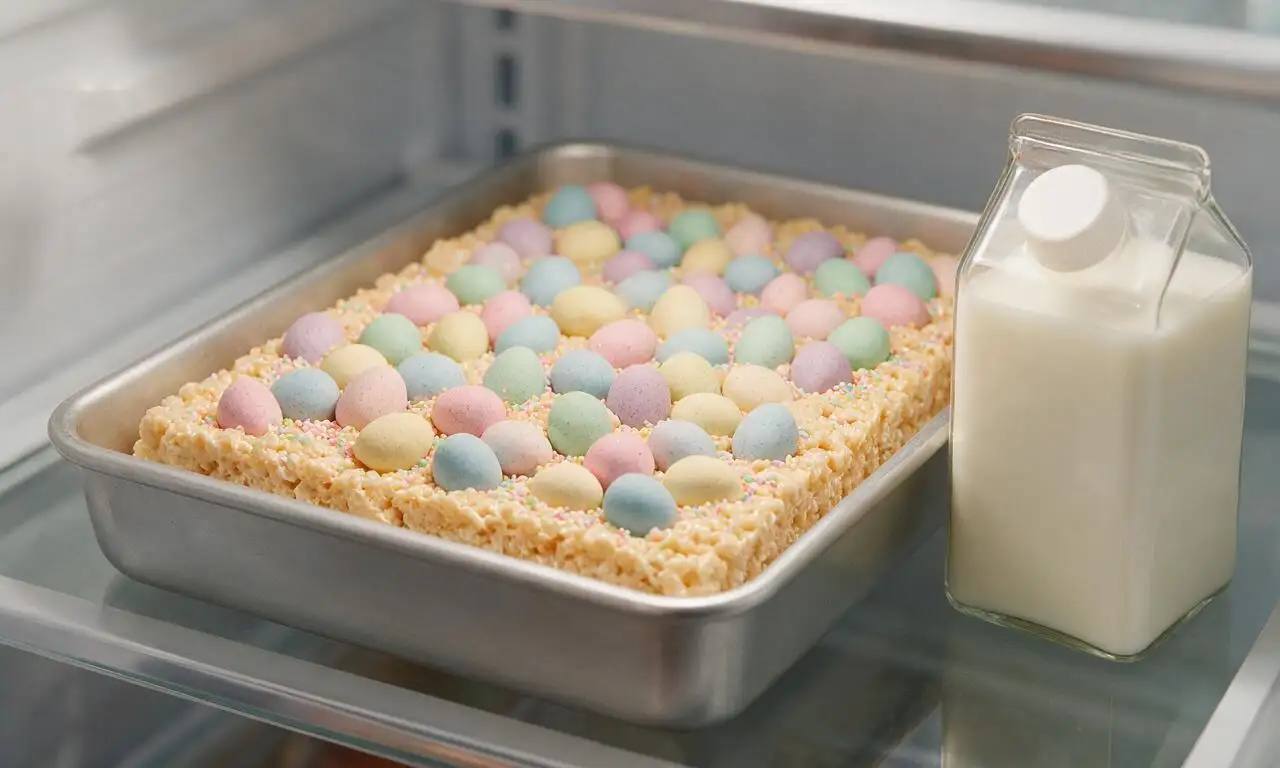
Sprinkle the top of the pressed mixture with the remaining ½ cup (75g) of whole pastel mini Easter eggs and 2 tablespoons of pastel sprinkles, pressing gently so toppings adhere to the surface. Place the uncovered pan in the refrigerator to chill for 1 full hour until the squares are completely firm and set.
Cut into even squares
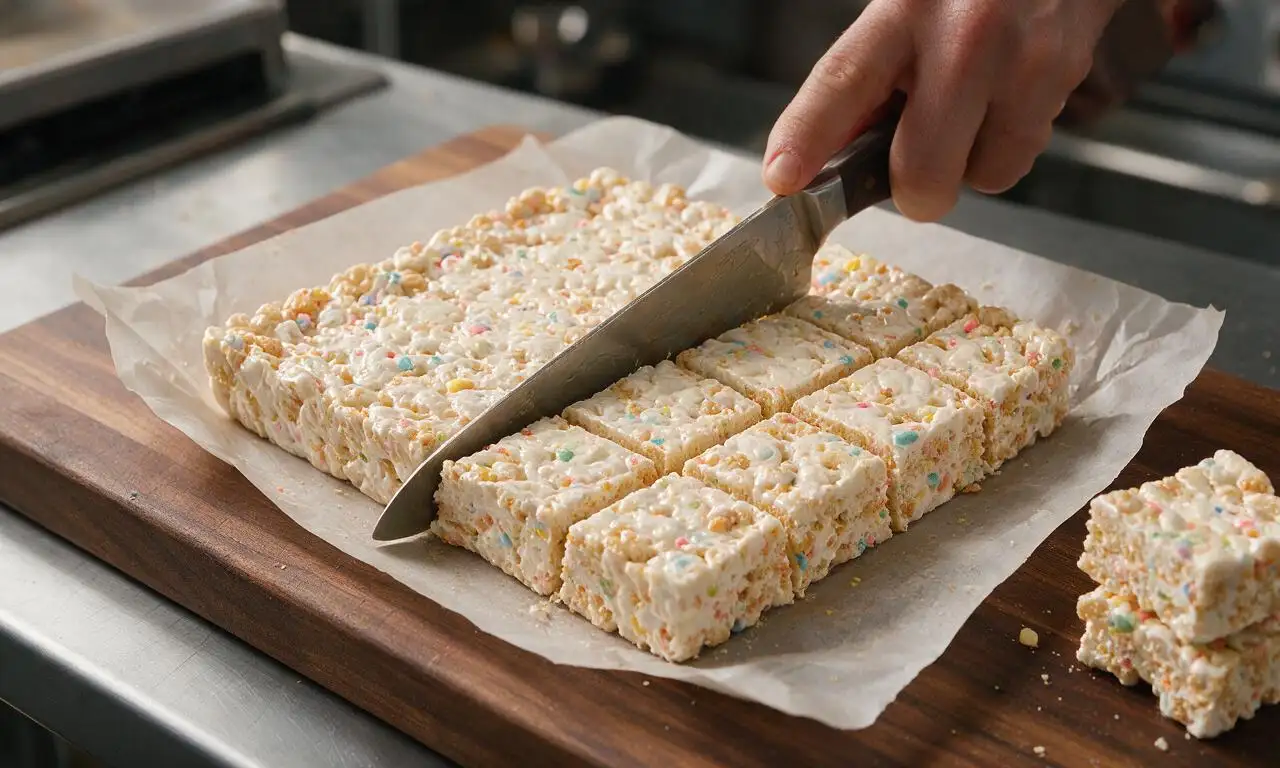
Once fully set, lift the entire treat slab out of the pan using the parchment paper overhangs and transfer to a wooden cutting board. Use a sharp, lightly greased knife to cut the slab into 12 even 2.25-inch squares, wiping the knife blade between cuts for clean, smooth edges.
Tips
2.Lightly grease your spatula, fingertips, and knife with nonstick spray when handling the sticky marshmallow mixture to prevent sticking and create neat, even cuts.
3.Store leftover squares in an airtight container at room temperature for up to 5 days; avoid long-term refrigerator storage, as cold air will make the crispy cereal turn soggy.






OMG these were such a hit at our neighborhood Easter potluck! I threw them together while the kids were dyeing eggs, zero stress, and everyone was asking for the recipe. The mini pastel marshmallows are so cute, I even added a handful of pastel sprinkles on top for extra flair. SO good, will be making these every year from now on!
Total game changer for no-bake Easter treats! I was worried they’d be too sticky to cut cleanly, but the full hour chill time set them perfectly. My niece who’s the pickiest eater on the planet ate three squares in one sitting, lmao. Only swap I made was using salted butter instead of unsalted to cut the sweetness a little, 10/10 recommend.
These are perfect for low-fuss holiday prep! I cut them into bite-sized squares and stored them in an airtight container in the fridge, and they held up great for 4 whole days. Super easy, no fancy specialty ingredients needed, way cheaper than buying pre-made Easter treats from the grocery store bakery. Will be adding these to my annual holiday rotation for sure!
Quick question! How do these hold up if I make them the night before Easter brunch? I don’t want to wake up extra early to prep, but I also don’t want them to get soggy or rock hard in the fridge. They look so good I’m dying to add them to my menu!
Made these with my 7 year old daughter over the weekend, we had a total blast! She loved picking out all the pink marshmallows to arrange on top, lmao. They came out way better than I expected for a no-bake recipe, I thought they’d taste super basic but they’re perfectly chewy and sweet. 10/10 easy kid-friendly Easter activity and treat.