
non dairy pudding
intro
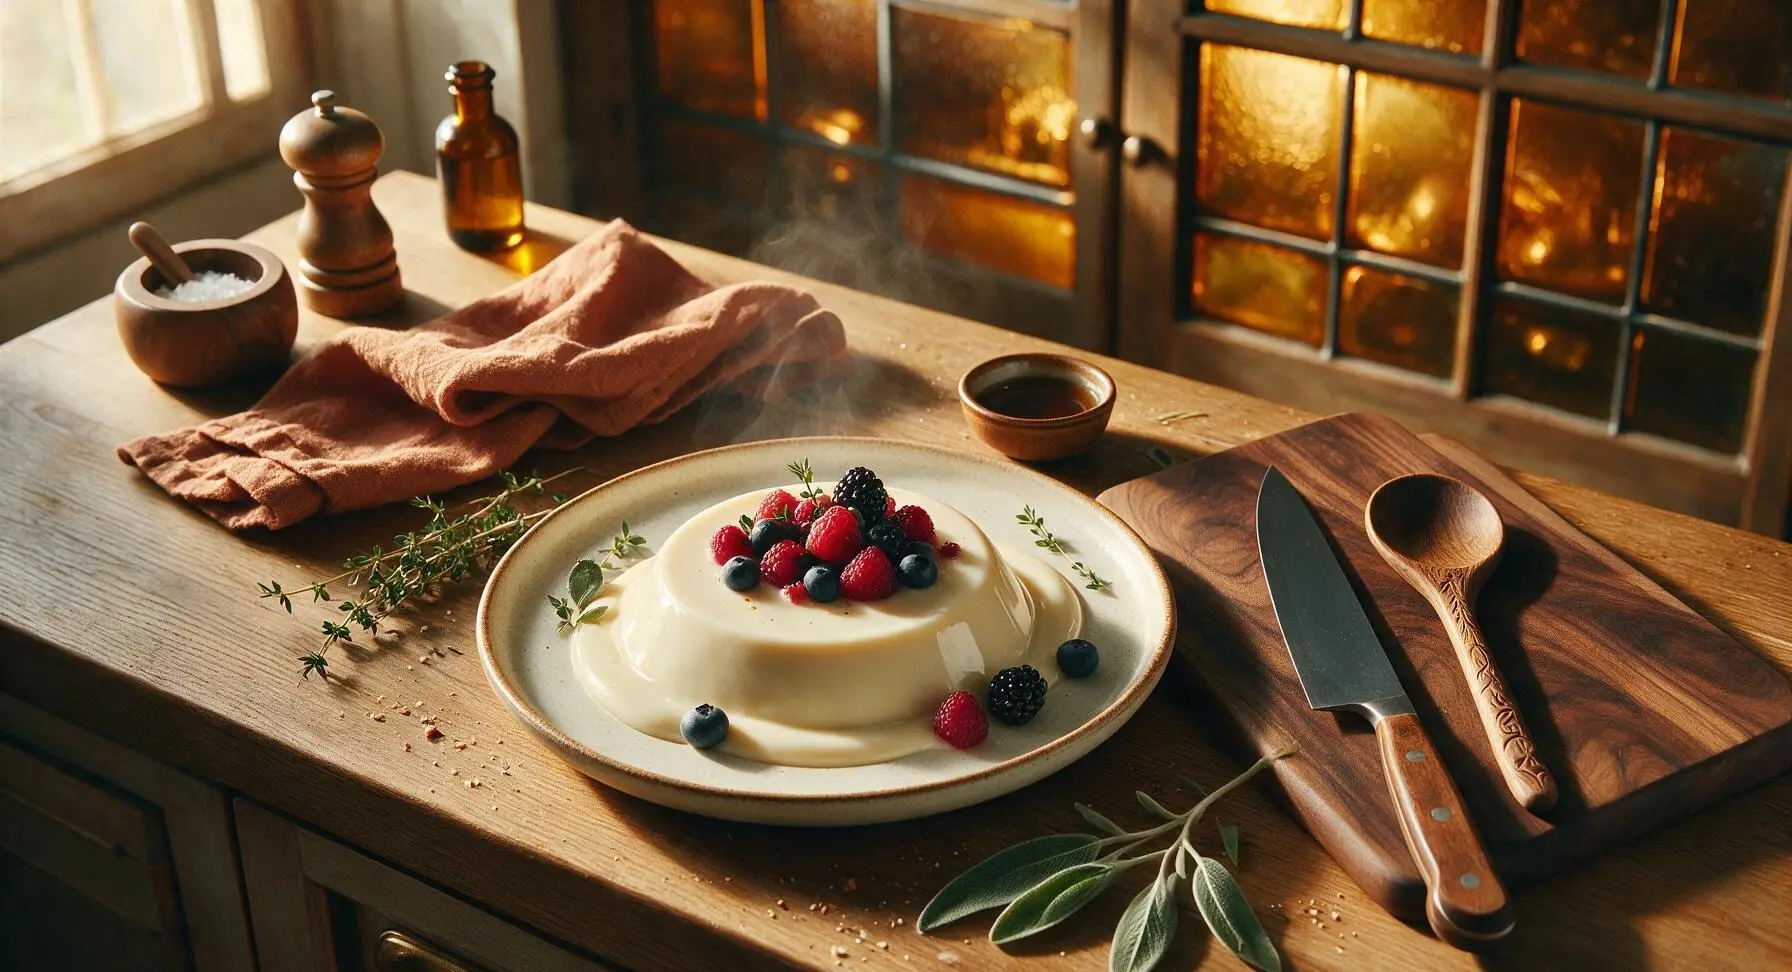
Silky, luxuriously thick vanilla-coconut non-dairy pudding, lactose-free, topped with fresh summer berries, with a rich texture that rivals traditional dairy pudding.
Ingredients
Steps
Measure All Ingredients
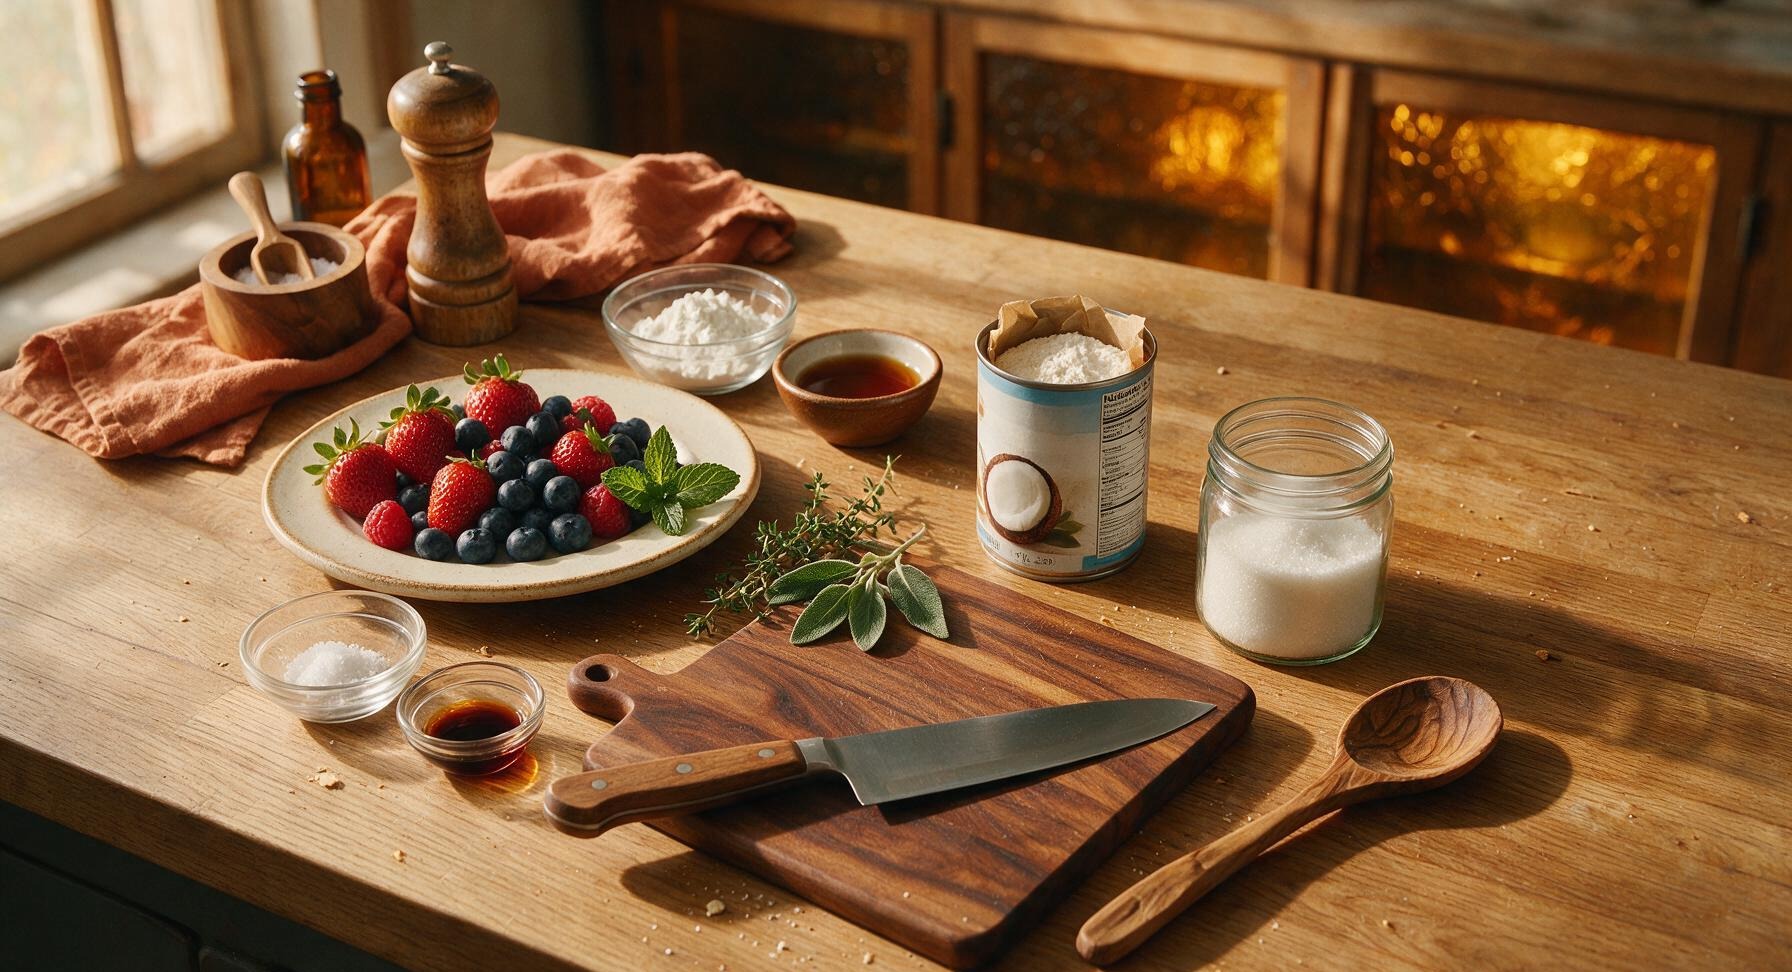
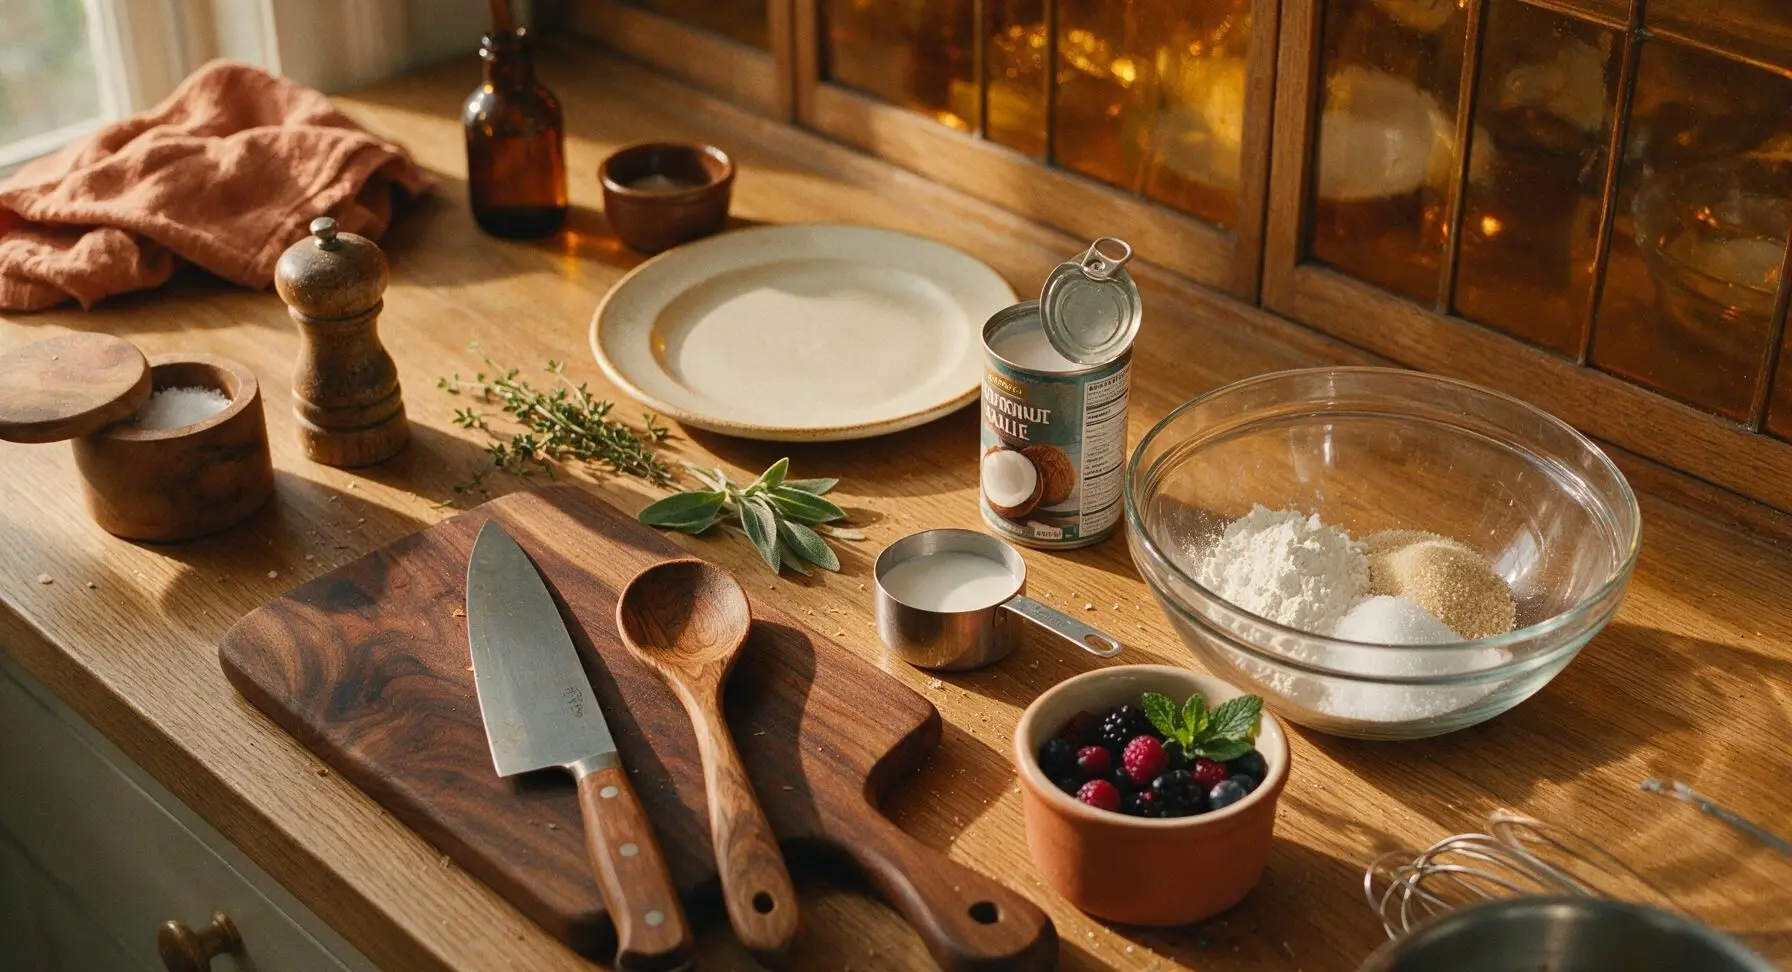
First, shake the unopened can of full-fat coconut milk vigorously for 10 seconds to recombine separated coconut cream and water. Use the fixed stainless steel measuring cups and spoons to portion cornstarch, sugar, salt, vanilla extract, and maple syrup. Rinse the mixed berries and mint sprigs under cool running water, pat gently dry with the corner of the striped cotton kitchen towel, and place in the matte terracotta garnish ramekin. Pre-measuring prevents lumps and last-minute scrambling once cooking begins.
Whisk Cornstarch Slurry
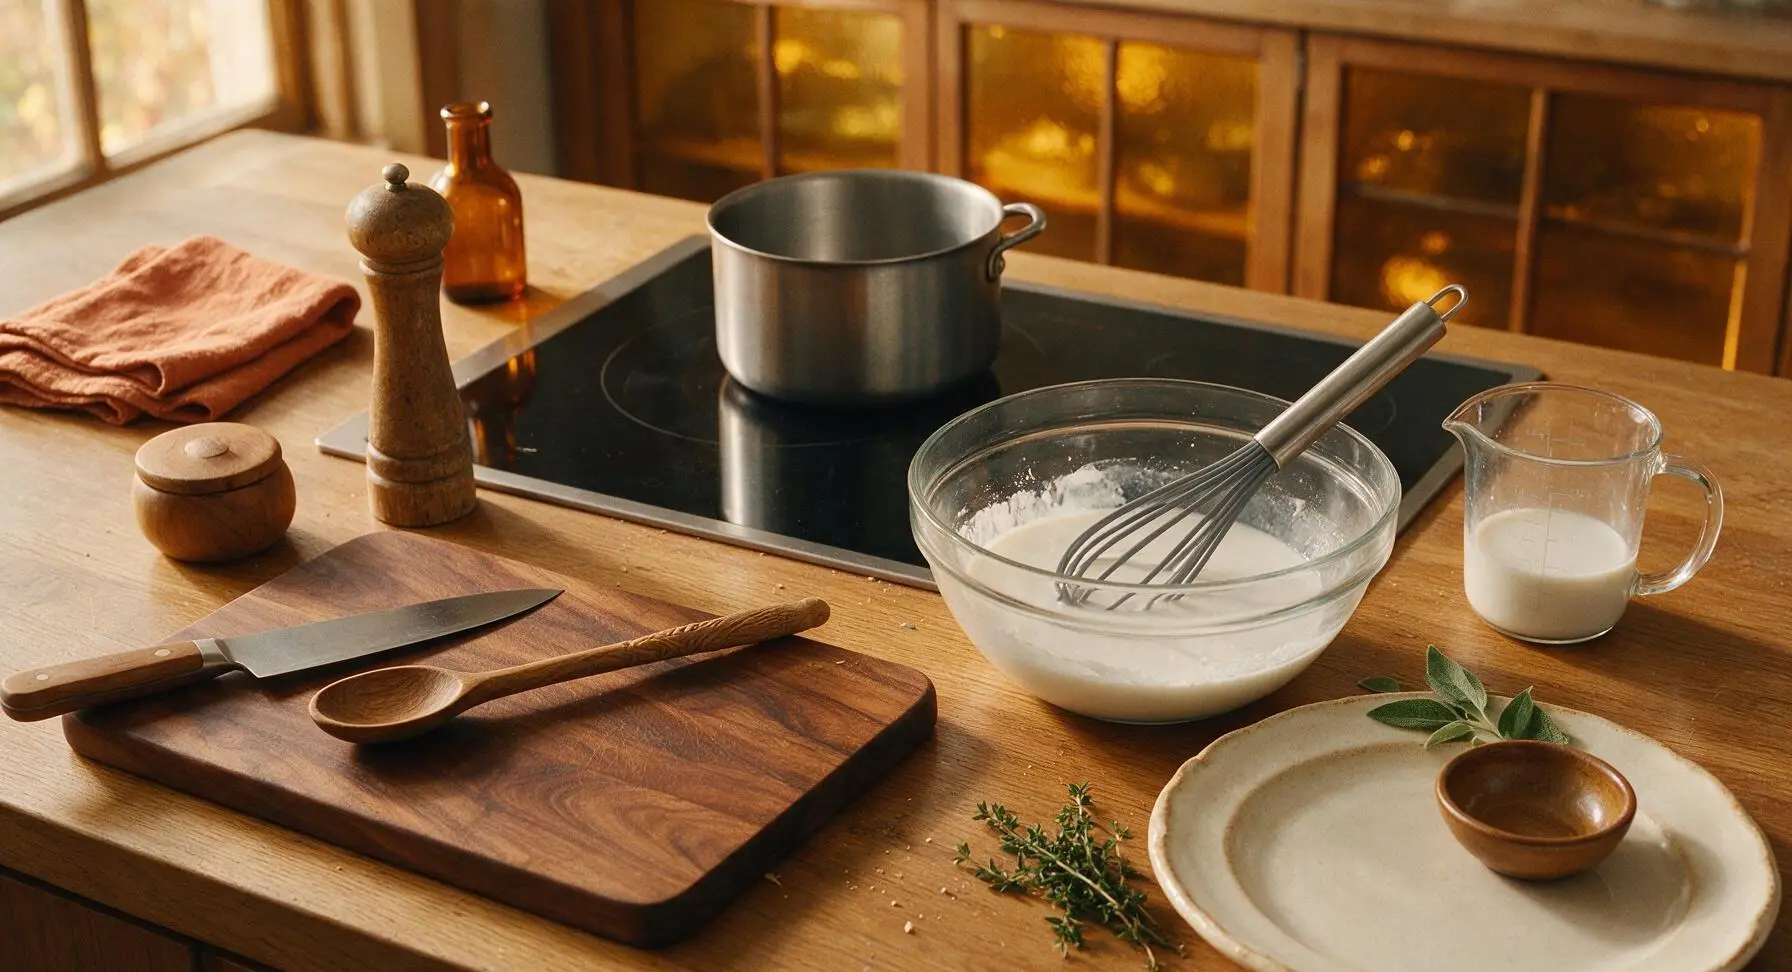
Pour 1/4 cup of the measured coconut milk into the clear glass mixing bowl with the cornstarch, sugar, and fine sea salt. Use the silicone whisk to stir vigorously for 30 seconds until the cornstarch is fully dissolved, with no visible dry clumps or lumps remaining. The finished slurry will be opaque milky white and completely smooth.
Heat Coconut Milk Base
Pour the remaining 1 3/4 cups of coconut milk into the stainless steel saucepan on the induction cooktop. Heat over medium-low heat (induction setting 3/10) for 3-4 minutes, stirring occasionally with the silicone whisk, until the milk is just starting to steam and form tiny pinprick bubbles around the pan edge. Do not bring to a rolling boil, as high heat will cause coconut milk to separate and turn grainy.
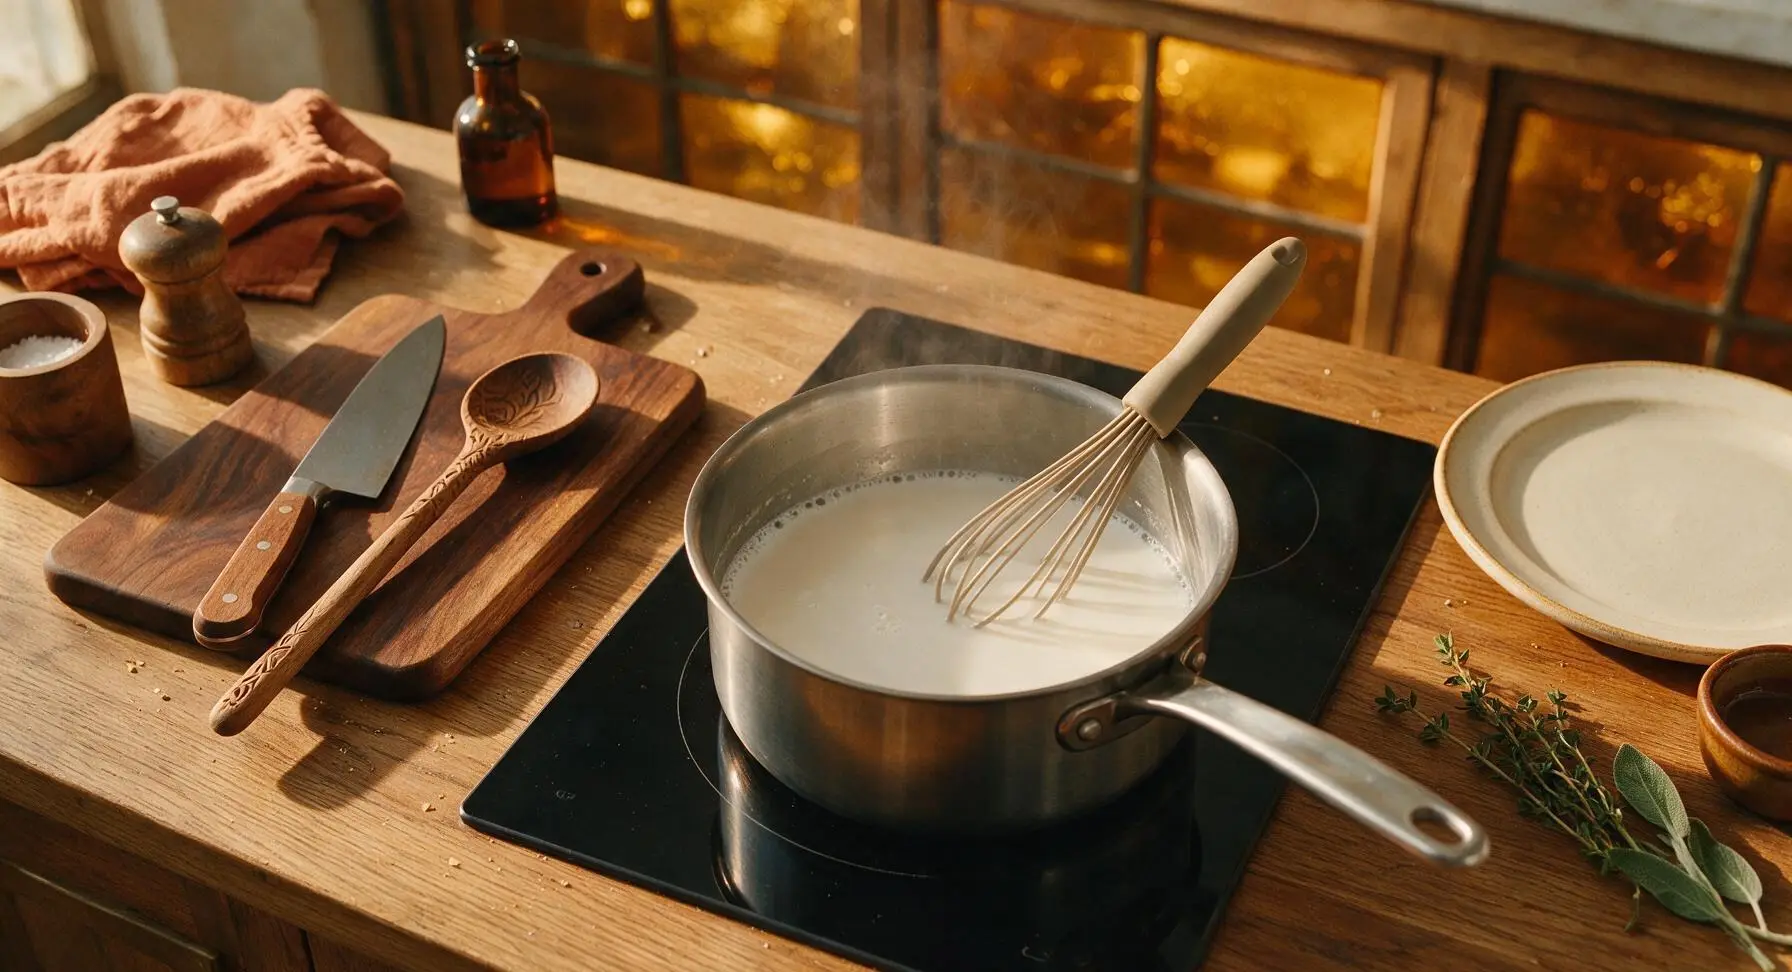
Thicken Pudding Mixture
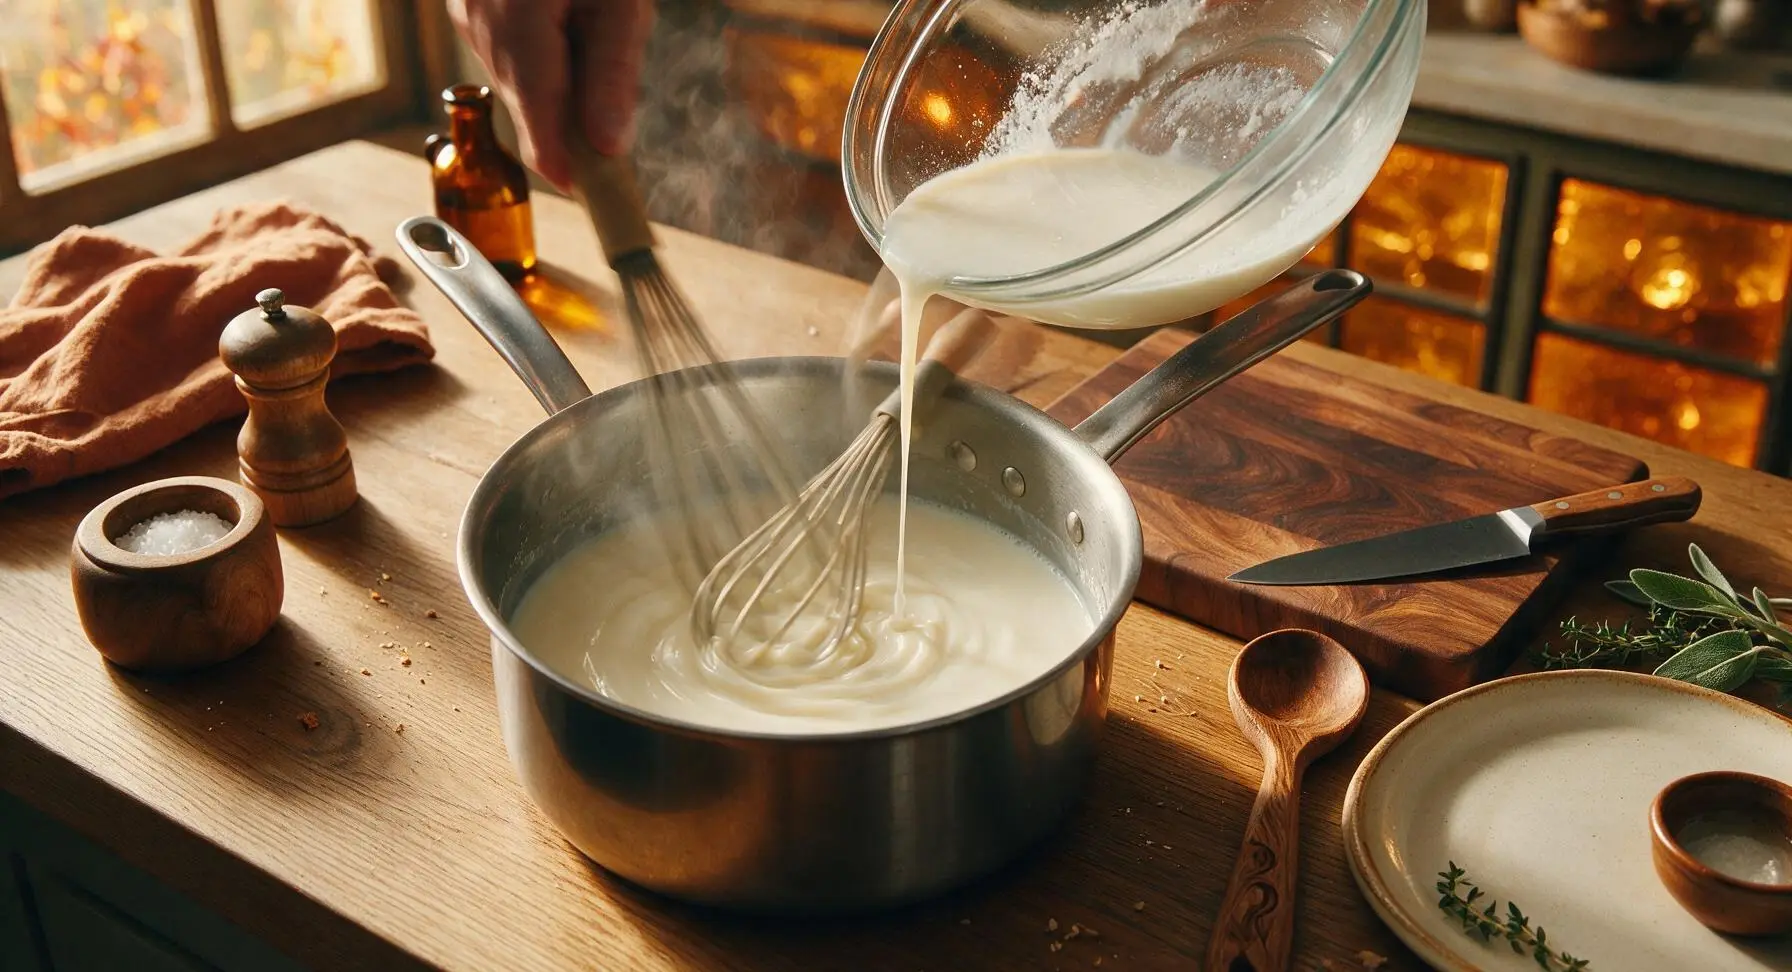
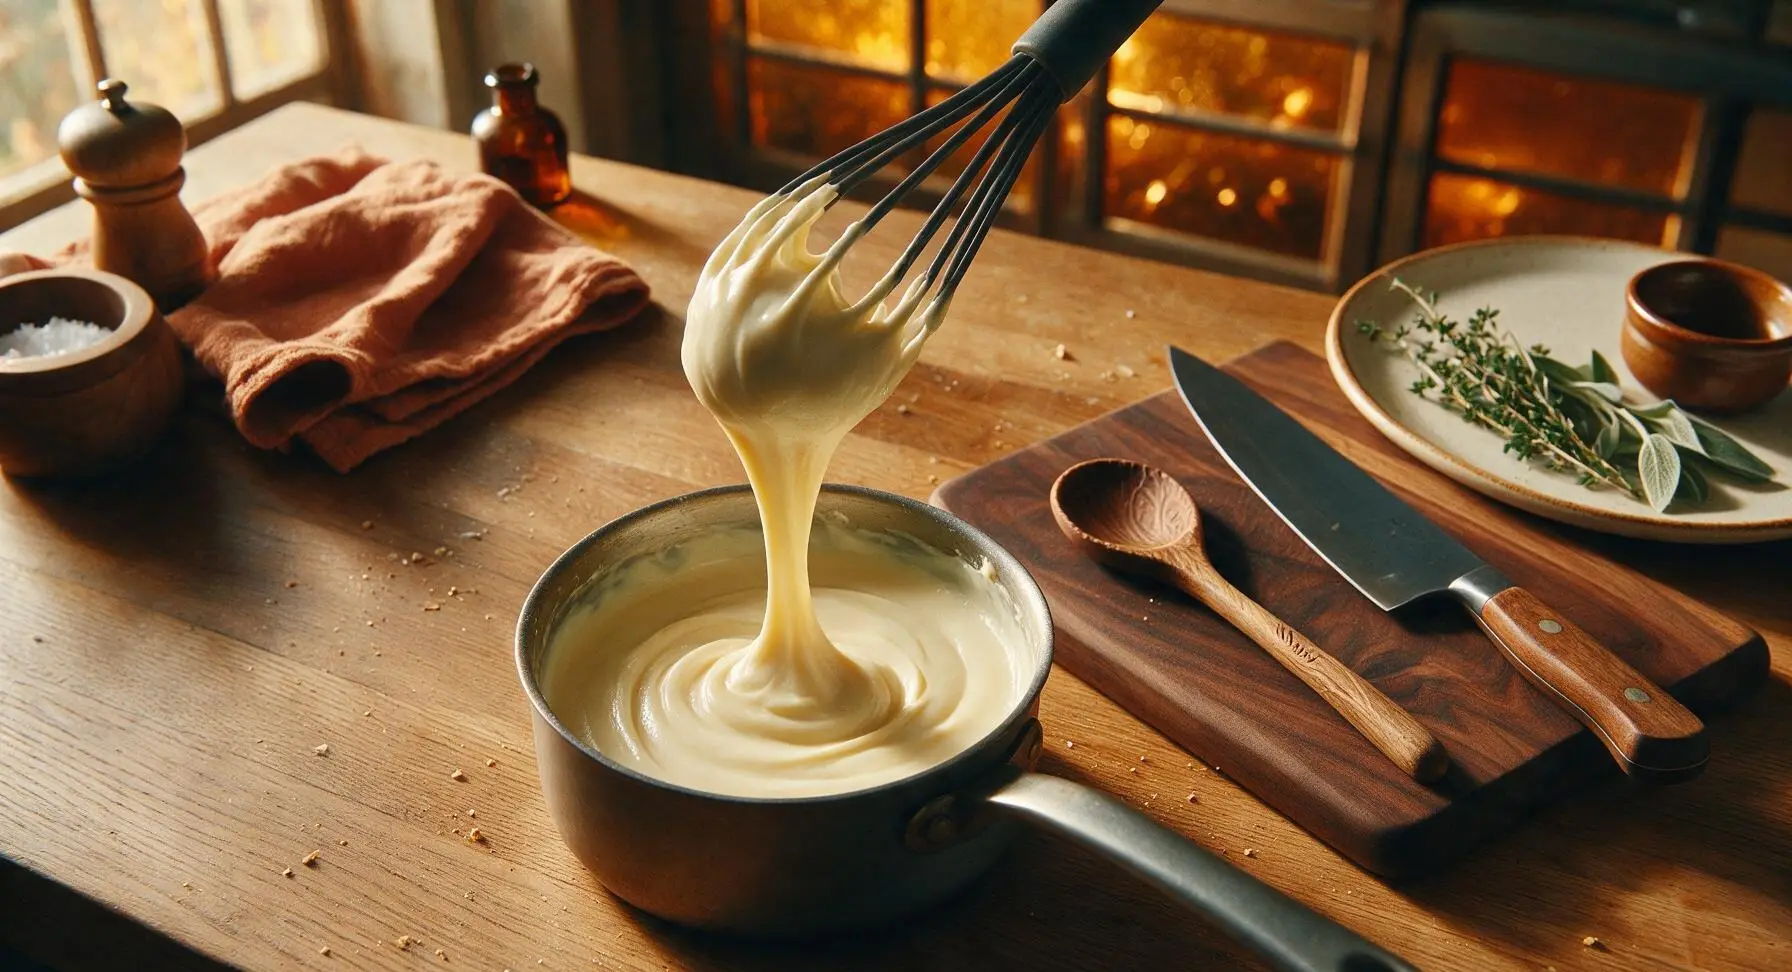
While whisking the steaming coconut milk constantly in slow, steady circular motions, slowly pour the reserved cornstarch slurry into the saucepan in a thin, steady stream. Continue cooking and whisking nonstop for 2-3 minutes, until the mixture thickens to the consistency of loose Greek yogurt. When you lift the whisk, the pudding should coat the back of the whisk head in a thick, opaque layer that does not drip off immediately. Whisk quickly for 10 seconds to smooth out any small lumps that form.
Strain and Add Vanilla
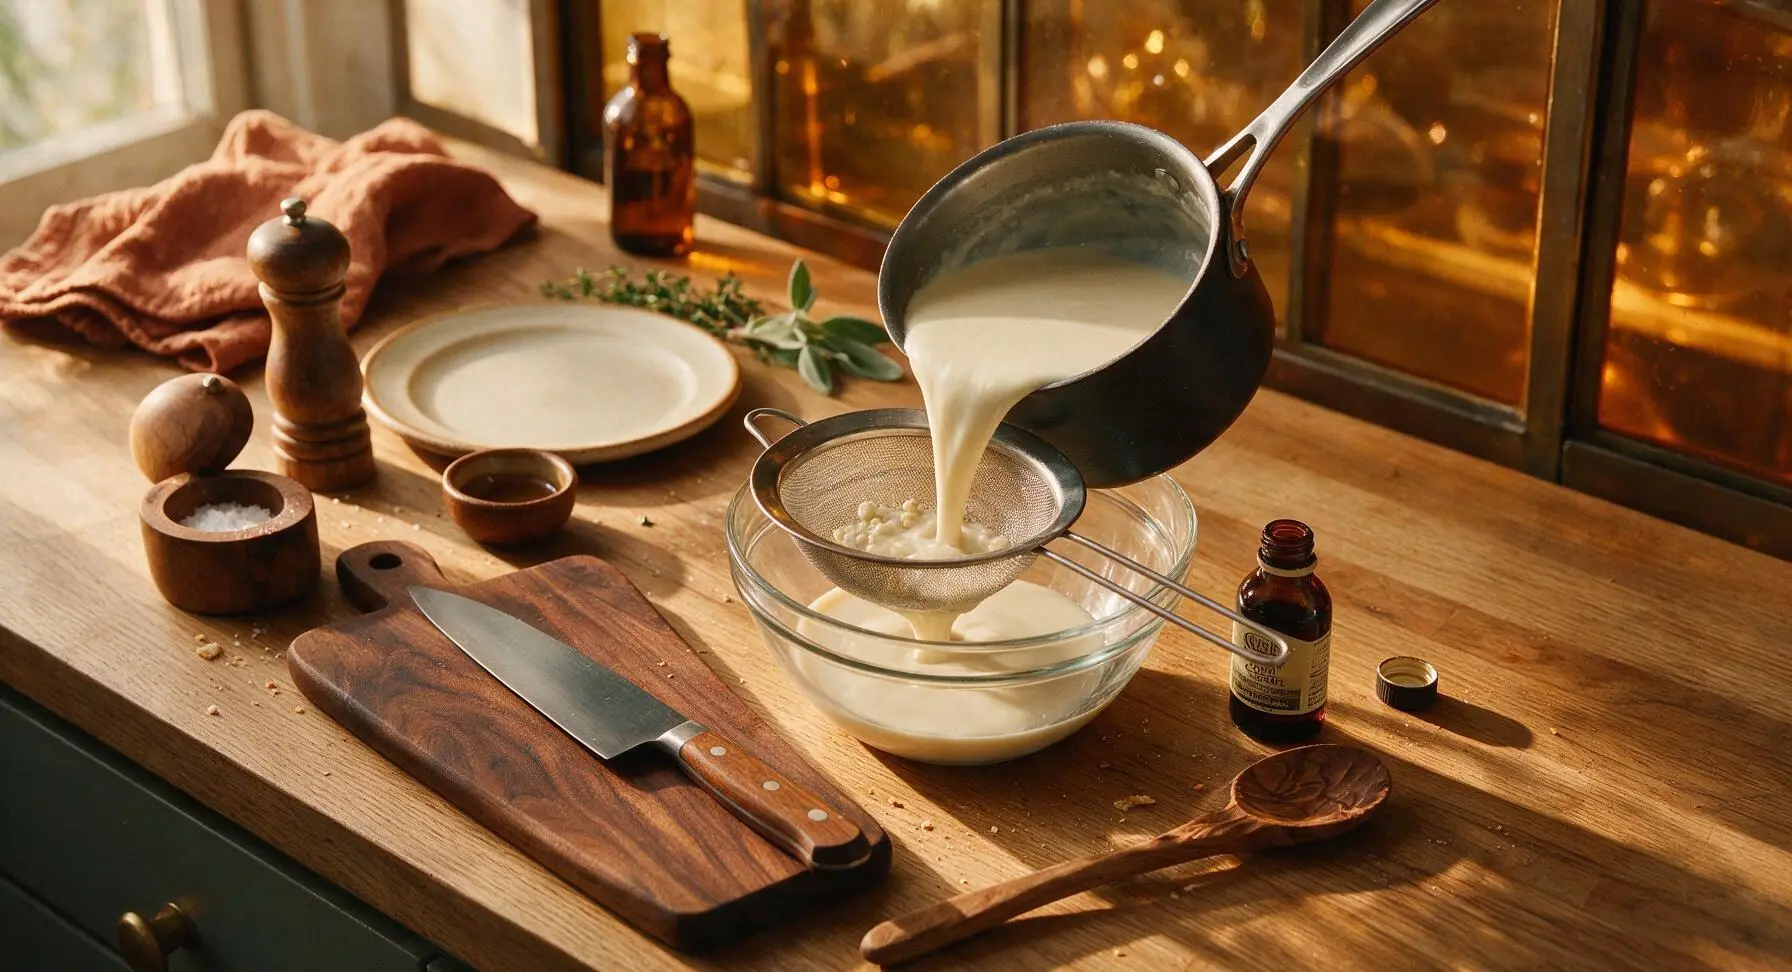
Remove the saucepan from the induction cooktop immediately once the pudding is thickened. Stir in the pure vanilla extract until fully incorporated. Place the fixed fine-mesh stainless steel sieve over the clear glass mixing bowl, and pour the hot pudding through the sieve to catch any small lumps or undissolved cornstarch clumps, pressing gently with the whisk to push all smooth pudding through. This step guarantees a perfectly silky, non-grainy texture.
Portion into Dessert Cups
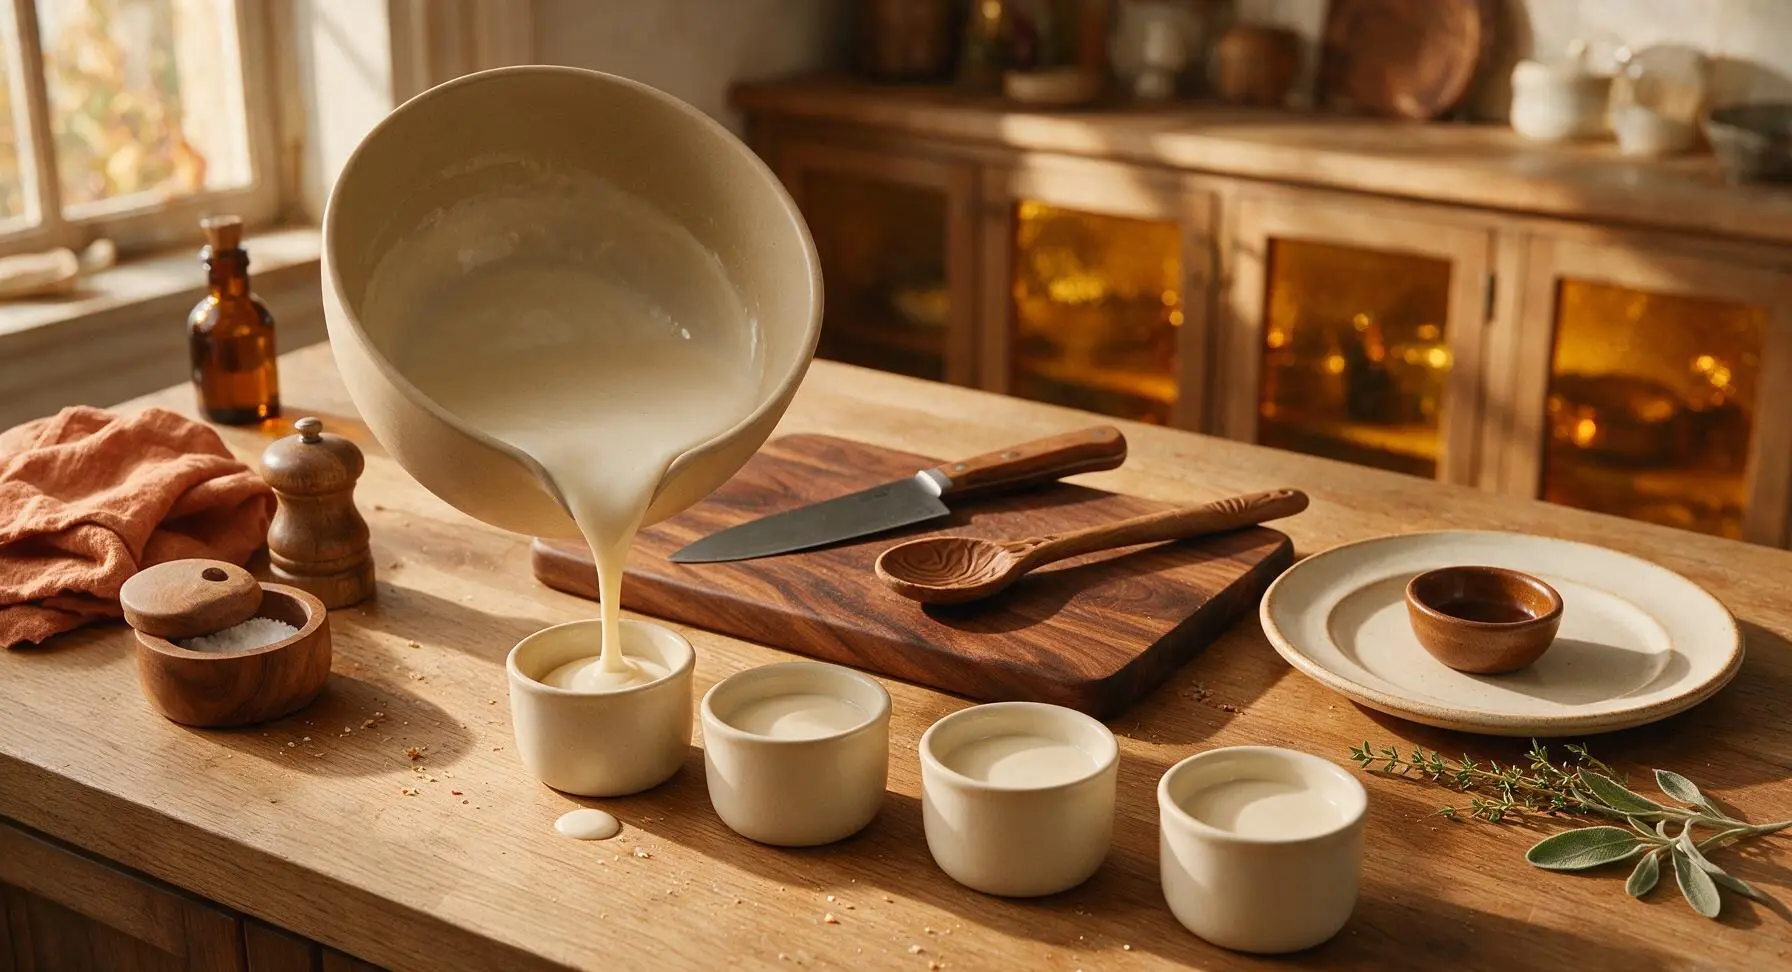
Carefully pour the strained, smooth pudding evenly between the four matte cream ceramic dessert cups, filling each to 1/2 inch below the rim. Wipe any drips from the outside of the cups with a corner of the striped cotton kitchen towel to keep edges clean. Do not add toppings at this stage, as warm pudding will cause berries to soften and discolor.
Chill Until Fully Set
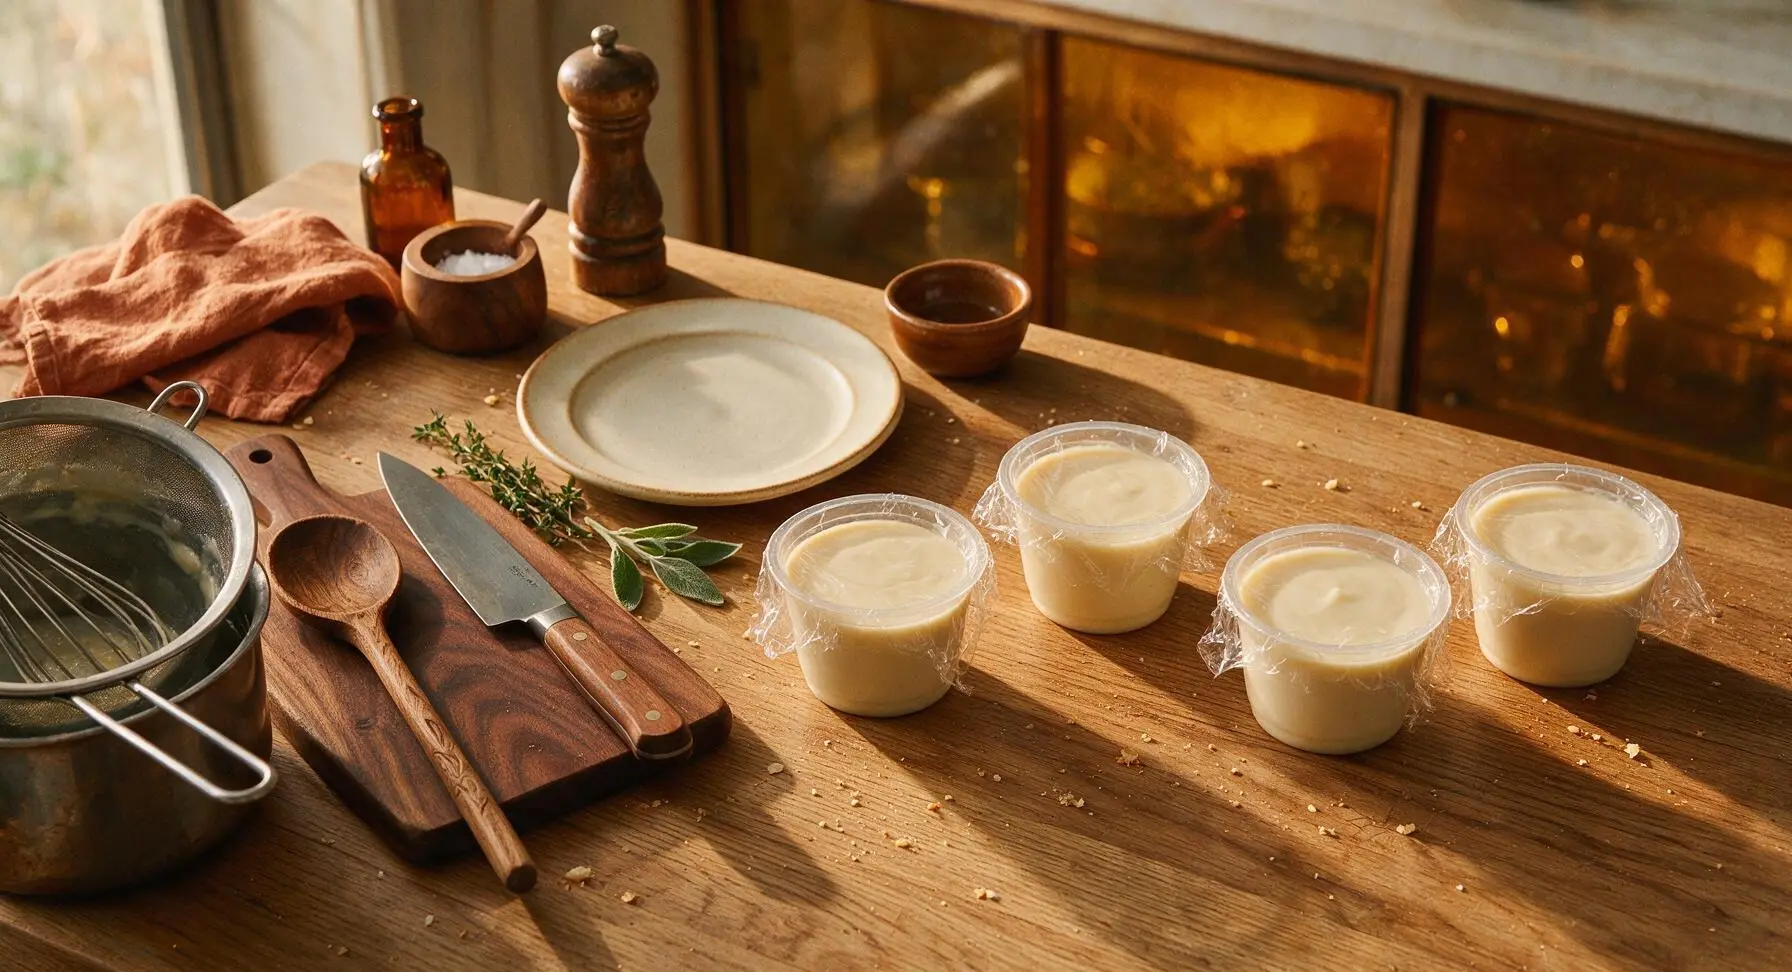
Cover each dessert cup loosely with a small square of clear plastic wrap, pressing the wrap directly against the surface of the pudding to prevent a thick, rubbery skin from forming as it cools. Transfer the cups to the refrigerator to chill for a minimum of 2 hours (or up to 3 days), until the pudding is fully firm to the touch with no liquid jiggle in the center when tapped gently.
Garnish and Serve
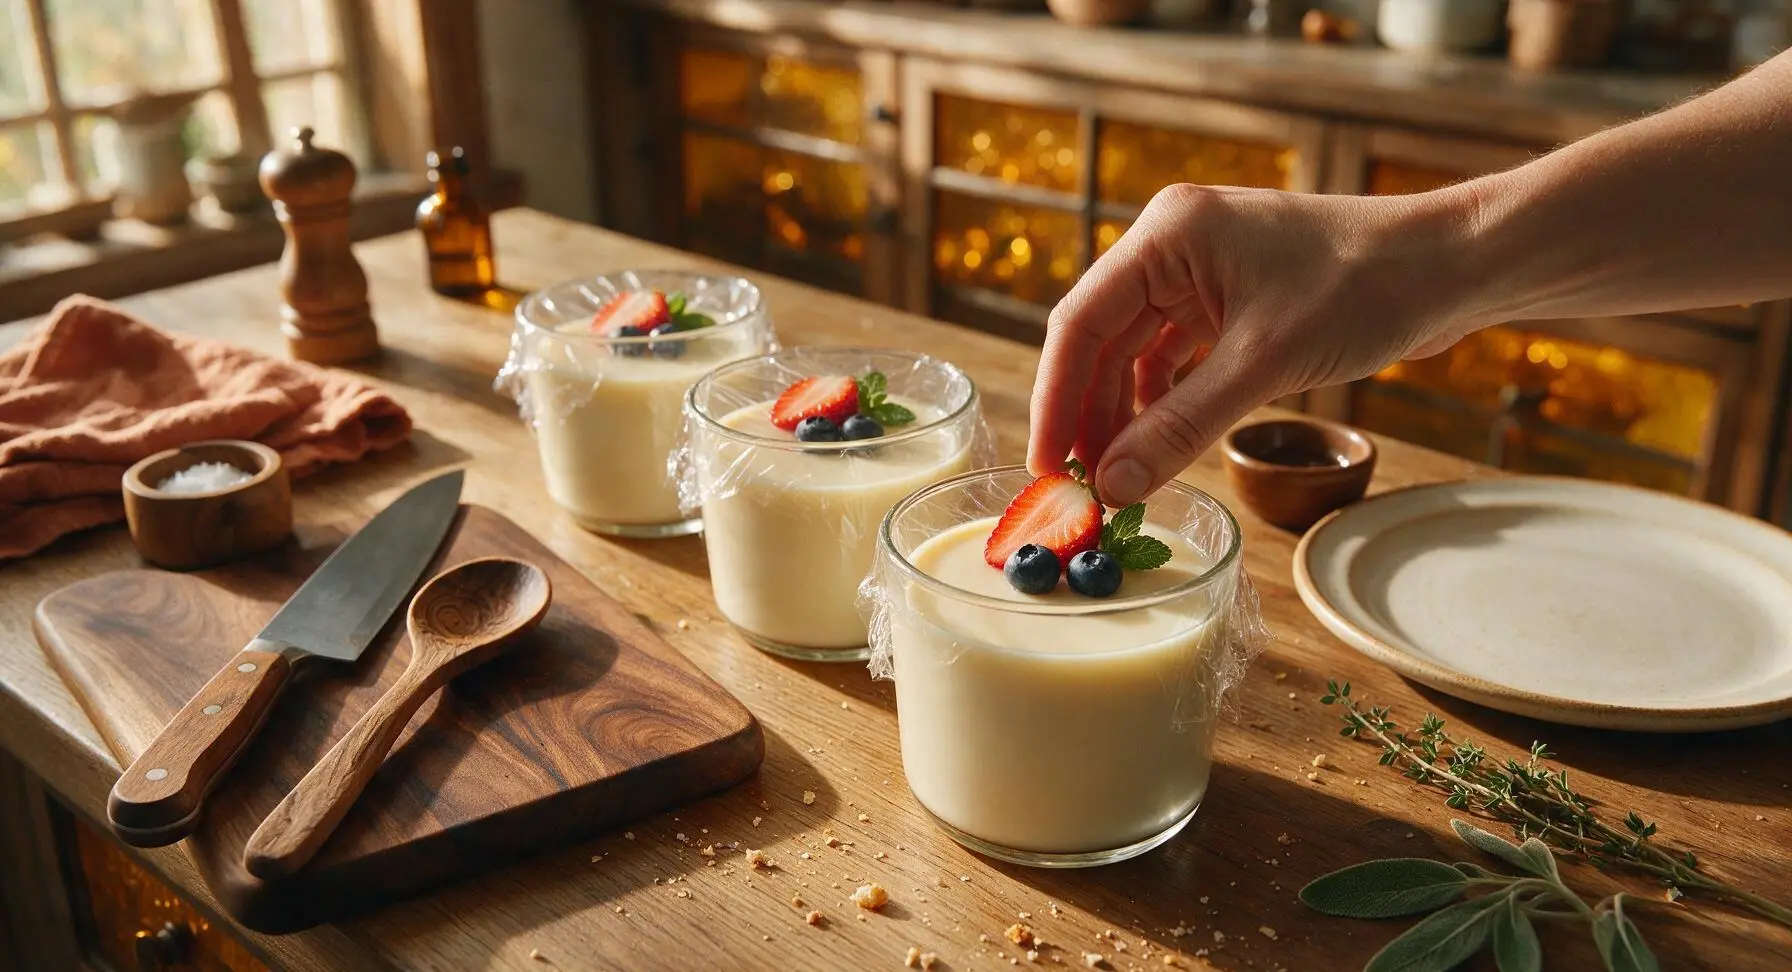
Once fully chilled, remove the plastic wrap from each pudding cup. Top each serving with a small handful of rinsed mixed berries, a light 1/4 teaspoon drizzle of maple syrup, and one small fresh mint leaf. Serve immediately, or keep chilled for up to 30 minutes before serving for best texture.
Tips
2.Press plastic wrap directly against the pudding surface while chilling: this eliminates air contact that causes a tough, rubbery 'skin' to form on top of the pudding, keeping the texture perfectly smooth from edge to edge.
3.Do not skip the straining step, even if you see no visible lumps: tiny undissolved cornstarch clumps will create a grainy, uneven mouthfeel in the finished pudding, and 30 seconds of straining guarantees a luxuriously silky texture that matches premium dairy pudding.






OMG this pudding is SO good! My 3 kids devoured it after soccer practice last night, no one even guessed it was non-dairy. I swapped the regular vanilla extract for the paste I had in the pantry and it had those pretty little vanilla specks, chef’s kiss. Already added this to our weekly meal prep rotation!
Game changer for my camping meal prep! I made a batch before my trip to the Superstition Mountains, kept it in a sealed cooler for 3 days and it stayed perfectly silky, no weird separation. Tasted way better than the store-bought non-dairy pudding cups that have that weird chemical aftertaste. 10/10, will make again.
Really solid pudding! The texture is exactly as advertised, super silky no weird lumps. My only note is that I used light canned coconut milk and it was a little thinner than I expected, next time I’ll reach for full fat. Still ate two bowls right after it chilled, no regrets lol.
Wait this only takes 10 minutes of cook time??? I’m a broke college student with no fancy kitchen gear and I pulled this off flawlessly in my dorm microwave? No lumps, no weird texture, tastes like the fancy vanilla pudding my grandma used to make but without the dairy that messes up my stomach. Absolute win.
Brought this to our neighborhood potluck last weekend and people were hounding me for the recipe all night! I topped it with toasted coconut flakes and fresh strawberry slices, it looked so pretty on the dessert table. Even my dairy-loving brother-in-law went back for a second serving, said he couldn’t tell it didn’t have cow’s milk in it.
My youngest has a cow’s milk allergy so I’m always on the hunt for easy desserts that don’t make him feel left out at family dinners. This was a home run! We topped ours with a little dairy-free whipped cream and chocolate shavings, and he kept saying ‘this is the best pudding ever!’ Win for dad.
Super easy, super tasty. I added a tiny pinch of sea salt on top before serving and it made the vanilla and coconut flavors pop so much more. Only reason it’s not 5 stars is I wish it had a little stronger coconut flavor, next time I might add a 1/4 tsp of coconut extract to amp it up.
Wait I was so scared I’d mess this up because I always burn custard-style desserts, but this came out perfect on my first try!!! No lumps, no burnt bits on the bottom of the pan, it’s so smooth I can’t believe I made it. Thank you for the easy, no-fuss instructions!!!
I make a batch of this every Sunday for my weekday work lunches as a little sweet treat to look forward to. It holds up perfectly in the fridge for 4 whole days, no separation, no weird texture change, just consistently silky every spoonful. I mix in a handful of blueberries right before eating and it’s chef’s kiss.
I served this at my book club meeting last night and everyone thought I spent hours making a fancy dessert! Little did they know it only took me 10 minutes of active cook time, I just dressed it up with some caramel drizzle and toasted pecans. Will absolutely be making this again for our next gathering.
The texture was great, don’t get me wrong, but for me it was a little too sweet. Next time I’ll cut the maple syrup by a tablespoon and see how that goes. Still a solid base recipe, just needs a little tweak for my taste since I don’t love super sweet desserts.
My toddler is going through that super picky phase where he refuses anything that doesn’t come in a crinkly snack bag, but he gobbled this up! I let him help stir the pot (super messy, worth it) and he was so proud to eat the pudding he ‘made’ himself. Huge win in our house.
Made this for my team’s post-practice snack yesterday and it was a hit! It’s light enough that it doesn’t sit heavy in their stomachs before runs, but sweet enough that it feels like a treat. I layered it in little cups with granola for a mini parfait vibe, will definitely be a regular on our snack roster.
Wait a second, you’re telling me I can make a fancy, restaurant-worthy pudding in 10 minutes without baking anything? That’s my kind of recipe. I always skip pudding recipes because I think they’re too fussy, but this was so straightforward I’m mad I didn’t find it sooner.
Really lovely pudding! The silky texture is no joke, it’s so smooth it feels like it melts on your tongue. I used vanilla bean instead of extract and it was absolutely divine. Only tiny complaint is that my first batch got a little lumpy because I didn’t whisk the cornstarch slurry well enough, but that was 100% user error, not the recipe’s fault.
I grew up eating those instant vanilla pudding packets my mom made, and this tastes just like that but so much better, no weird artificial aftertaste. The coconut adds such a nice subtle background flavor that doesn’t overpower the vanilla, it’s perfect. I’ll never buy the instant stuff again.
Love that this recipe uses simple, pantry-staple ingredients with no weird fillers! I had a half can of coconut milk left over from making curry earlier in the week, so I used that plus a little extra cornstarch to make up the volume, and it turned out perfect. No food waste, delicious dessert, win win.
Made this for our weekly Sunday family dinner, and even my 82-year-old dad who swears ‘non-dairy food tastes like cardboard’ had two helpings. I served it in those little glass dessert cups with a mint leaf on top, and it looked like something you’d get at a fancy restaurant. So easy, so impressive.
Made this at 10pm last night when I was craving something sweet but didn’t have any dairy in the fridge, and it was ready by 10:10, chilled enough to eat by 11? Life. Saver. It’s so rich and creamy I didn’t even miss the ice cream I was originally craving. 10/10 late night snack hack.