
old fashioned hot dog chili
intro
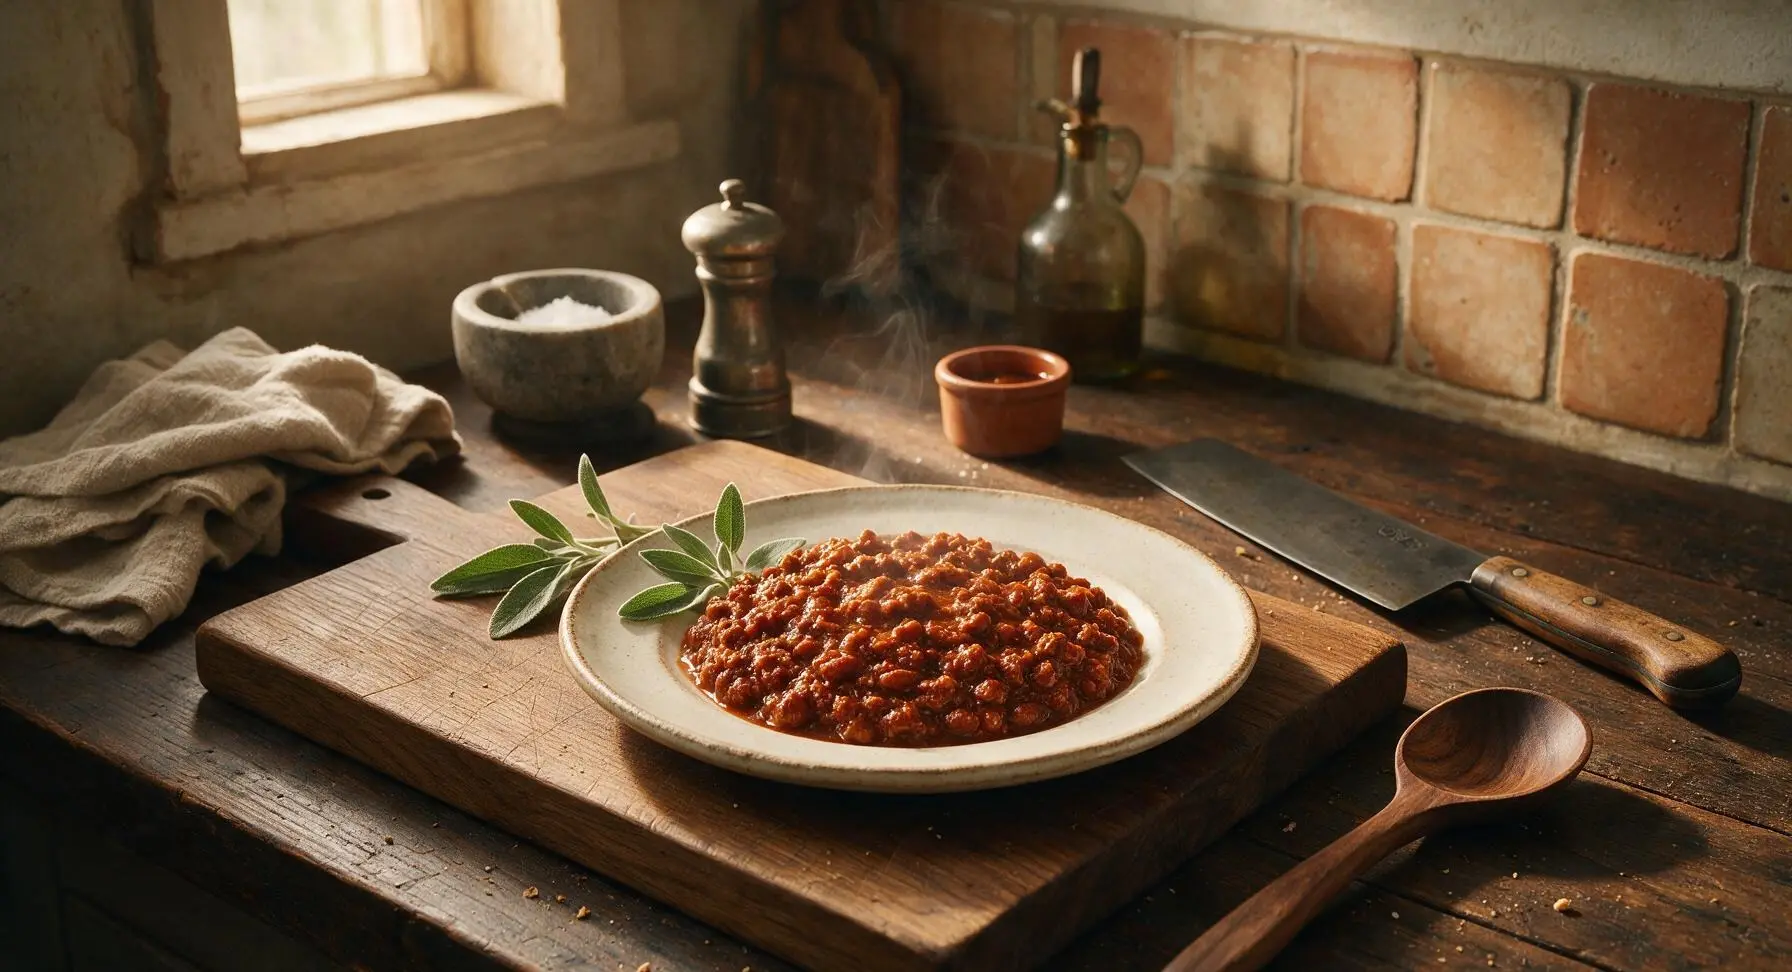
Rich, finely textured, bean-free savory-sweet chili crafted to pile high on grilled hot dogs, the nostalgic, no-fuss topping that defines summer backyard cookouts.
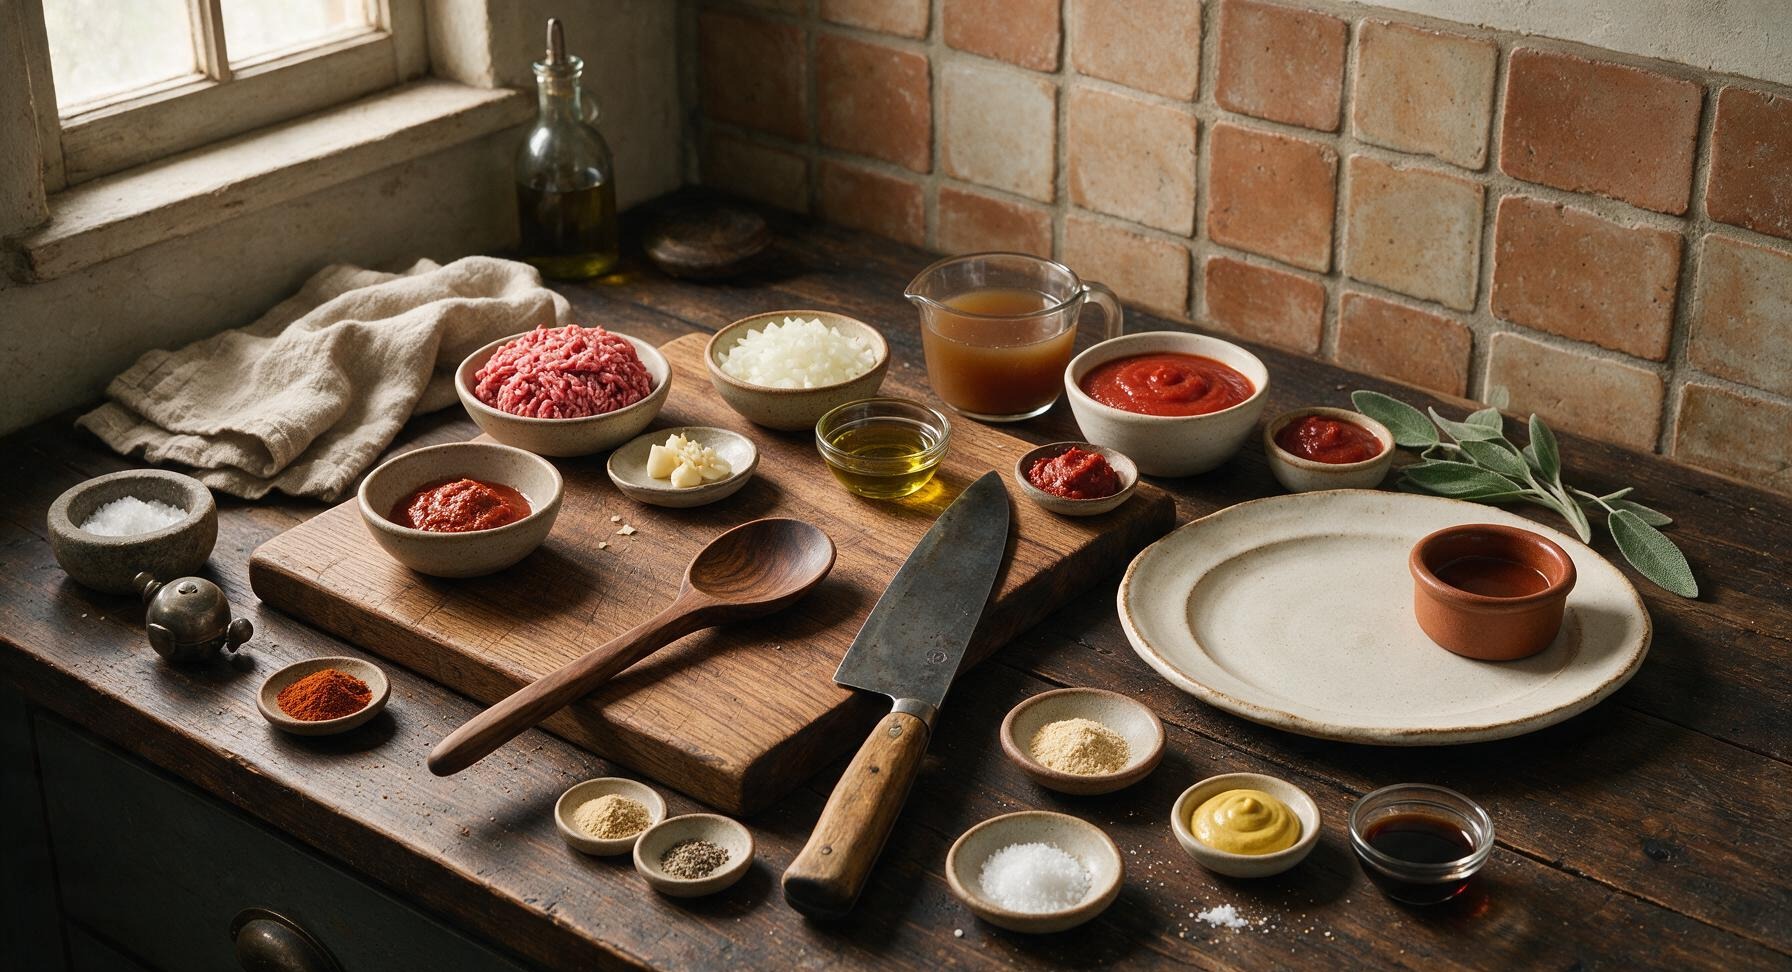
Ingredients
Steps
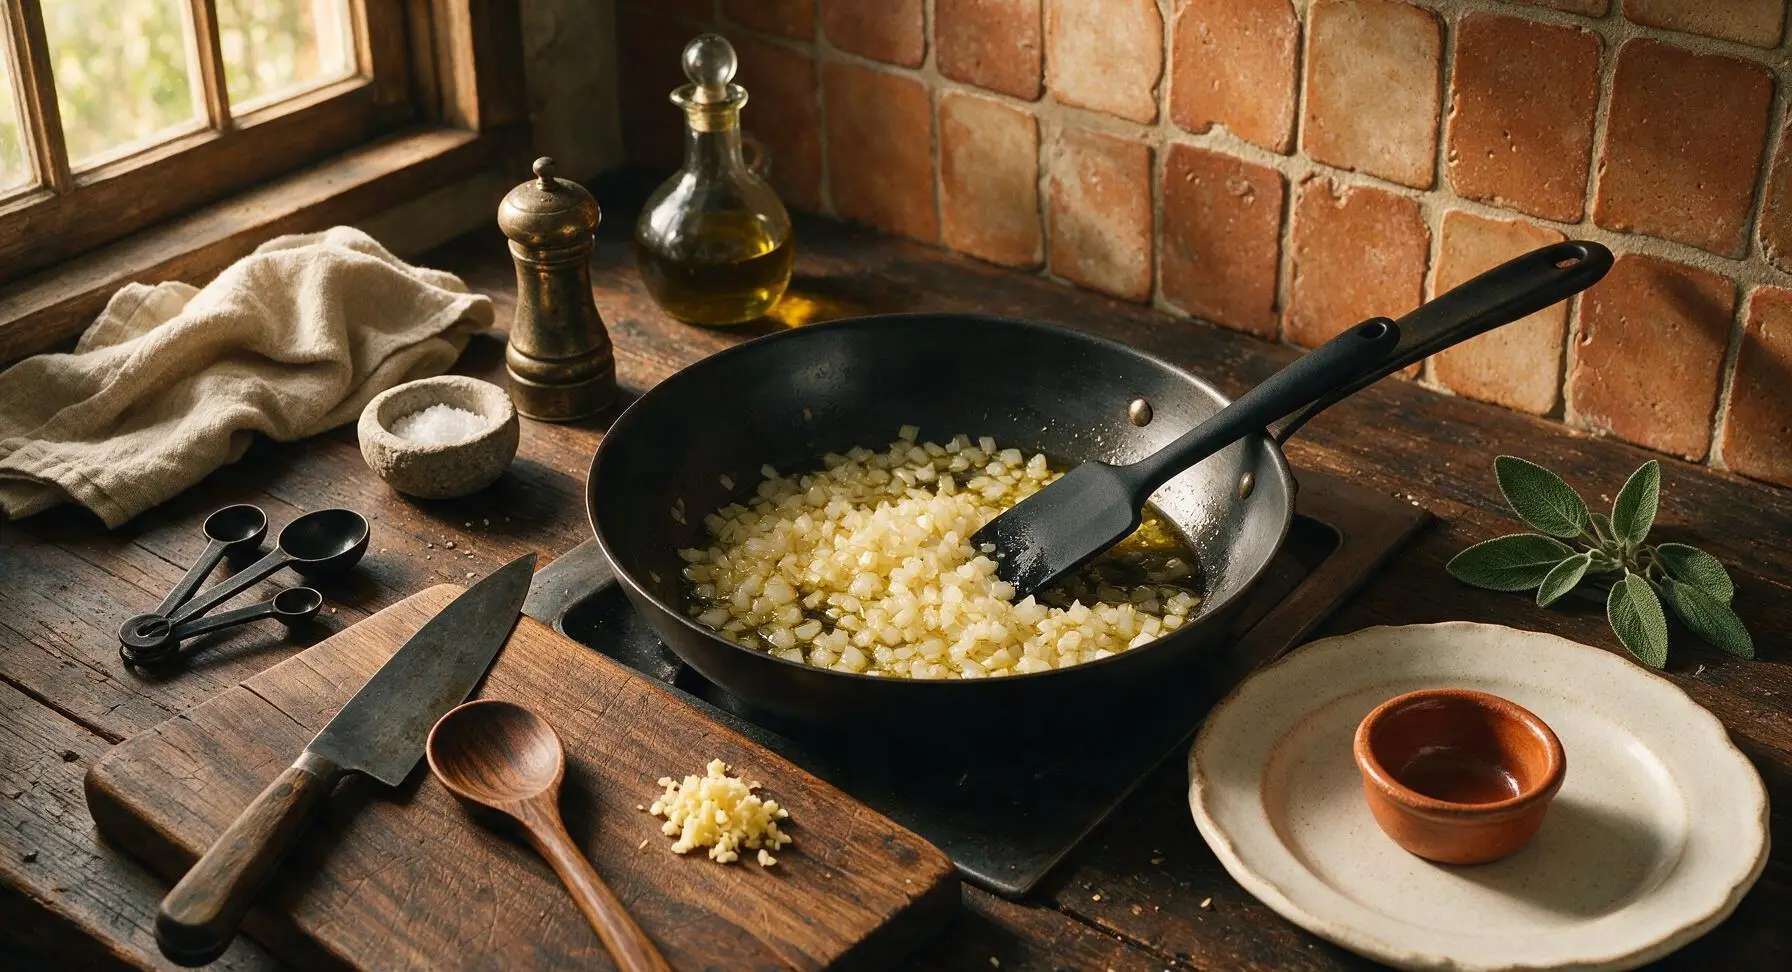
Sauté onion and garlic
Heat 1 teaspoon of olive oil in the 12-inch matte black carbon steel skillet over medium heat (350°F / 175°C). Add the finely diced yellow onion, and cook for 3 minutes until soft and translucent, stirring occasionally with the silicone spatula. Add the minced garlic, and cook for 30 seconds more until fragrant, taking care not to burn the garlic (it will turn bitter if browned too darkly).
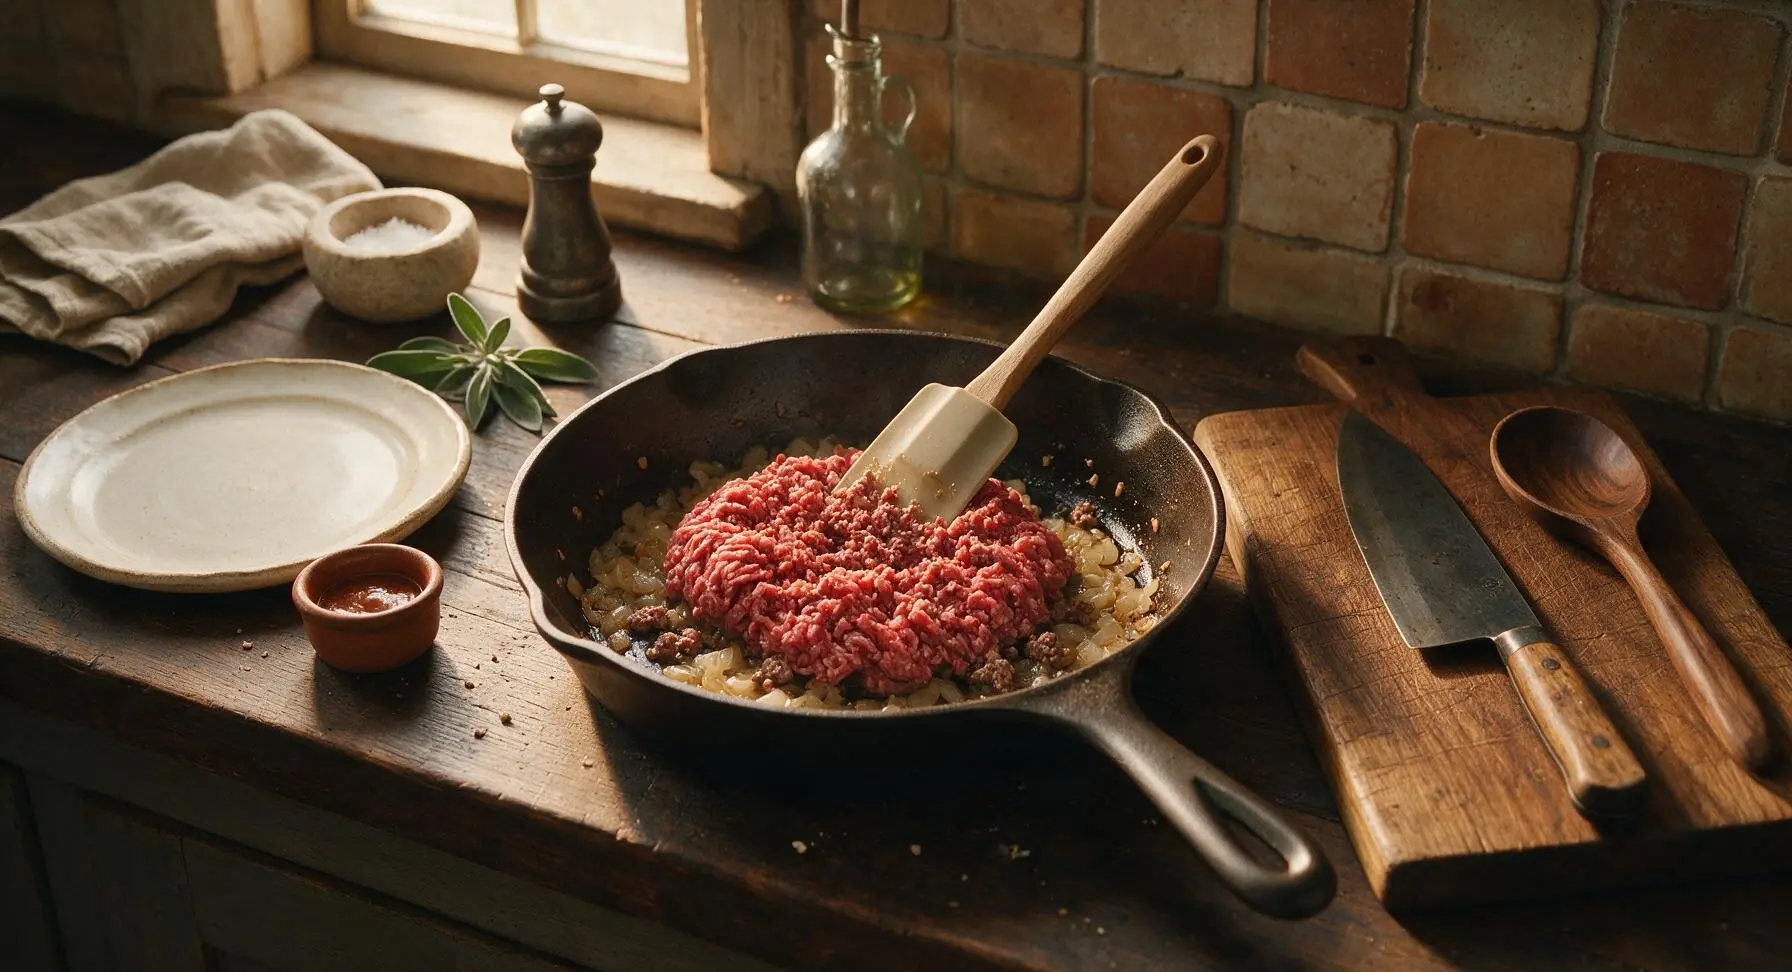
Brown ground beef
Add the full 1 lb of 80/20 ground beef to the skillet with the softened onion and garlic. Use the silicone spatula to break the beef into extremely fine crumbles as it cooks, about 5-6 minutes. Cook until no pink remains, and the beef is lightly browned at the edges. Break up any large clumps repeatedly—this fine texture is key for authentic hot dog chili that stays on the bun instead of falling off.
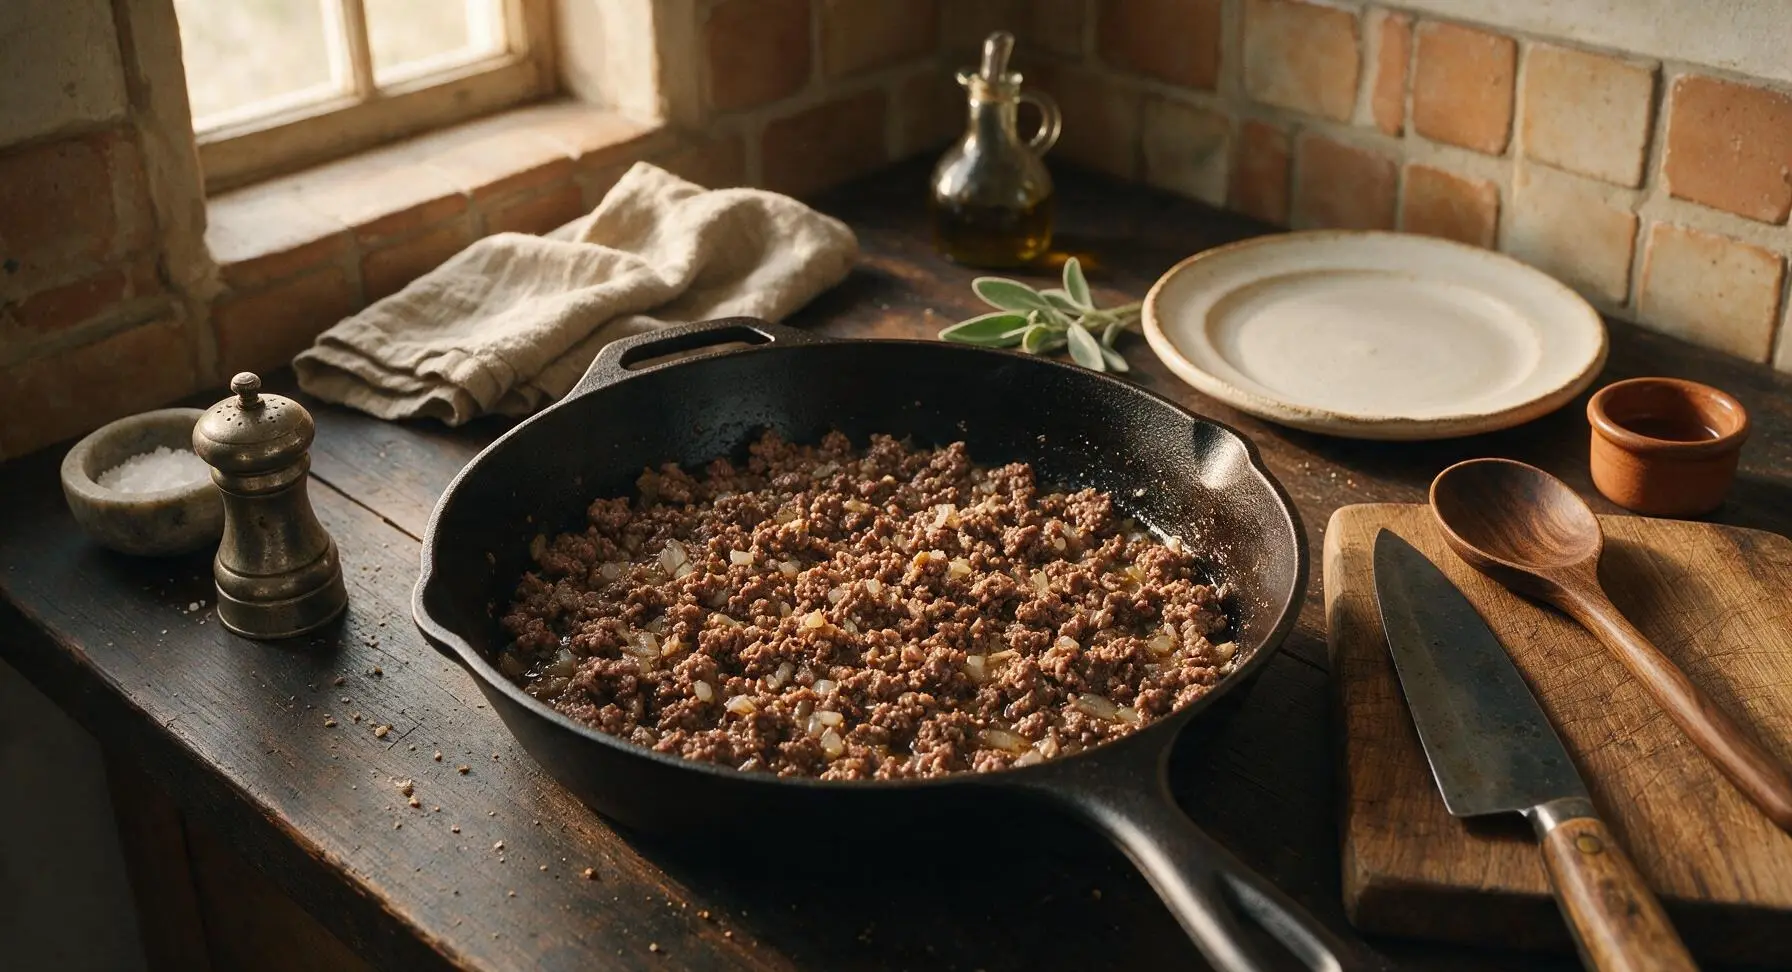
Toast tomato paste
Push the browned beef crumbles to the sides of the skillet to create a clear well in the center. Add the 2 tablespoons of tomato paste to the well, and cook, stirring constantly, for 1 minute until the paste darkens slightly to a deep rust red and smells sweet and fragrant. This toasting step removes the raw metallic taste of canned tomato paste.
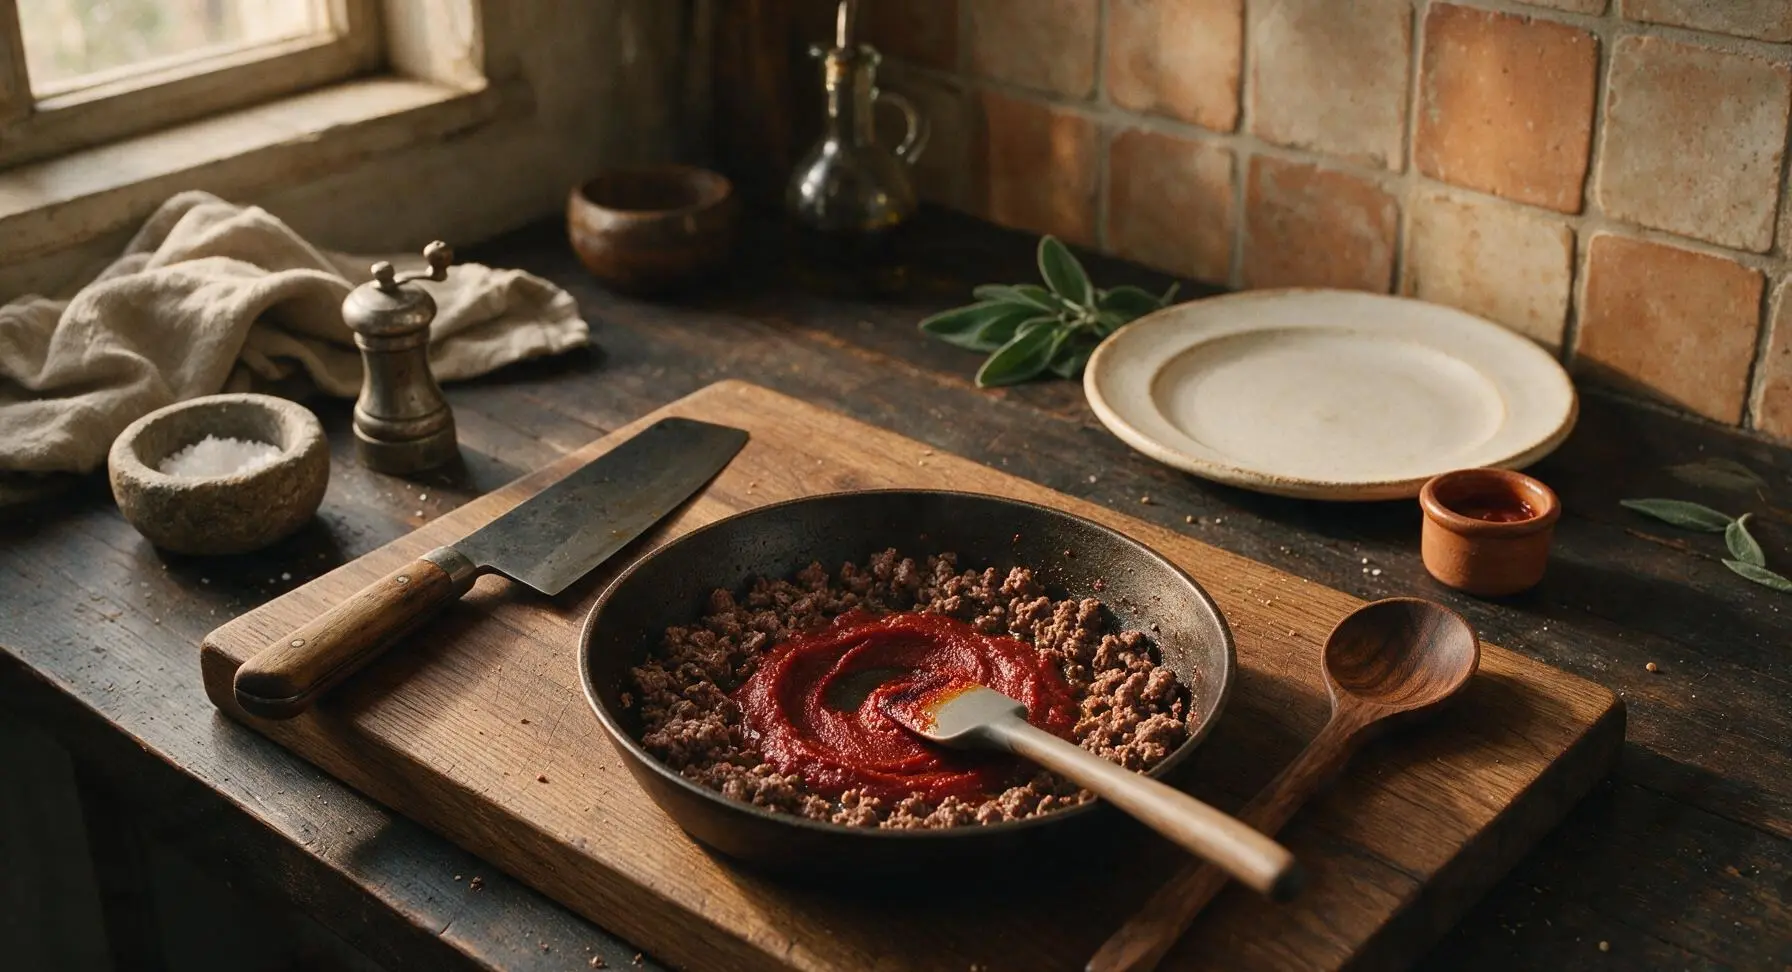
Stir in spices
Add the mild chili powder, sweet paprika, ground cumin, garlic powder, onion powder, kosher salt, black pepper, and granulated sugar to the skillet. Stir the spices into the beef and tomato paste mixture, coating all crumbles evenly, and cook for 30 seconds until the spices release their aroma. Be careful not to let the spices burn, as they will turn bitter quickly.
Add wet ingredients
Pour in the low-sodium beef broth, plain tomato sauce, prepared yellow mustard, and Worcestershire sauce. Stir the entire mixture thoroughly to combine, scraping up any browned bits (fond) from the bottom of the skillet to incorporate into the sauce. Bring the mixture to a gentle simmer, with small bubbles breaking slowly across the surface.
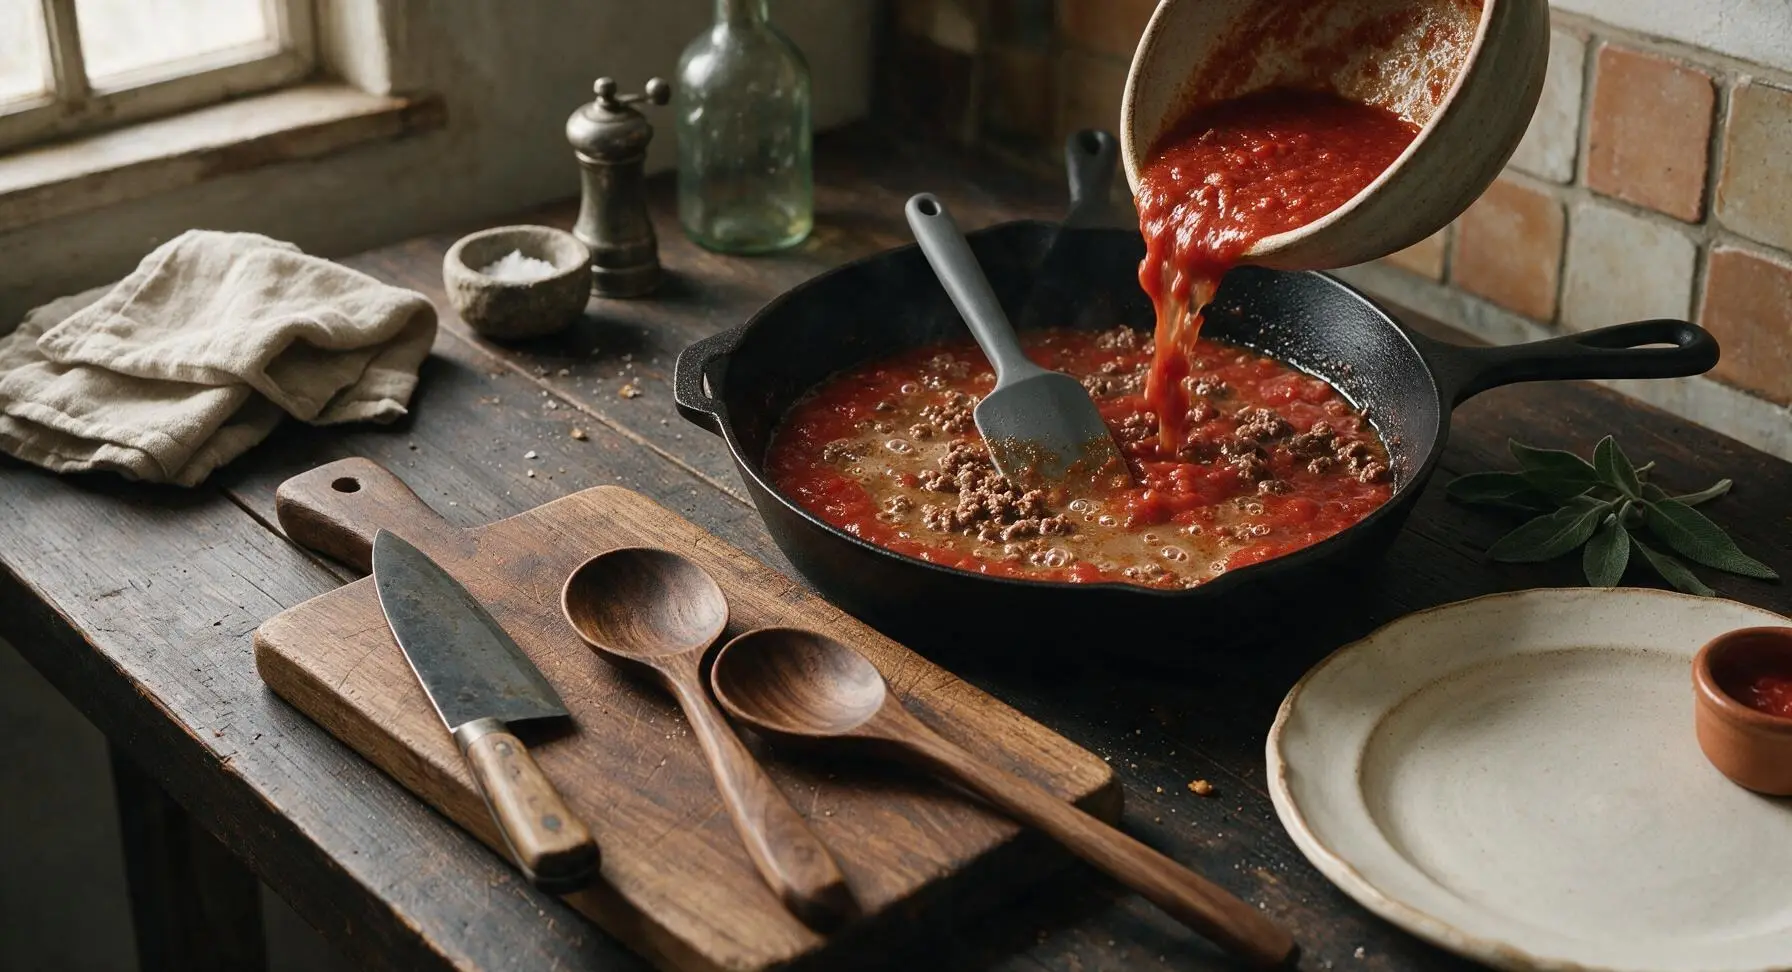
Simmer chili slowly
Reduce the heat to low (200°F / 95°C) to maintain a gentle, steady simmer. Do not cover the skillet. Let the chili cook for 25 minutes, stirring every 5 minutes to prevent sticking, until it thickens to a rich, spoon-coating consistency. The final chili should be moist but not runny—when you drag the spatula across the pan bottom, the channel should fill in slowly, not immediately.
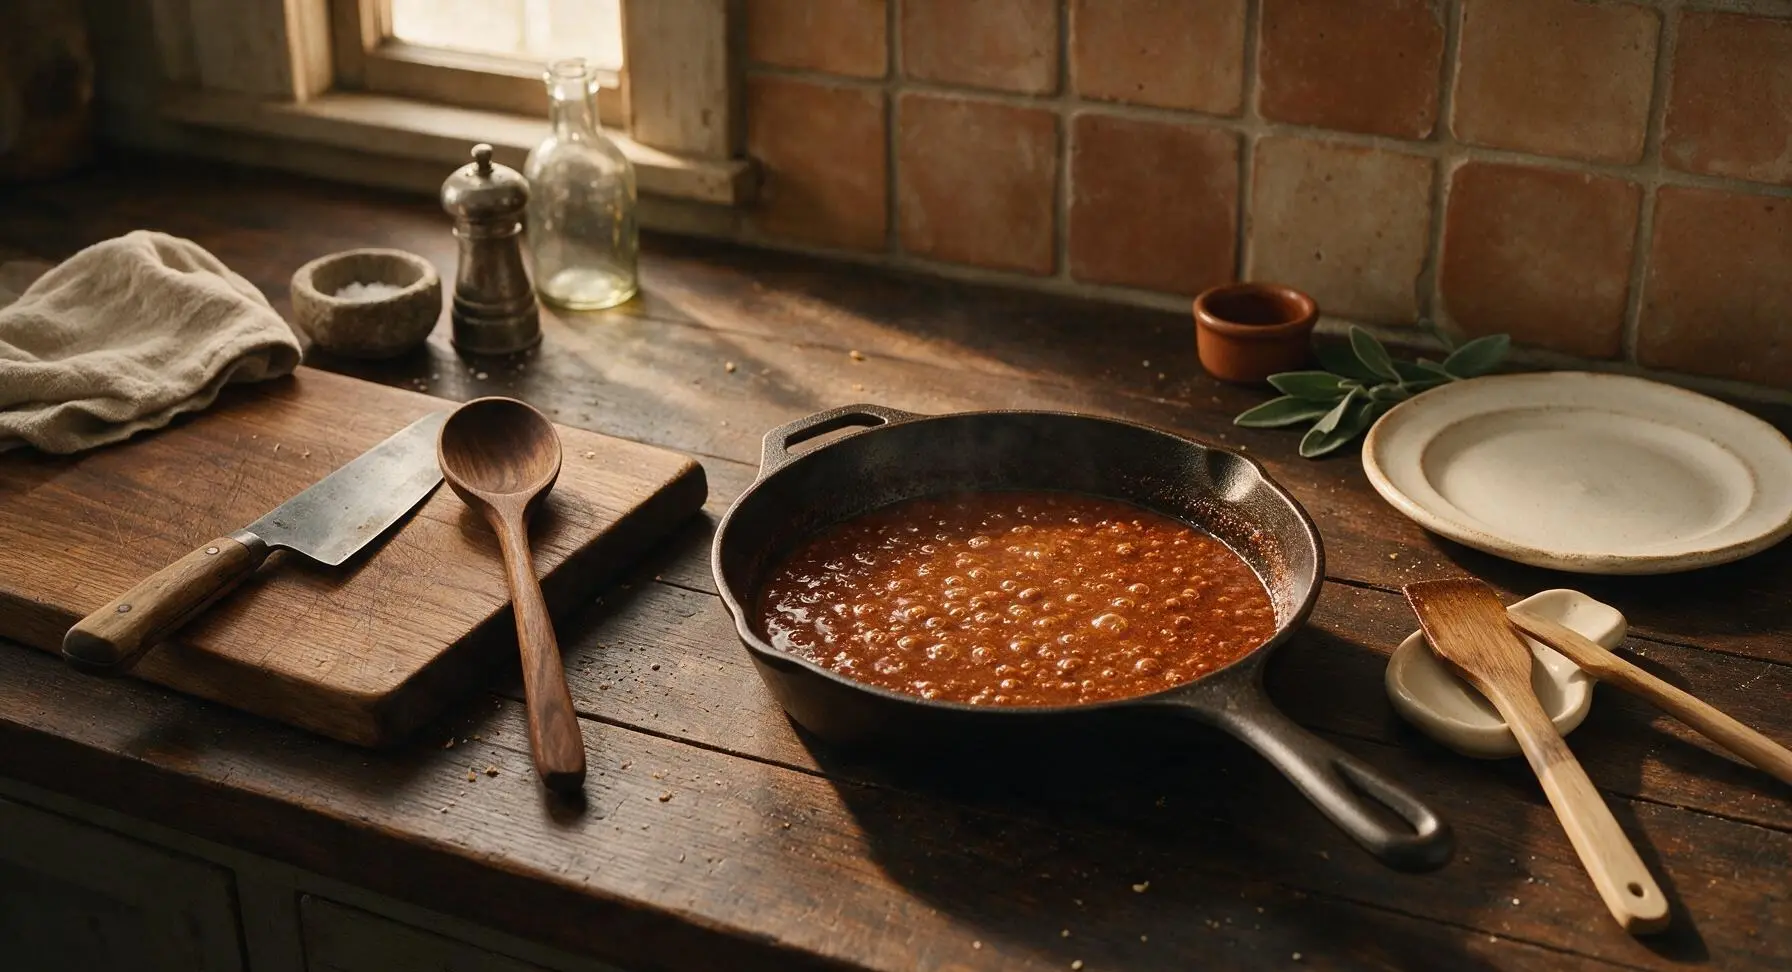
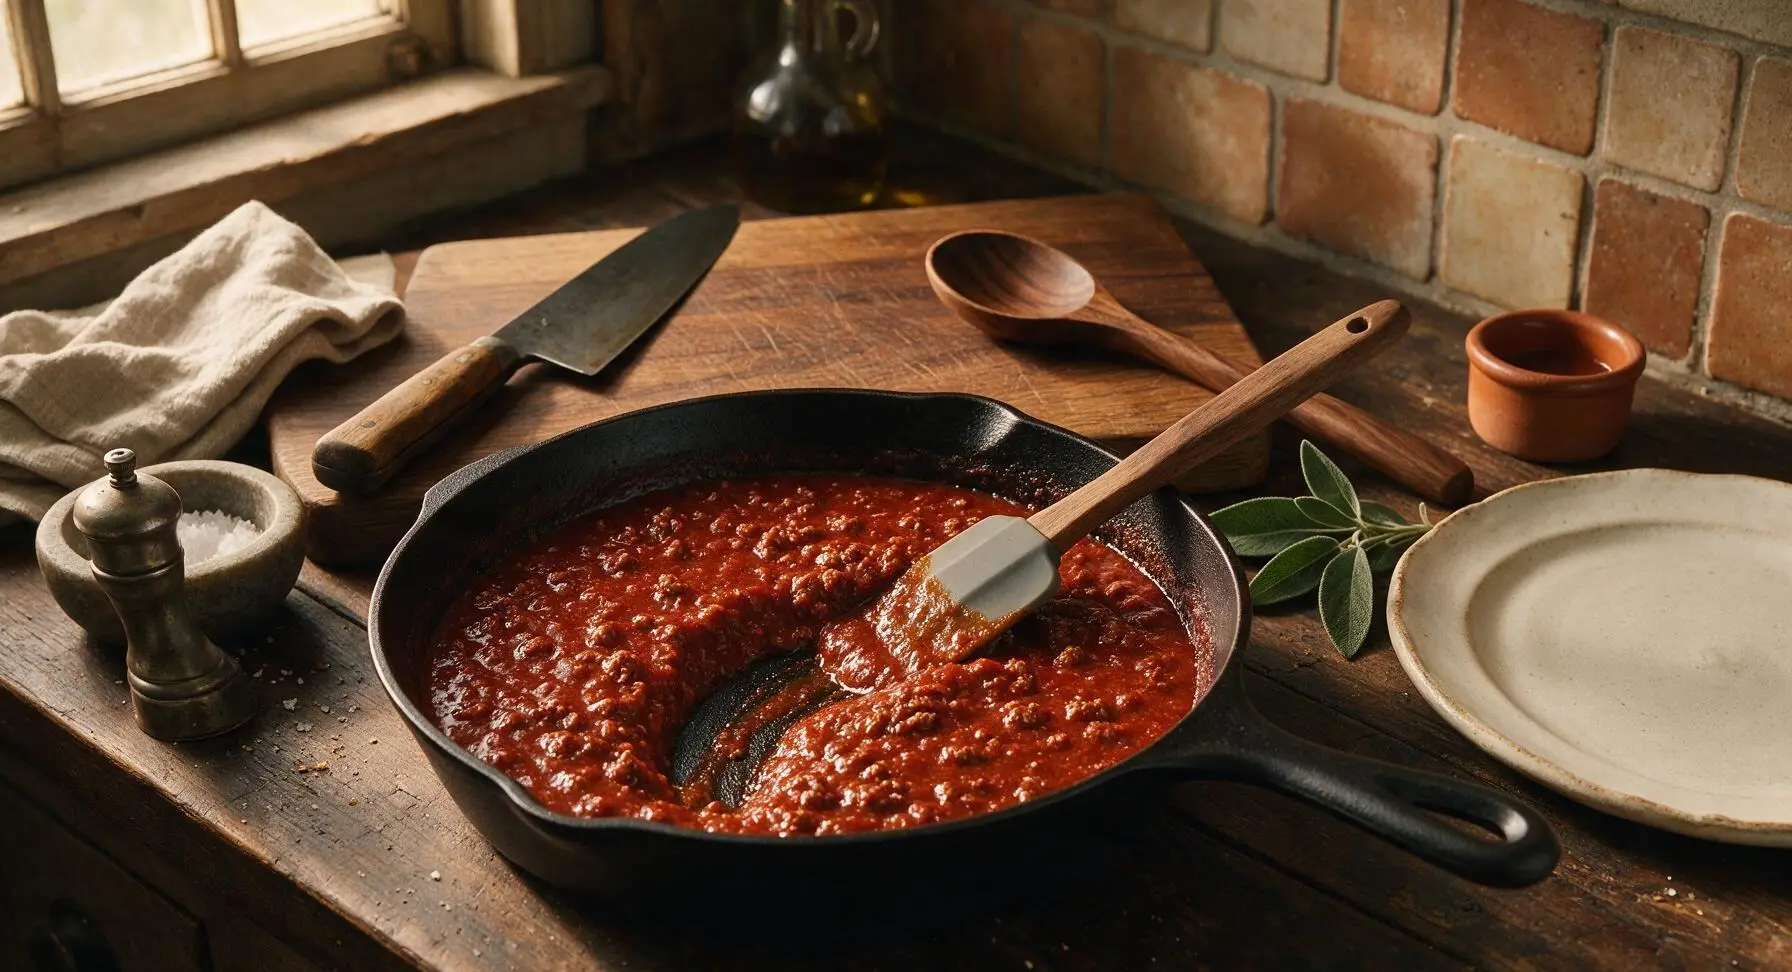
Taste and adjust
Taste a small spoonful of the chili, and adjust salt or pepper if needed. For a tangier finish, add an extra 1/4 teaspoon of yellow mustard; for extra sweetness, add a pinch more sugar. Let the chili rest for 5 minutes off the heat before serving, so the flavors meld and the texture sets slightly.
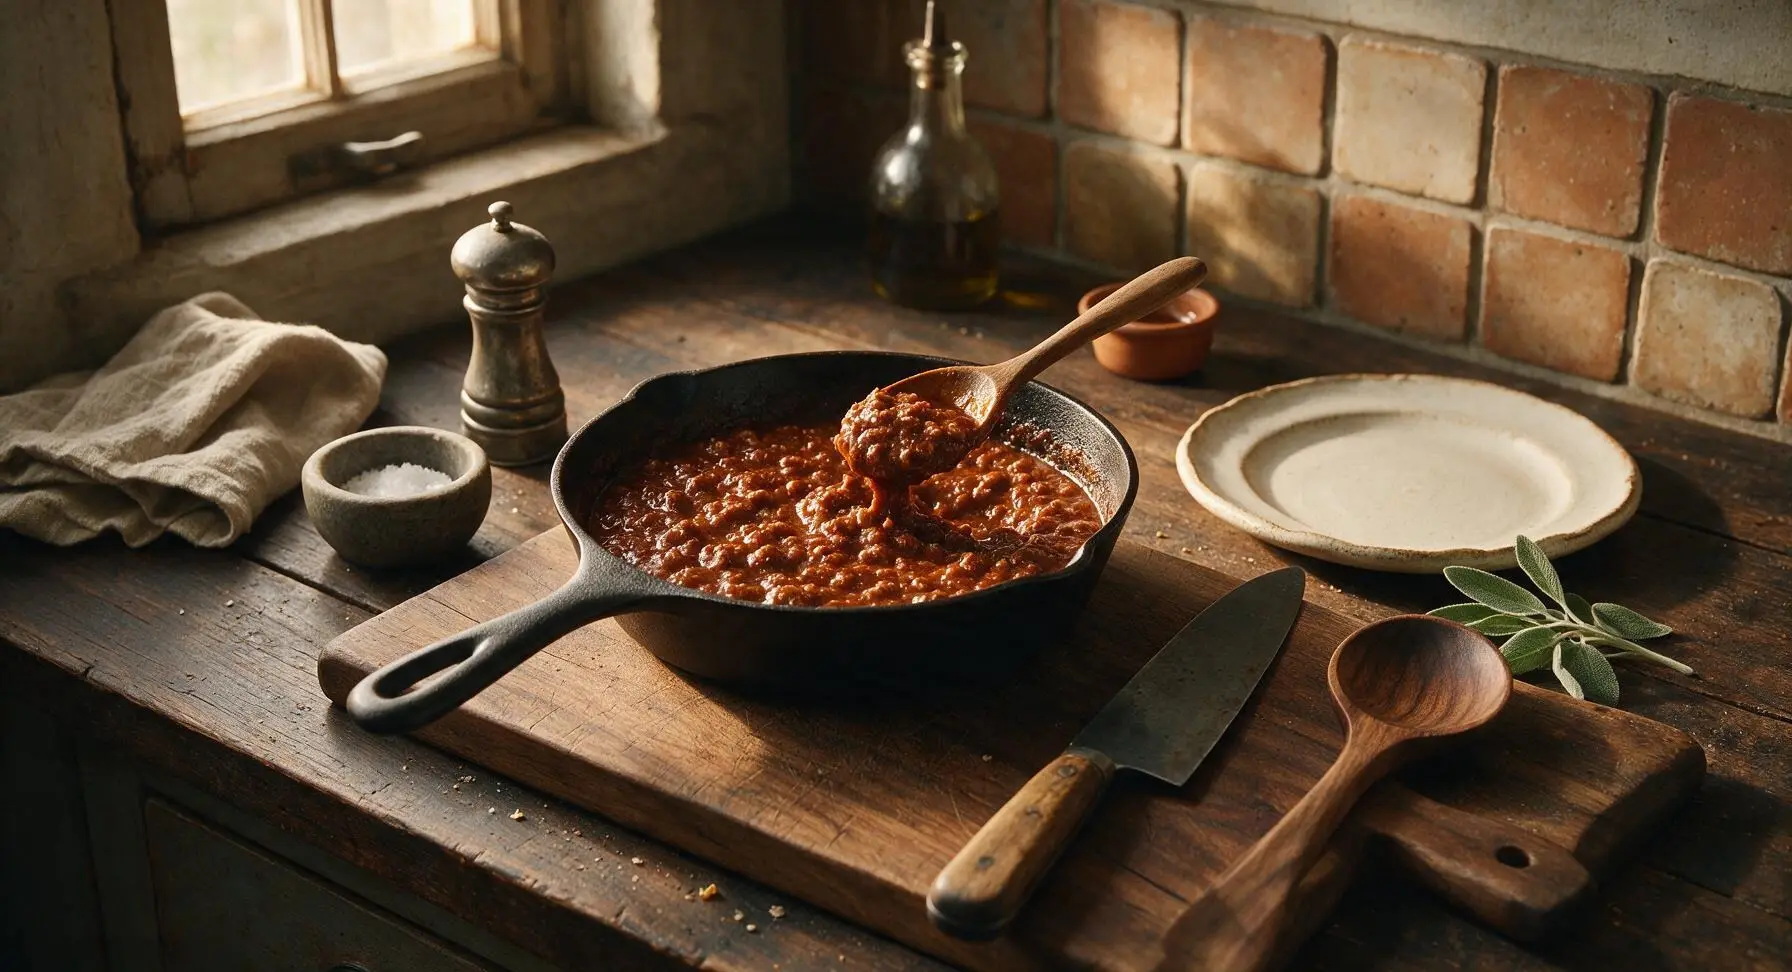
Tips
2.Skip the beans entirely: authentic old fashioned hot dog chili is intentionally bean-free to keep the texture smooth and scoopable, so it stays piled high on your hot dog instead of rolling off the bun onto your plate. Save chunky bean chili for serving in bowls as a main dish.
3.Resist the urge to cover the skillet while simmering: covering traps steam and makes the chili watery, which will soak through hot dog buns quickly. Cooking uncovered allows excess water to evaporate slowly, creating a thick, bun-friendly consistency.






Took this to our neighborhood potluck last weekend and it was a total hit! Super easy to throw together, even when I was rushing to get all the food out the door. Tastes exactly like the old fashioned chili my grandpa used to make for our 4th of July cookouts. Will absolutely be adding this to my regular rotation.
Quick question—can I make this a day ahead for meal prep and reheat it for dinner tomorrow? I’m swamped with work this week and this looks perfect for quick weeknight hot dog nights!
Game. Changer. I’ve been searching for a no-fuss hot dog chili recipe that doesn’t have beans (my husband swears chili on dogs should NEVER have beans, lol) and this hits every single mark. We had it for family dinner last night with crinkle cut fries on the side and no leftovers at all.
As a college student with barely any cooking skills, this was so easy to pull off with ingredients I already had in my pantry! Cost me like $5 total to make enough for a week of chili dogs, way cheaper than getting takeout from the cart down the street. 10/10.
This was really good, but I added an extra teaspoon of cayenne and a splash of hot sauce to give it a little kick, since my household loves spicy food. Worked perfectly! Great base recipe to tweak to your taste.
Made this over our camp stove last weekend on our camping trip and it was perfect! We served it over grilled dogs and even used the leftover chili to make chili cheese fries the next night. Only note is I wish I’d made a double batch, we ran out way too fast.
Wait, do you drain the ground beef before adding the sauce ingredients? I always second guess that step with chili recipes!
OMG SO good. I’ve tried so many hot dog chili recipes over the years and this is the only one that doesn’t come out too runny or too tomato-heavy. The little bit of sweetness from the ketchup and the tang from the vinegar is exactly that old fashioned flavor I’ve been chasing. My grandma even asked for the recipe, which is the highest possible compliment honestly.
My kids loved it! They’re super picky eaters and usually turn their noses up at any chili that’s not the canned stuff, but they devoured this. I let them add their own shredded cheese and onion on top and they thought it was the best dinner ever. The 35 minute cook time is totally doable even on chaotic school nights.
This tastes exactly like the hot dog chili they served at the old drive-in movie theater I went to as a kid! I was worried it wouldn’t live up to my memory, but it’s spot on. I topped mine with yellow mustard, diced onion, and a little coleslaw, just like I used to get back in the day.