
old fashioned vanilla pudding

title 1
old fashioned vanilla pudding
⏱️ cook time 15 minutes
🍽️ servings 4
⚡ Difficulty easy

intro

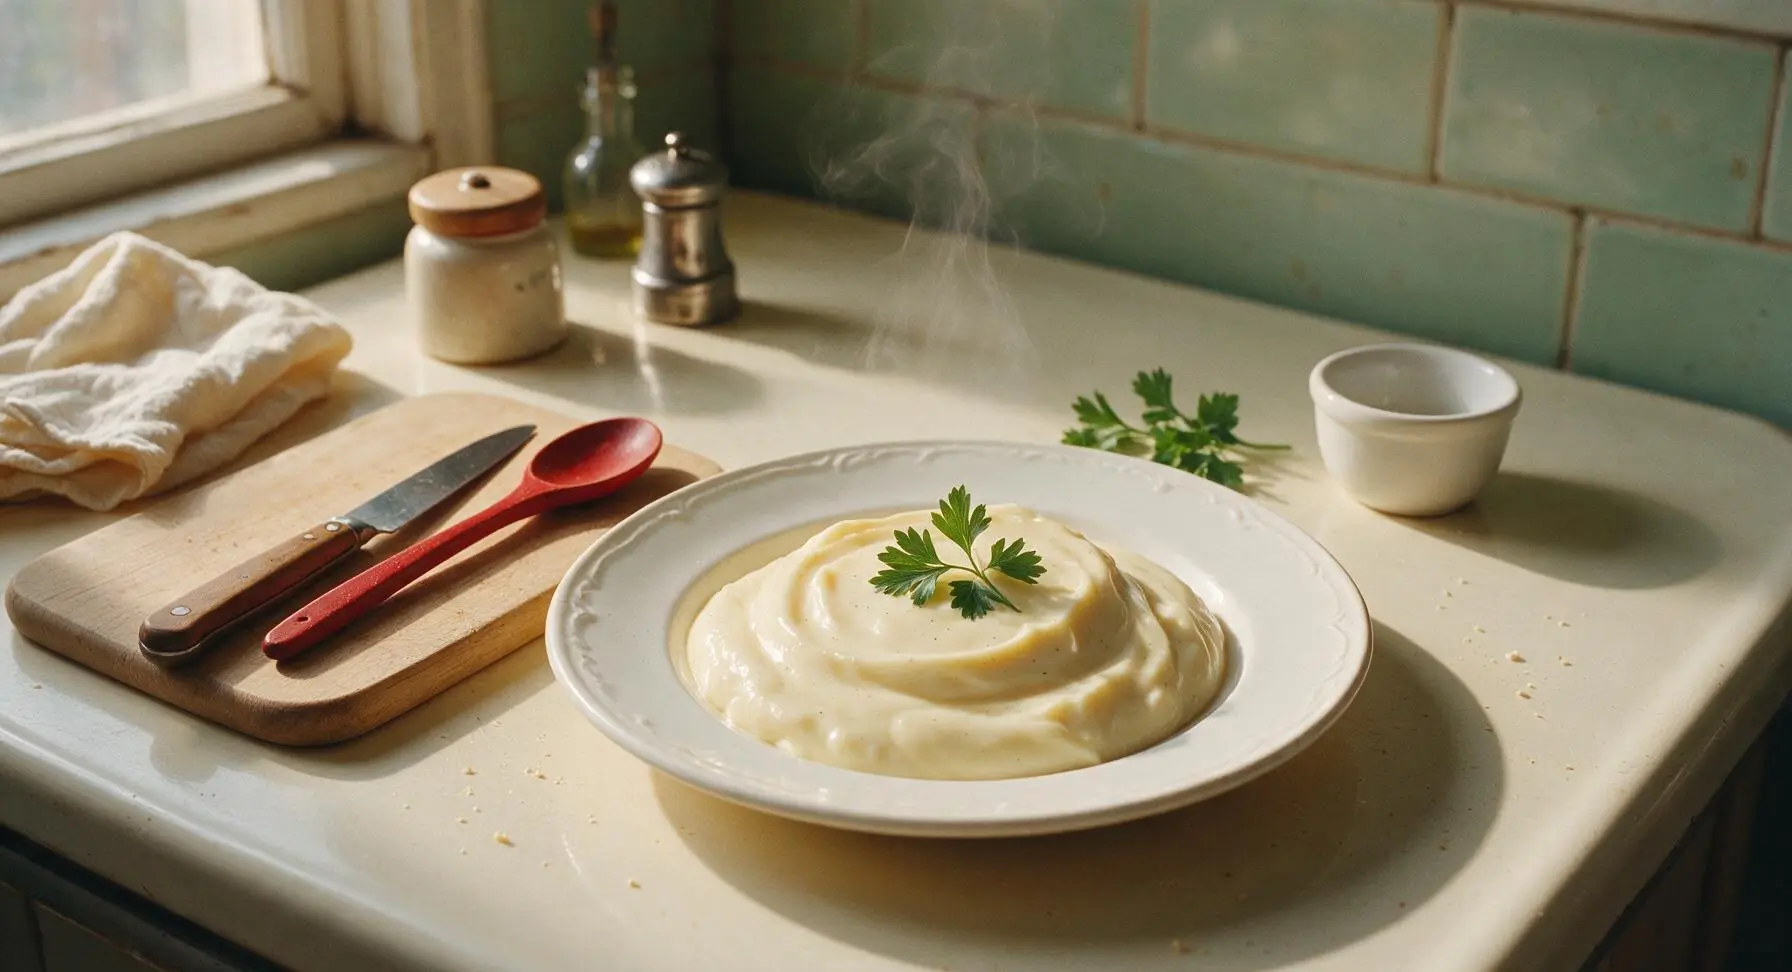
Silky, luxuriously smooth old-fashioned vanilla pudding made from scratch without artificial mixes, with deep real vanilla flavor and a rich, creamy texture that tastes like cozy childhood Sunday dinners.

Ingredients
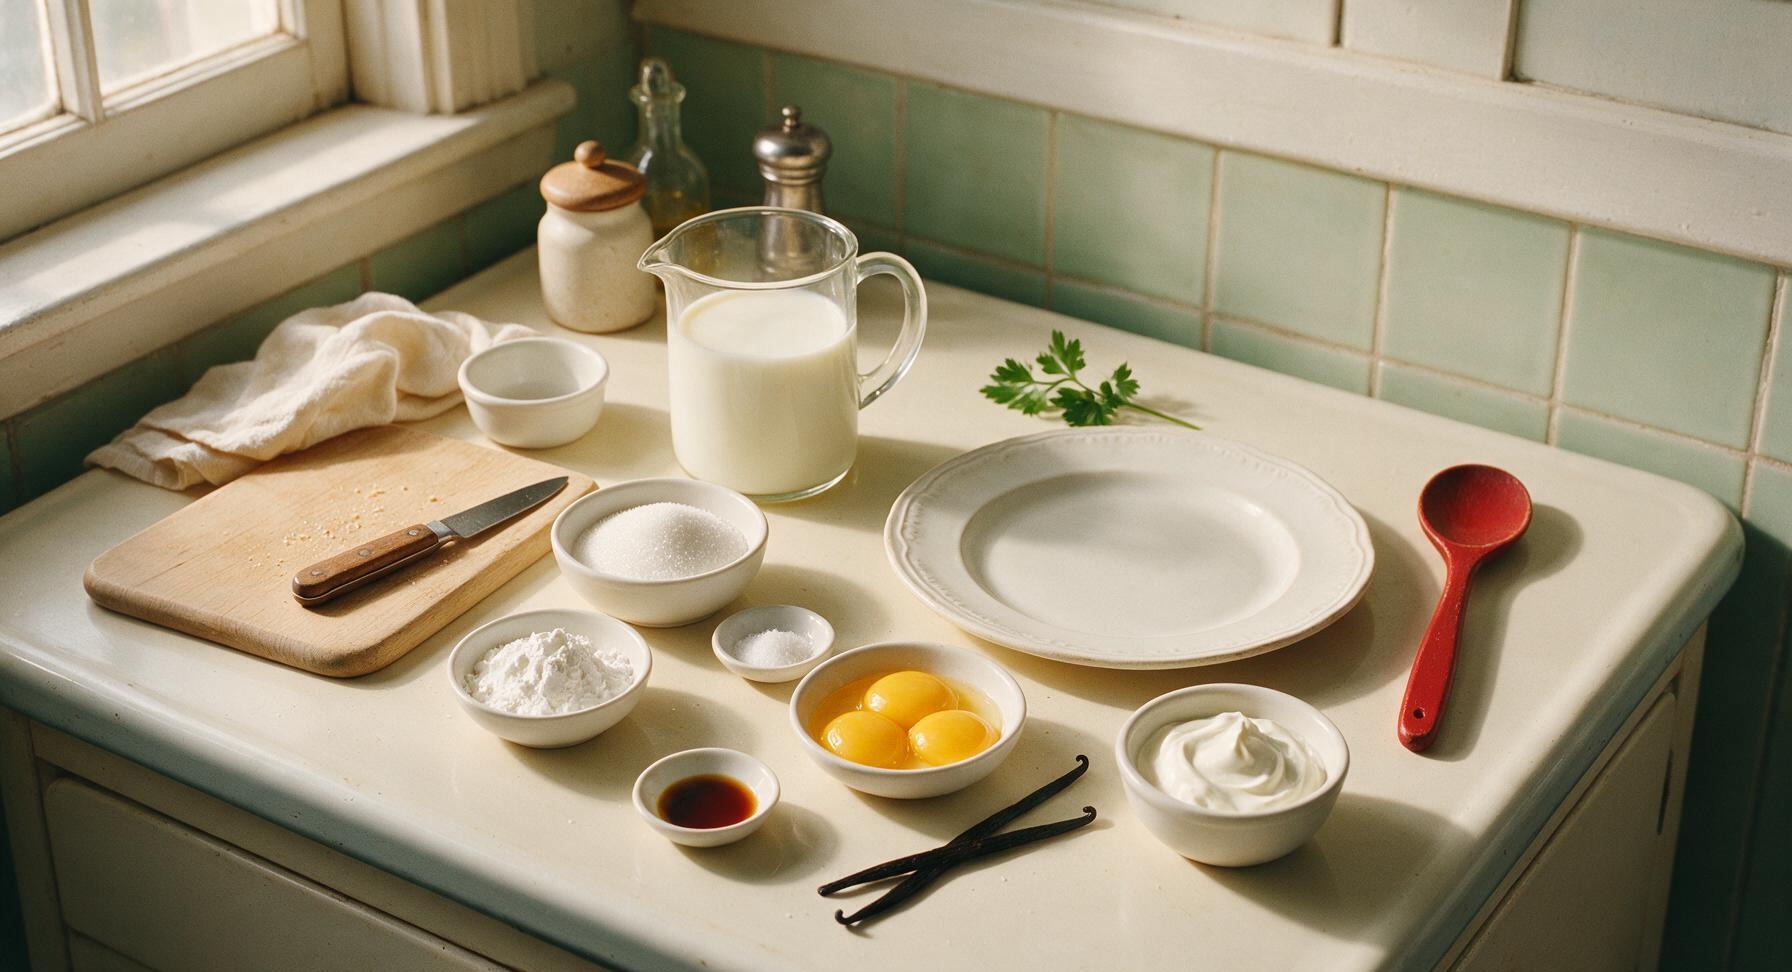
Whole milk 2 cups (480ml)
Granulated sugar 1/3 cup (67g)
Cornstarch 3 tablespoons (24g)
Fine sea salt 1/8 teaspoon
Large egg yolks 3 (about 54g total)
Unsalted butter 2 tablespoons (28g), cut into 1/2-inch pieces
Pure vanilla extract 1 teaspoon
Whole vanilla bean 1 plump pod
Heavy whipping cream (chilled, for topping) 1/2 cup (120ml)

Steps

1

Prep Measured Ingredients

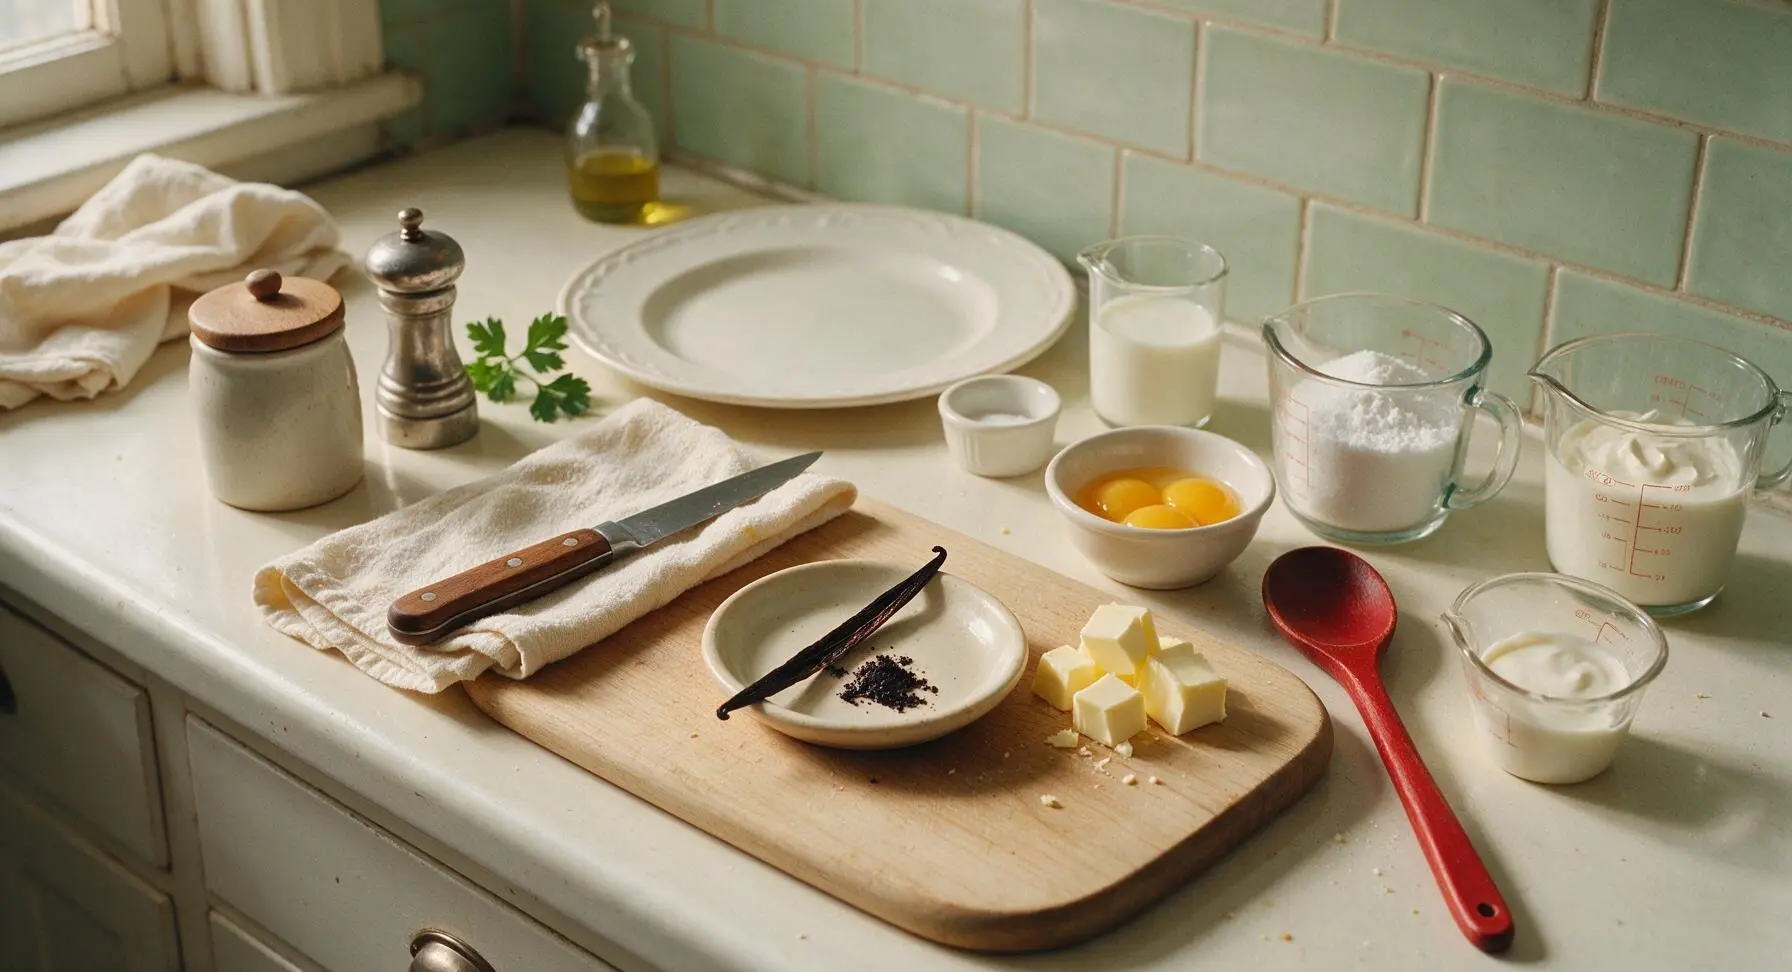
First, gather and measure all ingredients before you begin cooking to avoid lumps or curdling mid-process. Use the paring knife to split the whole vanilla bean lengthwise, then scrape out all tiny dark vanilla seeds into the small cream ceramic dish; set the empty pod aside. Separate 3 large eggs, reserving whites for another use, and place the yolks in one of the small white prep bowls. Cut unsalted butter into 1/2-inch pieces and set on the small cream dish.
Step 1
step1:Prep Measured Ingredients
2

Whisk Dry Pudding Base

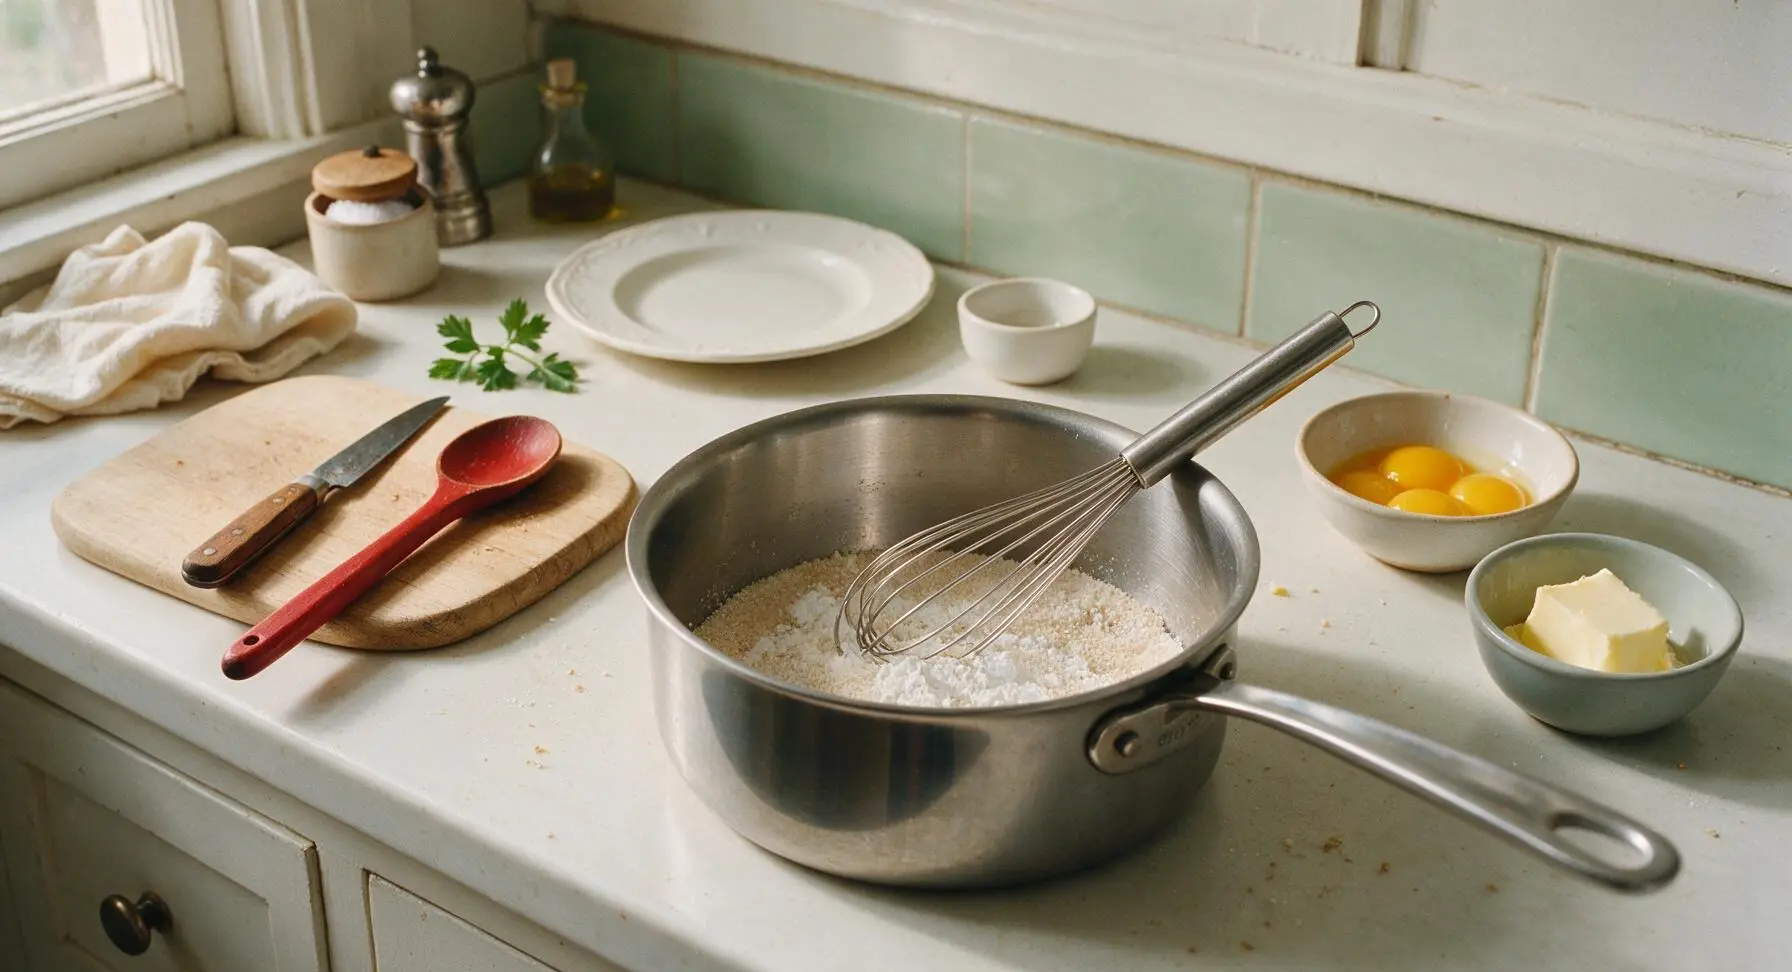
Move the 2-quart stainless steel saucepan from its back stovetop position to the center work area. Add granulated sugar, cornstarch, and fine sea salt to the cold pan, and use the wire whisk to stir them together until fully combined, with no visible clumps of cornstarch. Mixing dry ingredients first prevents stubborn cornstarch lumps from forming when liquid is added.
Step 2
step2:Whisk Dry Pudding Base
3

Heat Milk and Vanilla

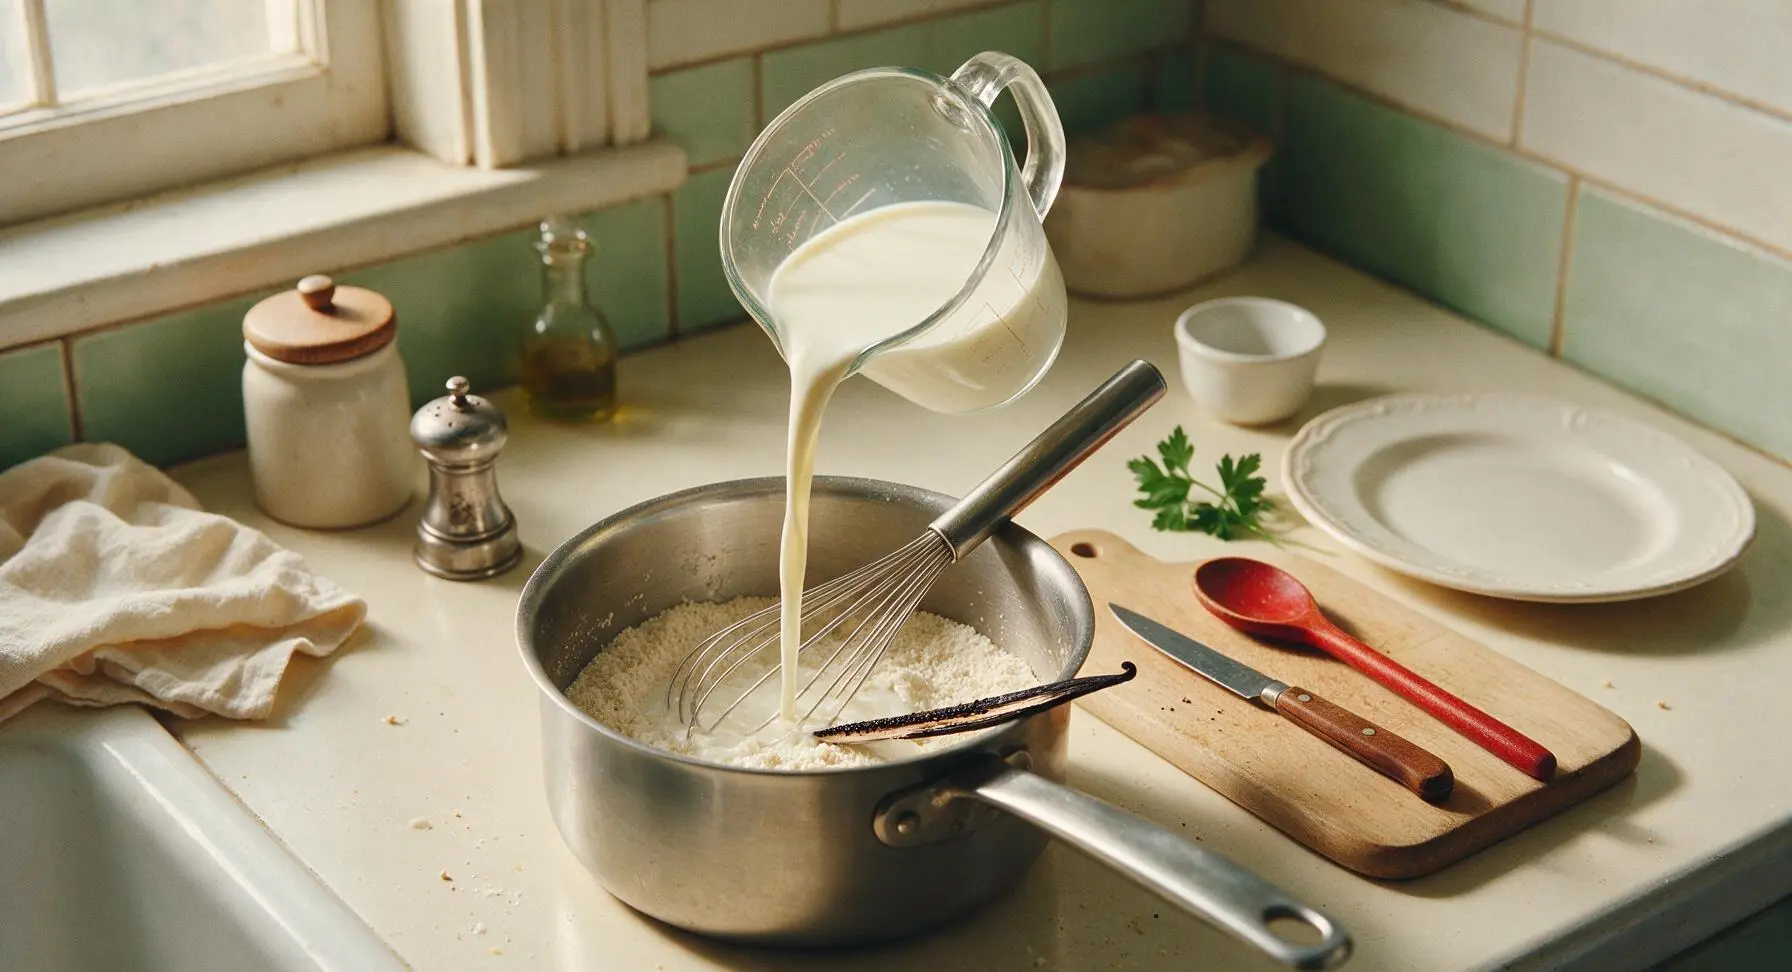
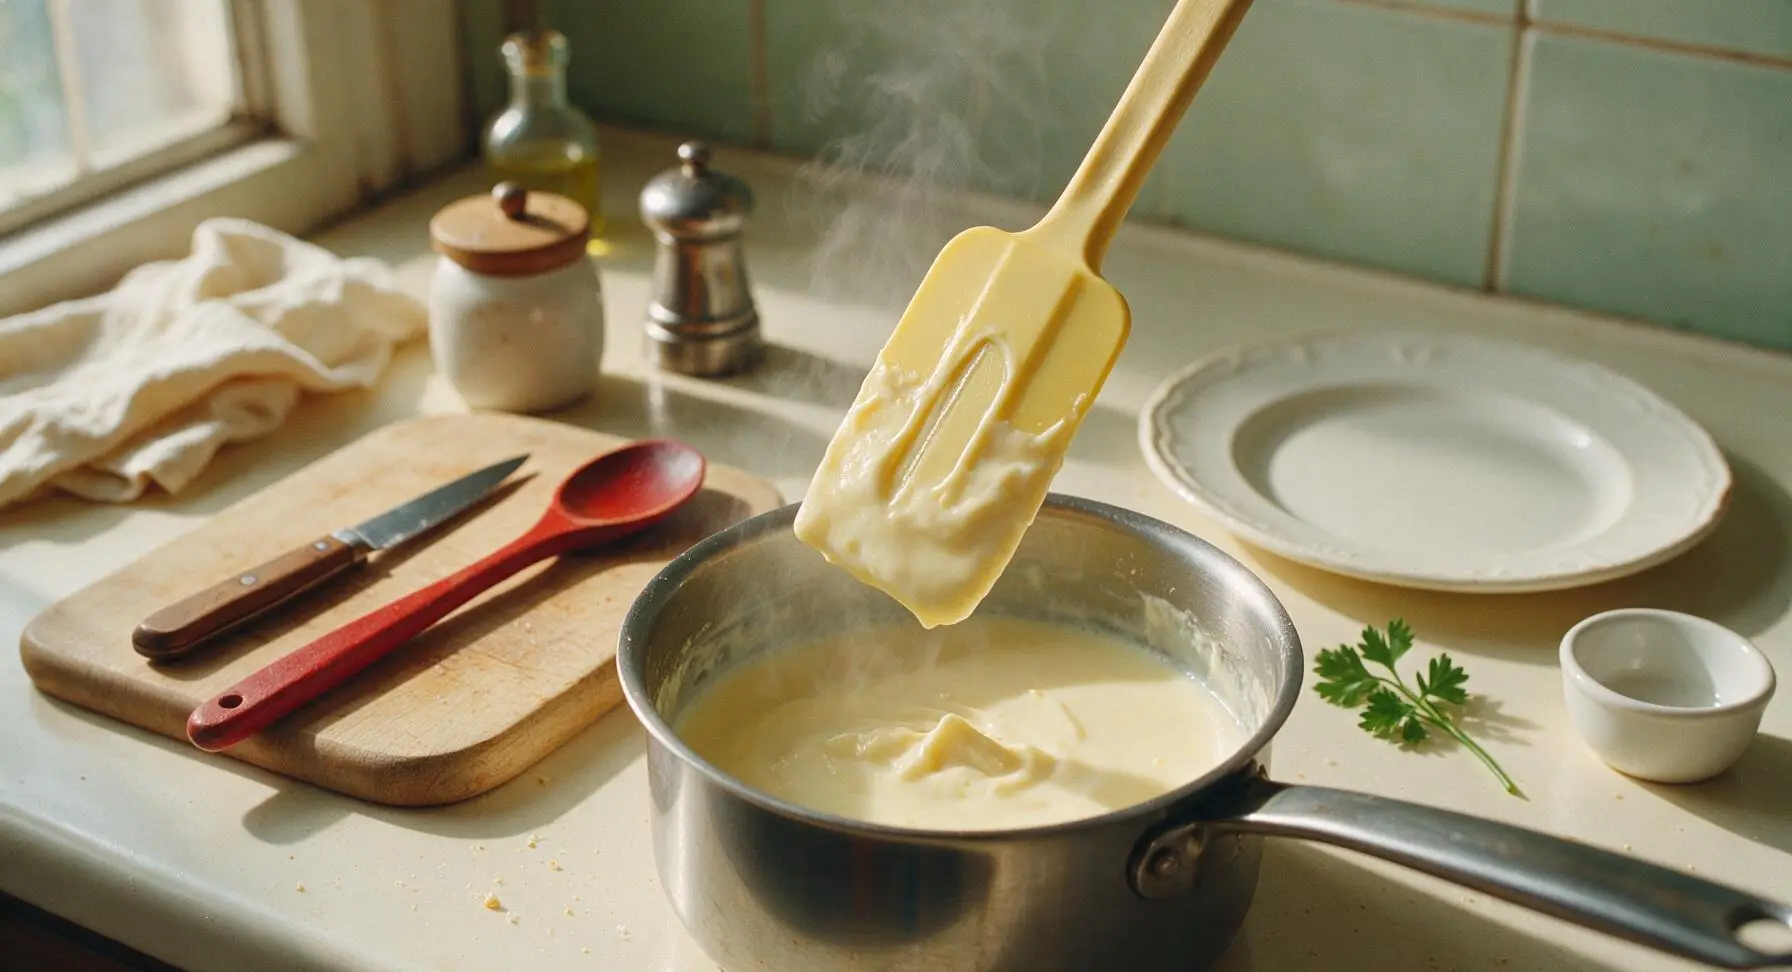
Slowly pour whole milk from the glass measuring cup into the saucepan with dry ingredients, whisking constantly to fully combine. Drop the scraped vanilla bean pod and reserved vanilla seeds into the milk mixture. Heat over medium-low heat, whisking occasionally, for 5-7 minutes until the mixture reaches 175°F (steaming hot, just below a simmer) and thickens enough to lightly coat the back of the silicone spatula. Do not let the milk boil, as this will scald the dairy and create a bitter, burnt flavor.
Step 3
step3:Heat Milk and Vanilla
Step 3
step3:Heat Milk and Vanilla
4

Temper Egg Yolks

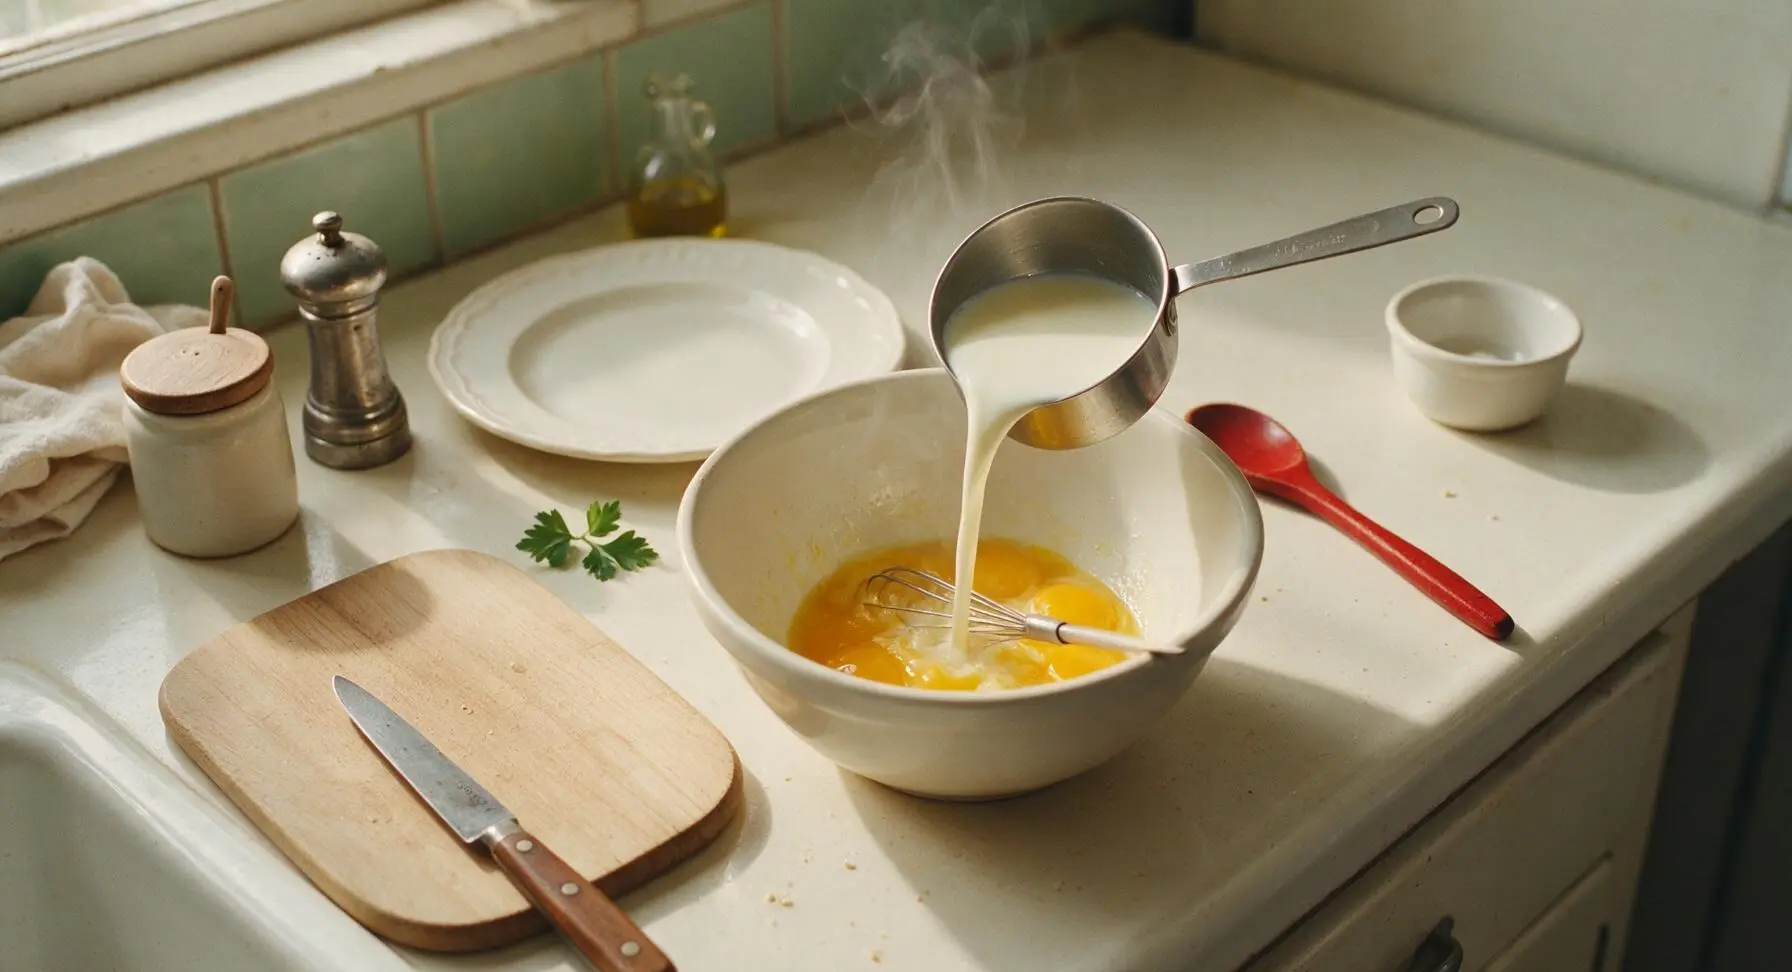
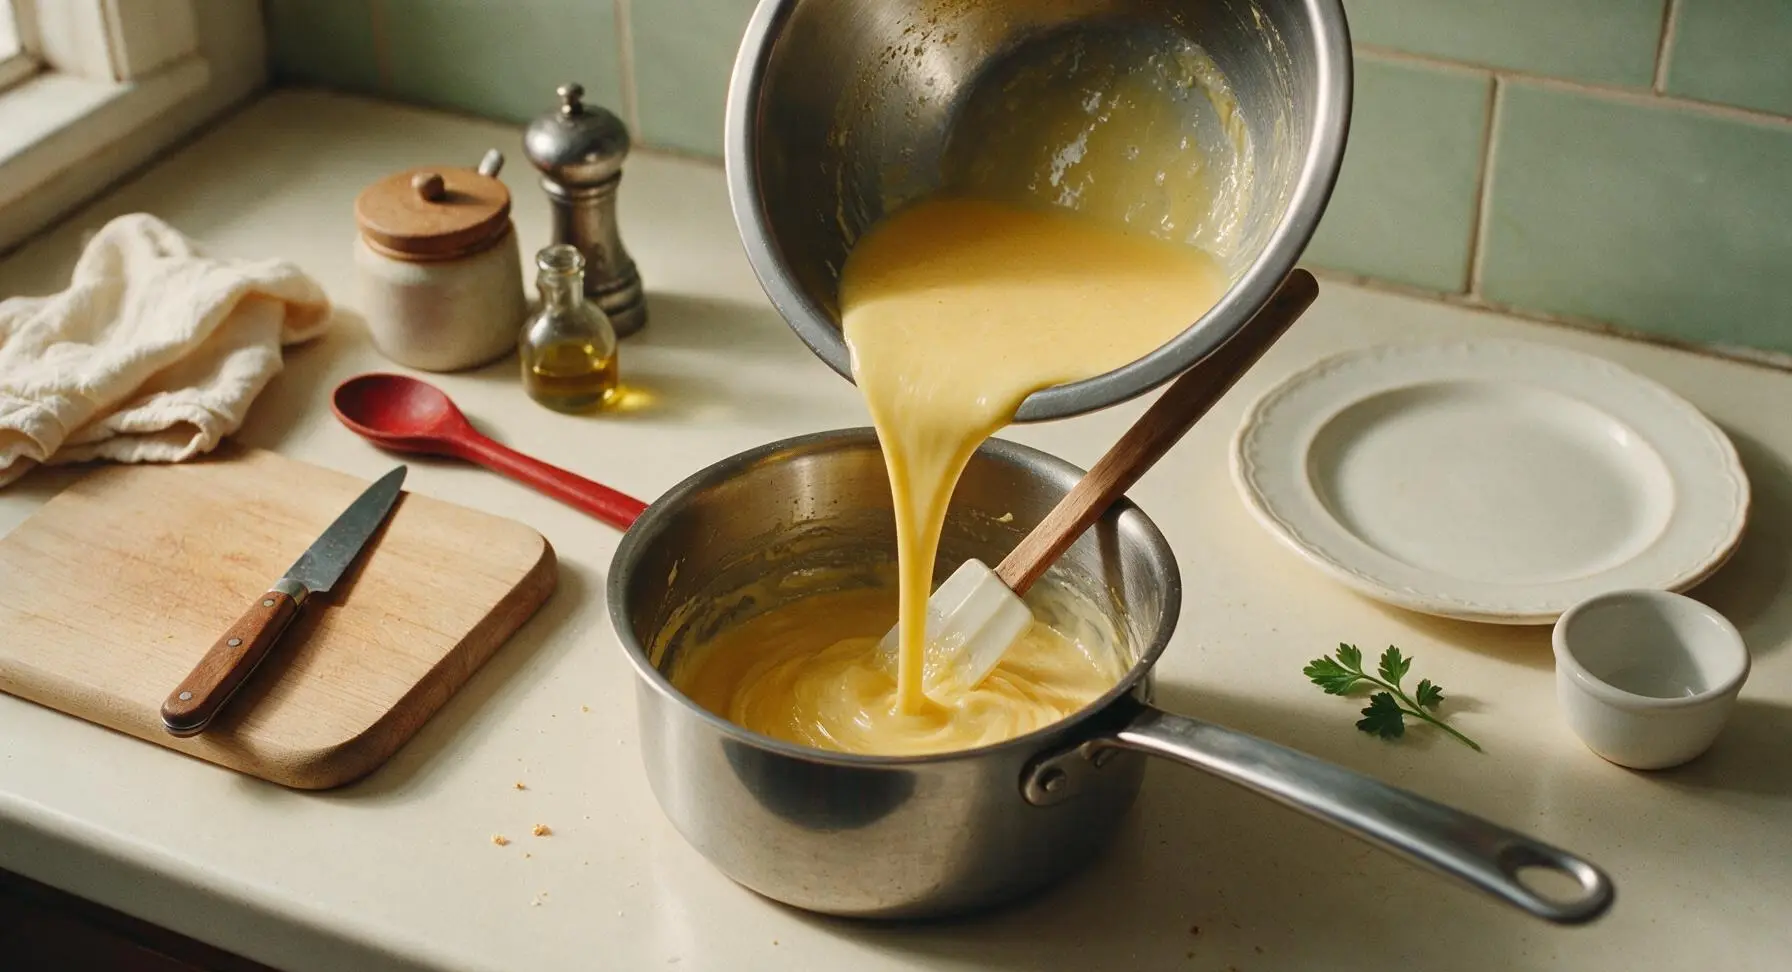
This critical step prevents curdled egg lumps. While whisking the egg yolks constantly in their prep bowl, slowly pour 1/2 cup of the hot milk mixture (scooped with the stainless steel measuring cup) into the yolks in a thin, steady stream. Whisk vigorously the entire time to gently warm the yolks without cooking them. Once the hot milk is fully incorporated, pour the warmed yolk mixture back into the saucepan with the remaining hot milk, whisking nonstop as you pour.
Step 4
step4:Temper Egg Yolks
Step 4
step4:Temper Egg Yolks
5

Cook to Set Thickness

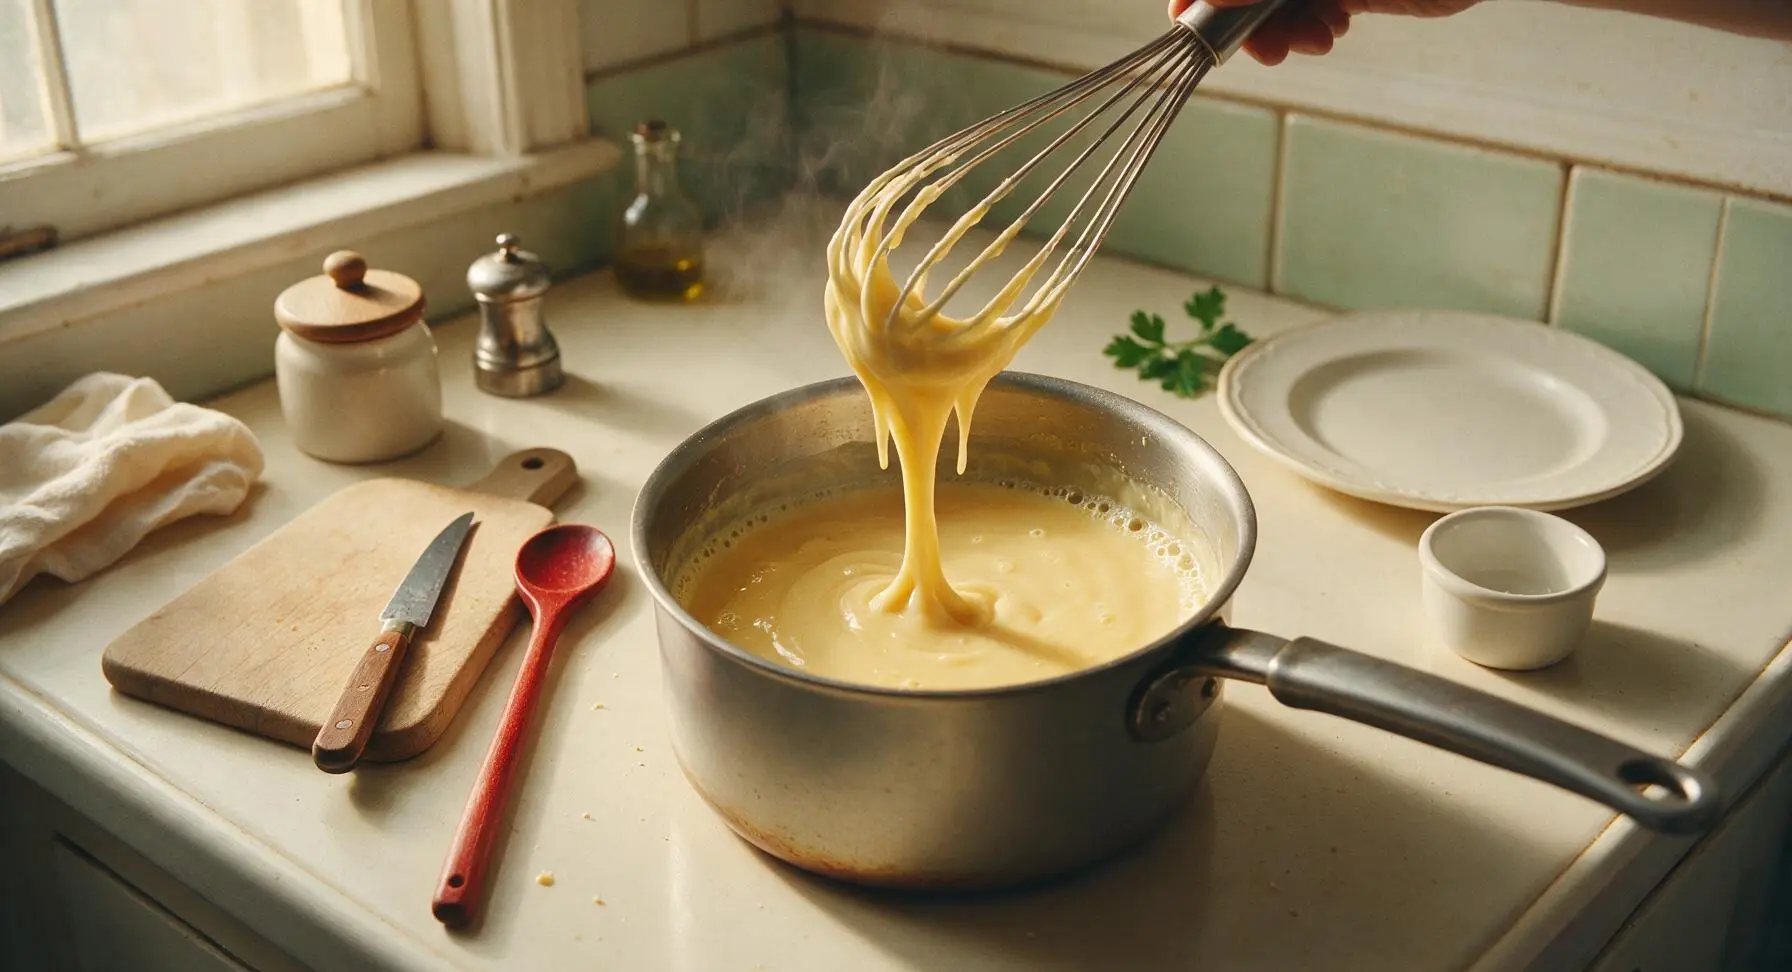
Continue cooking the pudding mixture over medium-low heat, whisking constantly, for 2-3 minutes until it forms very gentle, slow bubbles at the pan edges. Once bubbles appear, cook for exactly 1 more minute to fully activate the cornstarch thickener—this ensures the pudding sets firmly instead of turning runny when chilled. The finished cooked pudding should be thick enough to form soft slow-dripping ribbons when the whisk is lifted, and leave an opaque coating on the spatula.
Step 5
step5:Cook to Set Thickness
6

Strain and Add Butter

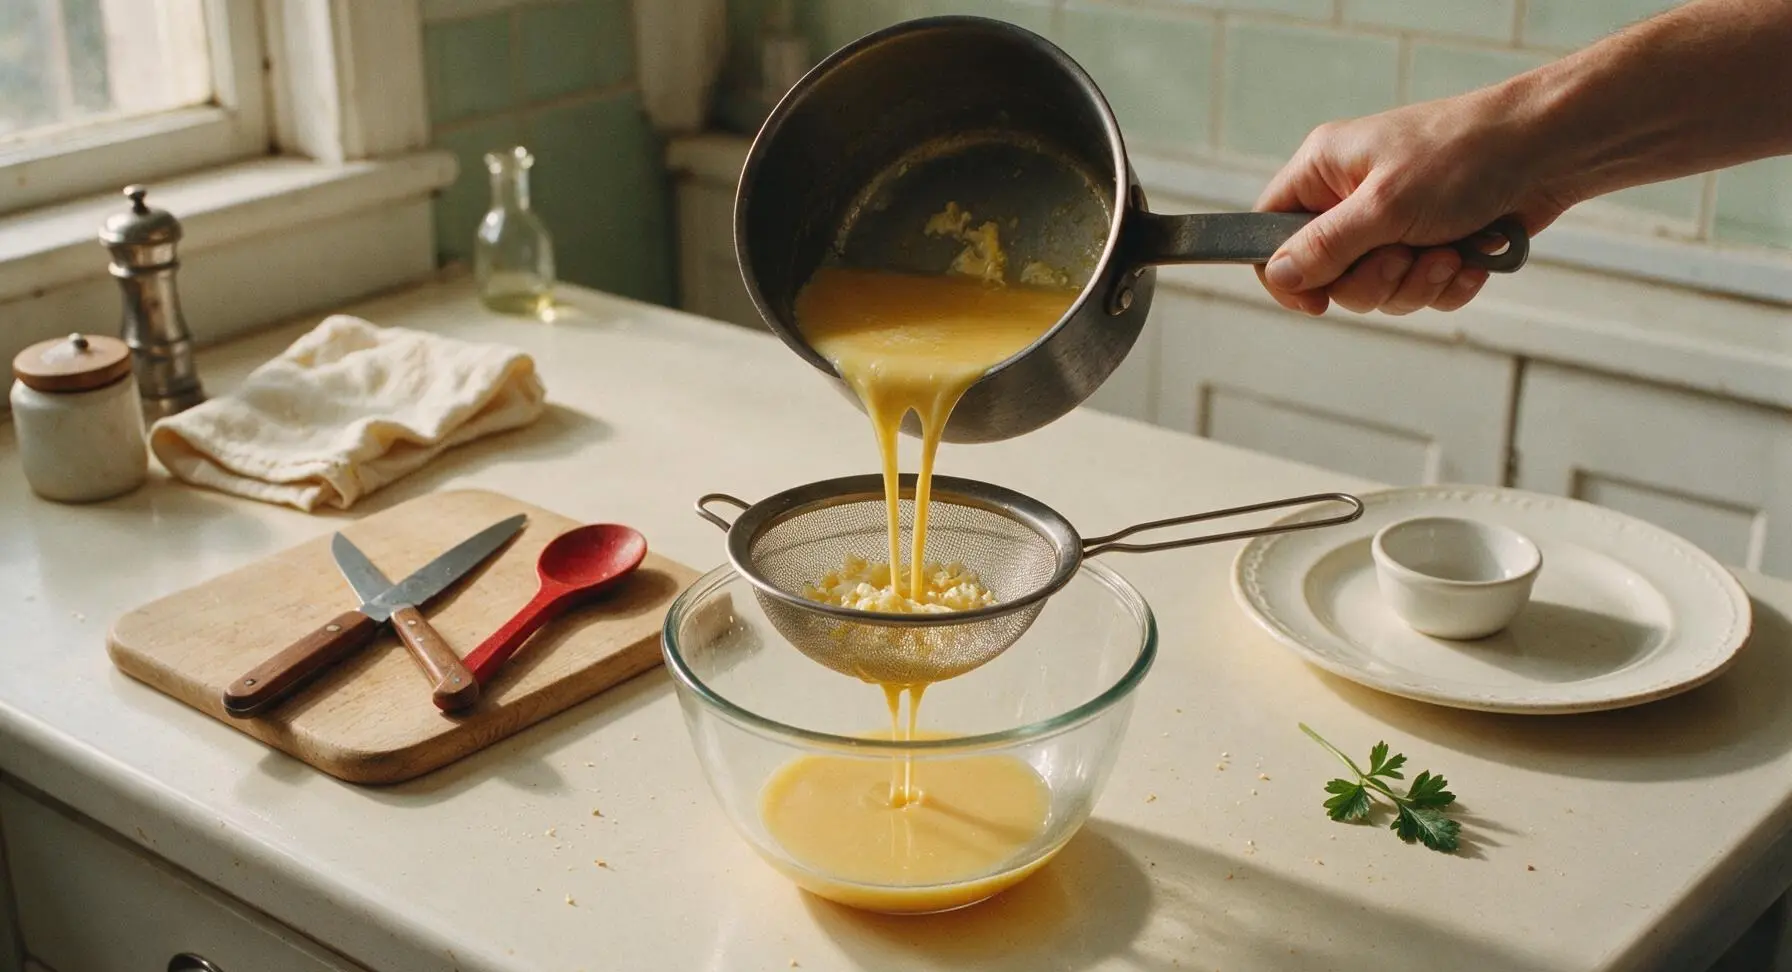
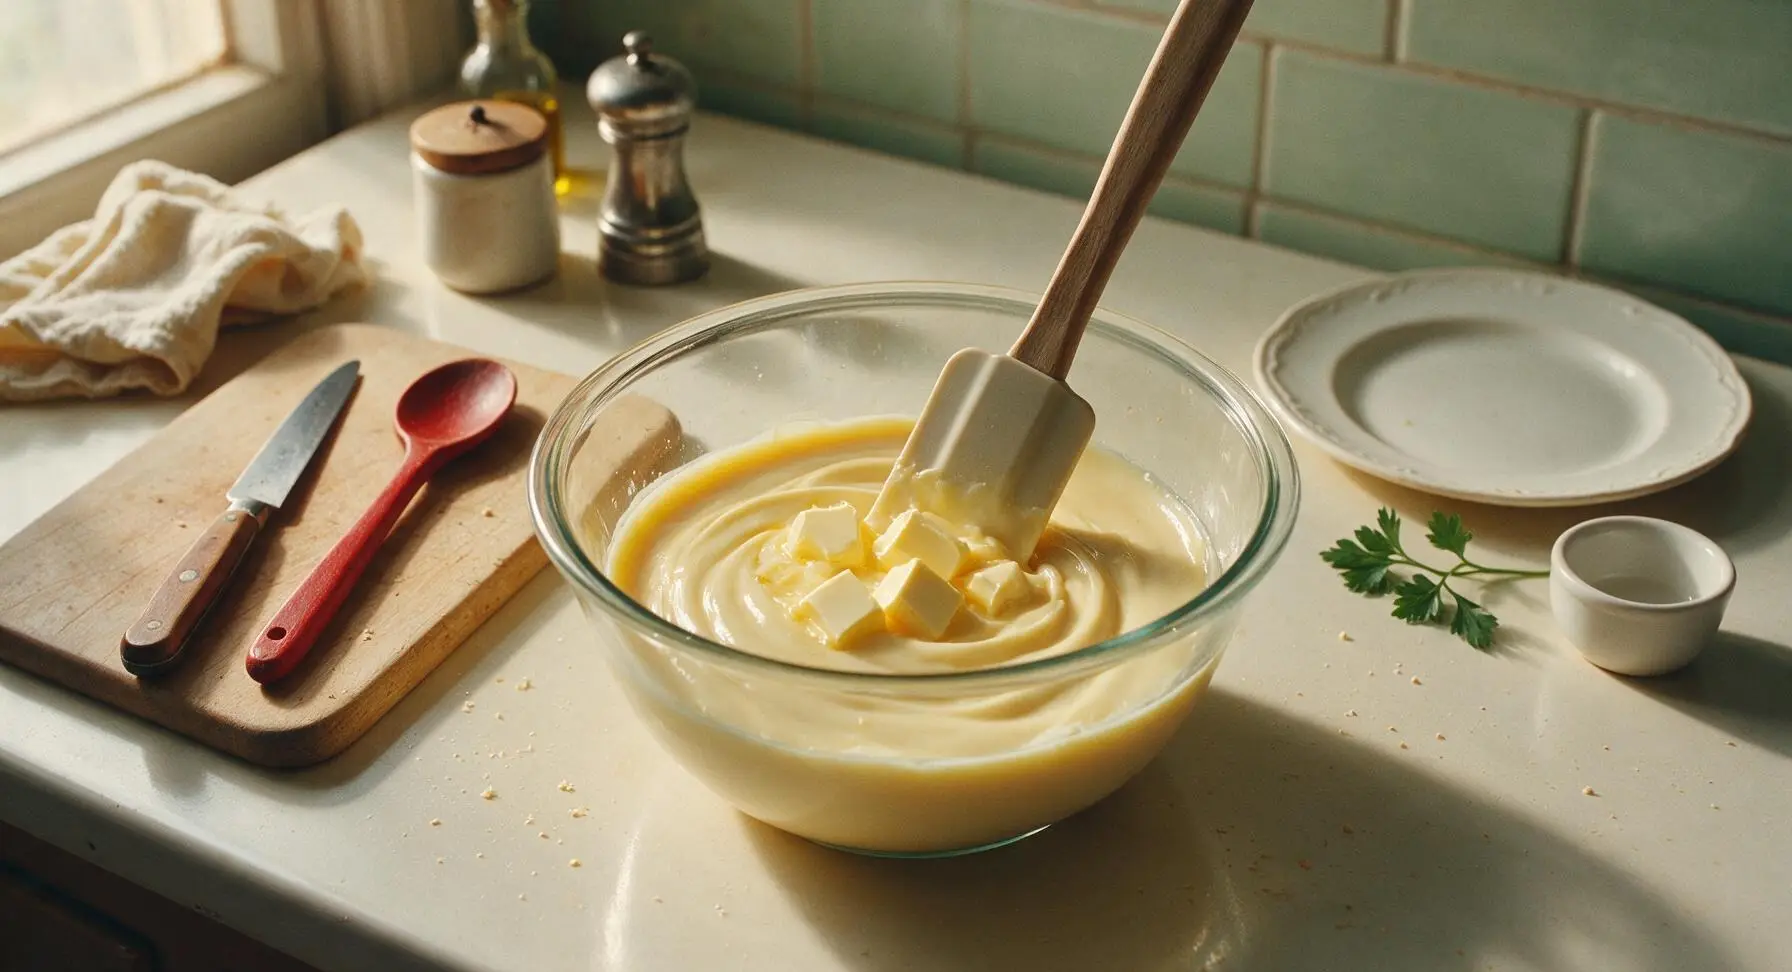
Remove the saucepan from heat immediately. Fish out the spent vanilla bean pod and discard it. Set the fine-mesh stainless steel sieve over the clear heatproof glass mixing bowl, and pour the hot pudding through the sieve to catch any tiny lumps of cooked egg or cornstarch for an ultra-smooth final texture. Add the cut unsalted butter and pure vanilla extract to the strained pudding, stirring gently with the silicone spatula until butter is fully melted and incorporated.
Step 6
step6:Strain and Add Butter
Step 6
step6:Strain and Add Butter
7

Chill Pudding Fully

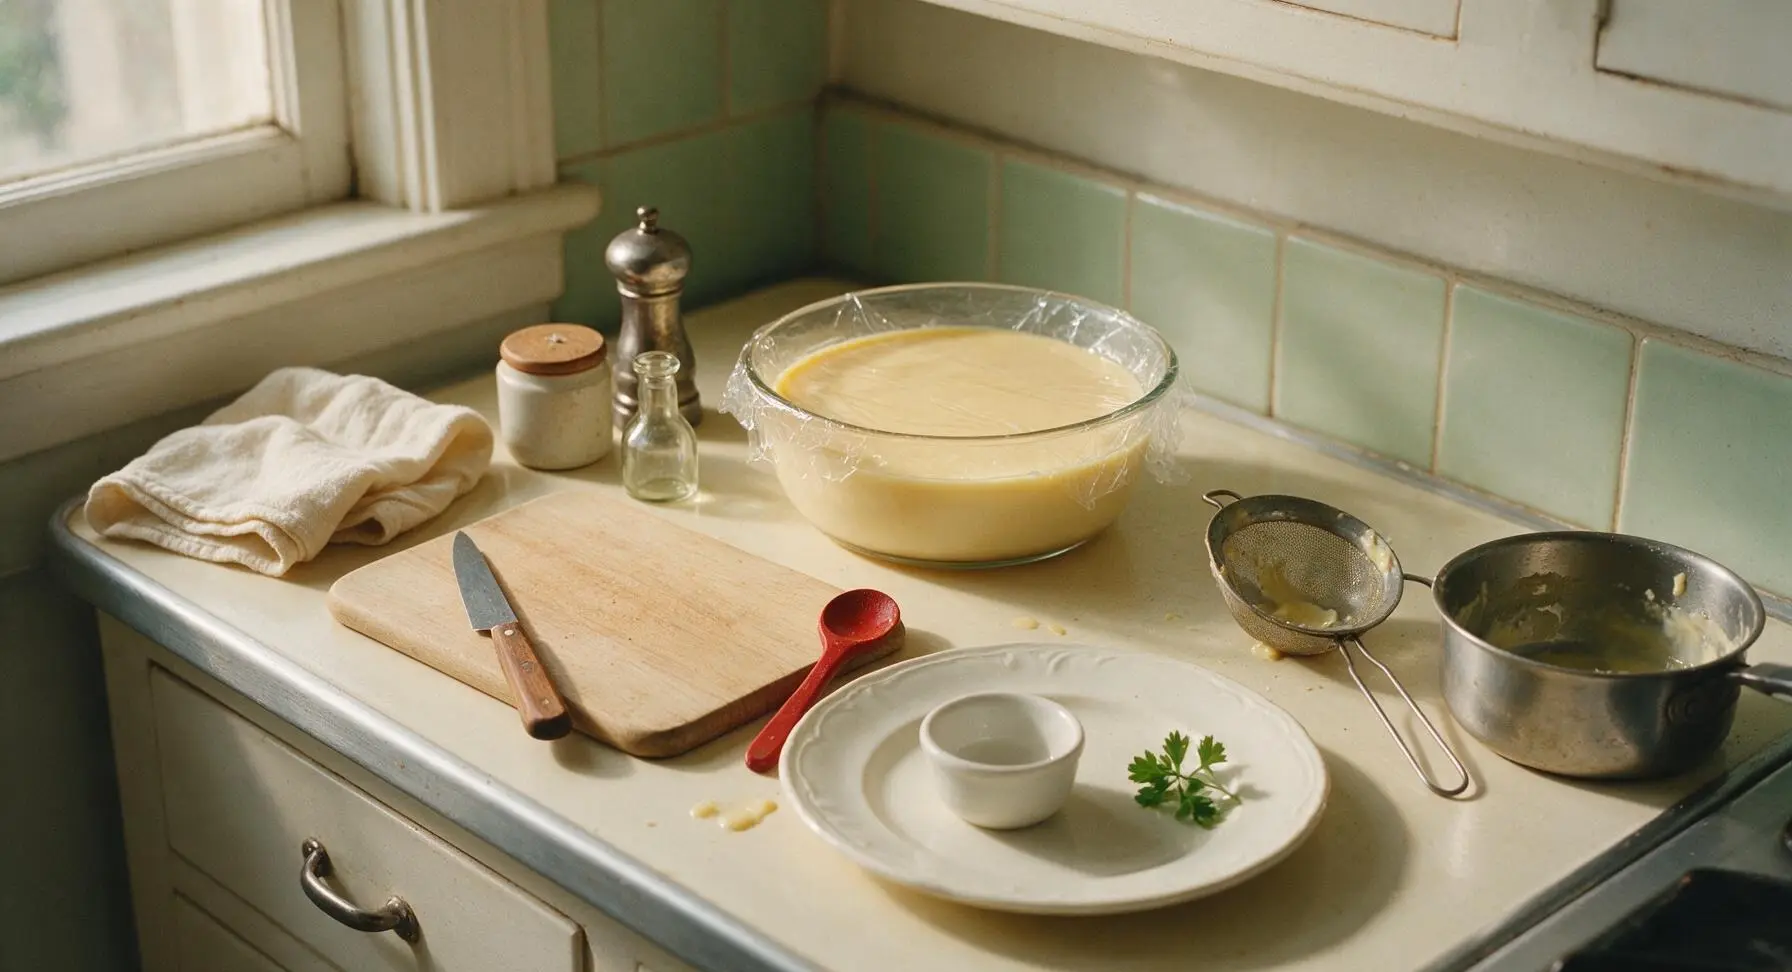
Press a sheet of plastic wrap directly onto the entire surface of the warm pudding, ensuring no air gaps exist between the wrap and pudding—this prevents a tough, rubbery skin from forming as it cools. Refrigerate for a minimum of 2 hours (or up to 3 days) until the pudding is fully chilled and firm, with no loose jiggle when the bowl is tapped. Do not stir the pudding once chilled, as this will break its smooth set.
Step 7
step7:Chill Pudding Fully
8

Plate and Garnish

When ready to serve, pour chilled heavy cream into a small cold bowl and whisk until it forms soft, billowy peaks (do not overwhip to stiff peaks, as this creates a grainy texture). Remove plastic wrap from the set pudding, and spoon equal portions into the four clear ribbed glass custard cups. Top each cup with a small dollop of fresh whipped cream, and sprinkle a tiny pinch of reserved vanilla bean seeds on top for garnish.
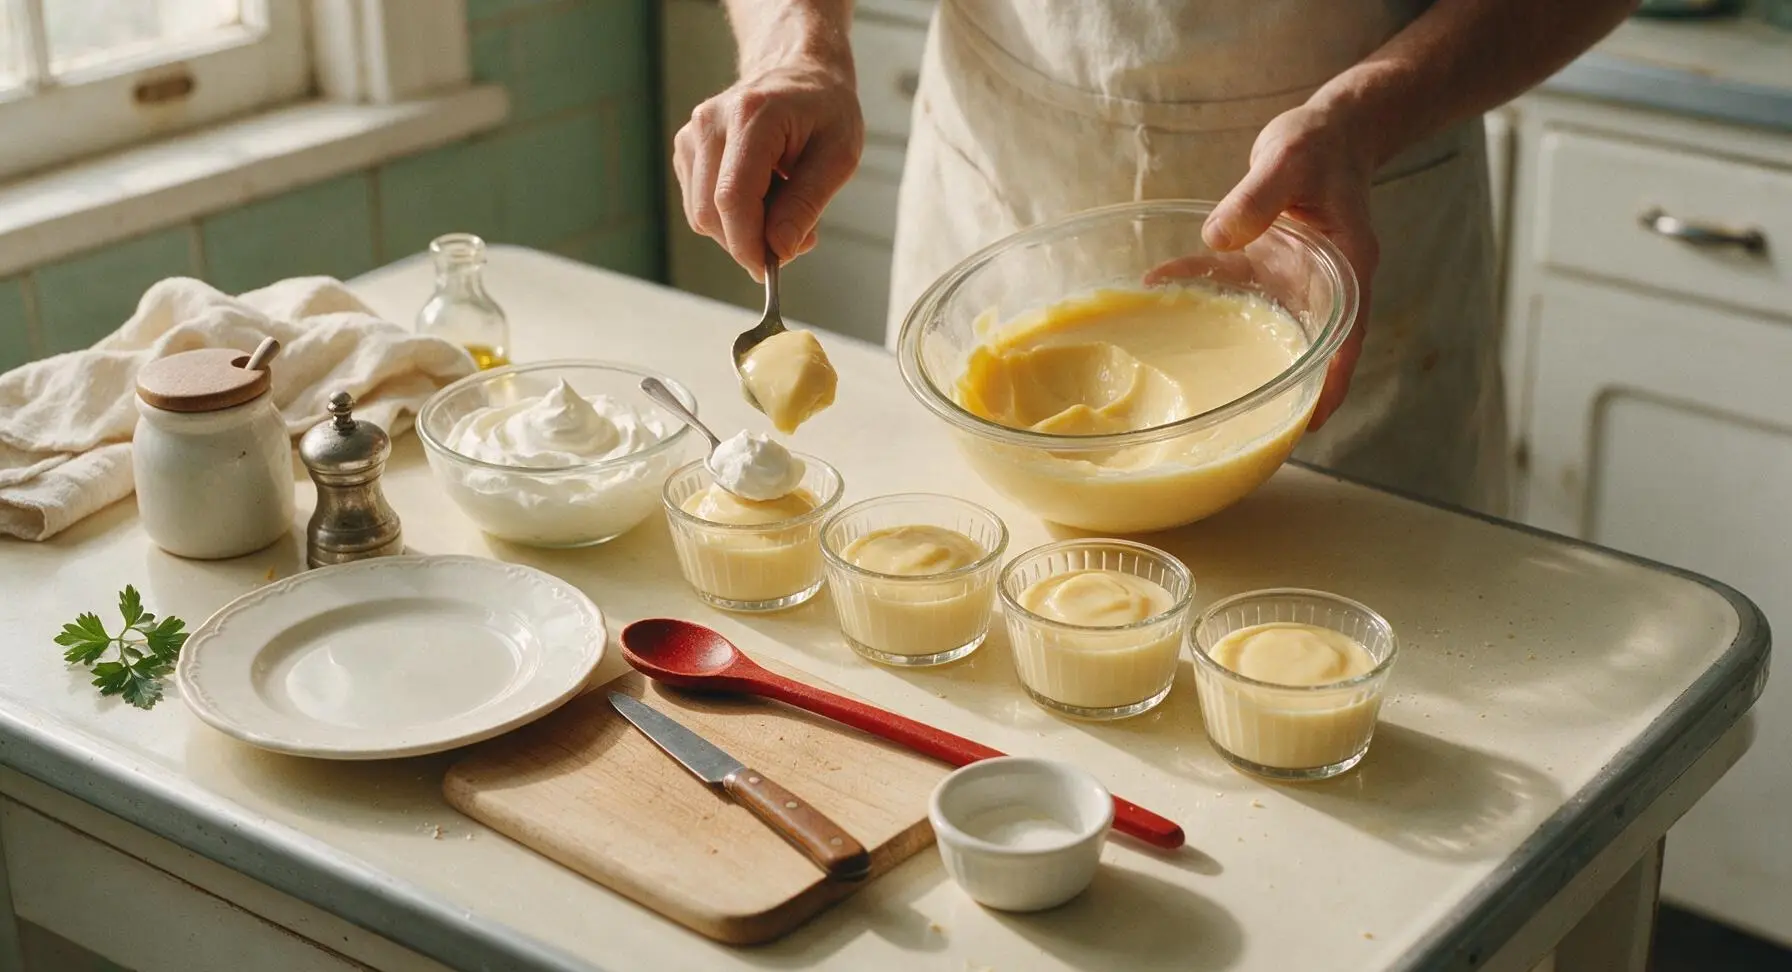
Step 8
step8:Plate and Garnish

Tips

1.Always press plastic wrap directly against the warm pudding surface before chilling: any air gap between the wrap and pudding will cause a tough, rubbery skin to form as moisture evaporates from the top, ruining the silky smooth texture.
2.Never rush the egg tempering process: pouring hot milk too quickly into raw yolks will cook the eggs into tiny rubbery curds that cannot be fully strained out, leaving your pudding grainy and lumpy.
3.Use a heavy-bottomed saucepan for cooking: thin, lightweight pans create uneven hot spots that can scald milk or cook eggs too quickly on the pan bottom, leading to burnt, off-flavored pudding even with constant stirring.


✨ You May Also Like

Desserts & Baking
🍜 Italy

Creamy, coffee-kissed classic Northern Italian no-bake dessert, with layers of rum-spiked mascarpone cream, soft ladyfingers, and a rich cocoa dusting.

⏱️ 4 hours 3Desserts & Baking ★ 4.7
Desserts & Baking
🍜 France

Flaky, shatteringly crisp, buttery French croissants with golden exteriors and soft, airy layered interiors, perfect for pairing with coffee for a special morning treat.

⏱️ 12 hours Desserts & Baking ★ 4.5
Desserts & Baking
🍜 United States

Warm, spiced baked apples topped with a fluffy golden biscuit crust, this cozy dessert pairs perfectly with vanilla ice cream for cool-weather comfort.

⏱️ 55 minuteDesserts & Baking ★ 4.6
Desserts & Baking
🍜 United States

A star-spangled classic American blueberry pie with buttery flaky crust and bright sweet-tart filling, perfect for summer patriotic gatherings.

⏱️ 1 hour 25Desserts & Baking ★ 4.7
Desserts & Baking
🍜 United States

A beloved no-bake regional Maine candy with a chewy coconut-potato center coated in rich dark chocolate, a New England holiday staple since the 1870s.

⏱️ 2 hours 3Desserts & Baking ★ 4.8
Desserts & Baking
🍜 France

Luxuriously creamy, floral frozen custard made with aromatic Tahitian vanilla beans, boasting a smooth, rich texture that melts slowly on the tongue.

⏱️ 3 hours 3Desserts & Baking ★ 4.5

old fashioned vanilla pudding:Frequently Asked Questions

1.Why does my homemade vanilla pudding turn out lumpy instead of silky smooth? ▾
Lumps almost always come from two common missteps: not stirring consistently as the custard heats, or adding hot milk too quickly to egg yolks, which causes tiny curdled bits. Prevent this by tempering yolks slowly with a thin stream of warm milk while whisking, then keep heat medium-low and stir constantly, scraping the pan bottom, as it thickens. Strain any small lumps out with a fine-mesh sieve before chilling.
2.Can I use low-fat or skim milk instead of whole milk for this recipe? ▾
You technically can, but you won’t get that rich, luxuriously creamy old-fashioned texture the recipe is designed for. Whole milk has the ideal fat content to balance cornstarch and egg yolks for that velvety, nostalgic mouthfeel. If you only have 2% on hand, stir in 2 tablespoons of heavy cream per cup of milk to boost fat, but skip skim entirely—it will make the pudding taste thin and watery.
3.Why does a thick, rubbery skin form on top of my pudding as it chills? ▾
That tough skin forms when the pudding’s top layer is exposed to air during cooling, causing evaporation and uneven surface thickening. Prevent it easily by pressing a piece of plastic wrap directly onto the entire surface of the warm pudding before refrigerating—make sure the wrap touches every spot with no gaps. Loosely covering the bowl with a lid won’t block enough air to stop skin from forming.
4.Do I need a whole vanilla bean to get that classic old-fashioned vanilla flavor? ▾
You don’t need a pricey vanilla bean for that deep, nostalgic flavor, though you can scrape one bean’s seeds into the heating milk if you have it on hand. For accessible, great-tasting results, use pure vanilla extract (skip artificial imitation vanilla for the best flavor) and stir it in after taking the pudding off the heat—high heat mutes extract’s warm, bright flavor notes.
5.How long does this pudding stay fresh, and can I freeze leftover portions? ▾
Stored in an airtight container (with plastic wrap pressed to the surface to prevent skin), this pudding stays fresh and creamy for 3 to 4 days in the refrigerator. I don’t recommend freezing it, though: the dairy and egg components will separate during thawing, leaving a grainy, watery texture that can’t be stirred or blended back to the recipe’s signature silky smoothness.

Comments (11)

2 days ago

Made this for our Sunday family dinner last night and everyone went back for seconds! I was worried homemade pudding would be a hassle but 15 minutes cook time? No joke, came together so fast. Tastes exactly like the old fashioned stuff my grandma used to make, not that weird artificial store-bought goop. 10/10 will be making this for our next neighborhood potluck too.

1 week ago

OMG this is such a game changer for my weekly meal prep! I portion it out into little mason jars with some fresh berries on top and it’s the perfect sweet treat all week long. Super easy even for someone who burns toast half the time, lmao. No fancy ingredients needed, just stuff I already had in my pantry. SO good.

3 days ago

My kids loved it! I swapped in a little extra vanilla bean paste because I had it on hand and they begged me to put it in their school lunches all week. Way creamier than the boxed mix I usually grab, and it didn’t have that weird powdery aftertaste. Already sent the recipe to my whole mom group chat.

2 hours ago

Wait, quick question—mine came out a little lumpy when I was stirring it. Did I do something wrong? It still tasted amazing but I want it to be perfectly smooth next time I make it for my boyfriend’s birthday dinner.

30 minutes ago

Hi there! So glad it still tasted great! Lumps usually happen if the cornstarch isn’t fully mixed into the cold milk before you start heating it, or if you don’t whisk consistently as it thickens. Next time, make sure to whisk your cornstarch and cold milk slurry really well before adding it to the pot, and keep stirring the whole time it cooks—you’ll get that perfectly silky smooth texture in no time!

yesterday

Brought this to my office potluck yesterday and people were literally scraping the bowl clean! I topped it with a little homemade whipped cream and some shaved dark chocolate, it looked so fancy no one believed it only took 15 minutes to cook. Already got three people asking for the recipe link.

5 minutes ago

Wait I was at that potluck!!! That pudding was INSANE, I had two servings. So glad you posted about this, I was just hunting for the recipe to make for my kid’s soccer team snack this weekend. Saved!

1 week ago

So happy to find a classic pudding recipe that’s naturally gluten free! I have celiac so I’m always paranoid about hidden ingredients, but this uses just basic pantry staples I can trust. Tastes like the vanilla pudding my nana used to make before she passed, made me a little emotional while I was eating it ngl.

5 days ago

That means so much to us, Jess! We love that this recipe feels like a cozy, nostalgic treat for folks with dietary restrictions too—no weird fillers or hidden gluten, just simple, delicious ingredients. So glad it brought back happy memories of your nana for you 💛

2 weeks ago

I’ve been making old fashioned vanilla pudding for over 50 years, and I have to say this recipe is spot on! The ratio of cornstarch to milk is perfect, not too thick and not runny at all. I added a tiny pat of butter on top while it cooled like I always do, and it turned out perfect. Great recipe for new bakers to learn on.

1 week ago

This comment makes me feel so much more confident trying it! I’m a total beginner and was nervous I’d mess it up, but if a 50-year veteran says the ratios are spot on I’m definitely making it this weekend for my roommates.

5 days ago

Pro tip! If you let the pudding chill for a couple hours after cooking, press a piece of plastic wrap directly on the surface so it doesn’t form that weird skin on top. I forgot to do that the first time I made it, but the second time it was perfectly smooth all the way through. Also, adding a pinch of salt makes the vanilla flavor pop so much more, don’t skip it!

3 days ago

Oh thank you for the plastic wrap tip! I hate that weird pudding skin so much, I thought it was just unavoidable. Can’t wait to try that next time I make this, the first batch was so good even with the skin tbh.

2 days ago

Great tip, Amy! That plastic wrap trick is a total game changer for that perfect silky top, and you’re so right about the pinch of salt—it really elevates all the sweet vanilla flavor so it doesn’t taste flat. Thanks for sharing your hack with everyone!

3 days ago

Has anyone tried making this with oat milk instead of dairy? My youngest is lactose intolerant and I’m always looking for easy sweet treats he can eat without needing a lactase pill. Would love to know if it turns out the same texture!

2 days ago

I made it with barista blend oat milk last week and it worked perfectly! I used a tiny extra tablespoon of cornstarch just to be safe because oat milk is a little thinner than whole milk, and it was just as creamy as the dairy version. My lactose intolerant roommate devoured half the batch.

yesterday

Great question! Barista blend oat milk works really well here, just like Dan said—add an extra 1 tablespoon of cornstarch to account for the thinner consistency, and you’ll get the same thick, creamy texture. Almond milk works too but tends to be a little nuttier in flavor, so oat milk is our go-to dairy free swap!

2 weeks ago

Y’all, I served this warm over warm peach cobbler last night and I think my husband asked me to marry him again. It’s so versatile! I thought it was just a standalone dessert, but it makes the best topping for cobblers, cakes, even banana pudding if you layer it with Nilla wafers and bananas. Obsessed.

1 week ago

Wait layered for banana pudding??? Why didn’t I think of that! I’m making this for my family’s Fourth of July cookout and was gonna do regular banana pudding, this vanilla base is gonna be way better than the instant stuff I usually use.

5 days ago

Warm over peach cobbler sounds insane. I have a blackberry cobbler in the freezer I was gonna serve with ice cream, but I’m making this pudding to go with it this weekend instead. Thanks for the idea!

yesterday

How long does this keep in the fridge? I wanna make it ahead for my daughter’s graduation party this weekend but I don’t wanna make it too early and have it go bad. Looks so much better than the grocery store pudding cups I was gonna grab for the dessert table.

30 minutes ago

I made this 3 days ahead for my son’s graduation party last month and it was still perfect! Just kept it in an airtight container with that plastic wrap on the surface like that other comment mentioned, no weird skin no off taste. Super make-ahead friendly!

just now

Great question! This pudding will keep perfectly in an airtight container in the fridge for up to 4 days, so it’s ideal for making ahead for parties and gatherings. Just don’t add any toppings (like whipped cream, fruit, or cookies) until right before you serve, and it’ll taste fresh as can be. Hope your daughter’s graduation party is amazing!



